Last Monday I shared a few of my most highly anticipated Pinterest projects. I am thrilled to reveal (part of) the fruits of that dreaming here on the blog today! For my first project, I chose to go with the jazzed up frame with chicken wire that can be used as a keepsake catch all.
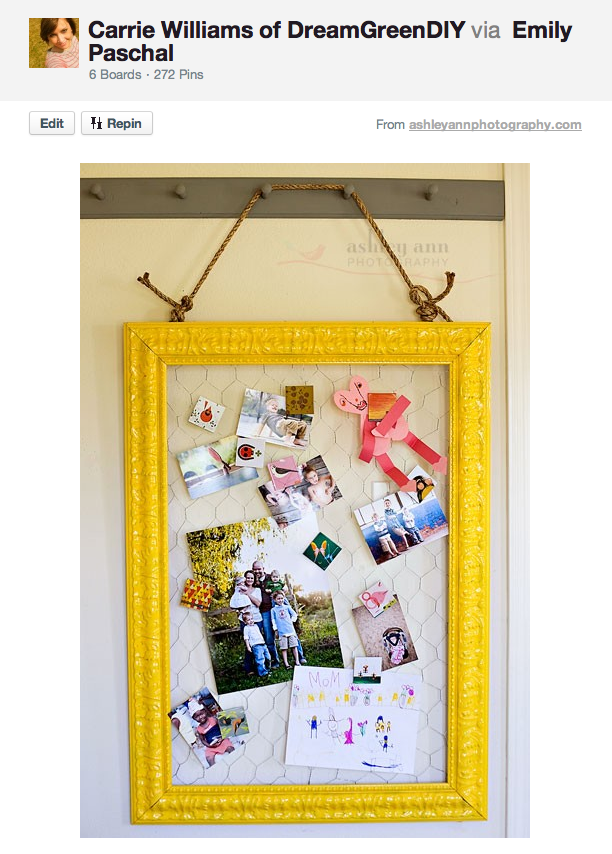
Source: Ashley Ann @ AshleyAnnPhotography.com
I love how she took a vintage frame and made it pop with a bold color. And you know I love anything that displays memories and photos…
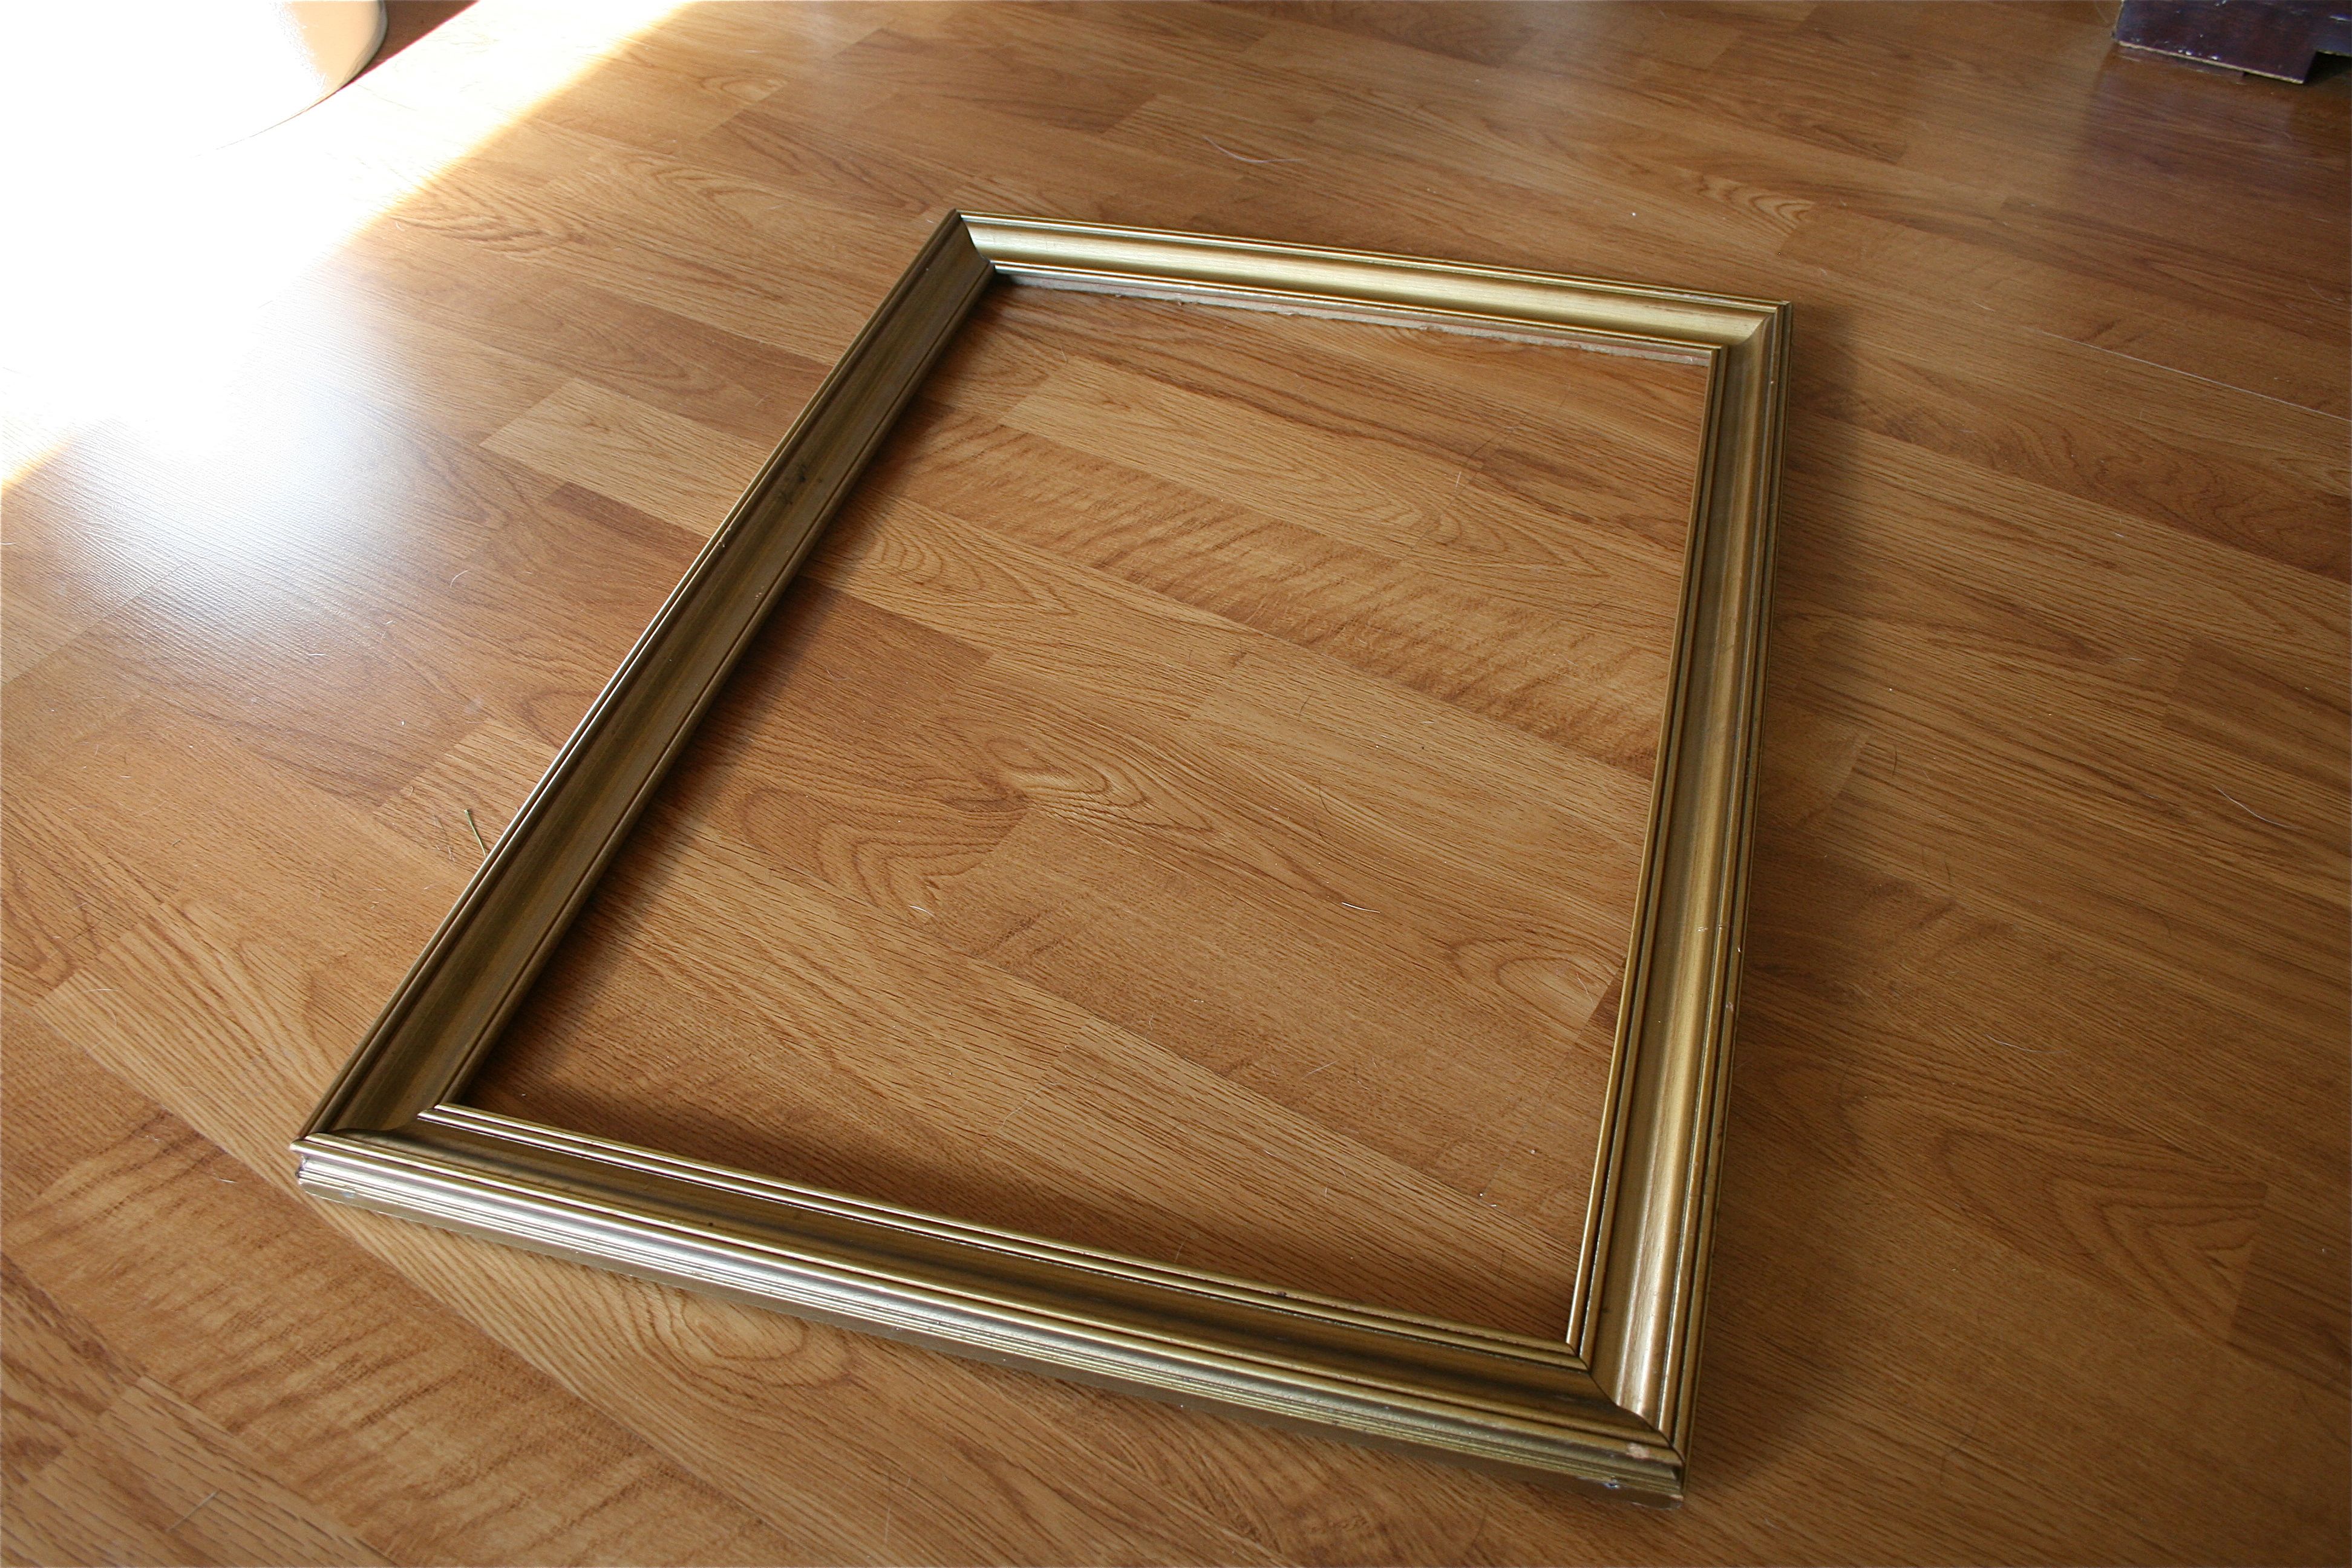
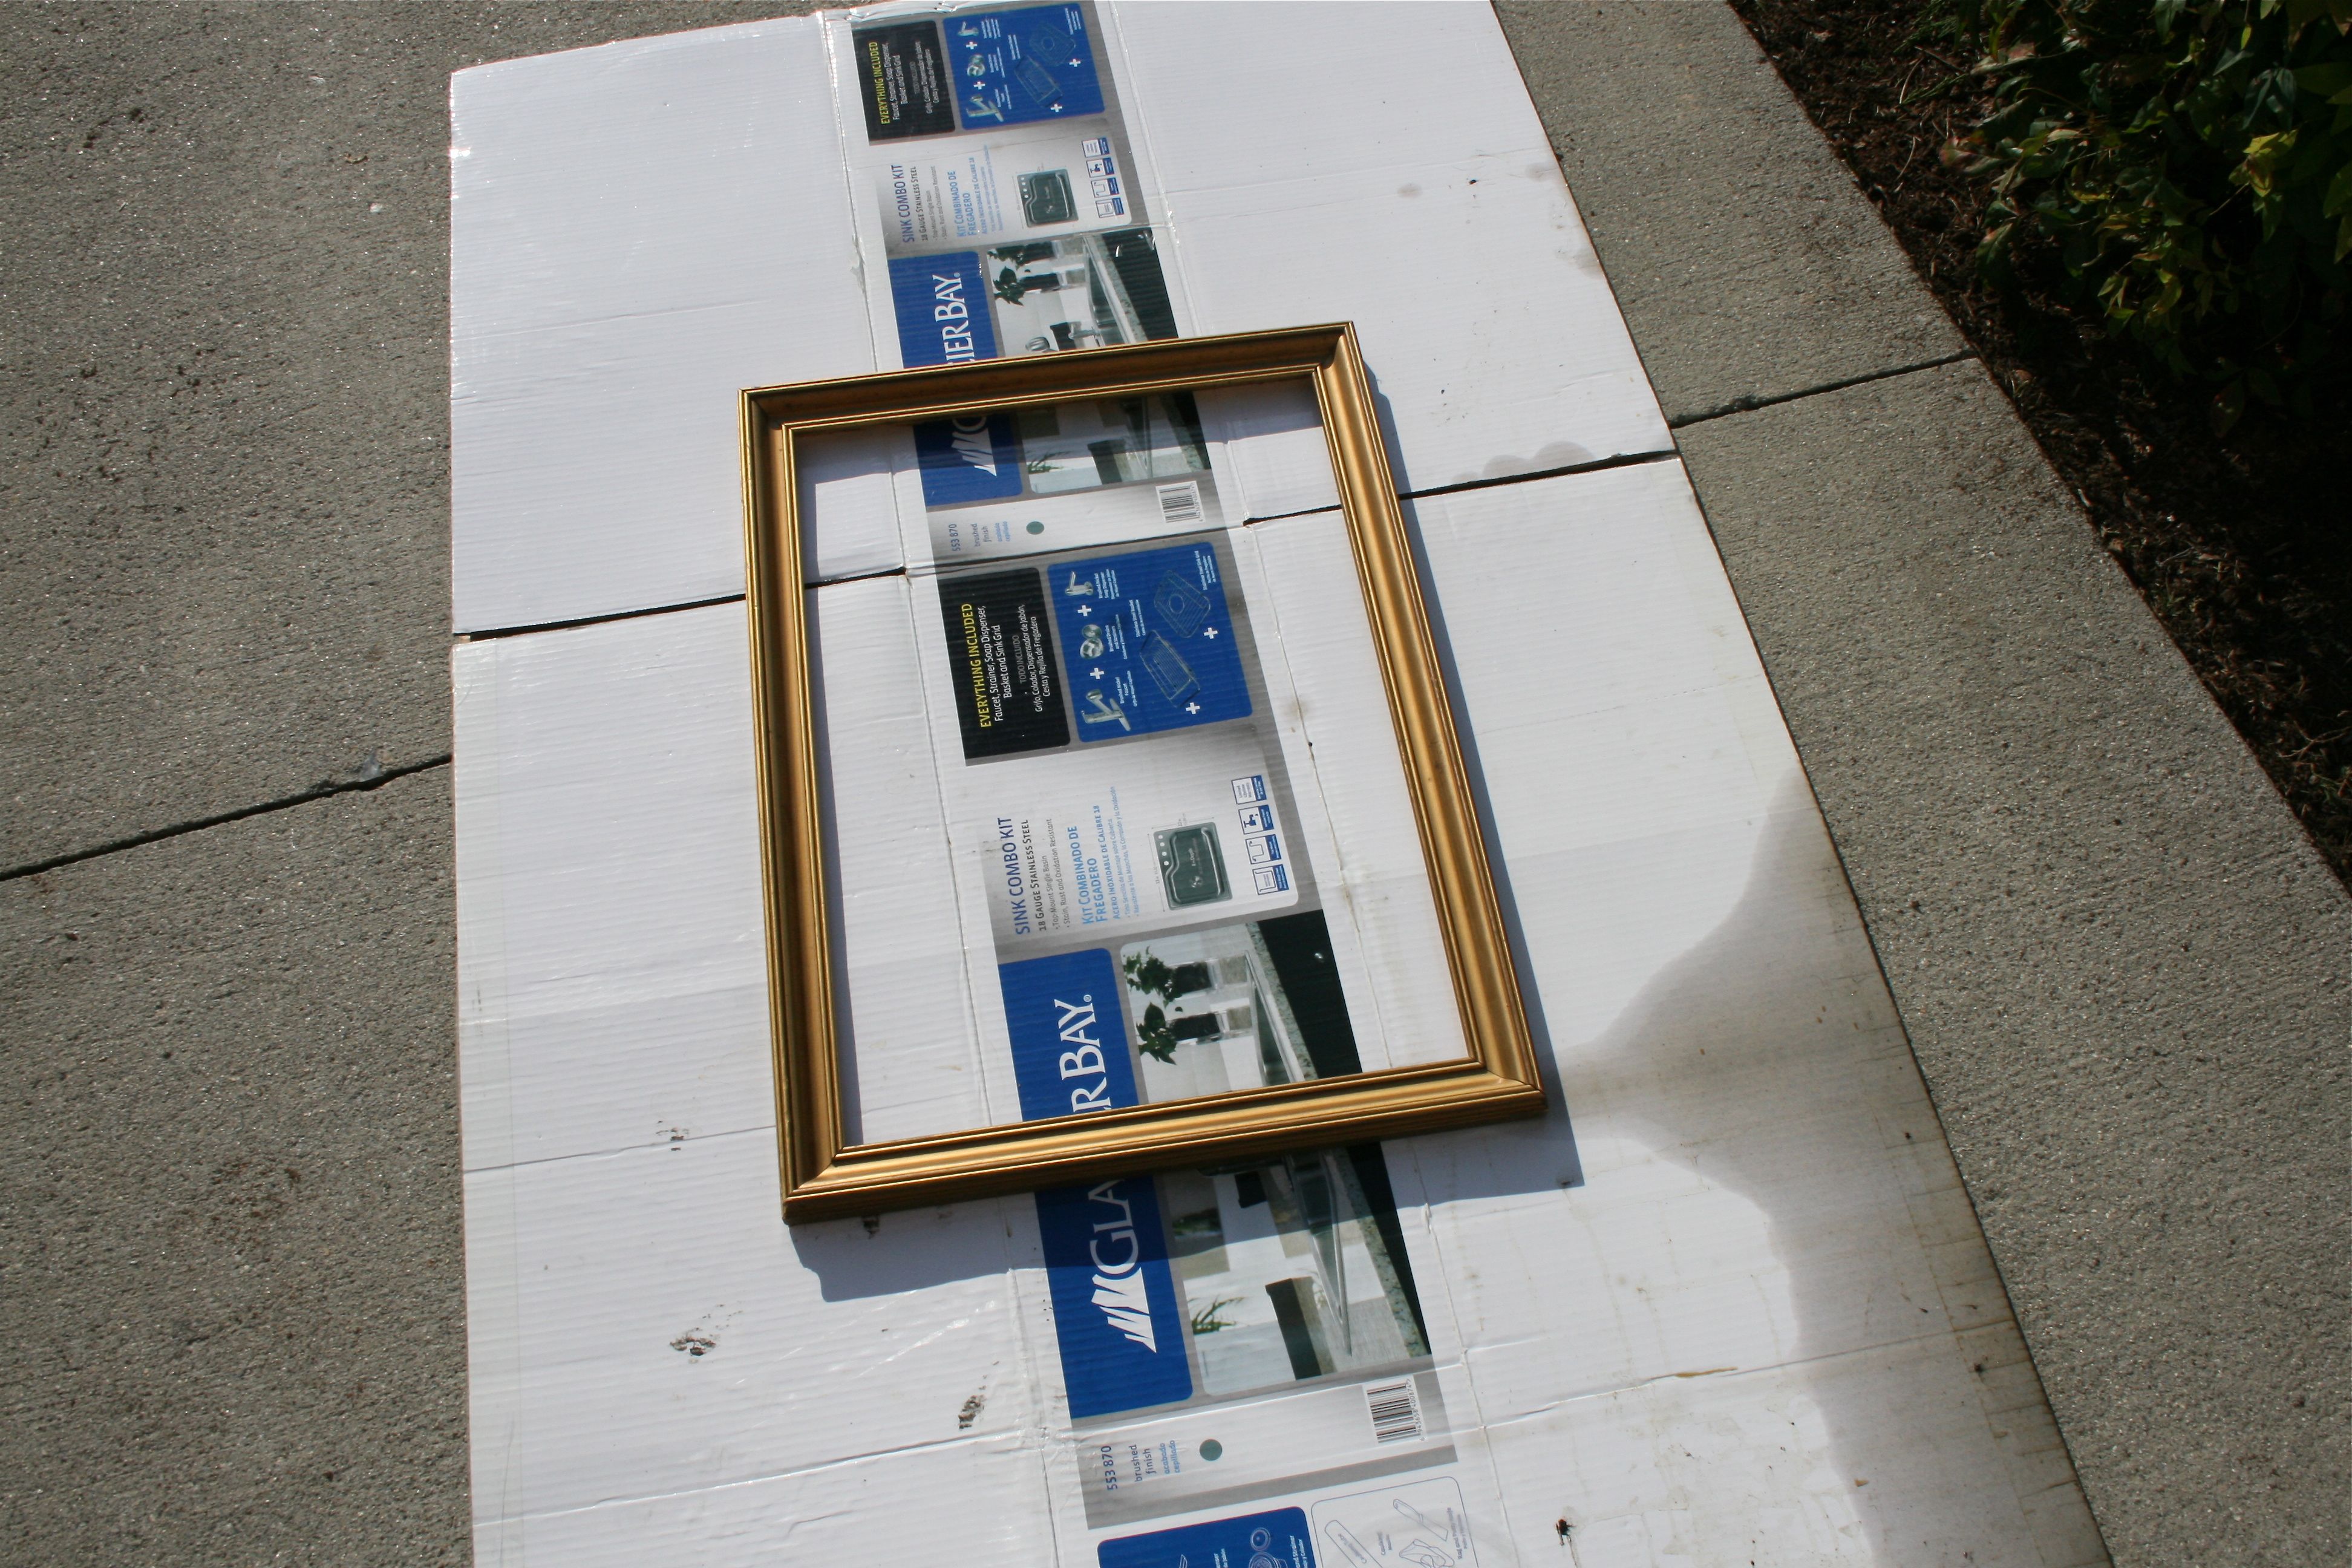
The first step was to find a frame – I was able to find one without any trouble at my favorite thrift store downtown, the Estate Specialist. This one only cost $4.00. I was drawn to the traditional beveled edge and the size was perfect.
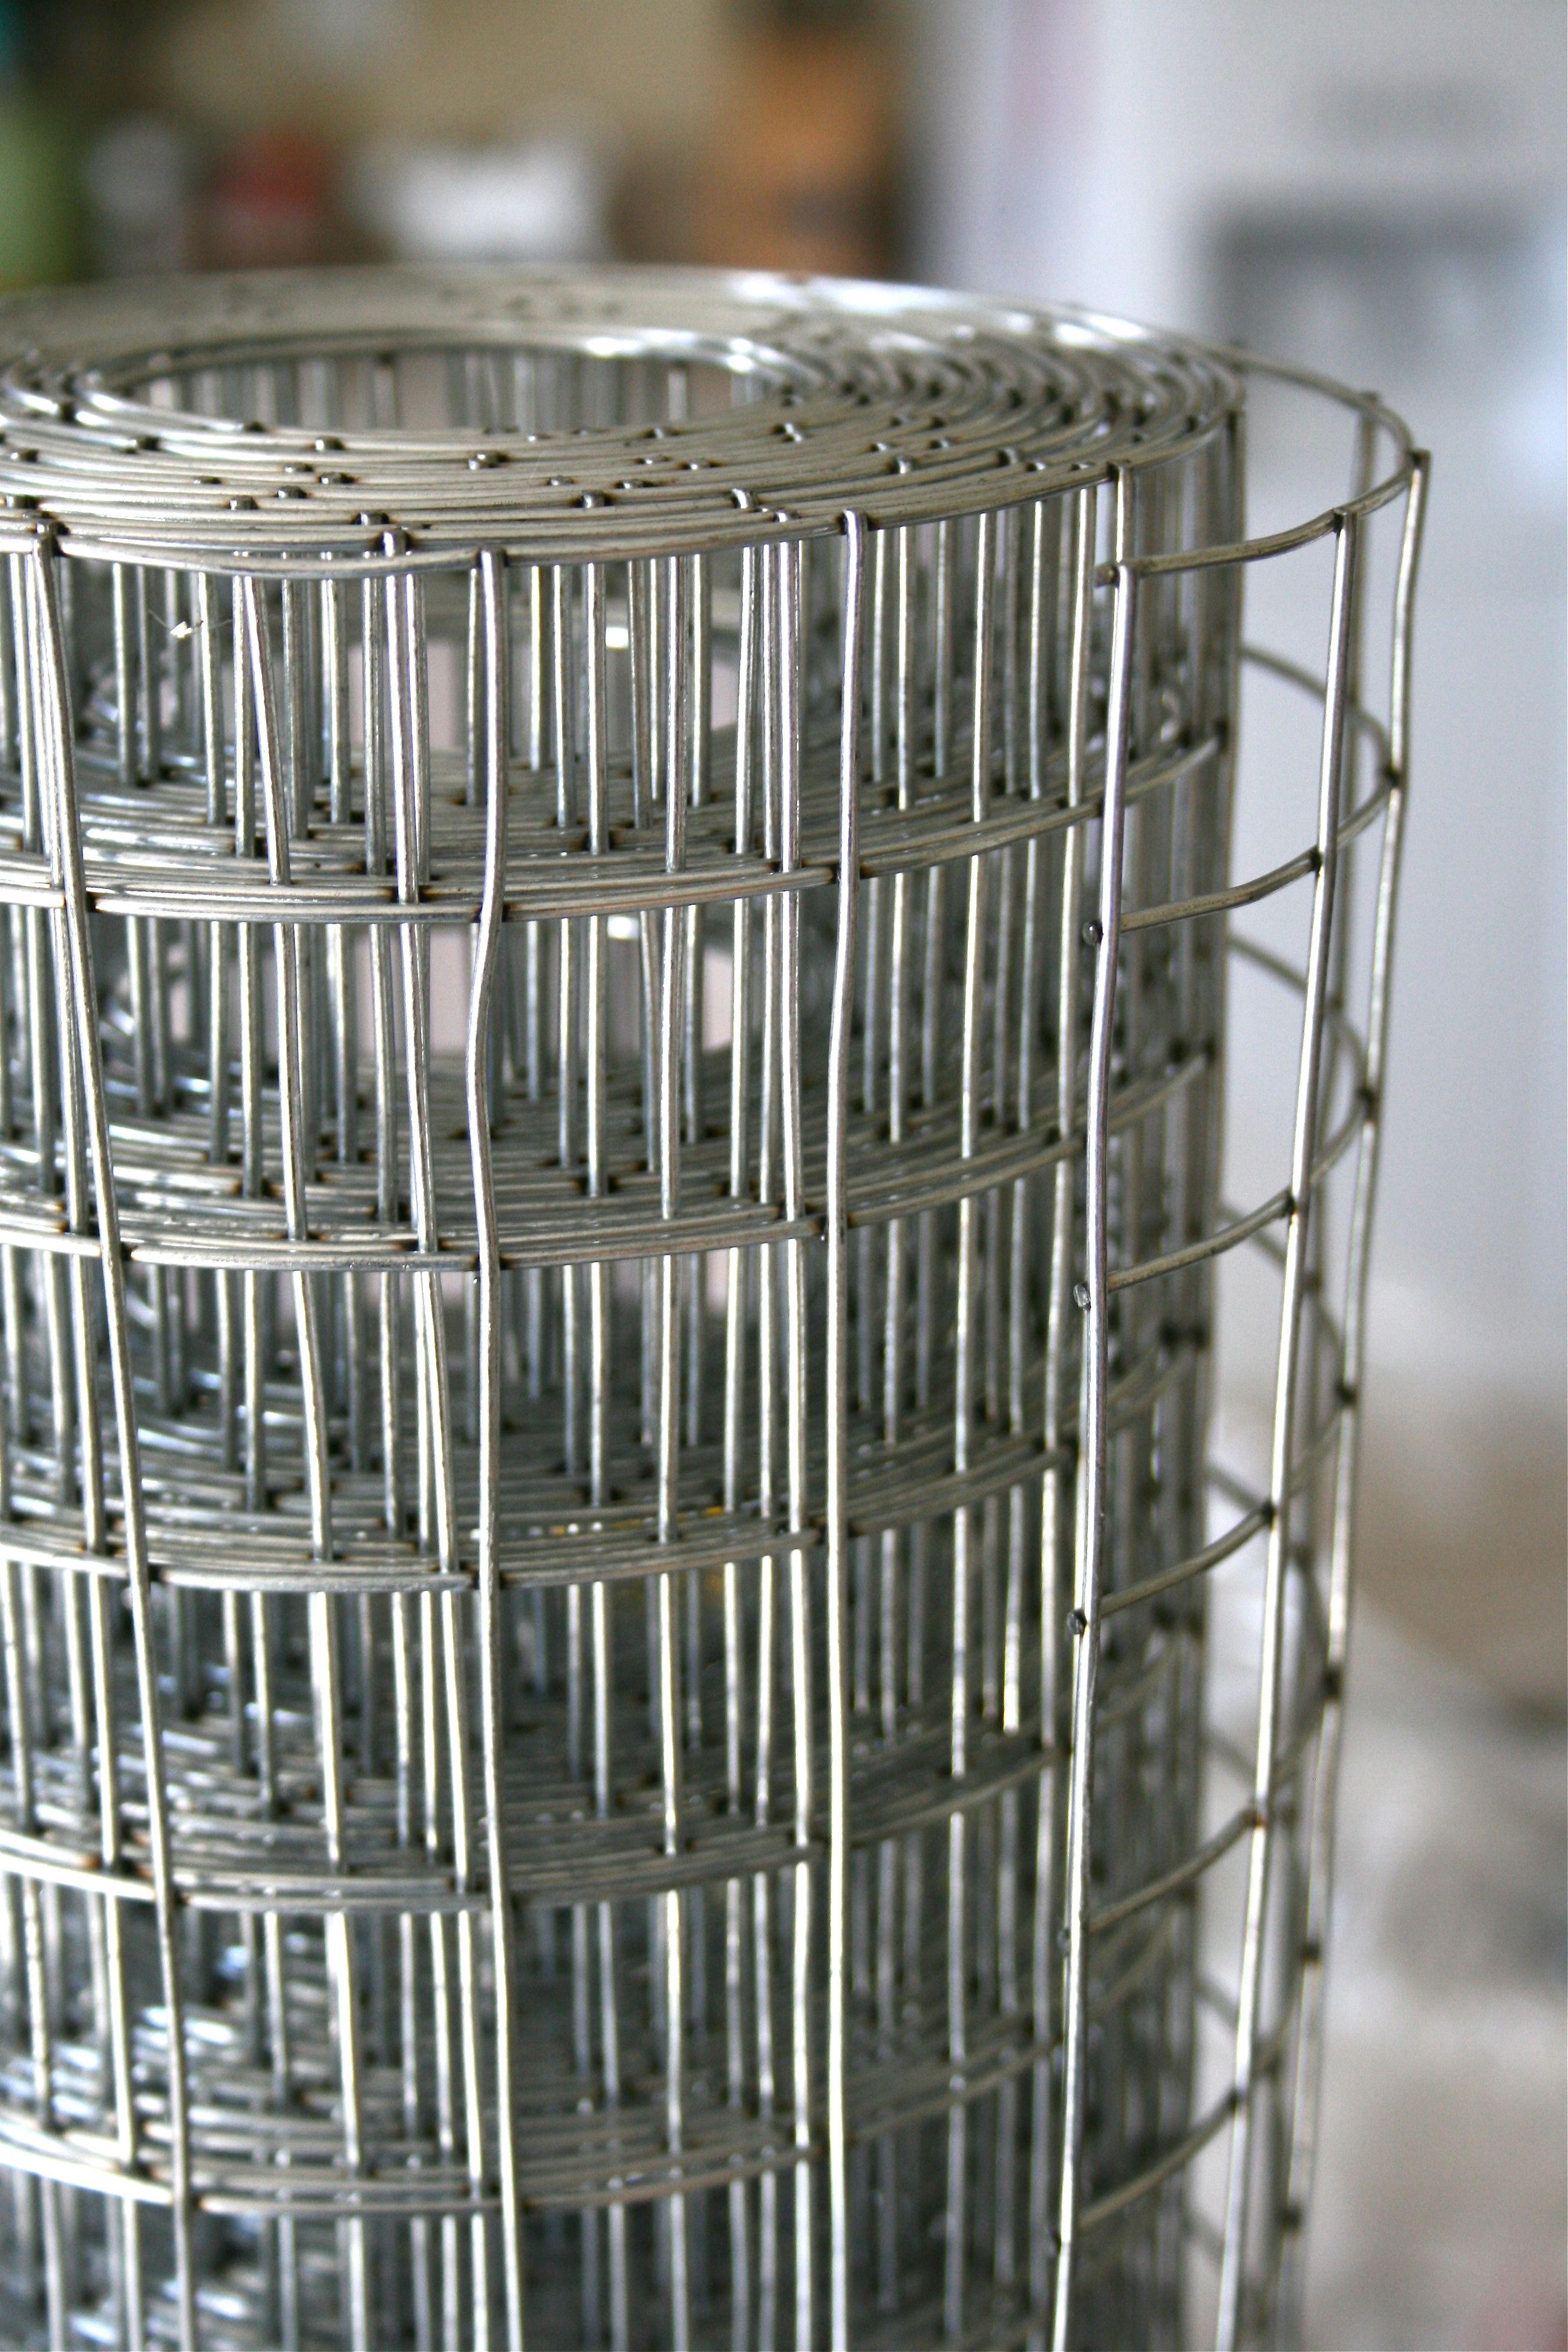
When it came to the chicken wire, I was torn. I liked the hexagon shaped wire used in the pinspiration image, but felt it was little country for the style of our house. So after John and I spent a shivery couple of minutes in the outdoor chicken wire aisle at Lowe’s, we finally settled on the more modern-esque square wire.
If you are interested in exact measurements, we bought a roll of the 24 inch high, 1×1 square wire. The shortest roll it came in was 15 ft…We only used about 1 foot though, so we’re trying to pawn the rest off on family members and/or friends. But ya never know – I can probably come up with SOME kind of project where it could come in handy. We’ll see!
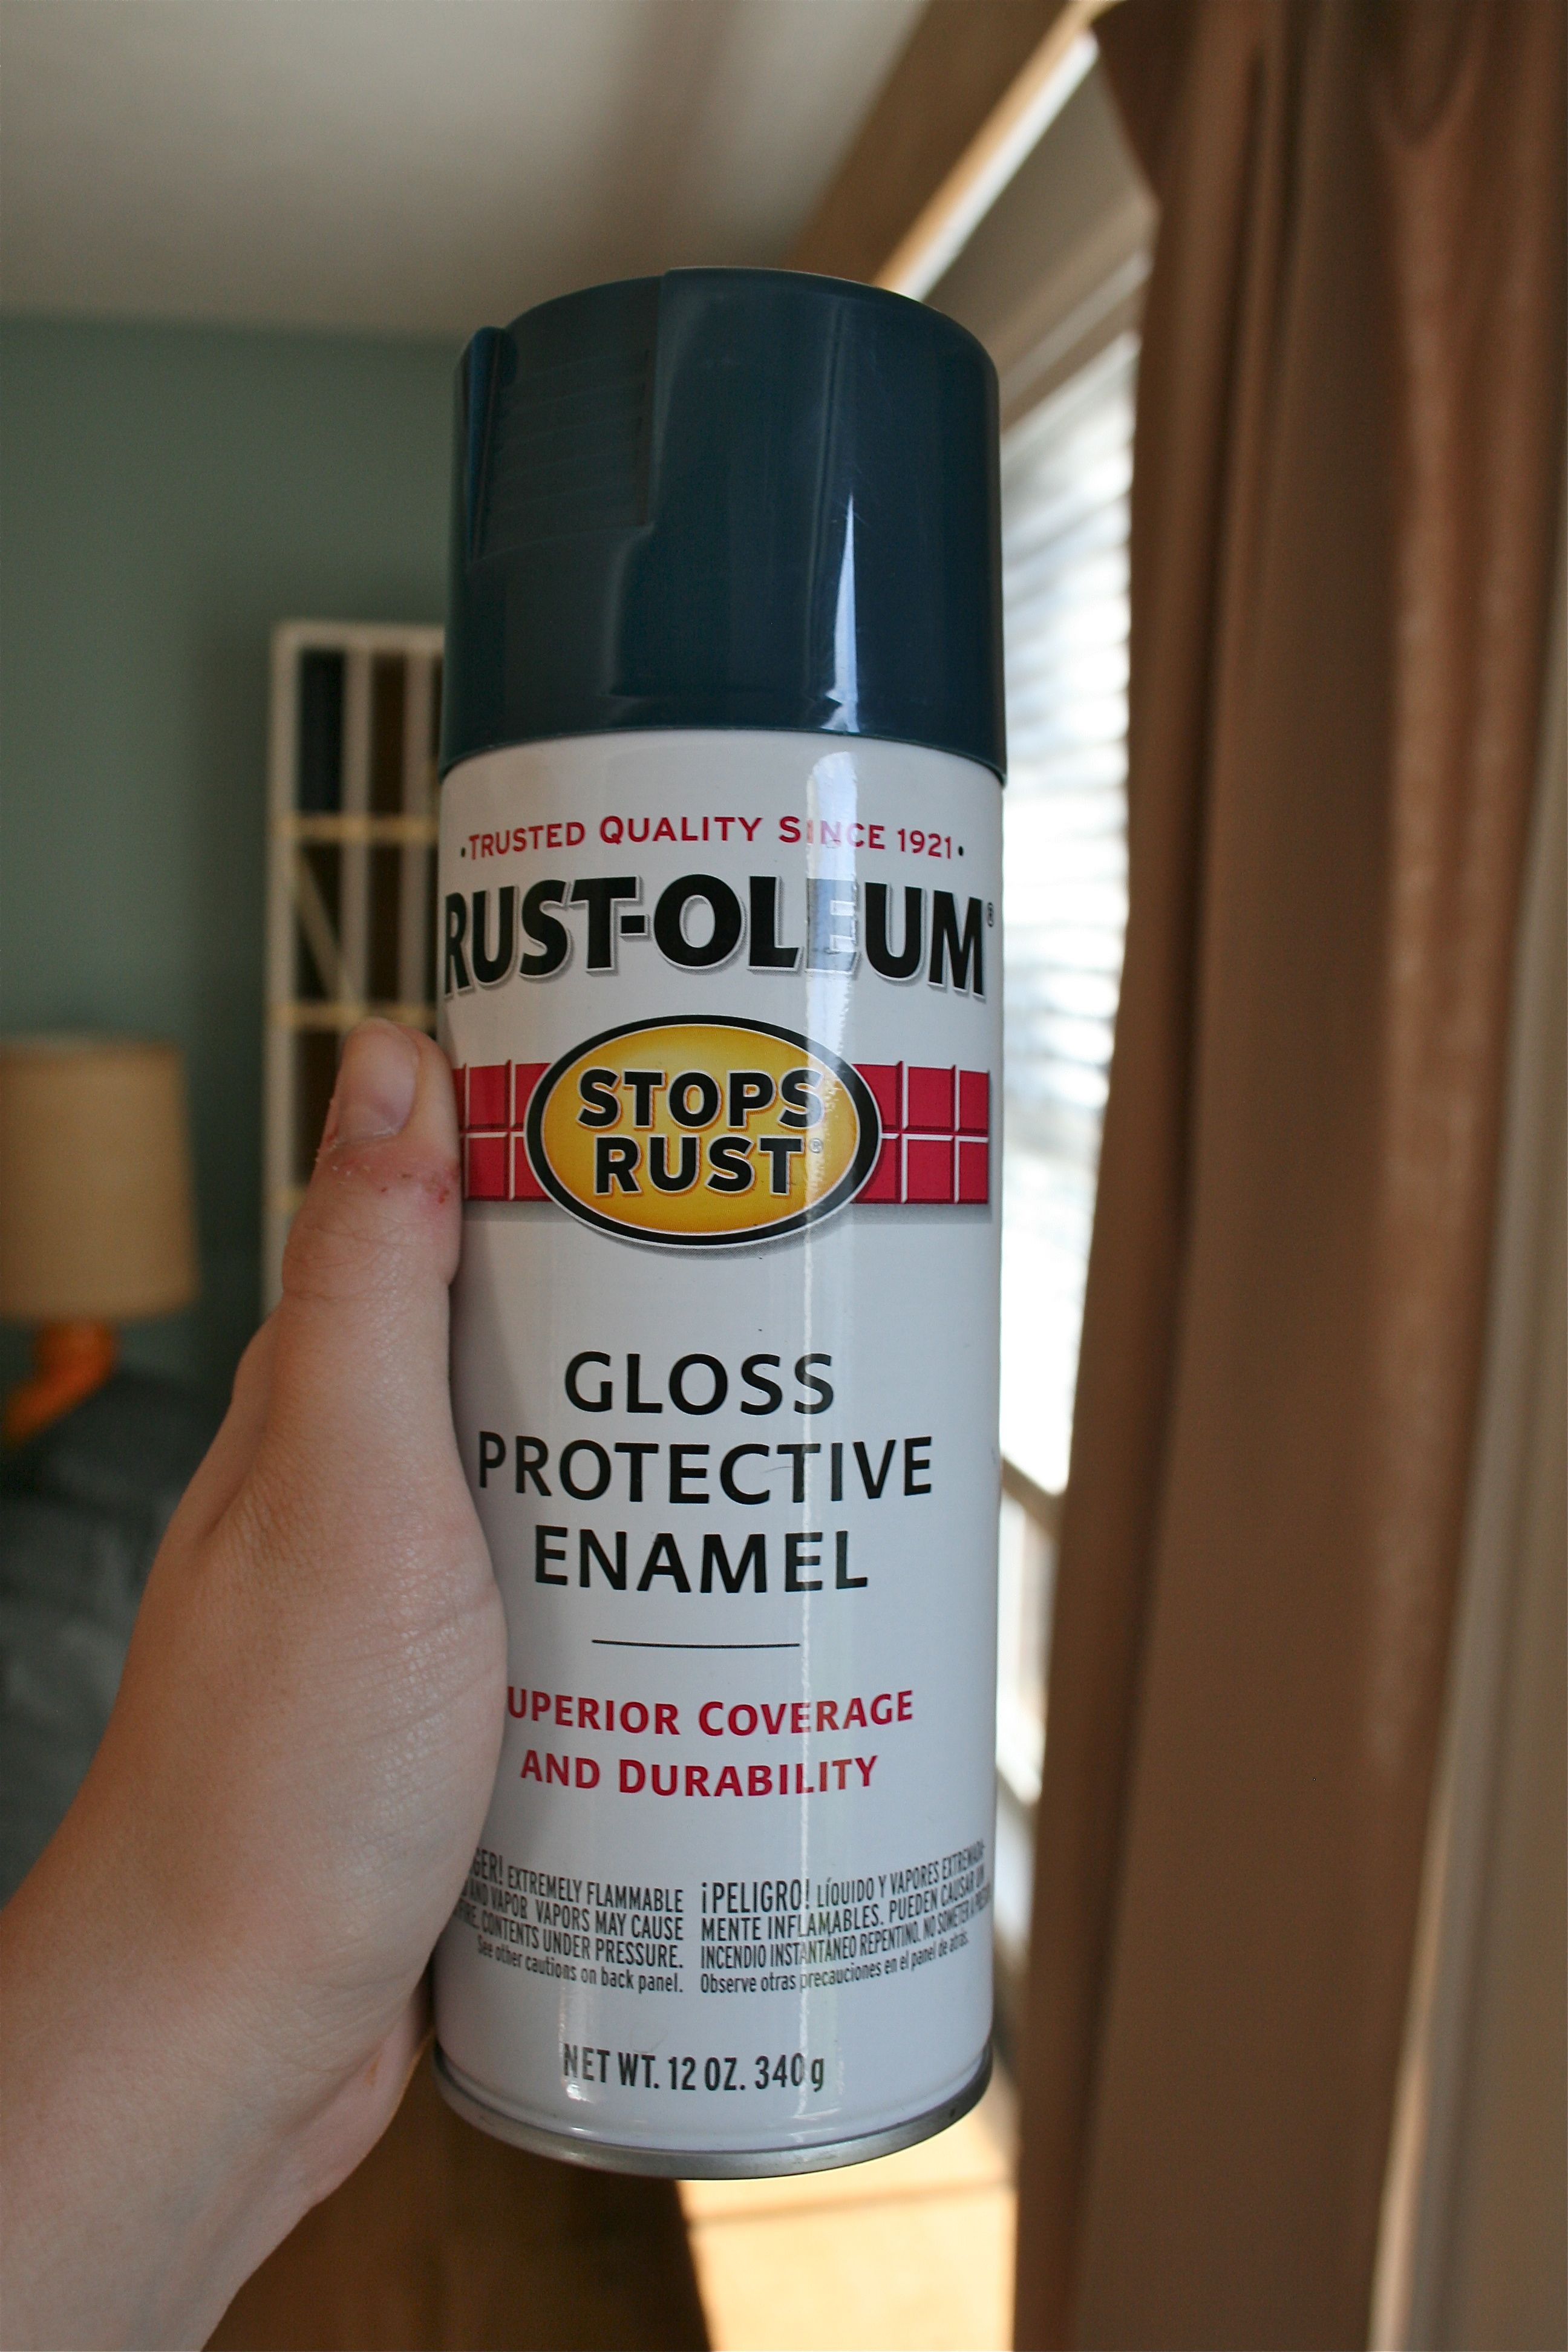
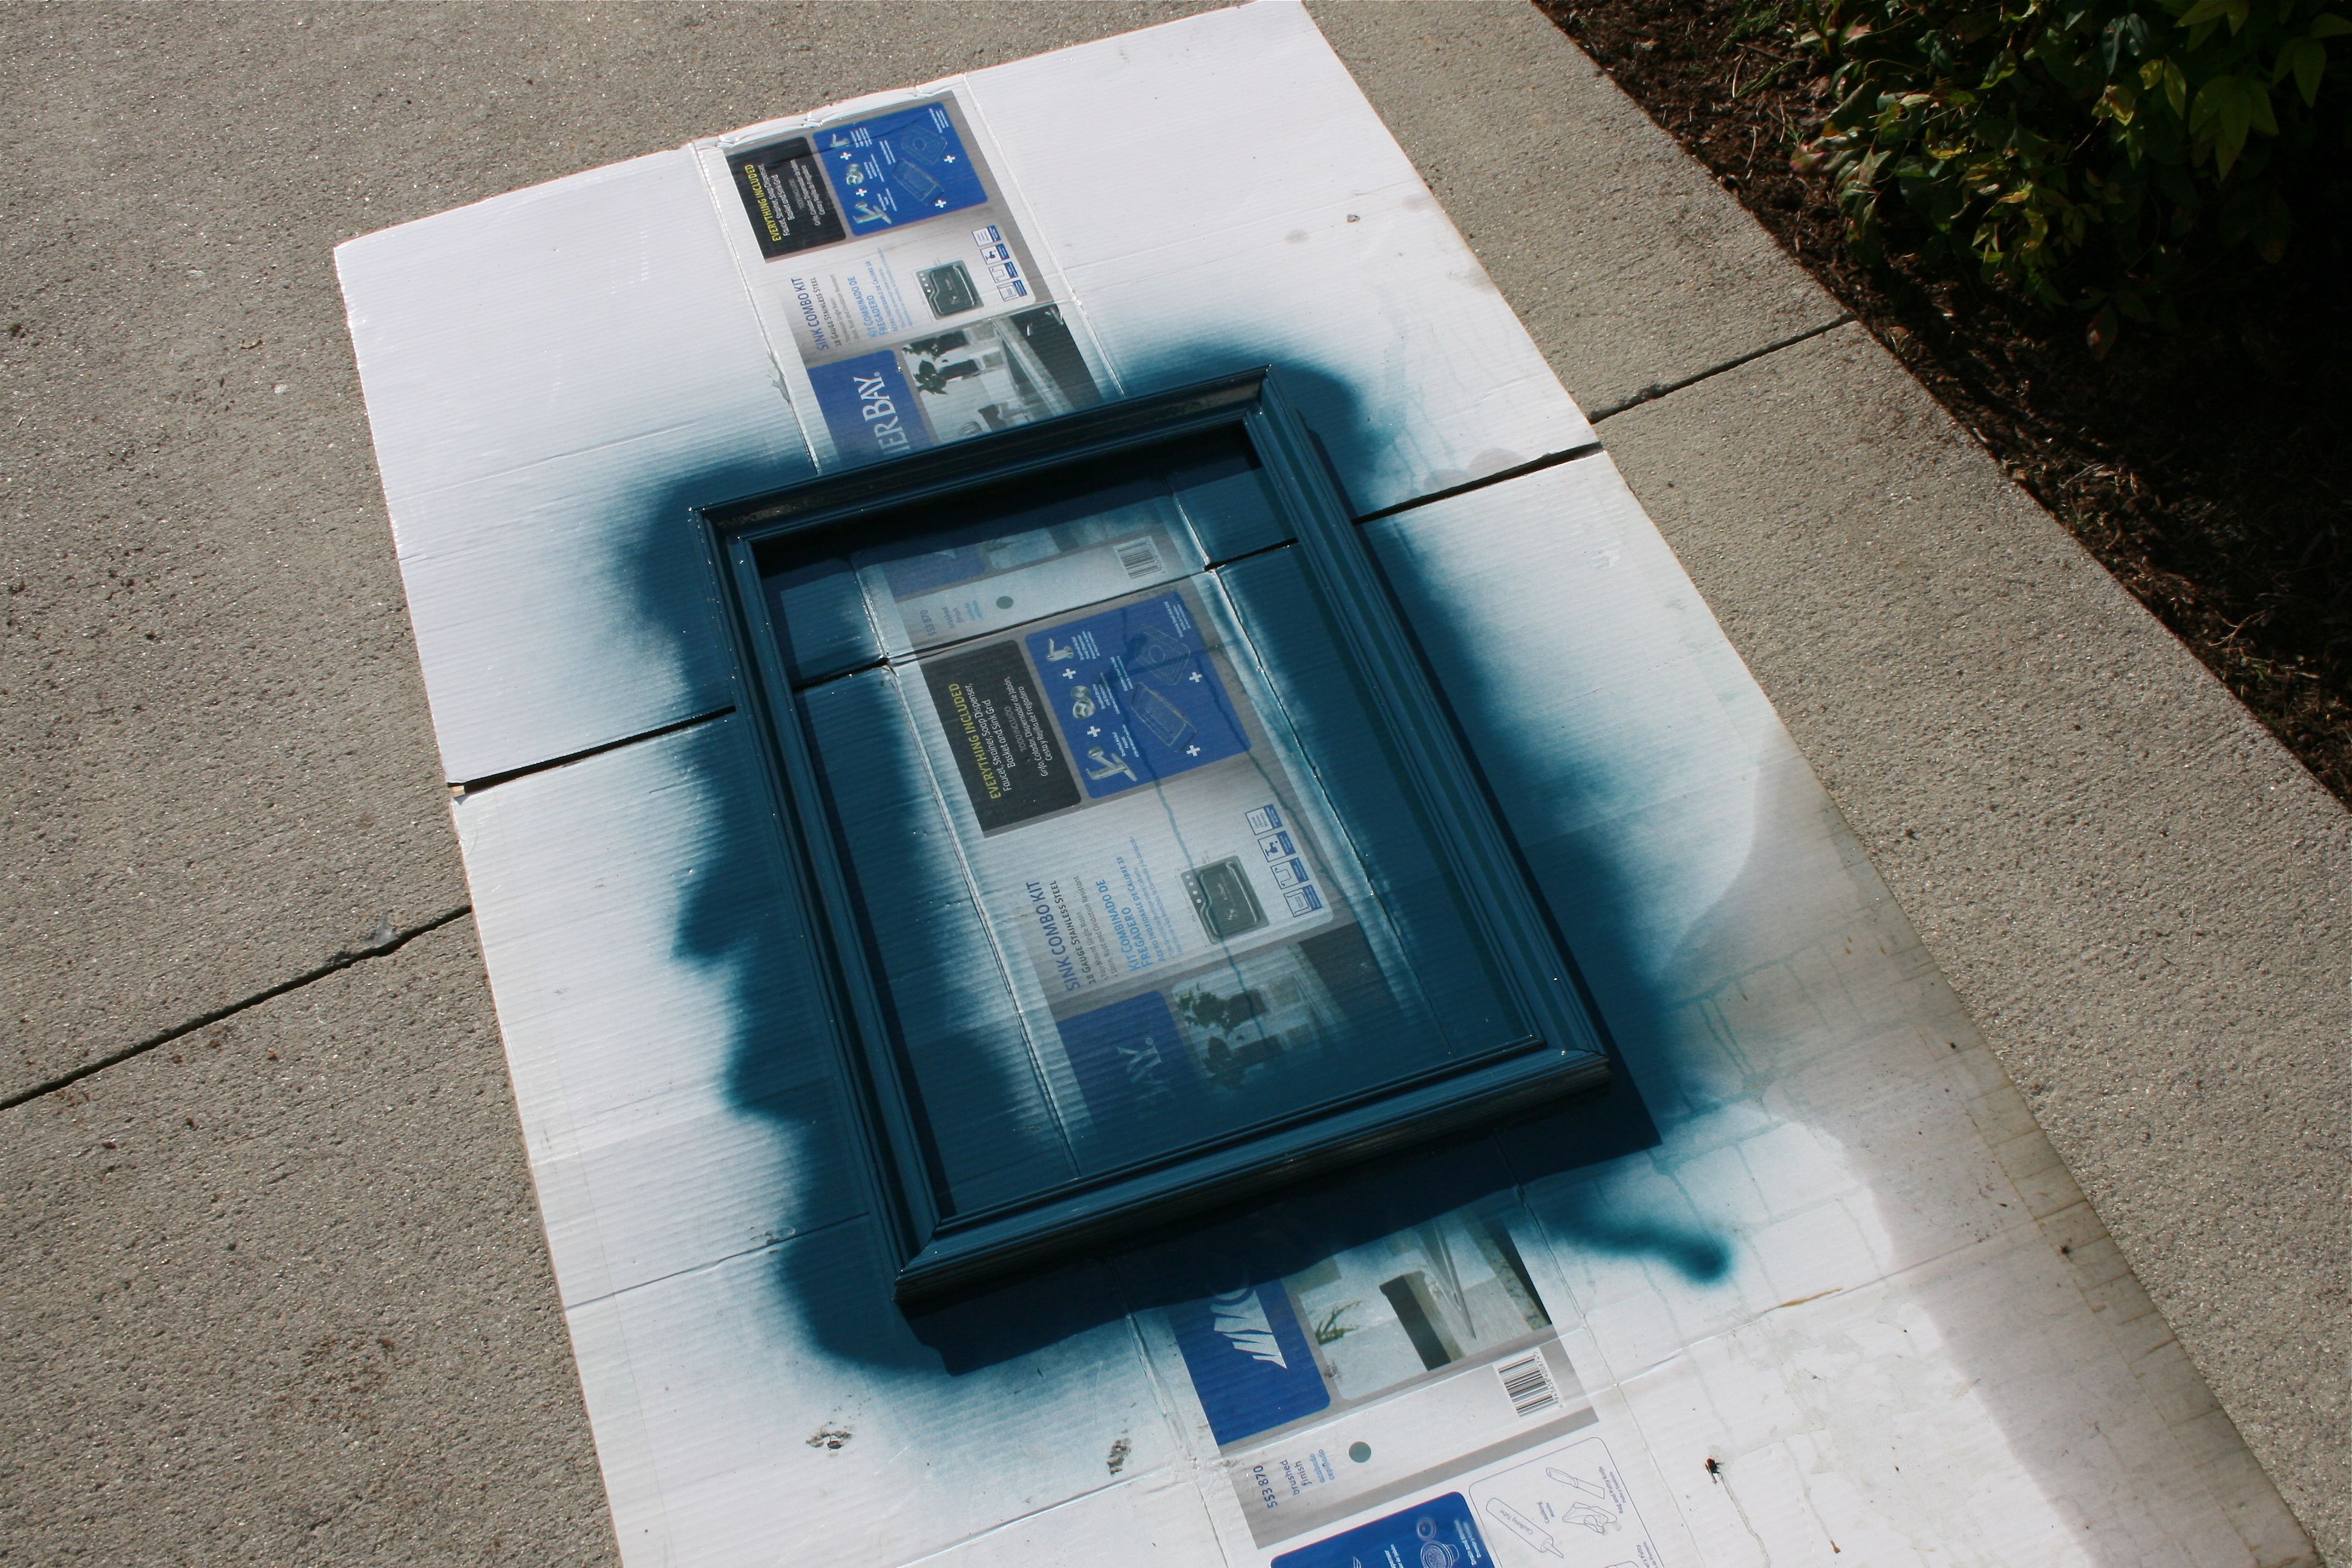
Now you know I wasn’t going to leave the frame in its original gold hue…Of my already-owned spray paint selection, which includes a pale yellow, two shades of teal, white, black and green, I decided to go with a deep teal. I thought the color would be a nice heavy accent to whatever I put inside the wire.
Before:
After:
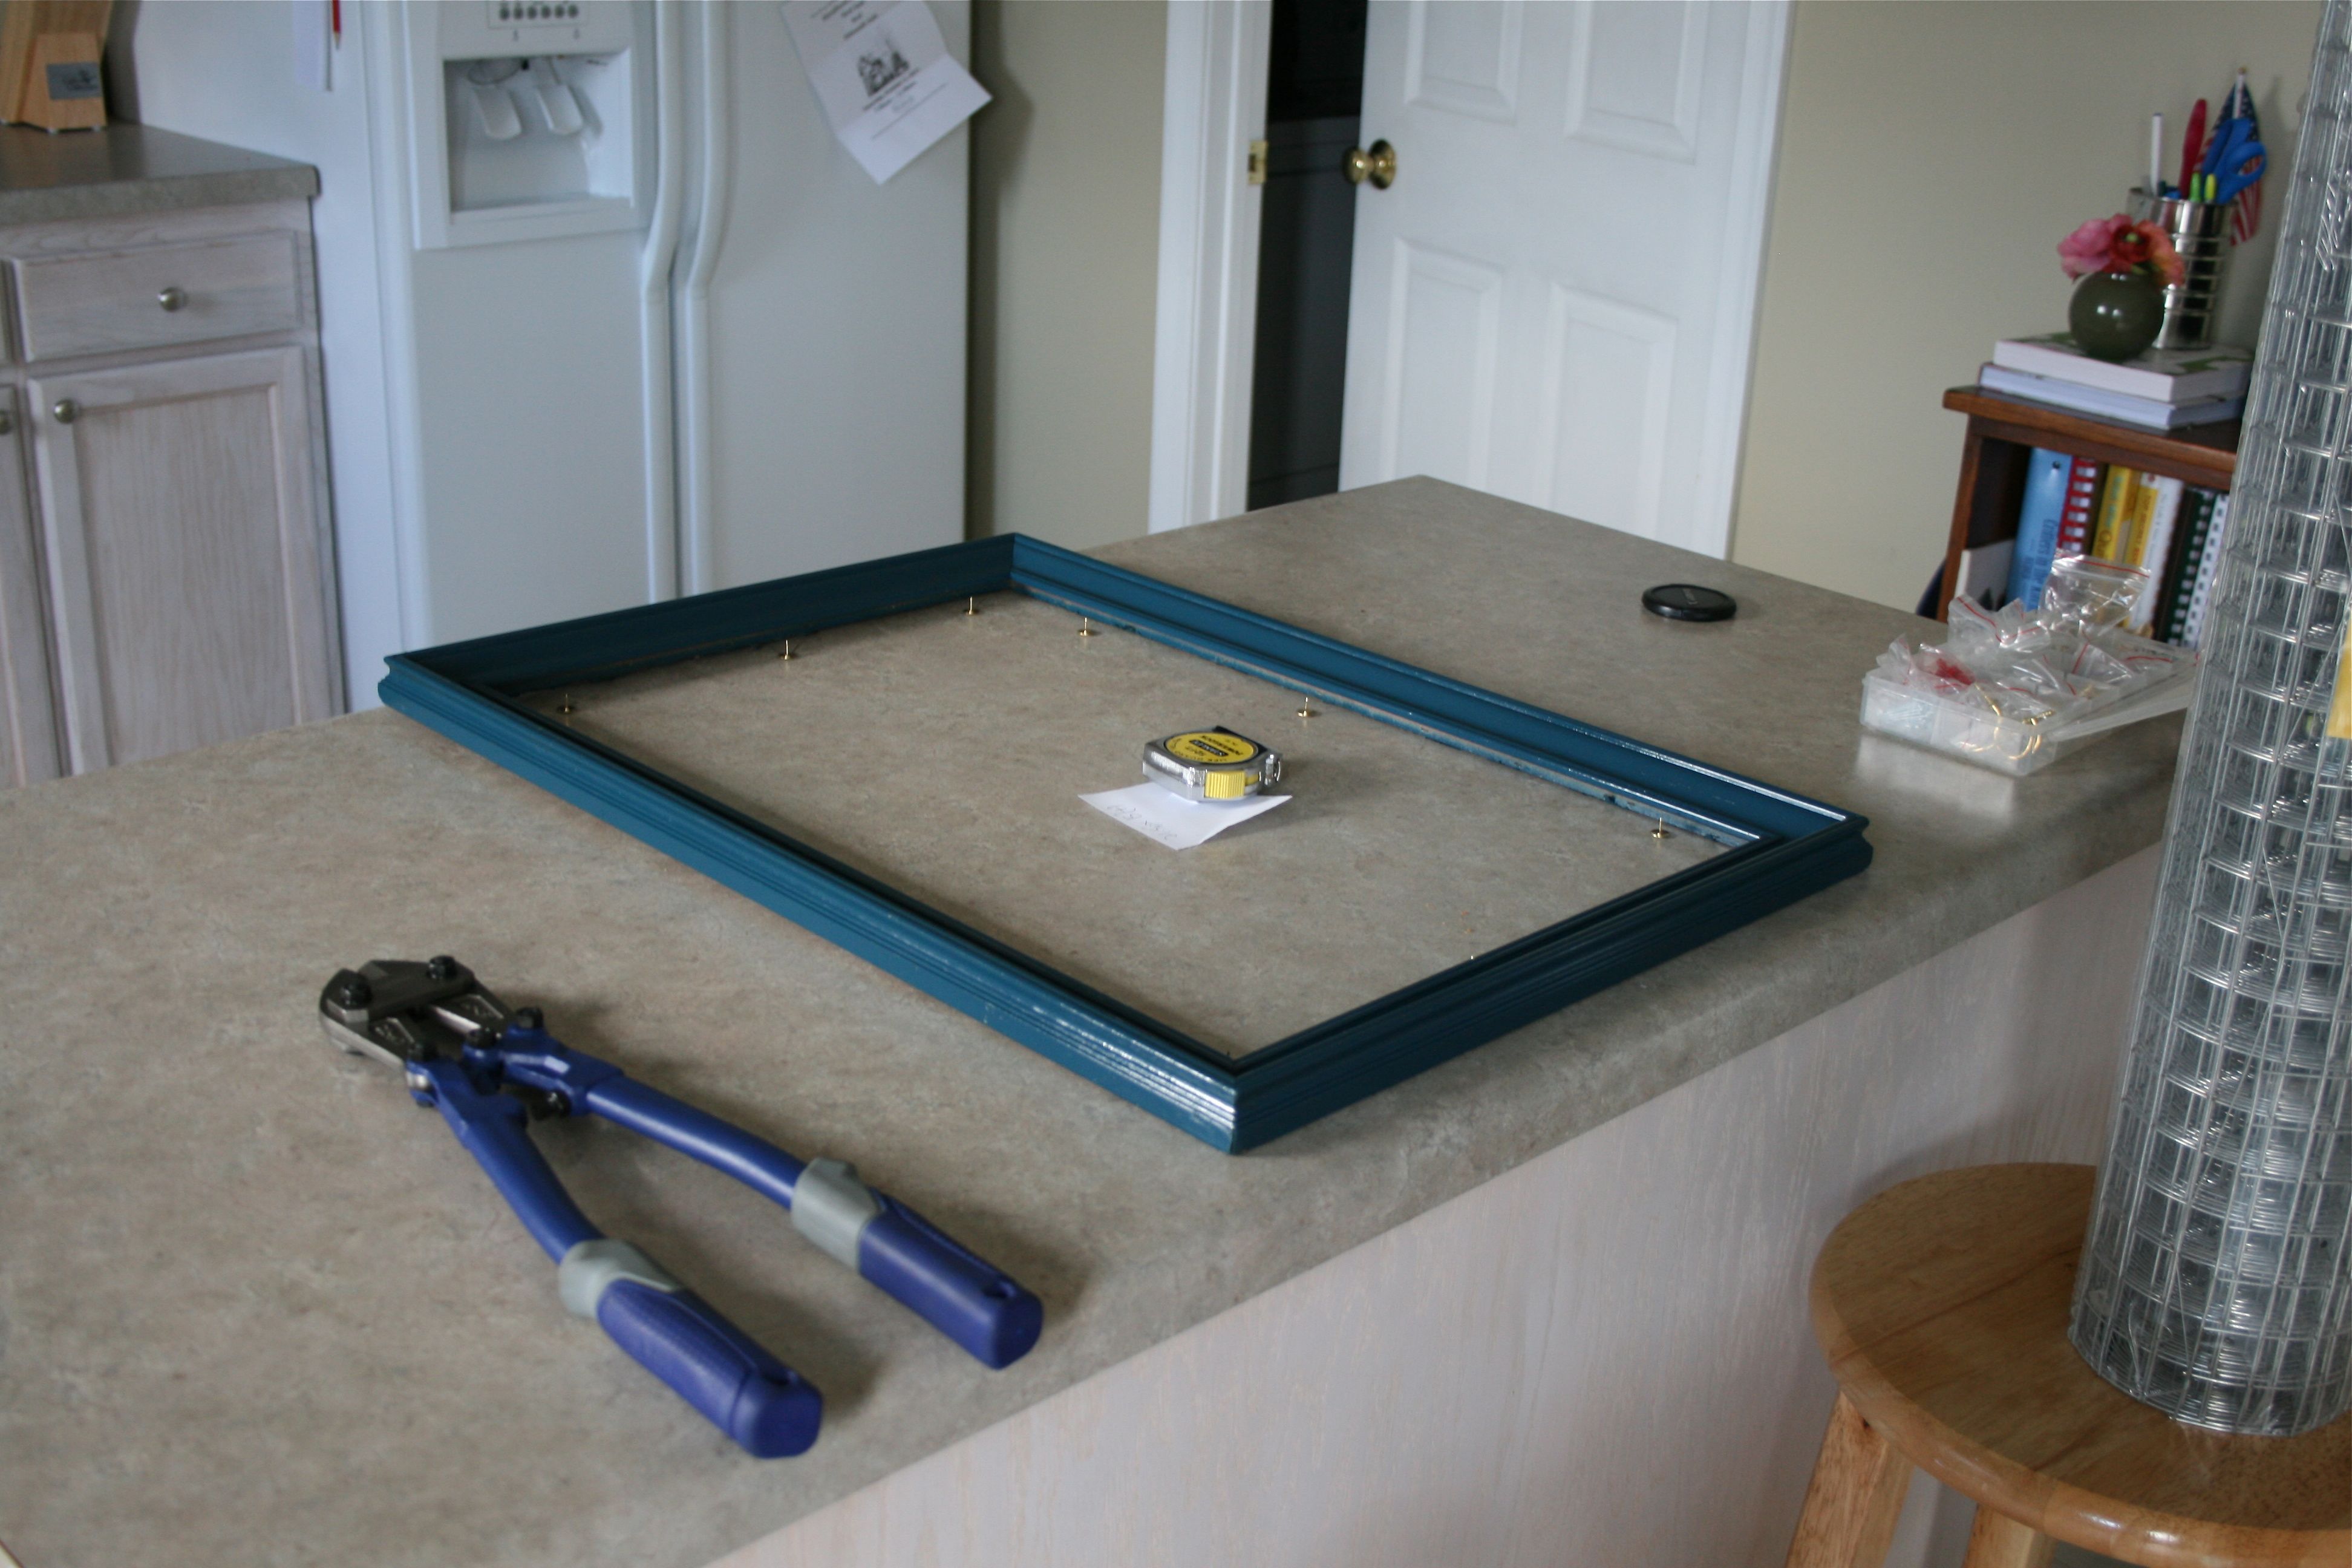
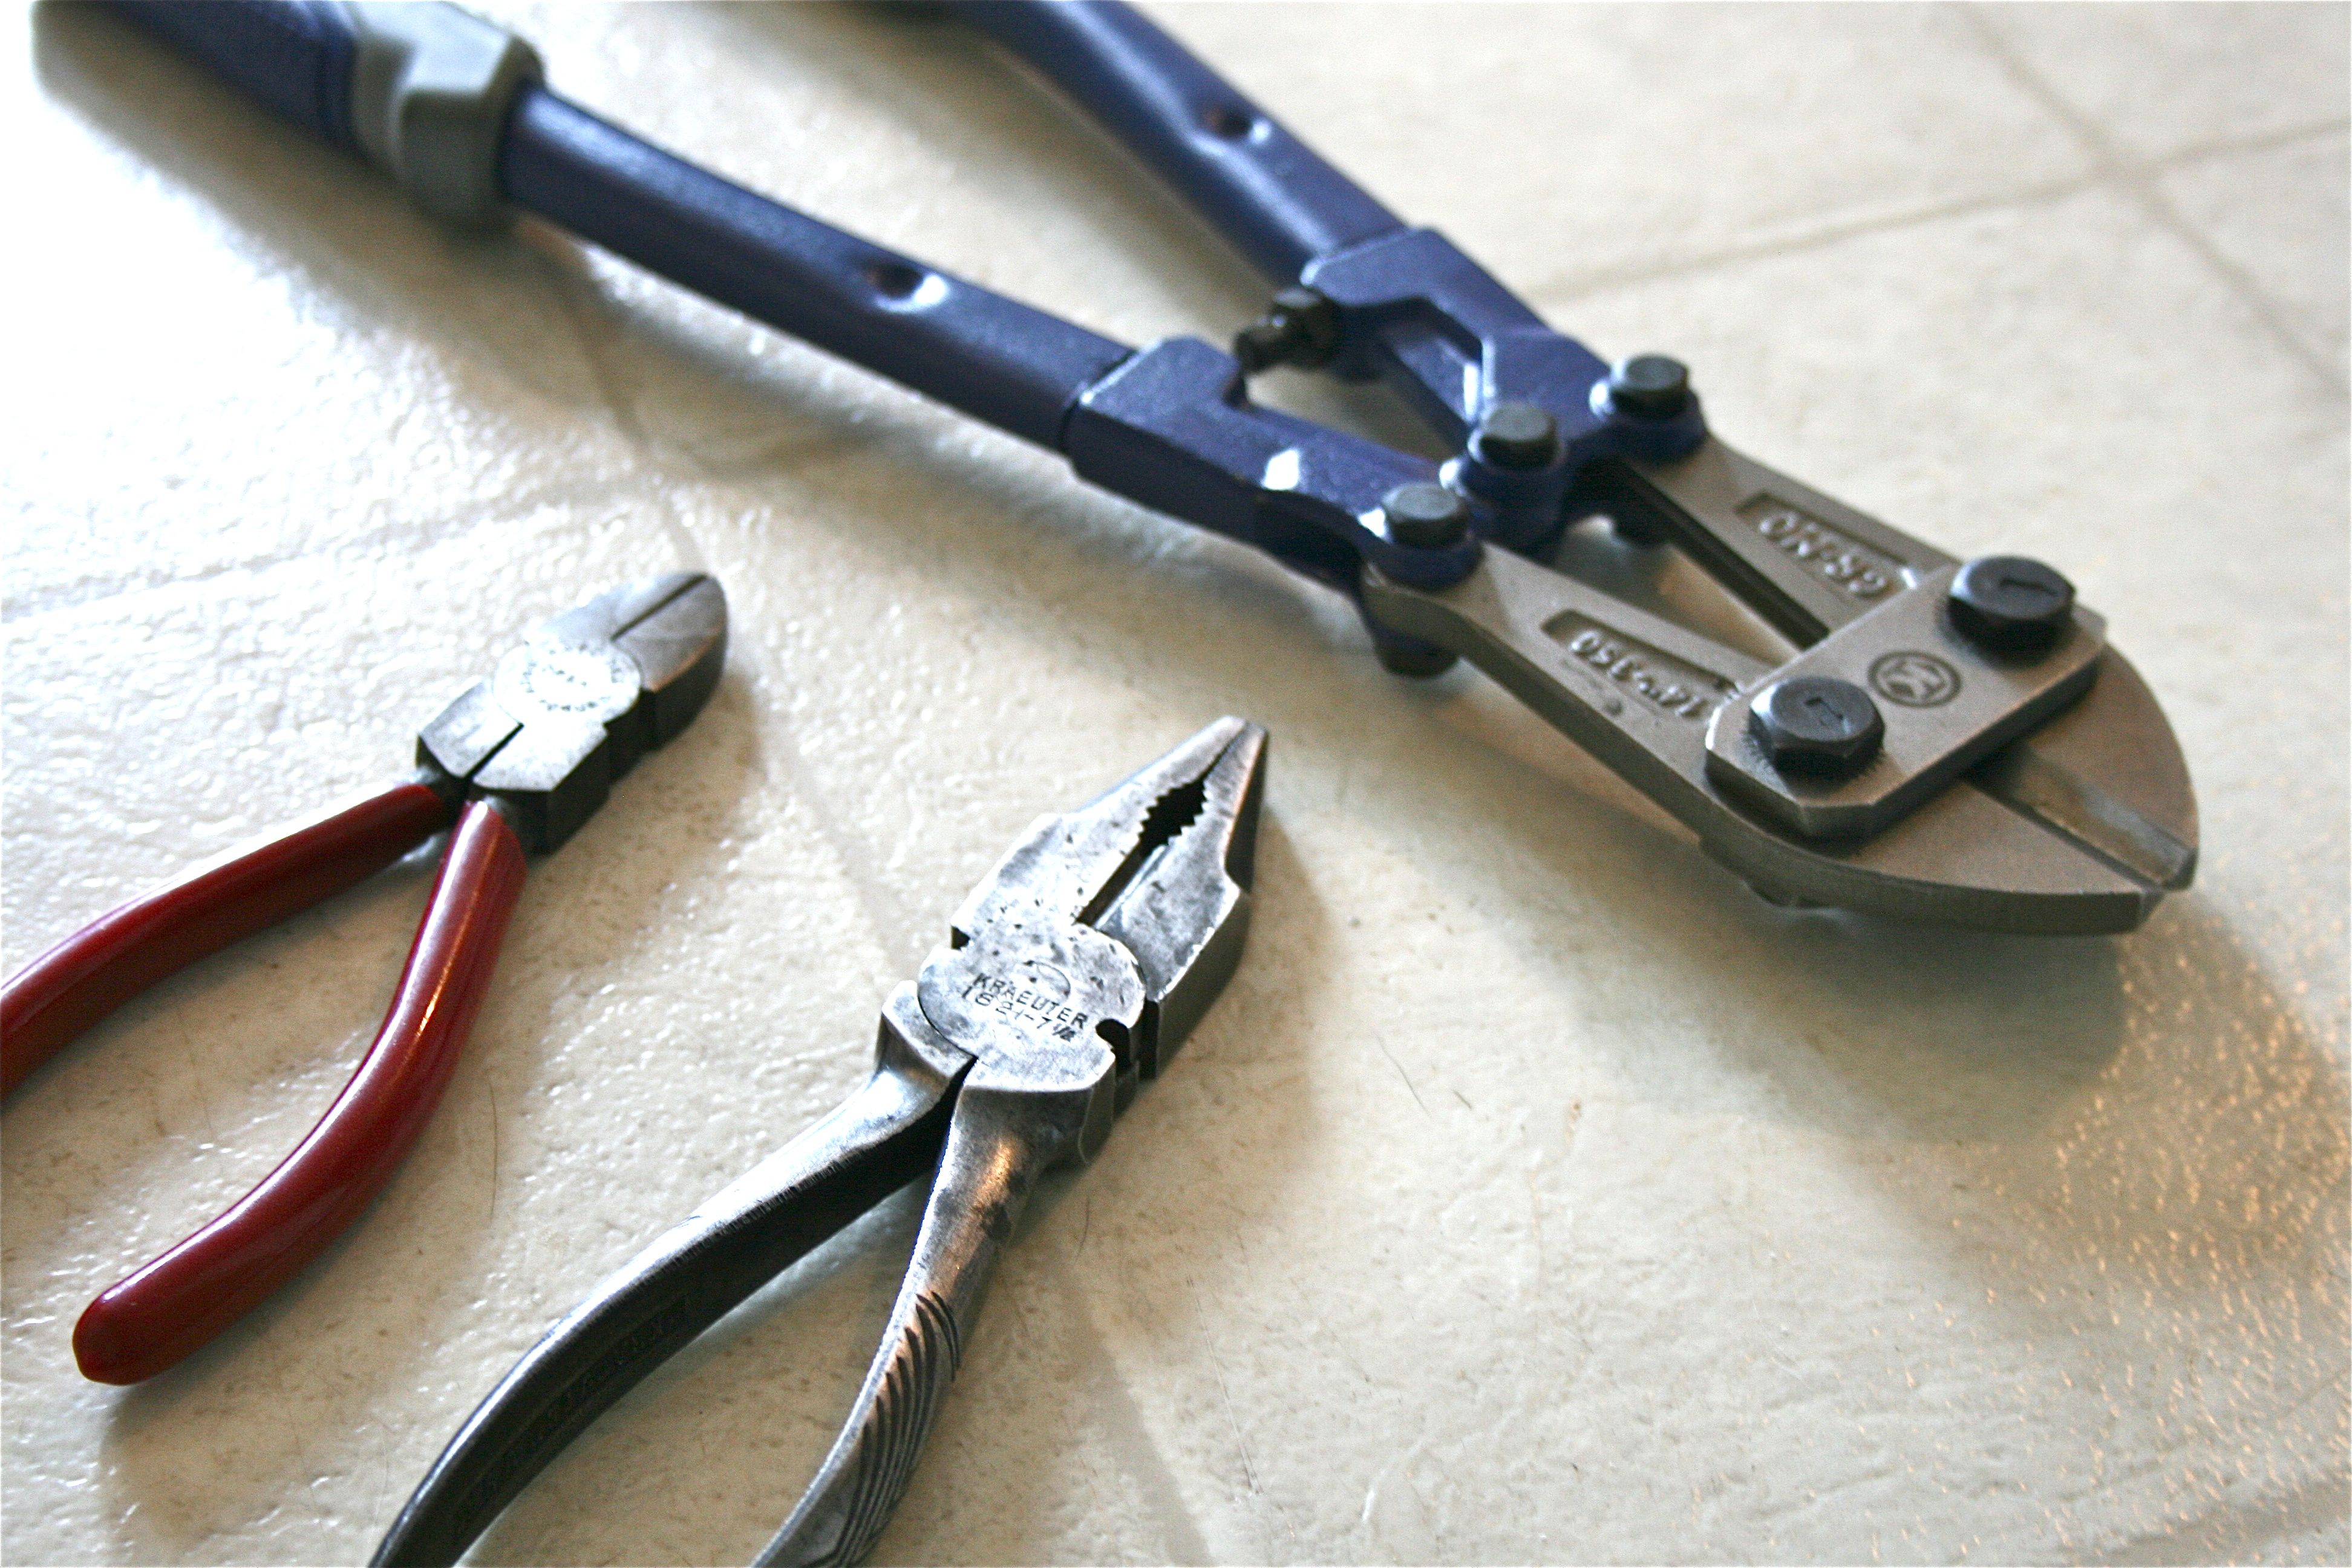
This concluded “Day One” of the project as we needed to patiently wait for the paint to dry. “Day Two” of the project the following morning, I came downstairs to this delightful little spread! John had sweetly laid out all of the necessary tools, even taking measurements for me so that I could cut down the wire to fit the frame…He’s so good to me 🙂
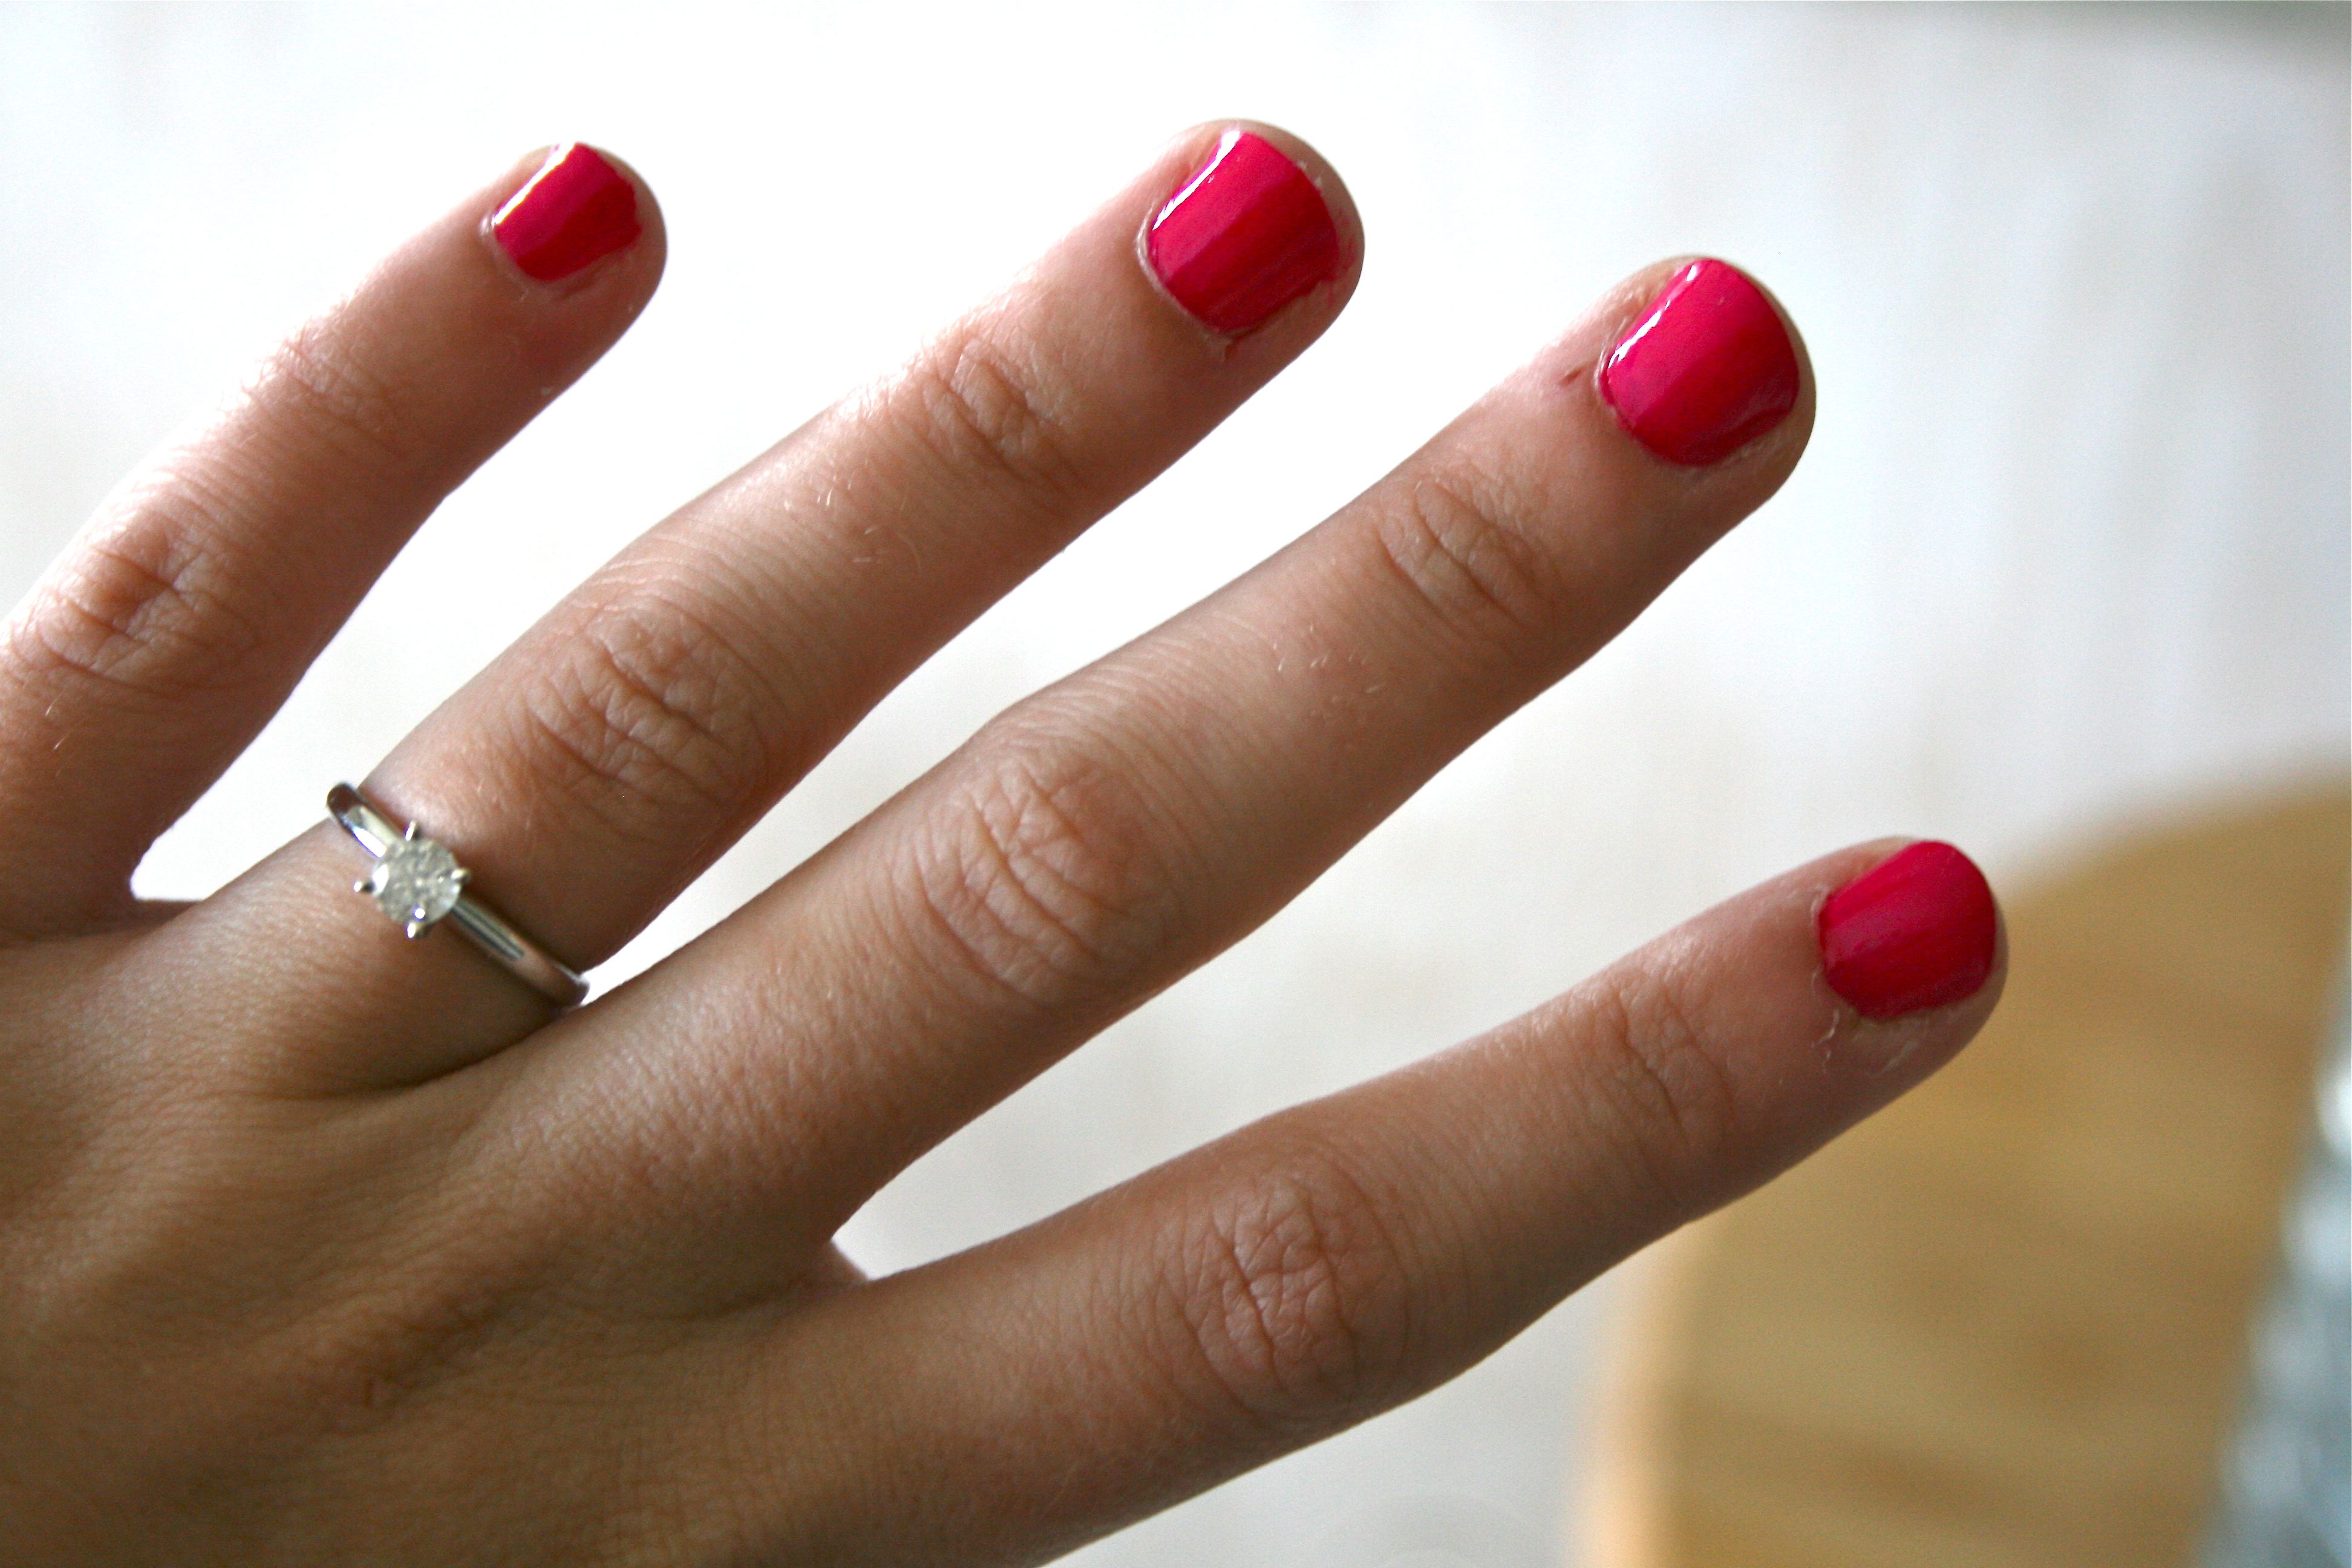
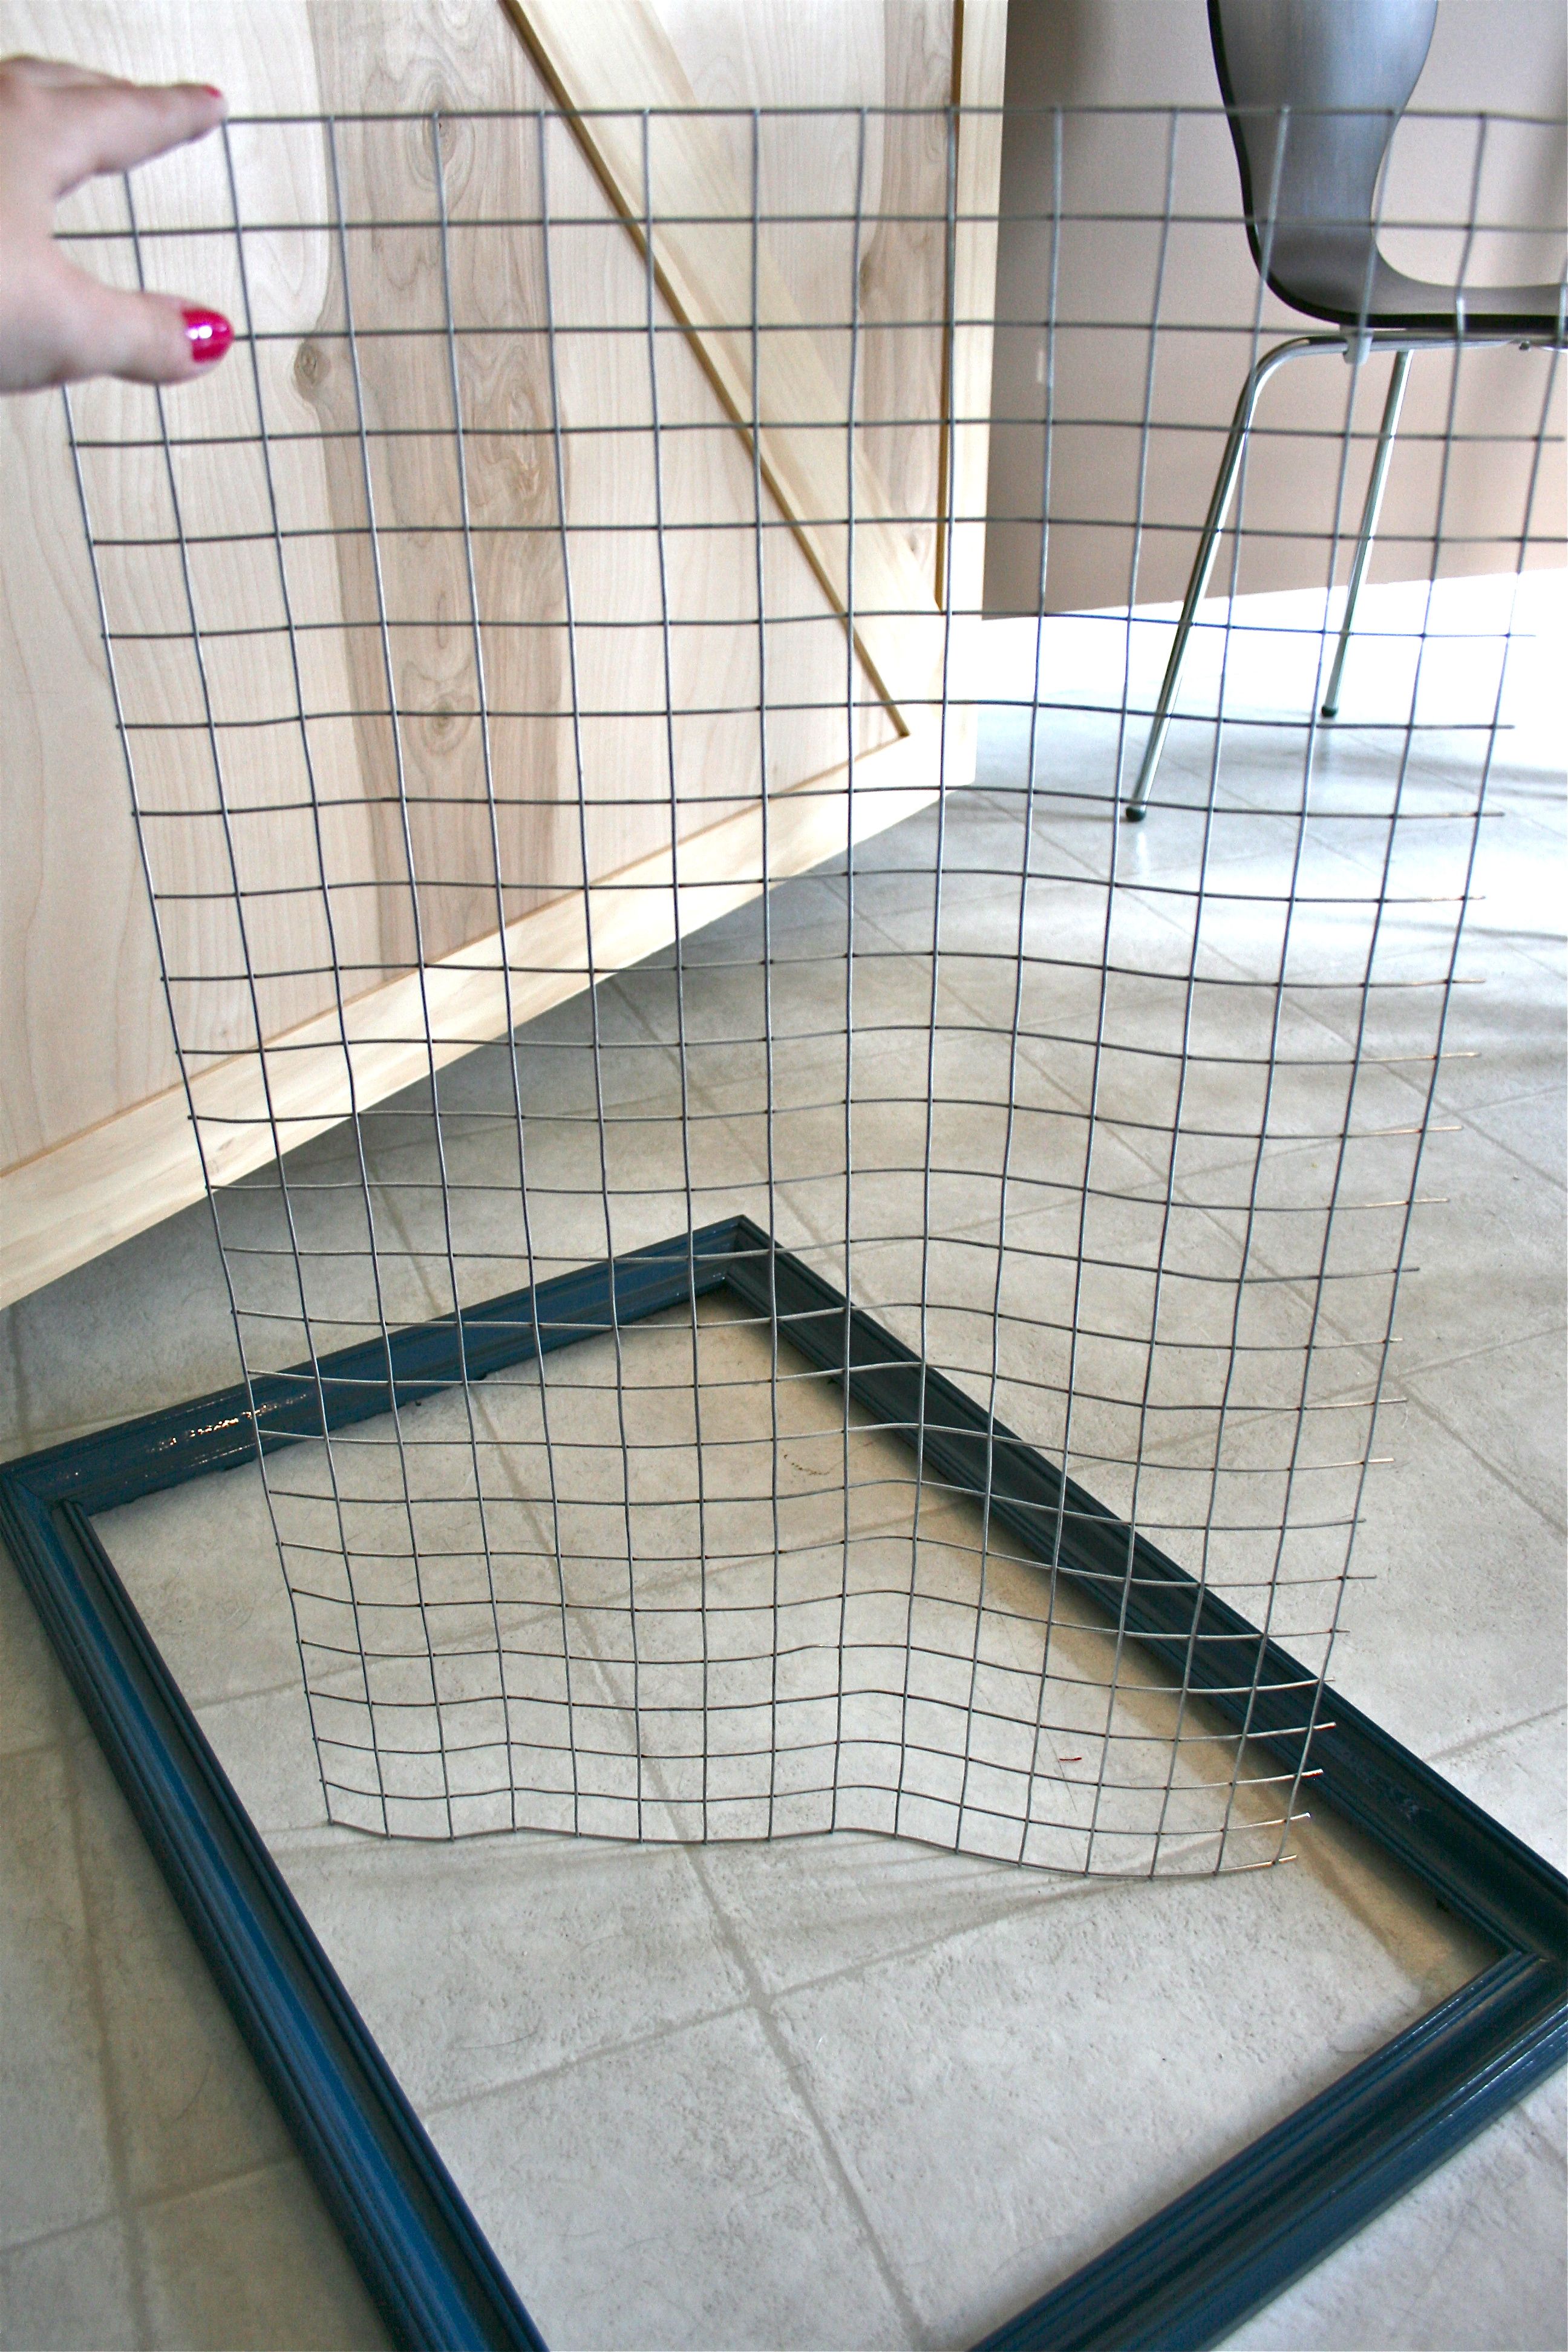
Oh and just FYI in case you decide to tackle this project – I would avoid a manicure beforehand. We are talking chalky chicken wire with sharp edges and the need to get down and dirty with wire cutters. I made the poor decision to paint my nails a bright hot pink before starting on the work. Miraculously the nail polish finish came away virtually unfazed, but I still wouldn’t recommend the risk…
But back to the project – The next step was to cut the wire to fit the frame. Now I must admit that, despite my fiance’s thoughtful attempts to get me to cut something to size based on to-the-fraction measurements, I pretty much just “wung” it. I’m not very patient/precise when it comes to my project steps, especially when it comes to measurements, and this was yet another time where I just guesstimated.
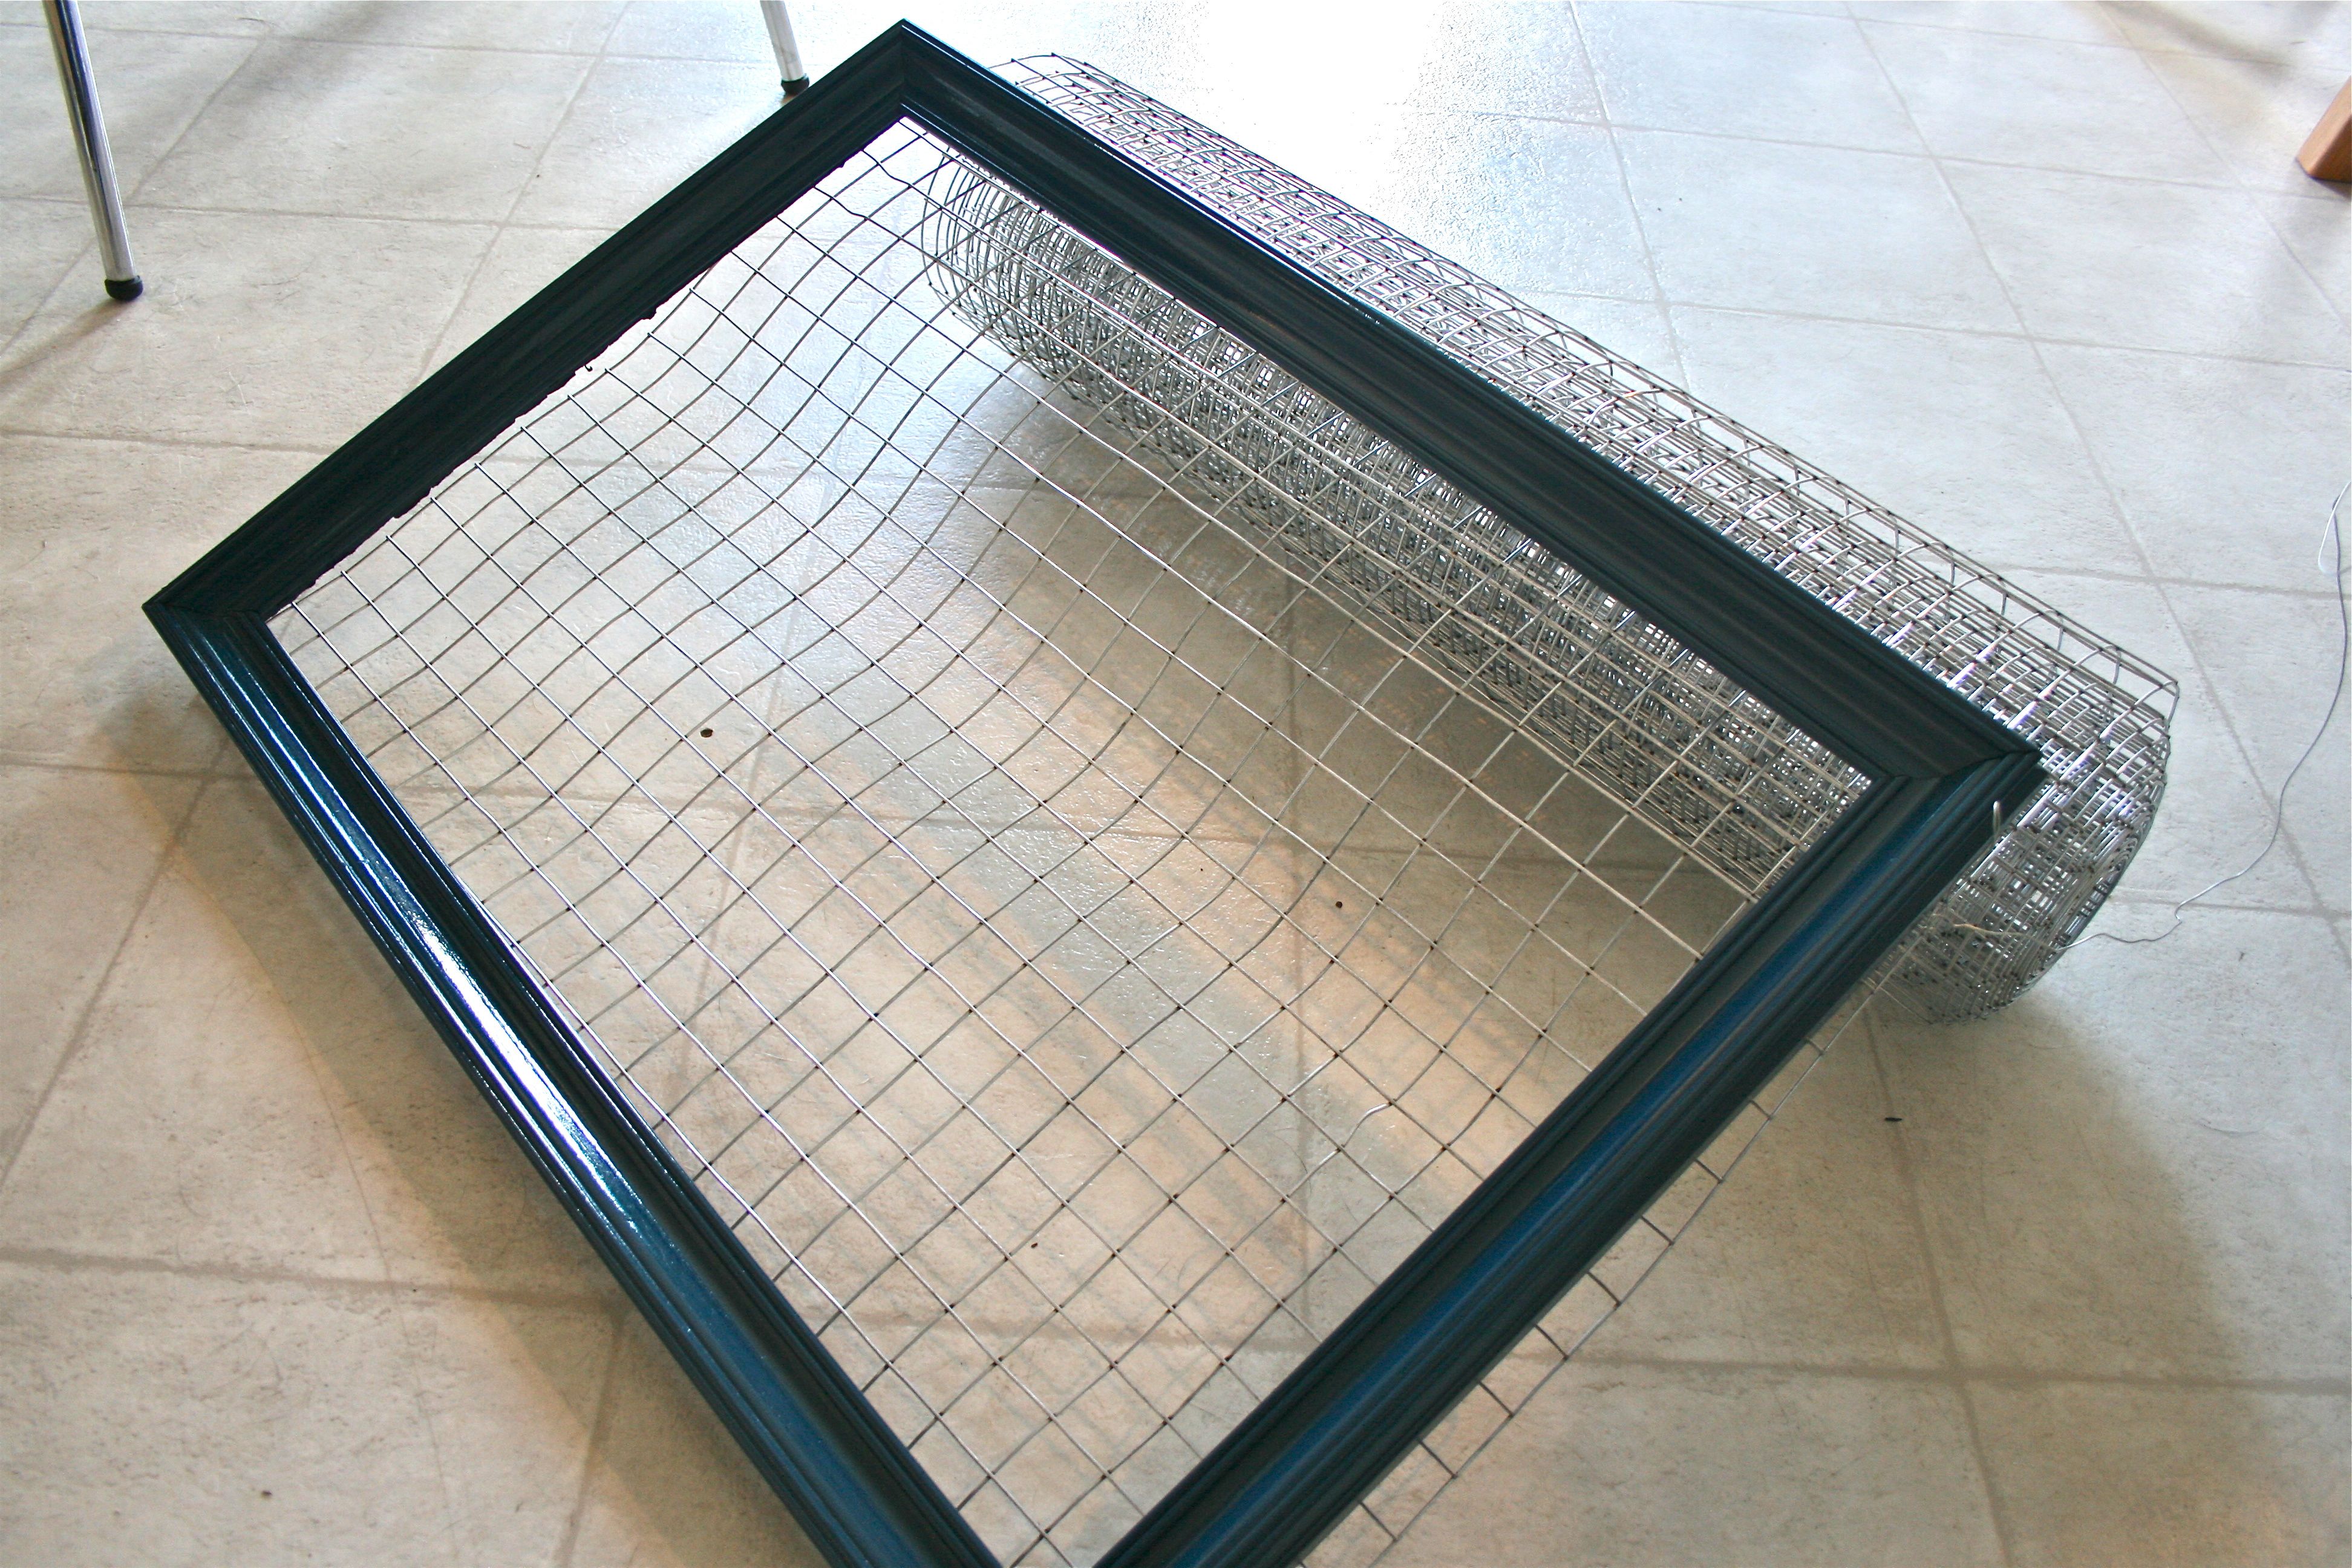
To begin, I placed the frame over the partially unrolled spool of metal until it reached the edge and then cut it off:
To trim it down, I needed to use smaller wire cutters. The bolt cutters did the big job, but then the smaller tools cut the edges down to make it REALLY fit inside the lip of the frame.
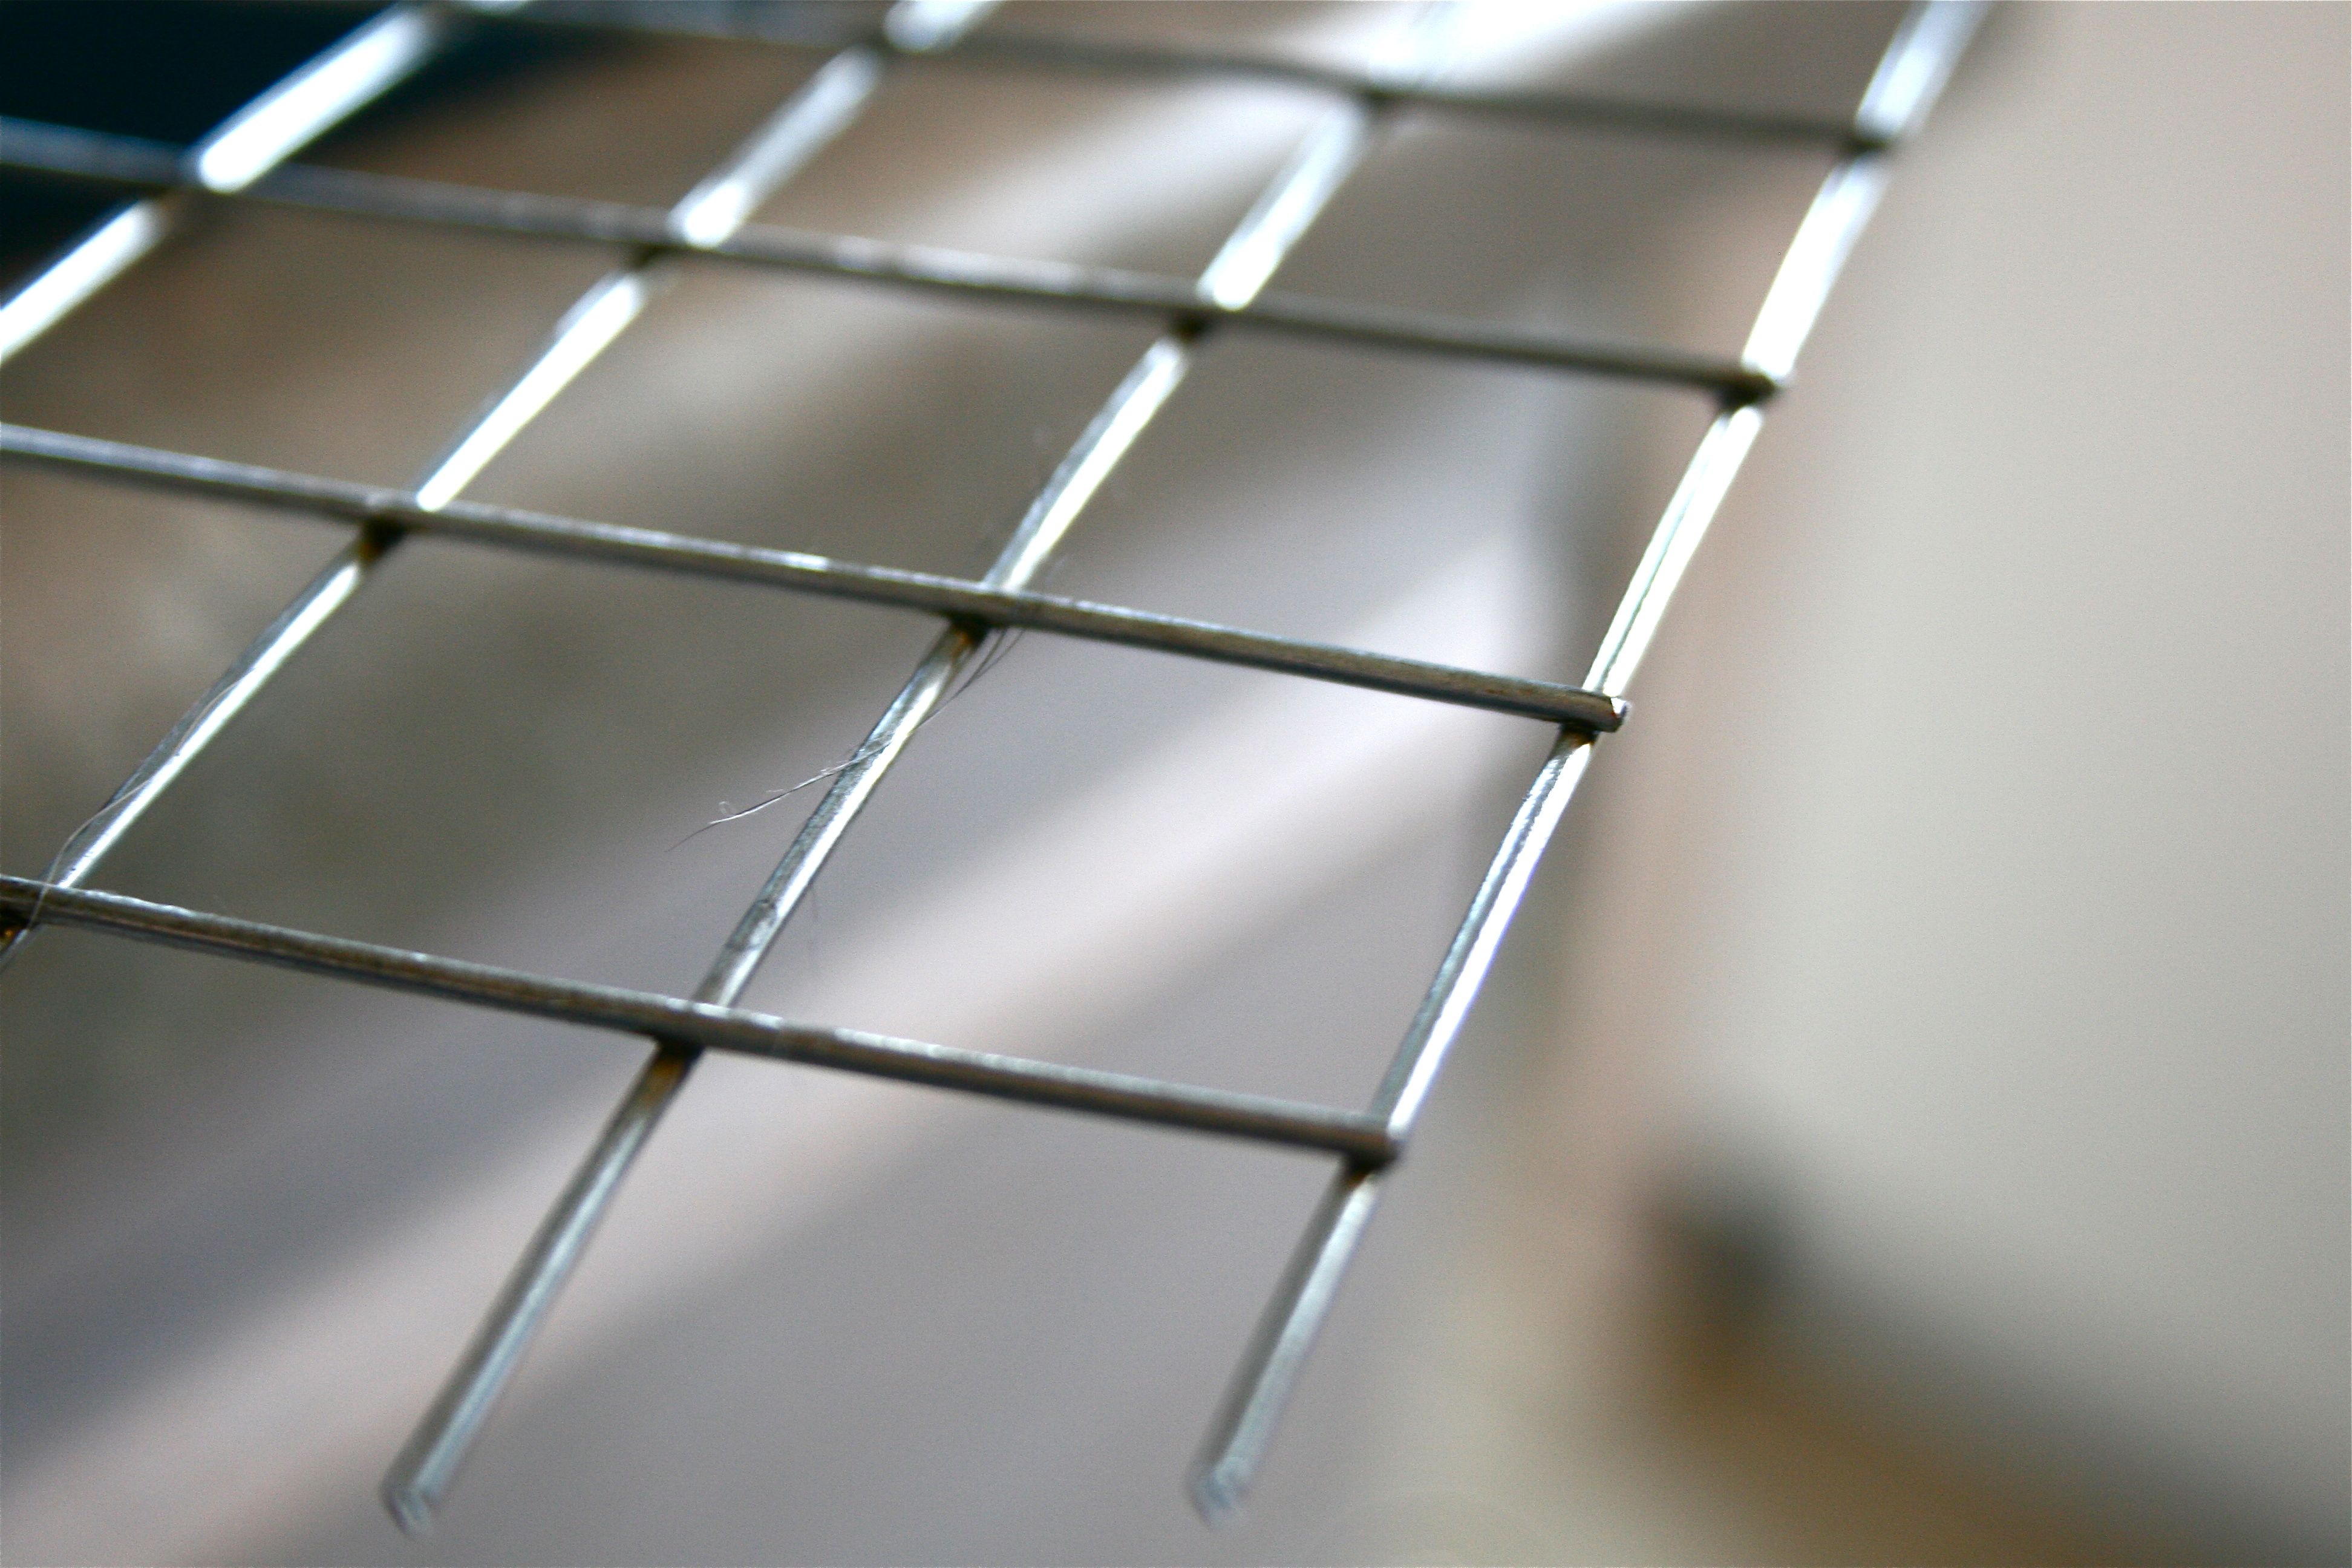
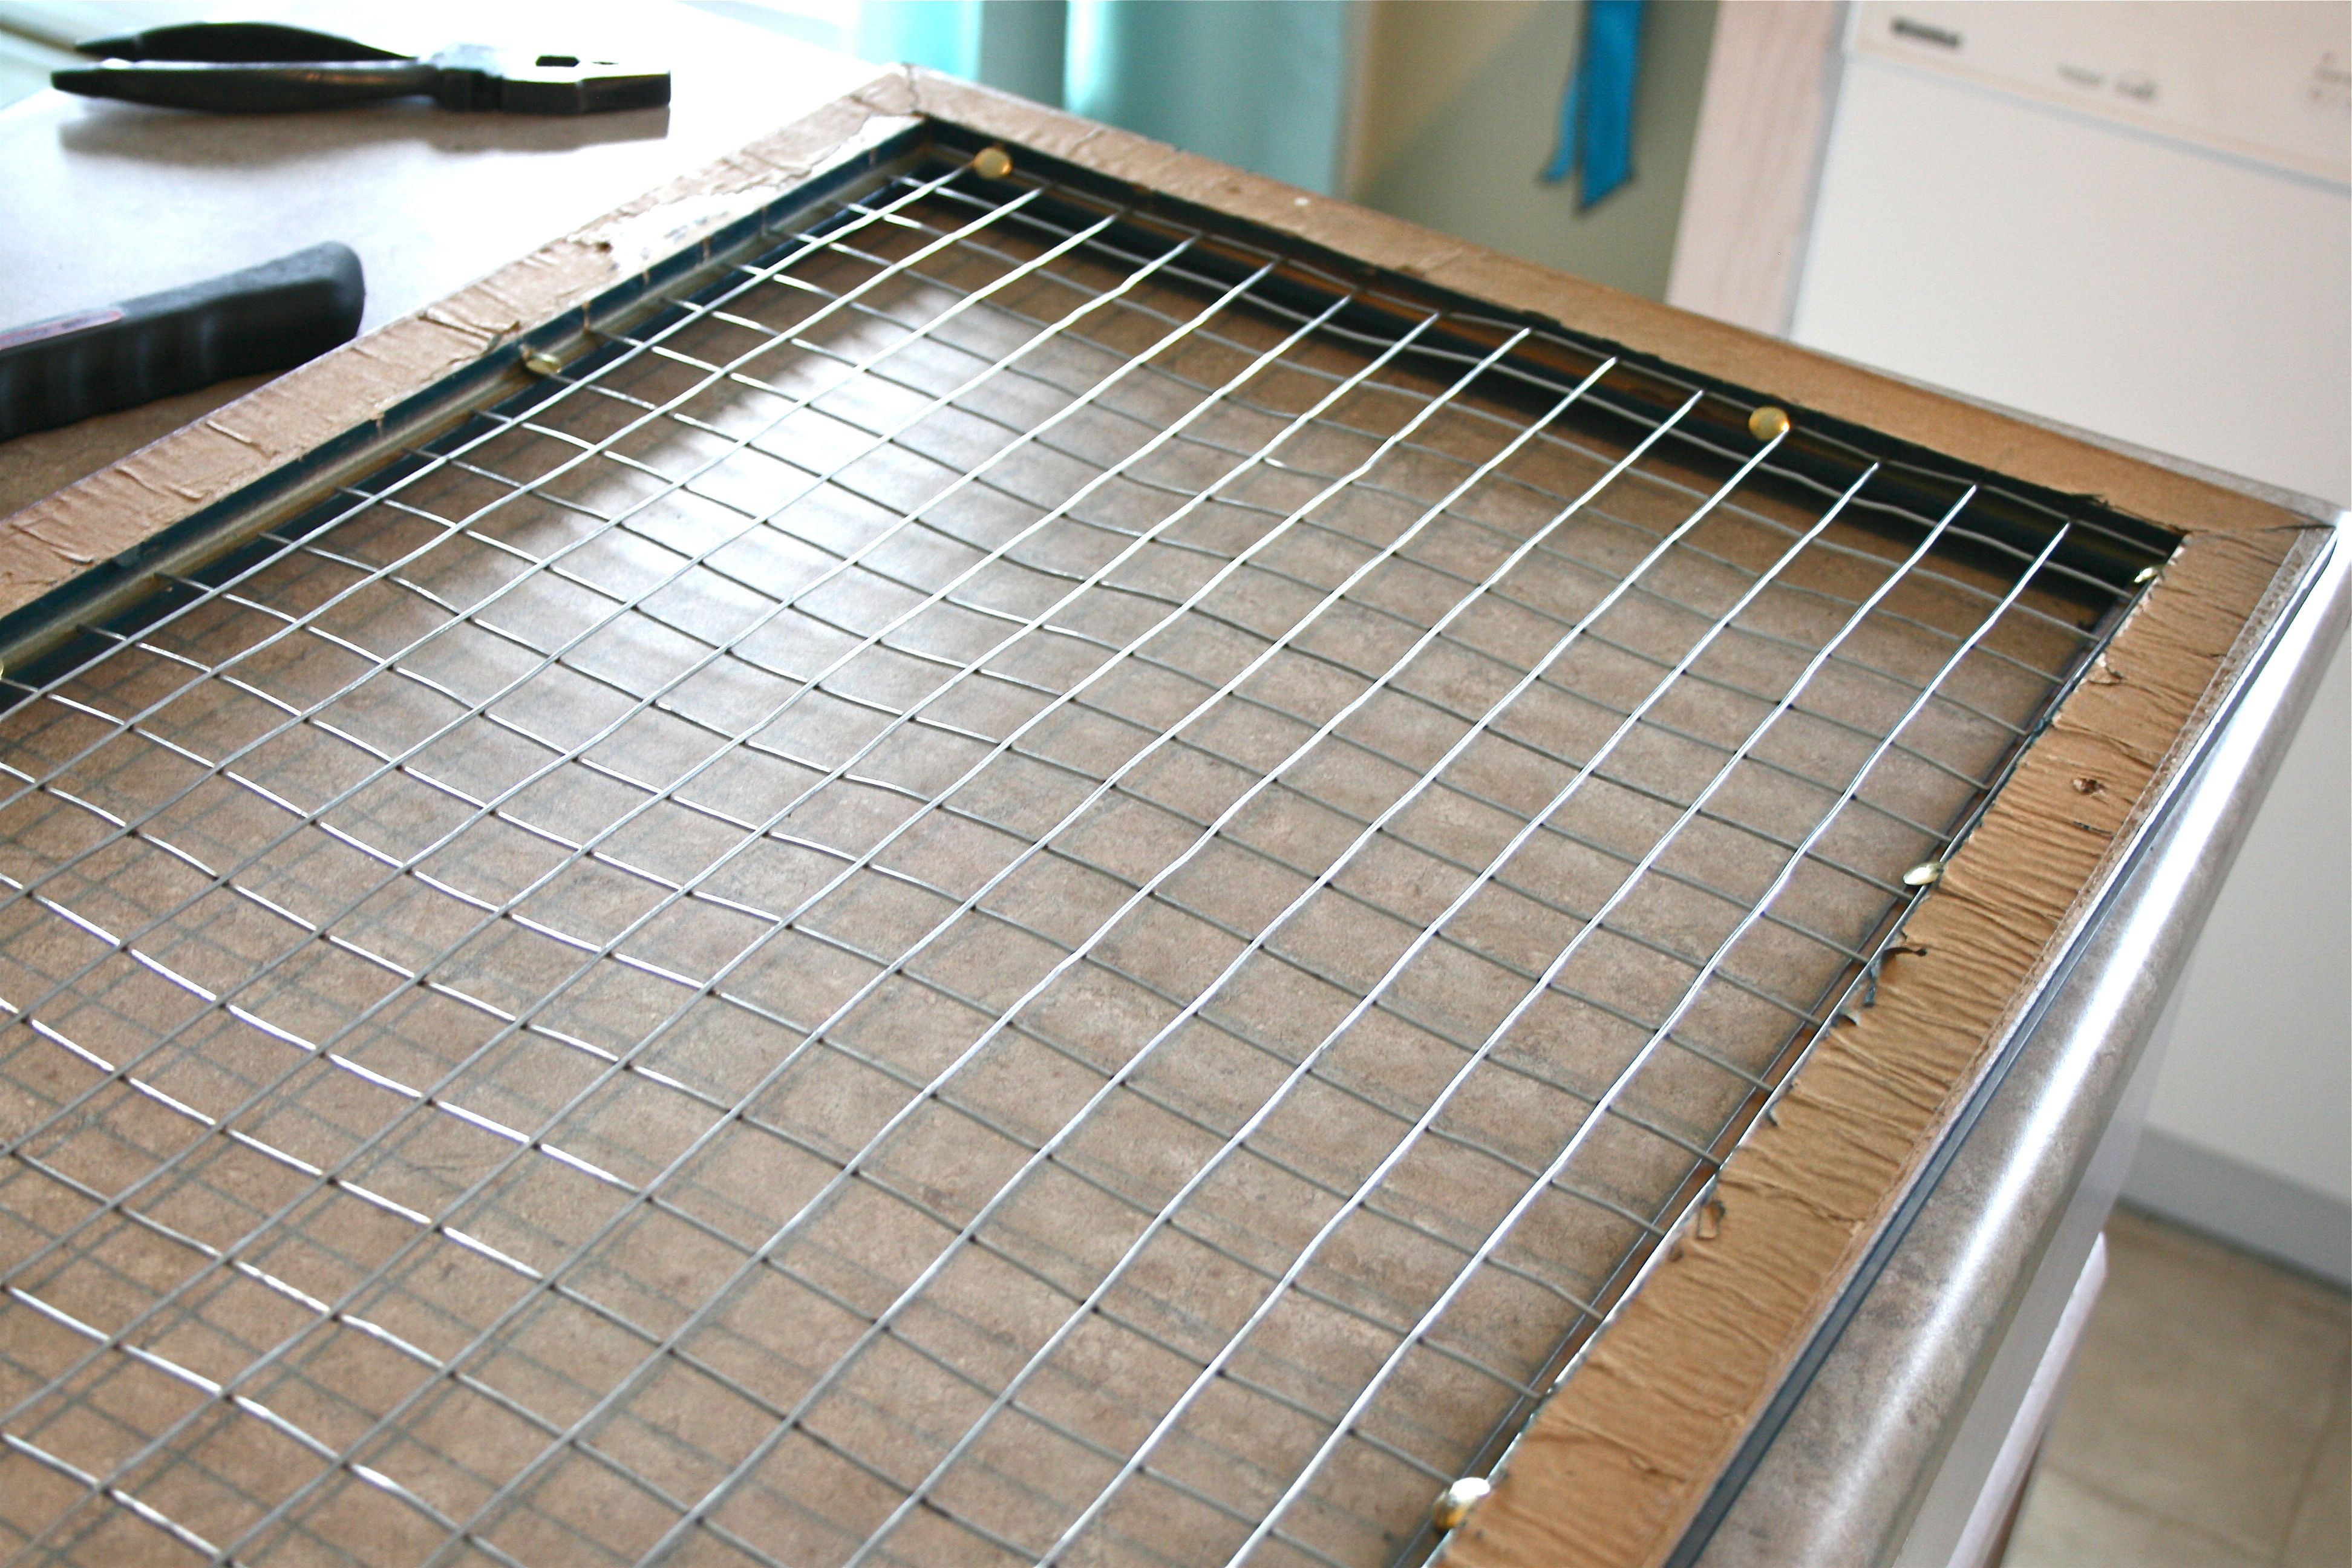
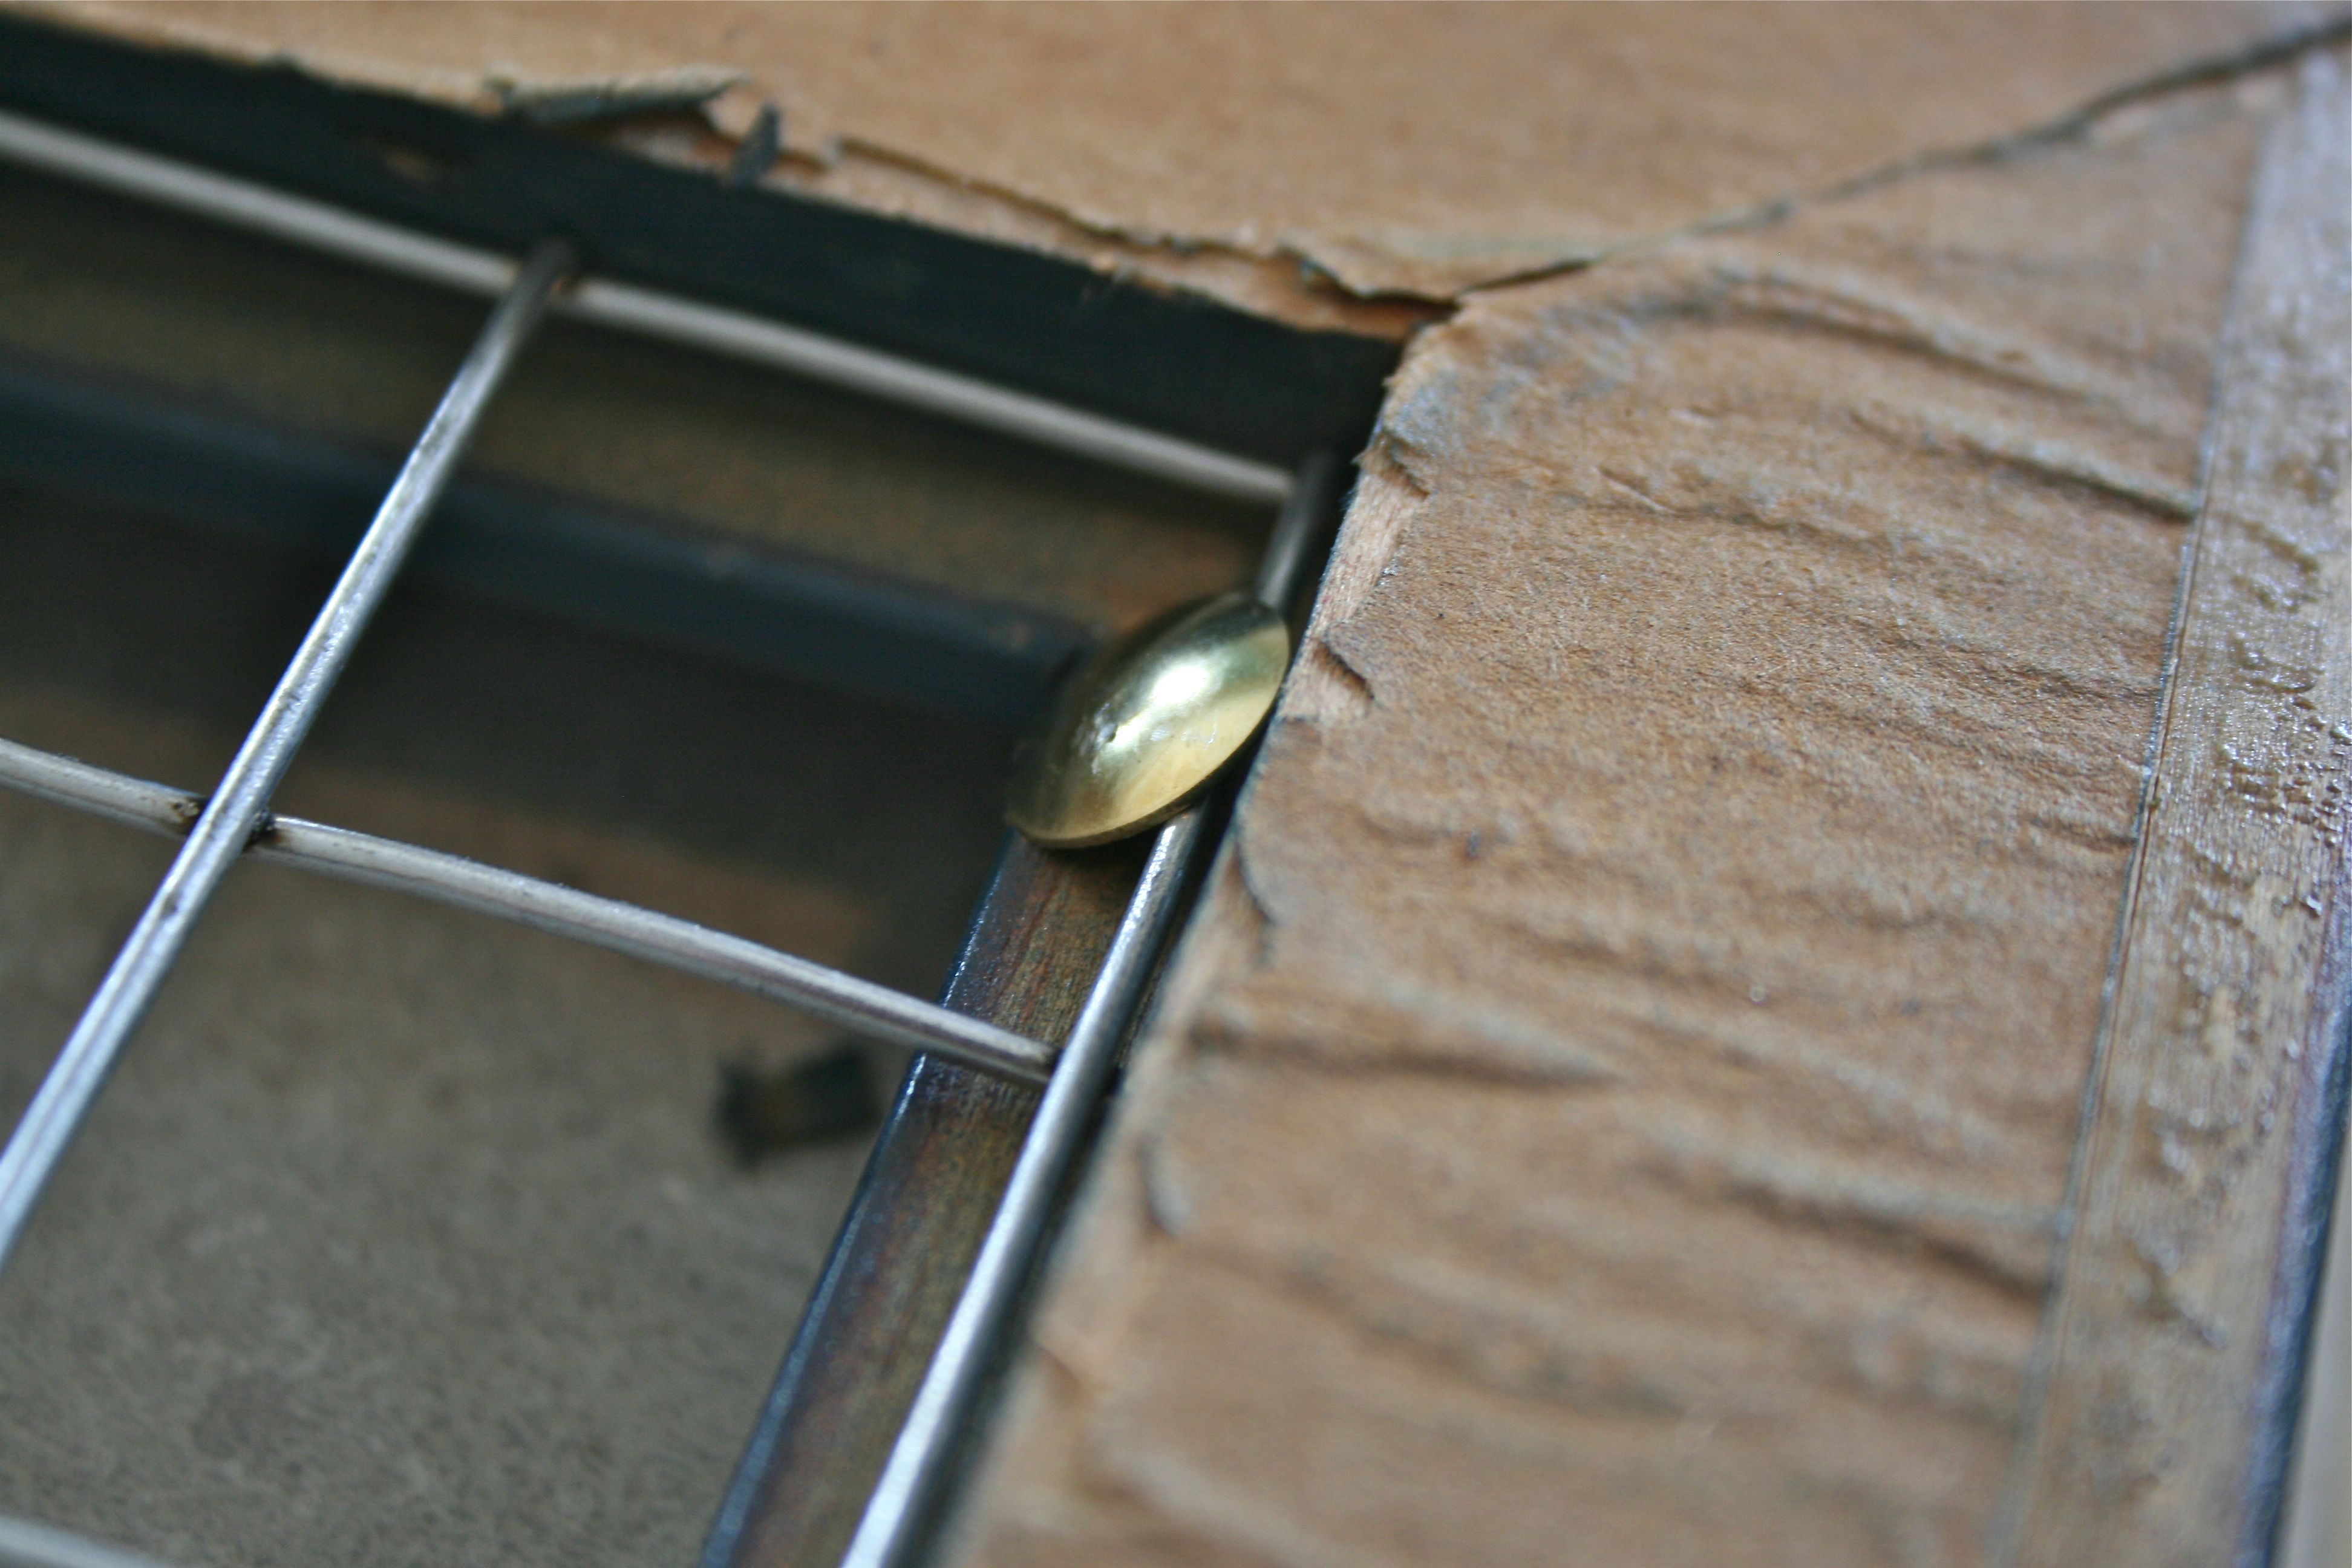
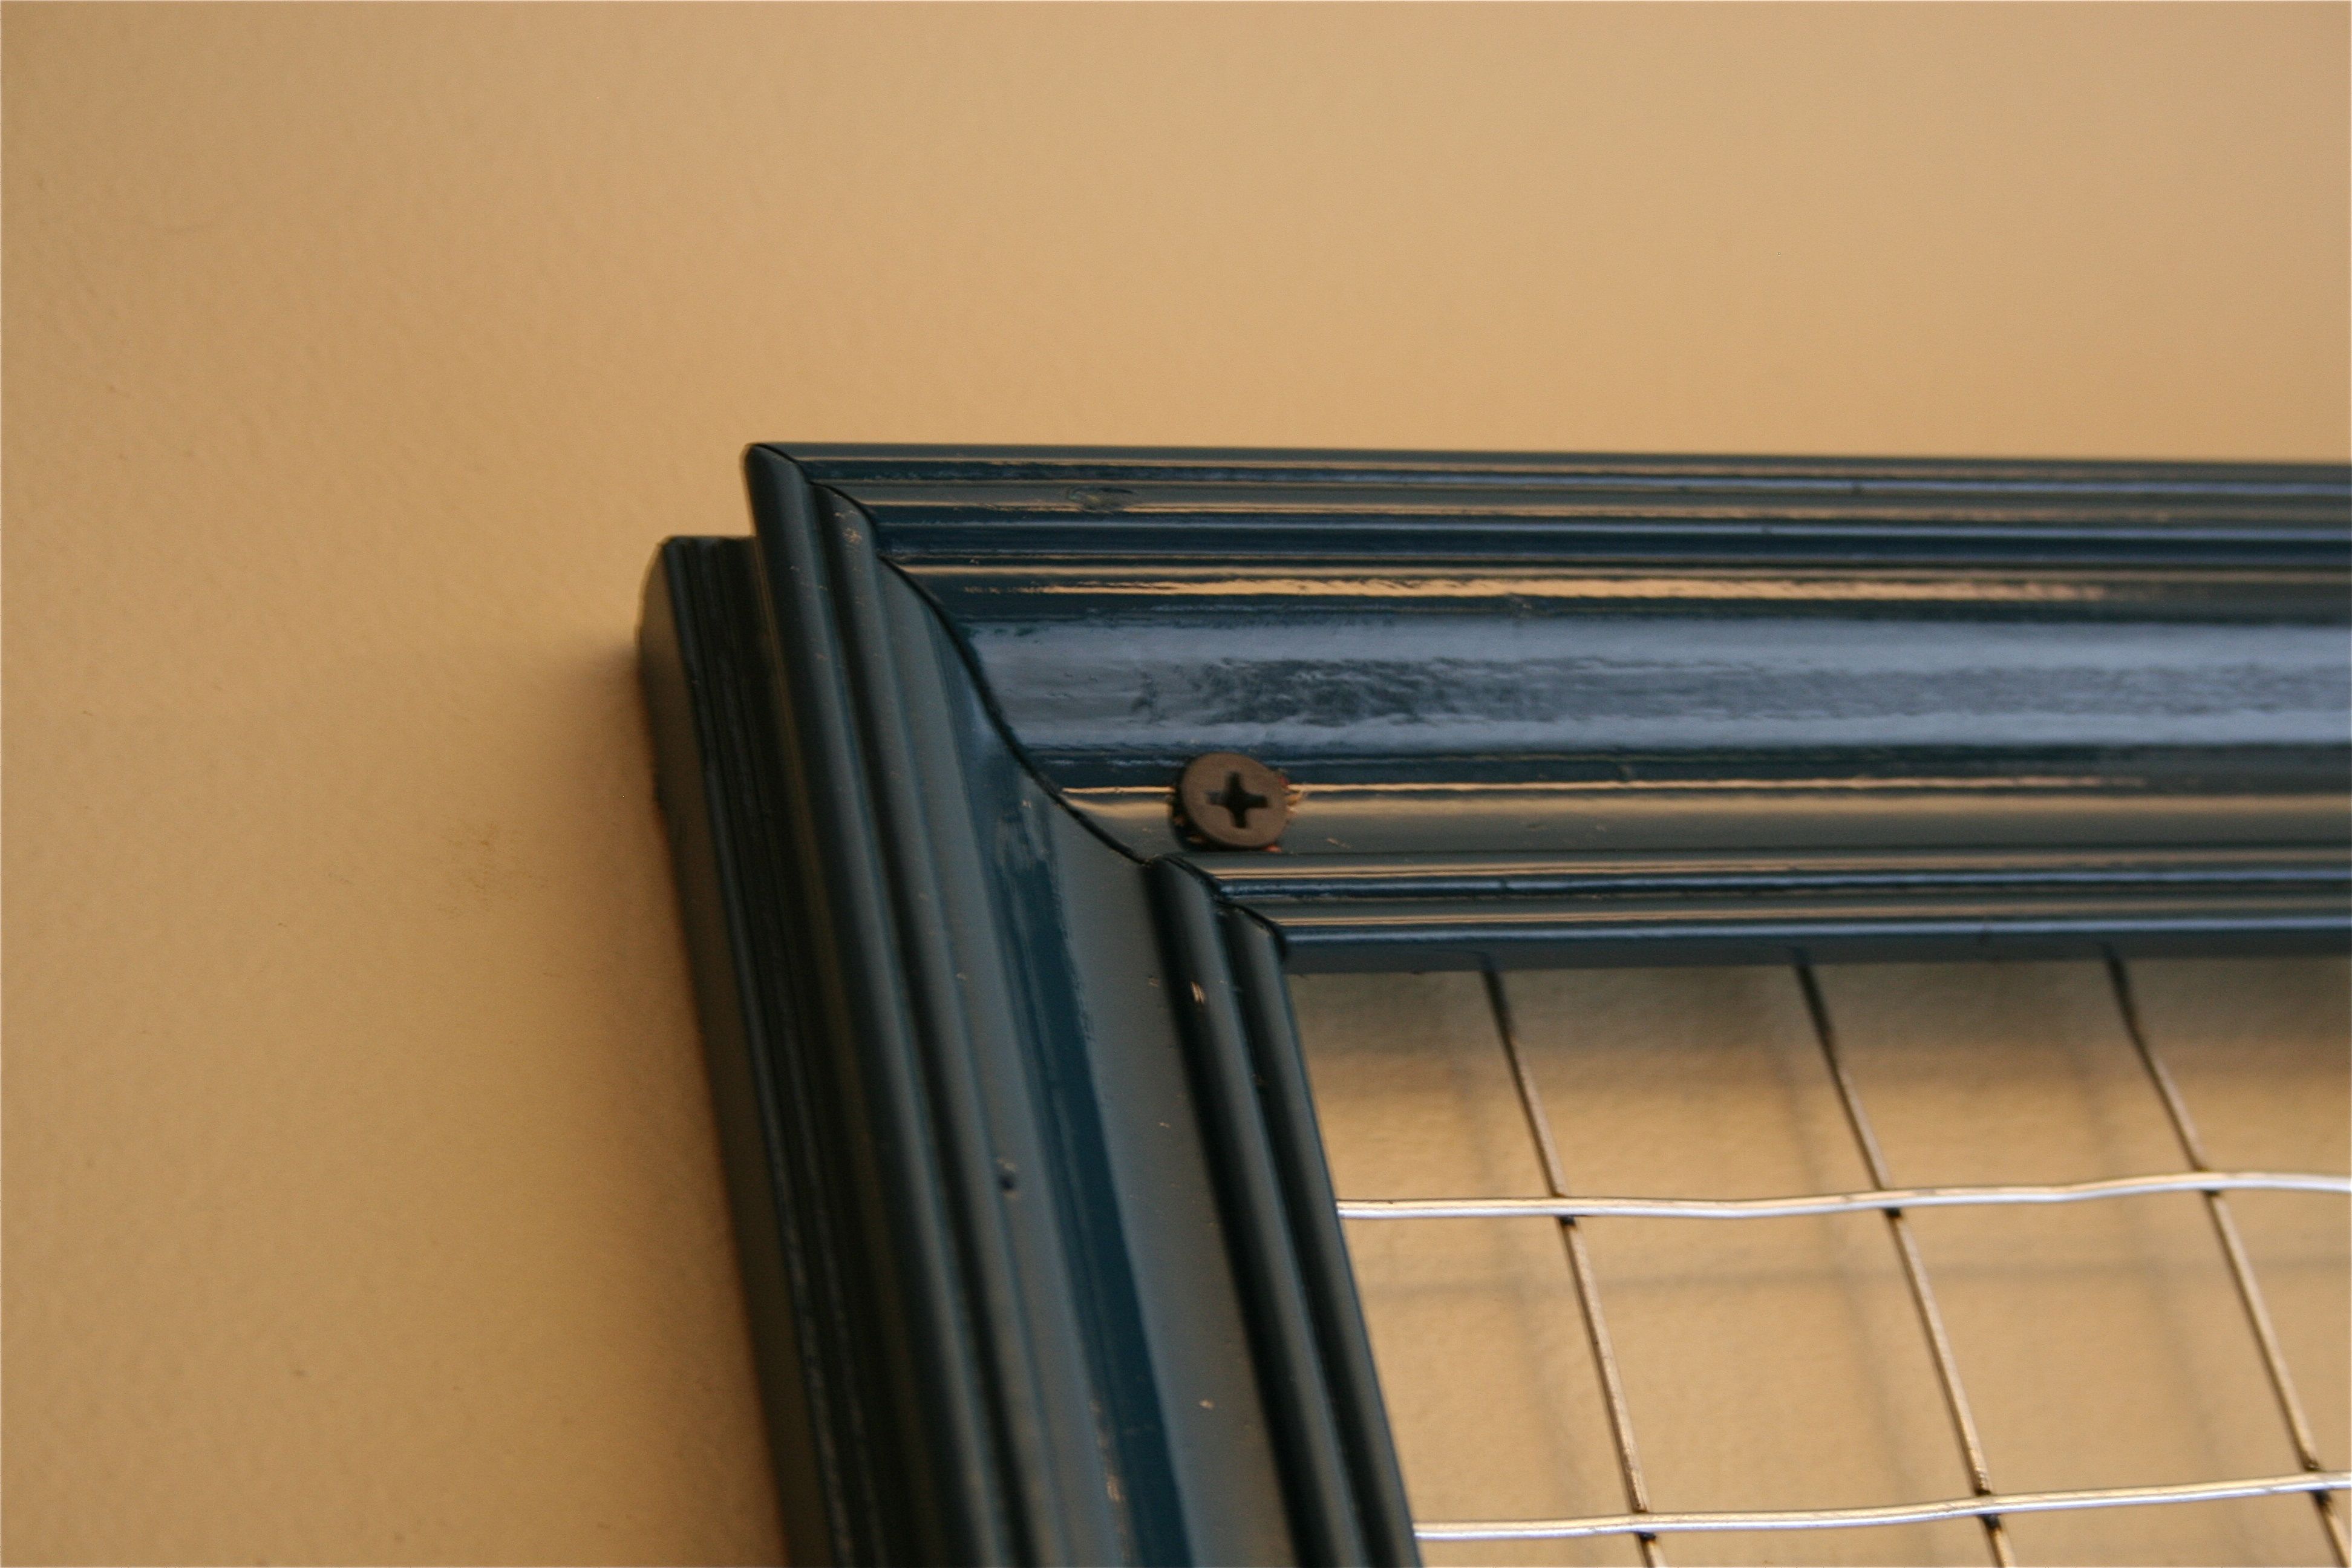
As you can see on the far right, the smaller tools cut the metal right down to the edge of the 1×1 square – Exactly the clean edge I needed so that the mesh would fit inside the frame. Time to attach it and finish it all up!
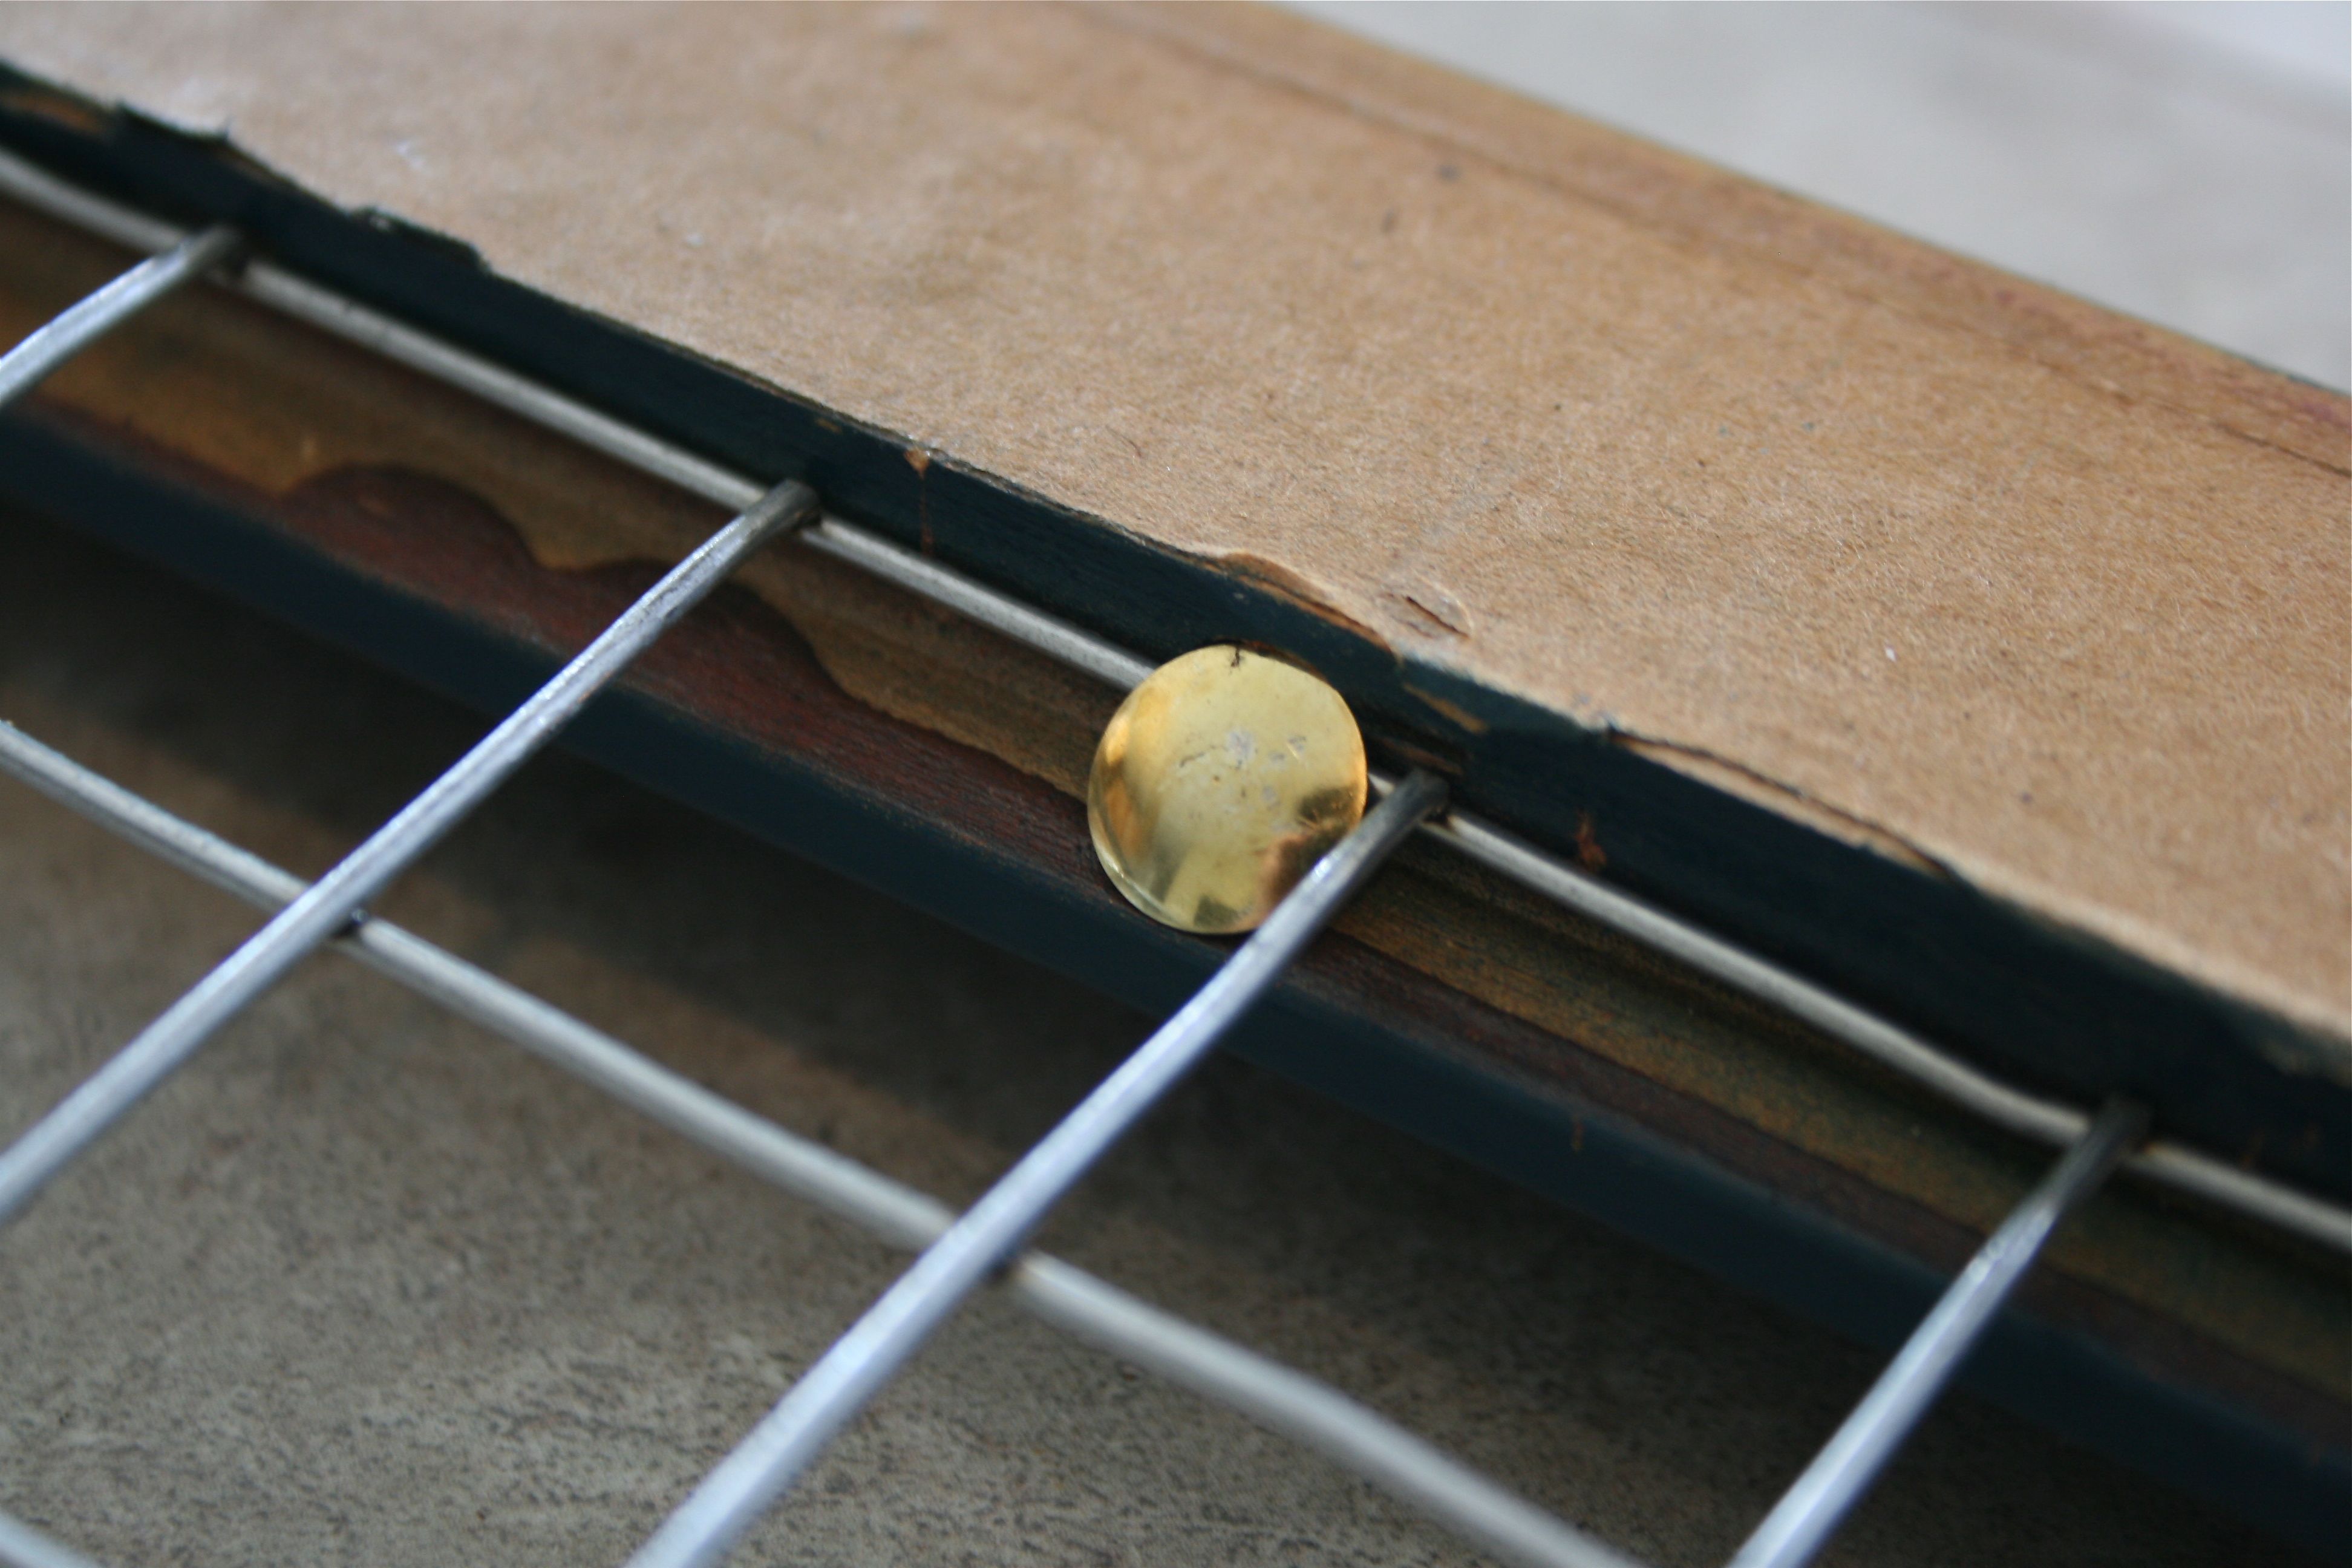
Miraculously, all I used to attach the chicken wire to the frame were thumb tacks! They were gentler then heavy nails and I was able to push them into the wood with my bare hands. The tacks were strong enough to hold the wire in place without damaging the sometimes-delicate wood of the vintage frames I tend to work with (you may remember the debacle I experienced when using a staple gun on a different vintage frame project…). P.S. The thumb tacks were John’s genius idea…Gotta give credit where it’s owed!!
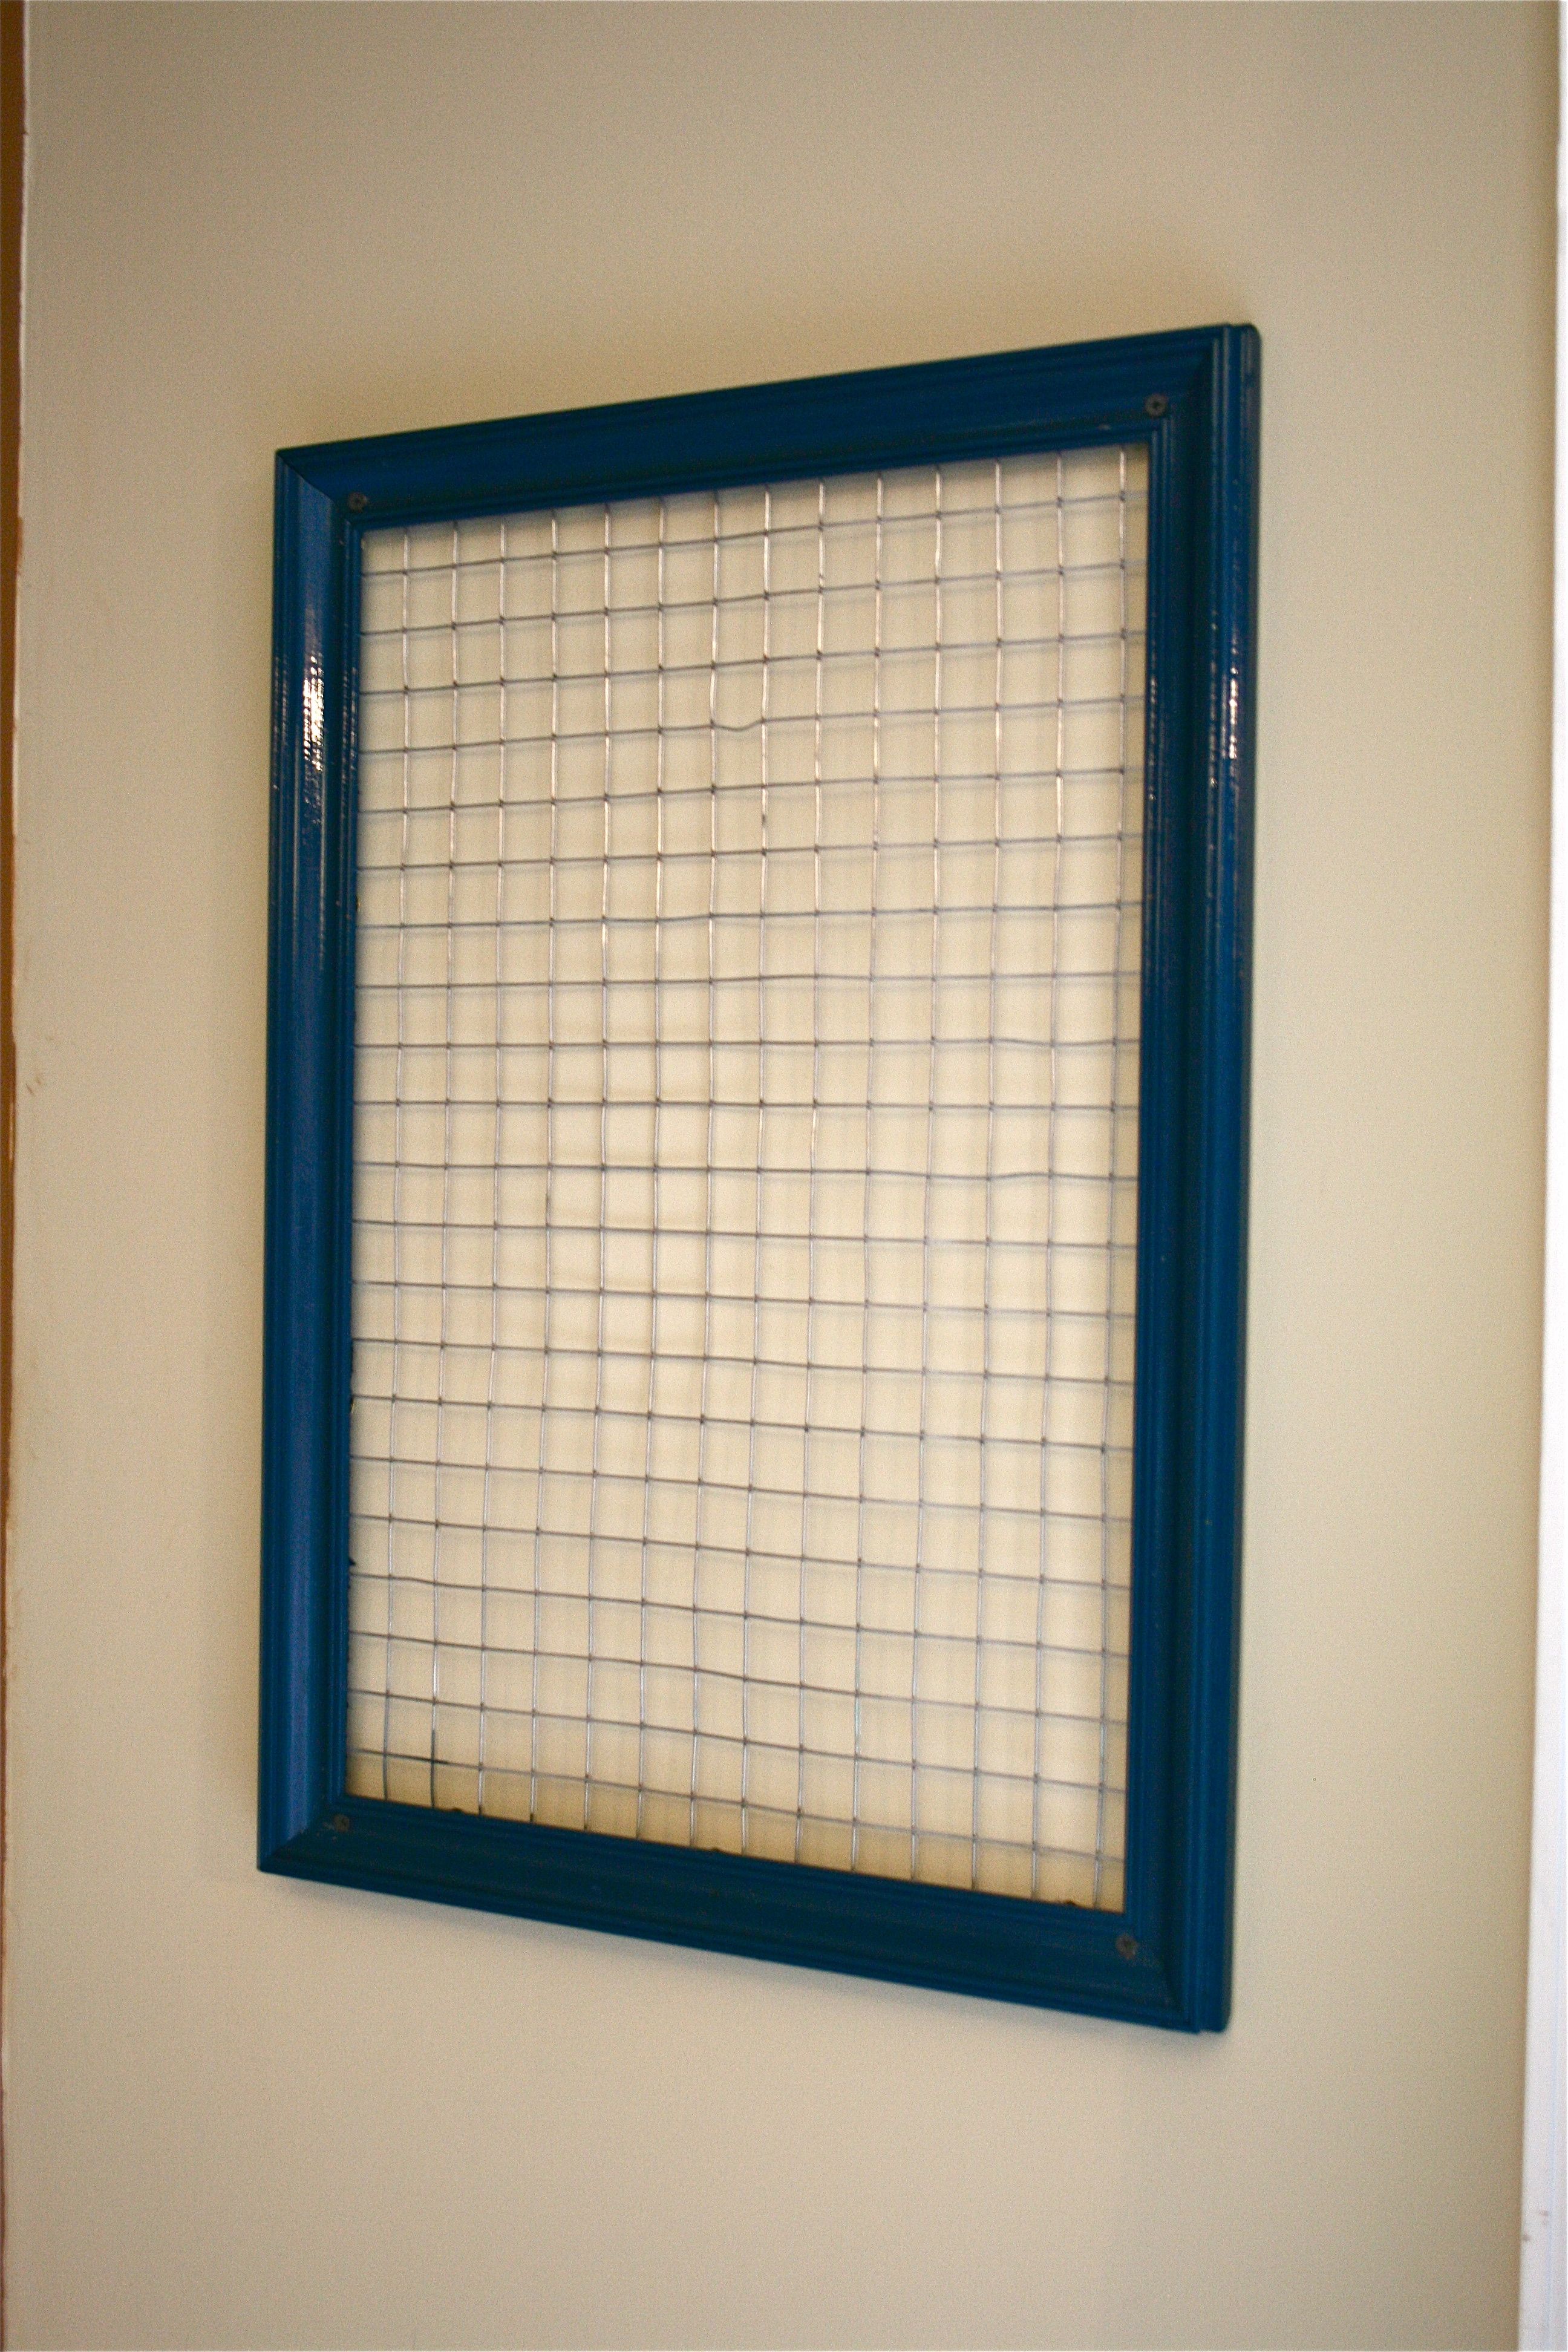
To mount it on the wall, I decided to use four black screws drilled through the frame directly into the wall. I liked the look of the twine in the pinspiration photo, but I didn’t want the whole thing to tilt and sway whenever I clipped something to the wire. Screwing it into the wall gave it a really sturdy feeling.
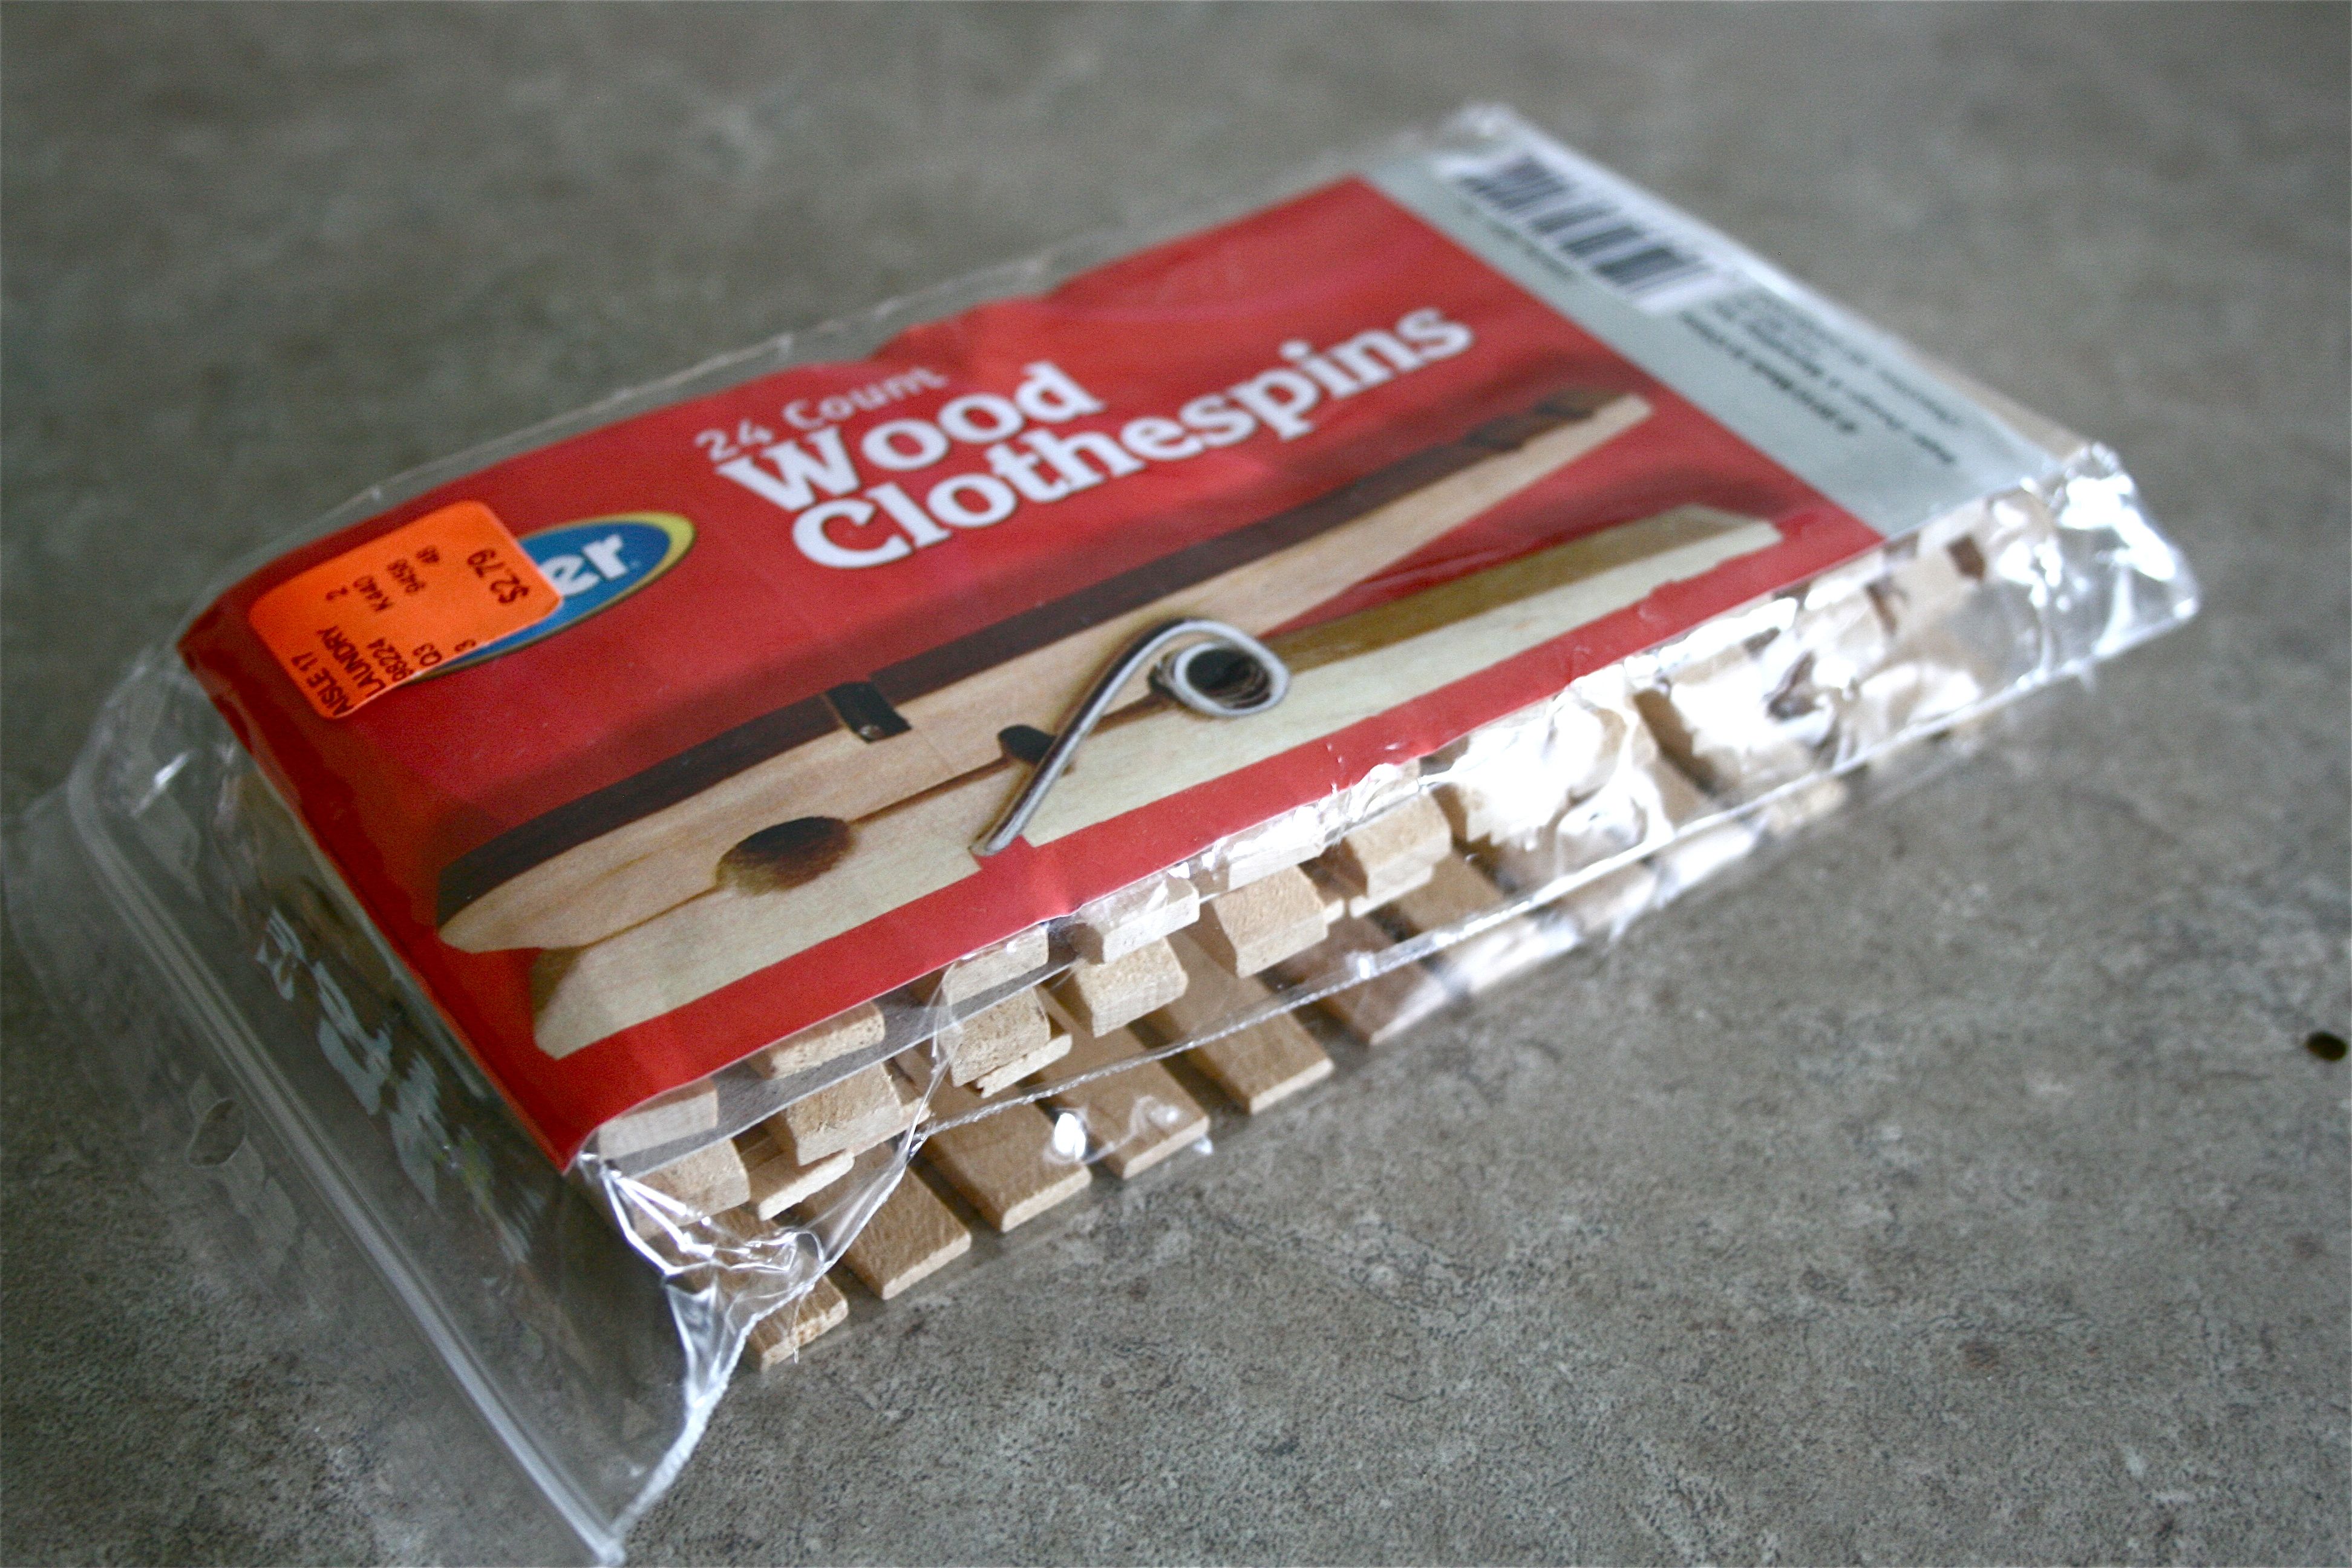
My vision of clips for the display in this project included old-fashioned wooden clothespins. Since I decided to hang the new frame in the kitchen, the wooden clothespins kind of went with the theme in the newly redesigned laundry room adjacent to the room.
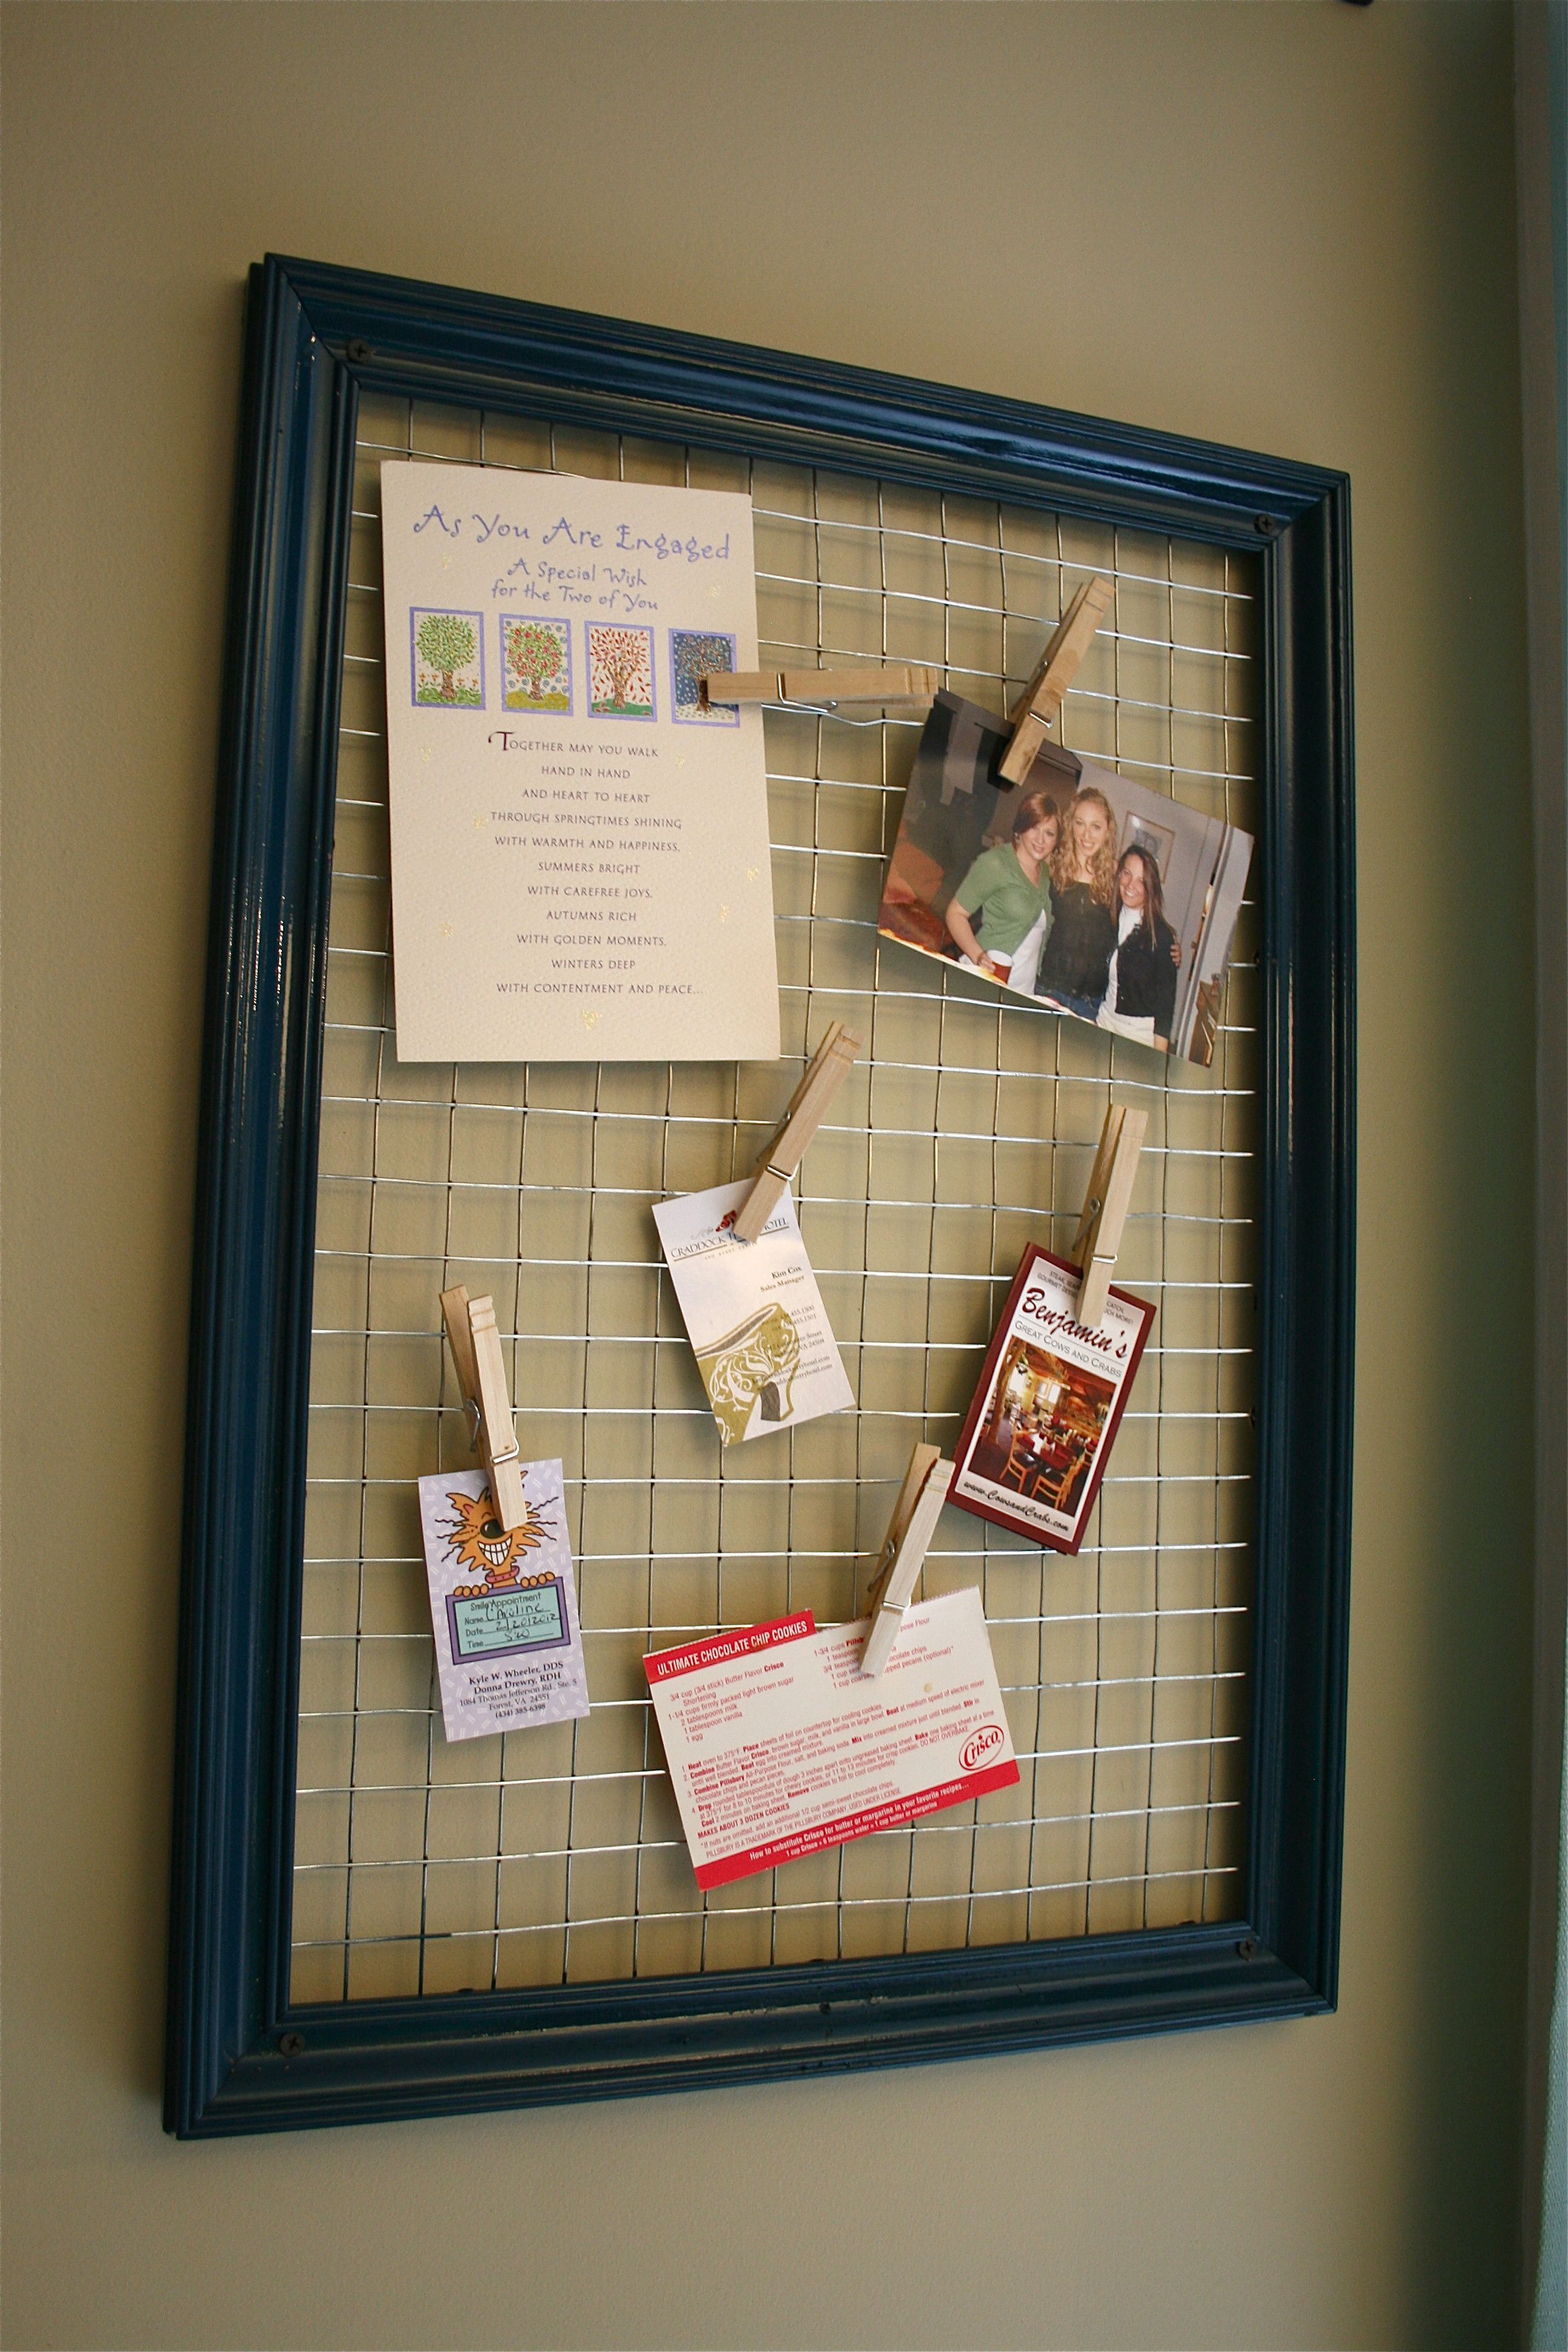
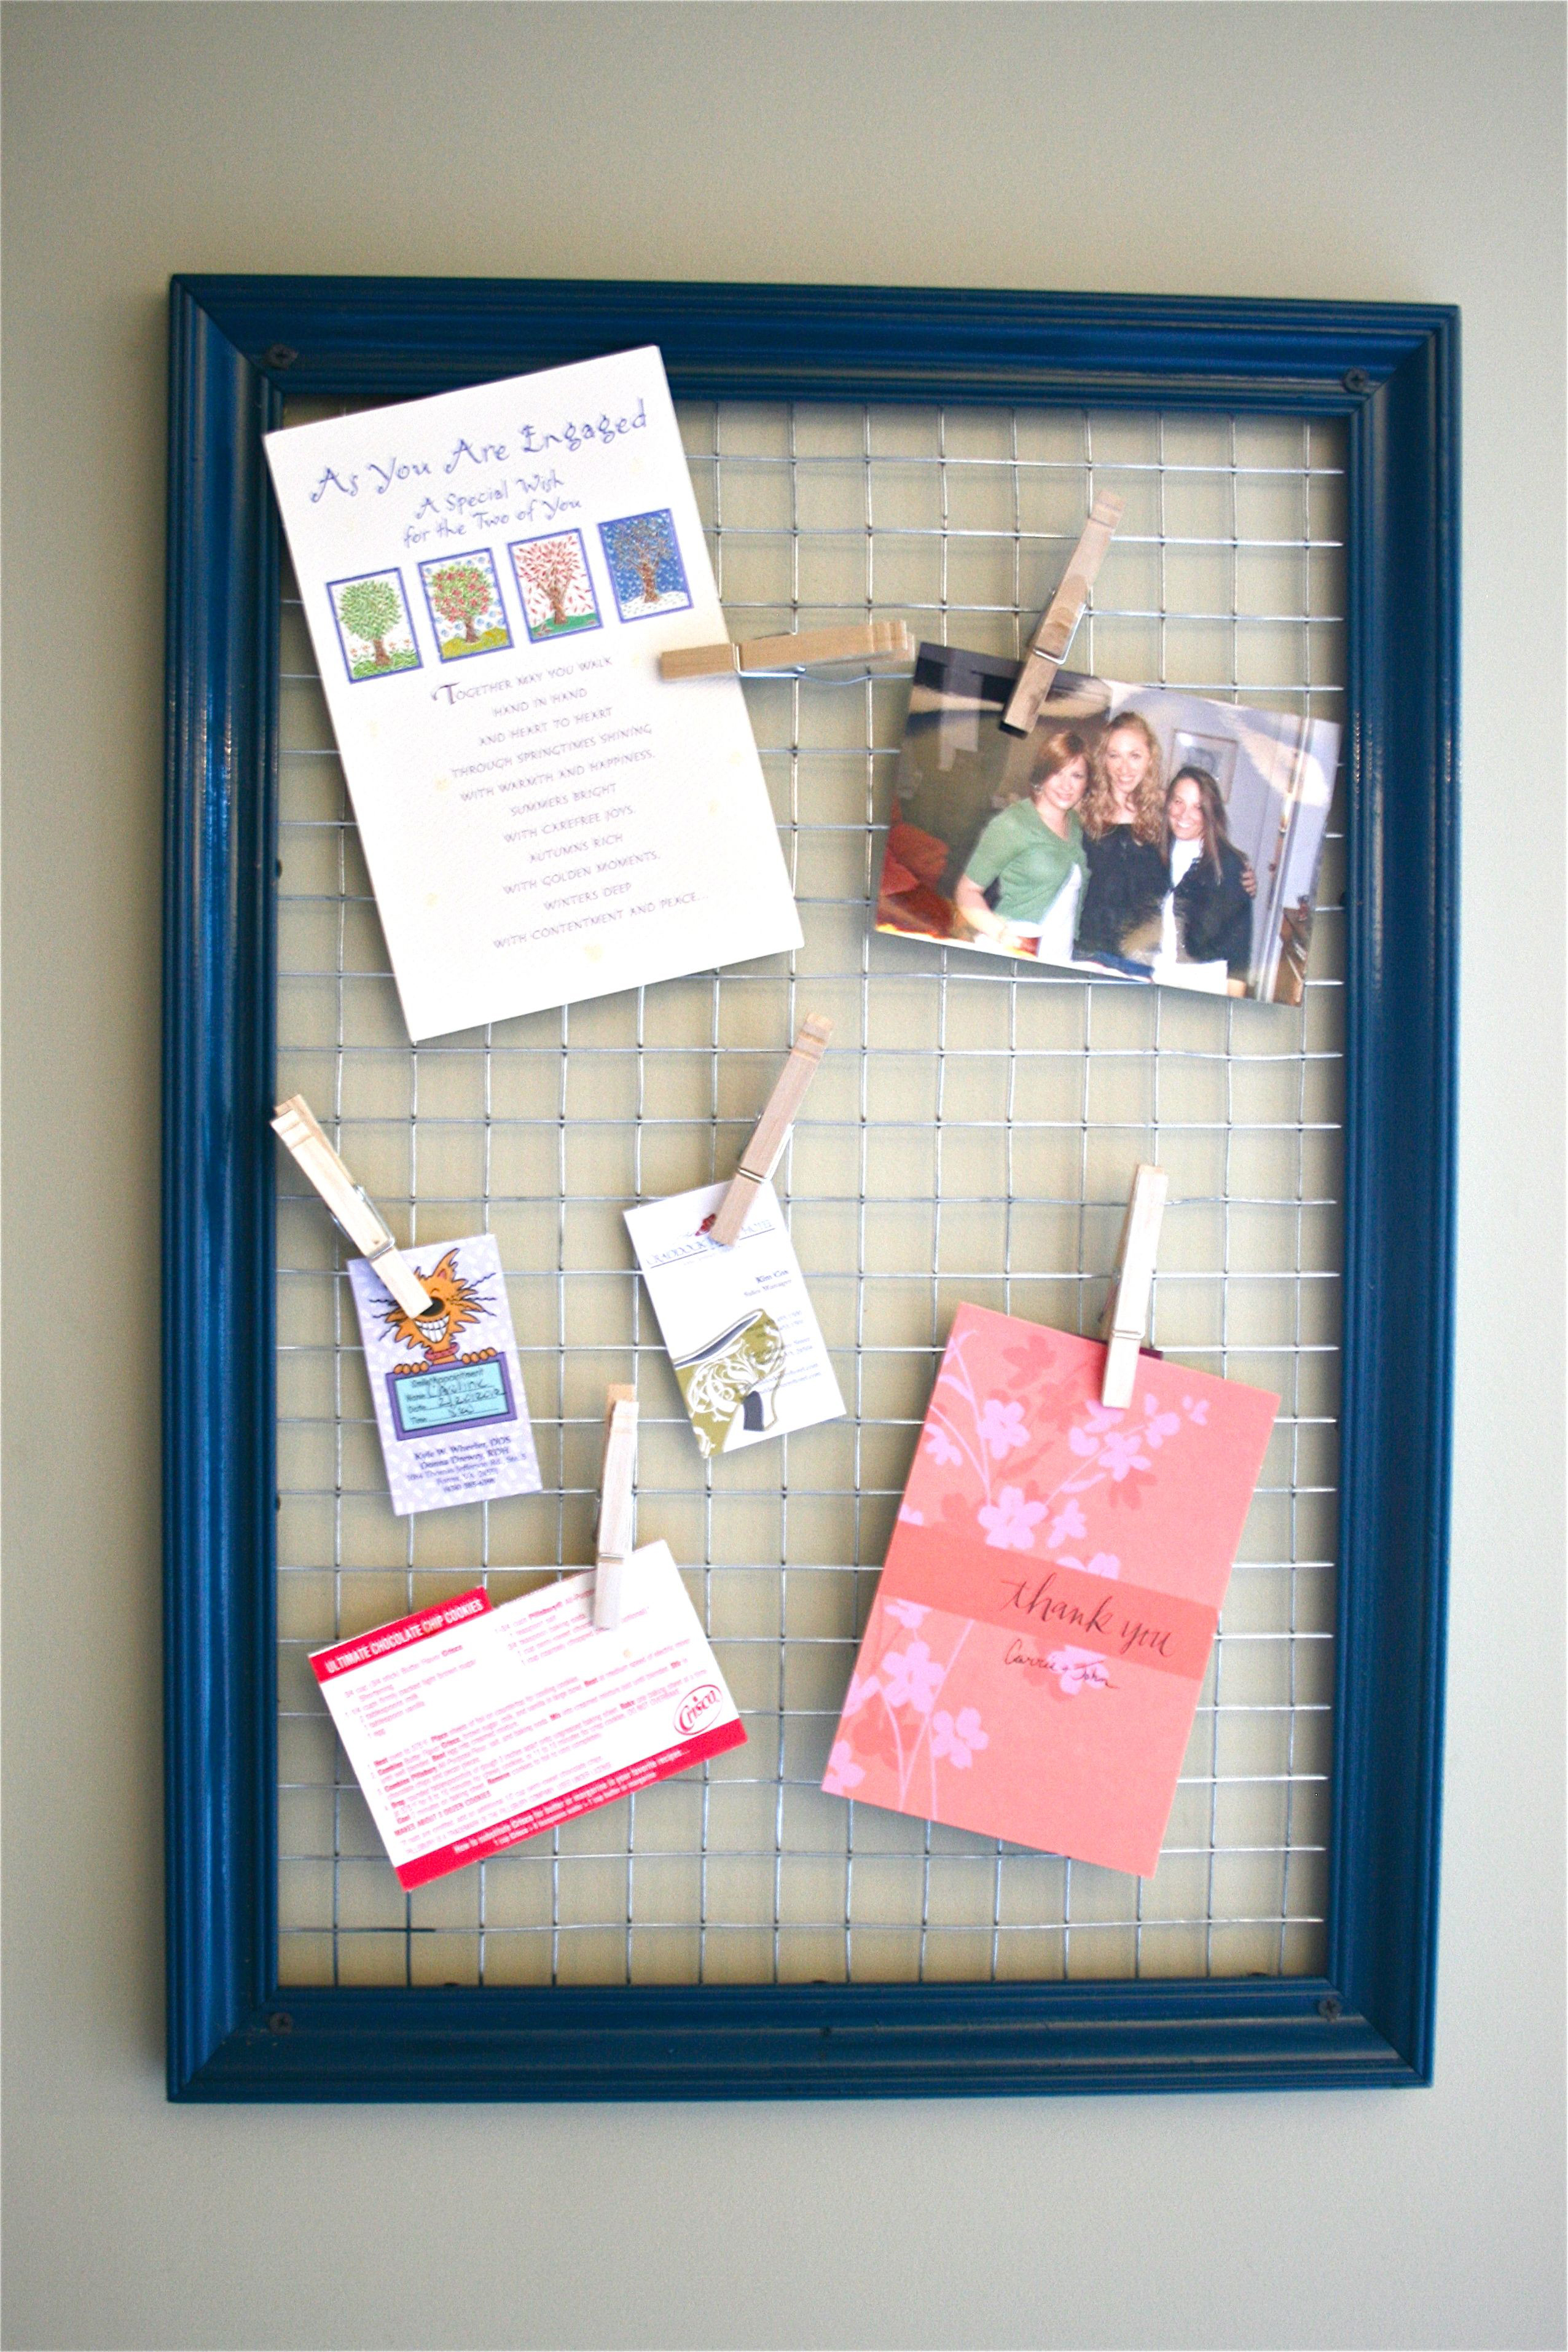
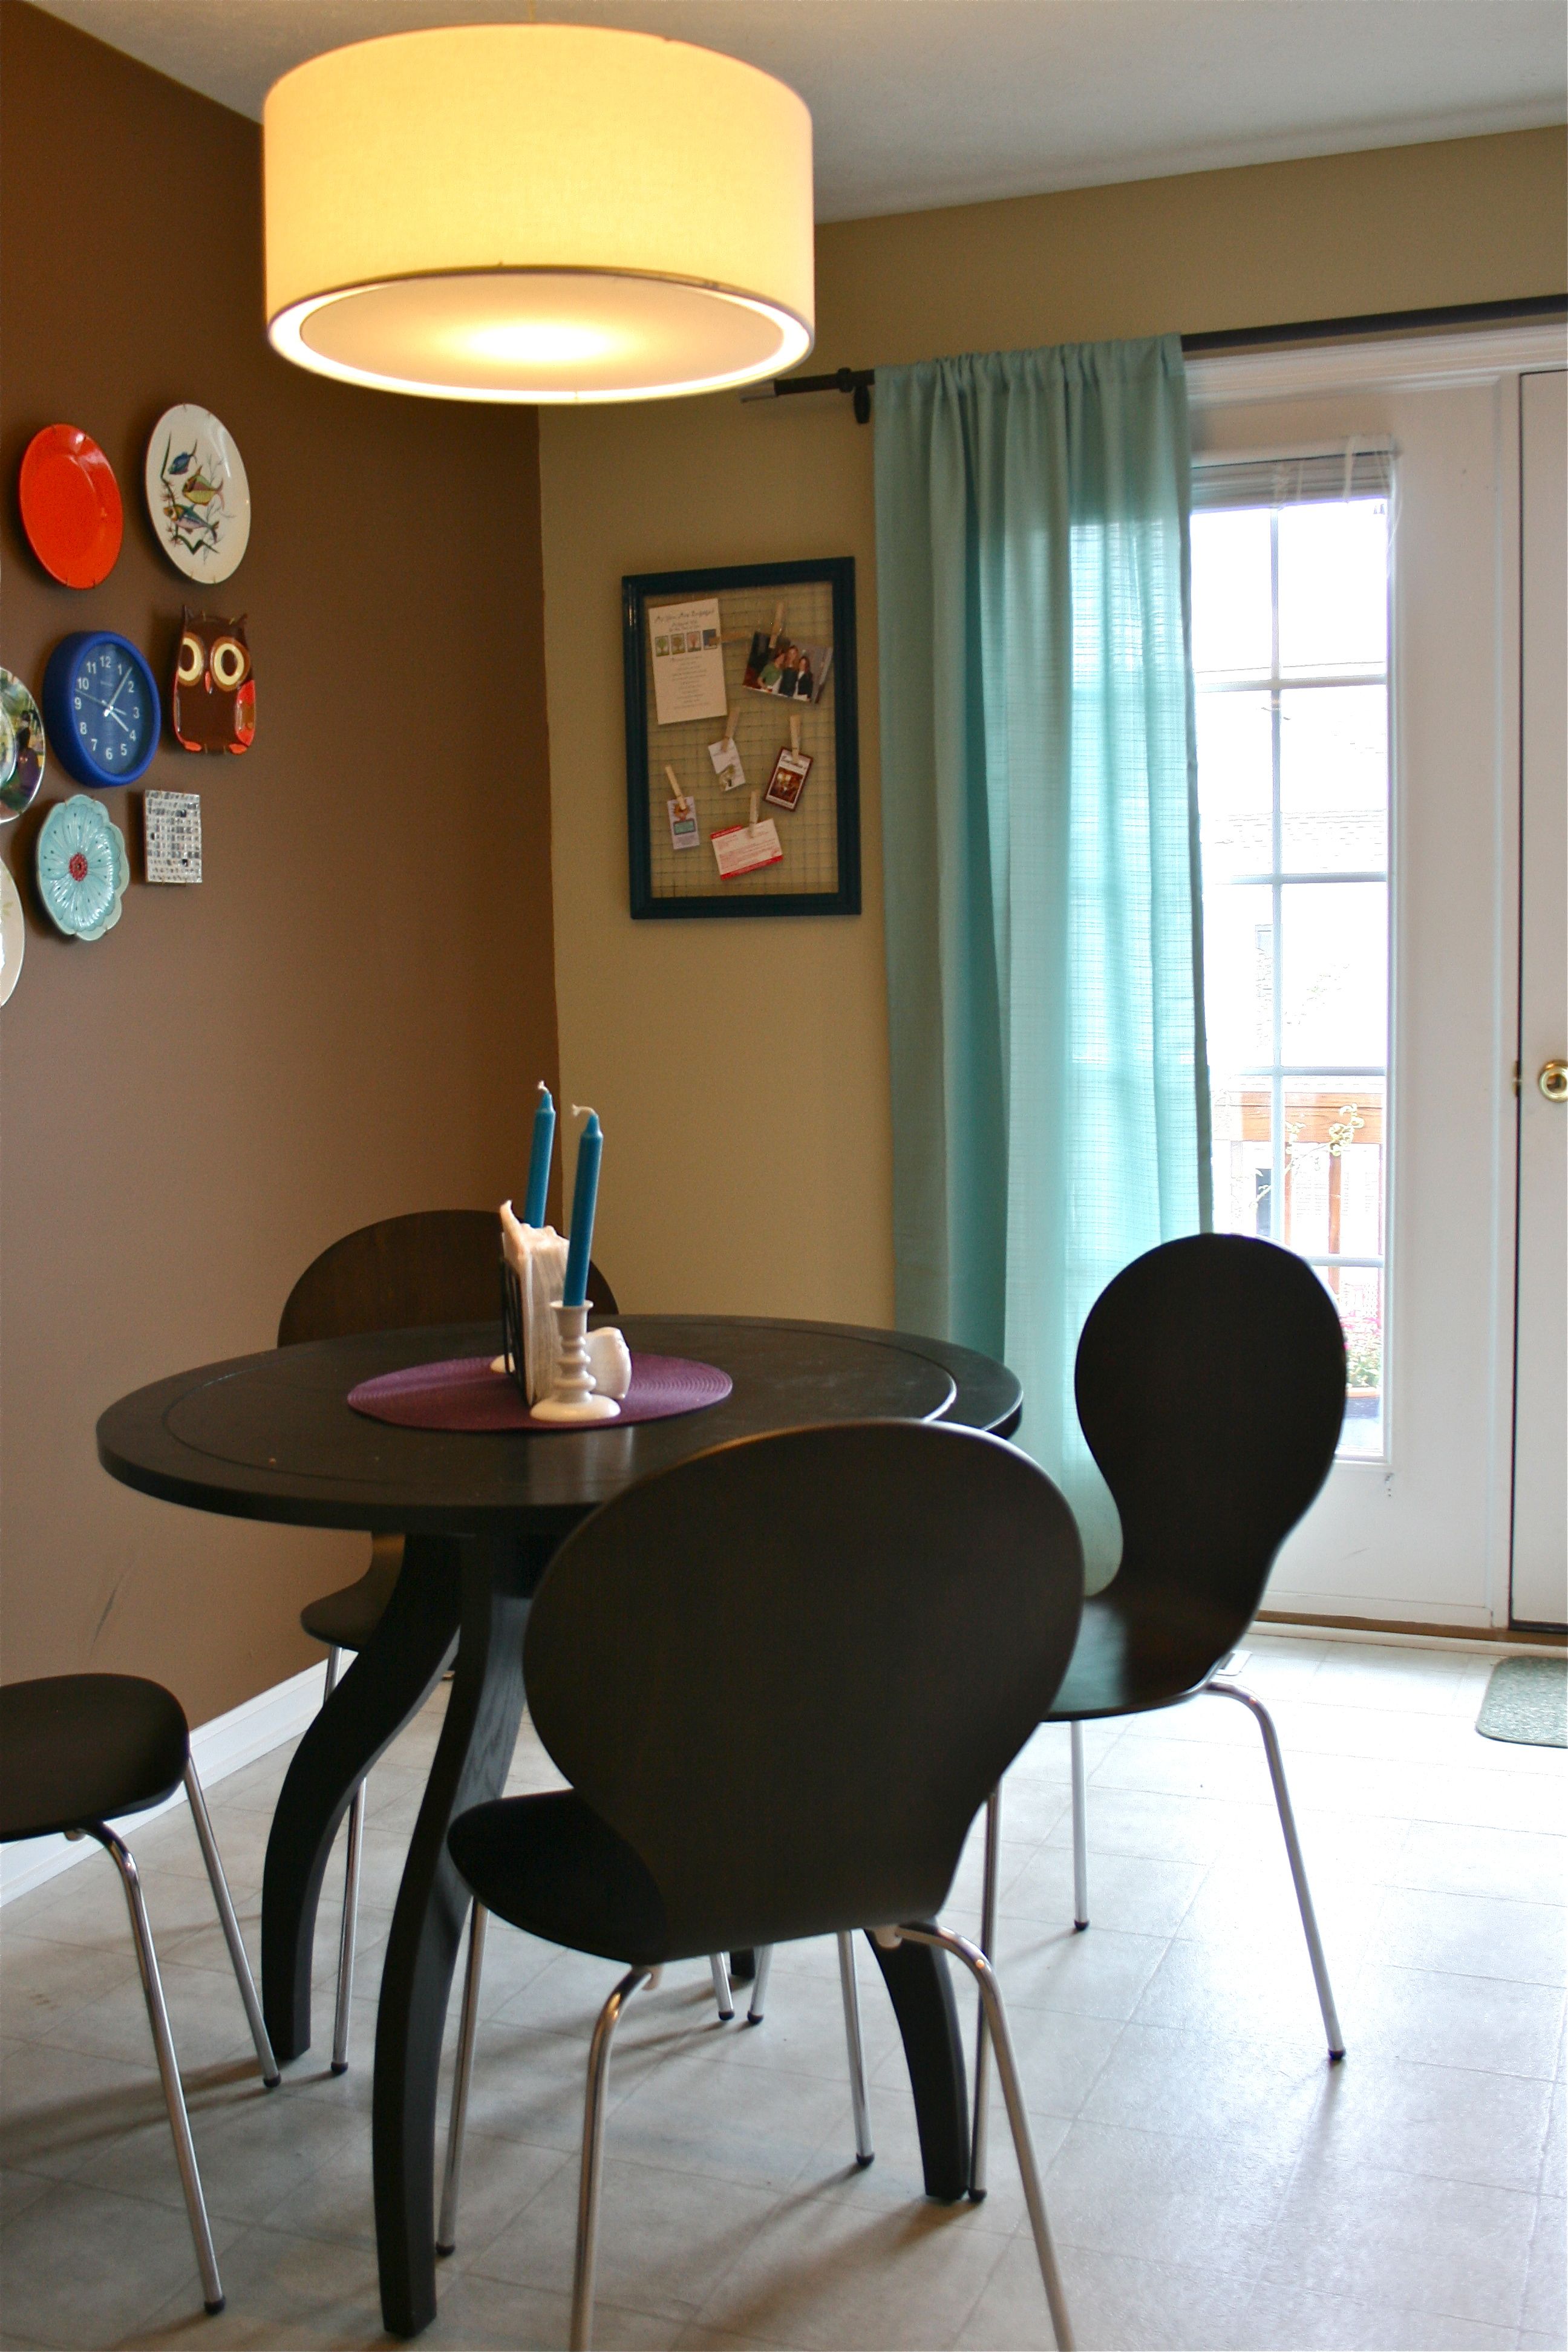
Here it is all filled and ready to go!
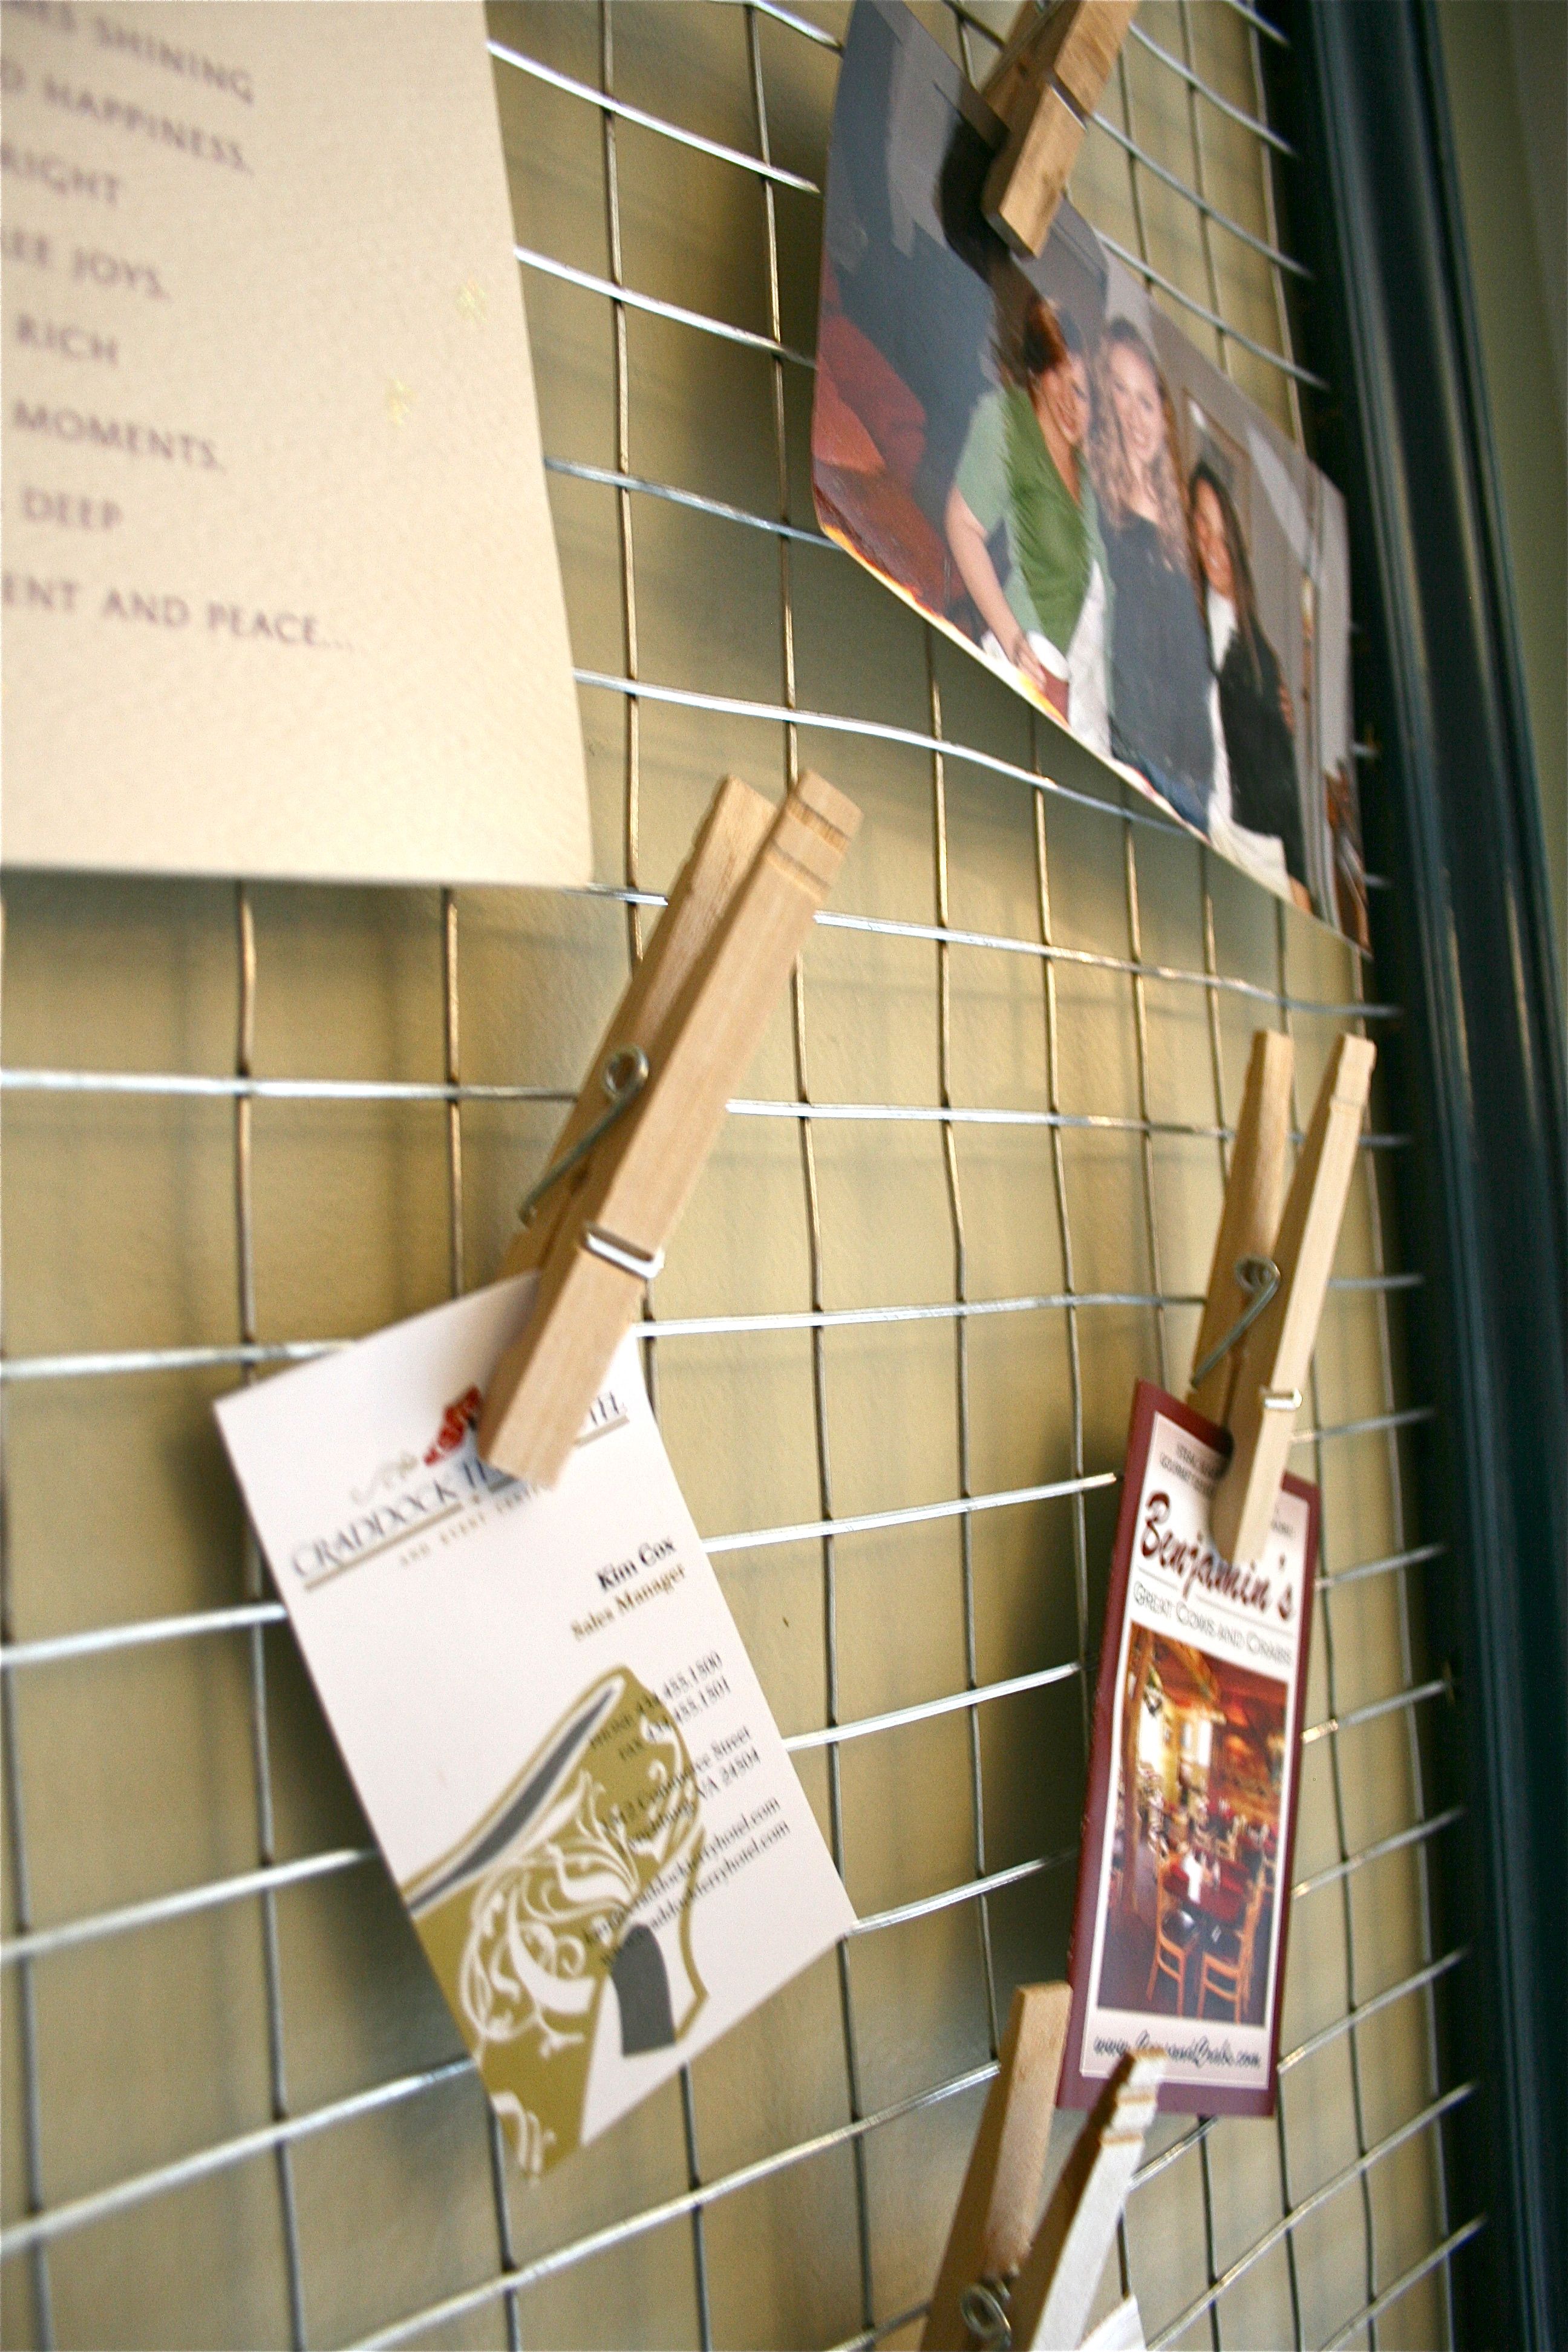
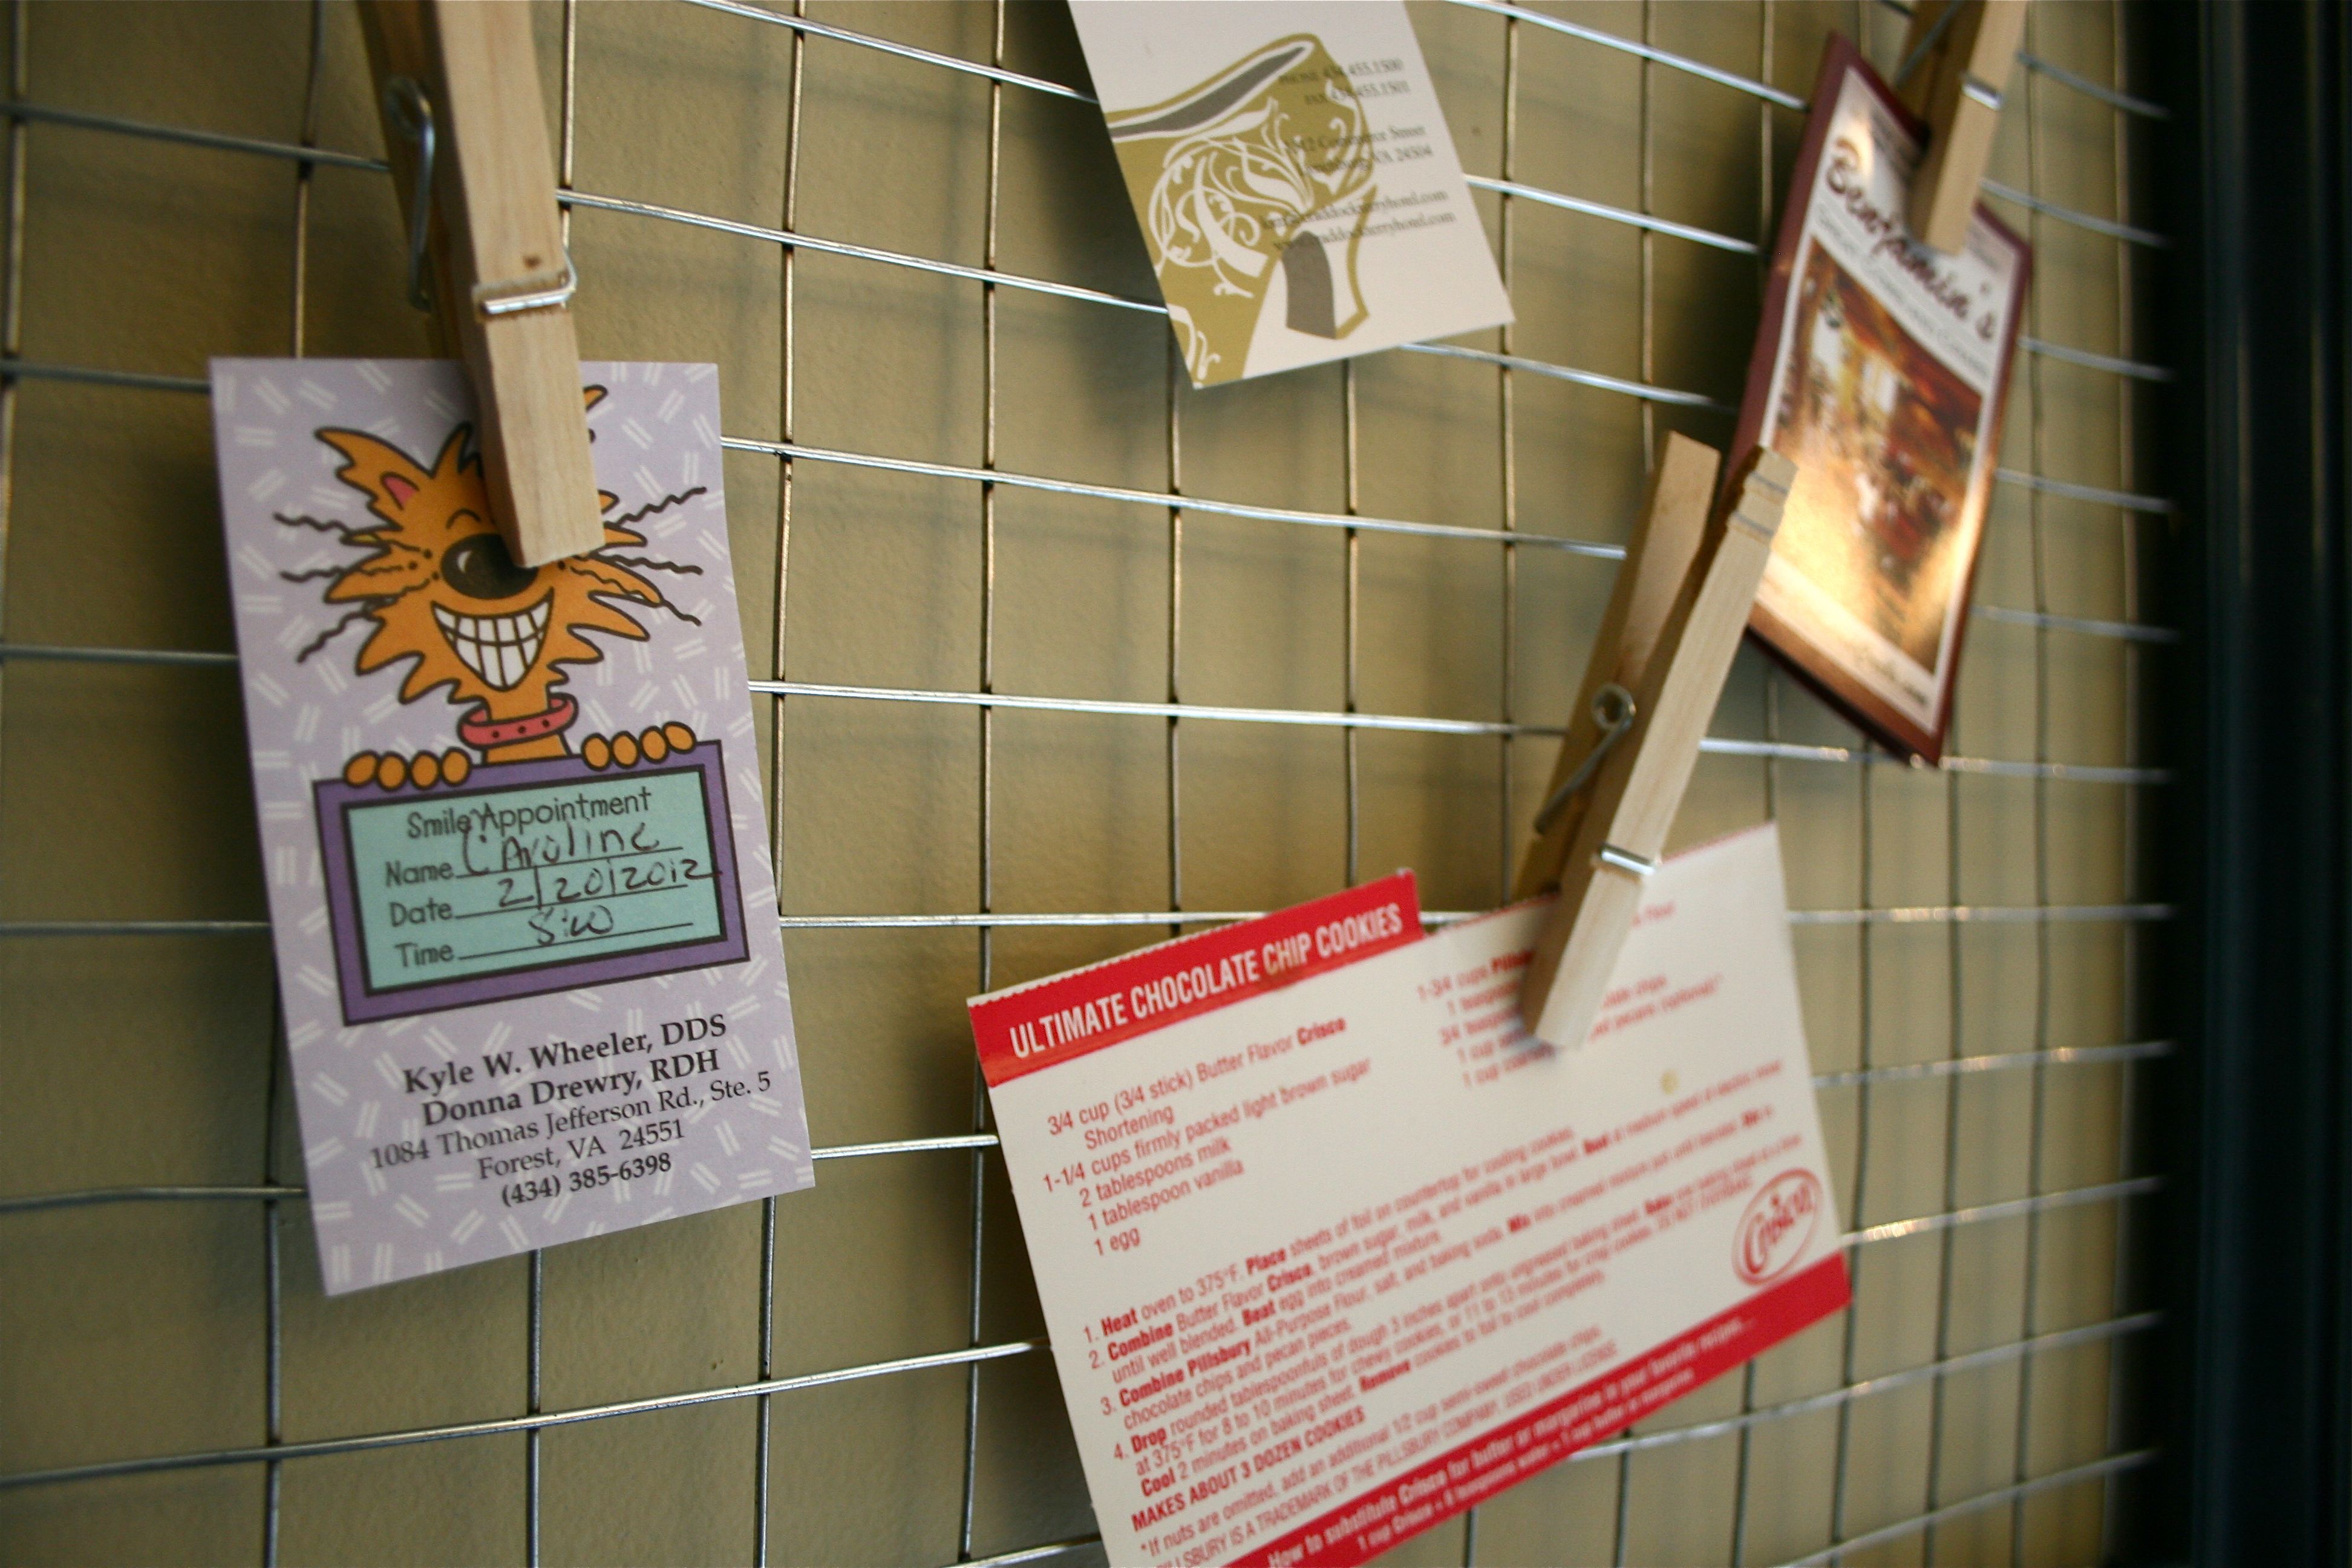
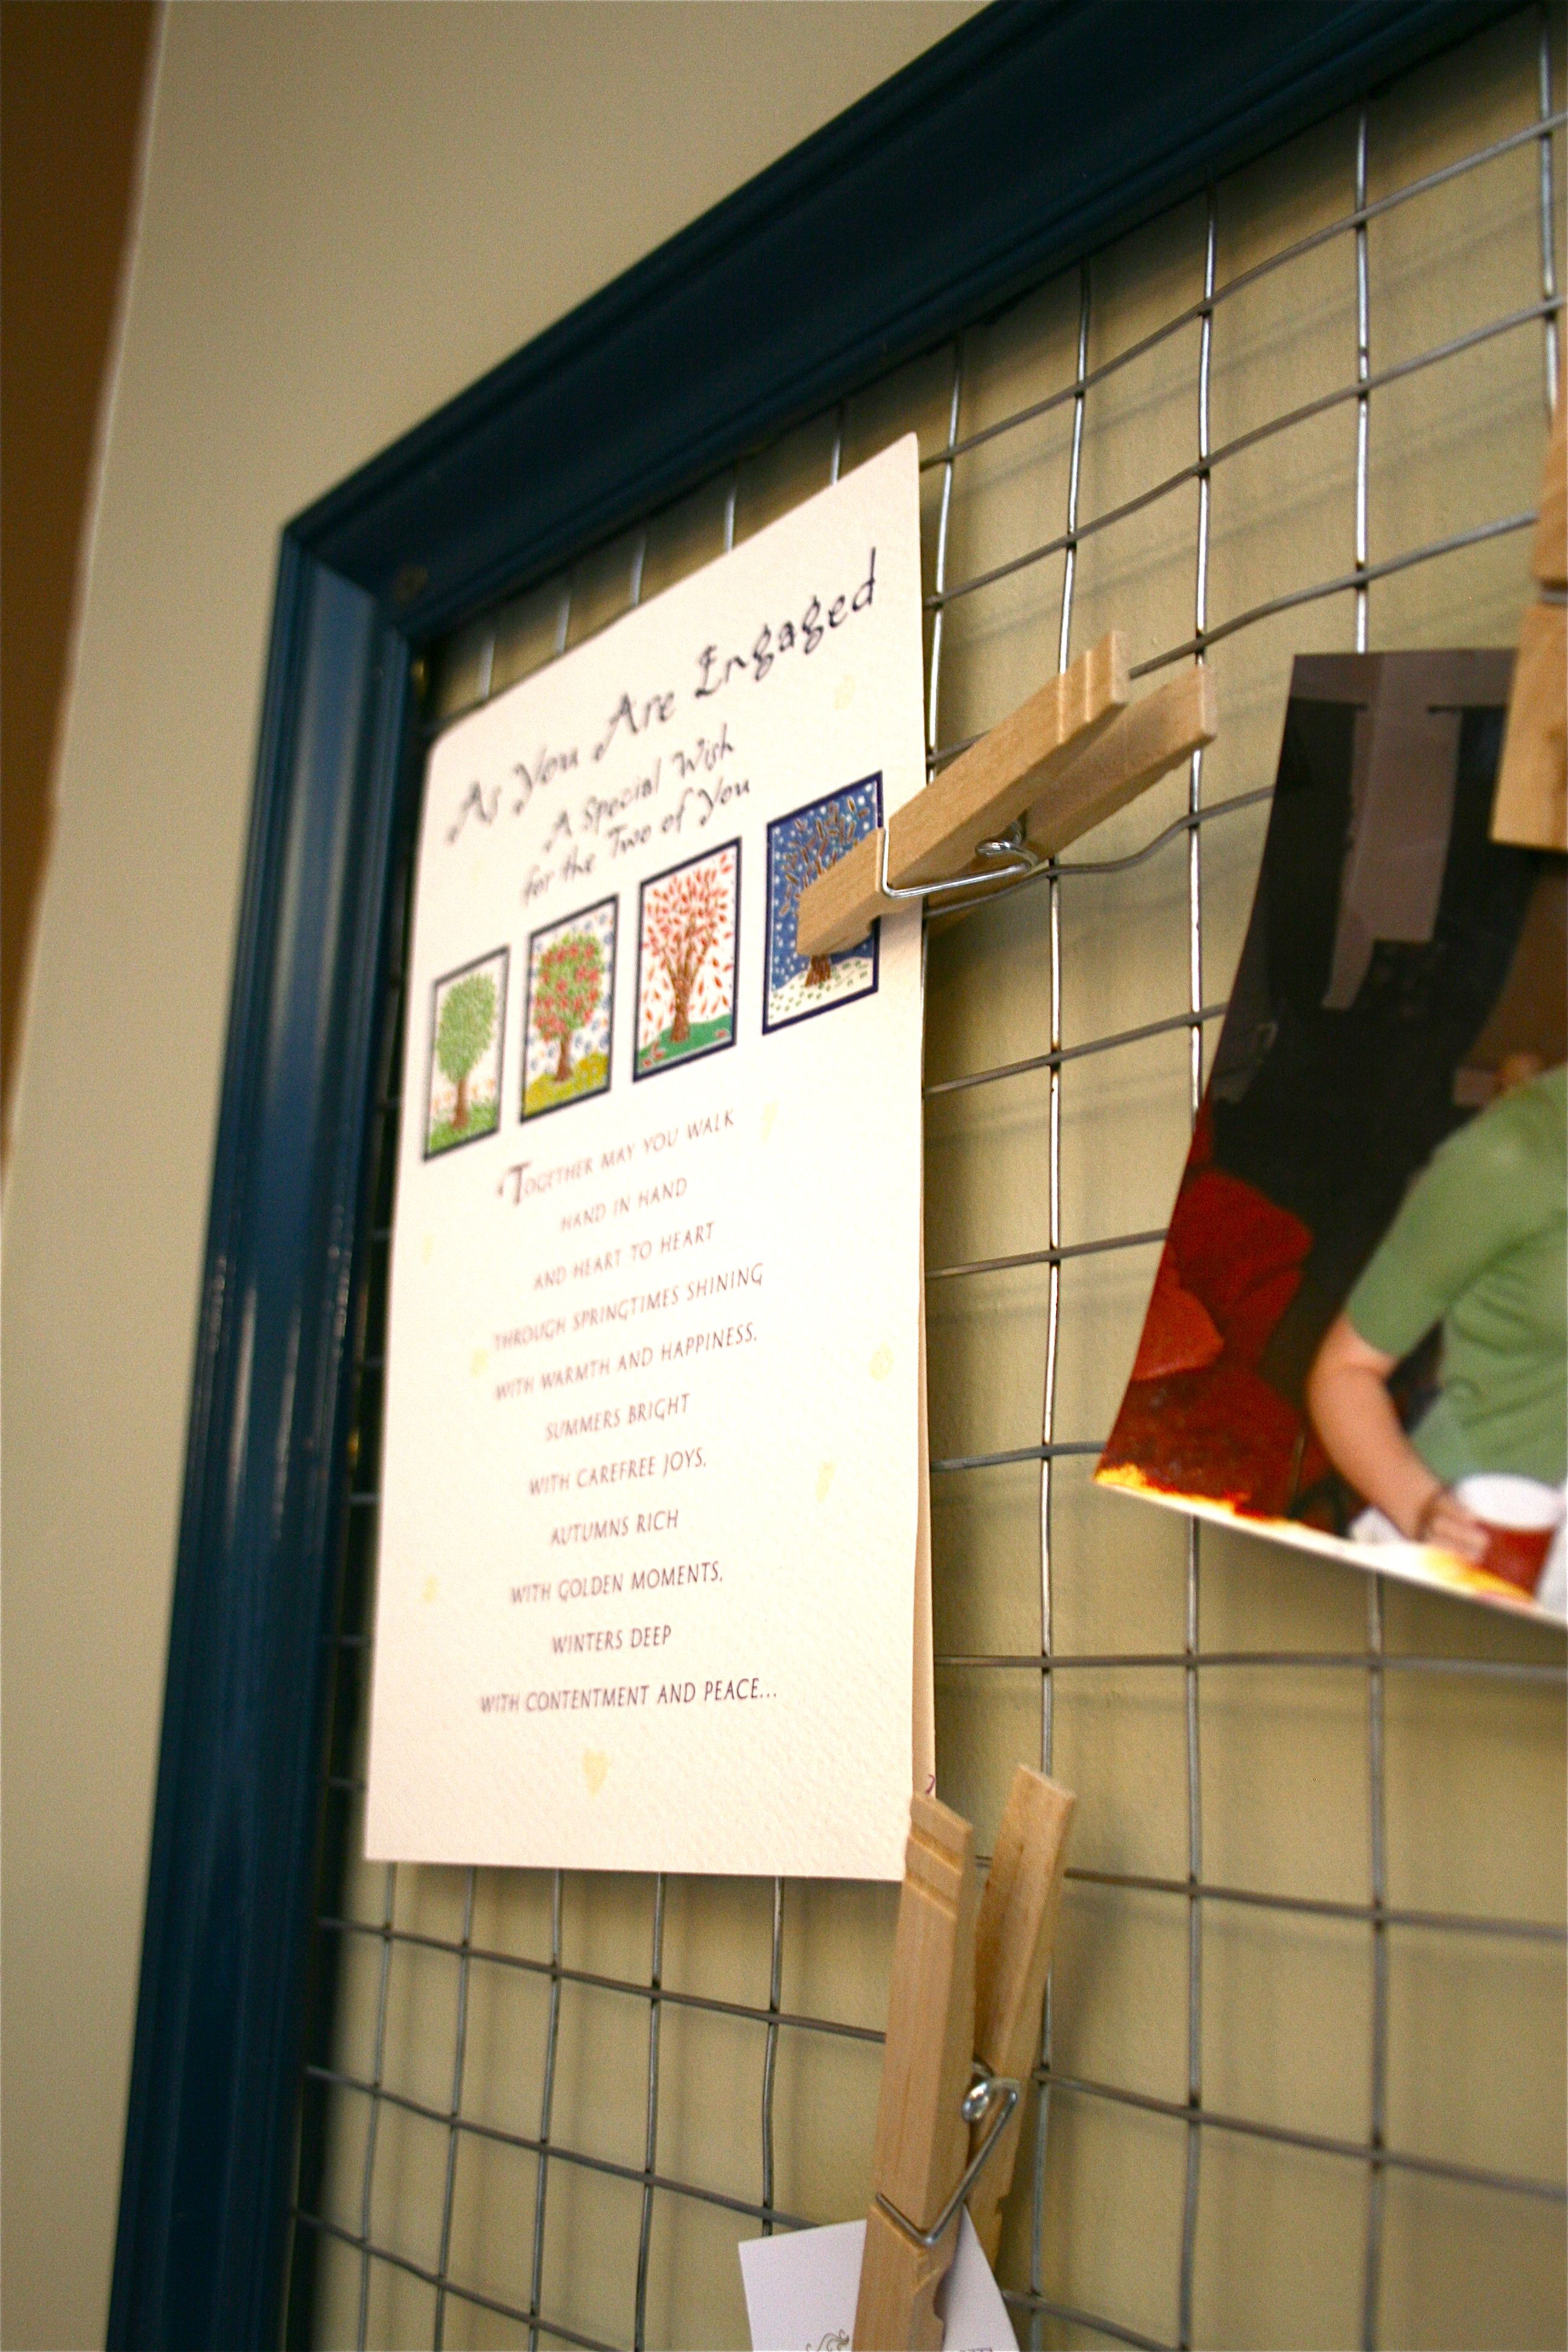
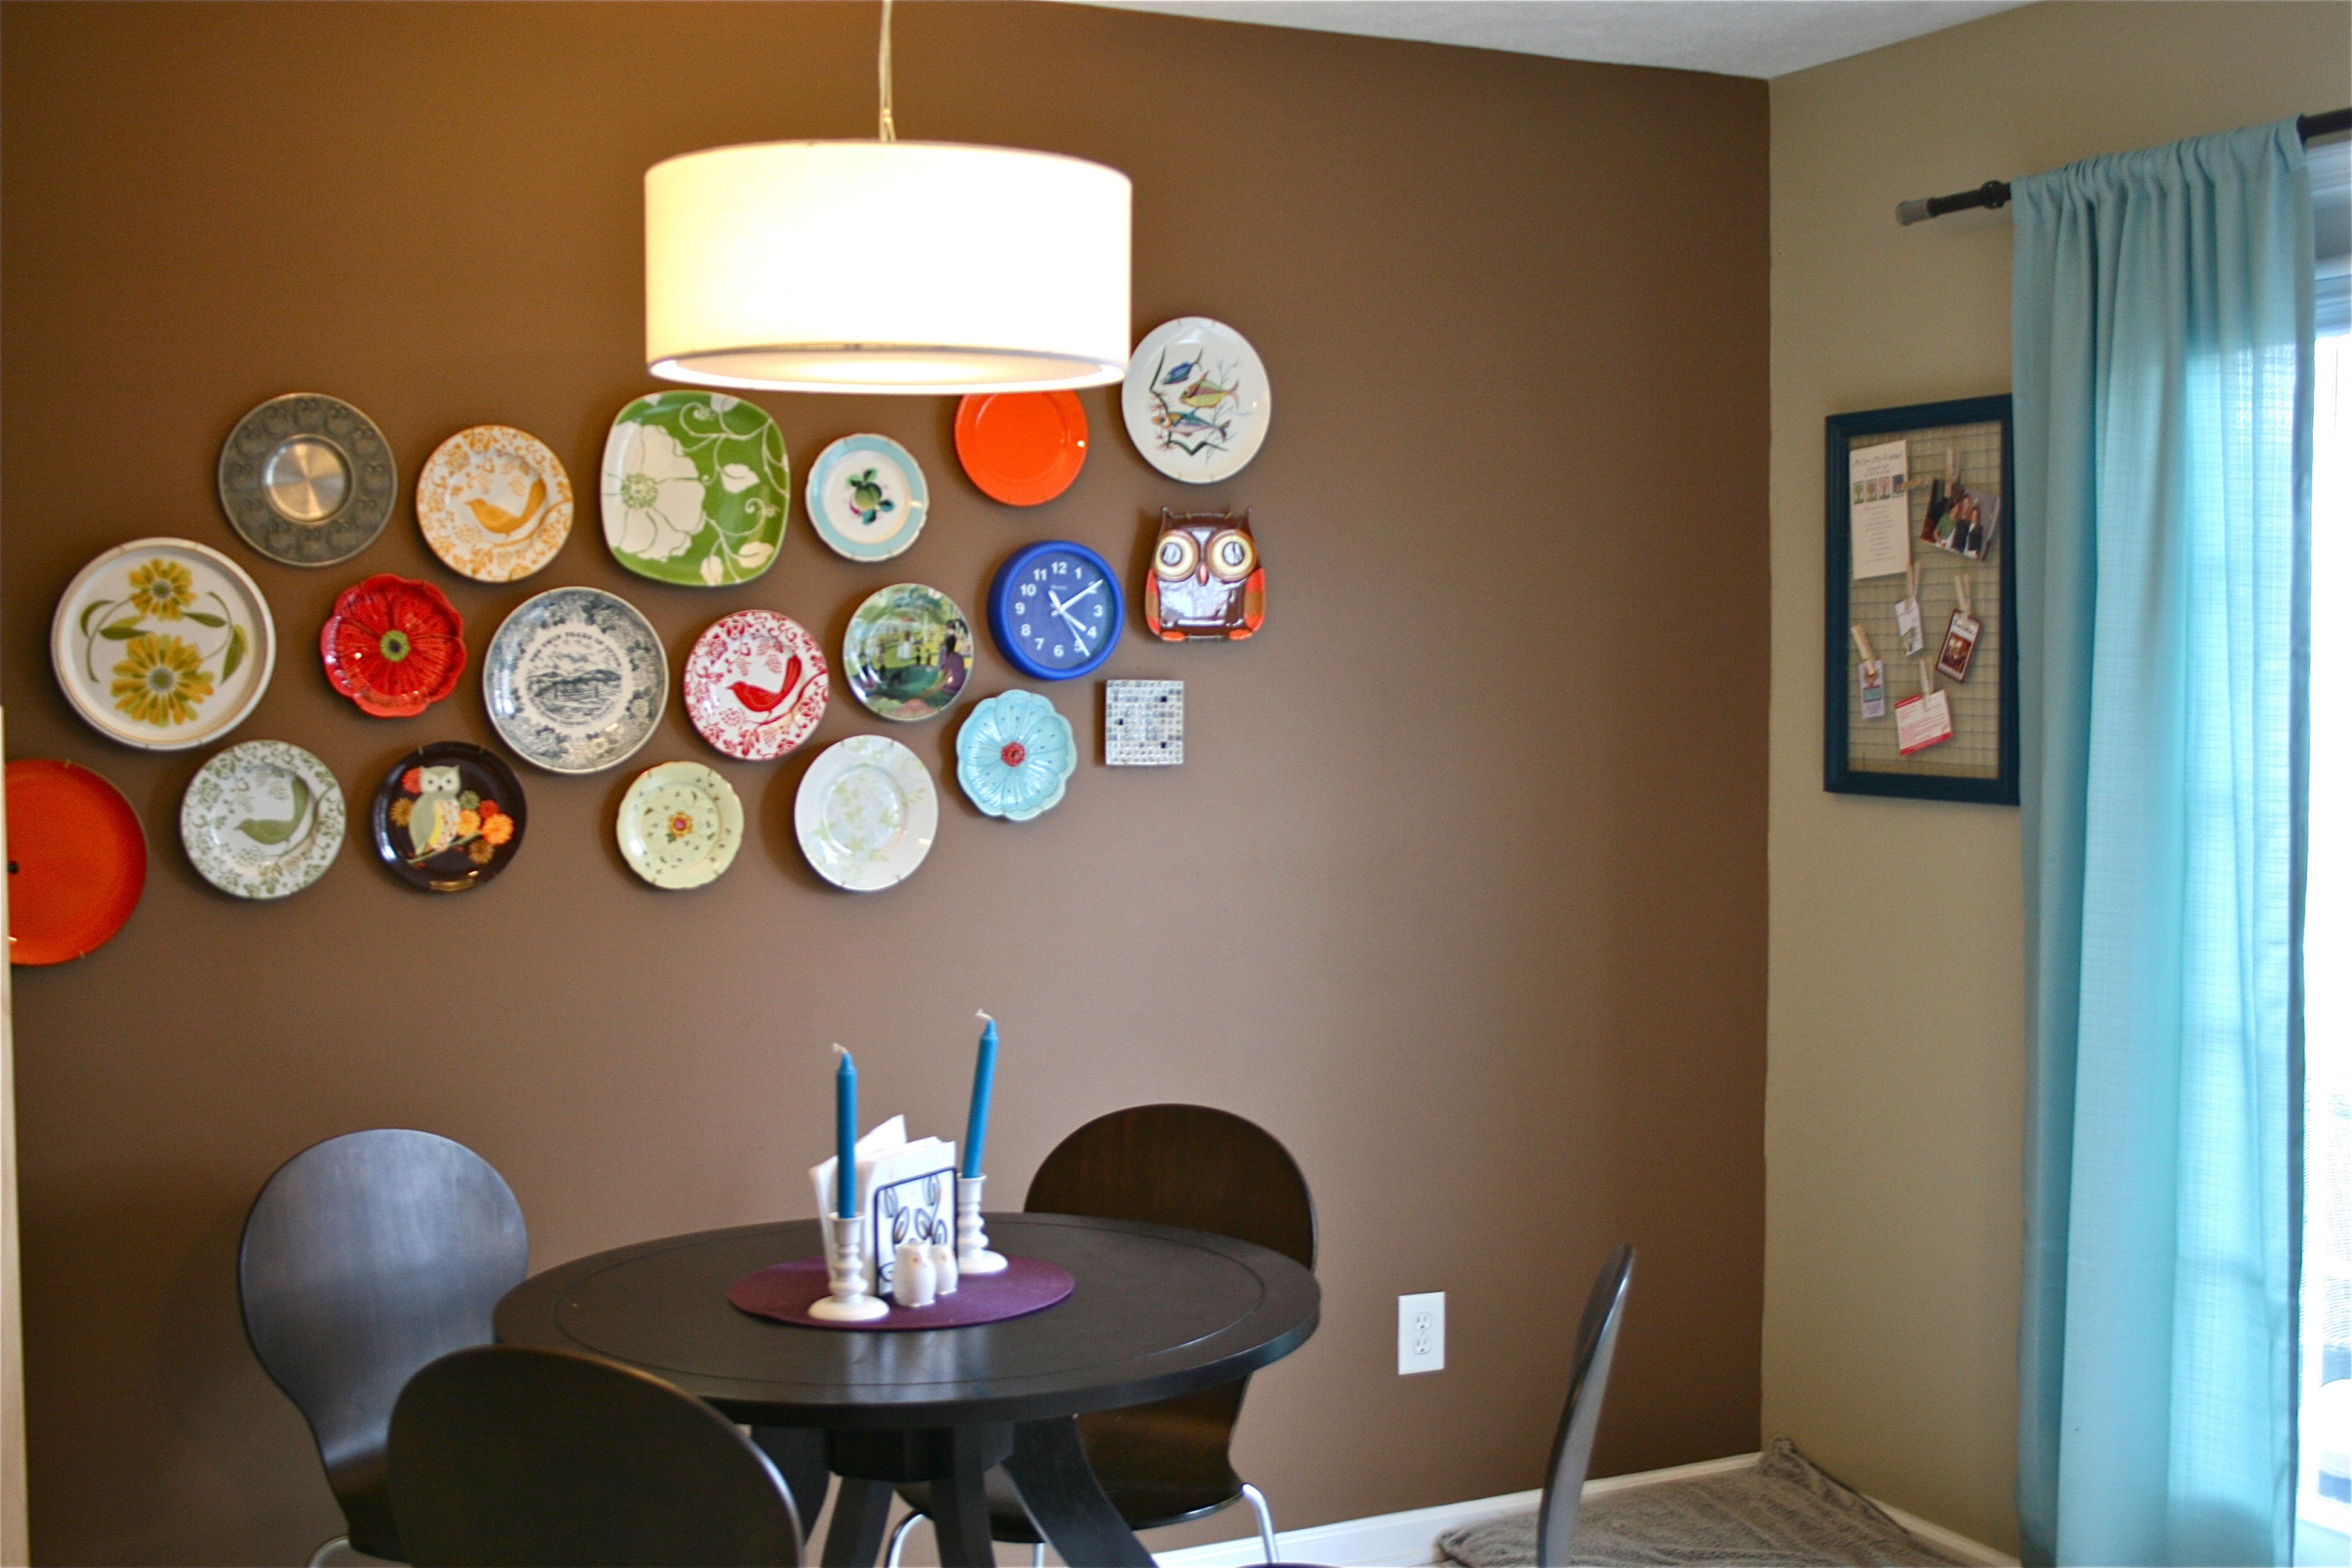
Who knows what will end up here over time, but for now I put up a photo of some friends and I, a menu from a local restaurant, a business card, a sweet engagement card from John’s family, a dentist appointment reminder ( Nothing serious just an occlusal guard tune up ) and a cookie recipe. My guess is that this will be our go-to place for memories but also little reminders and receipts, etc. – Kitcheny things of course 🙂
I like the home-y quality it gives the room from further back – It feels like the perfect thing to add life and warmth to that unused corner of the dining room/kitchen.
Did you guys have a productive weekend? John and I ended up going out and picking up supplies for four new projects! Can’t wait to show you what we’ve got planned…
Have a great Monday!
UPDATE: See this project (plus a TONNNNN of other amazing ones) linked over on Young House Love’s amazing blog here! We are adding to their Pinterest Challenge to share the pinning love 🙂

