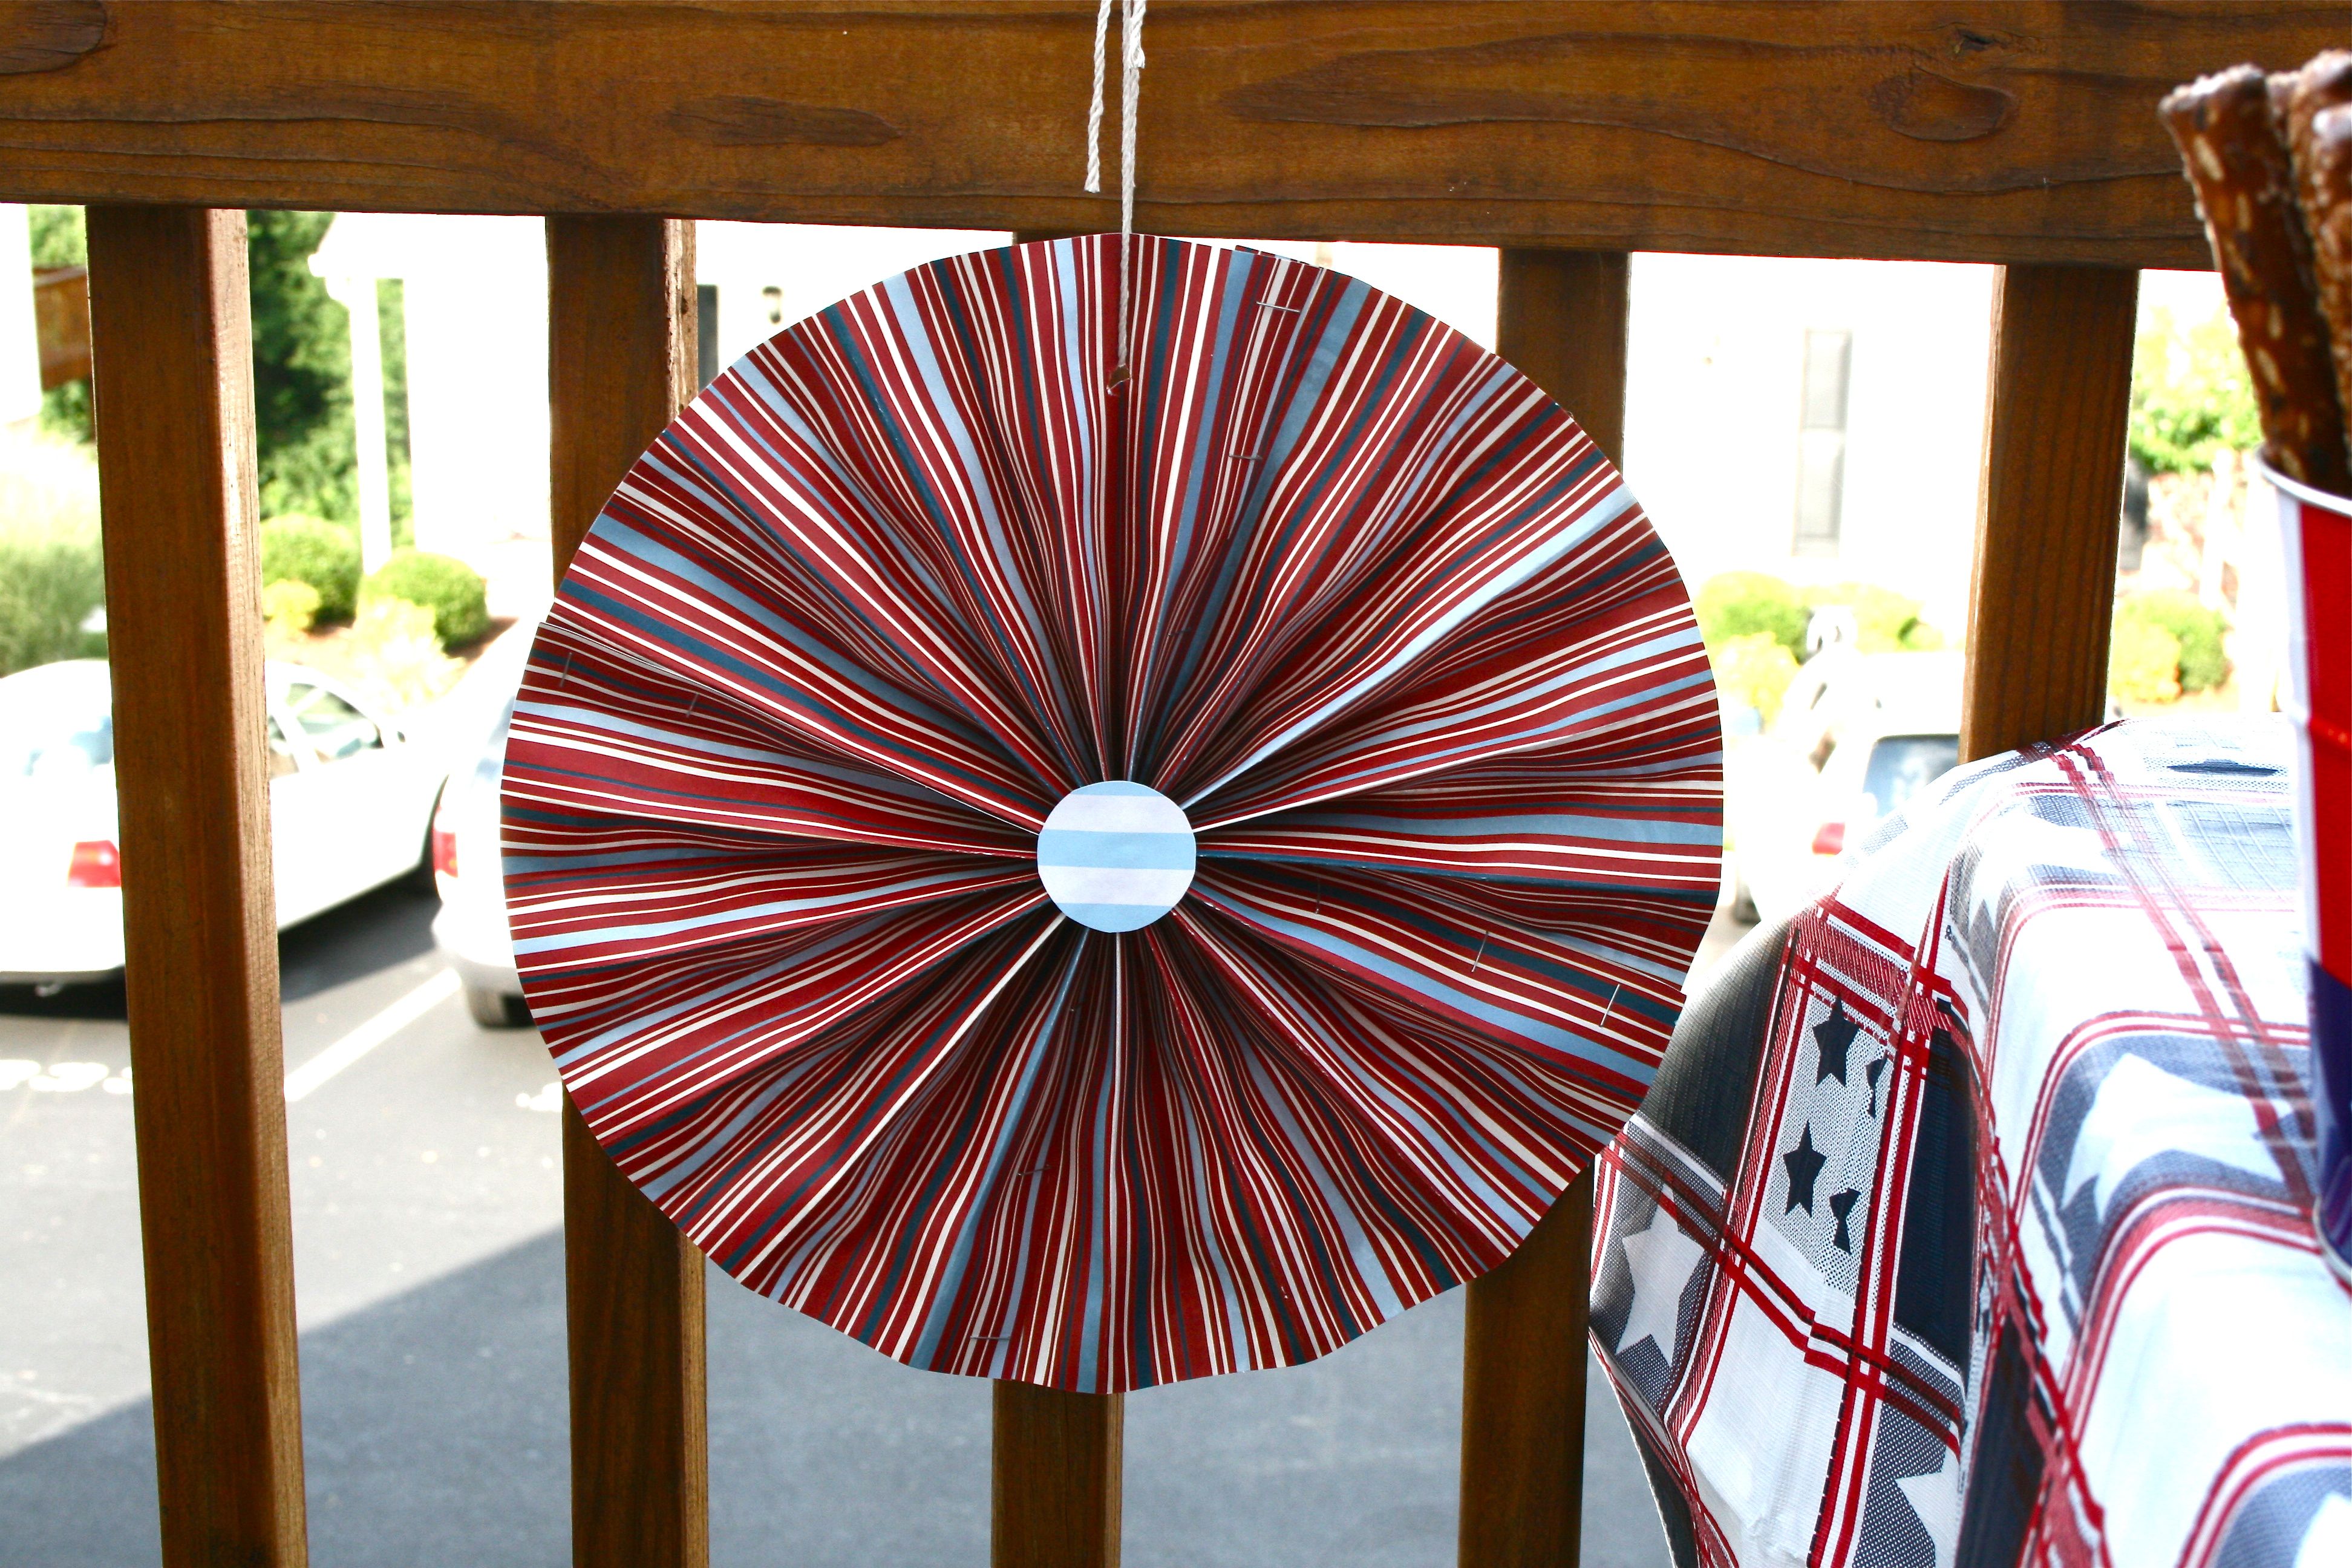
Here we are for our last 4th of July decoration how-to!
As you may have seen in our NoBiggie guest post over the weekend we threw together a quick little party spread, complete with ribbon-adorned jars (posted about here) and all sorts of summer treats to make guests say “Yummm”.
Today, I wanted to explain how I made my red-white-and-blue pinwheels.
Here’s my supply break down:
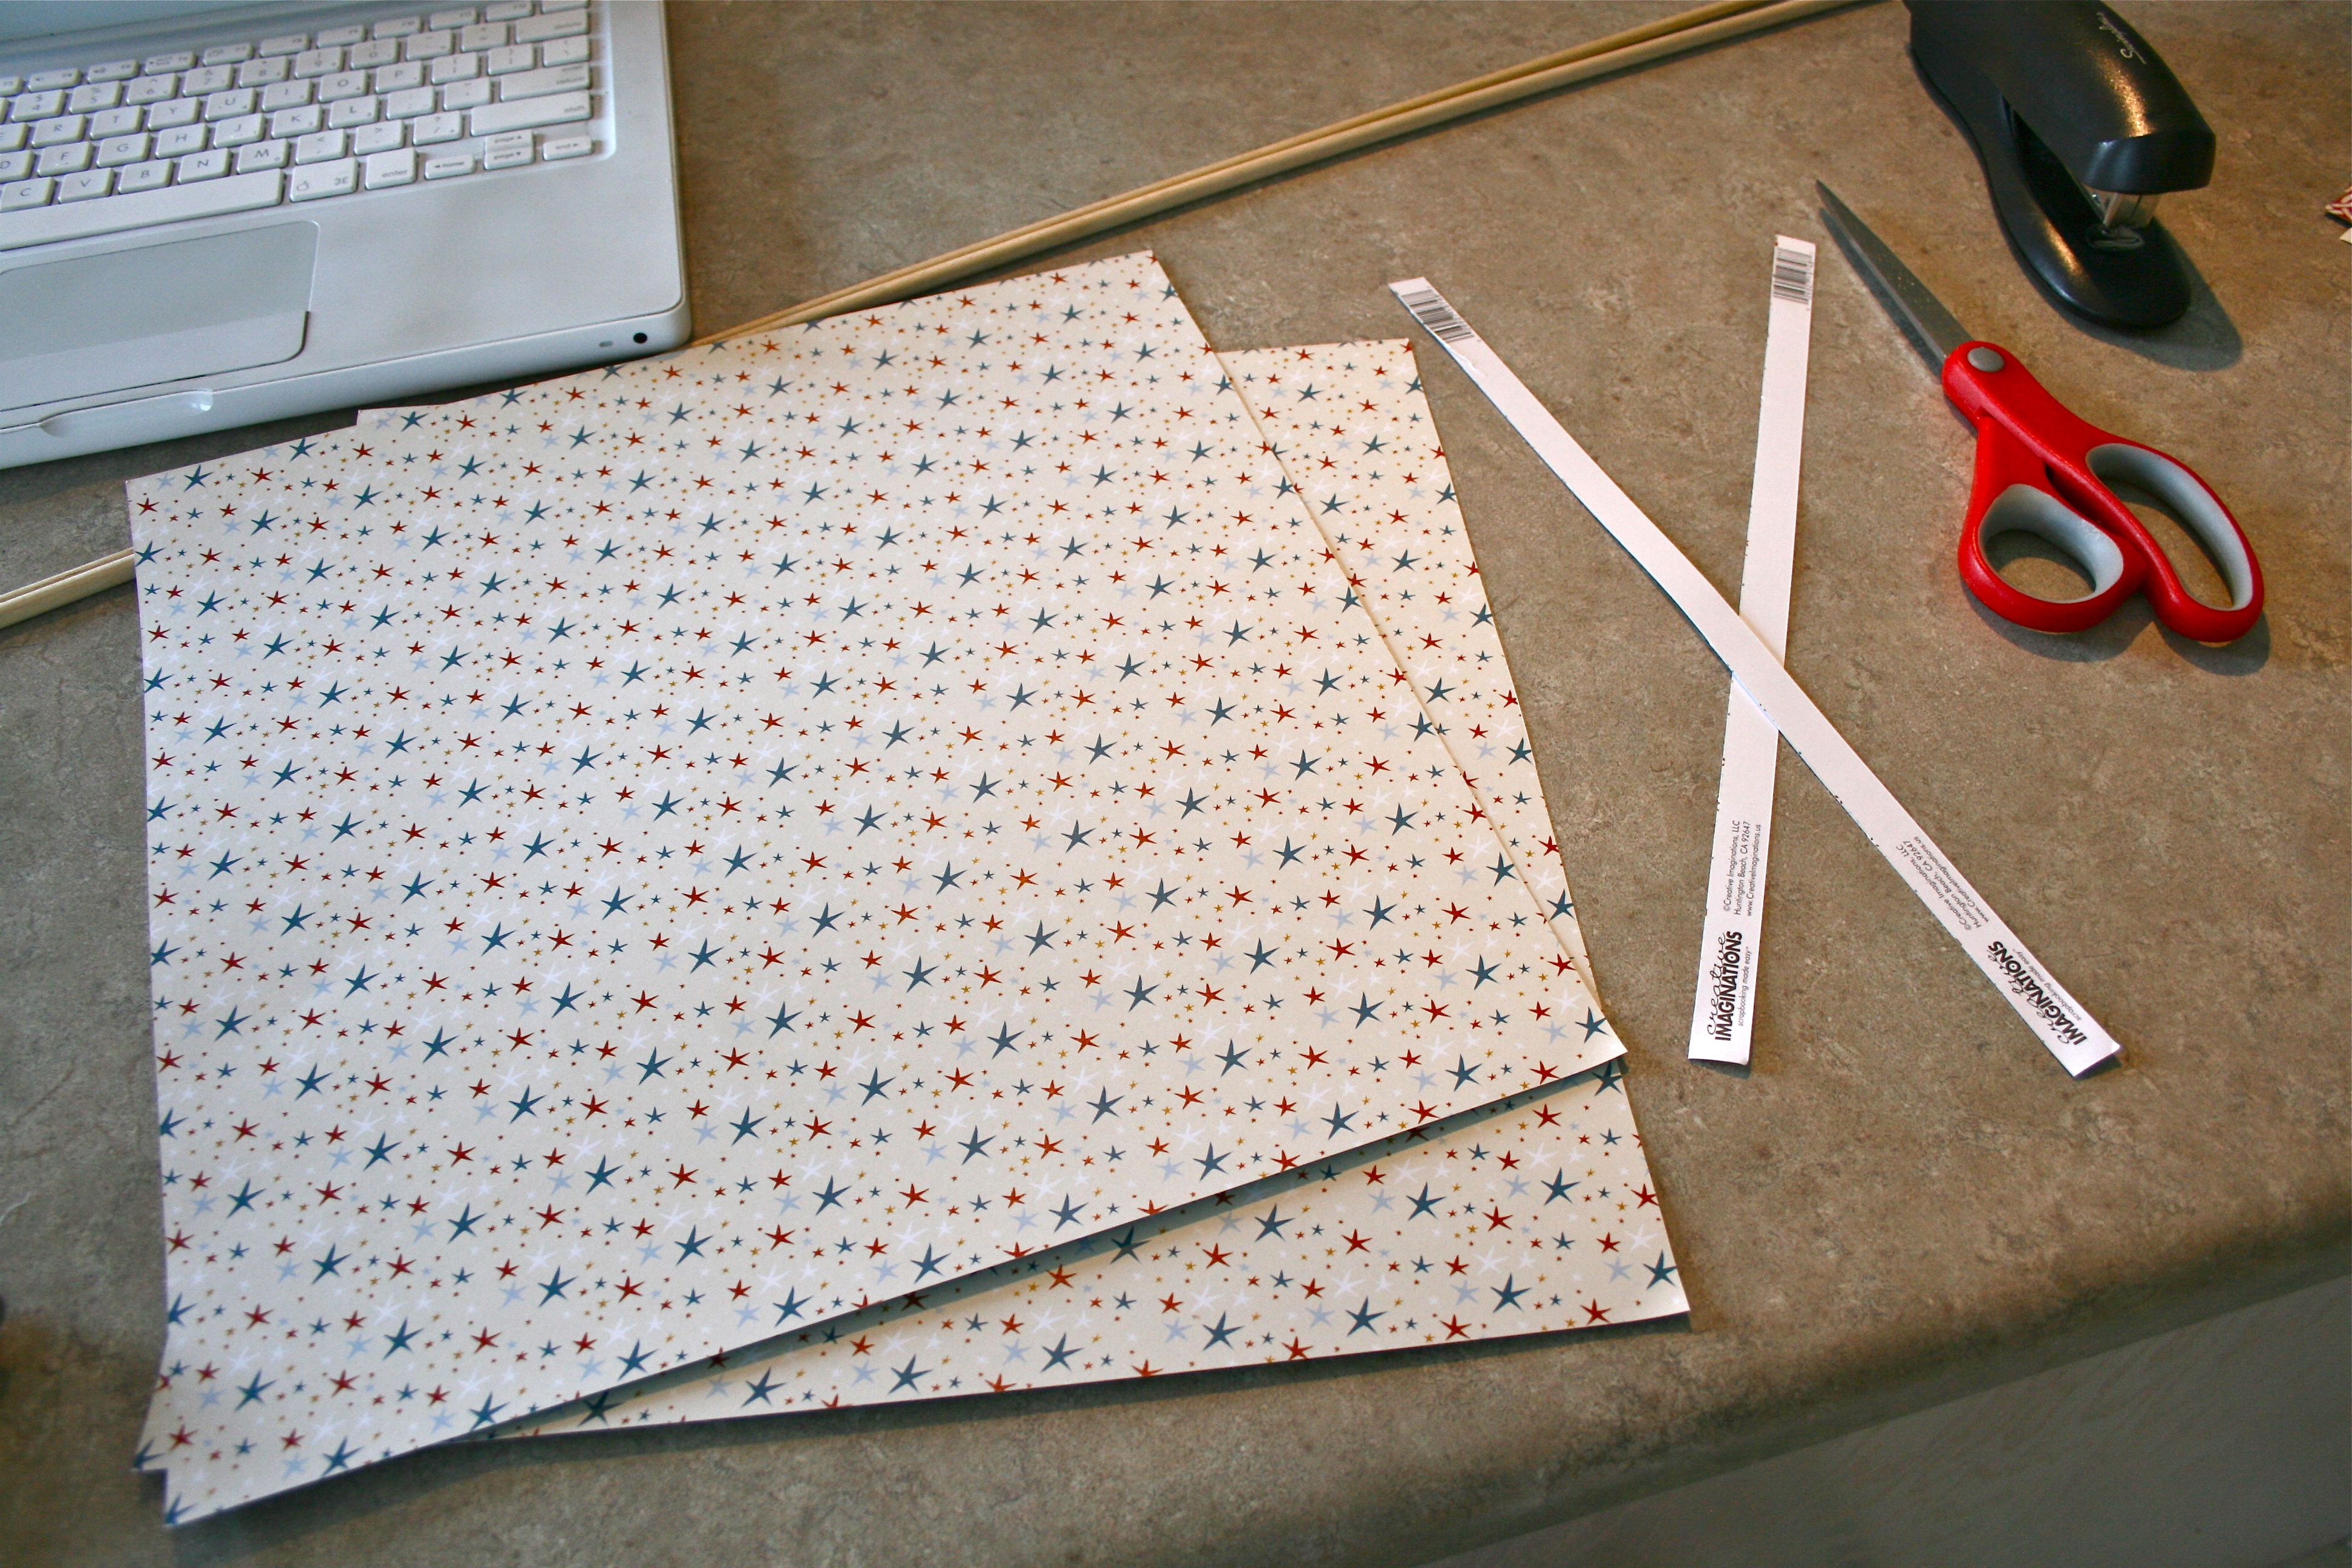
- Two different patterns of standard size scrapbooking paper (2 sheets of each pattern)
- Pair of scissors
- Stapler
- Pen
- Very thin dowel rod (at least a couple feet long for multiple pinwheels)
- Hot Glue Gun
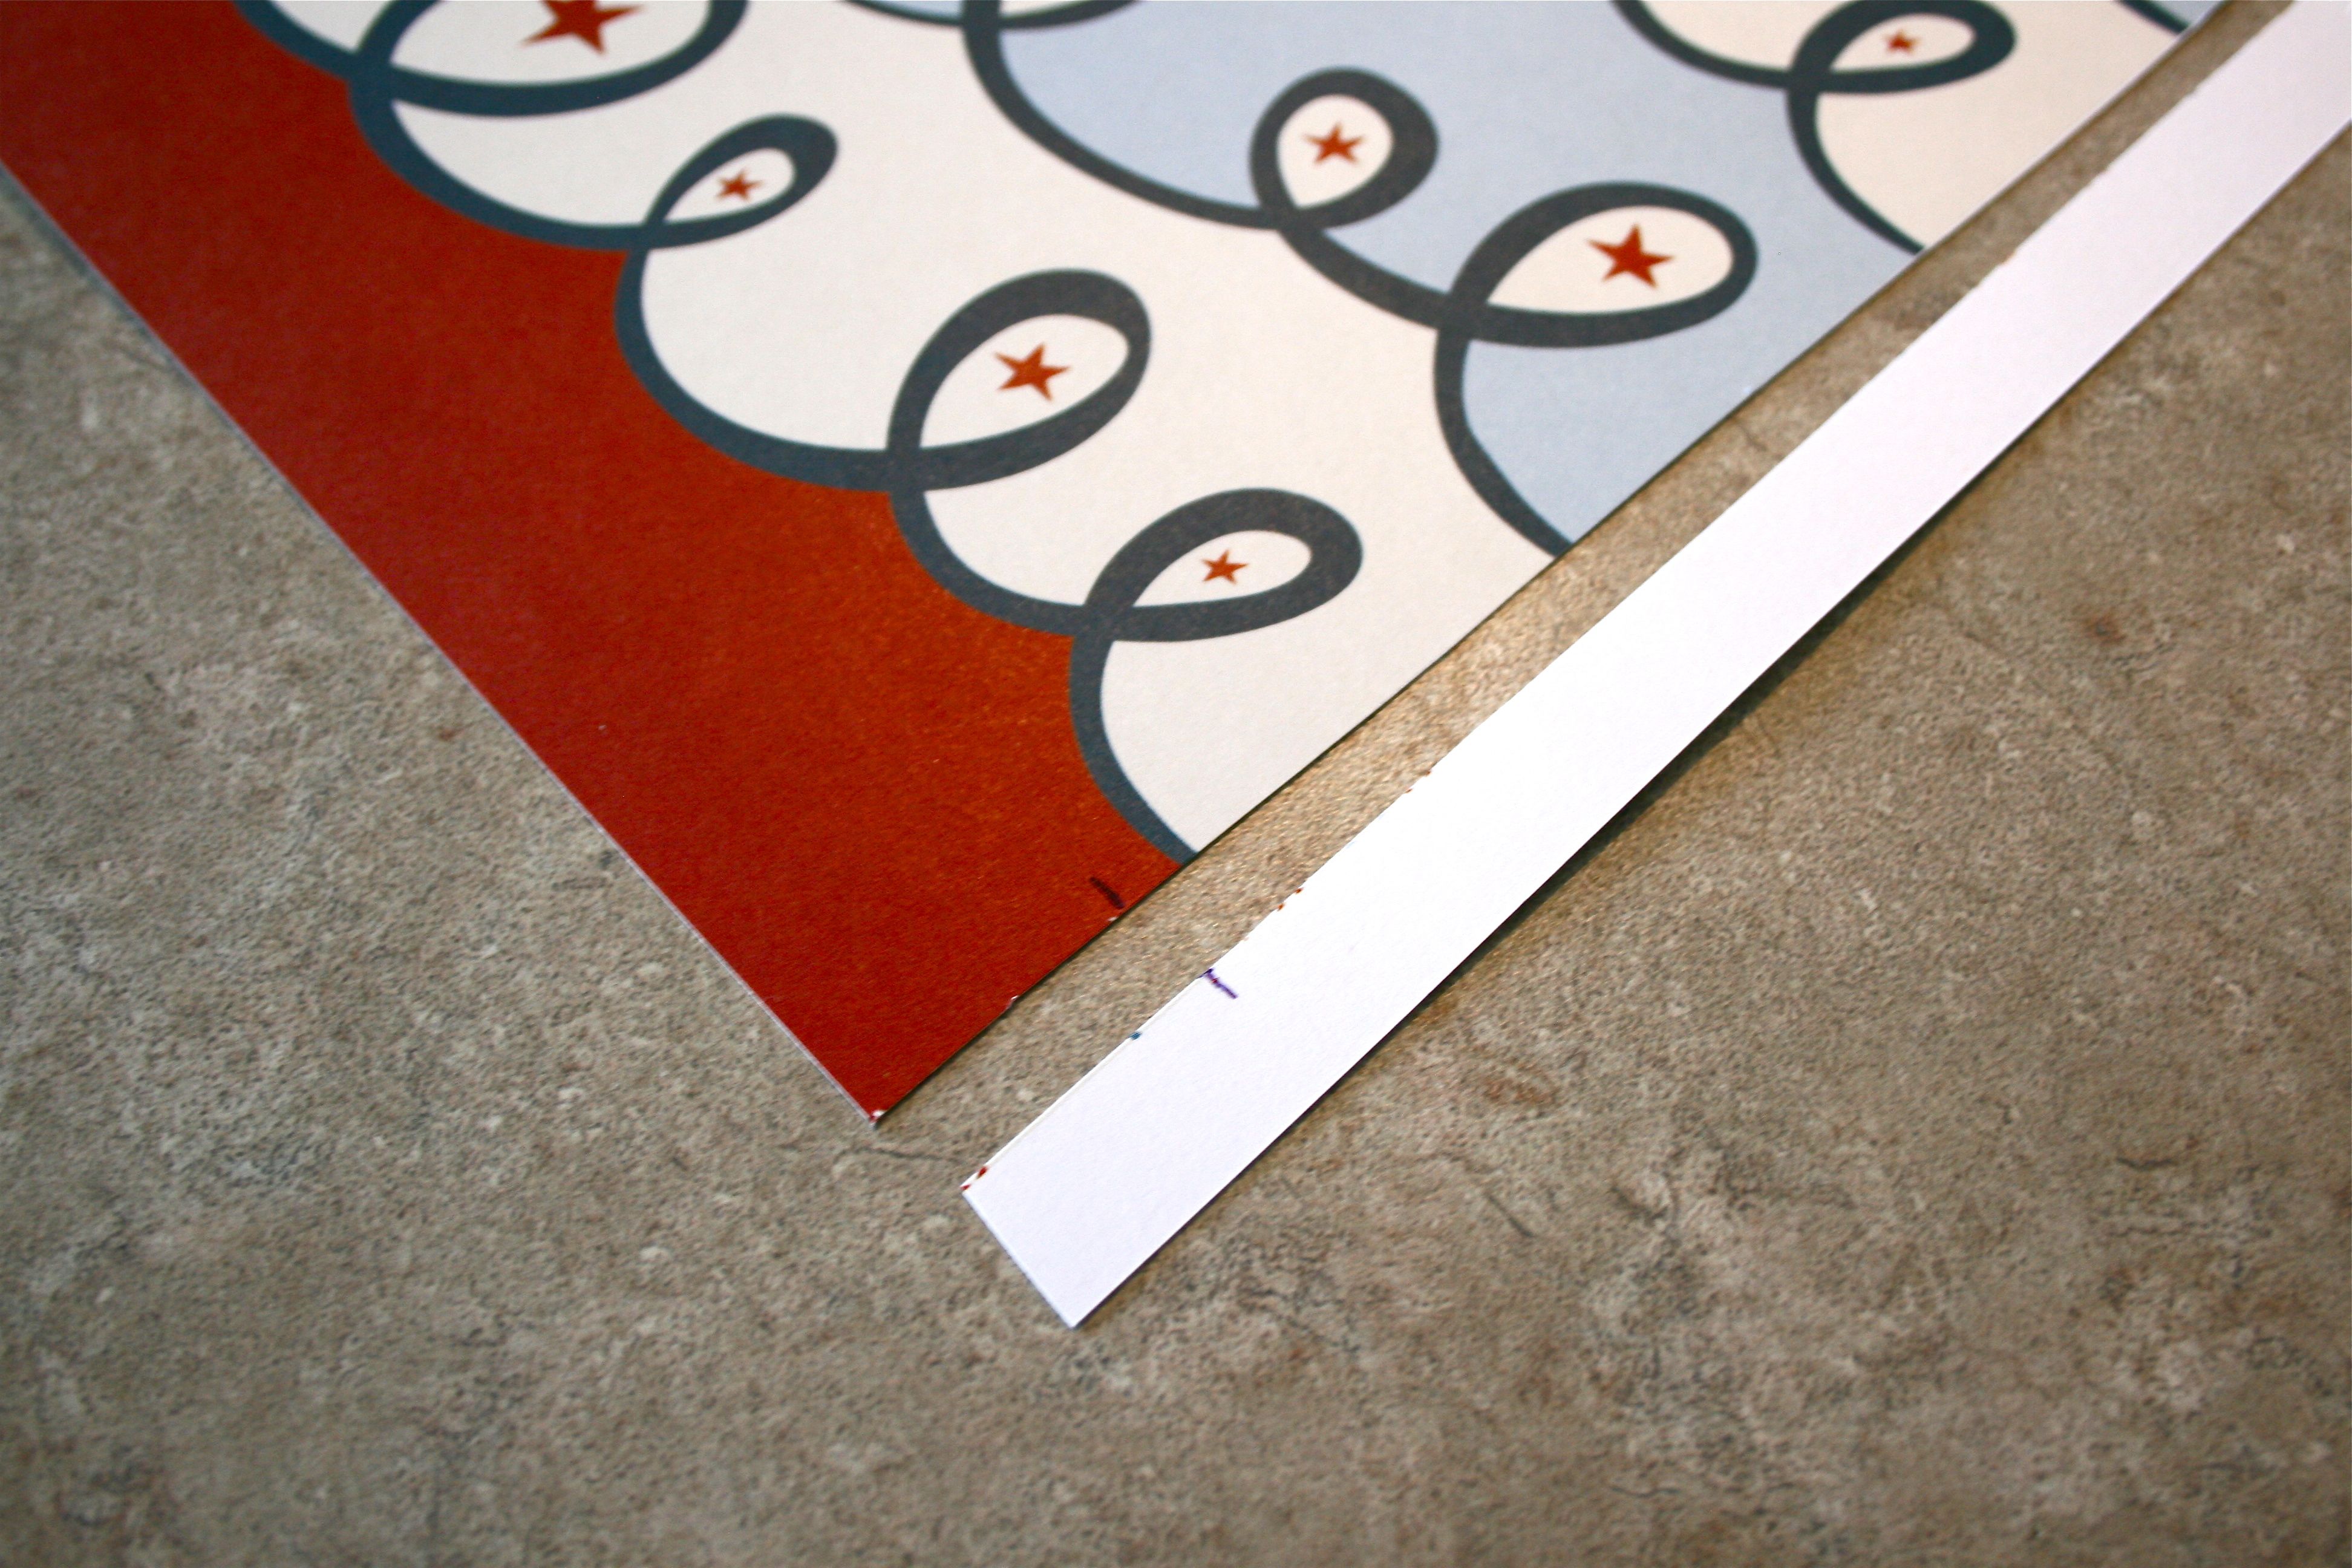
I began the project with the star patterned scrapbooking paper, cutting off the bar code end (not all scrapbooking paper has this, but the particular kind I bought did).
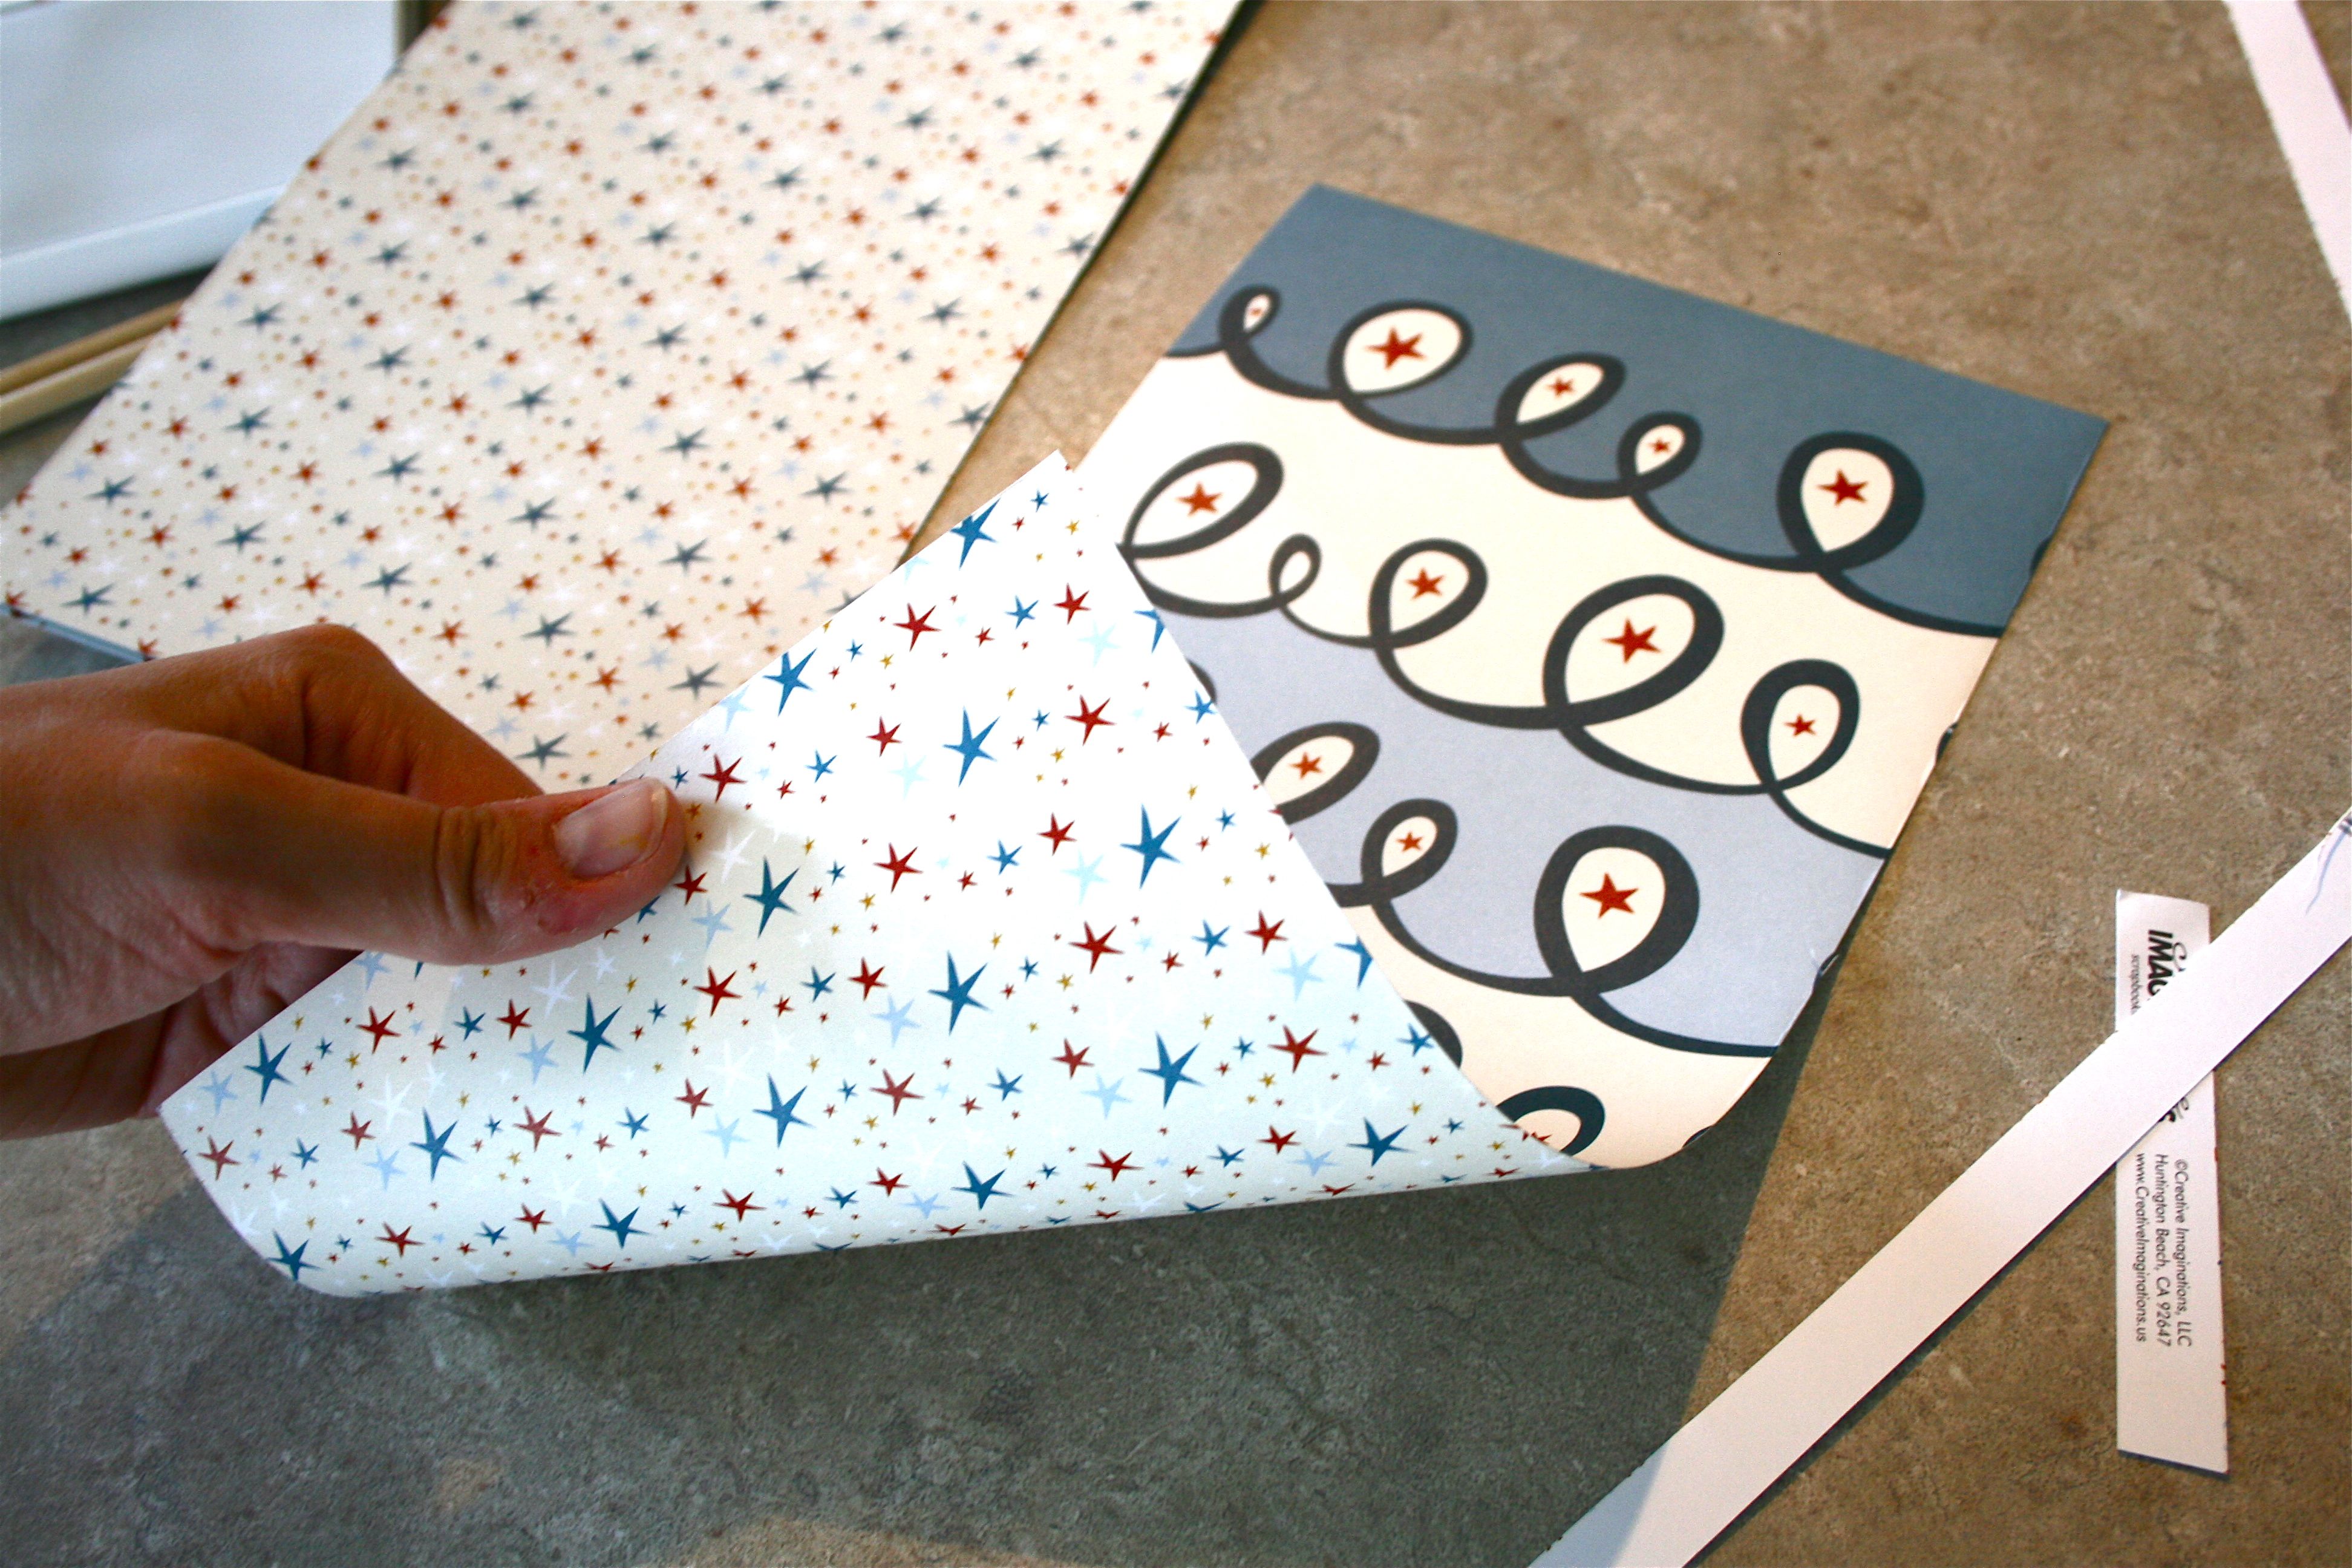
But I ended up using the discarded slivers of paper to measure in a later step, so it worked out. Next I cut each of the square sheets of paper in half. This was also the part where I realized that my paper was reversible! I liked the star side better though 🙂
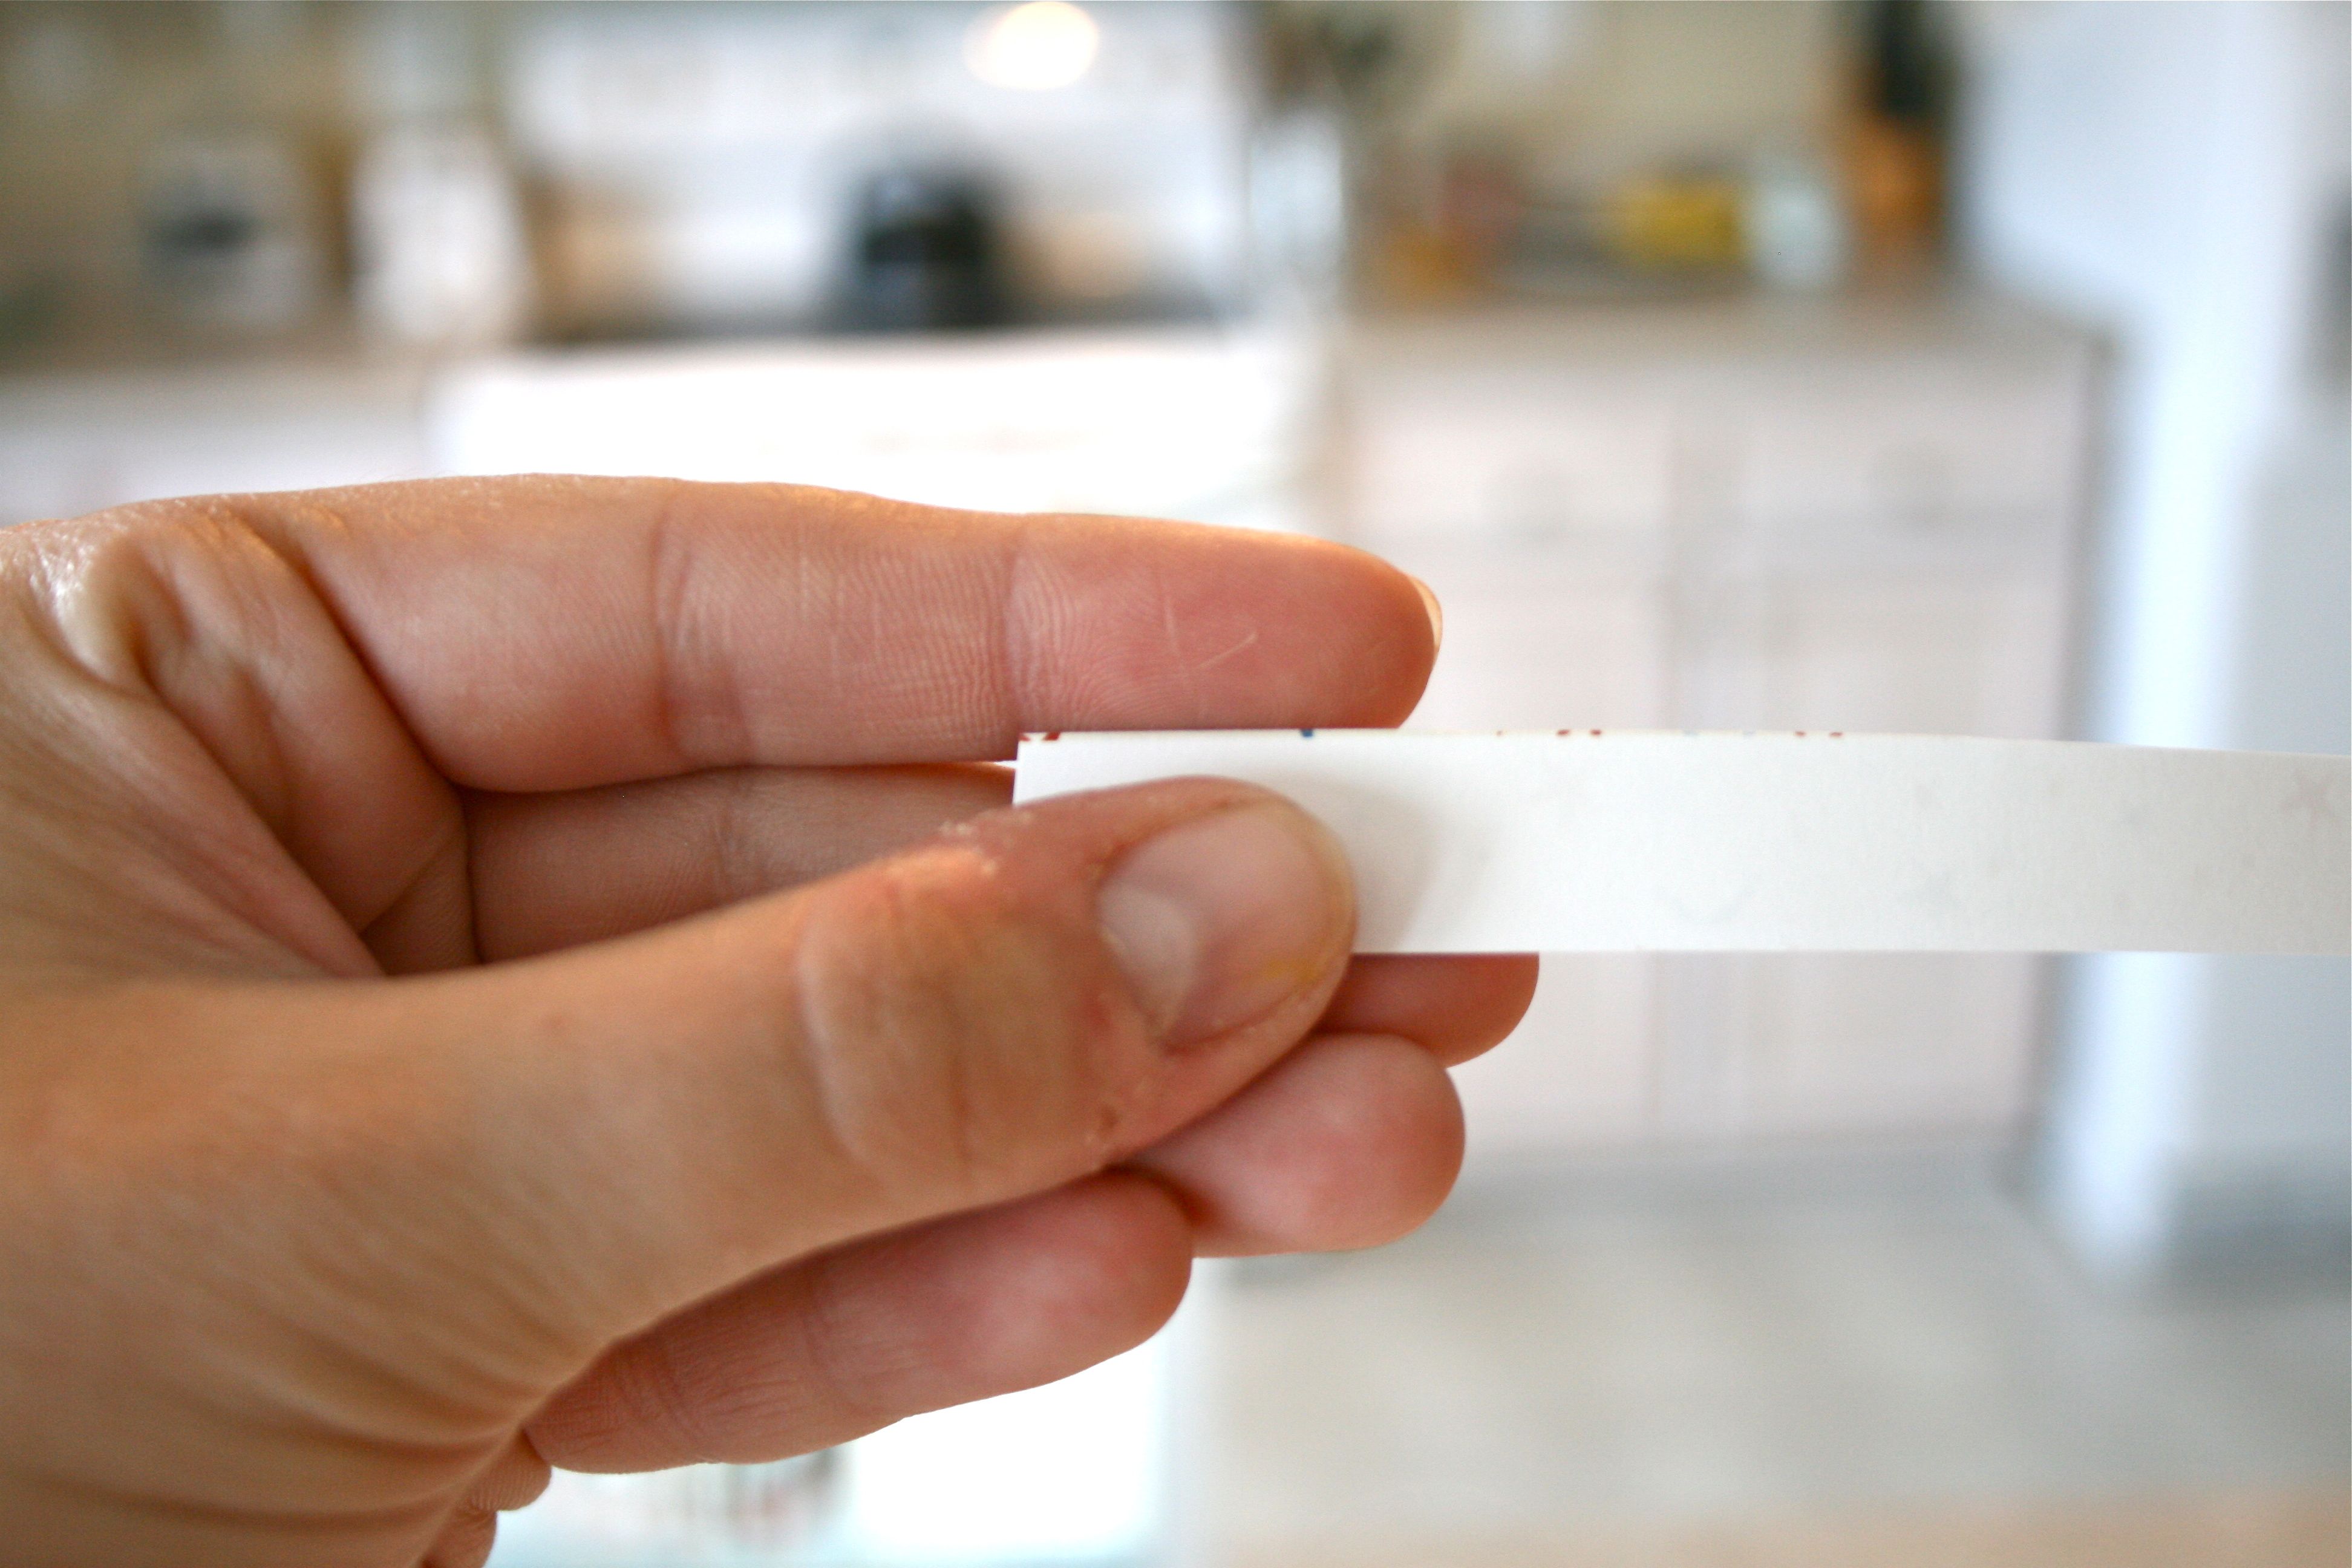
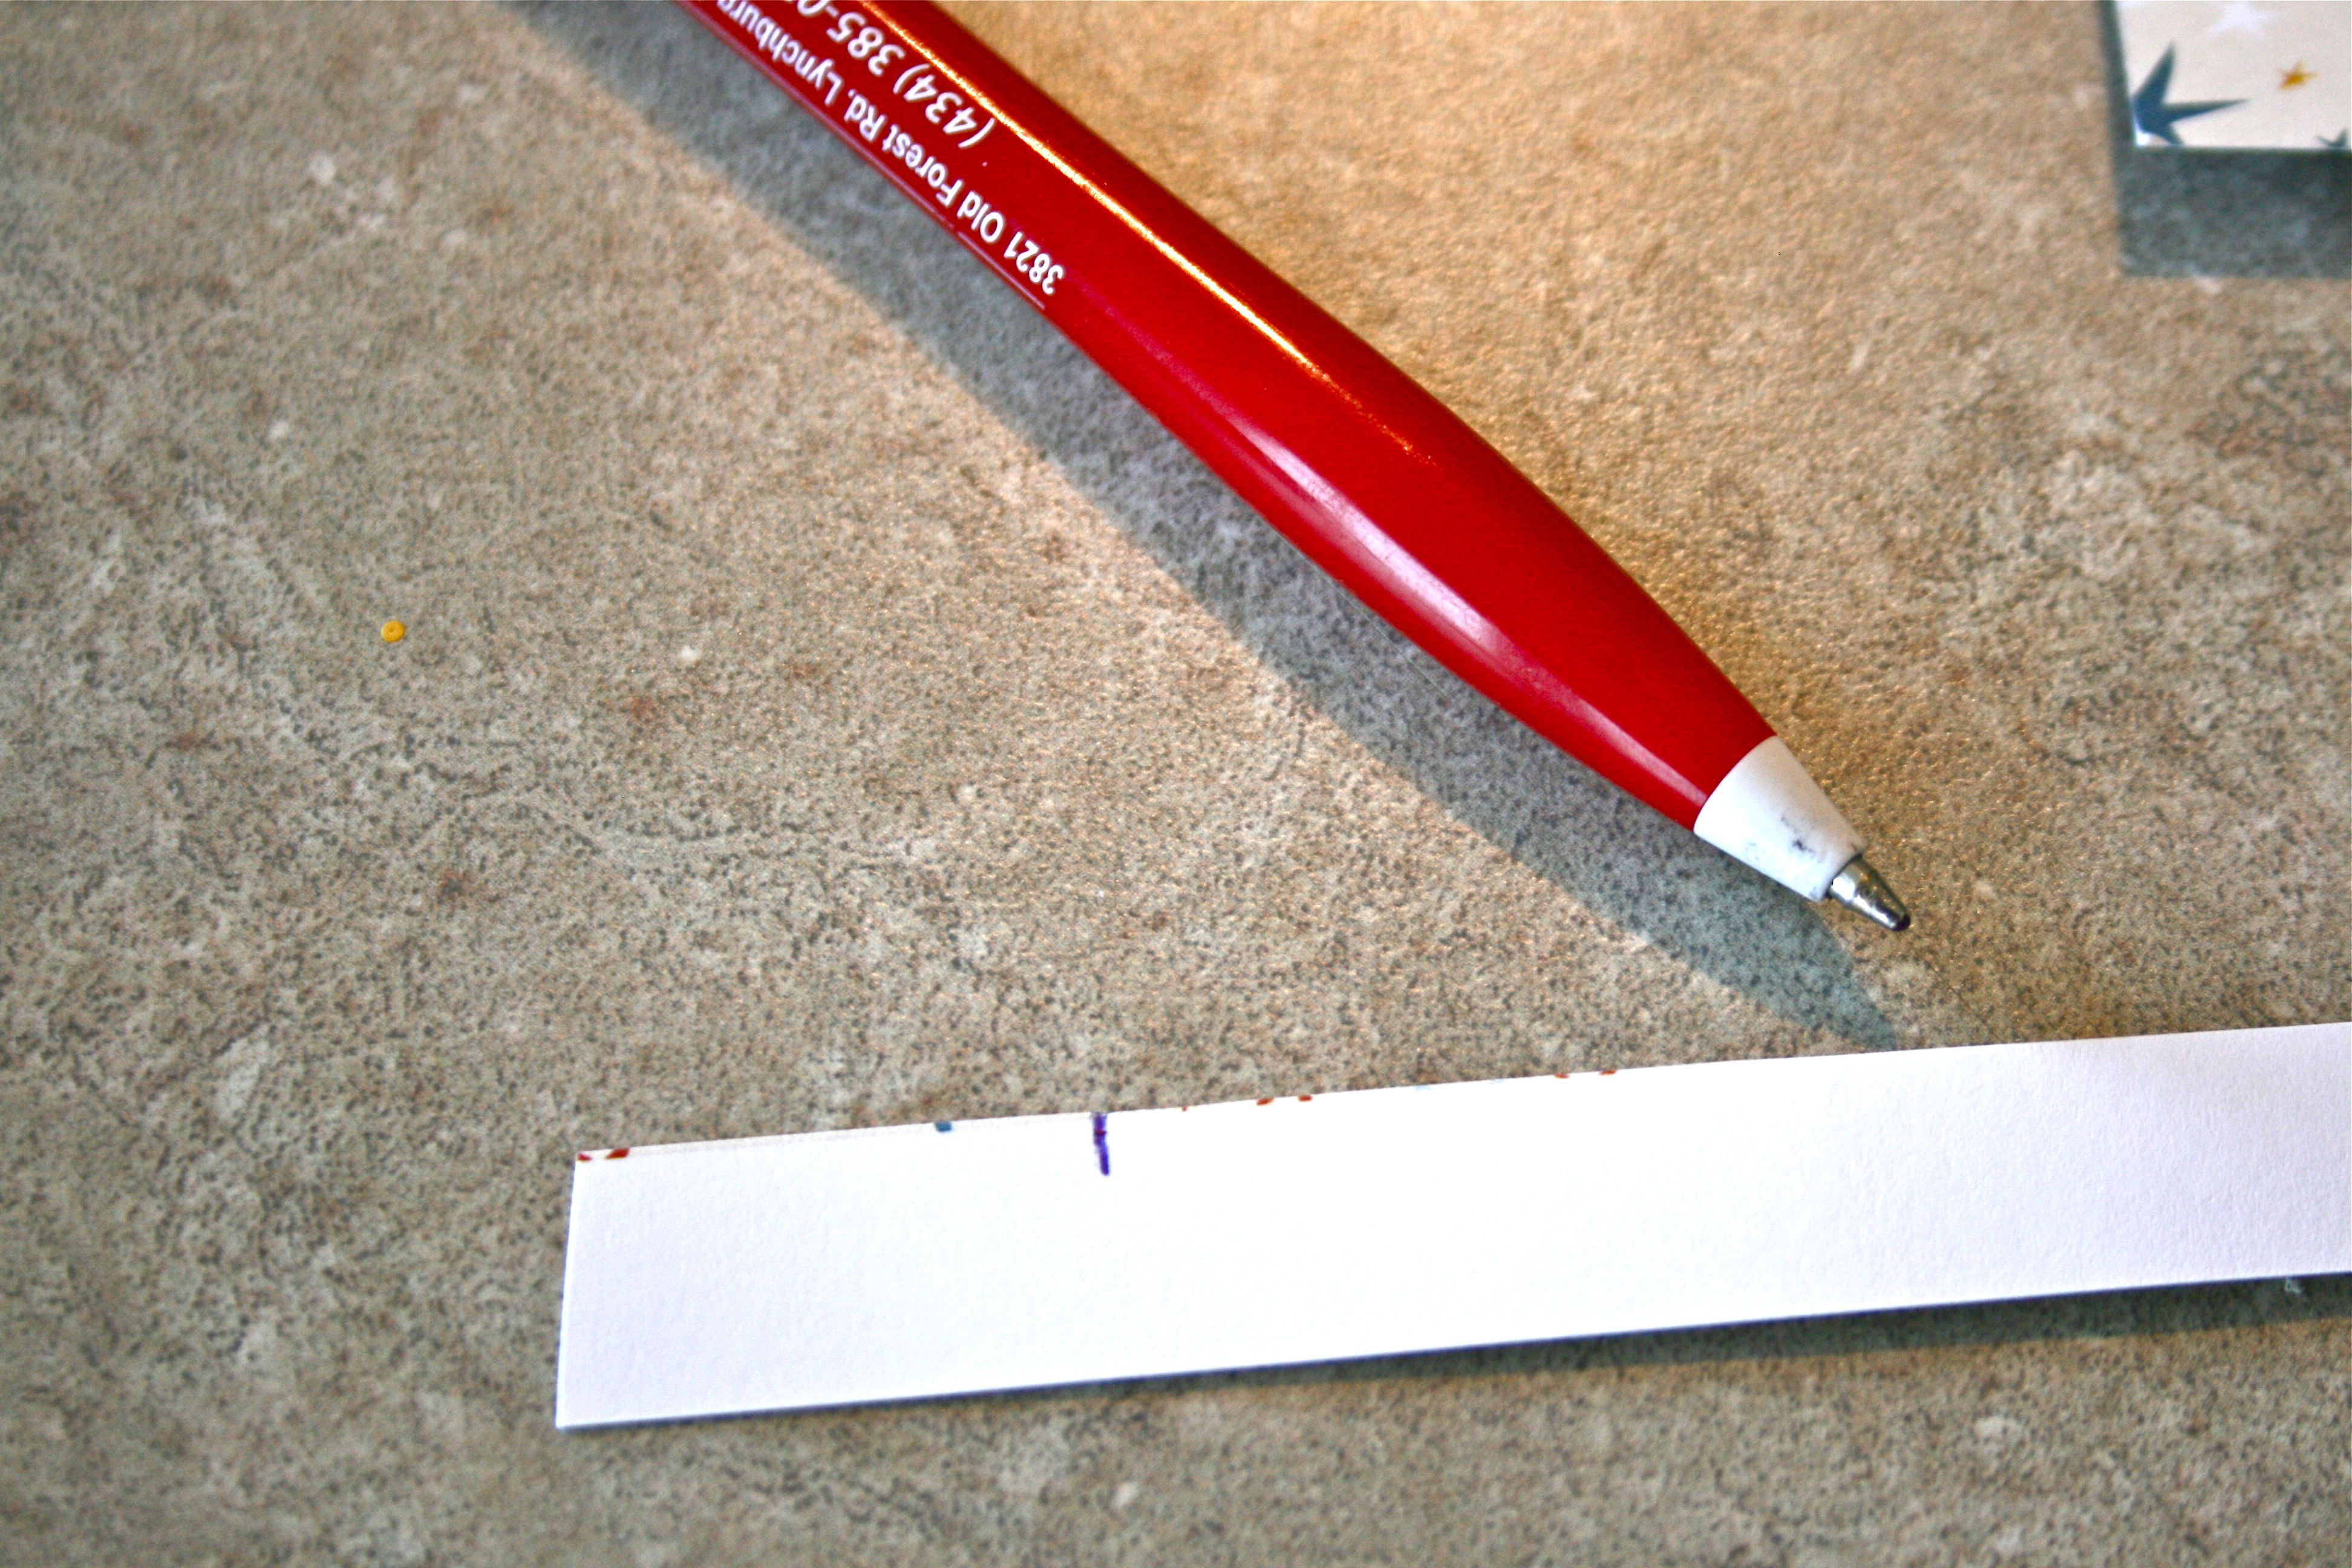
Next I measured out the length of my pointer finger tip, making a small mark on the sliver of thin paper I cut off.
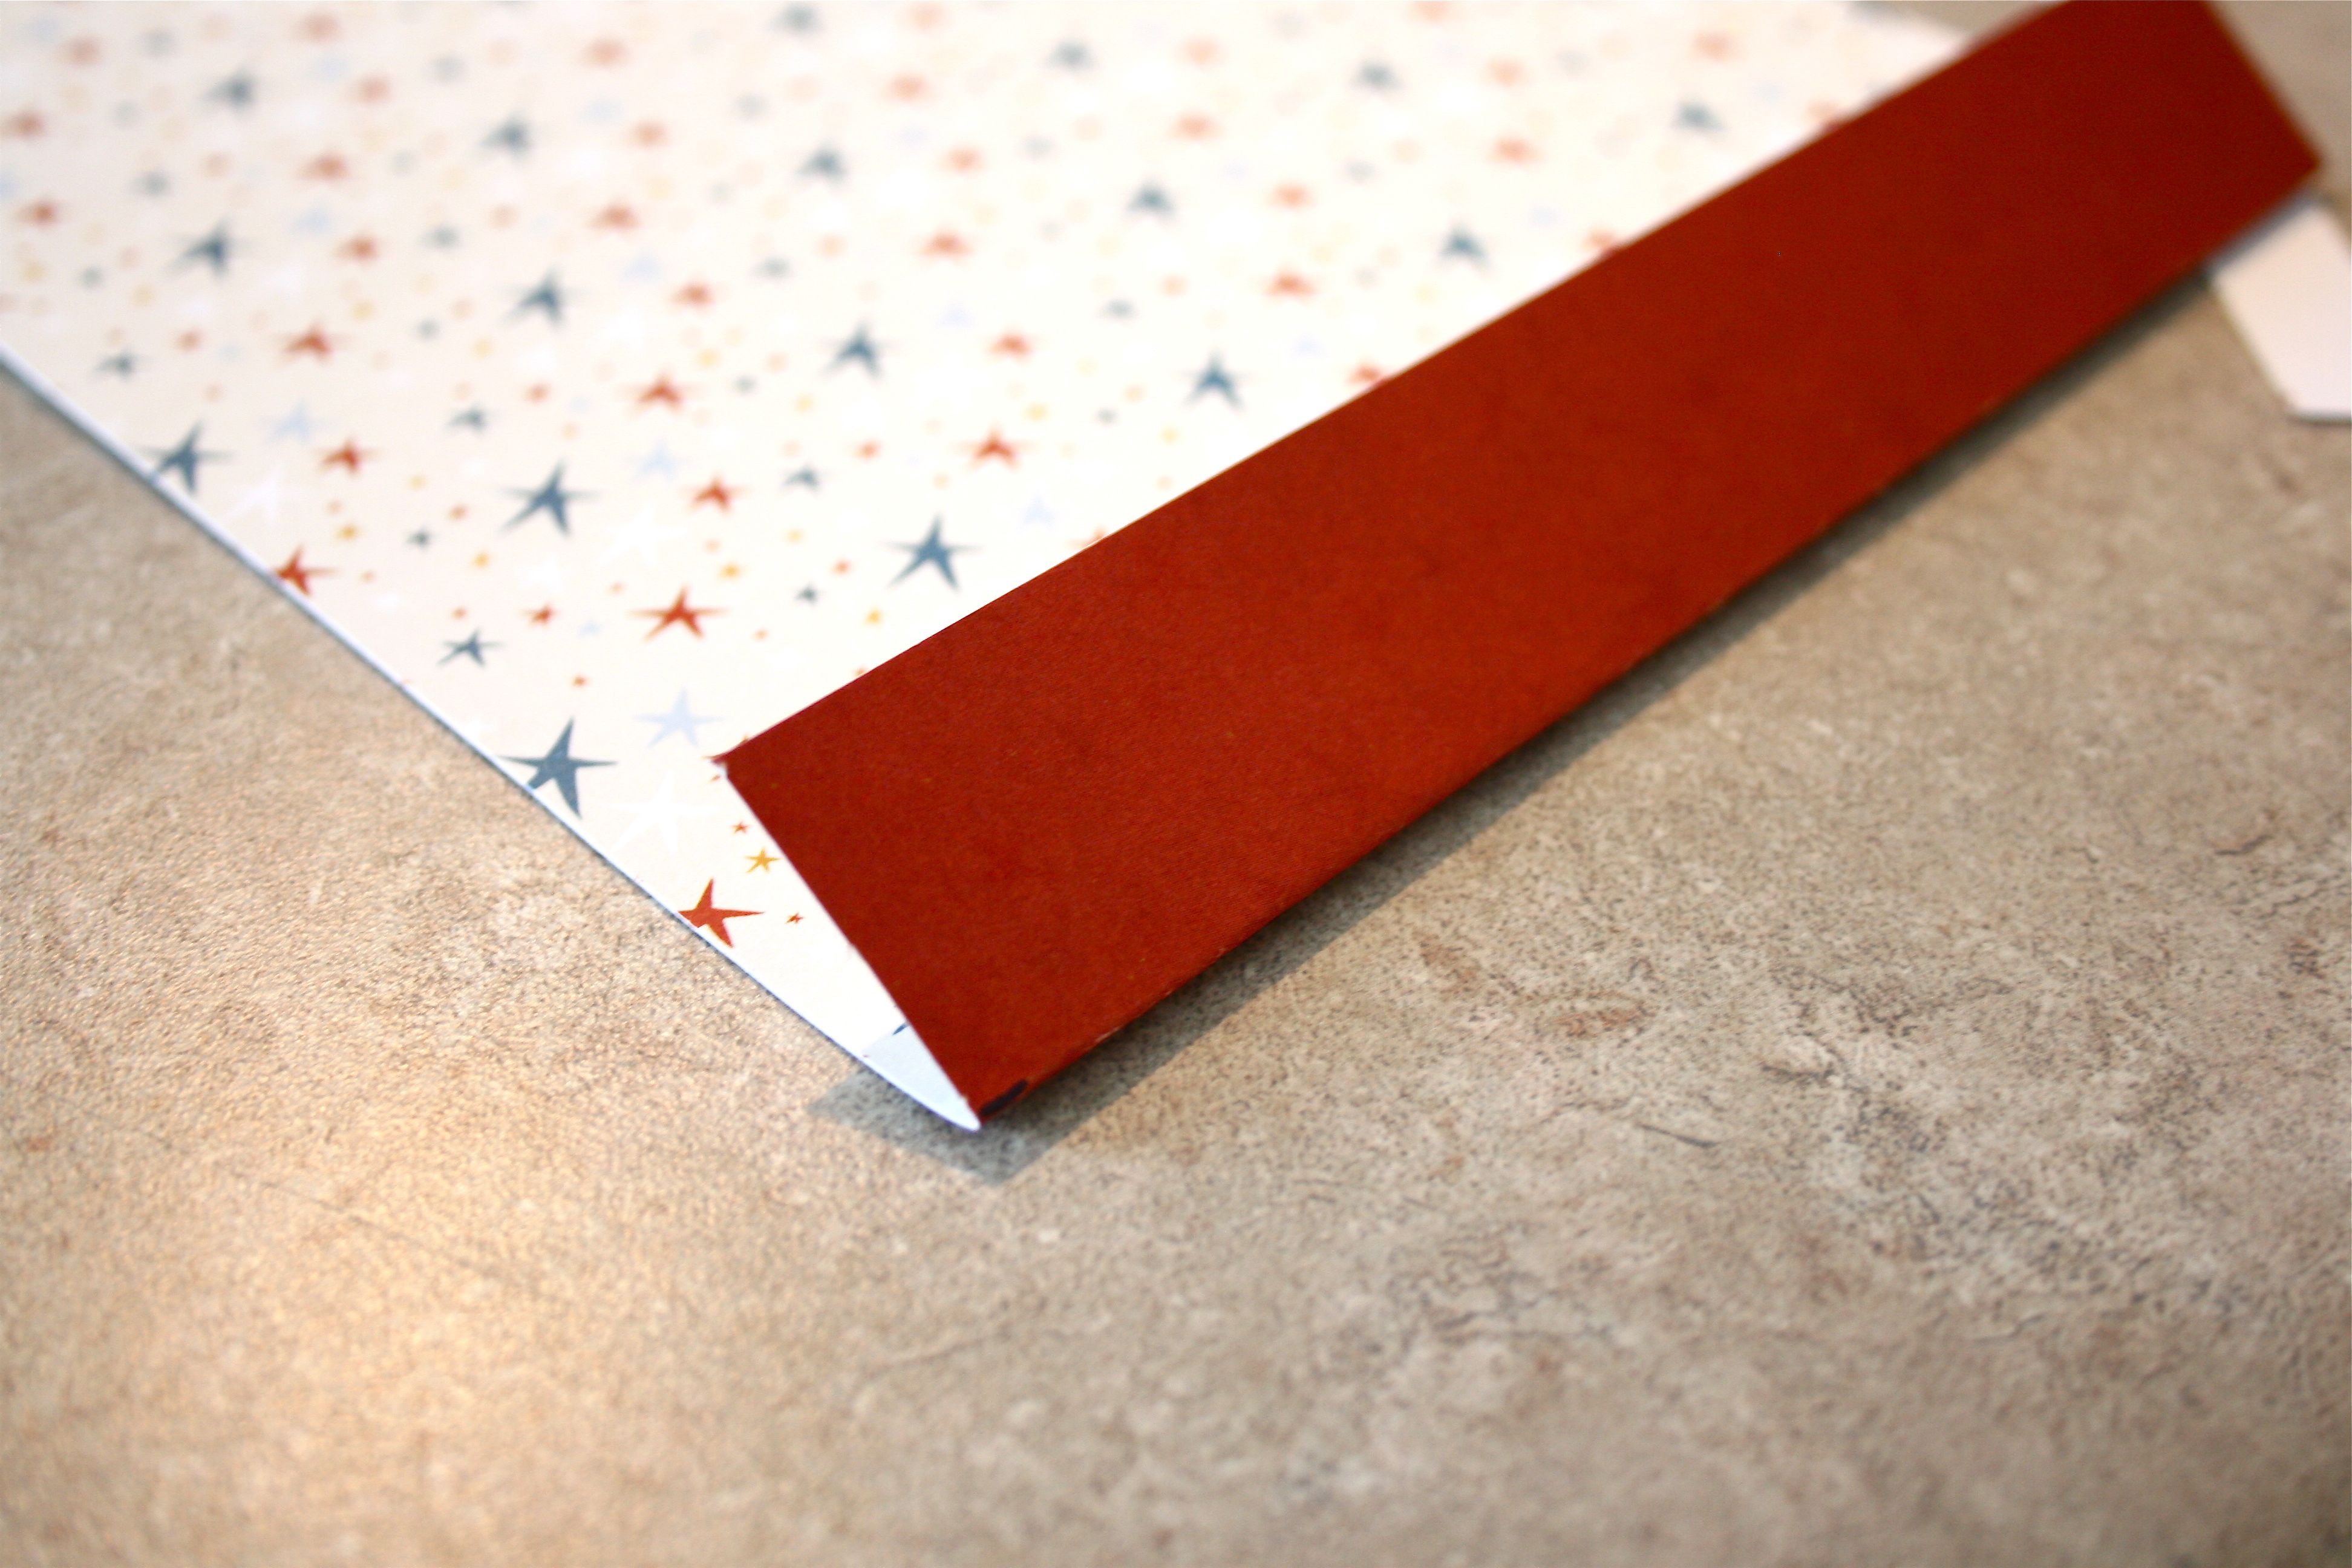
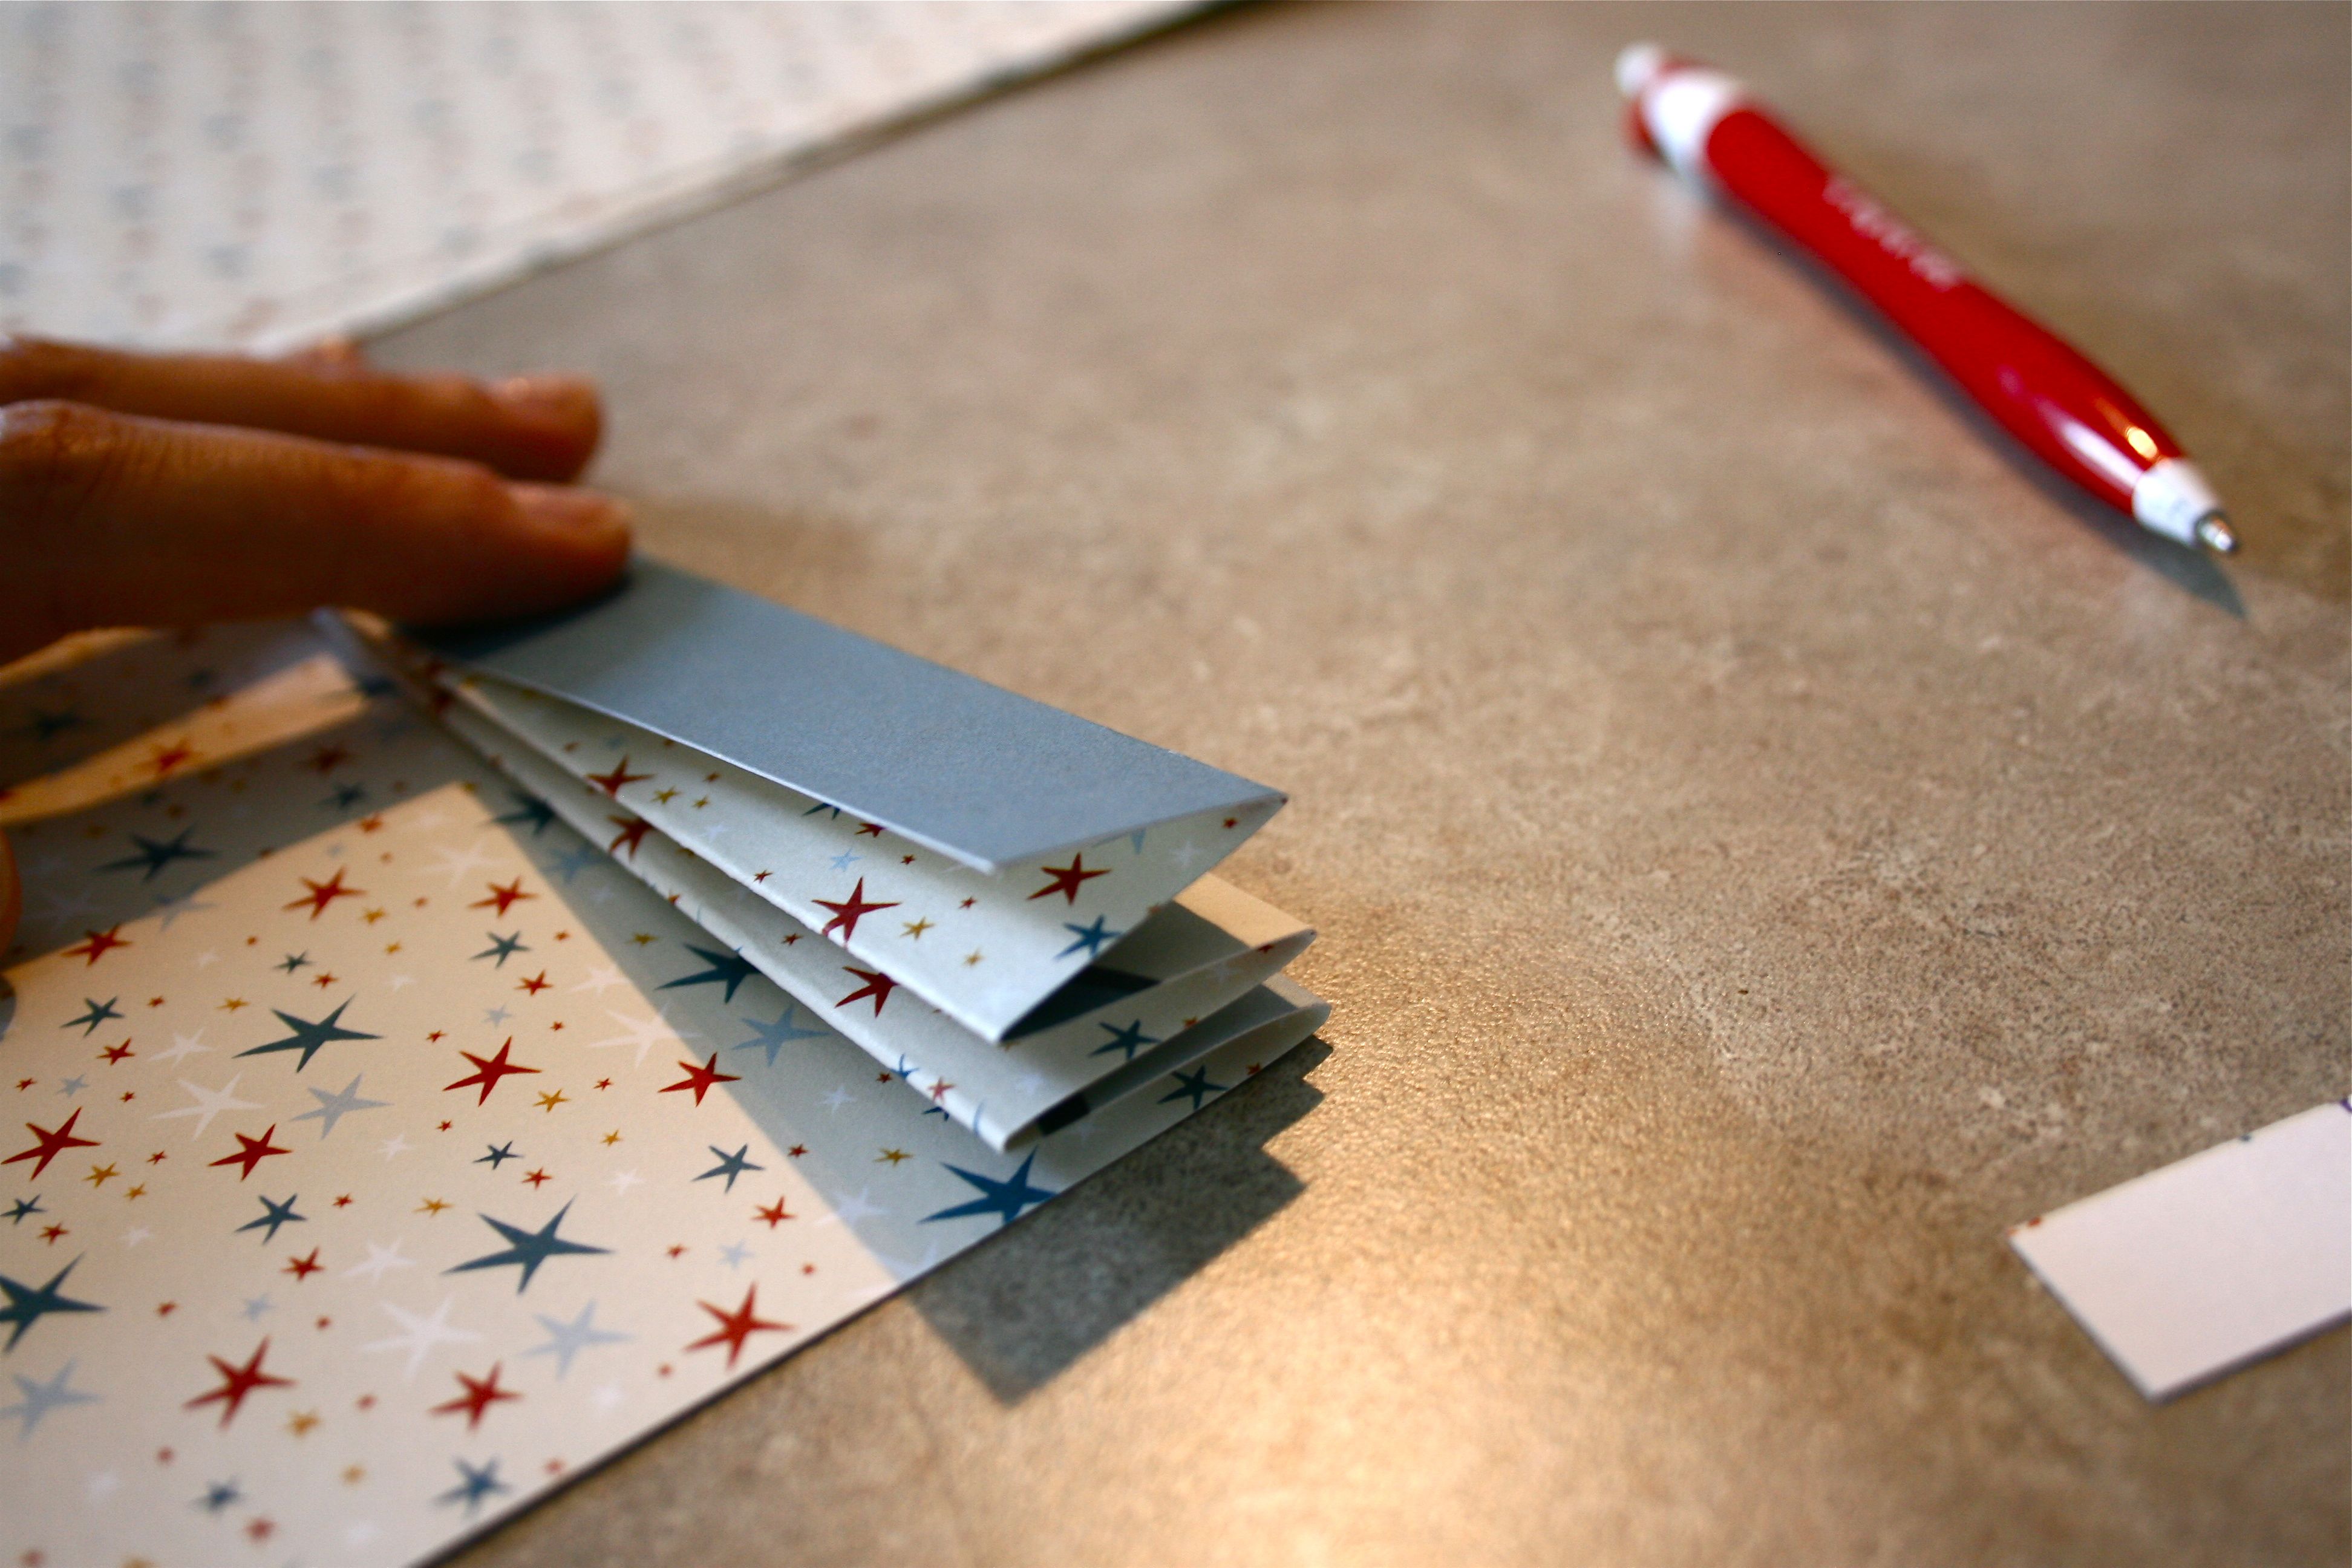
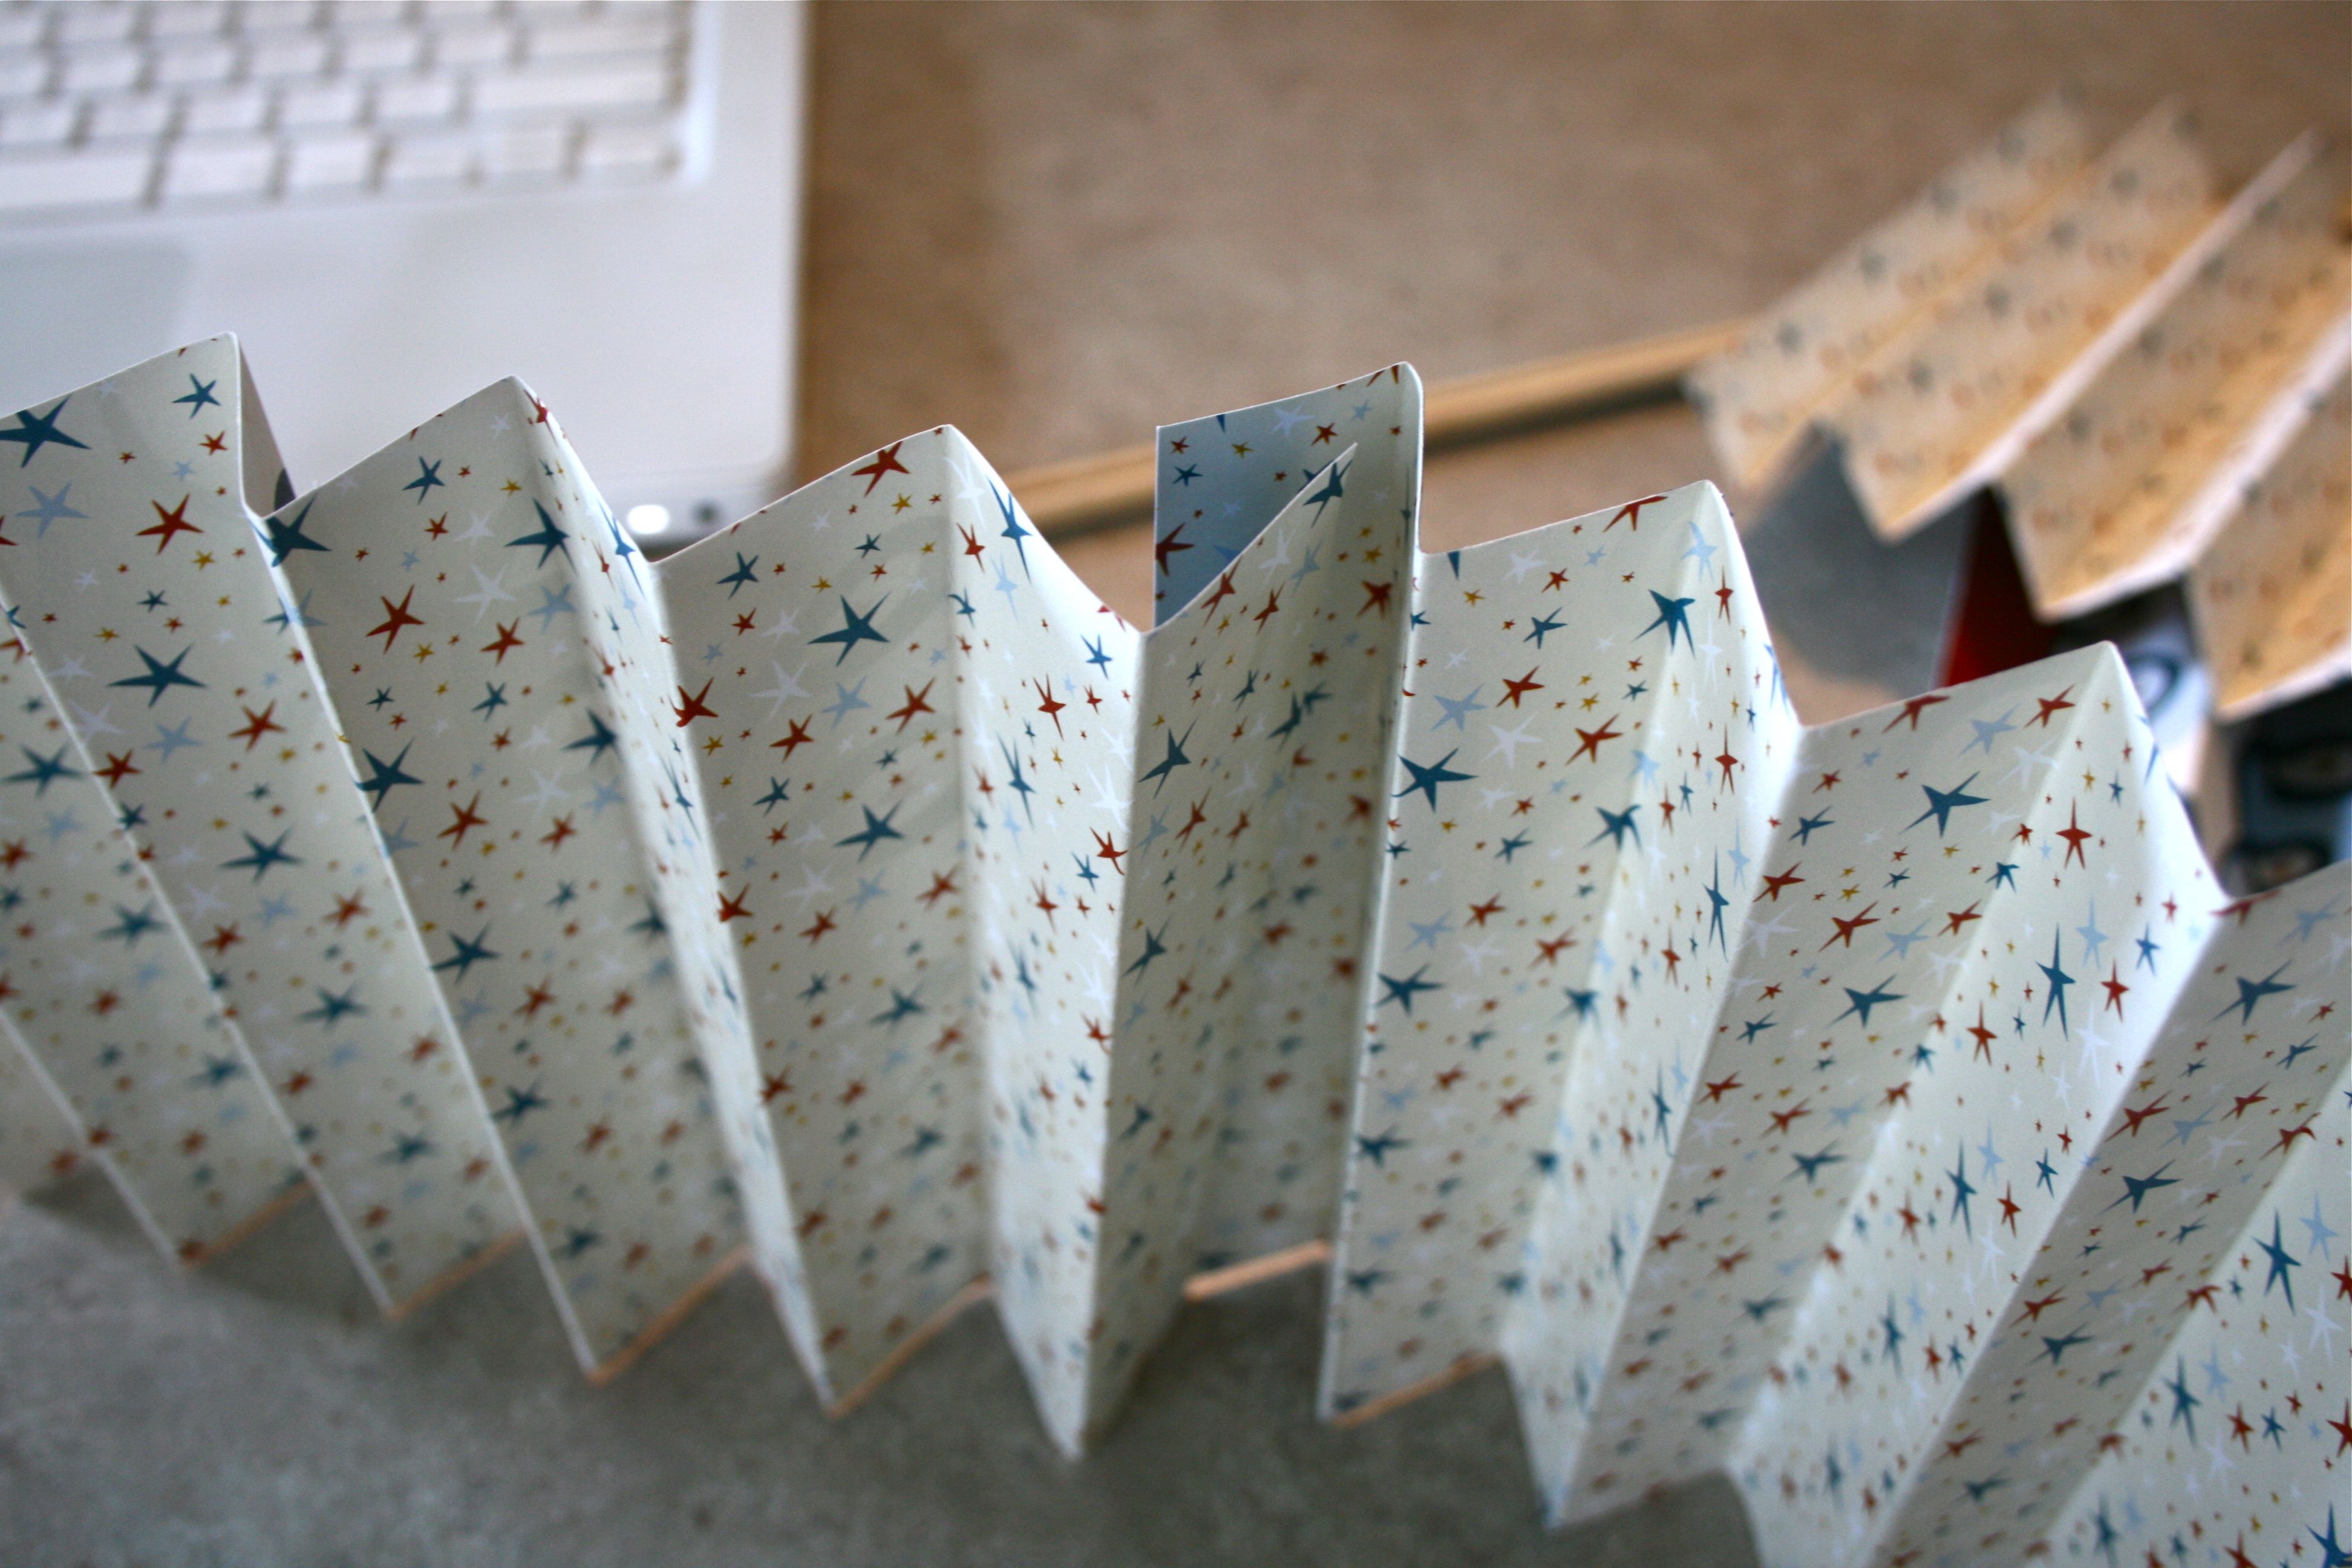
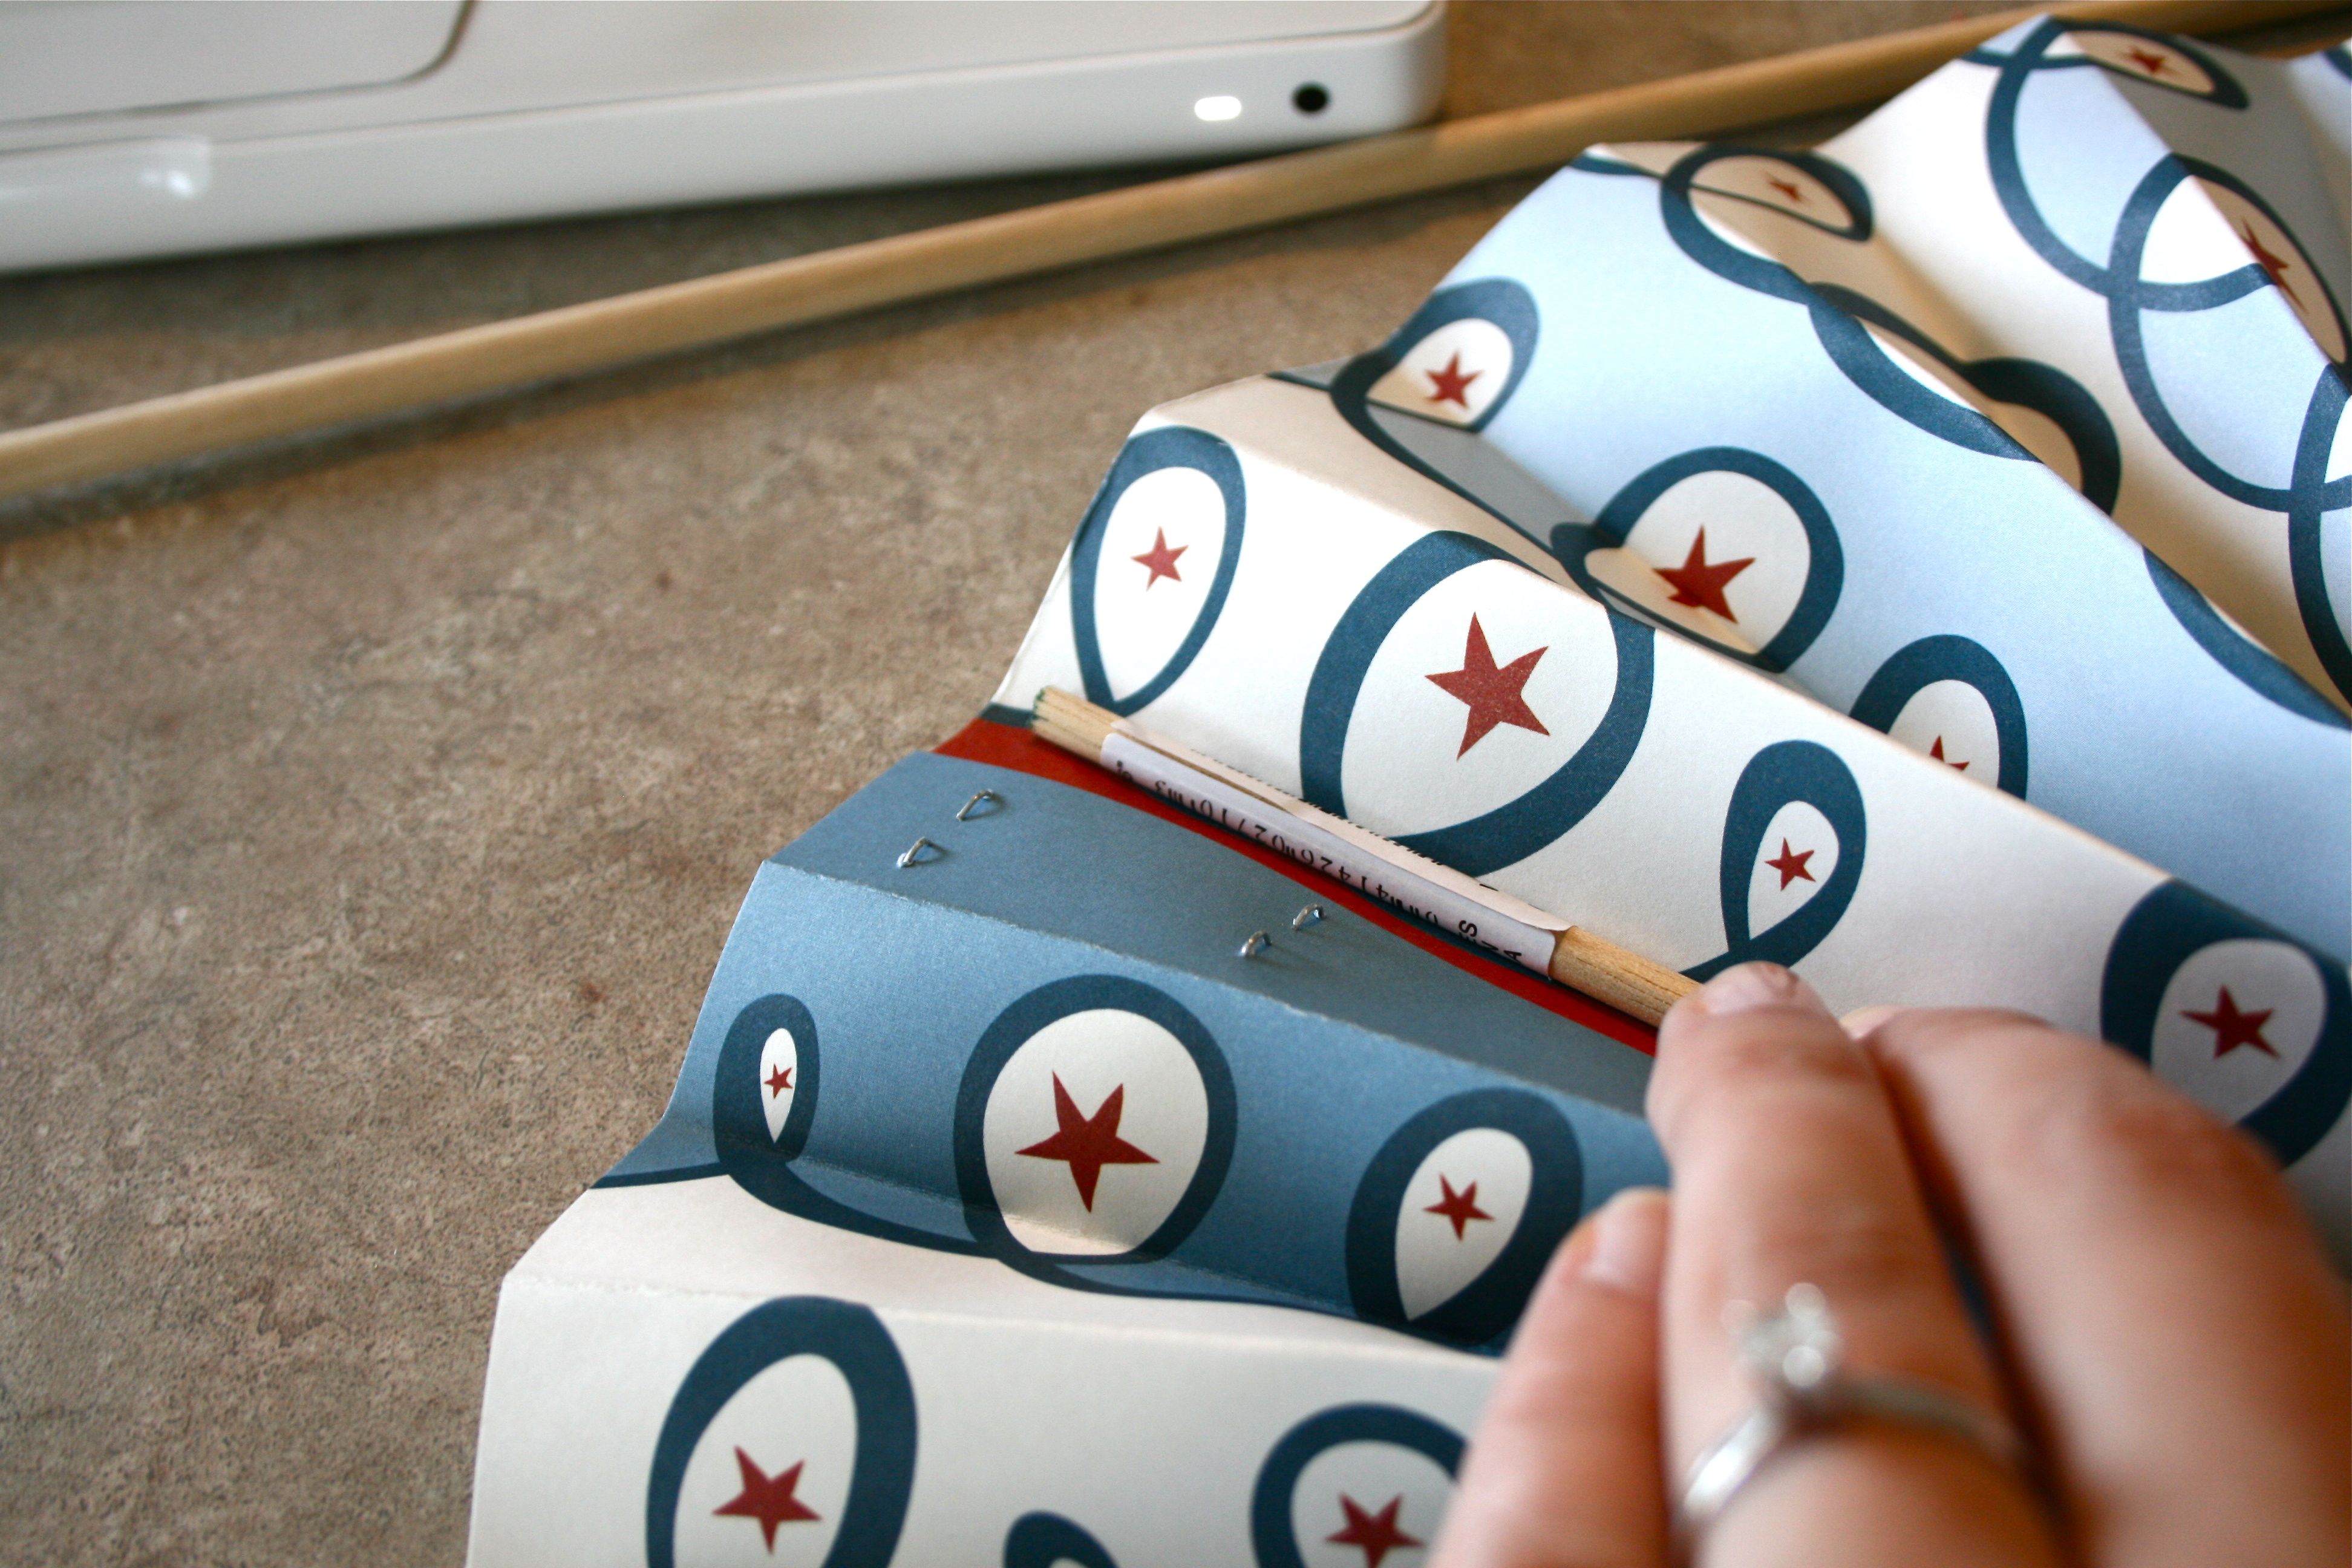
The next step was to fold each of the scrapbook paper halves accordion-style. I used the marked paper sliver to measure out where to start folding – Like so:
Then I just folded the rest of the sheet back and forth using the previous fold to measure the next – Nice and even all the way through!
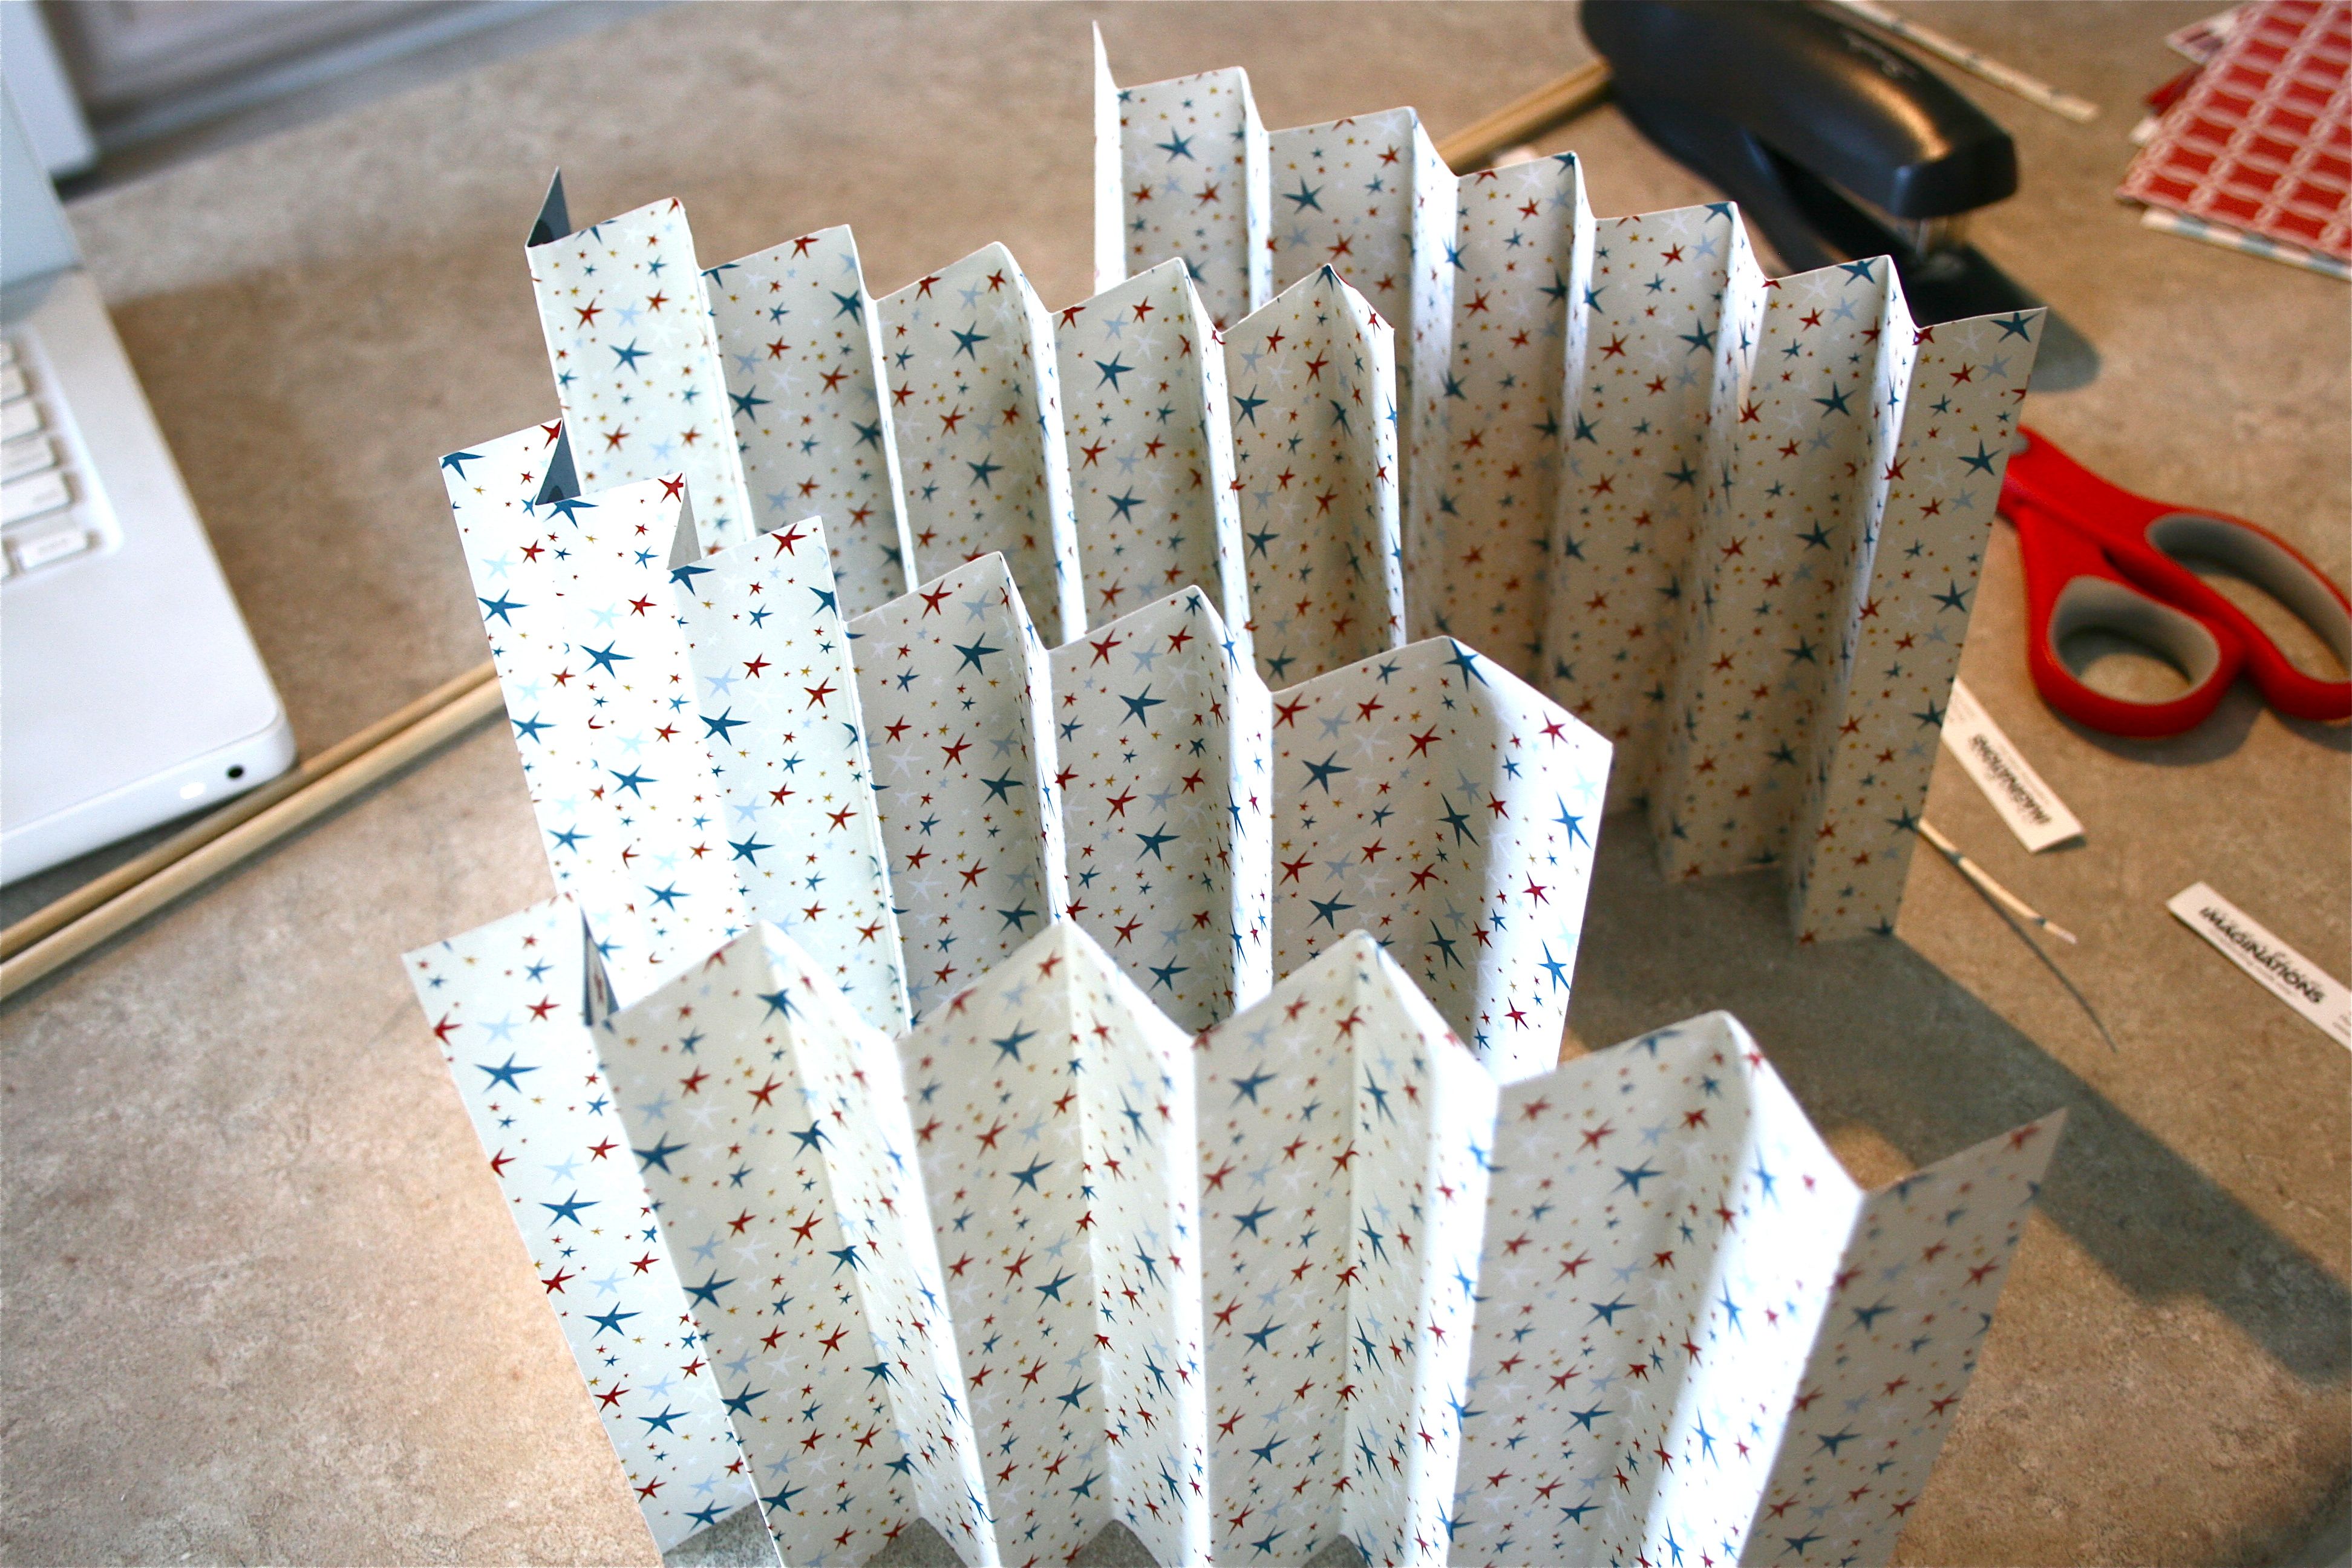
After repeating the same steps on all four halves, I was ready to start assembling the pinwheel.
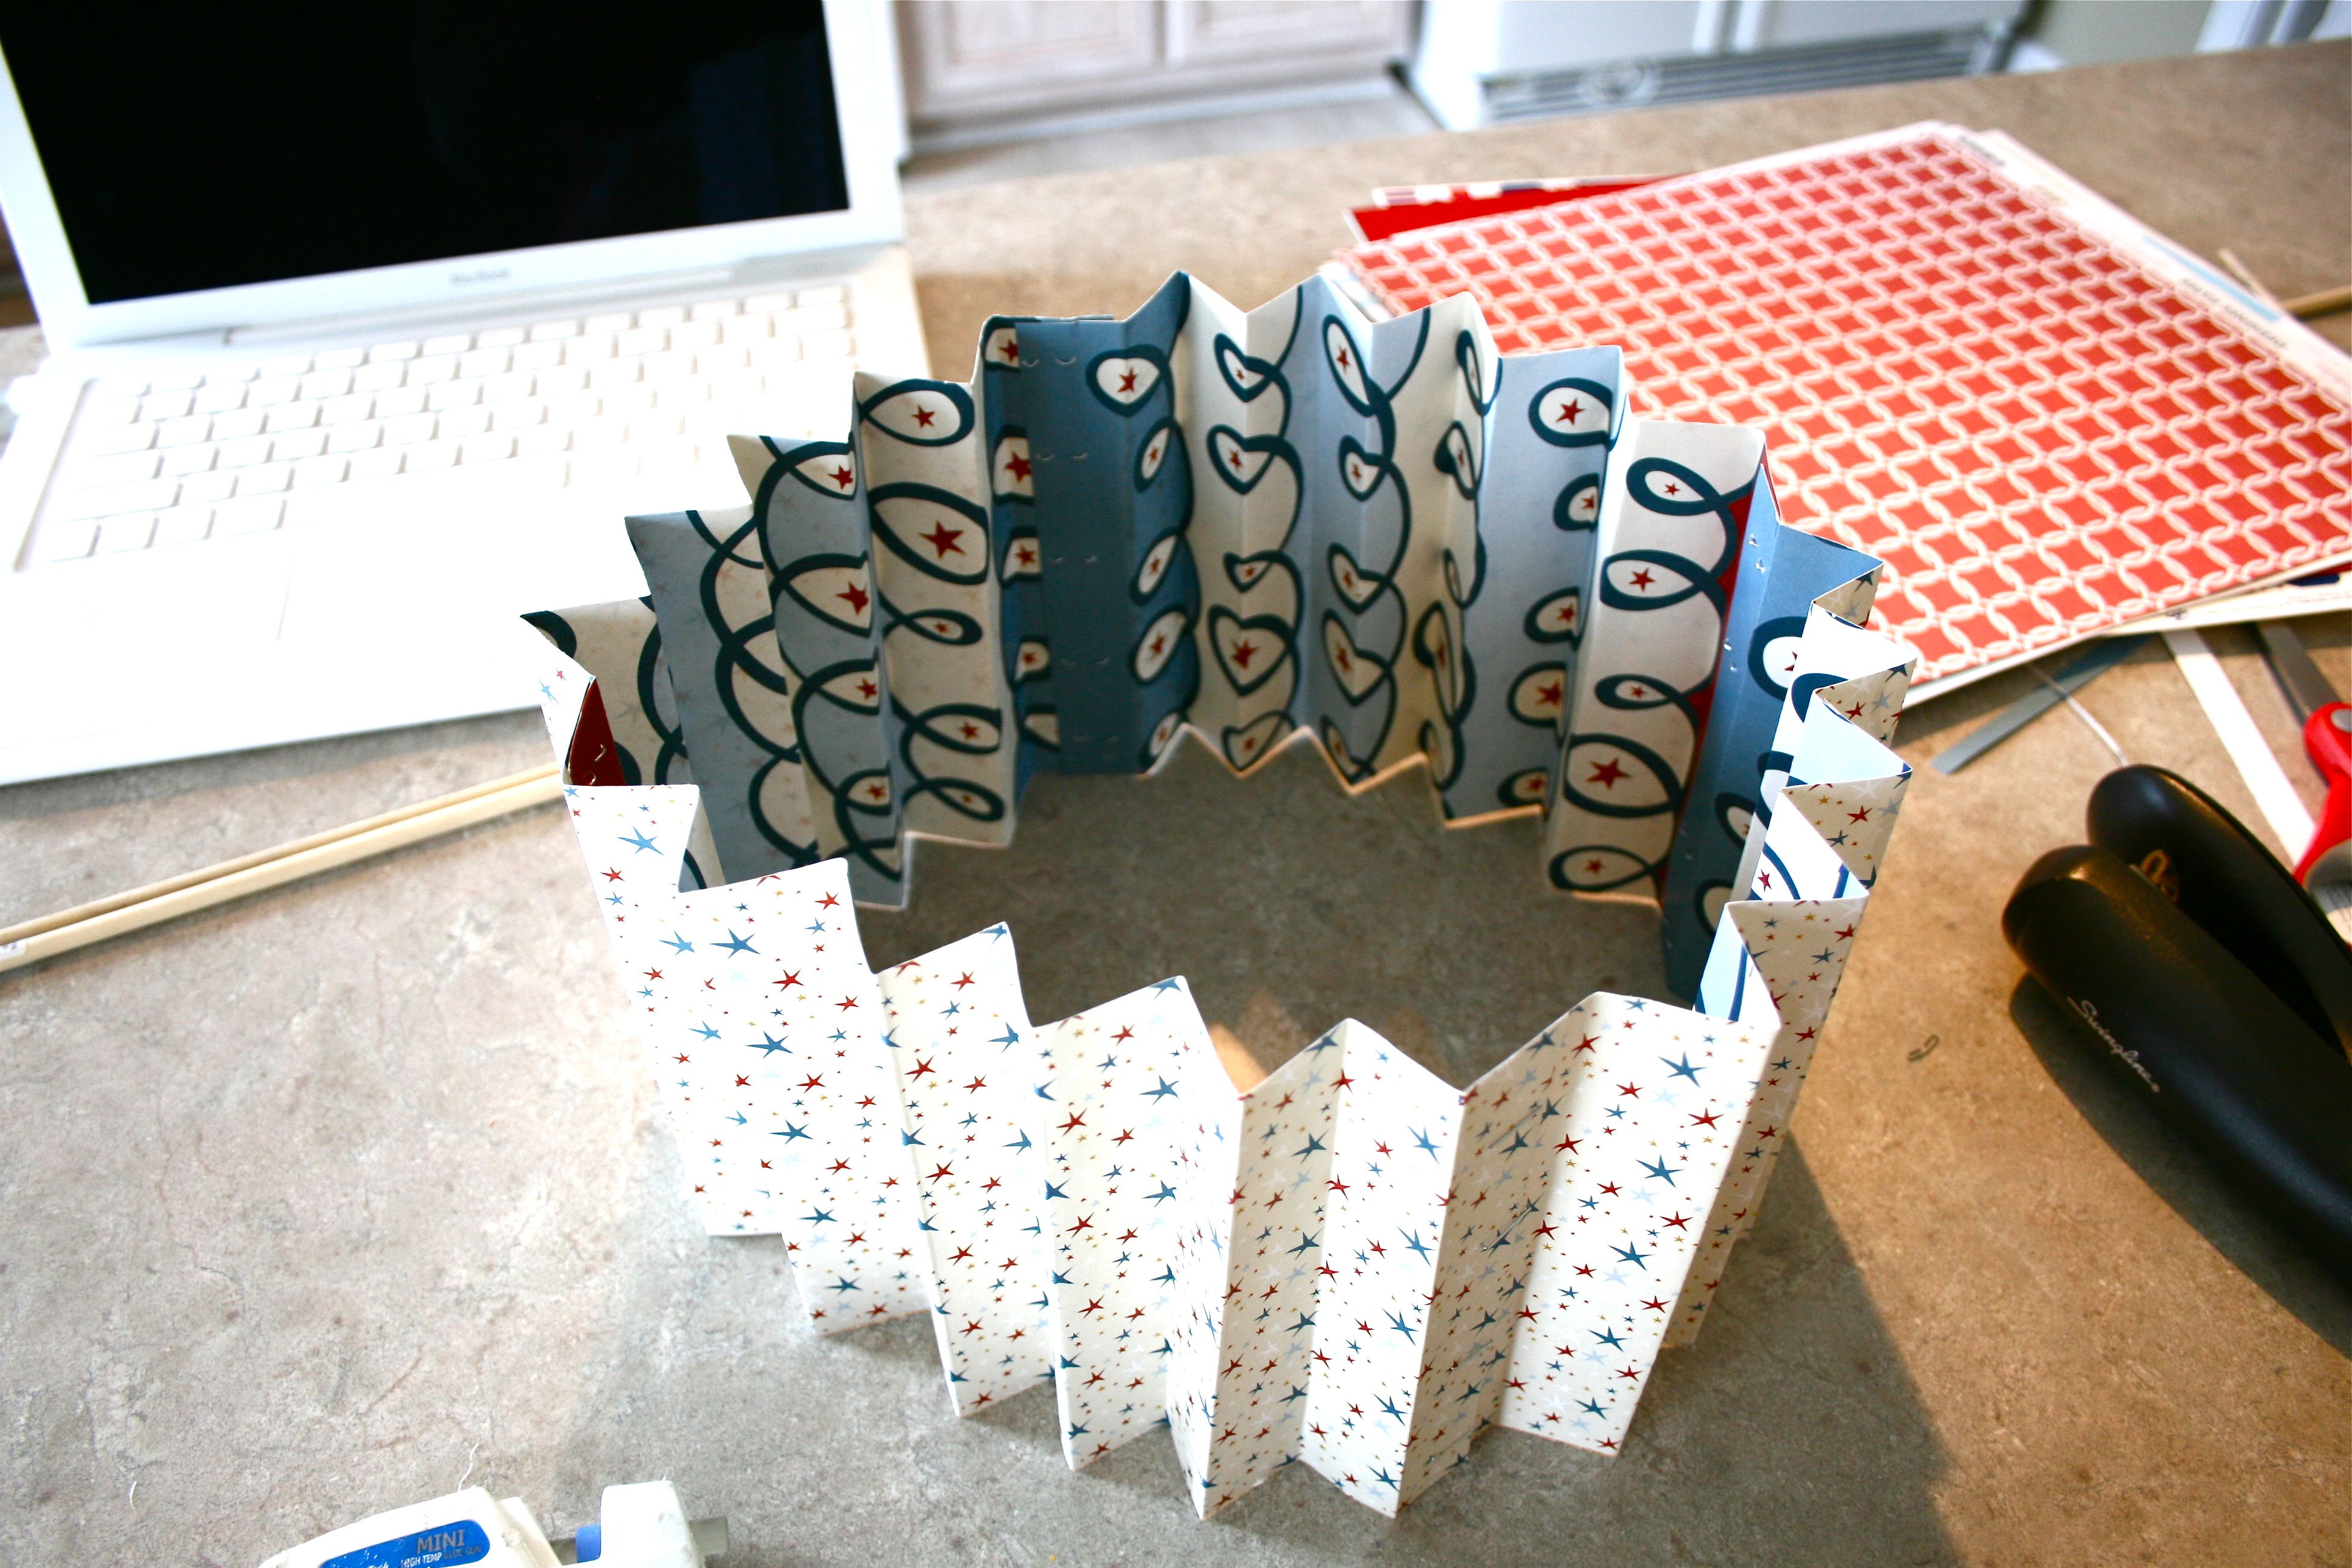
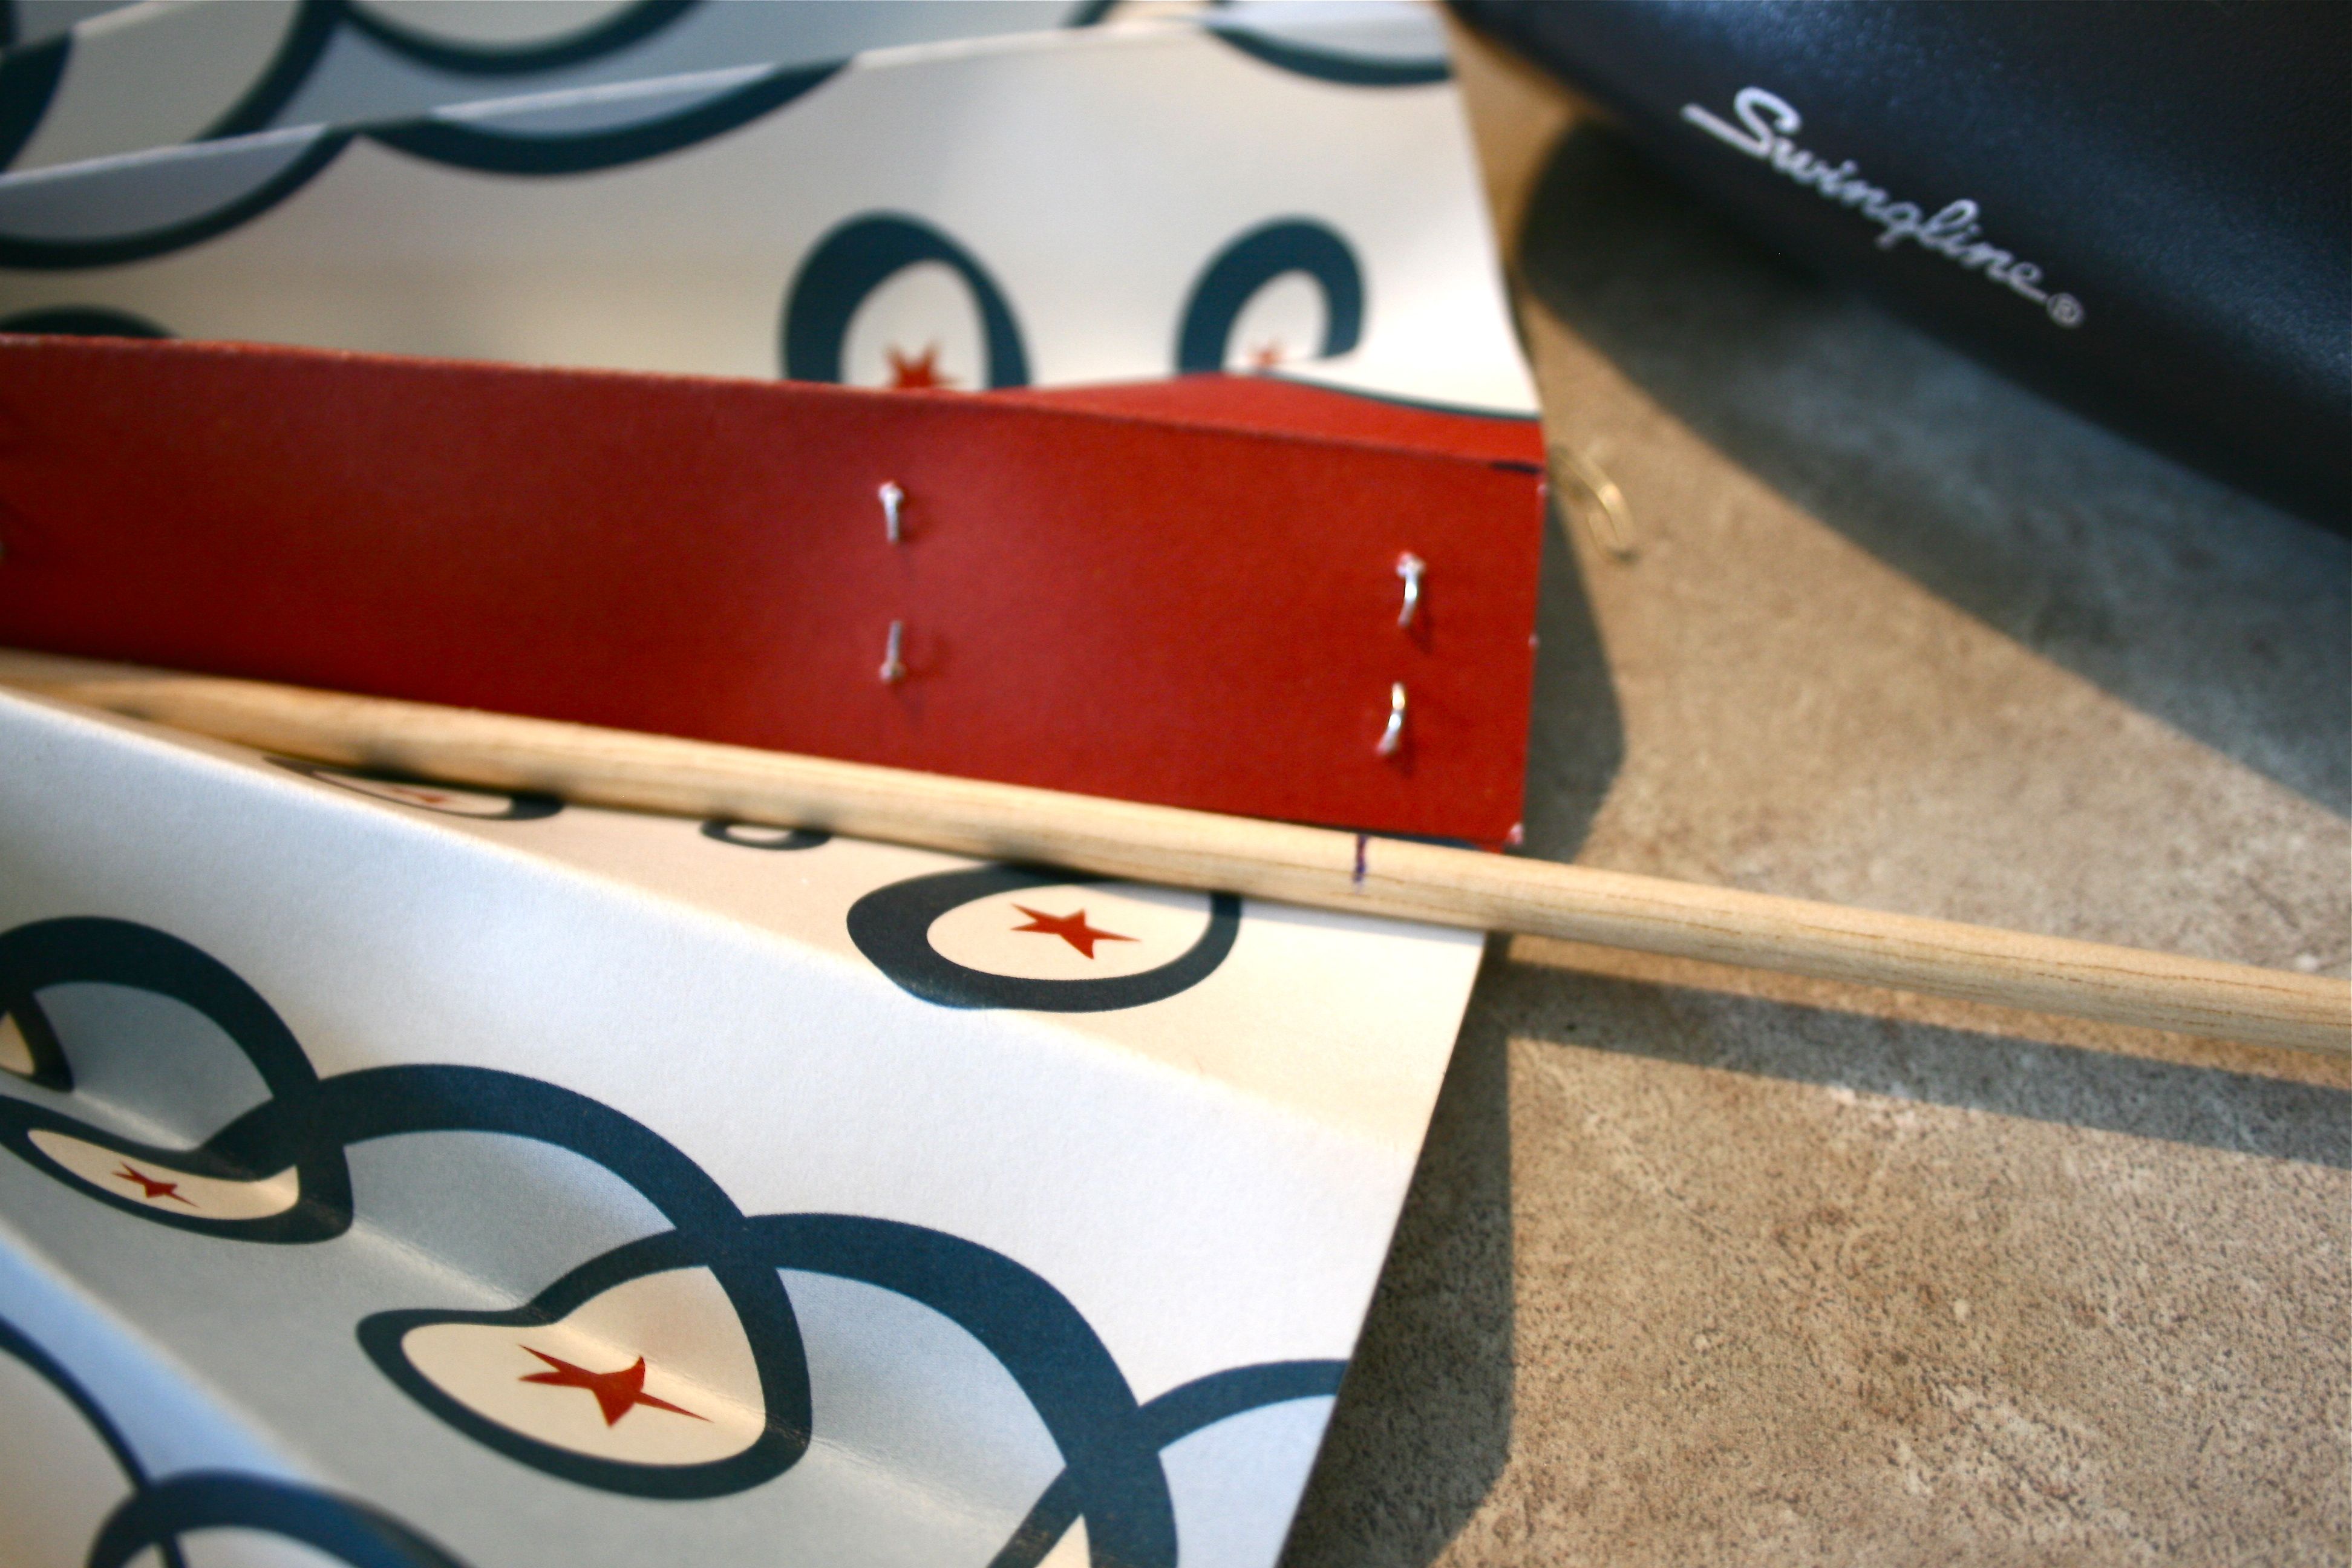
This part of the project involved using the stapler to connect all of the ends together (be sparing with the staples since they do show – You could probably use some strong double-sided tape if you’re feeling brave). It got a LITTLE tricky making sure that the ends matched up – In other words, some ends were bent “in” while others were bent “out”. This may make more sense in the photo below – It illustrates a matching “in” bend with an “out” bend:
I found that if I ended up with two “in” bends or two “out” bends, I just needed to snip off one of the bends to get to the next one.
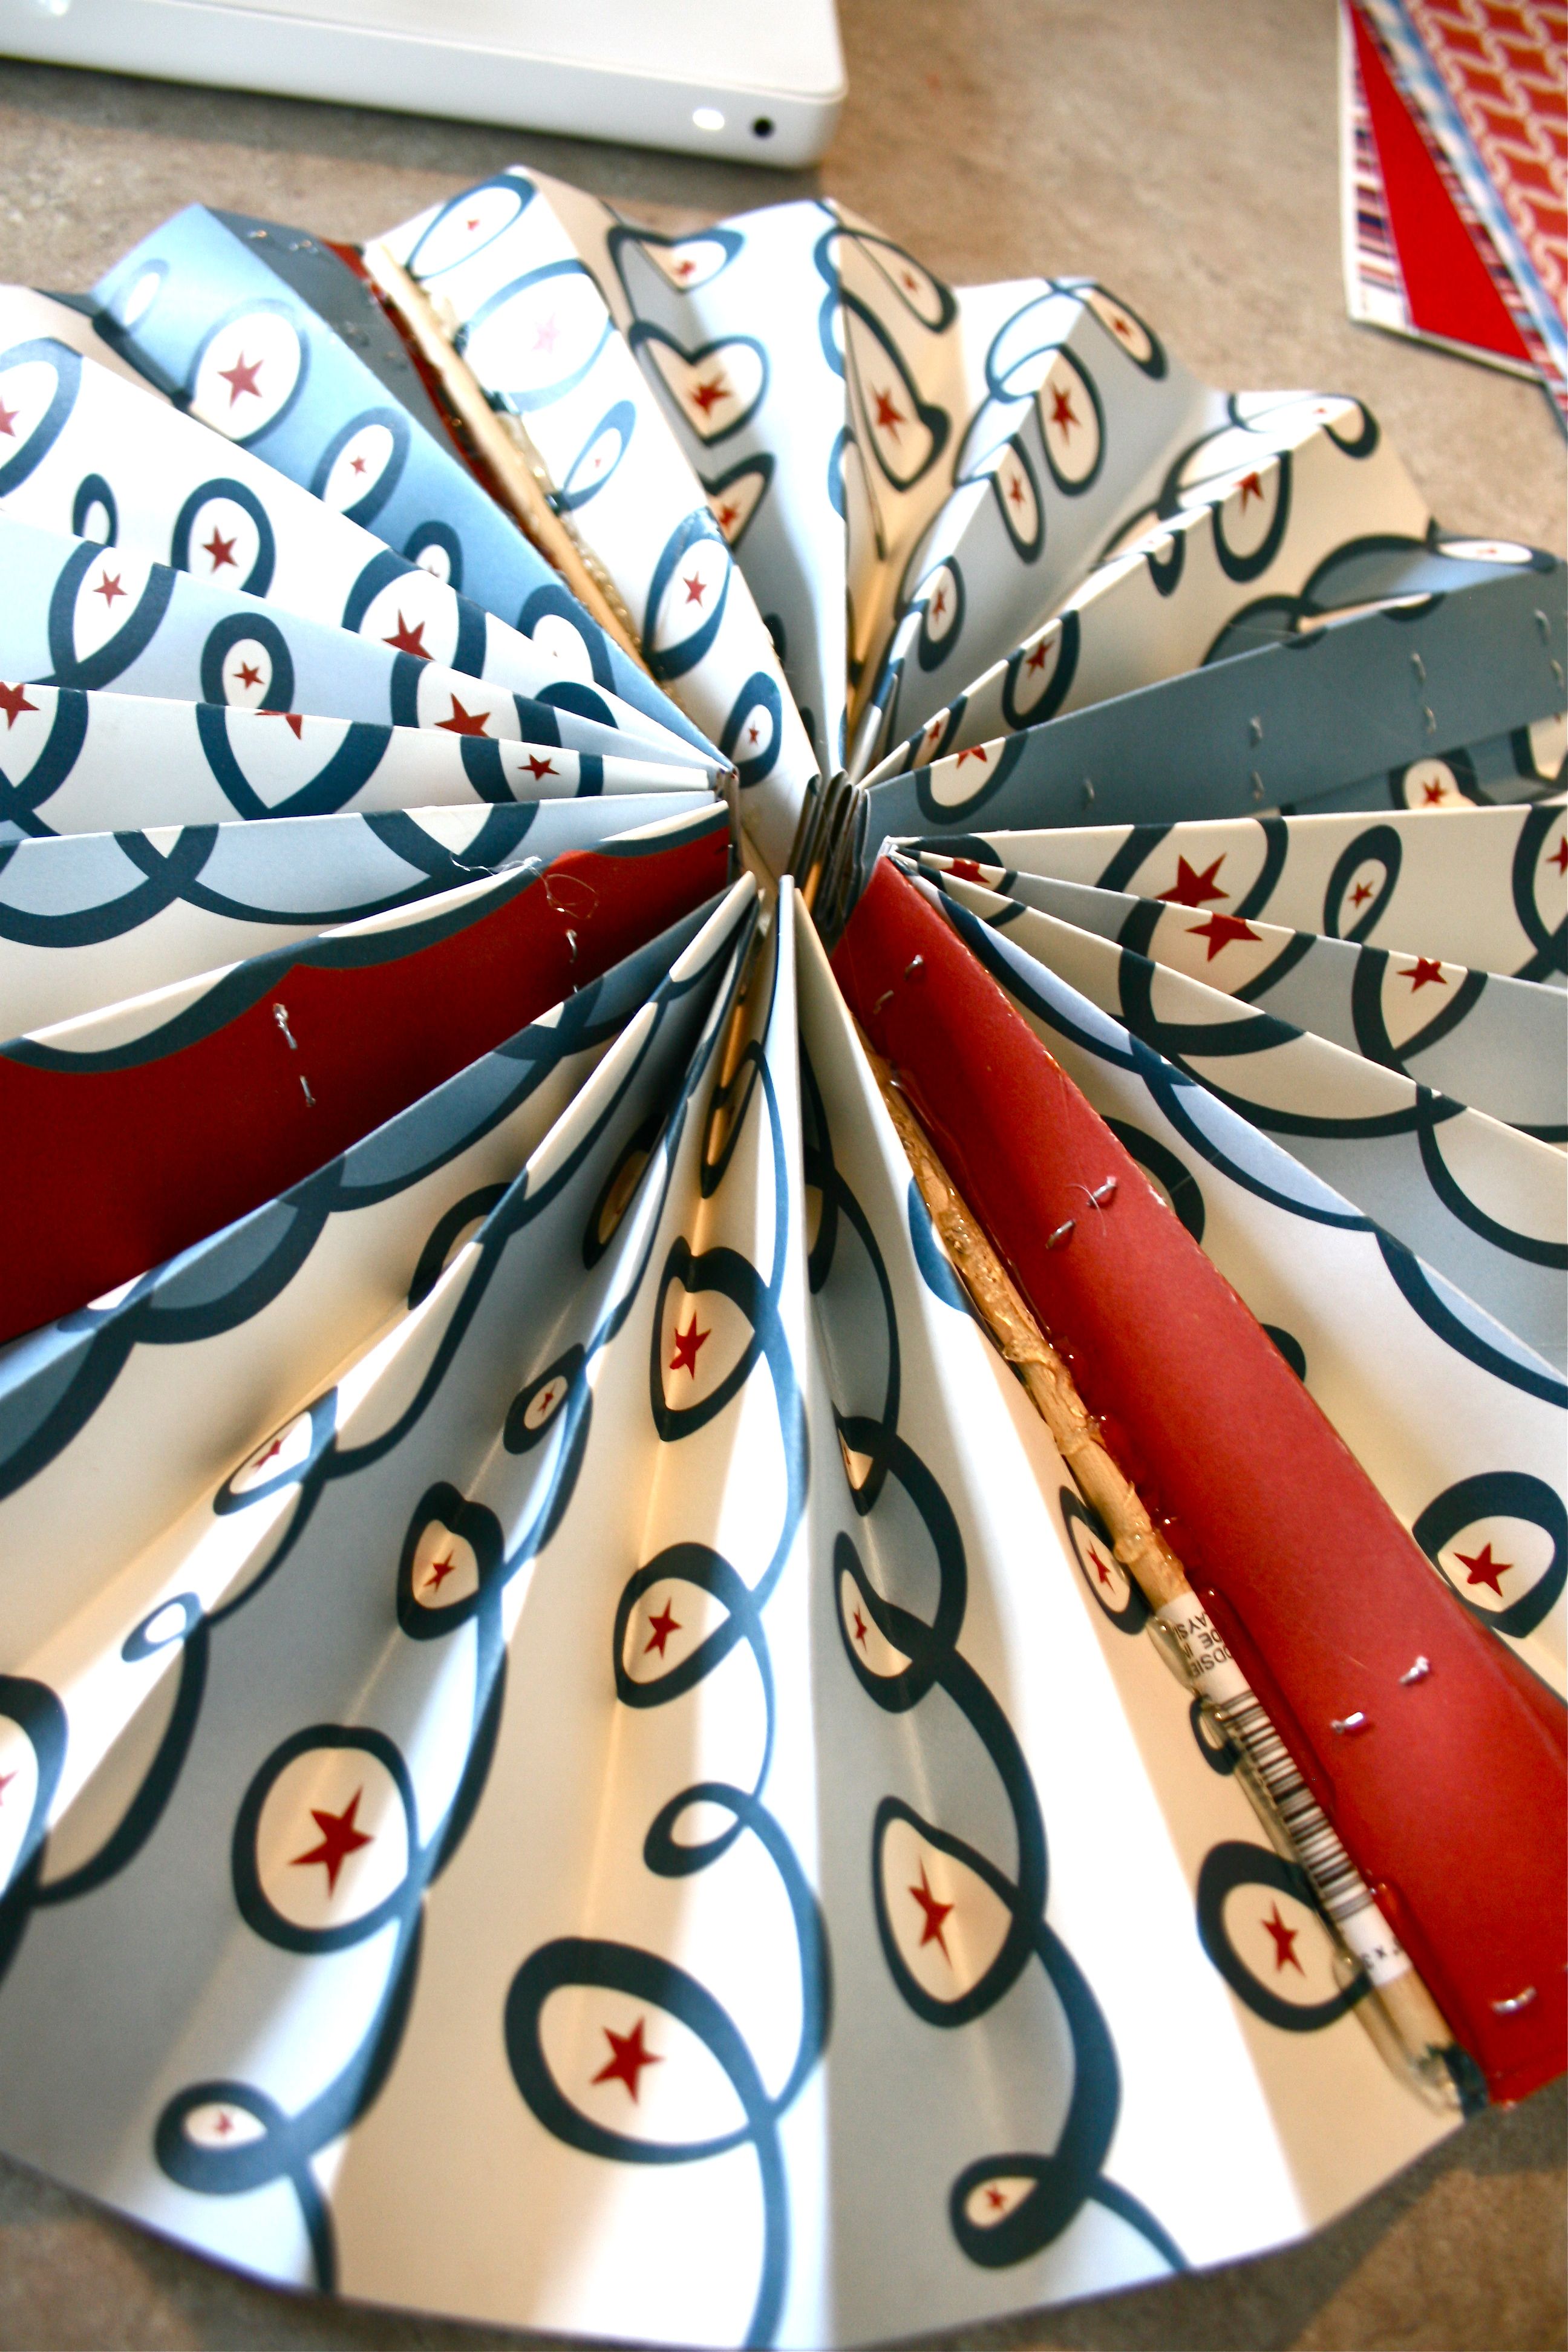
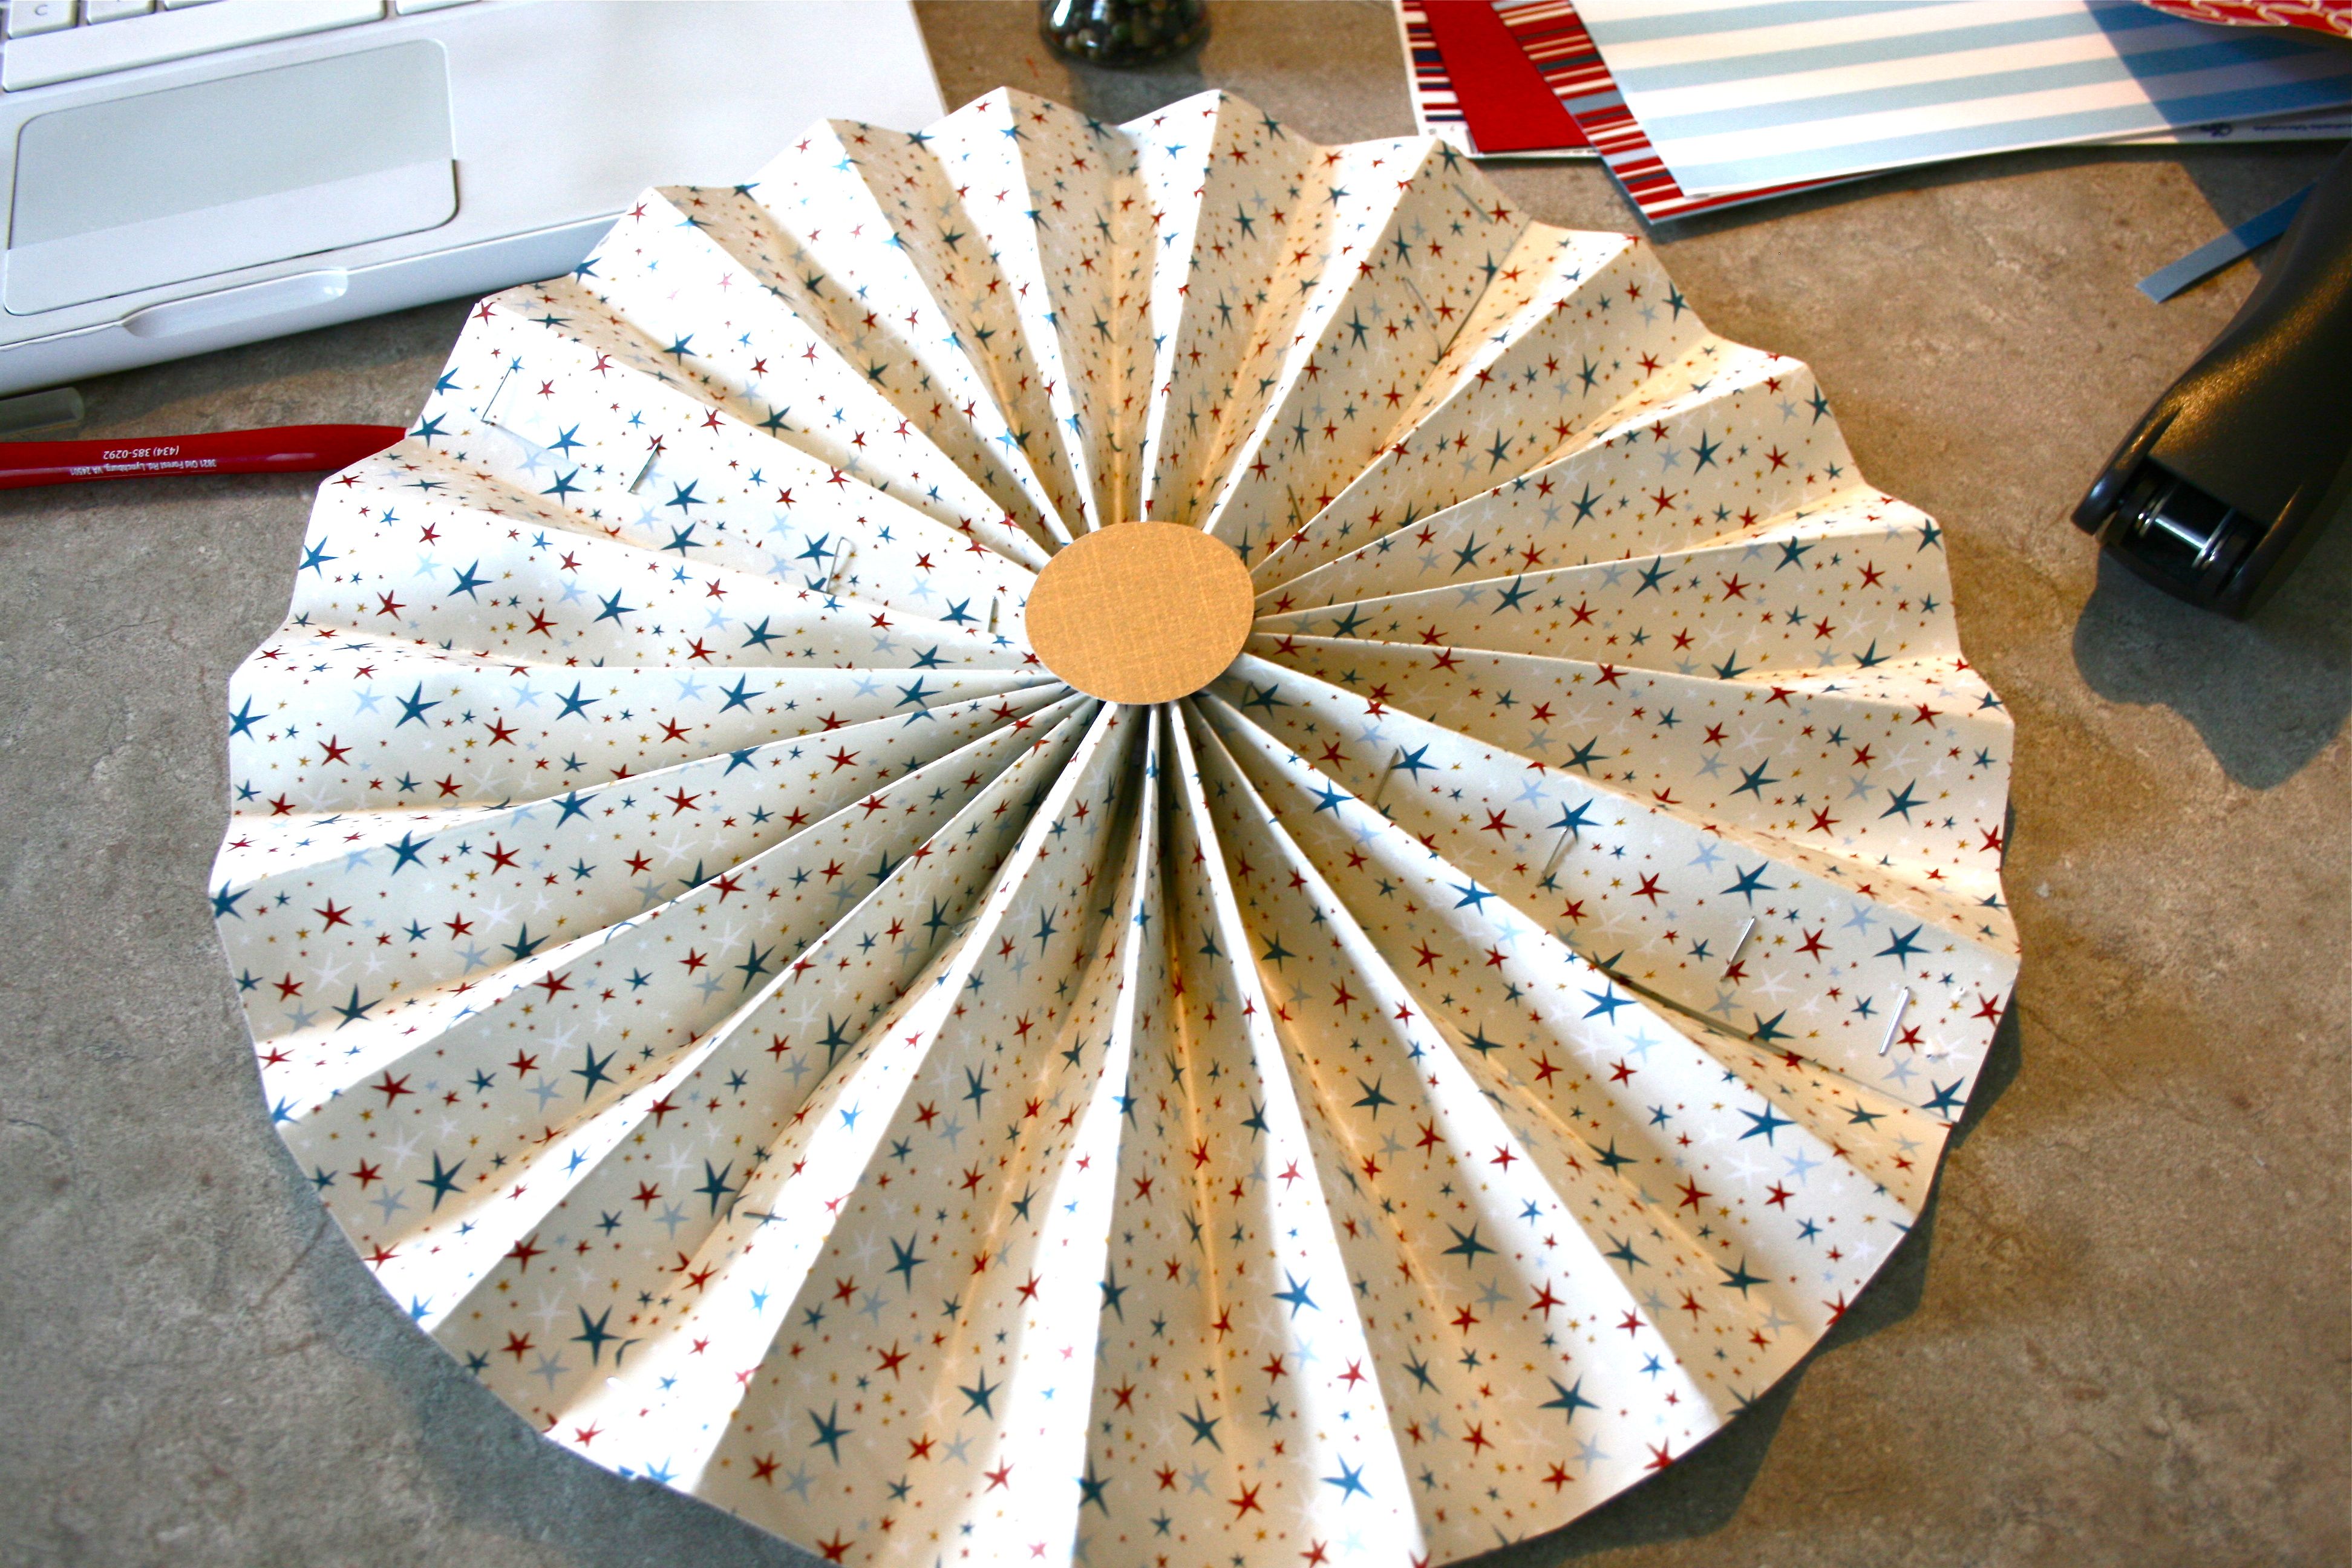
After stapling all of the ends together, I got a nice round circle of accordion-folded paper!
Here come the fun part when you actually get a sneak peak at what your pinwheel is going to look like 🙂
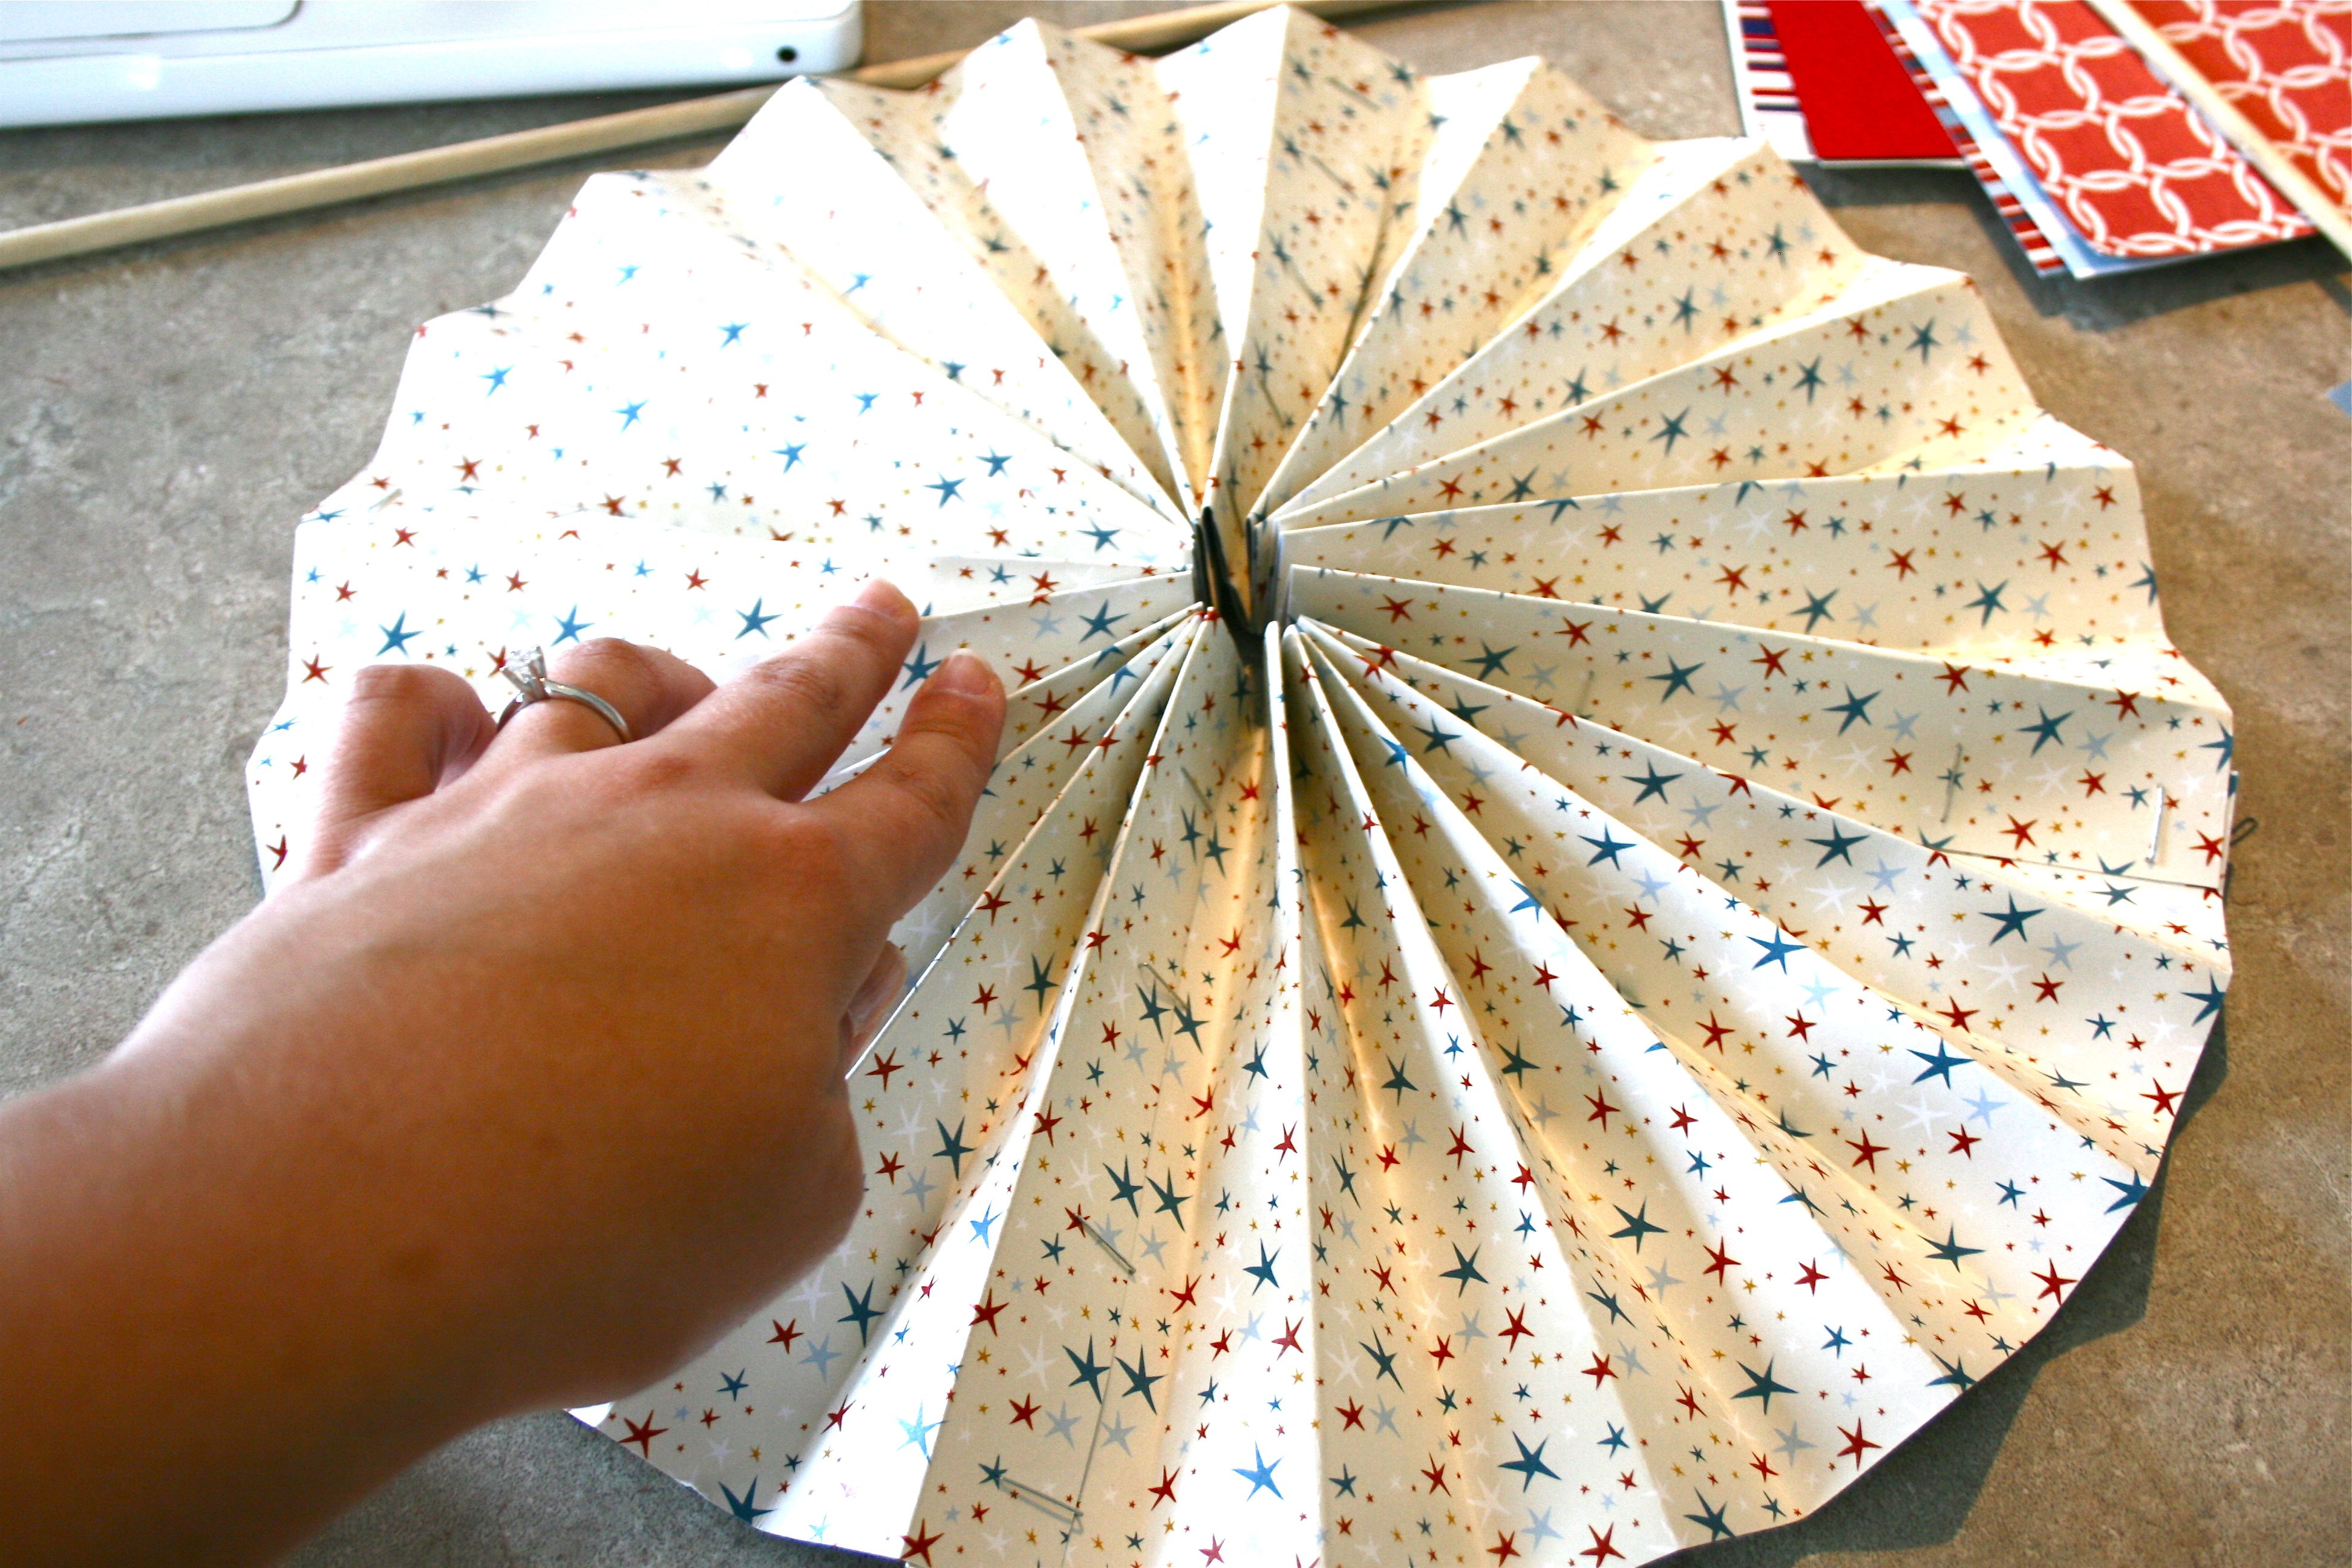
Grab the top edge of the circle of paper and bring to a point (sort of like your grabbing a bouquet of flowers but gently pushing down instead of pulling up), which will inevitably make the paper lay flat. This doesn’t really make much sense put into words, but you’ll see exactly what I mean when you try it yourself.
Tada!!
But you don’t get to enjoy it for too long yet…You’ve gotta get your dowel rod ready.
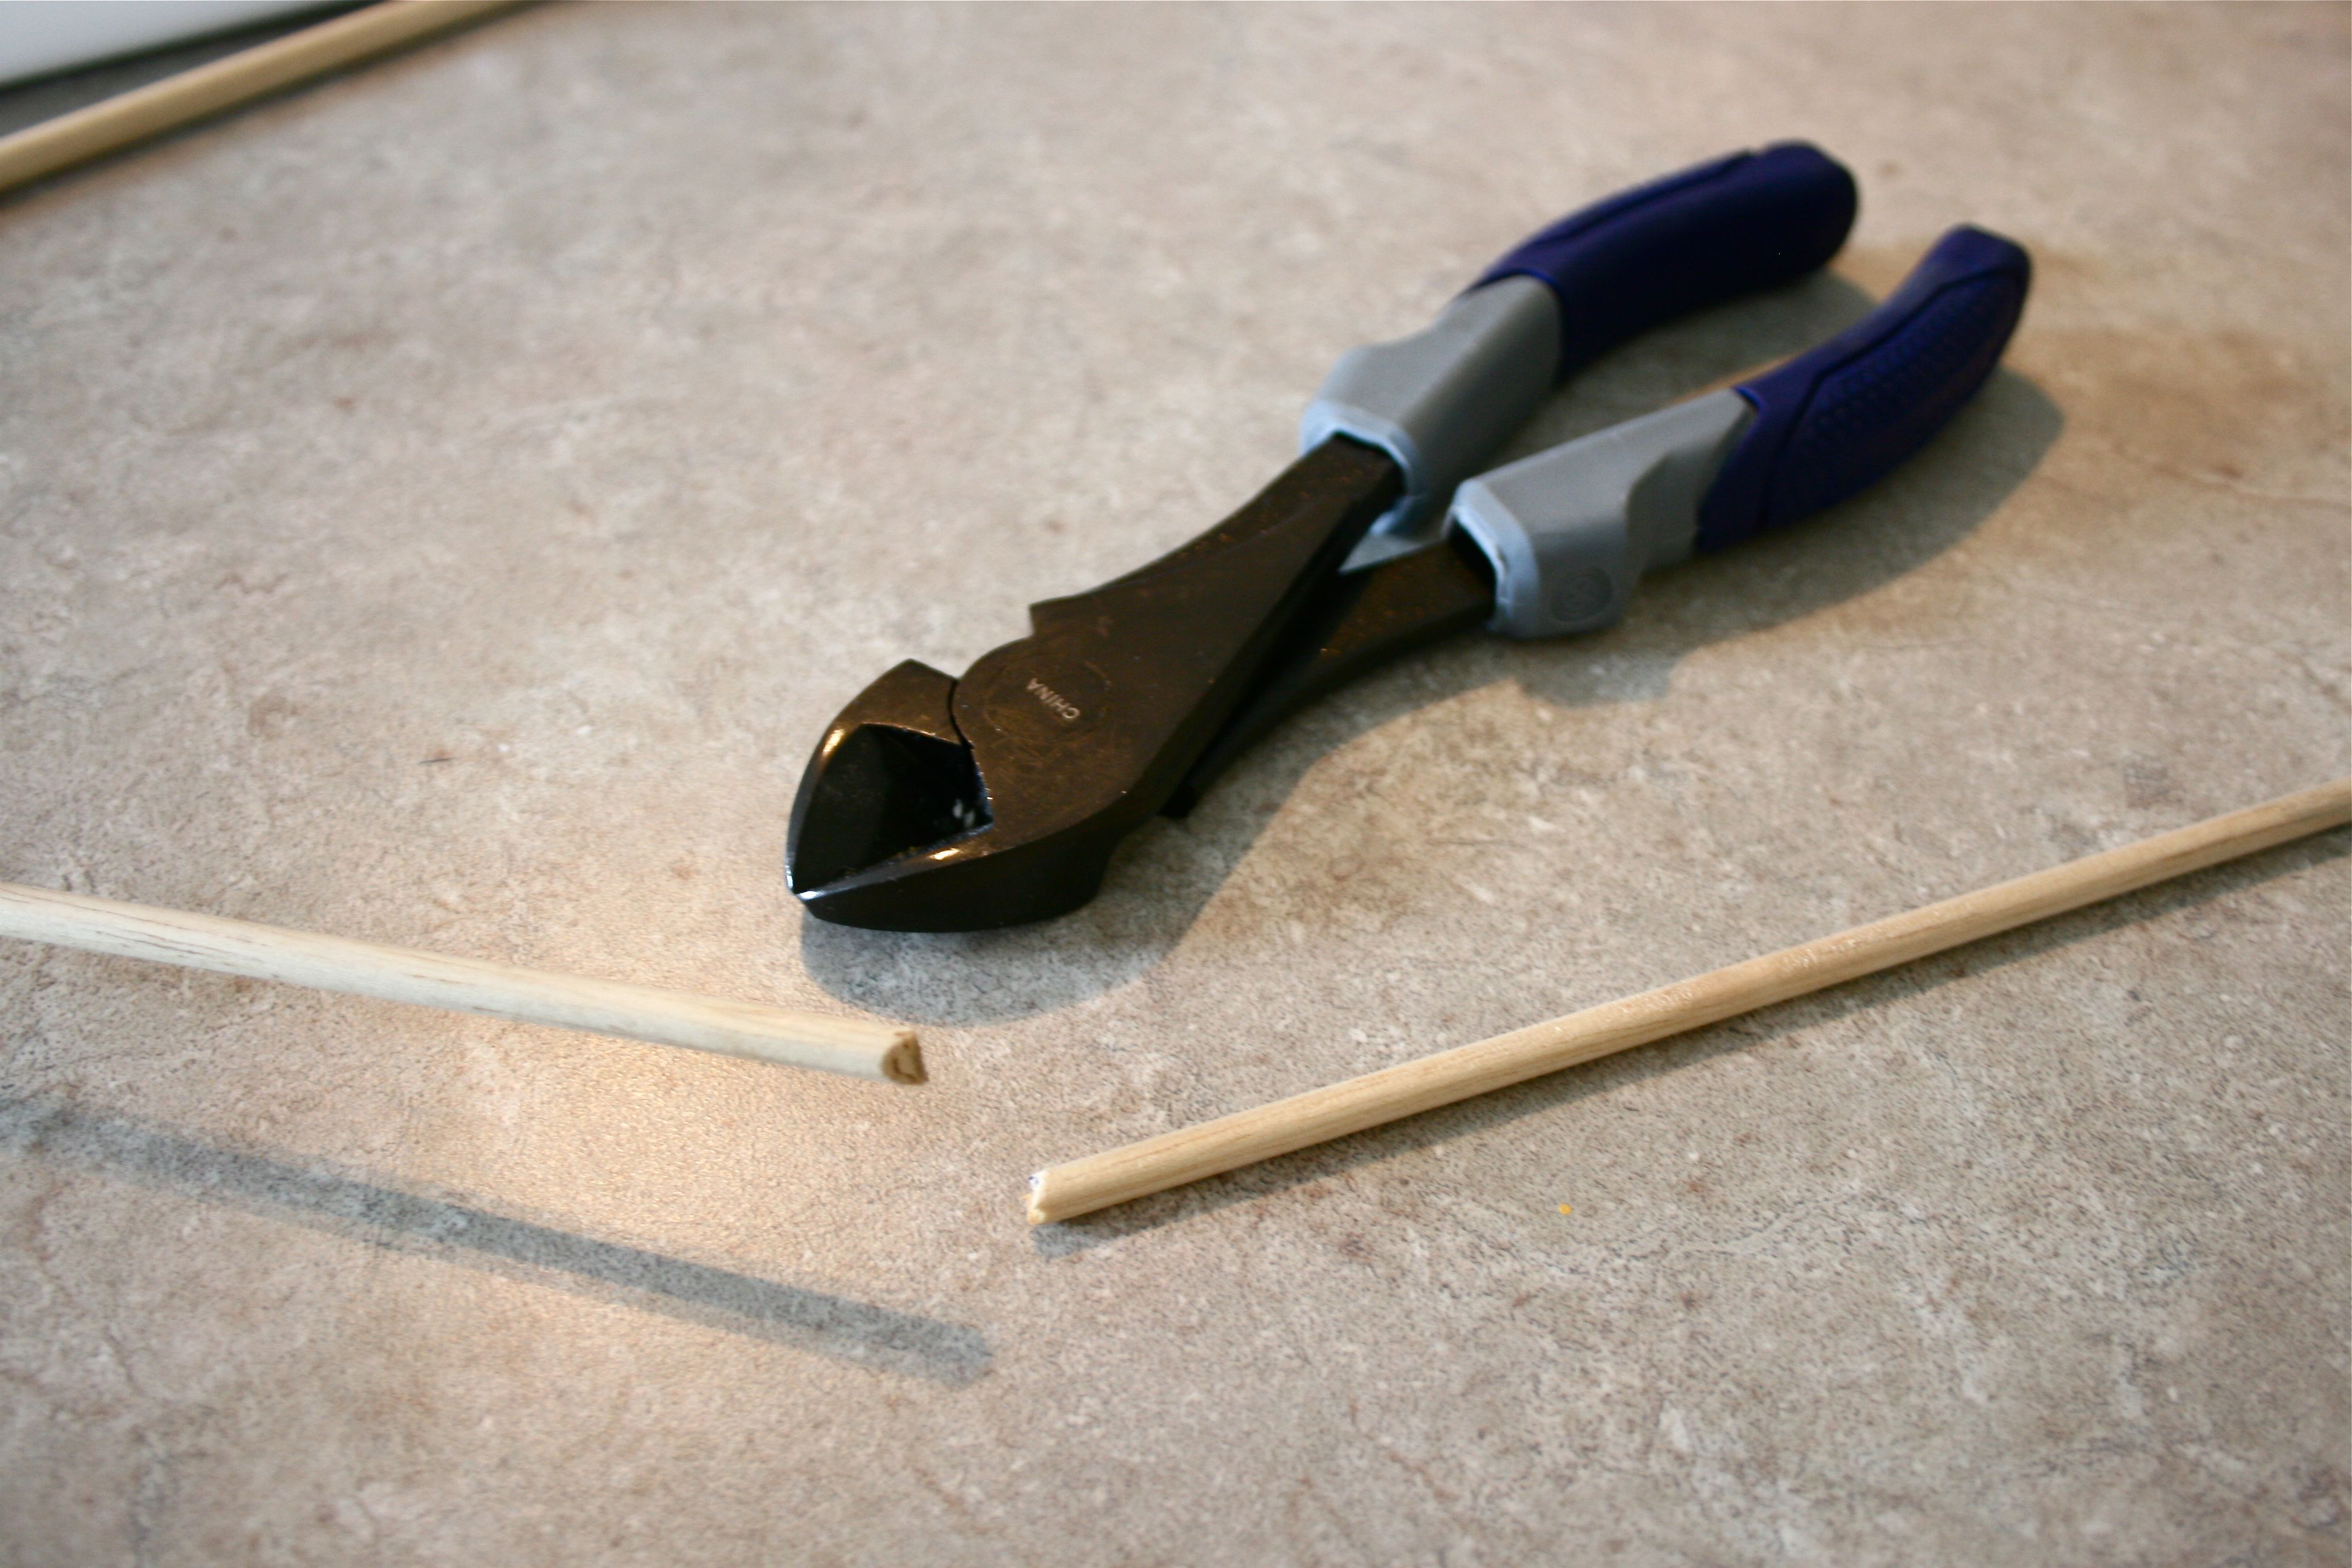
“Getting the dowel rod ready” merely involves cutting it to length (a tad shorter then the pinwheel diameter on both ends). I used wire cutters at first because I thought the dowel rod would be to thick to cut with scissors, but it was actually very soft.
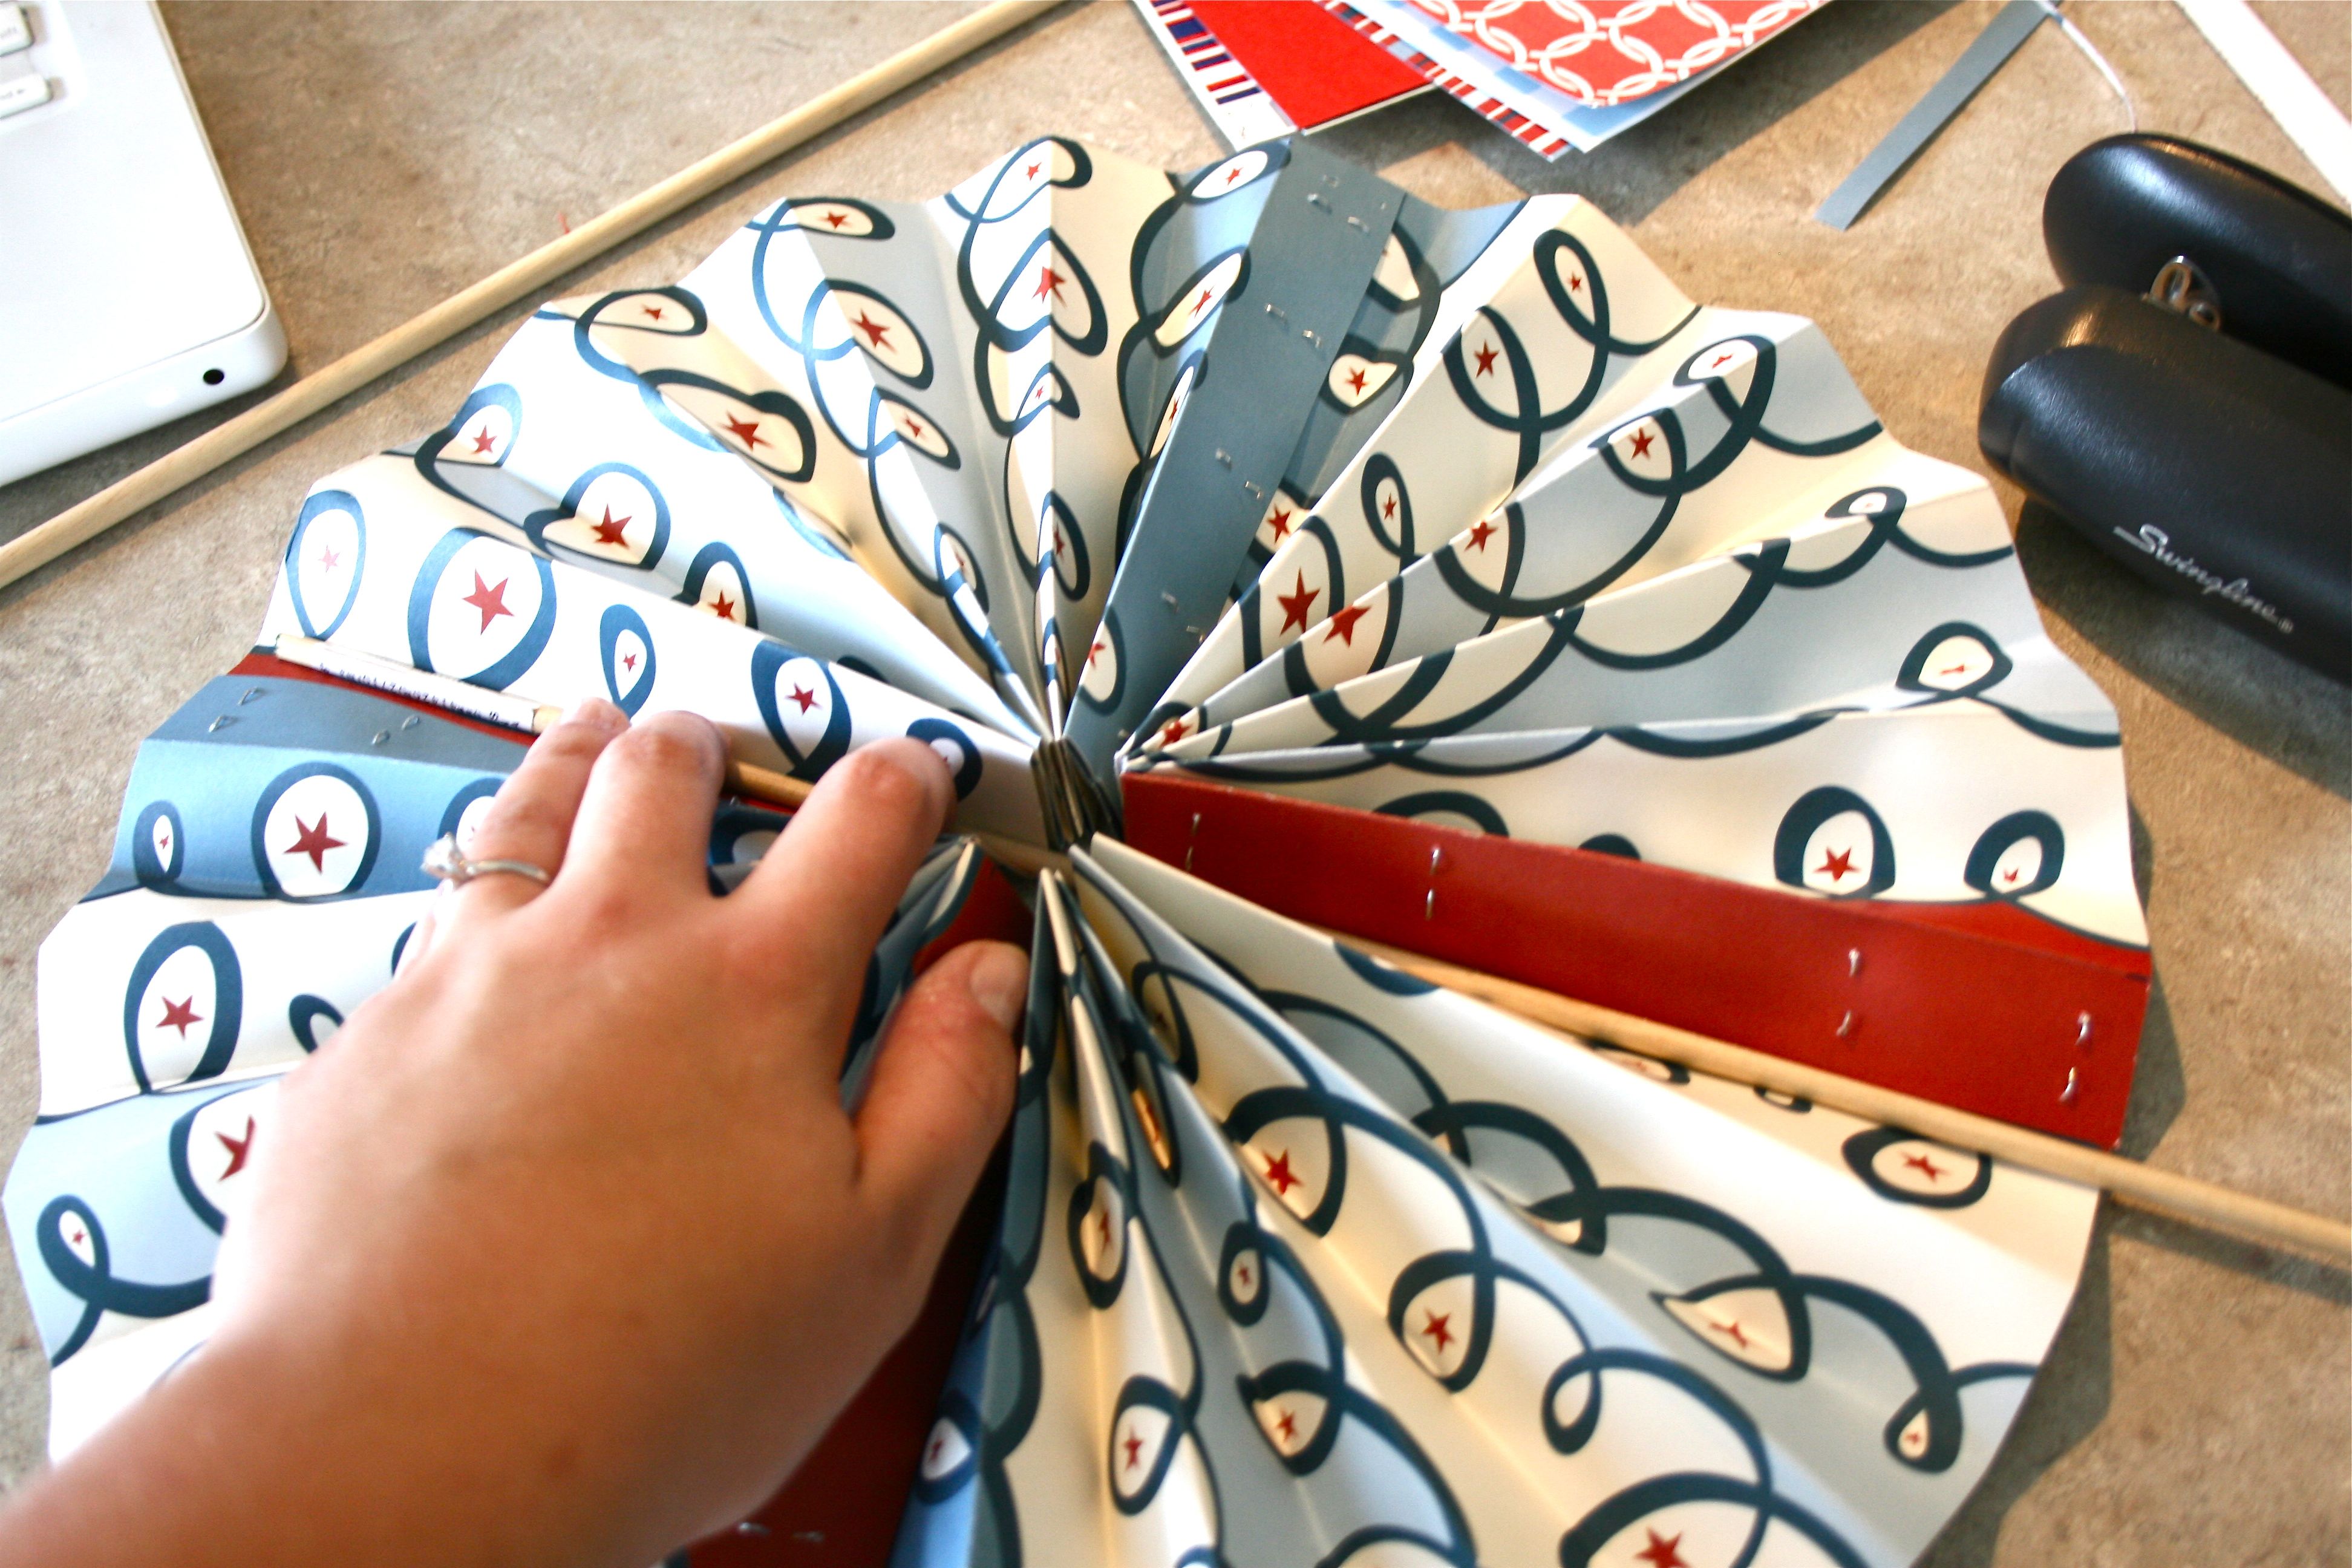
To measure out where to cut down your dowel rod I flipped the pinwheel over, set the rod in place about a centimeter from the end of the paper and then cut the other side (also about a centimeter from the edge).
Next, I put a TON of hot glue down in the bend I chose for the dowel rod support (doesn’t matter which one). You can be pretty liberal with the glue because no one’s going to see the back and it’s got to be pretty thick to hold everything in place. Sink the wooden rod into the goo and let it sit for a few seconds.
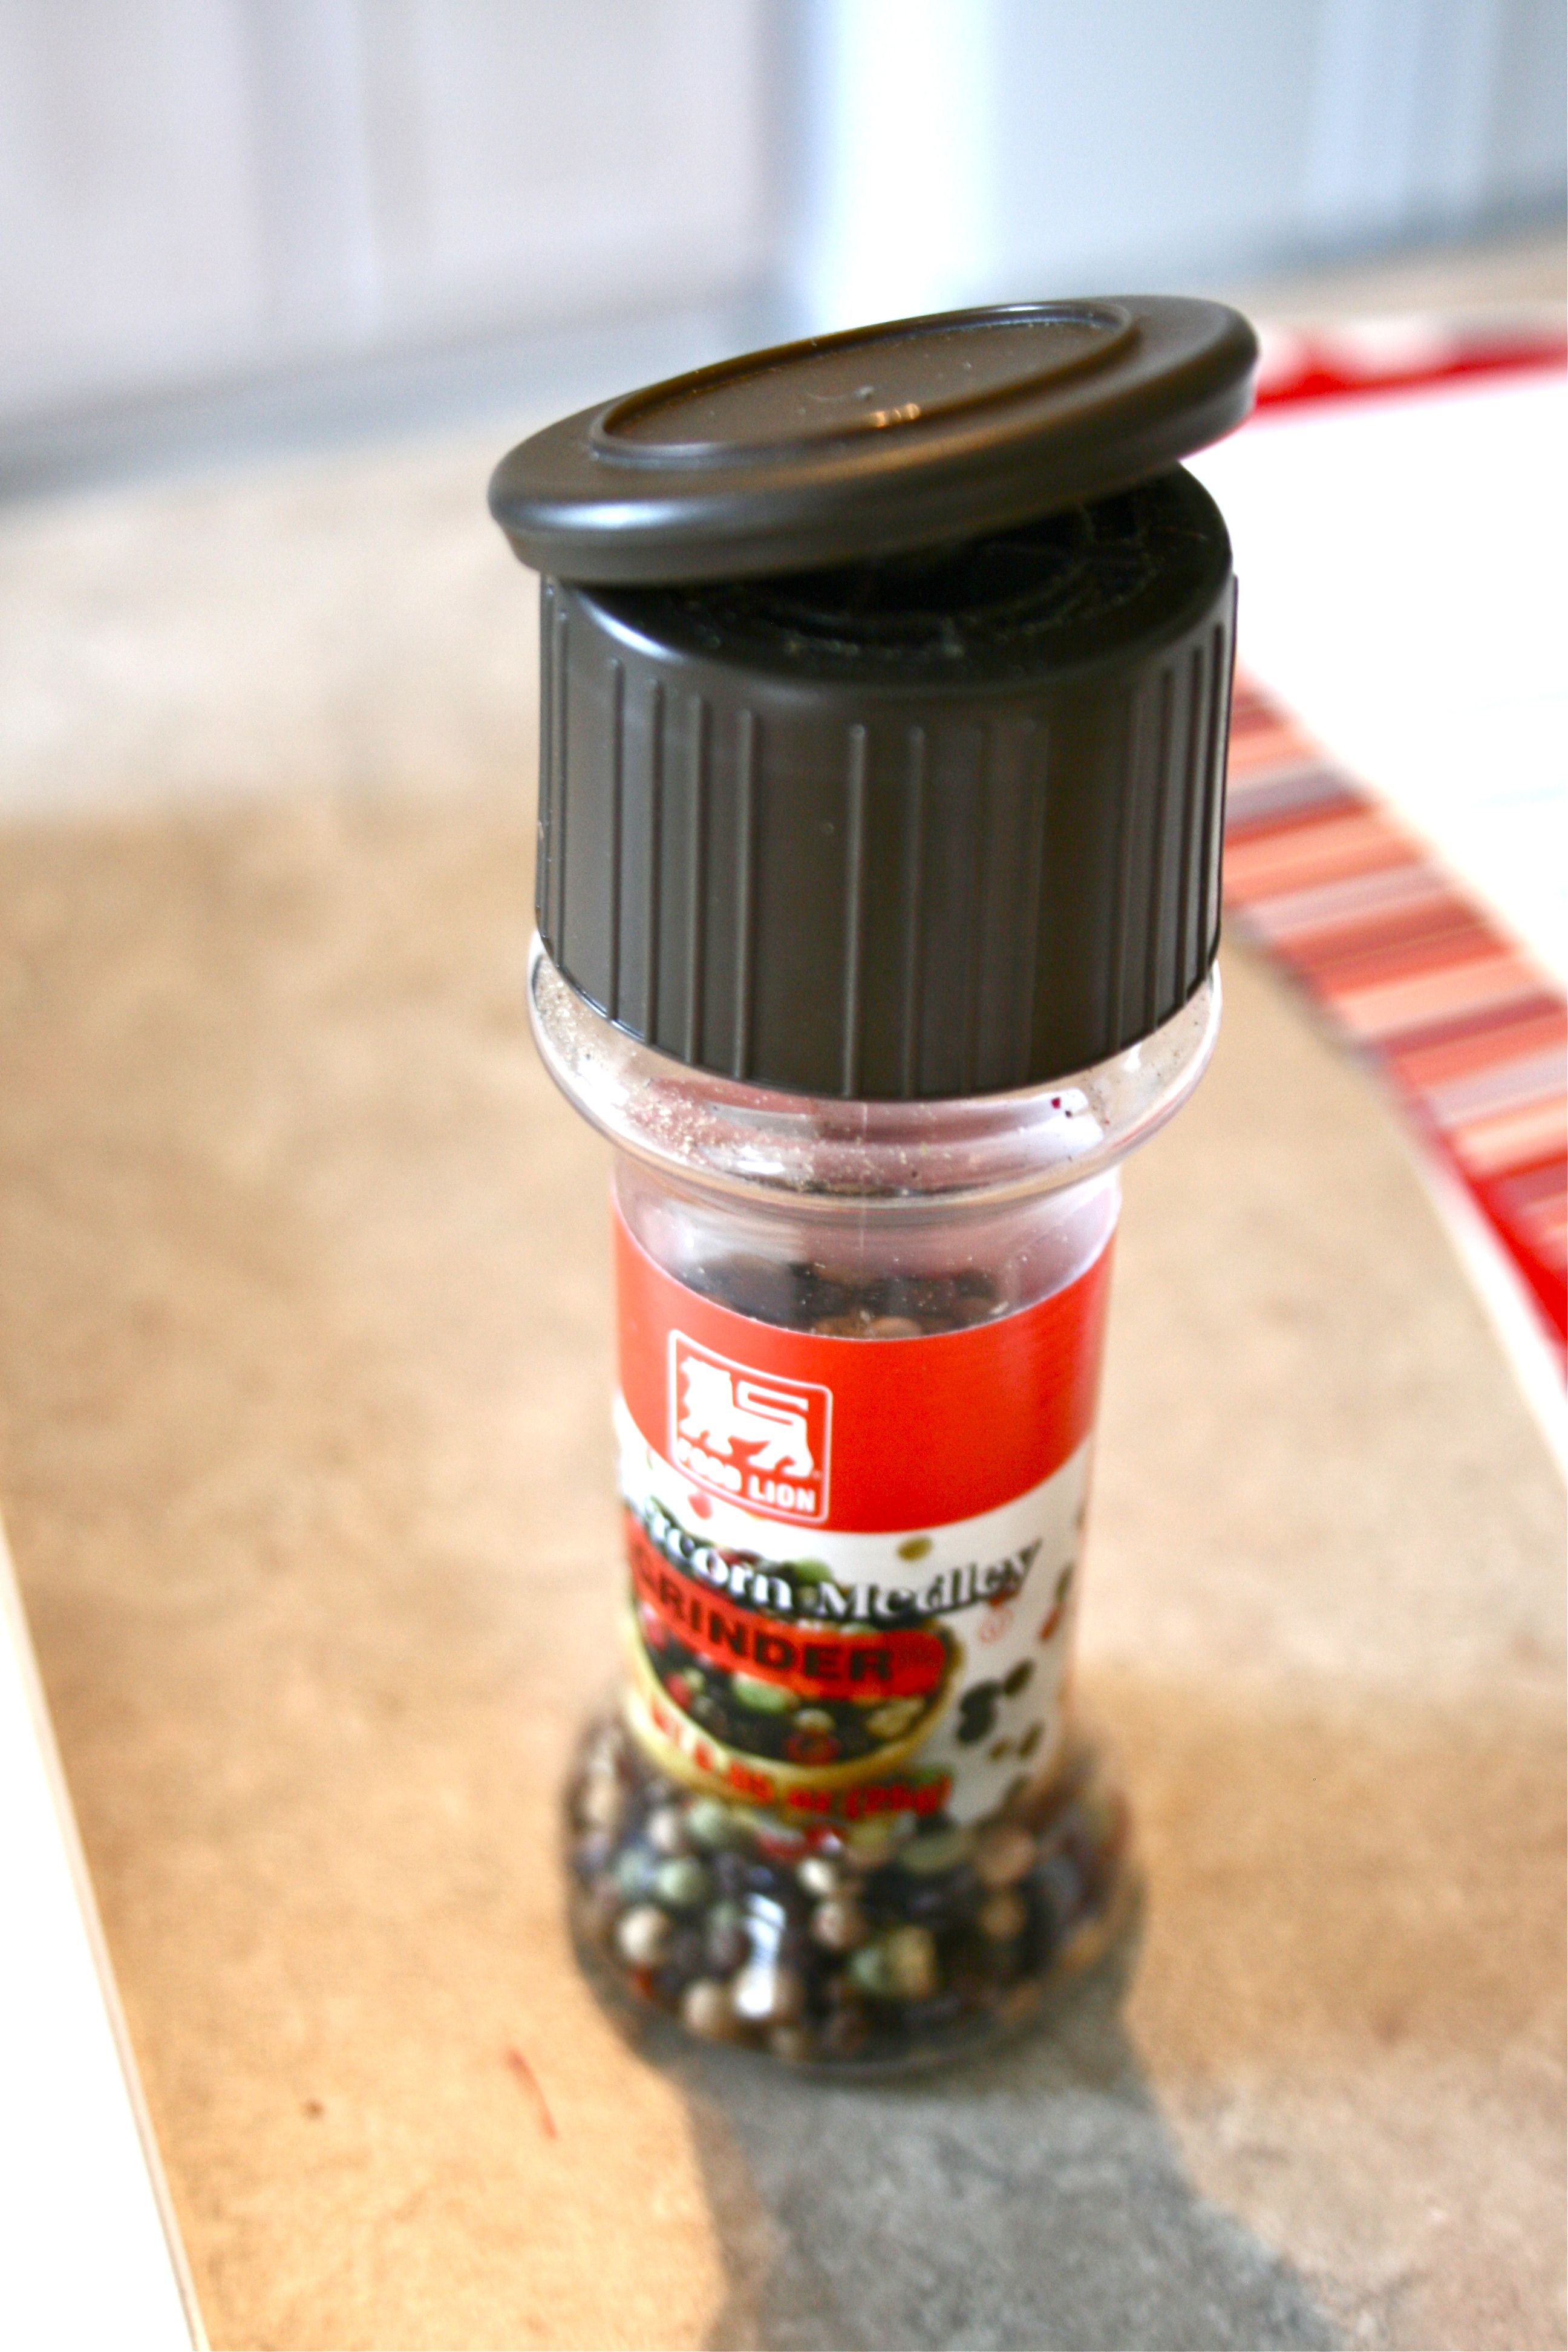
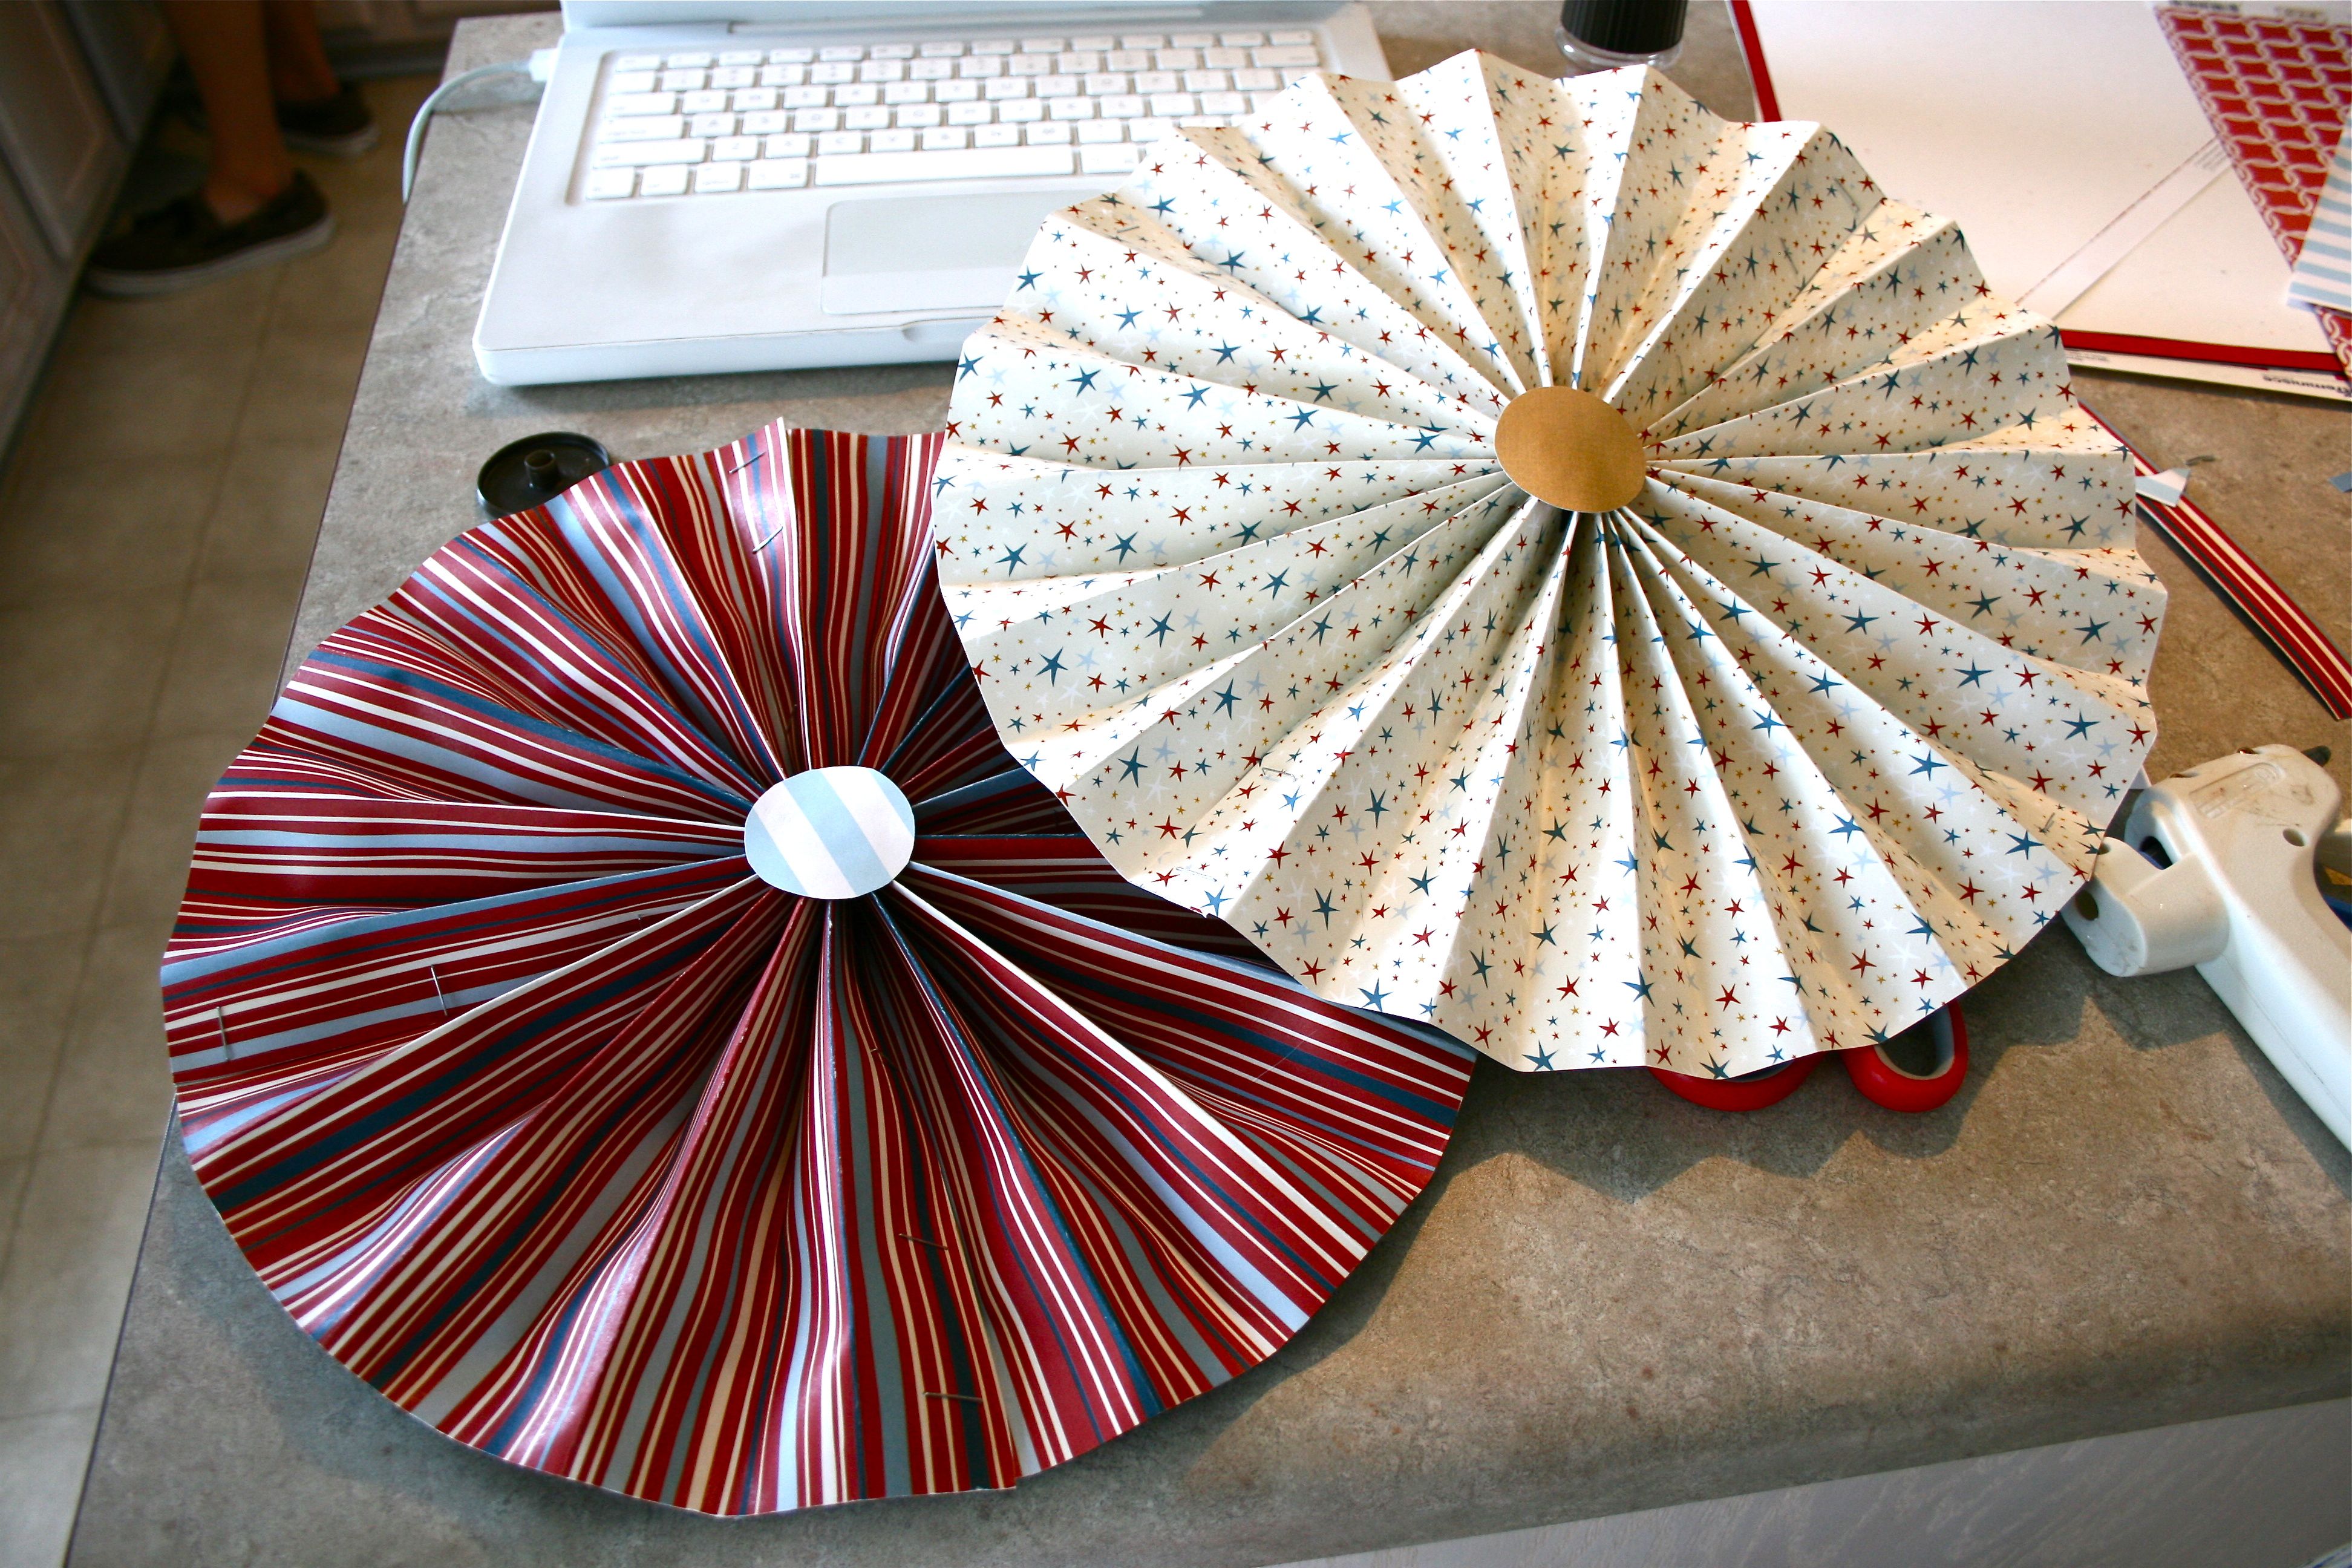
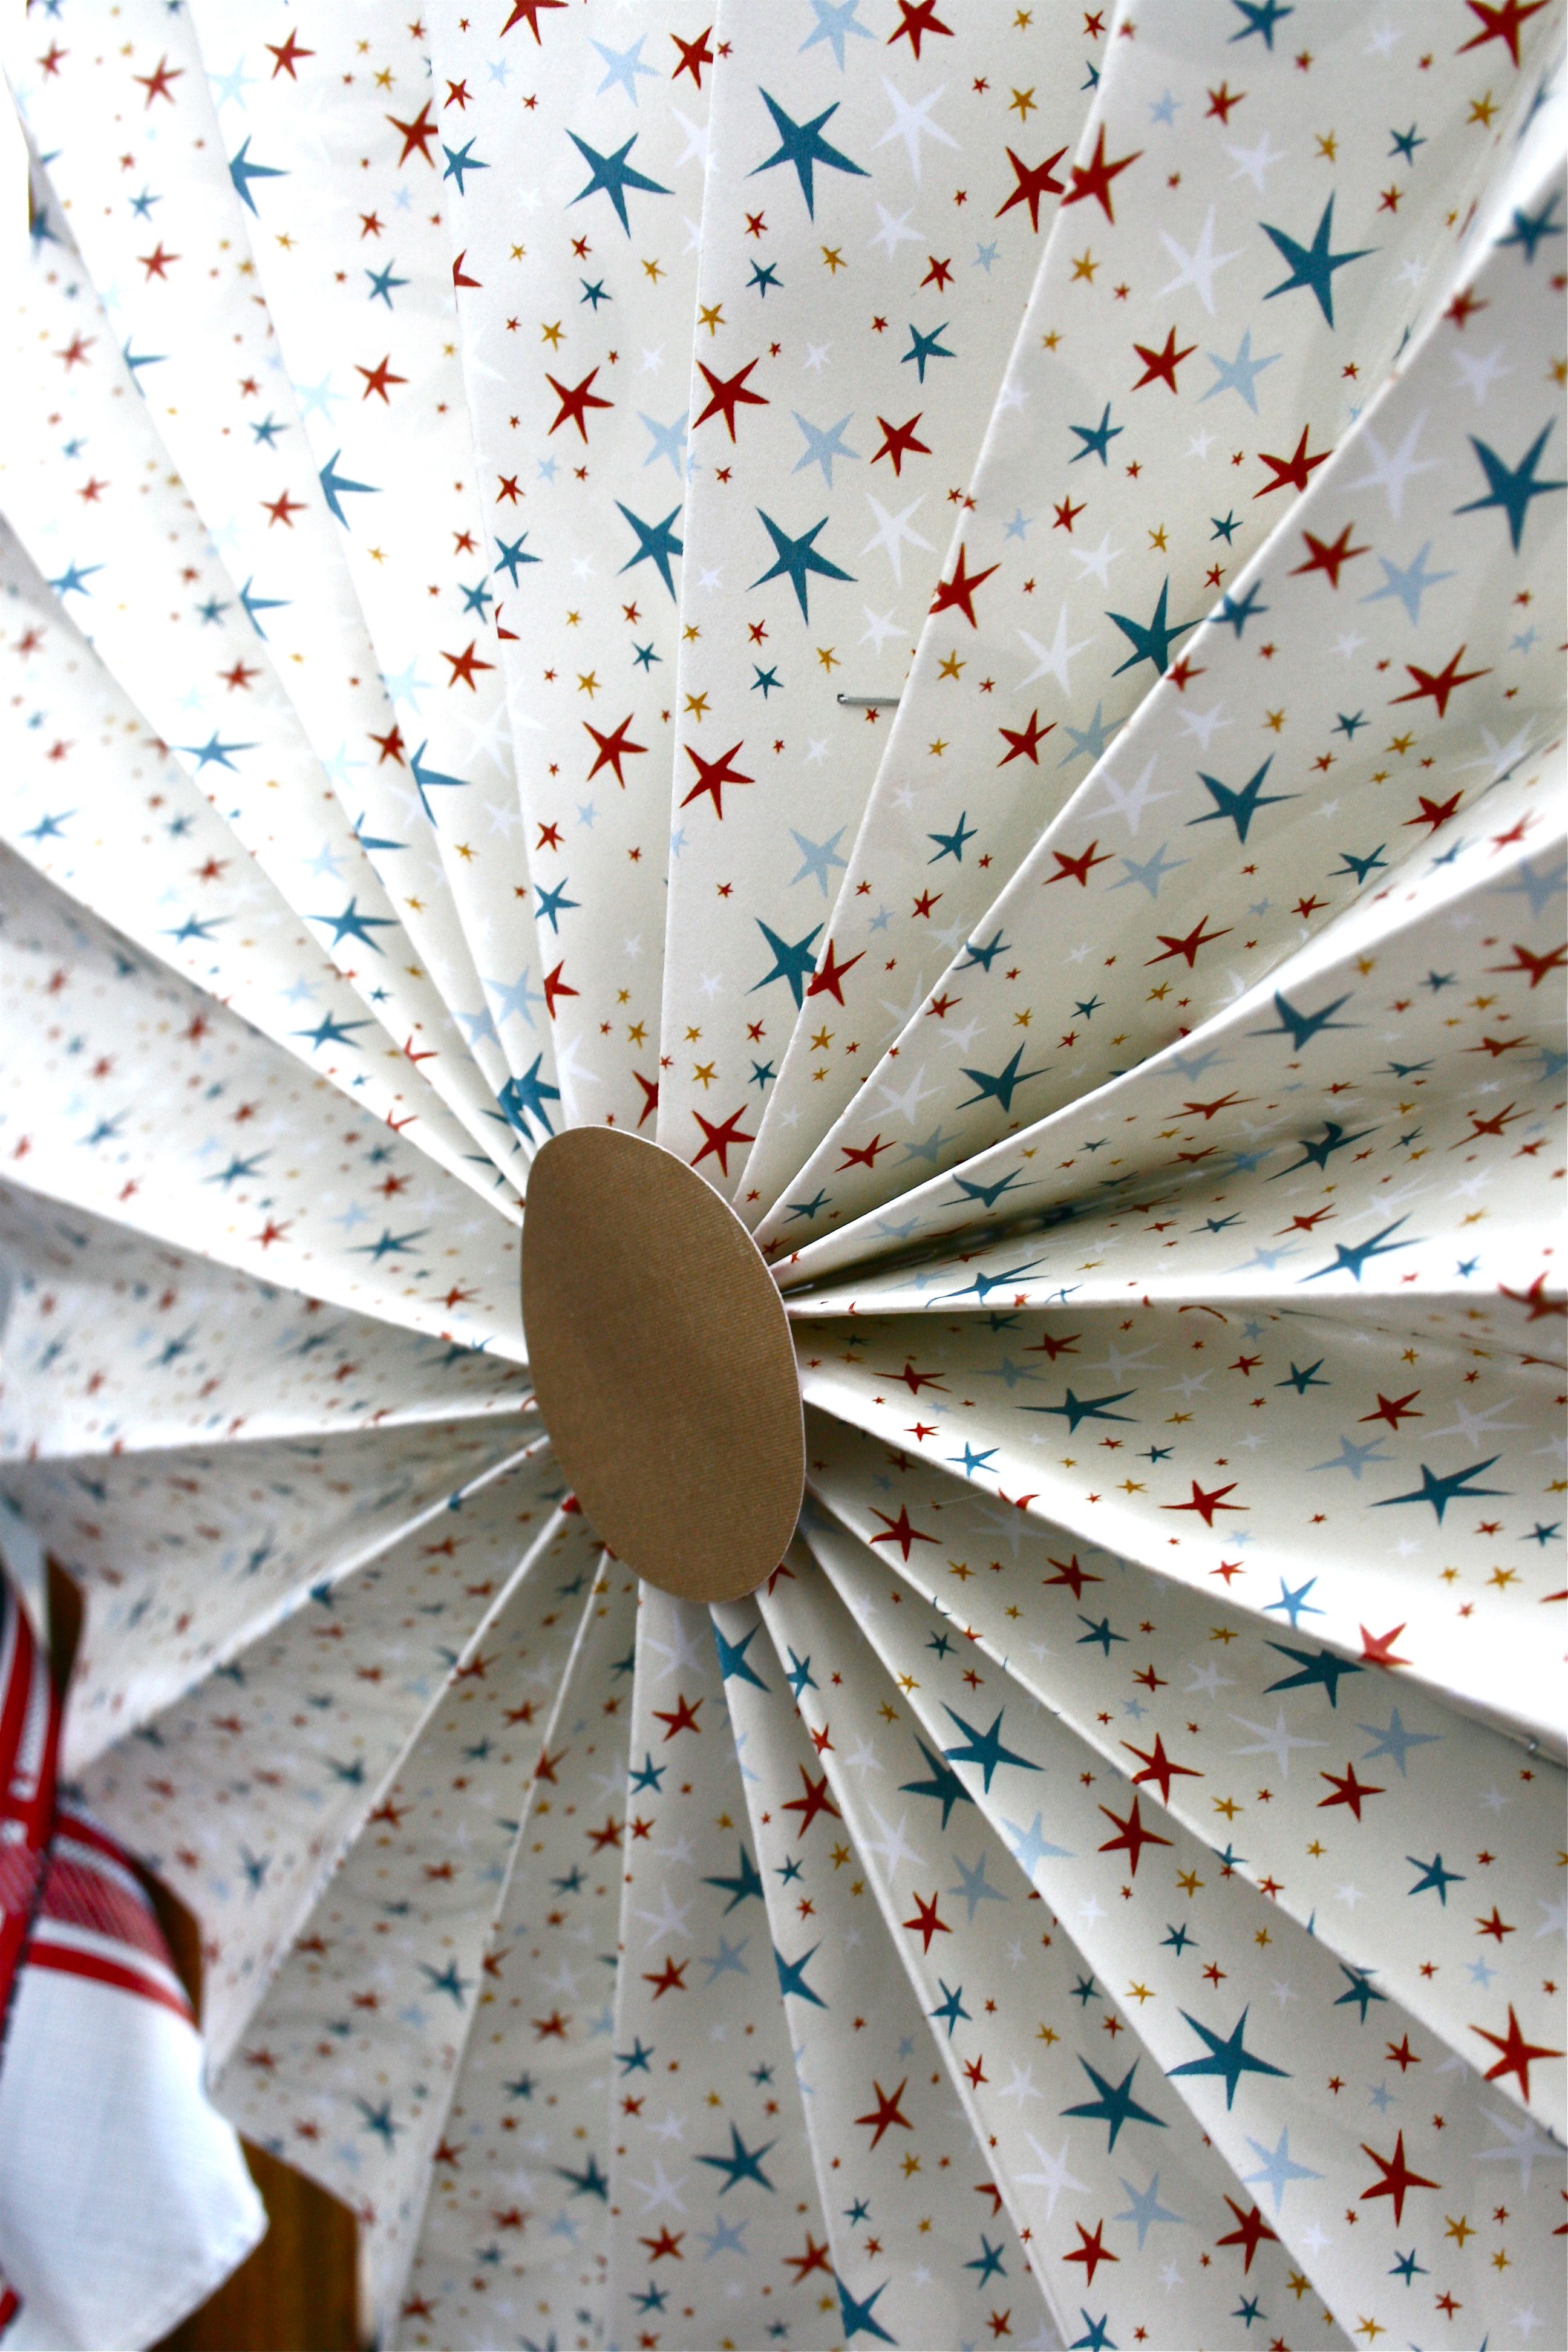
When I turned it over, I realized that I forgot about the center point…Usually people buy (or make) pretty over-sized buttons to hide the empty center point of the pinwheel. But all I had was more paper…So I made it work by cutting a circle of scrapbook paper (using the top from our pepper mill to trace for a perfect circle) and, after a little extra glue, we were good to go!
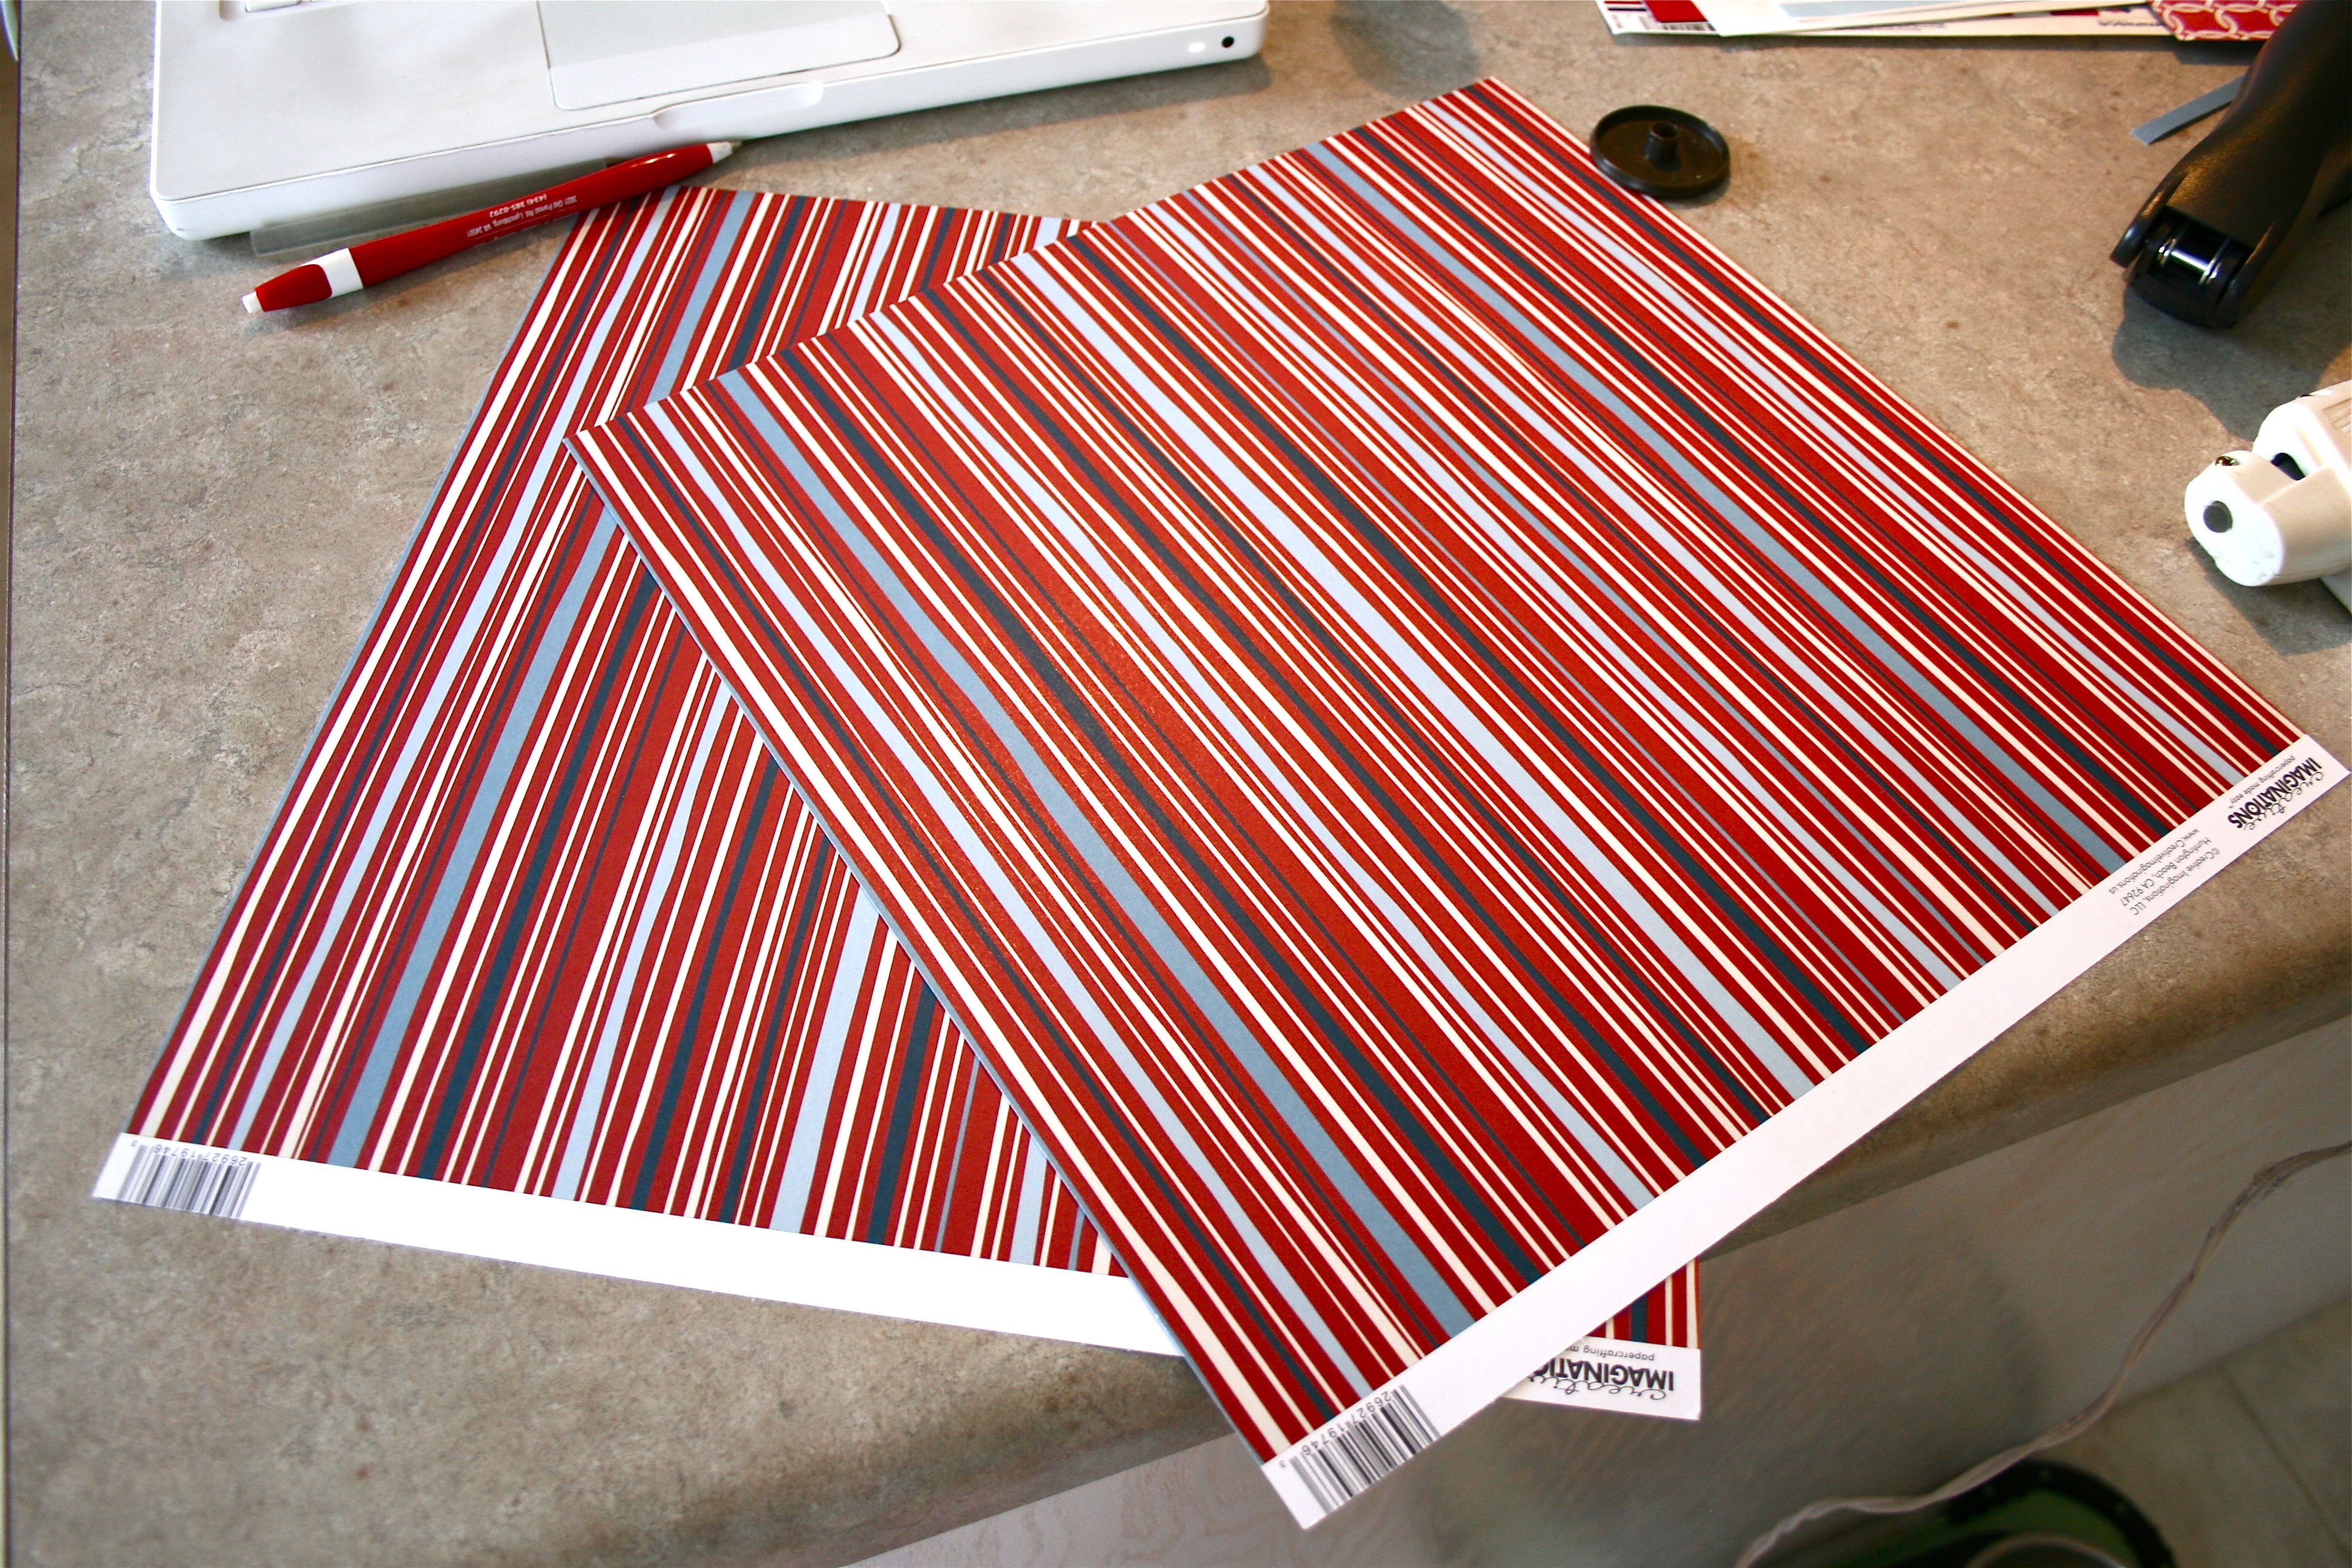
Ten minutes later, I transformed the next set of scrapbooking paper from this:
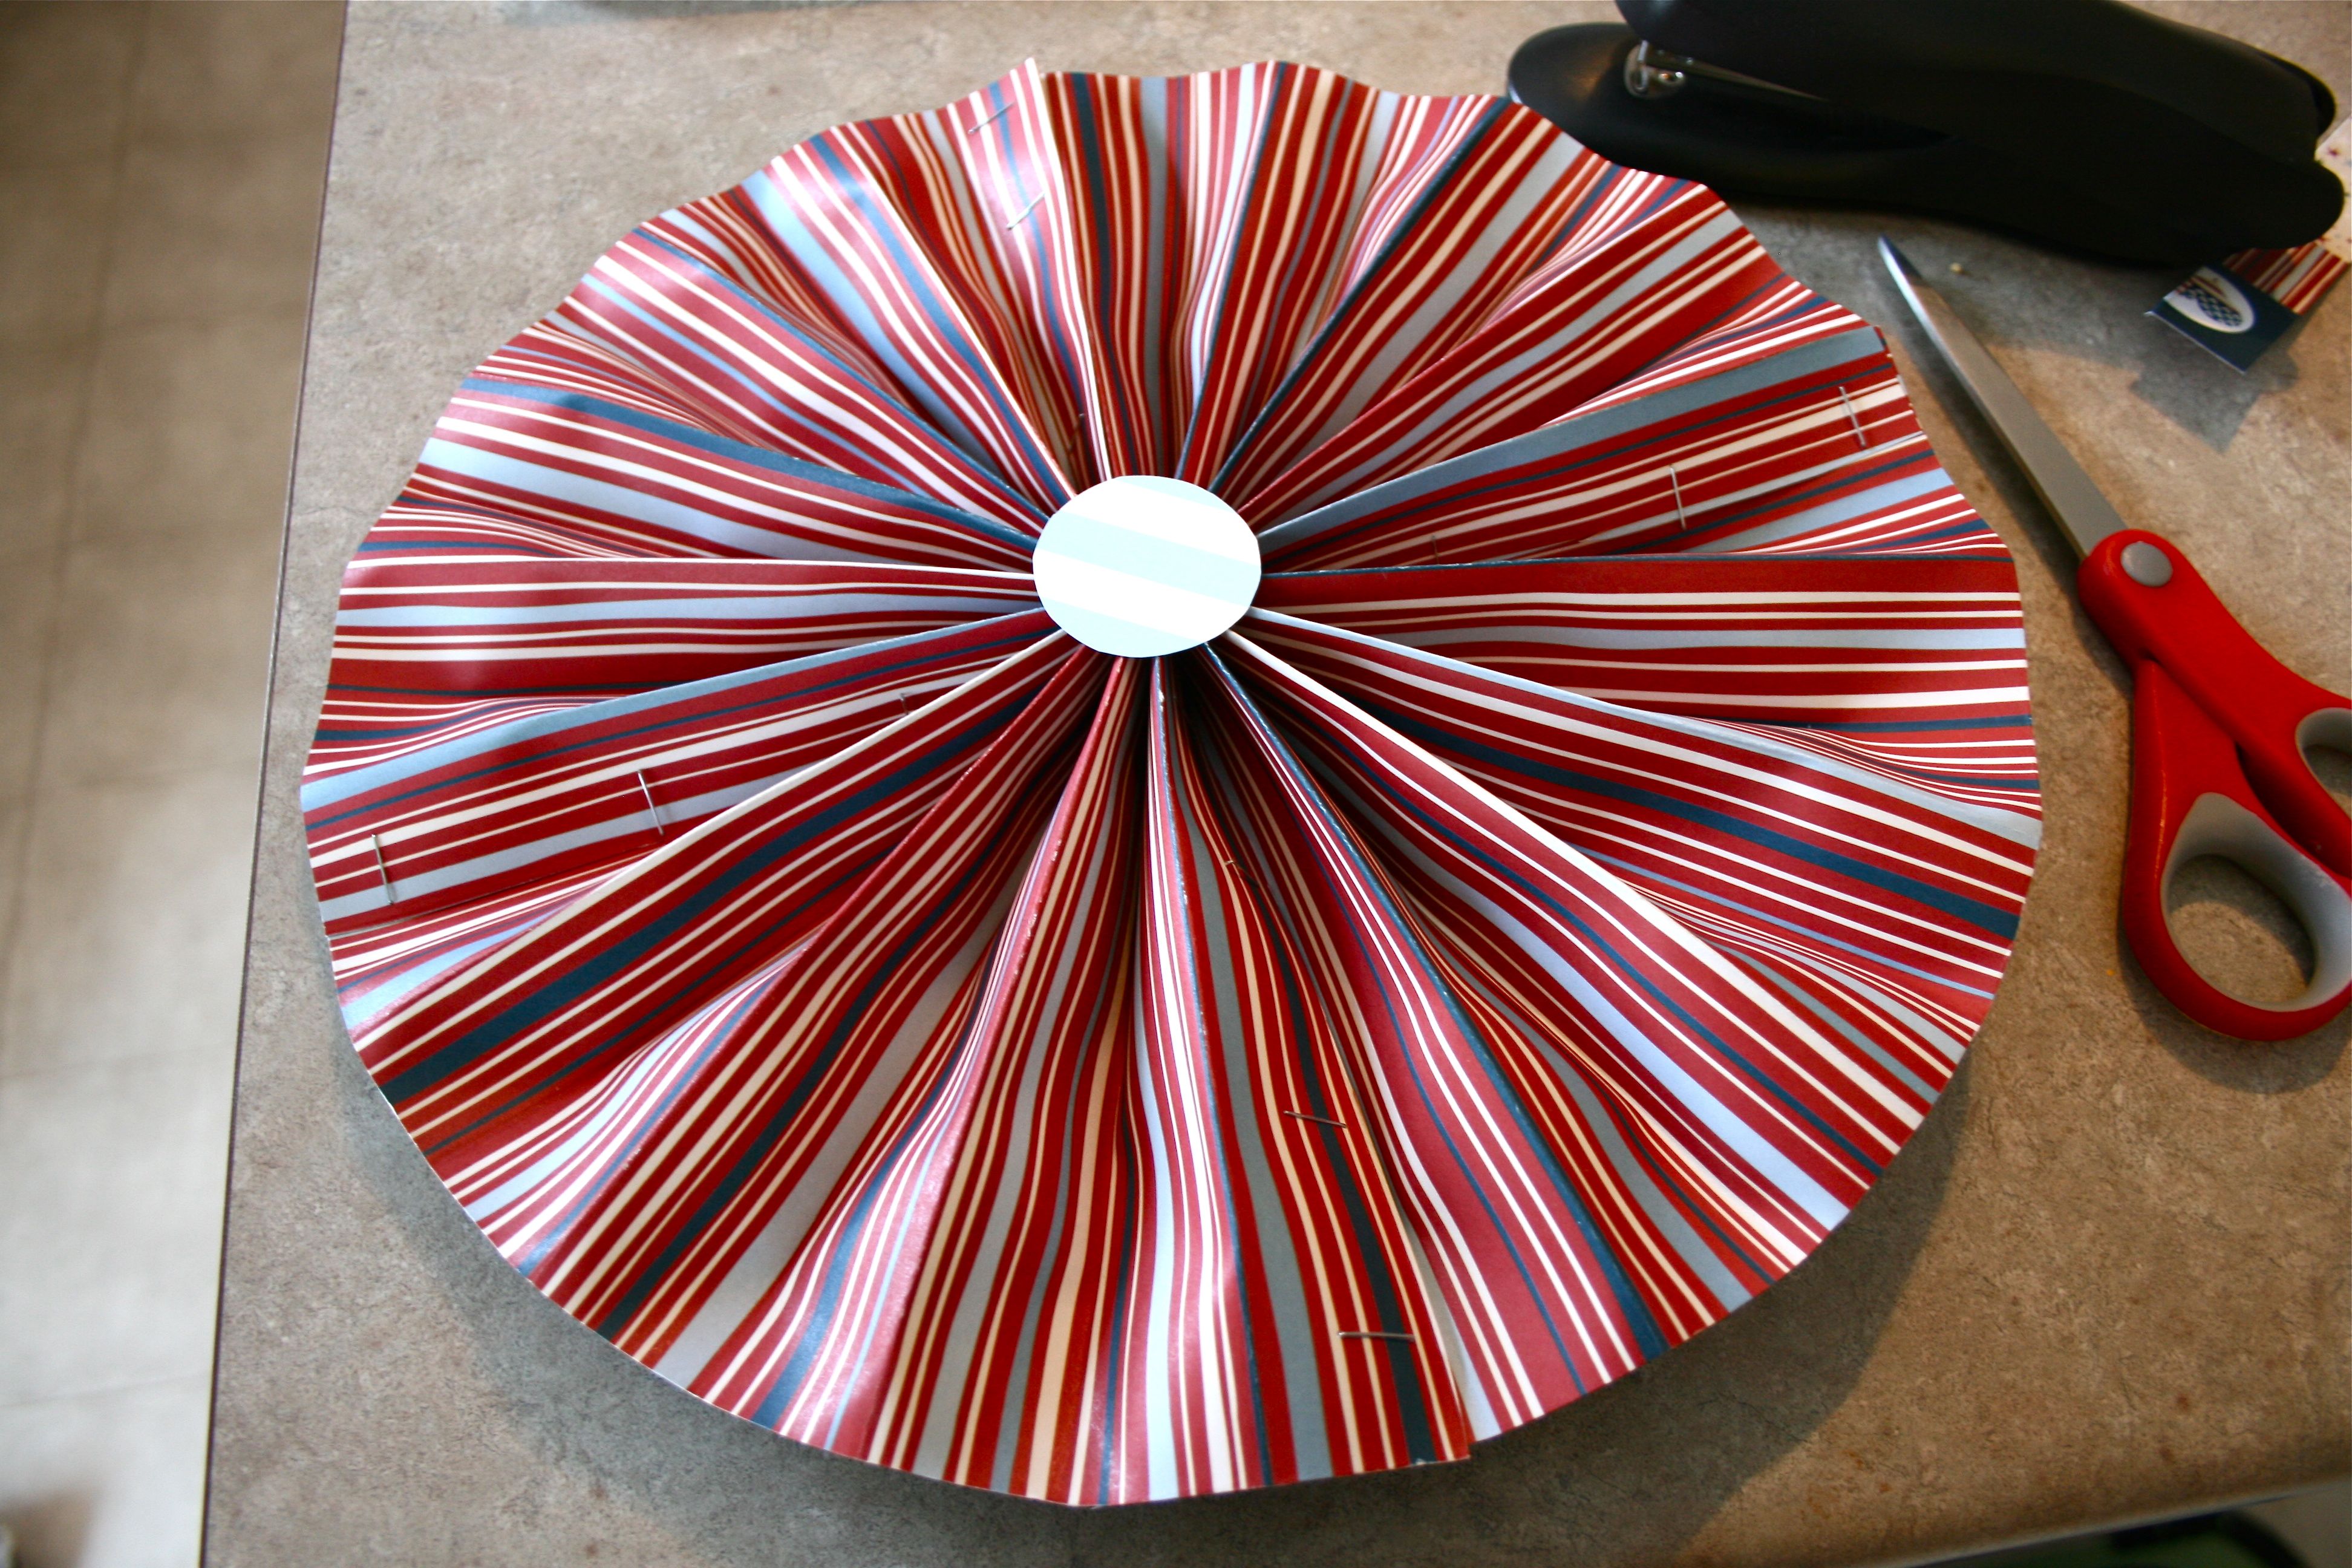
To this!
I am a little silly over my pride in these pinwheels…I have ALWAYS wanted to try making them but was worried about the process being overwhelming. I can now safely say though that making pinwheels (though a bit tedious if you’re making a large quantity) are very straightforward to create! And CHEAP too!
Here’s the cost breakdown:
- Scrapbooking paper: $3 (for all of the multiple sheets I used)
- Dowel rod: something like 50 cents
- Scissors, pen, stapler, hot glue gun: already had so FREE
Grand total for one pinwheel comes to probably about $1.50 – Not bad, not bad at ALL!
I have seen these little wheels used in all sorts of gorgeous ways, but I didn’t want to fill this already-novel-length post with anything else. So stay tuned for Monday – I have a feeling my “Monday Inspiration” will have something to do with pinwheels 😉
Hope you have a great 4th of July holiday weekend!
UPDATE: For more Independence Day fun, be sure to click over to Itsy Bitsy Paper for Lindy’s “Red, White and Blue Linky Party”! We’re #80 on the list 🙂

