So what were you guys up to this weekend?? It’s getting down to crunch time for the holidays, so I know many of you may have been out doing last-minute Christmas shopping. Or, if you’re like my dad who thinks “last-minute Christmas shopping” is the day before Christmas, then maybe you kicked back with your feet up watching a movie. To each his/her own 🙂
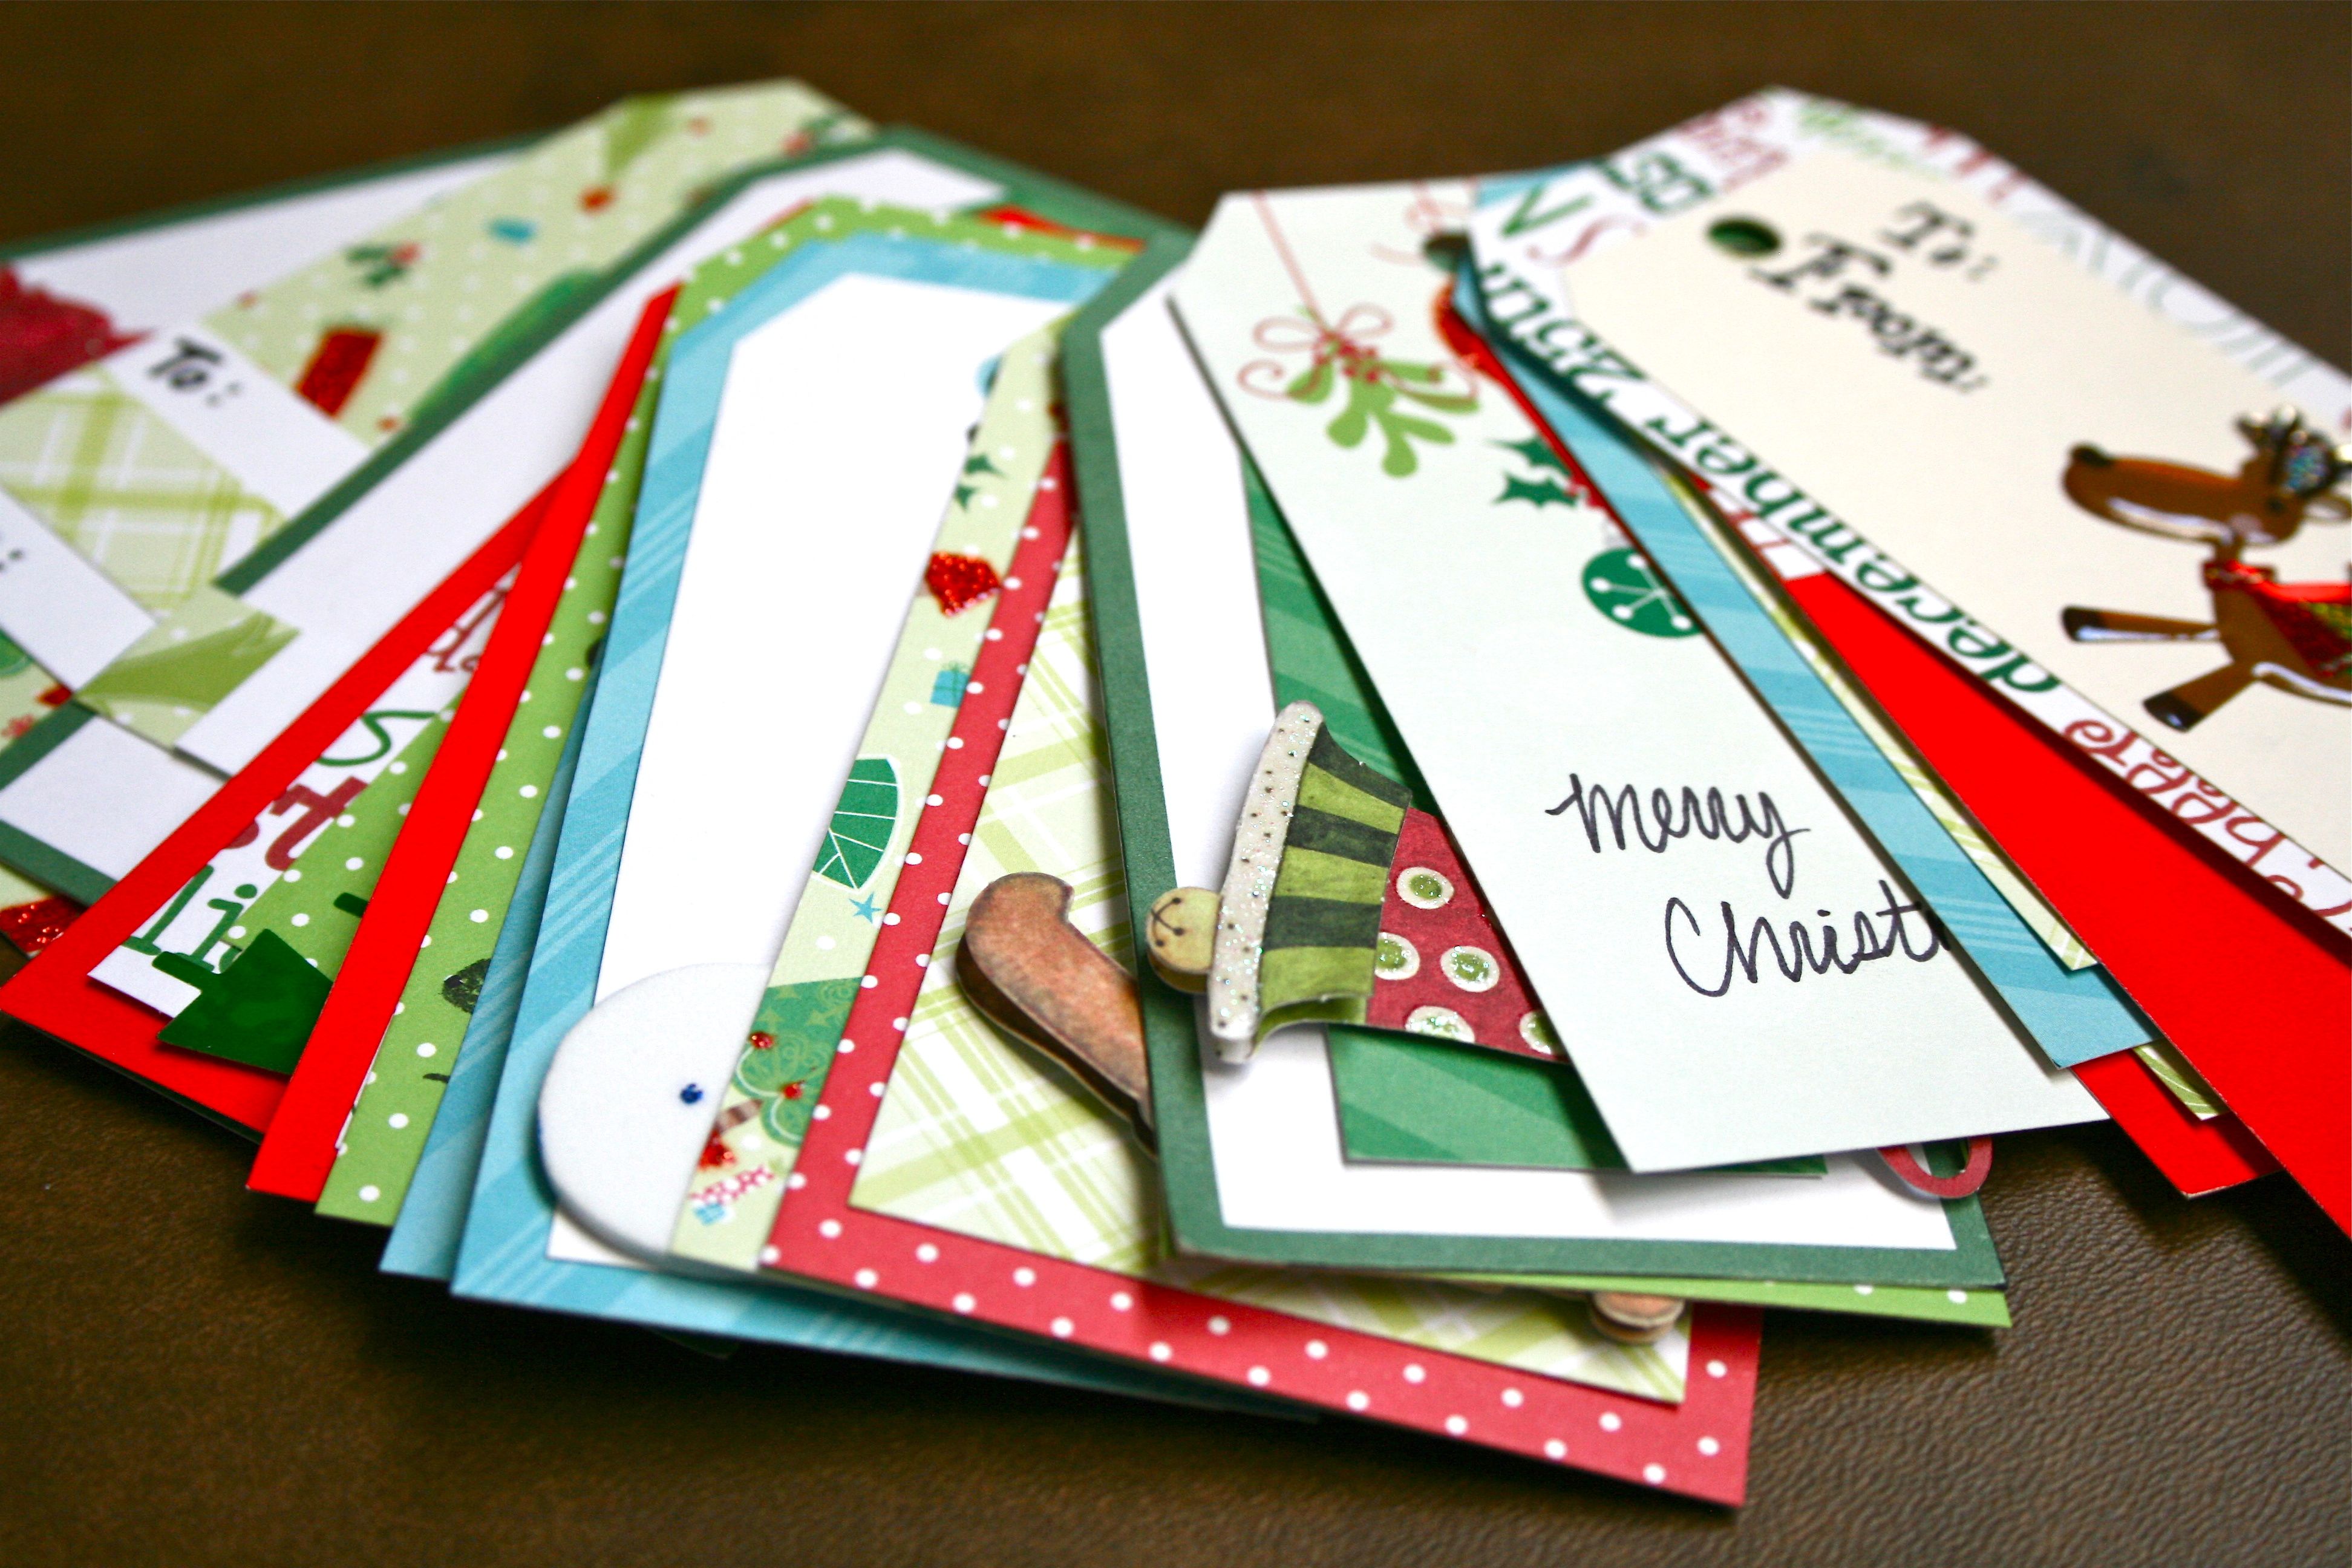
John and I spent a good part of our Saturday at his parent’s house and had a blast relaxing and visiting with his mom, dad and sister, Kate. After a delicious lunch of fresh deli meat on artisan bread, “the boys” (John and his dad) went out to work on fixing the horn in John’s truck while “the girls” (i.e. Mrs. Waller, Kate and I) stayed inside and put together piles of hand-made Christmas tags. Apparently John’s mom has been wanting to make her own tags for years – I’m so glad that she decided to do so this year and to include me because we had a (very productive) blast!
To get us in the holiday mood we turned on the Christmas music and then settled down to the kitchen table, which was spread end-to-end with Mrs. Waller’s assortment of craft paper, holiday stickers and glue sticks. I don’t even know how long we were at it, but when all was said and done we made somewhere close to 50 tags between the three of us!
I didn’t get any photos of their lovely creations, but after bringing my tags home I arranged them for a little photo shoot – There was no way I could let this project go without sharing the details with you.
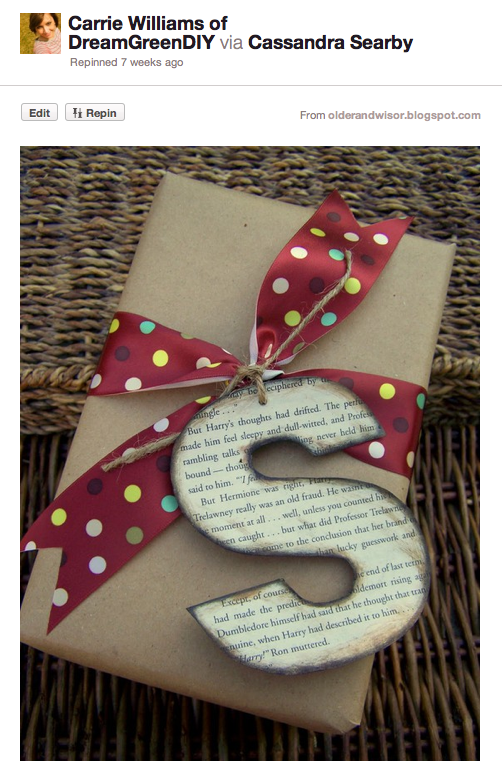
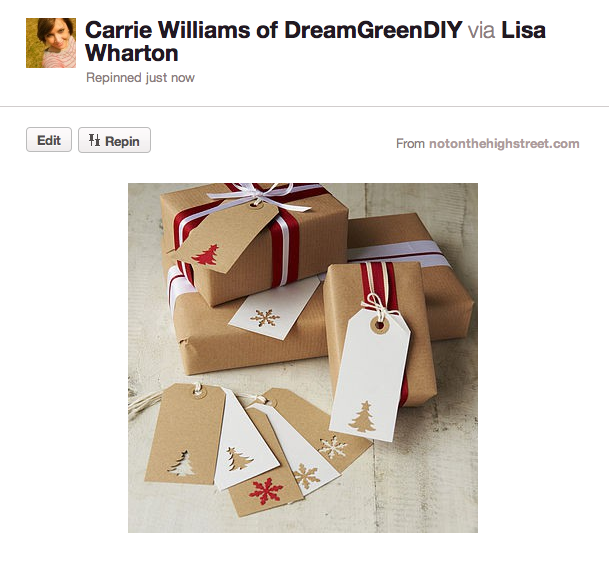
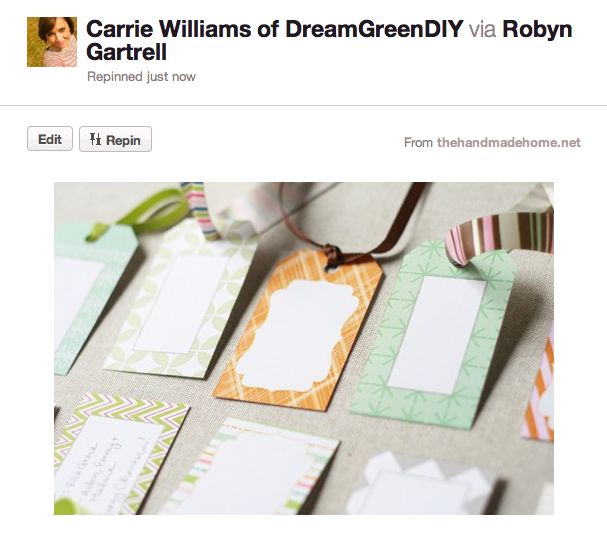
But before I get to that, here are a few that I managed to grab from Pinterest as inspiration:
Source: Older and Wiser (bonus points for using a page from “Harry Potter” 🙂 )
Source: Not on the high street.com
Source: The Handmade Home
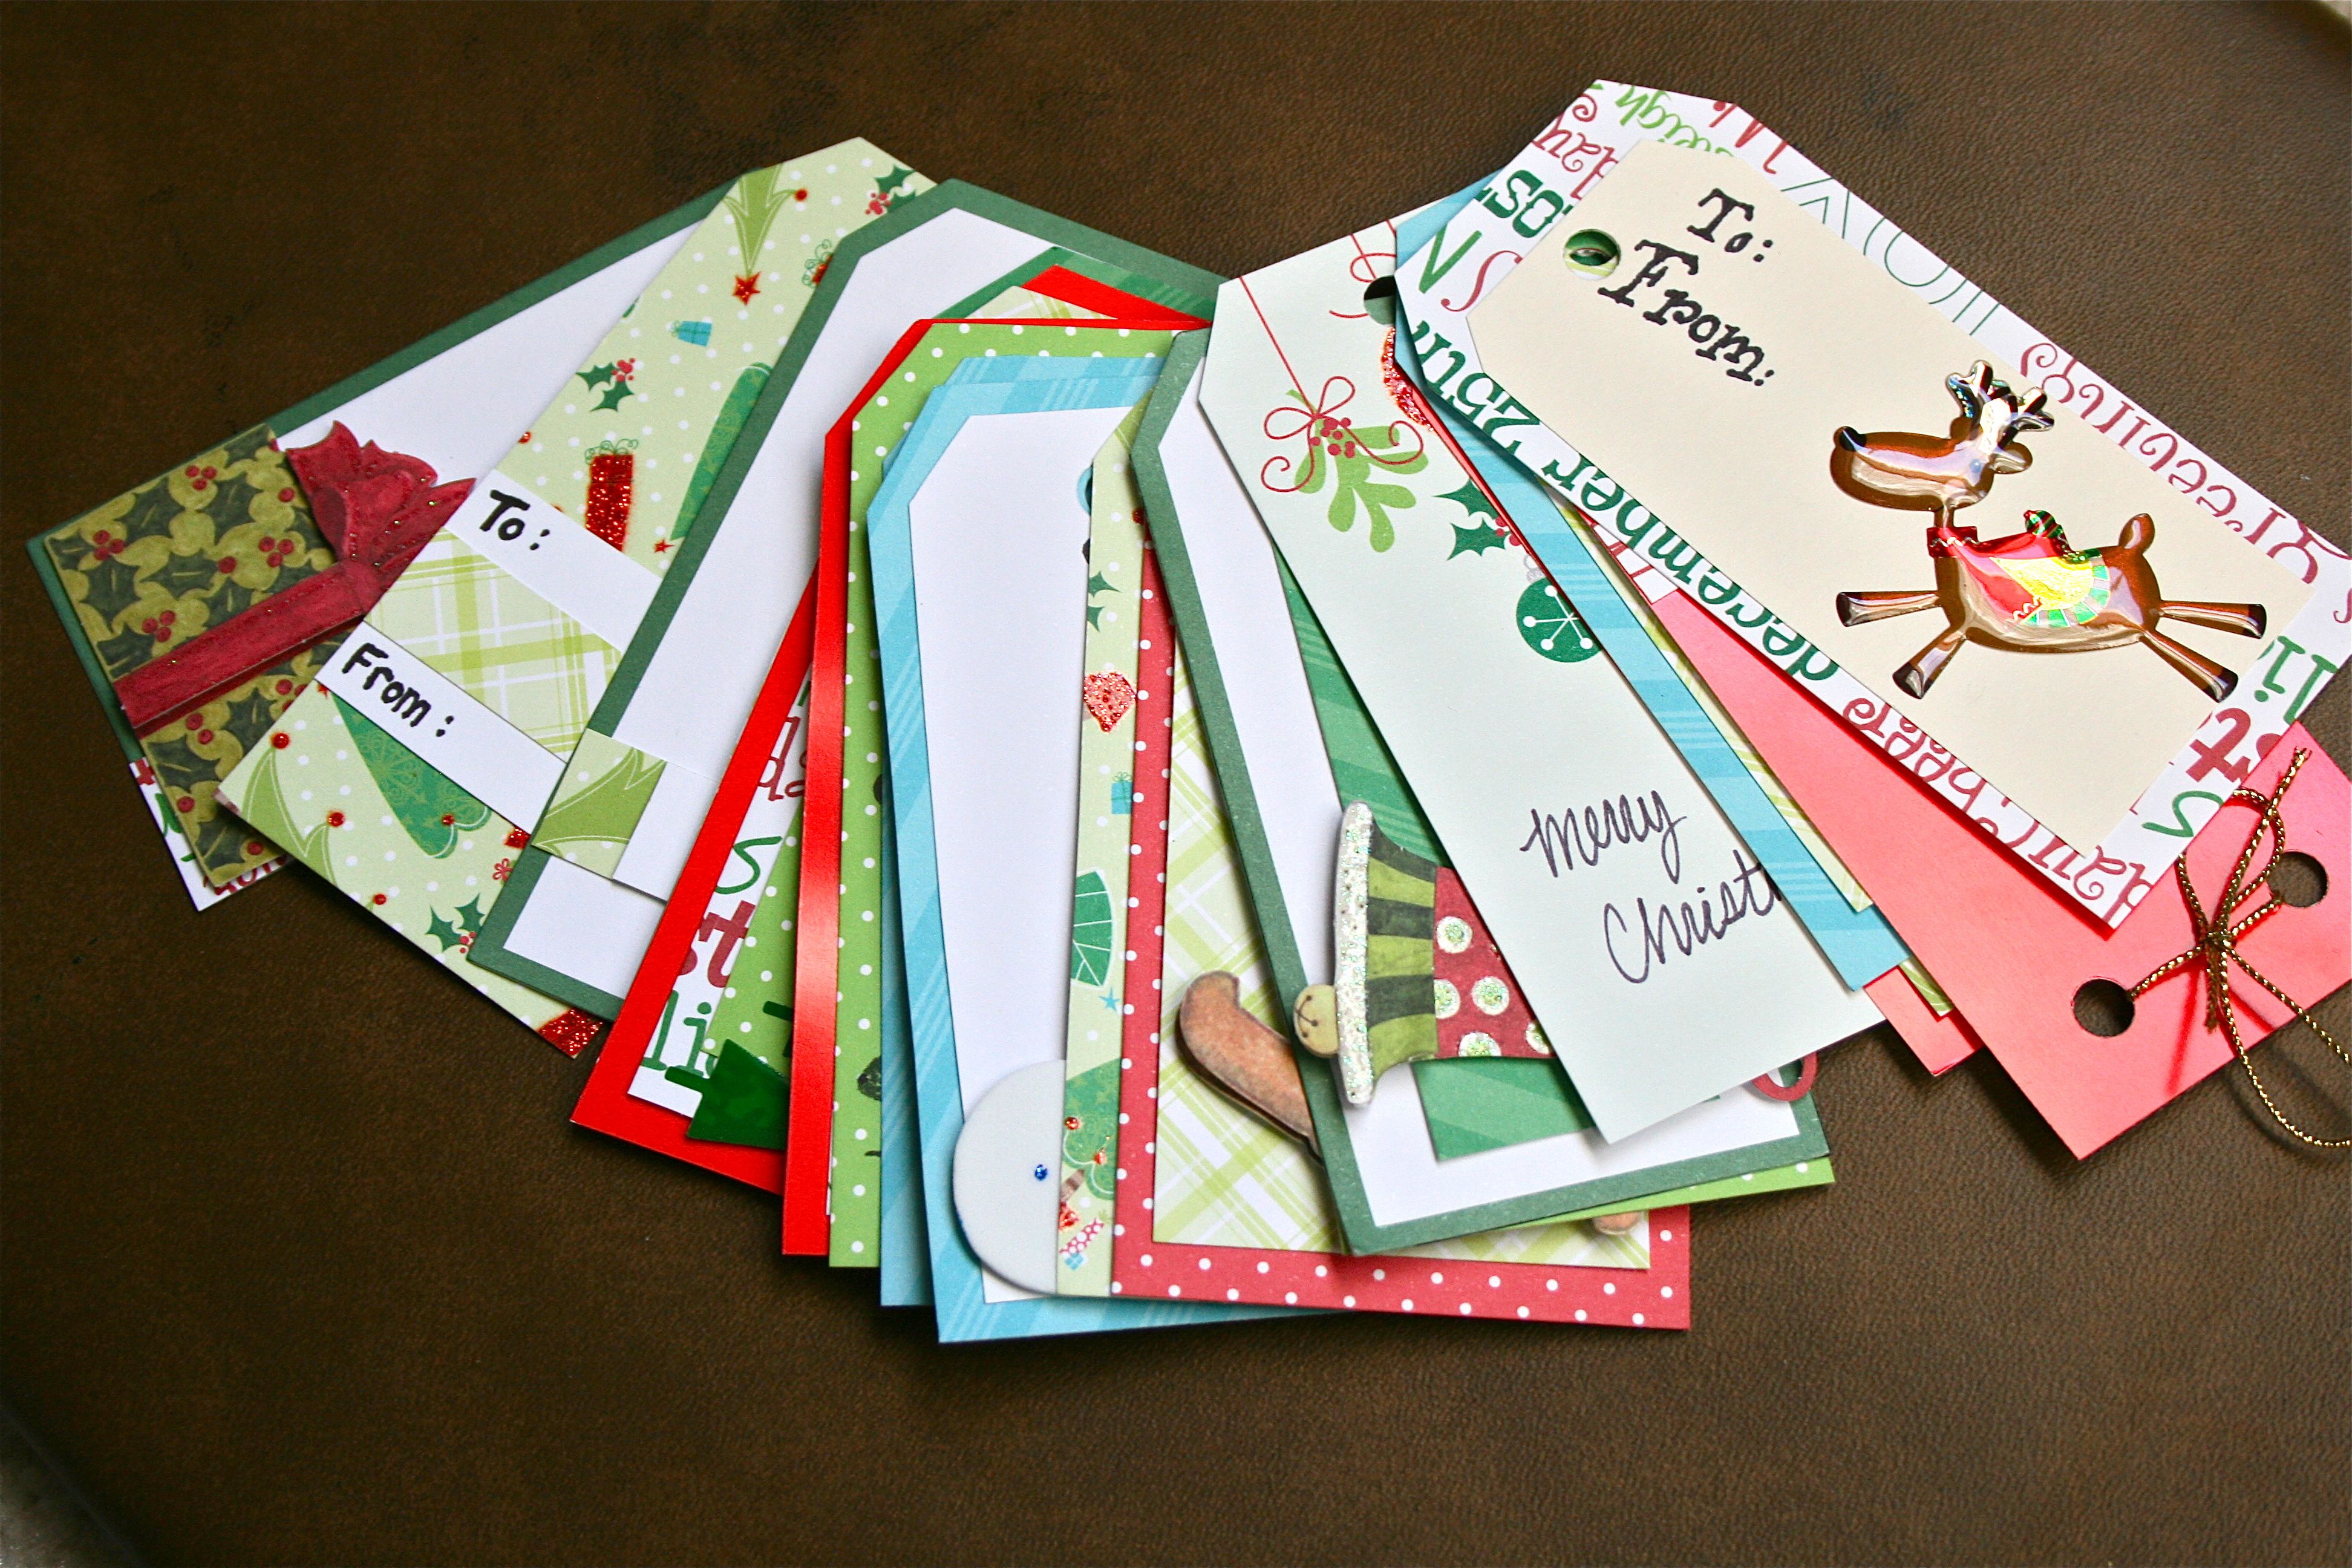
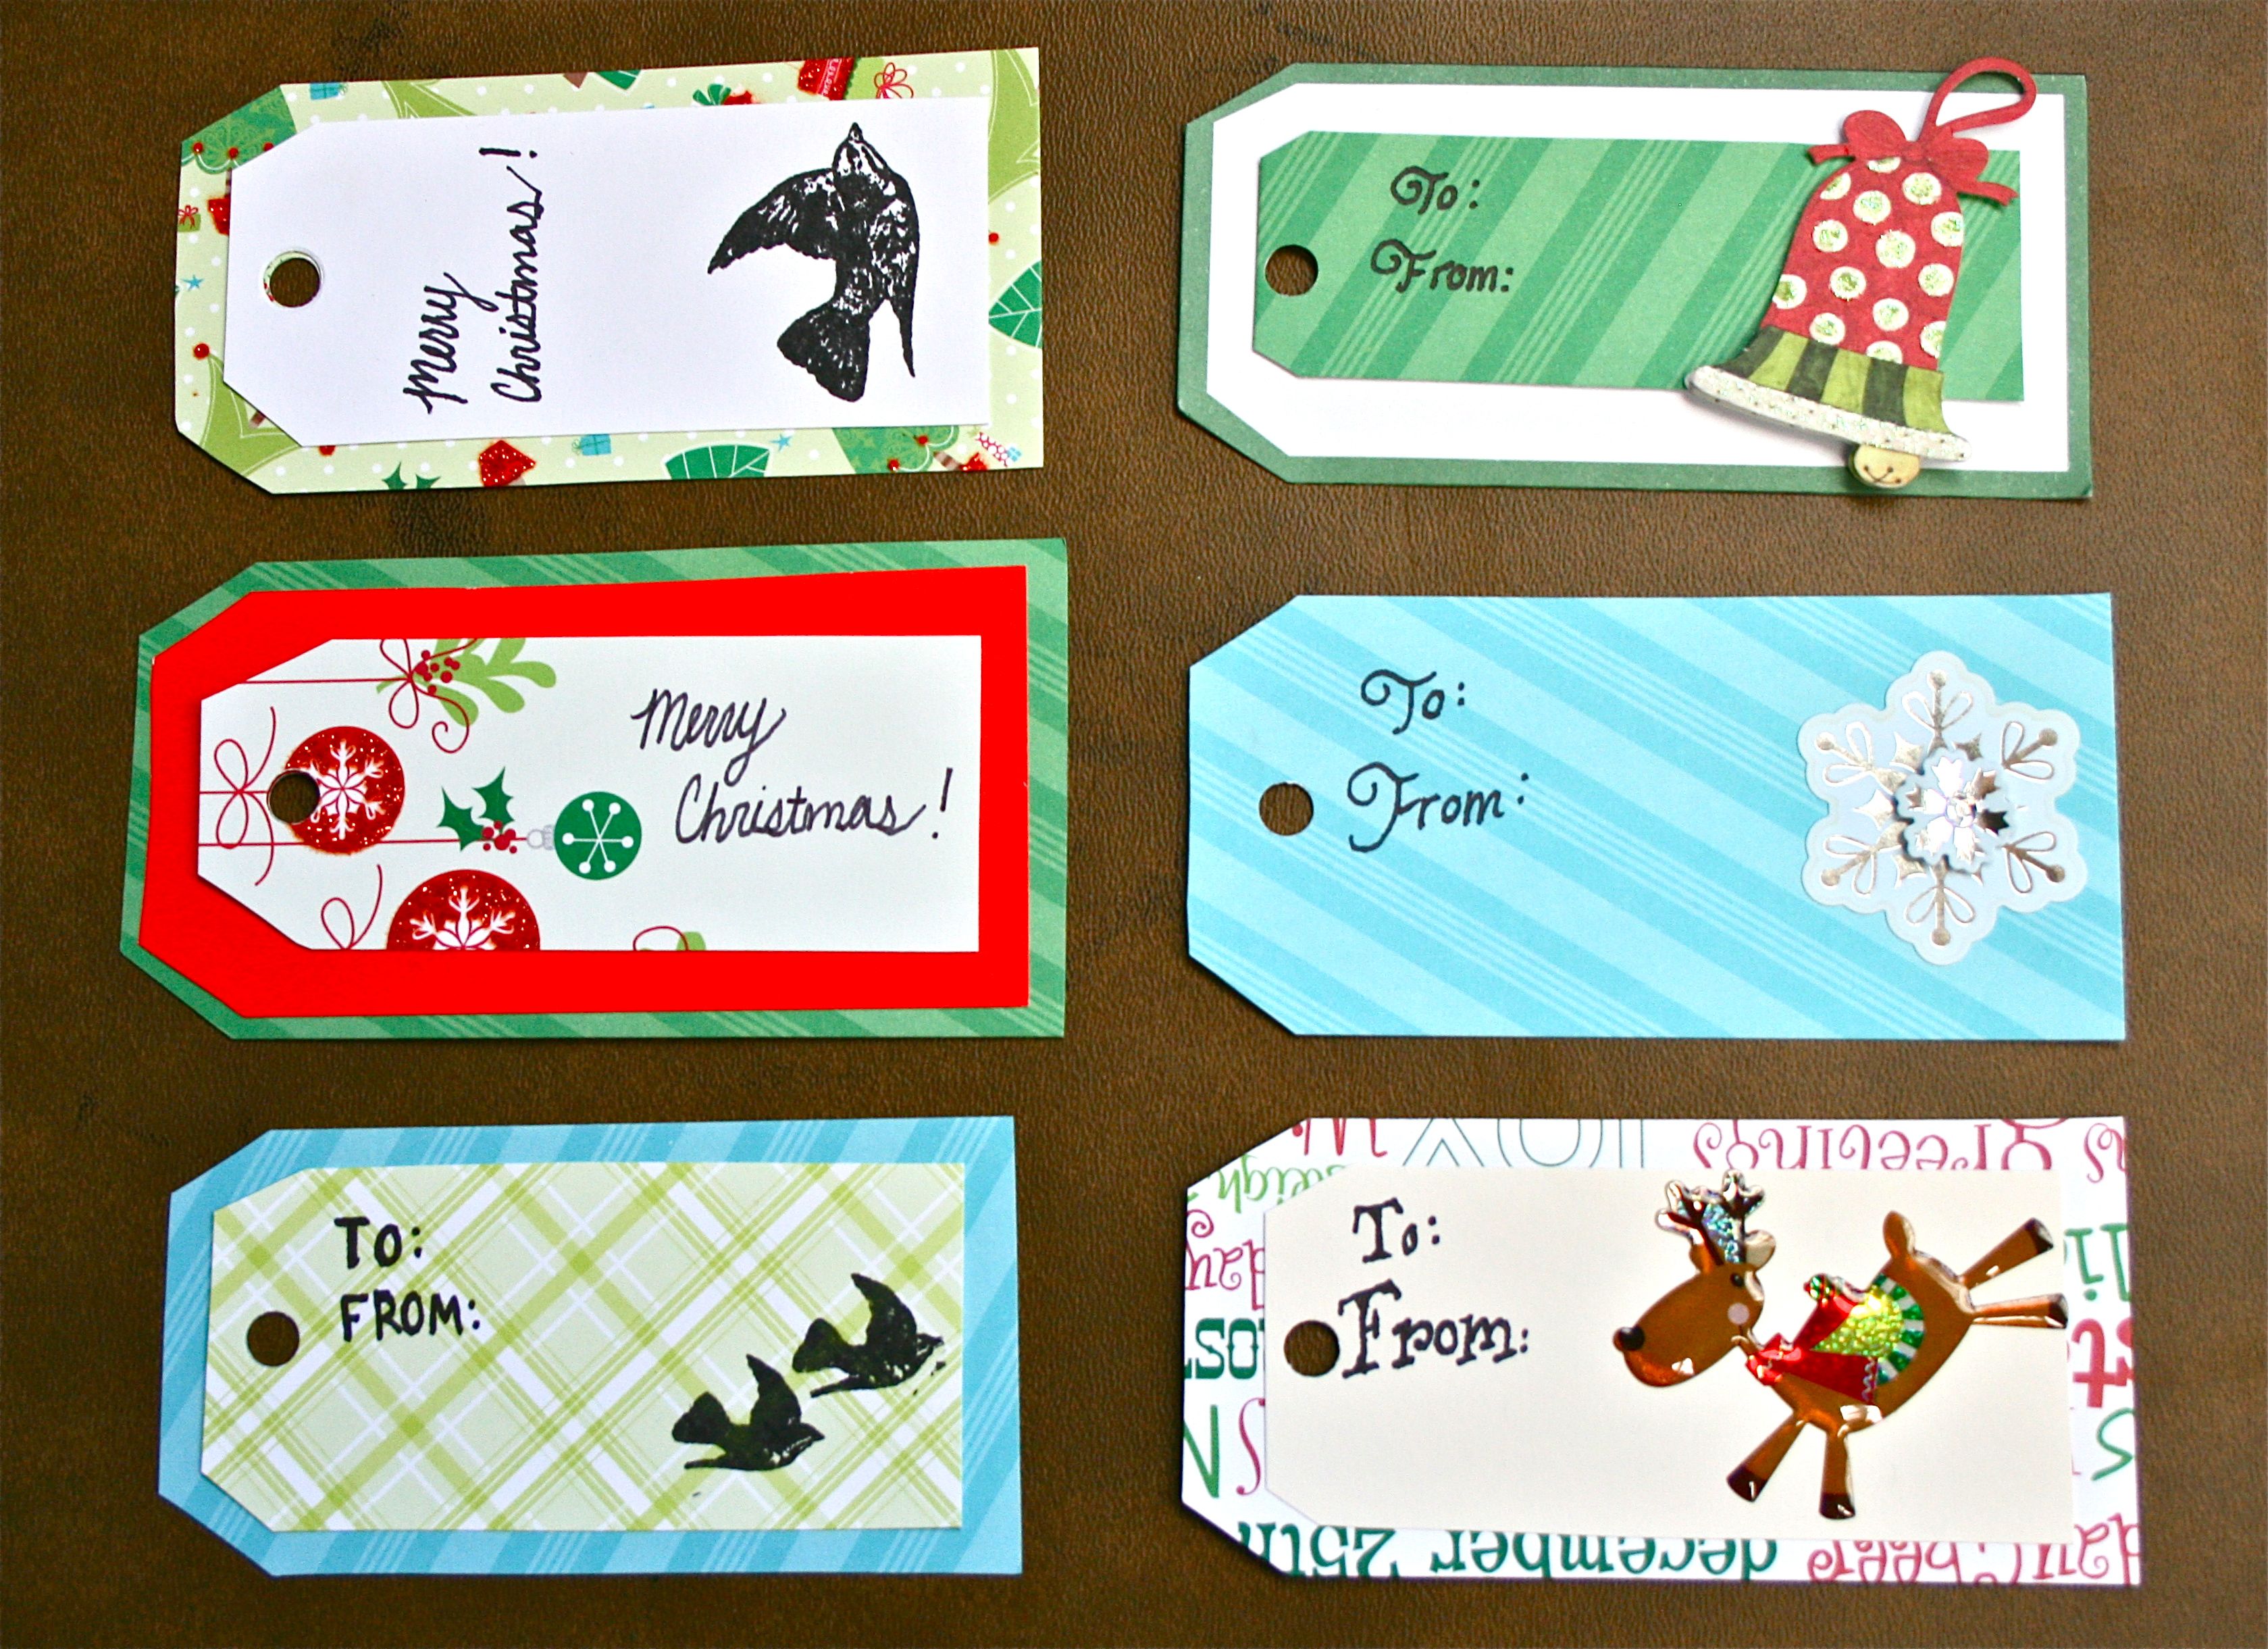
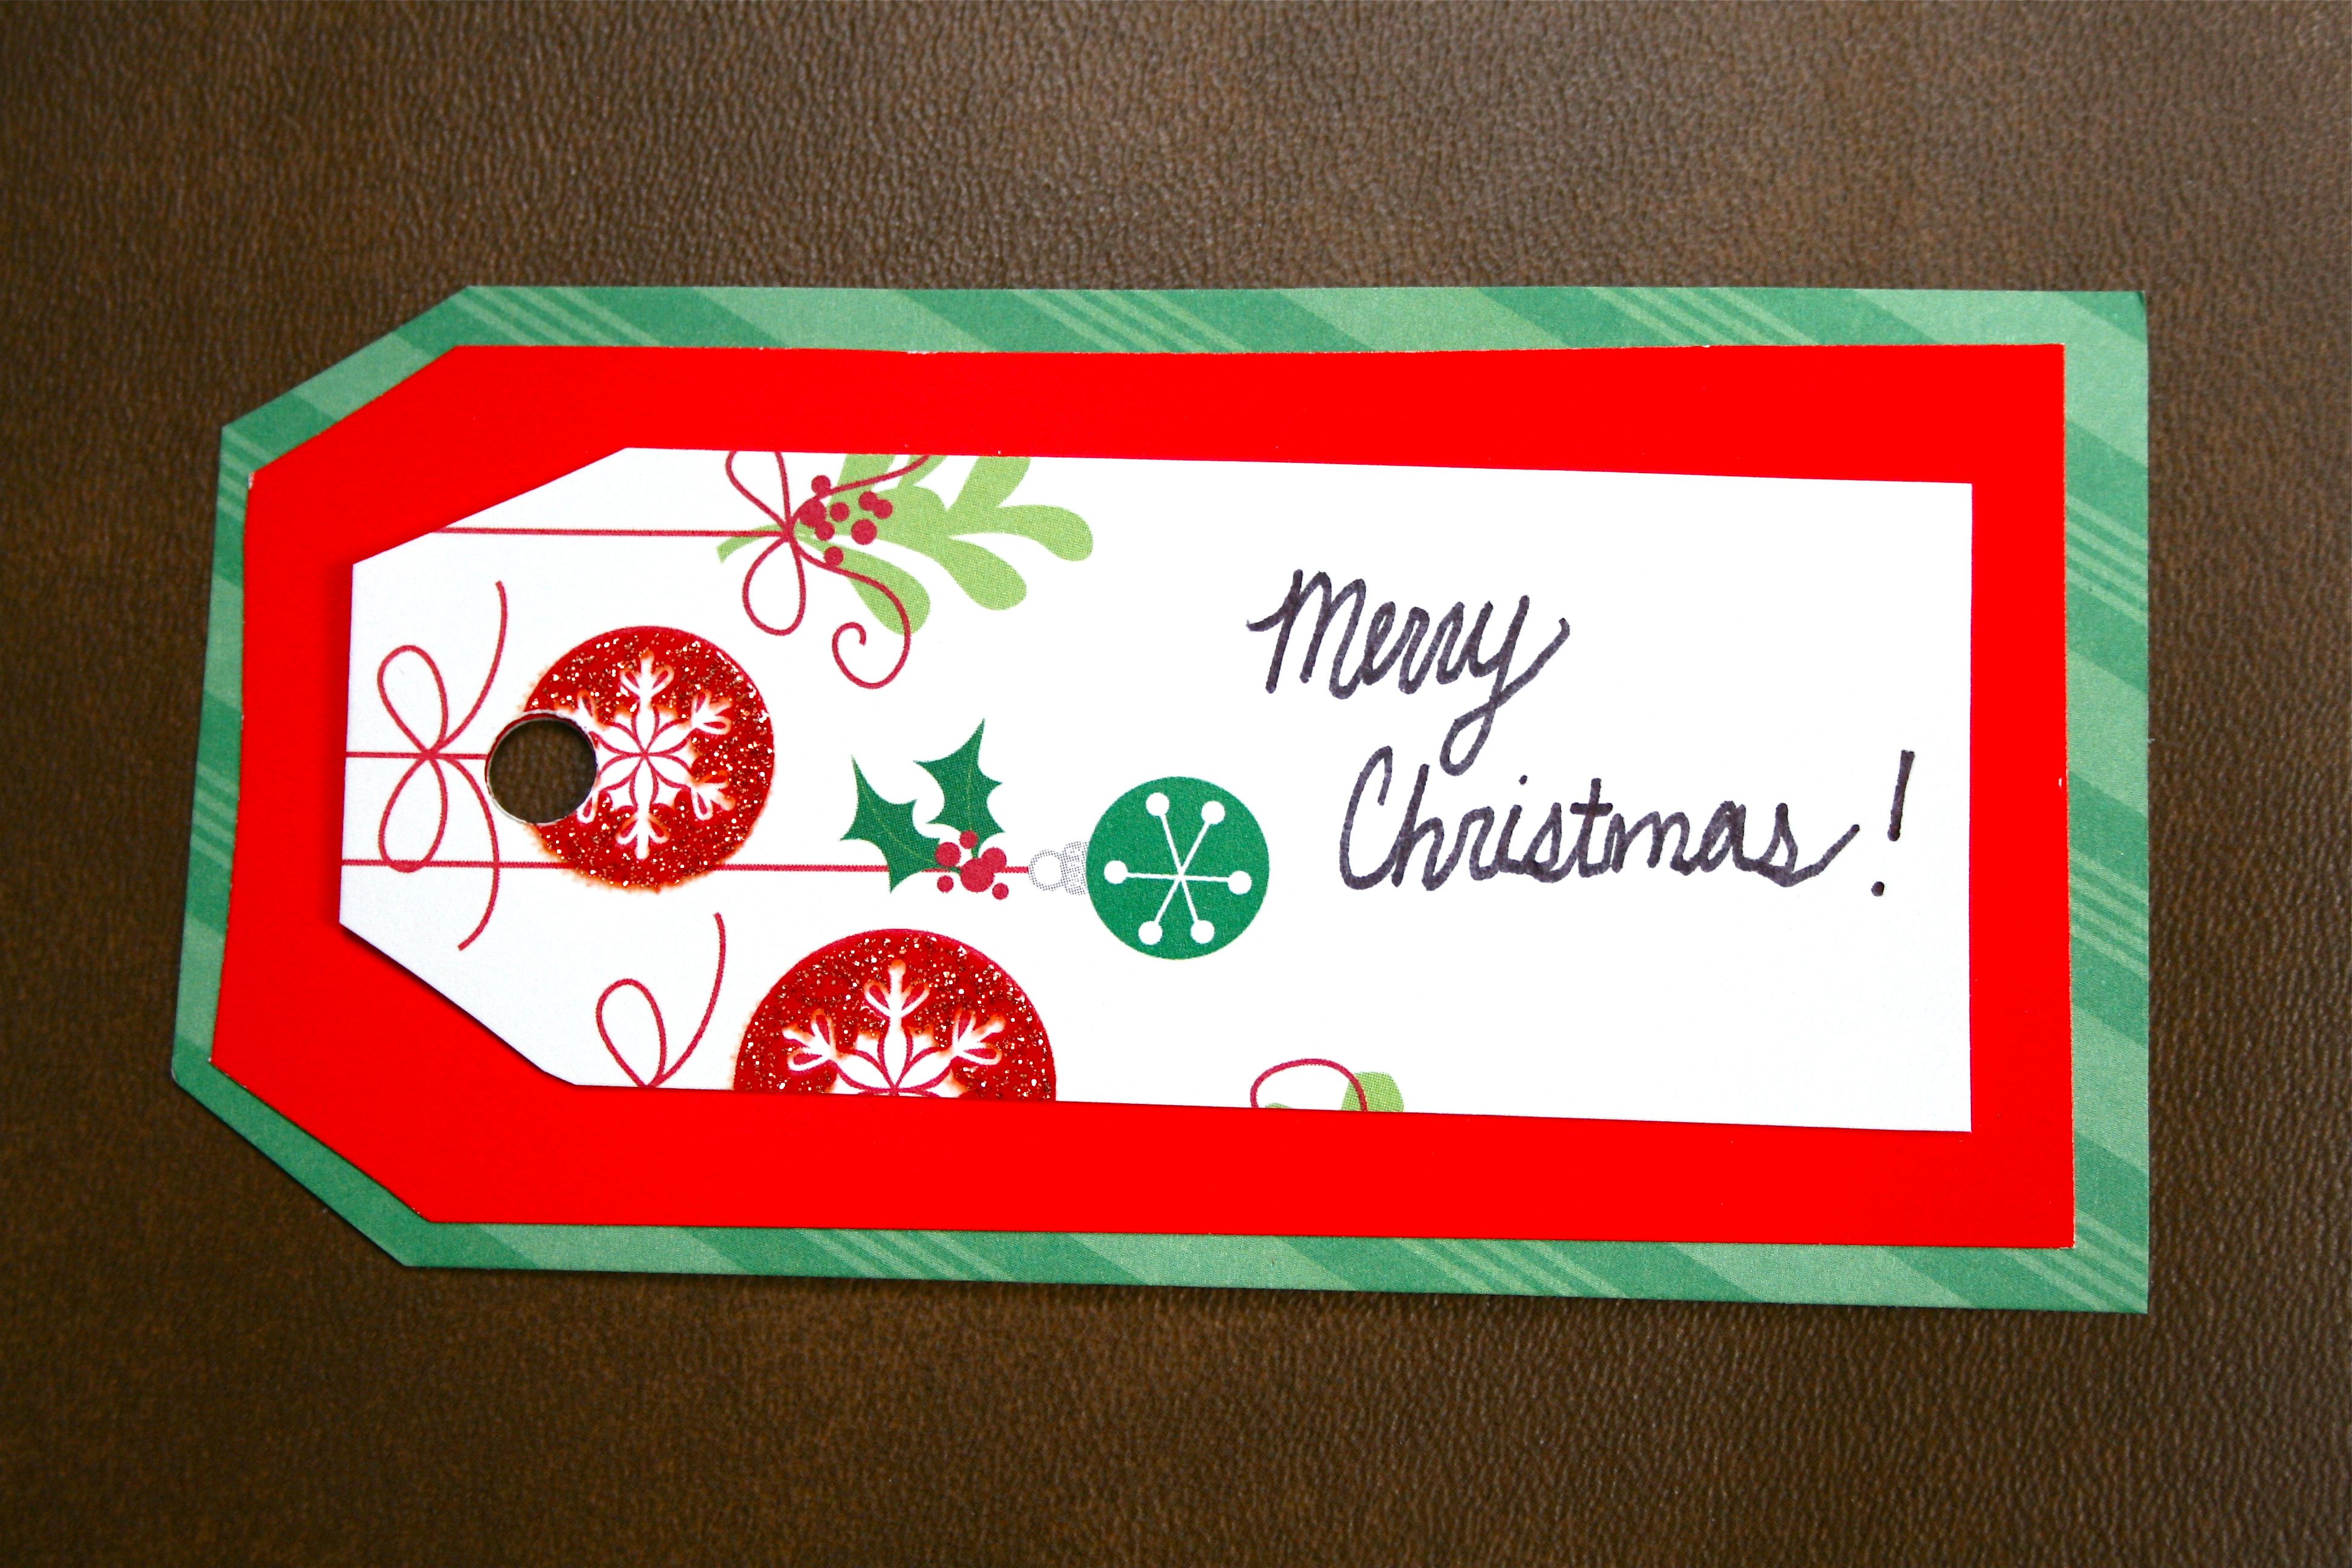
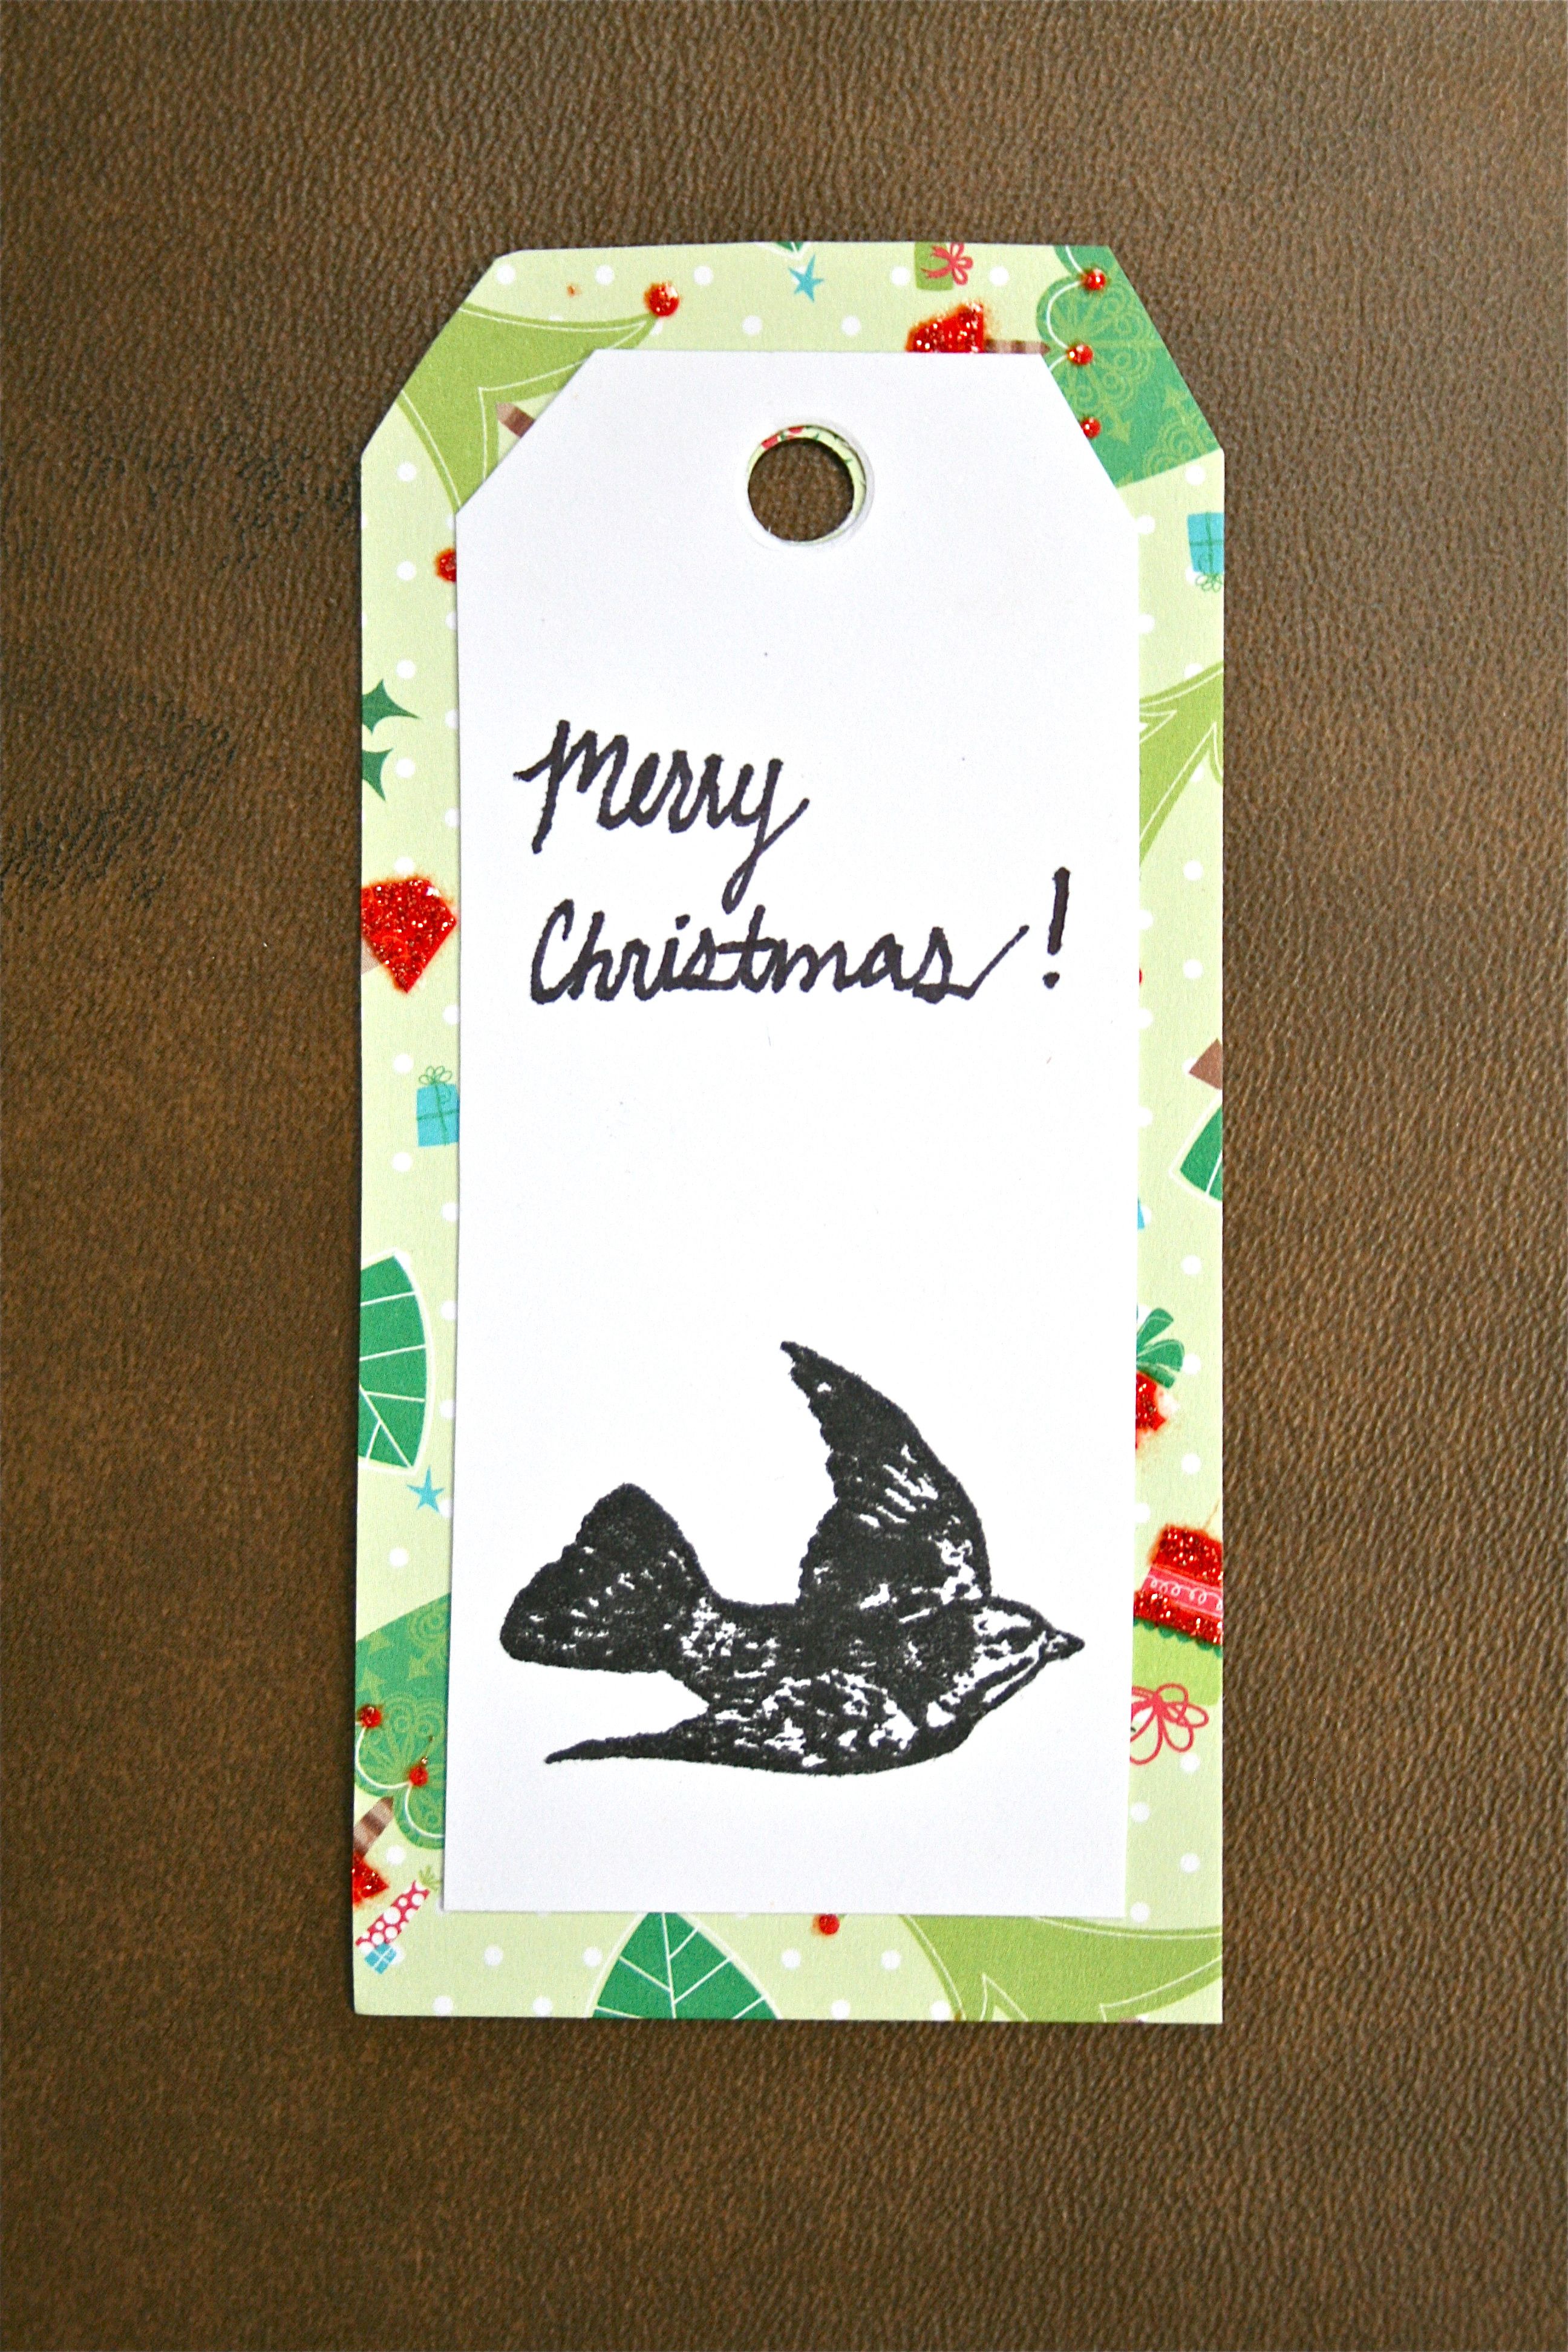
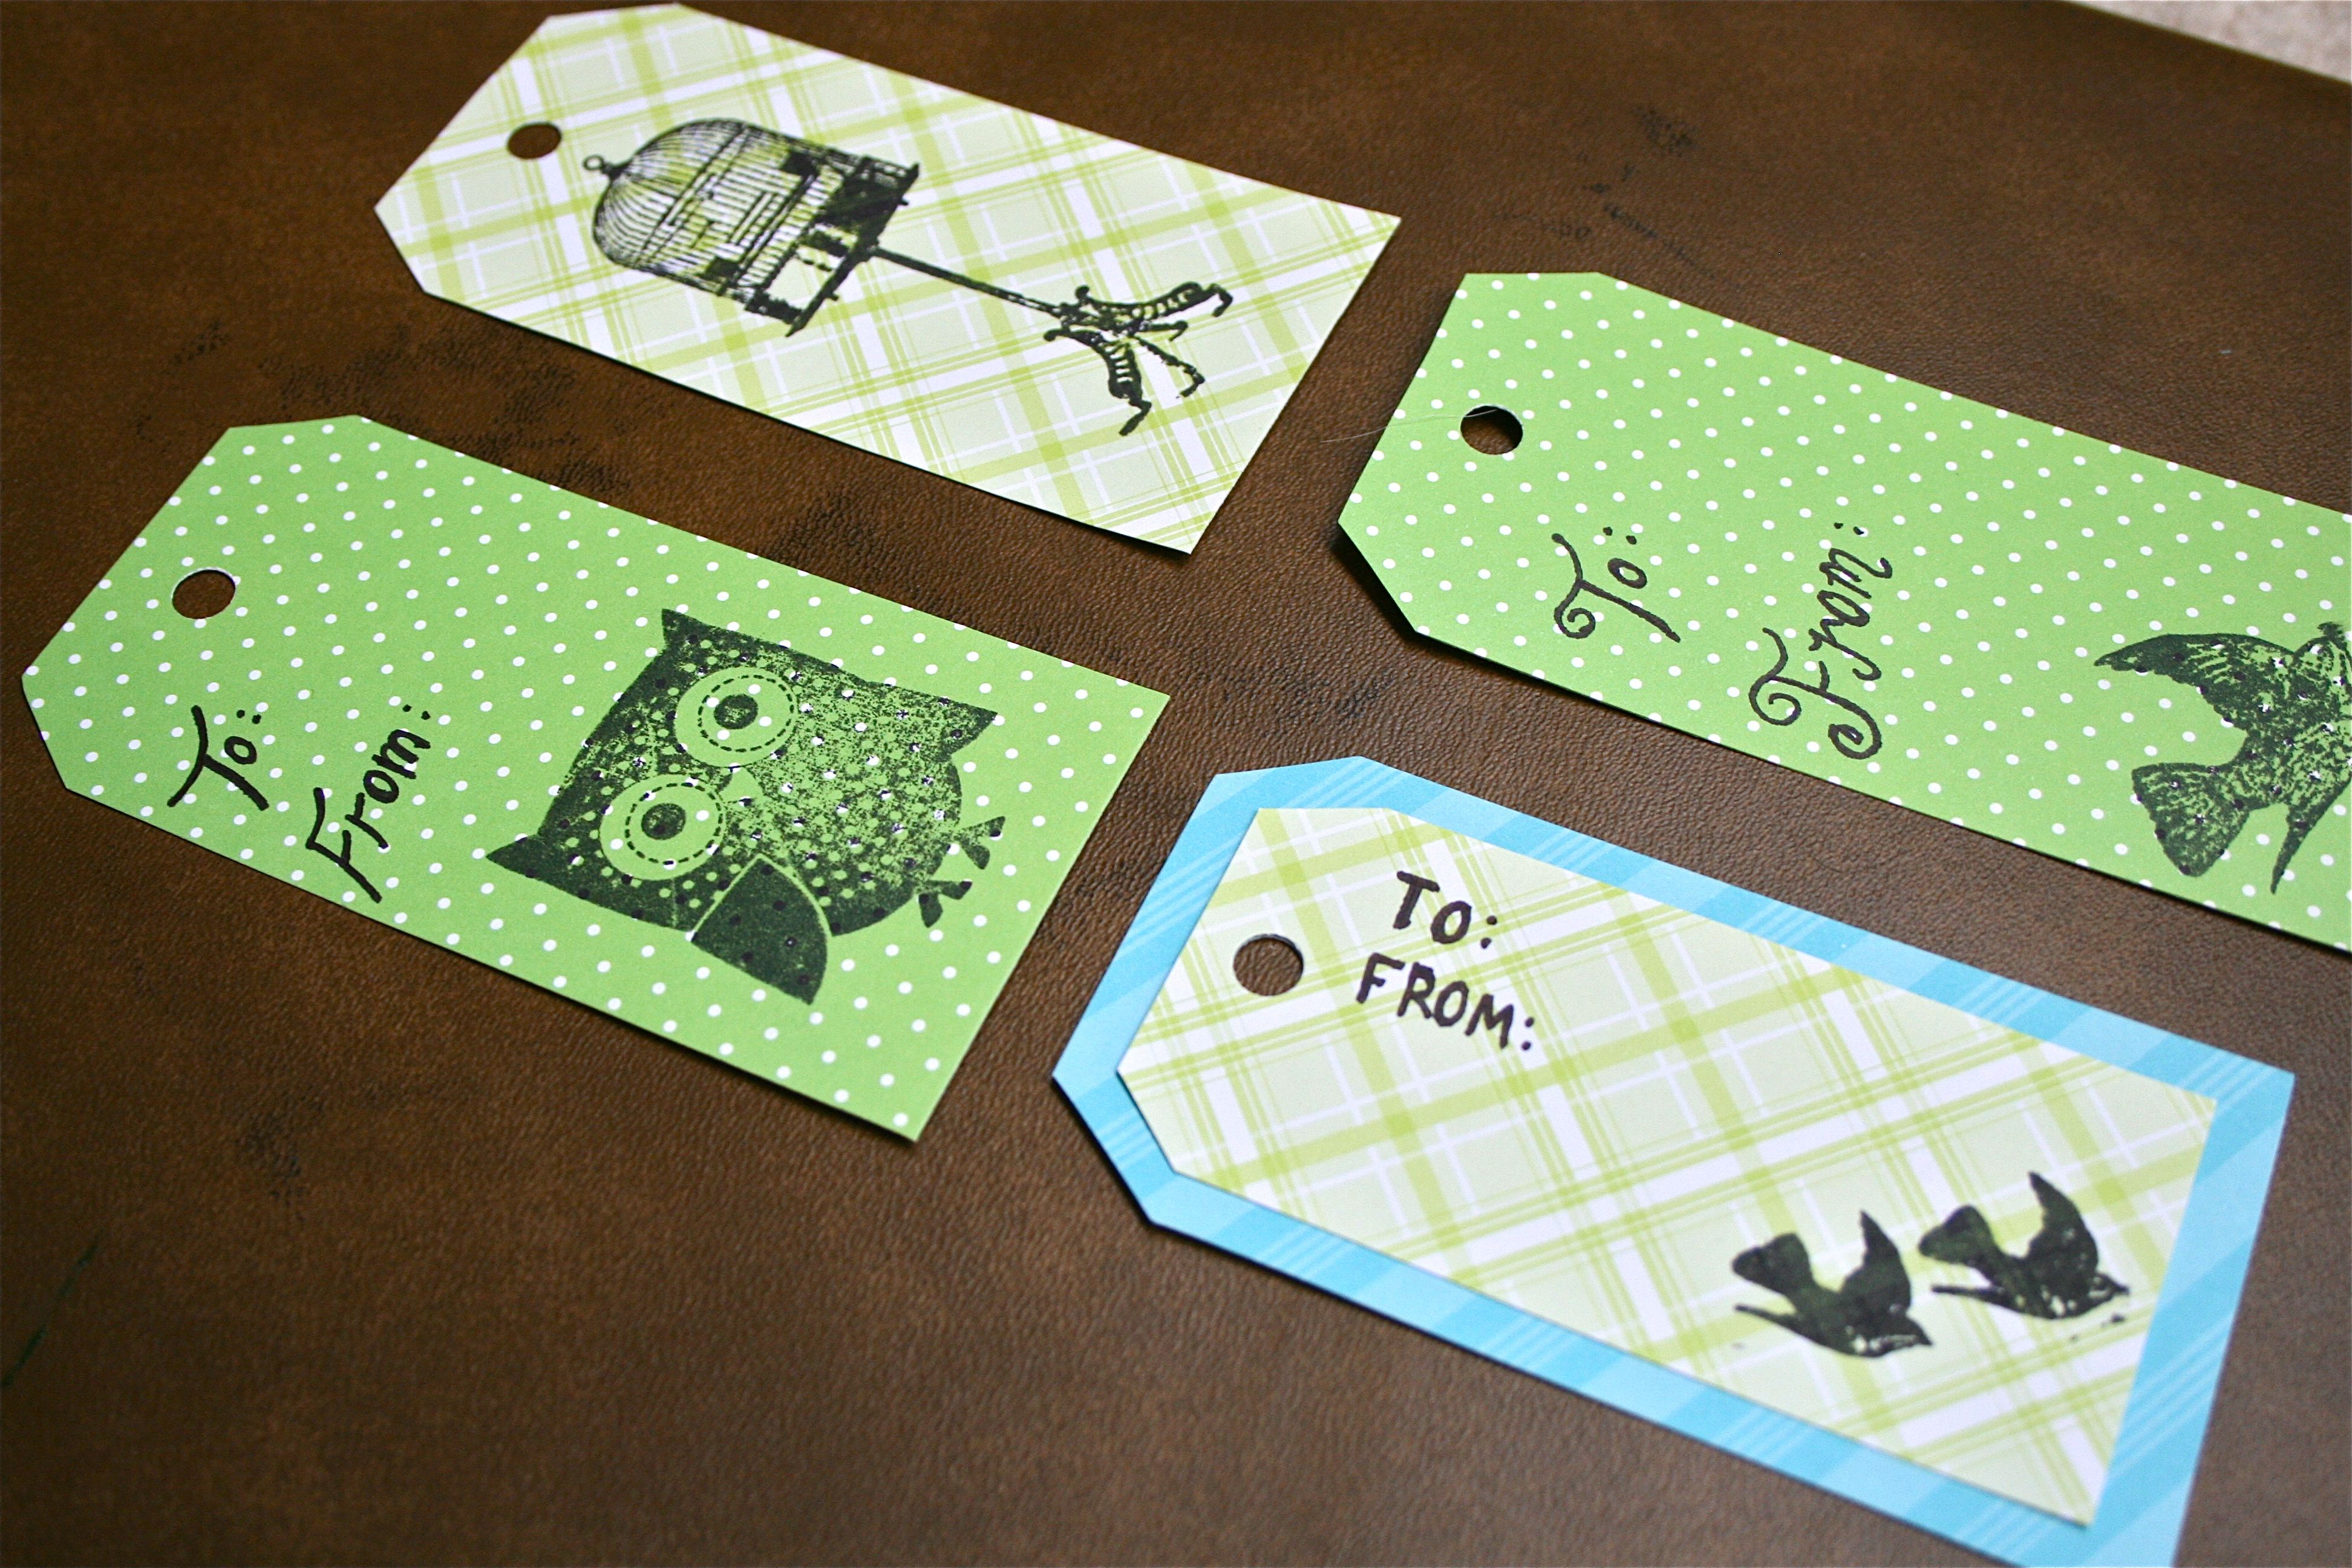
And now here are the tags I made:
Once I got the hang of things, I started most of my tags by using a precut tag as a template and then cut out a little pile of duplicate tags from scrapbooking paper. Then, using little squares of adhesive tape, I layered on the patterns to give them a little dimension. Some were pizazzed with stickers and others got the stamp treatment (see all about the bird stamps I used here). Lastly, I just popped a little hole out of the top middle for the ribbon with a standard hole punch.
In no time, we were whipping out tags like it was our business! In fact, it was even mentioned during out crafting that we should try our hand at a tag-making business – Maybe we aren’t quite professionals yet, but ya never know what the future may hold!
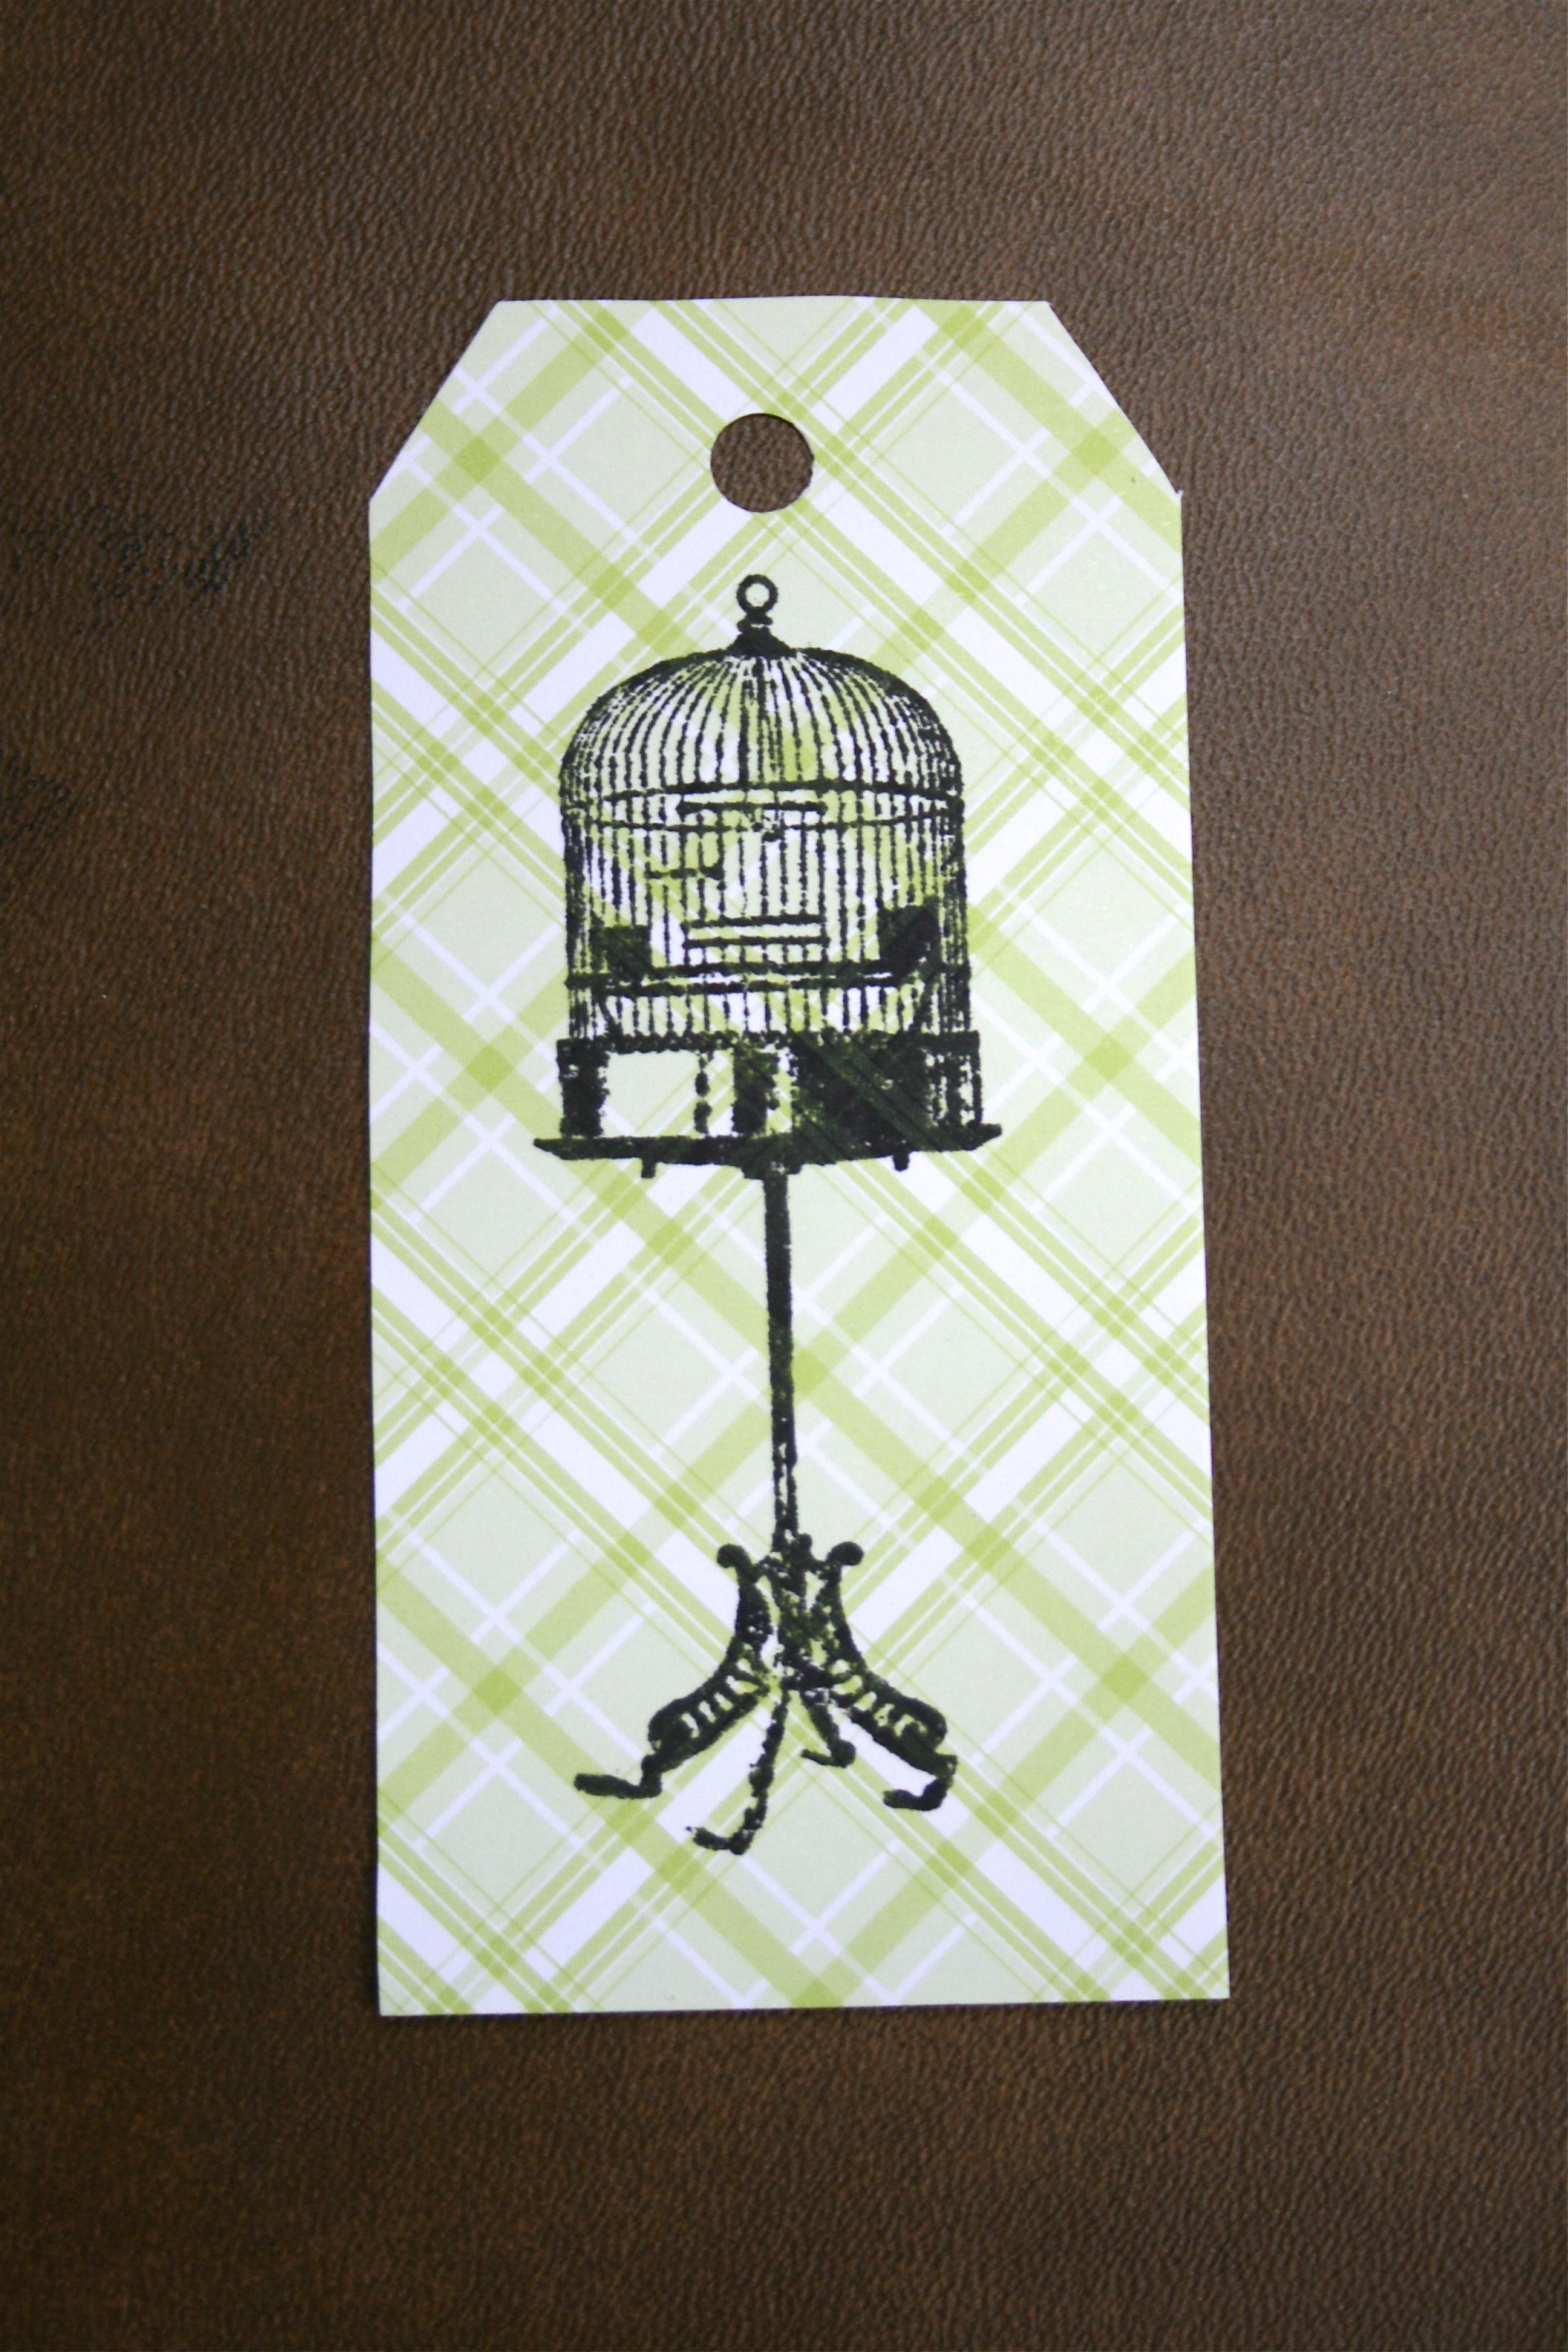
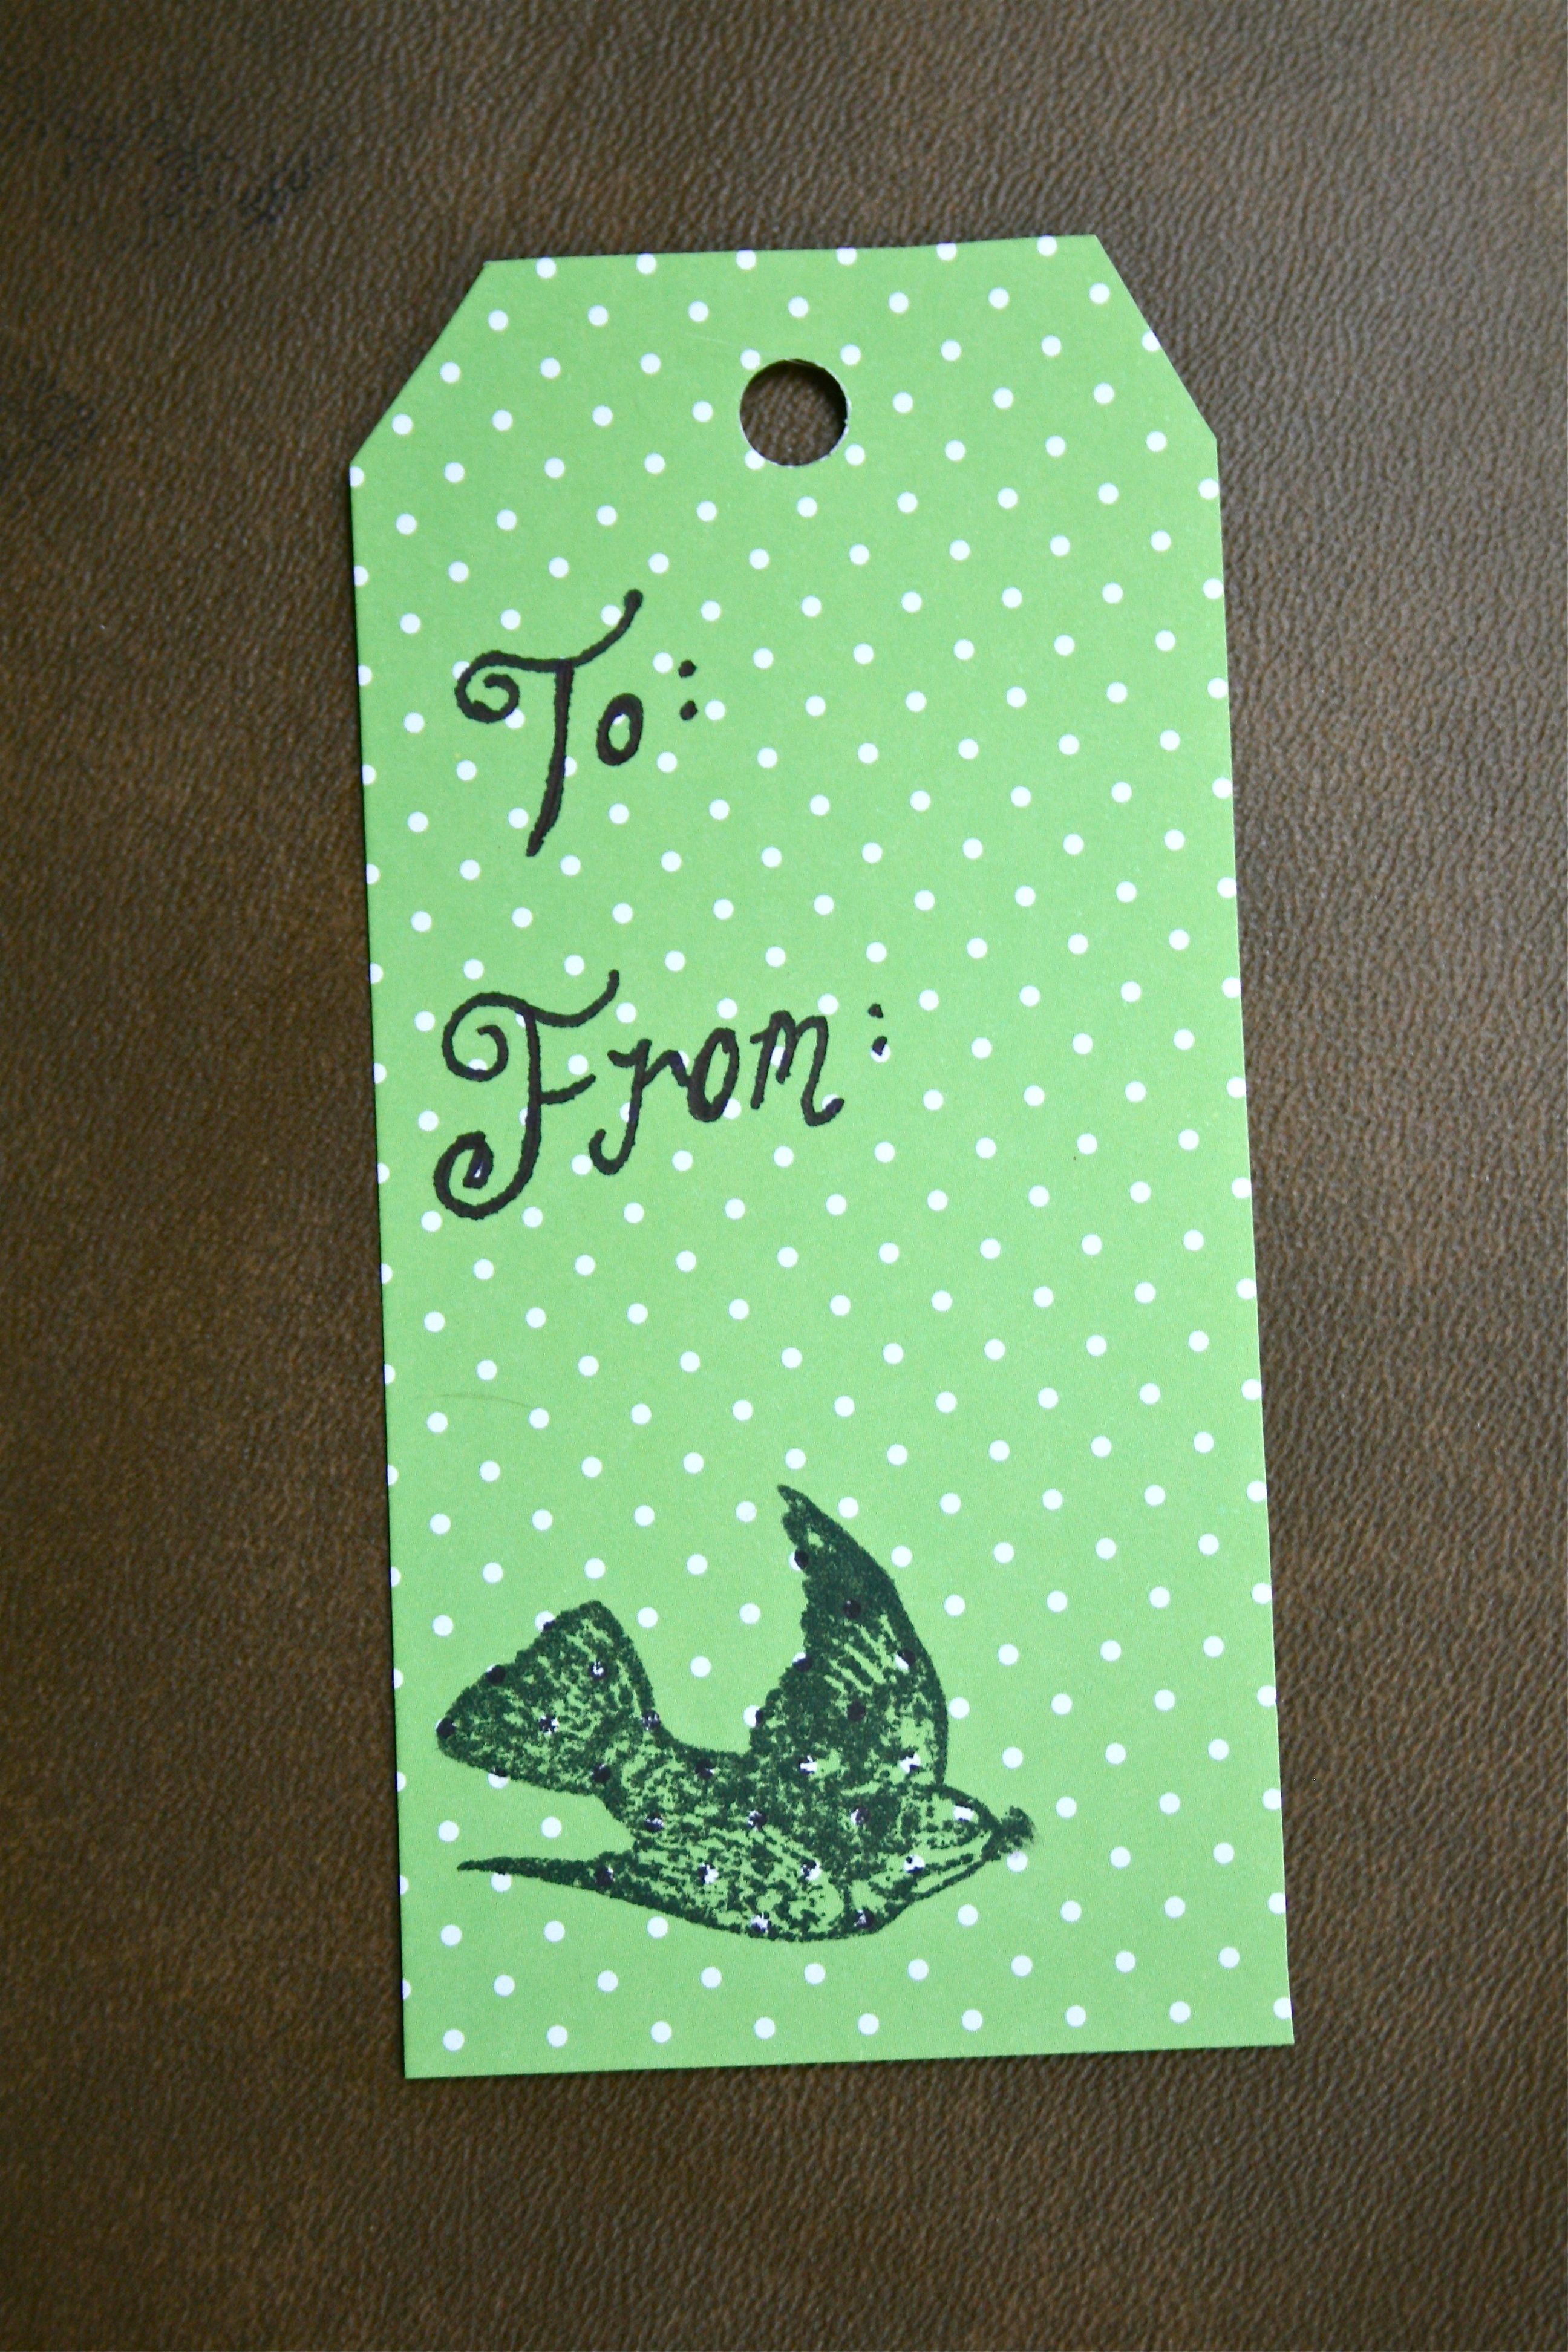
Below are some of my favorites:
We had a stamp that said “To:” and “From:” but it wasn’t very easy to get on straight…So I ended up hand-writing most of mine. I think the wobbly lettering sort of adds to the home-made quality – At least I hope so!
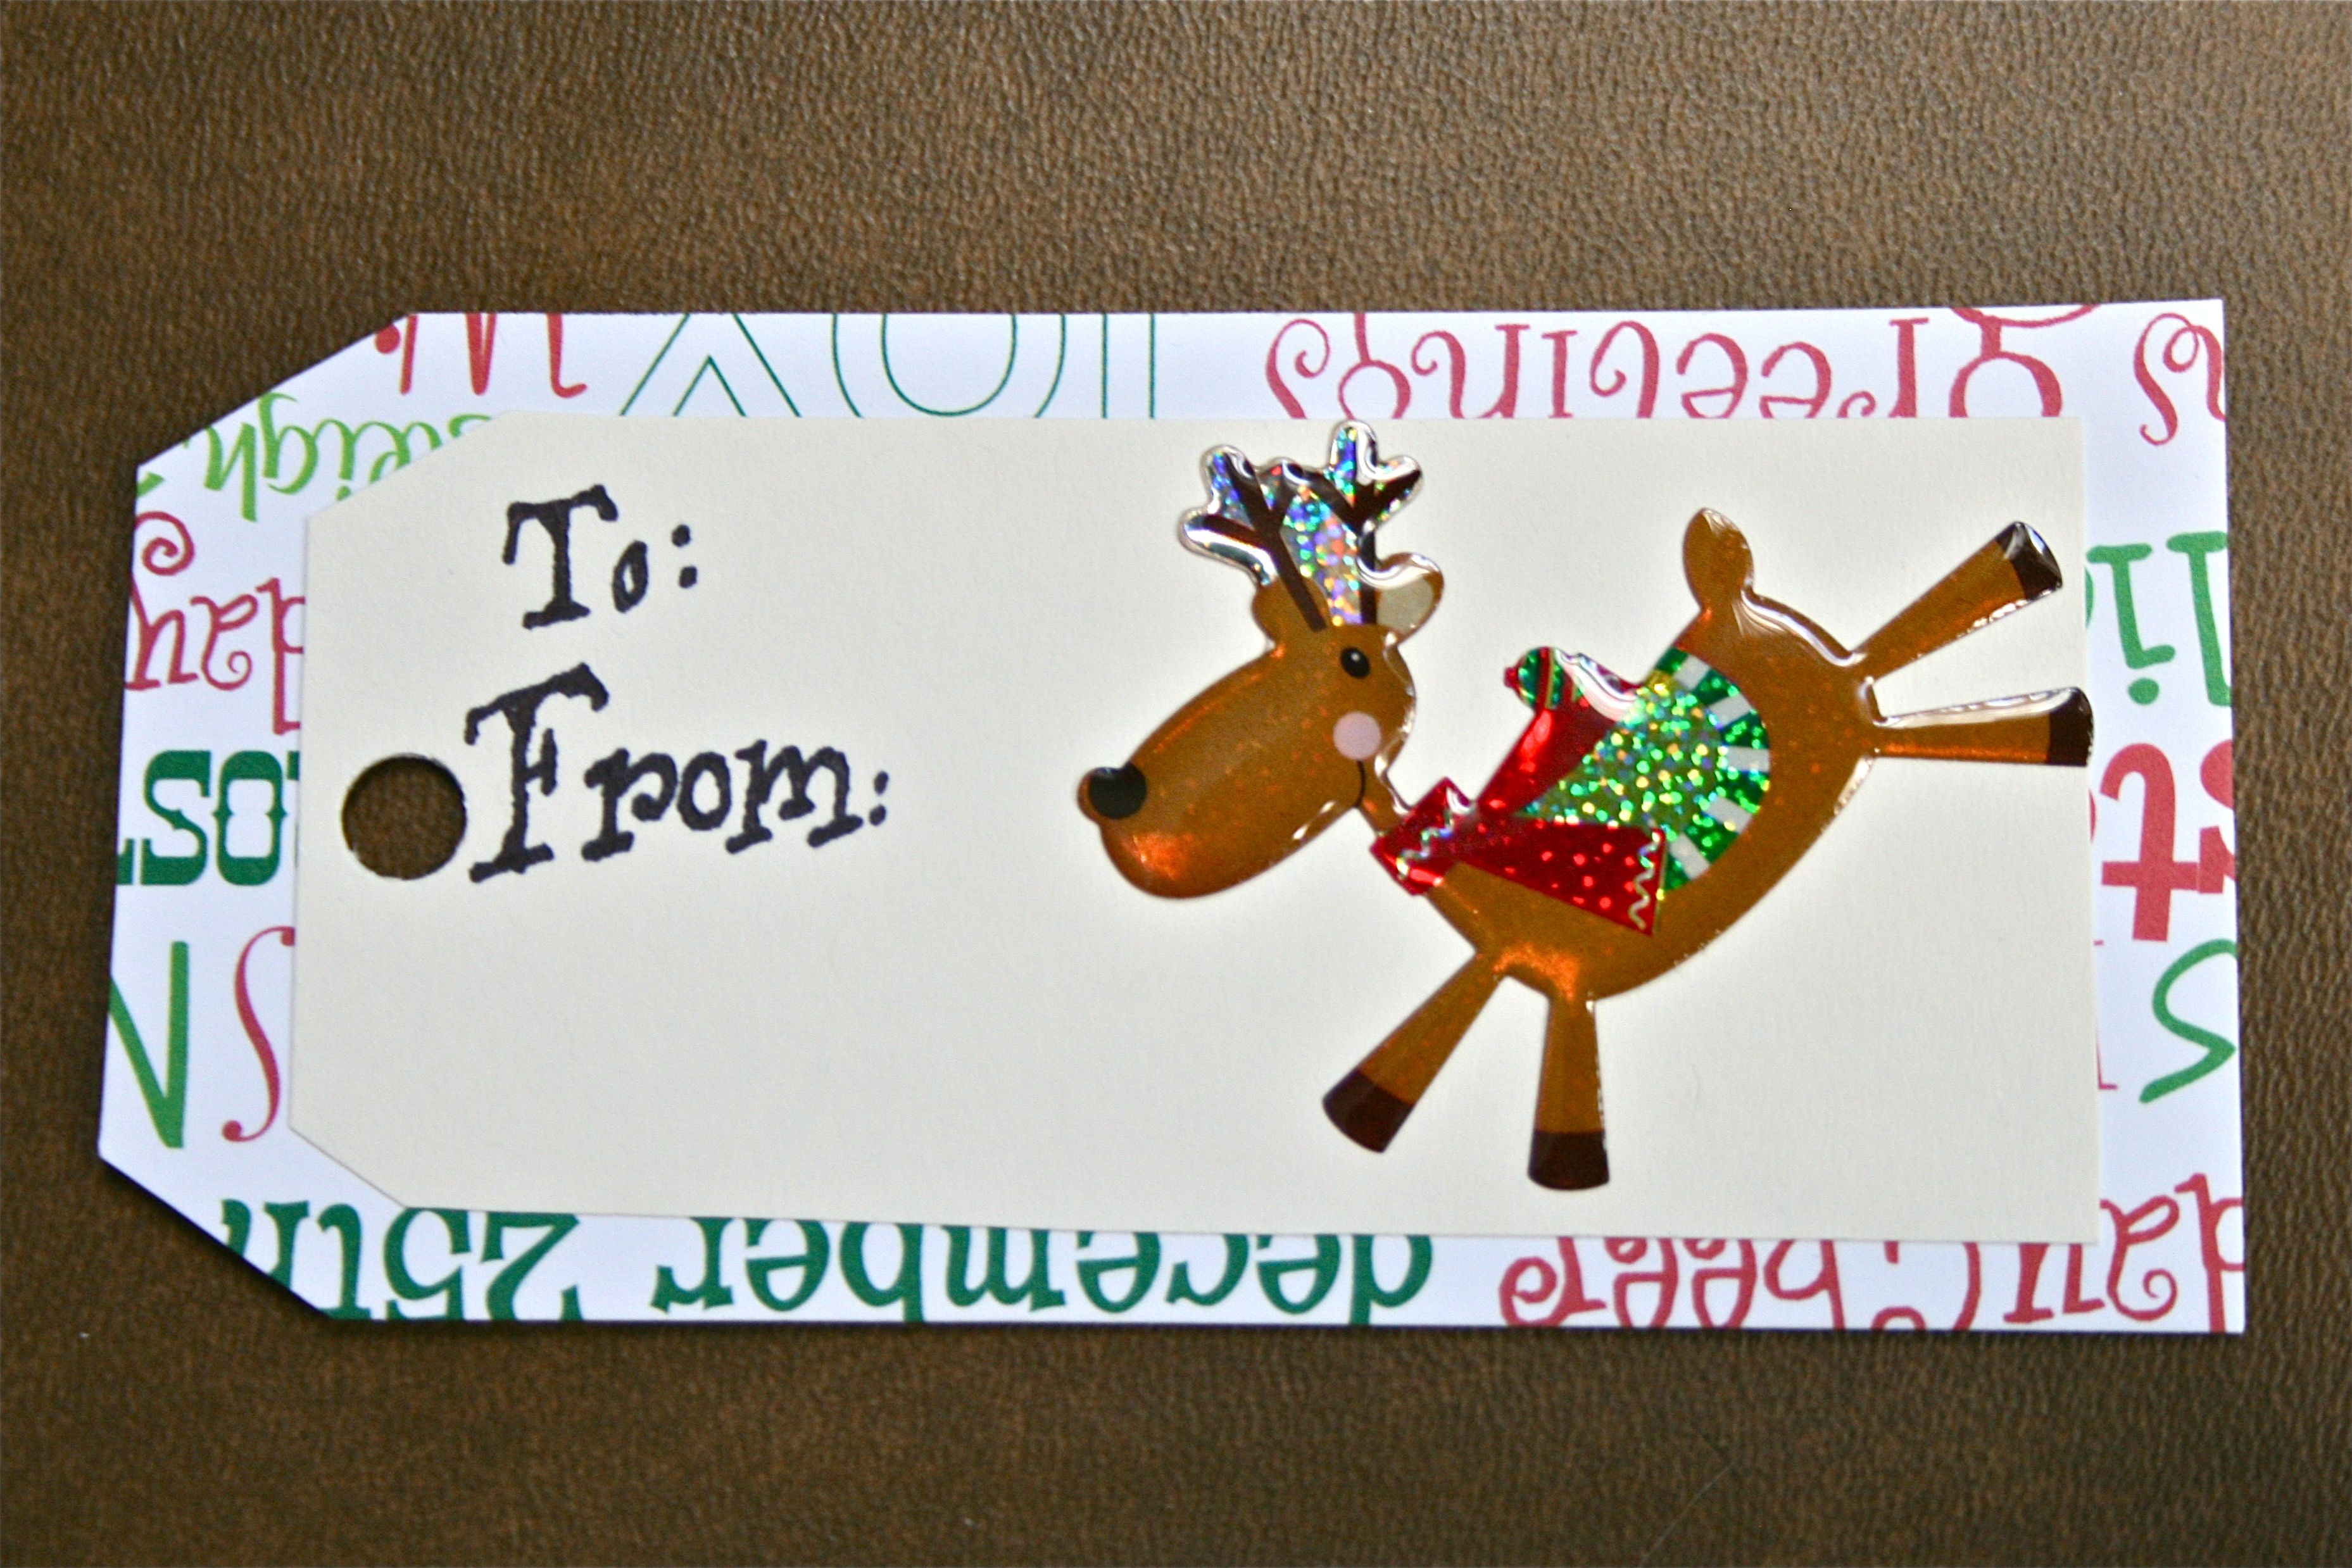
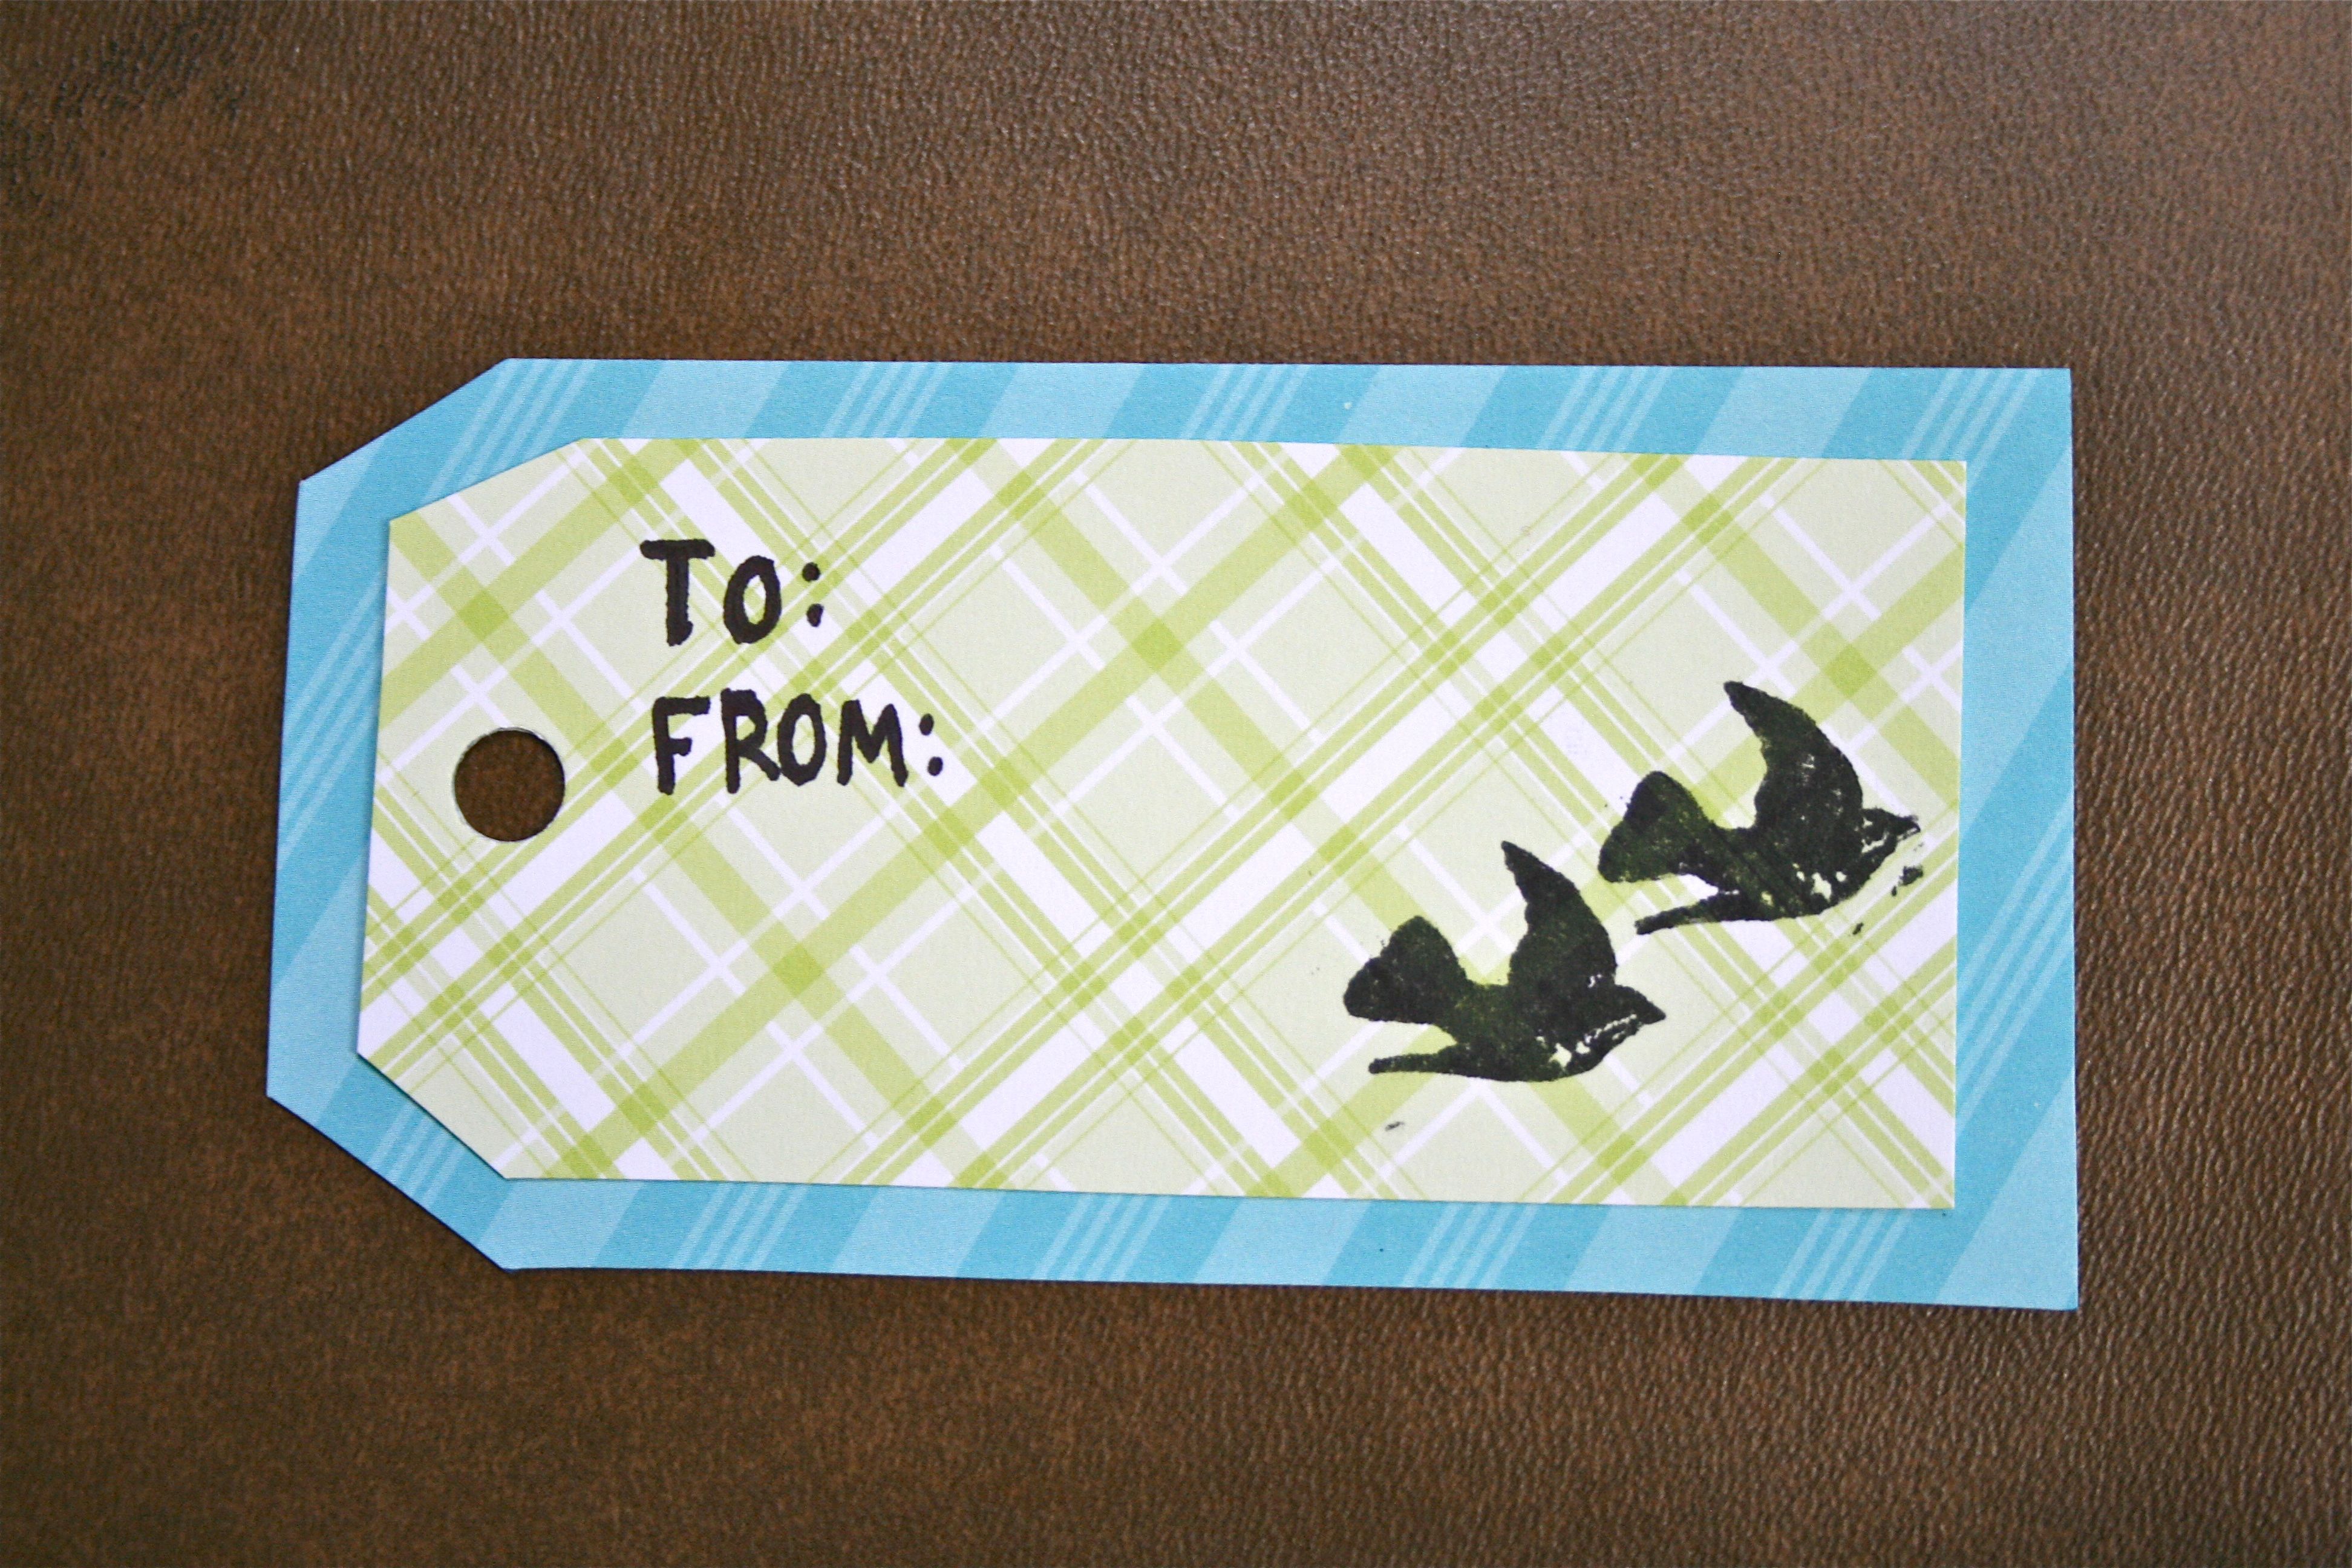
Photographing the one below away from all of the others made me realize that a little handful of the paper tags I made could be used for ANY holiday, not just Christmas. This one, with its blue and green color scheme, could easily be used for a birthday gift since it’s holiday-neutral.
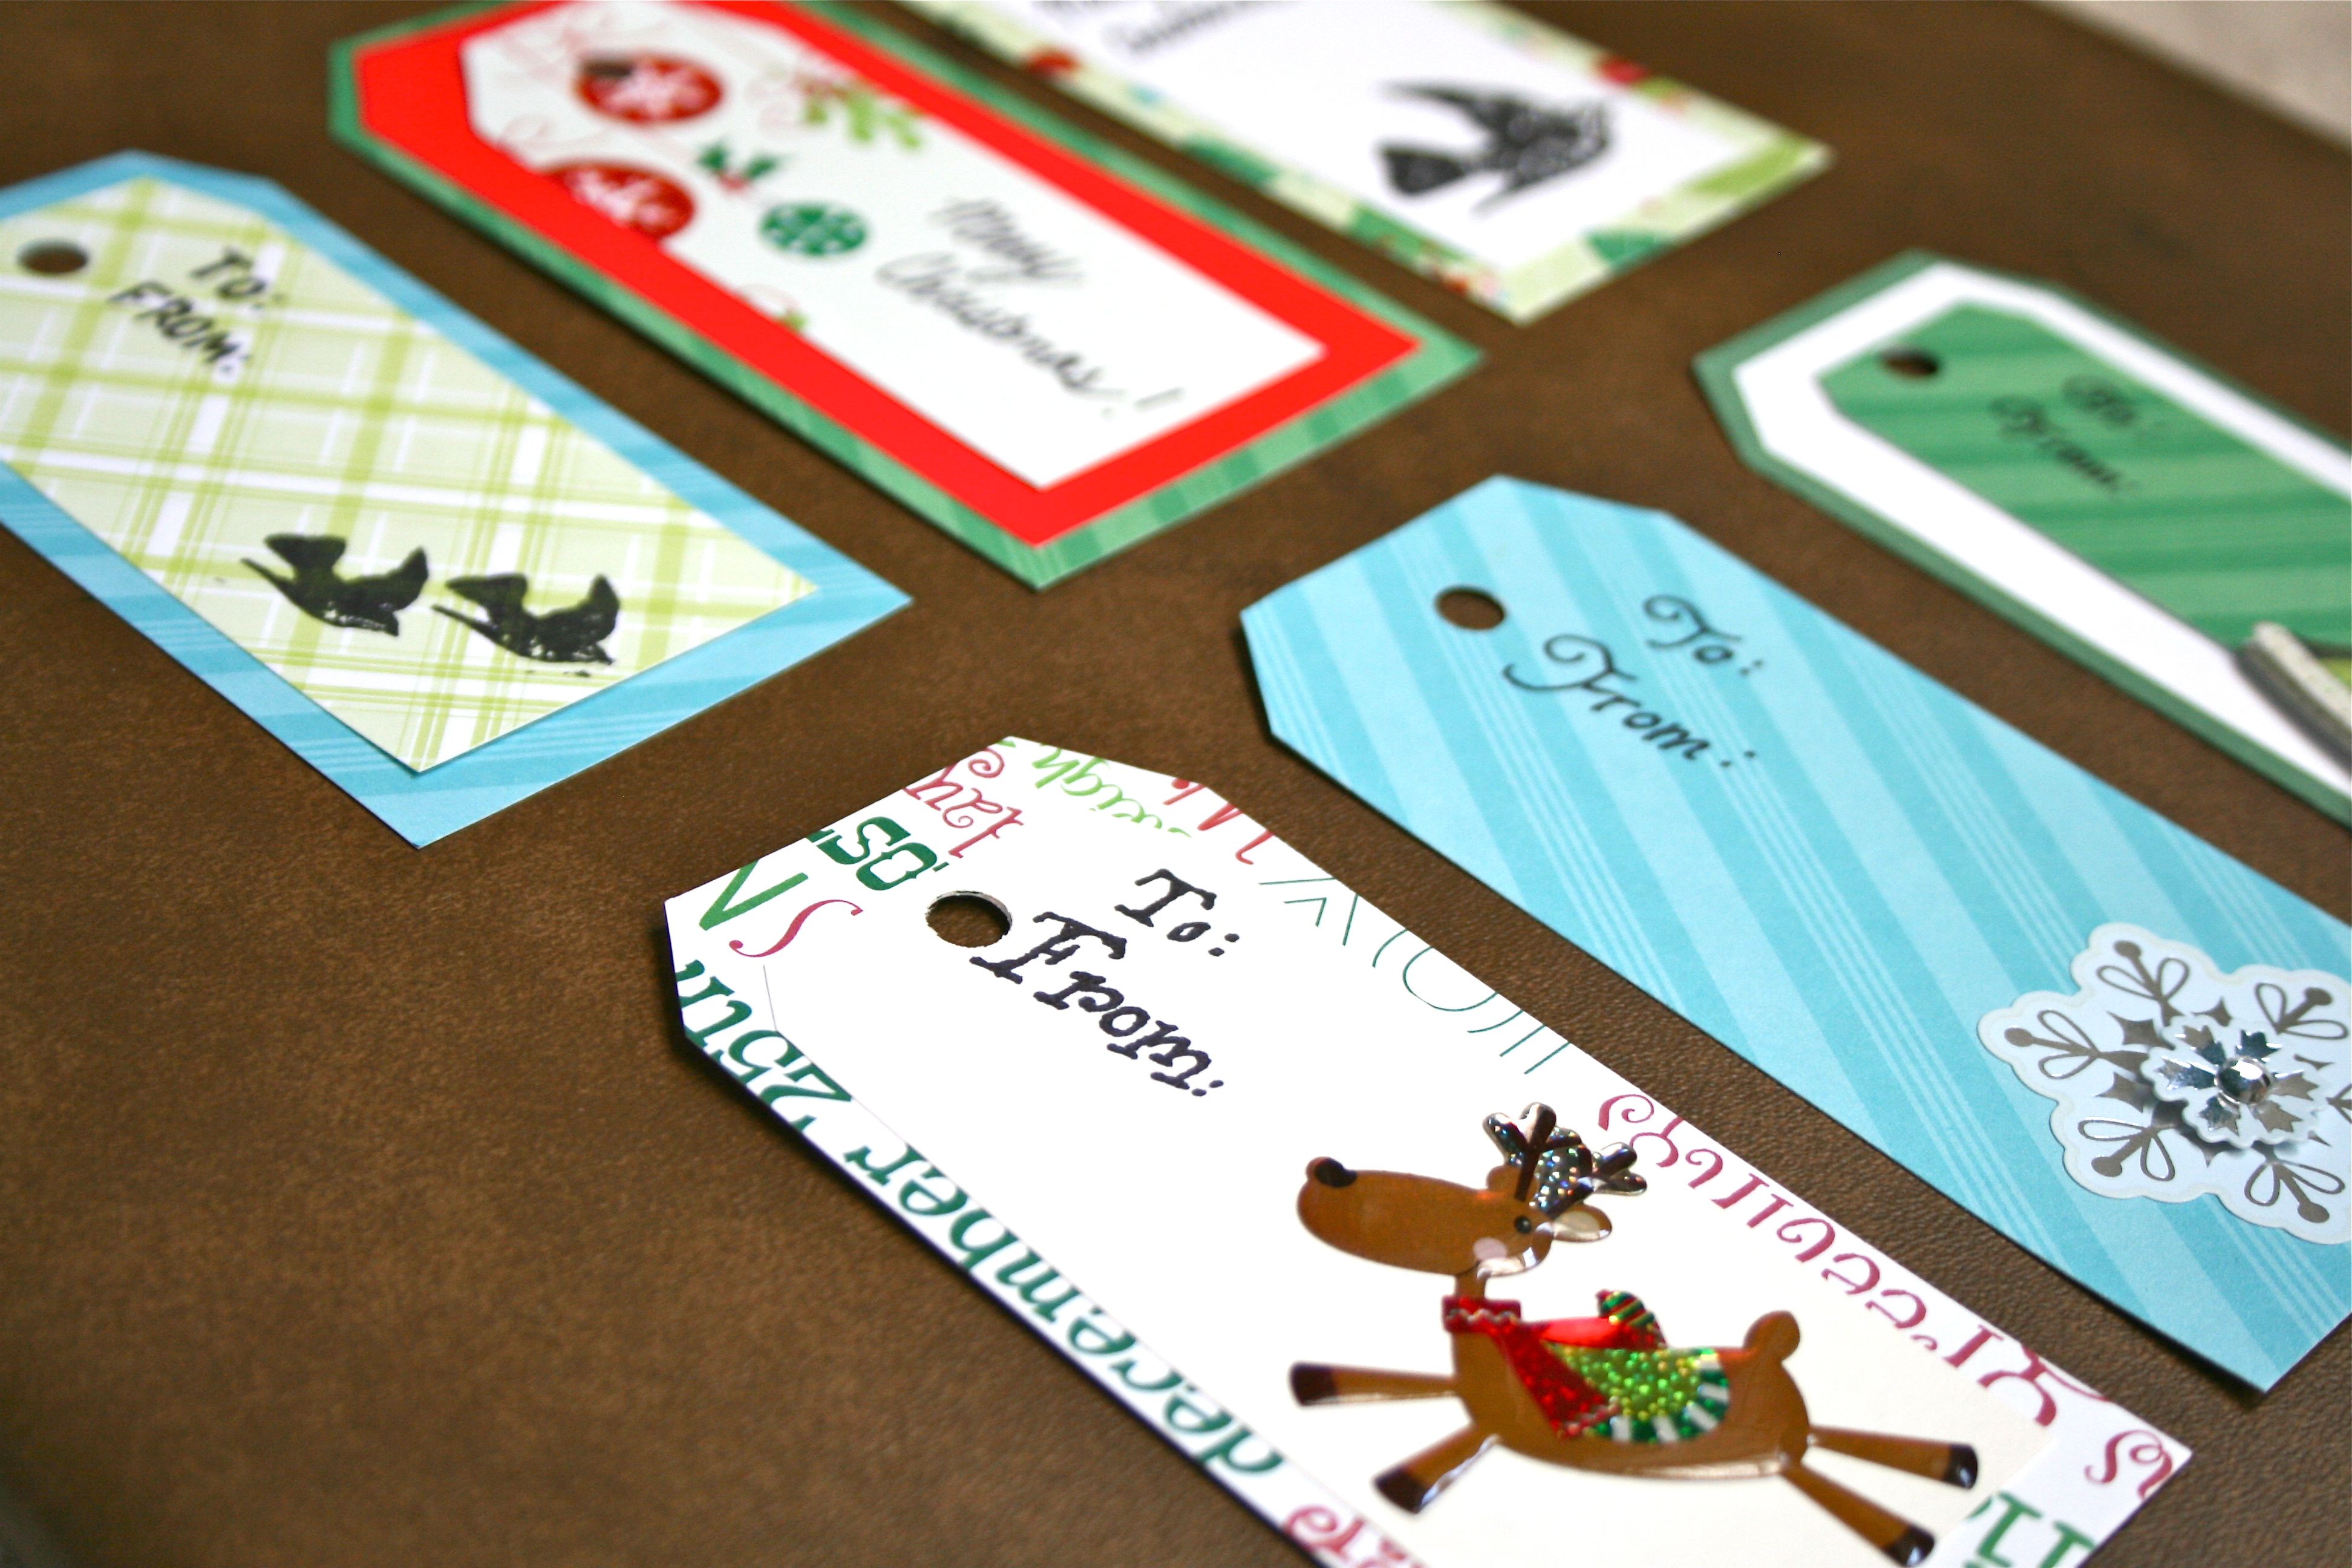
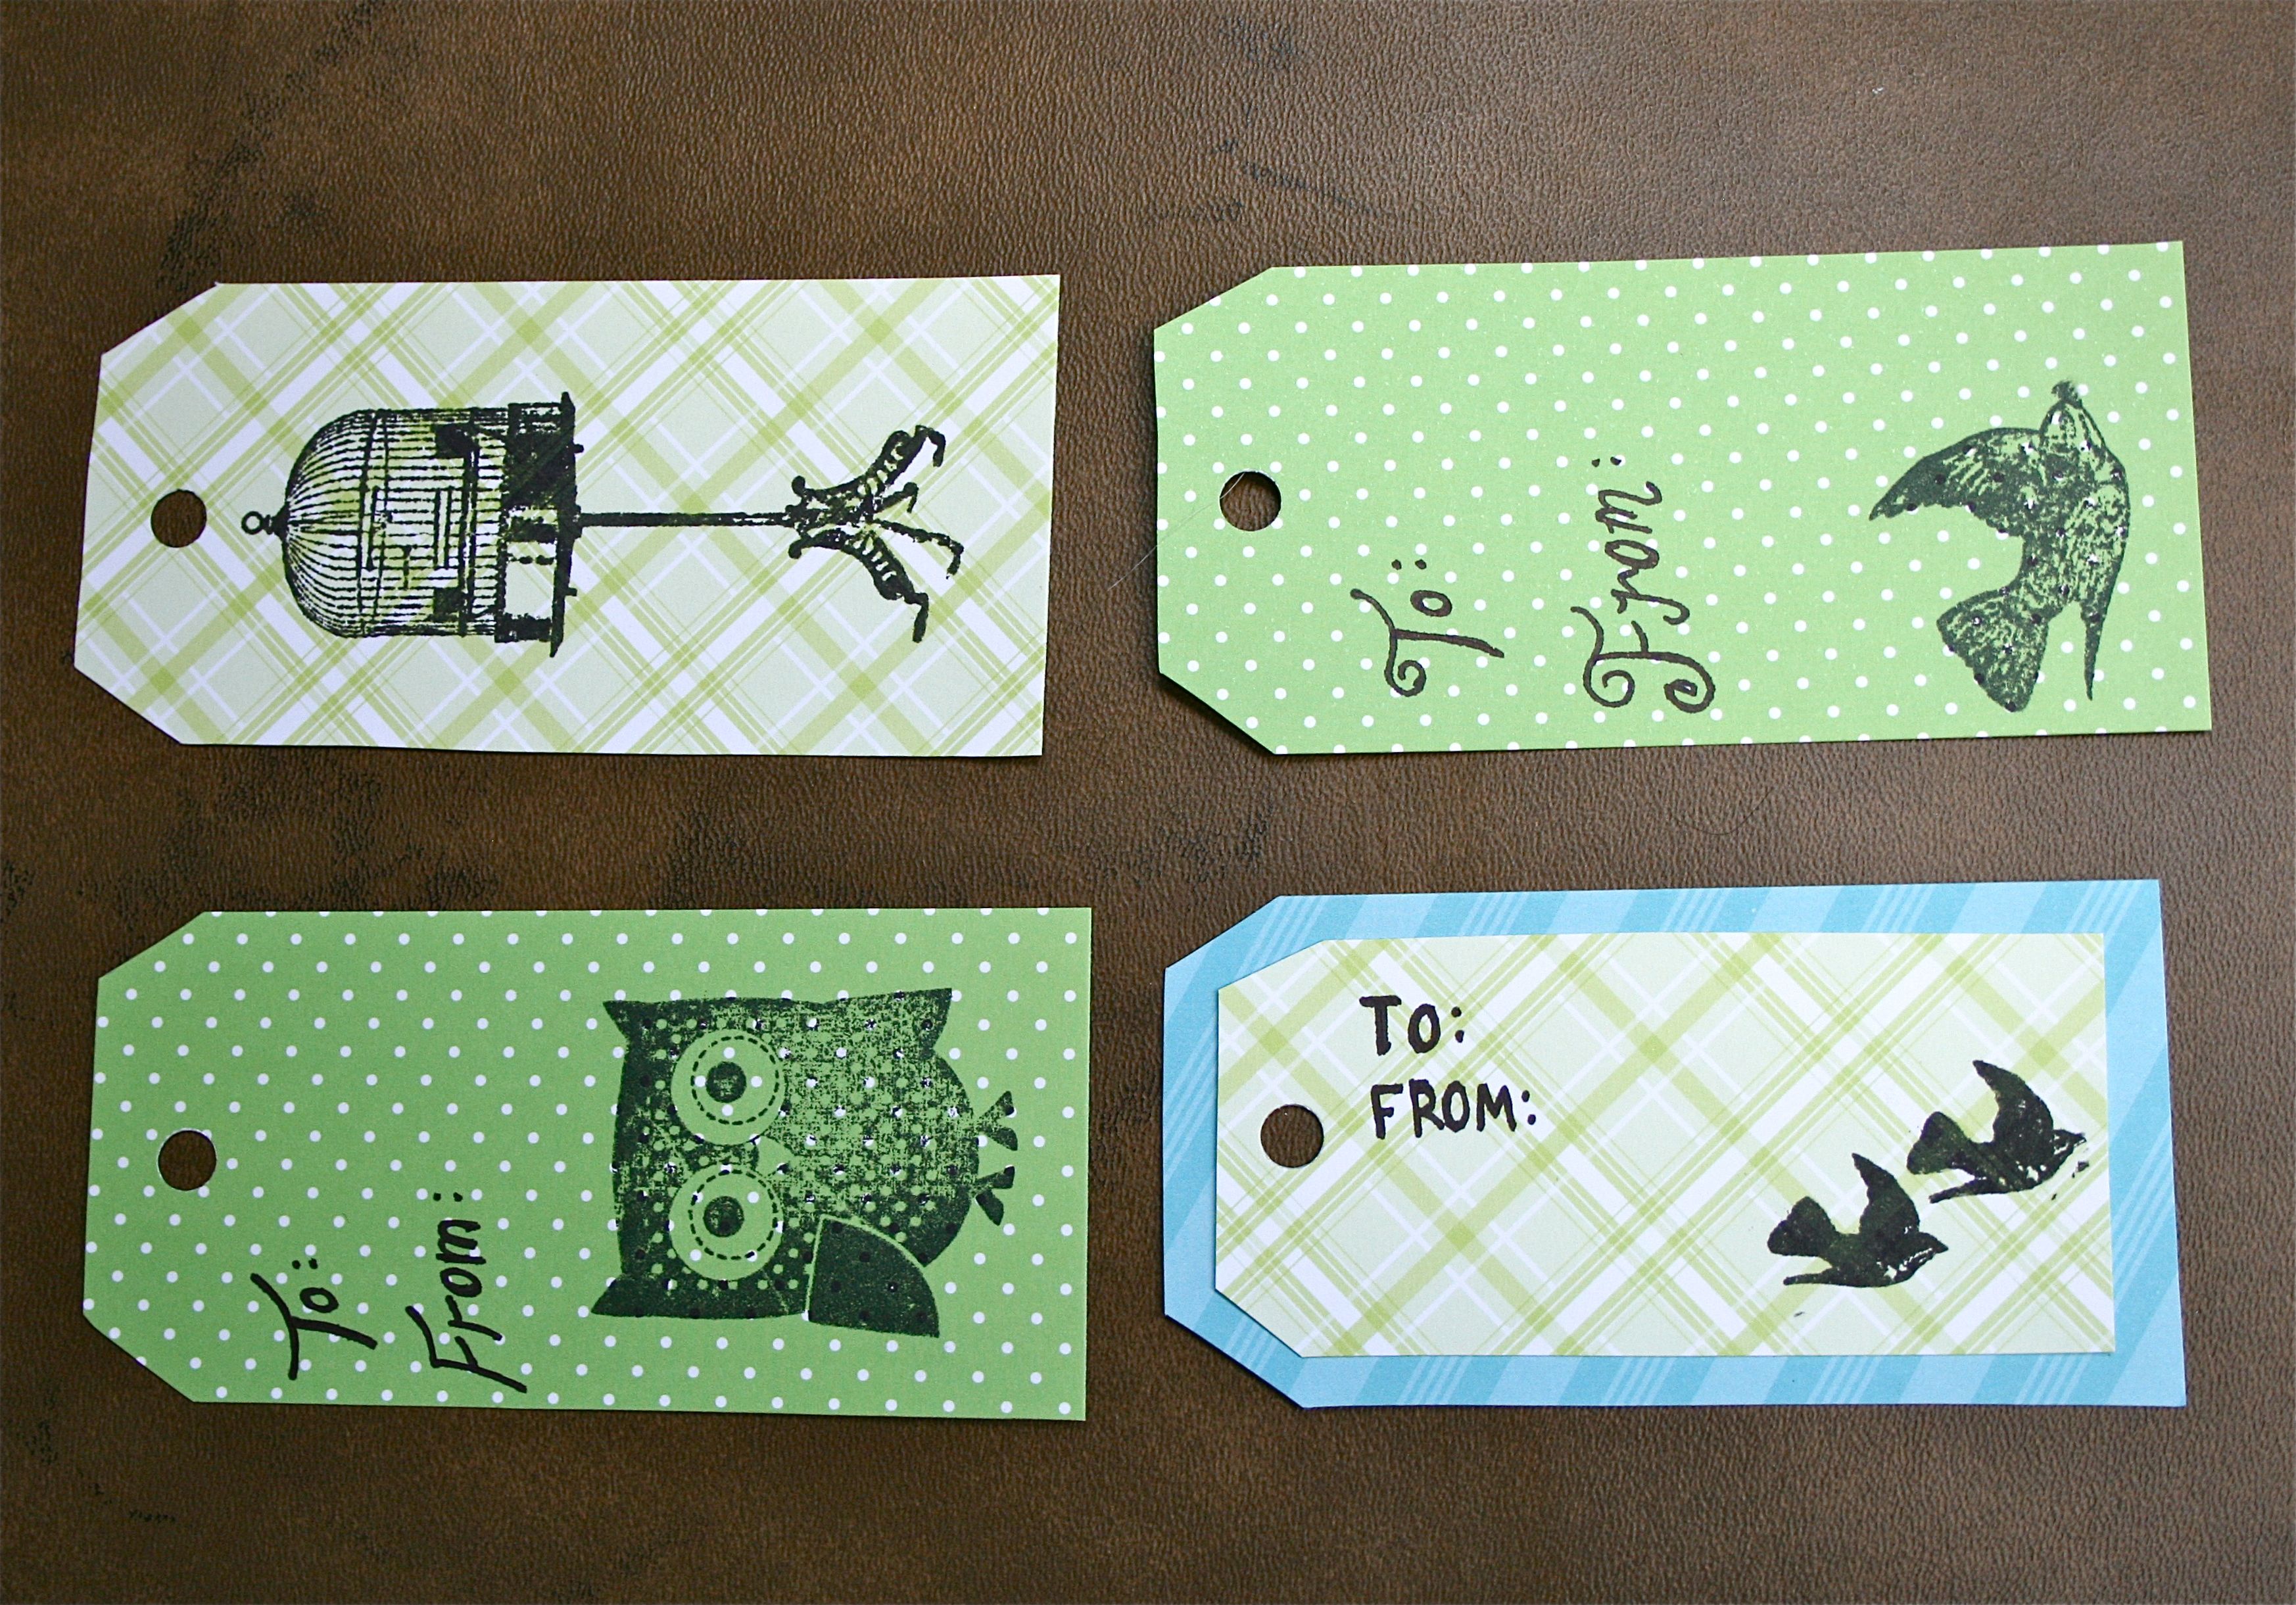
Here’s the collection I was able to put to the side that didn’t necessarily scream “Christmas” and could be used for any gift:
I can’t wait to attach these to all the boxes and bags under our Christmas tree! It will definitely bring my gift wrapping to a whole new level – I usually just write “To: Mom, From: Carrie” in sharpie right on the paper.
We’ll be sure to let you know if we start our tag-making business 😉 In the mean time, I definitely encourage you all to make this a tradition! It is so much fun and could be just the thing to make use of any scrapbooking paper leftovers you might have.
Happy holidays!

