Happy 2 Year Blogiversary, Dream Green DIY!!

Whenever I use the phrase “blogiversary” around my husband, he replies with a simple “I’m going to pretend that I didn’t hear you say that.” Haters gonna hate though, because we know just how special these annual celebrations are. For us, these blogs are far more than just a website or even just a place to showcase our interests, photography, writing, whatever it may be – These blogs are like babies, nurtured with SO MUCH time and energy, often for no monetary profit whatsoever. They provide us with a sense of community unlike any other, and give us a new perspective on cities, restaurants, even countries that we’ve never been to before.

That is precisely how I feel about my own blog. If I’m truly honest (and I think a lot of us can relate), there have been moments where I thought about what my life would be like without the blog – The amount of extra time I’d have is immeasurable. But really, that’s the only PRO to (hypothetically) quitting that I can come up with. The cons are numerous though: Our home wouldn’t be nearly as far in its transformation, I would no longer be able to connect with my AWESOME readers (have I mentioned how much I love you yet? No? Don’t worry, I’m getting there…) and my writing, designing and photography growth would stagnate. Where on EARTH is the fun in that? No, I’m not going anywhere, and neither is this little corner of the blogisphere.

Screen shot 2013-03-22 at 8.53.22 AM

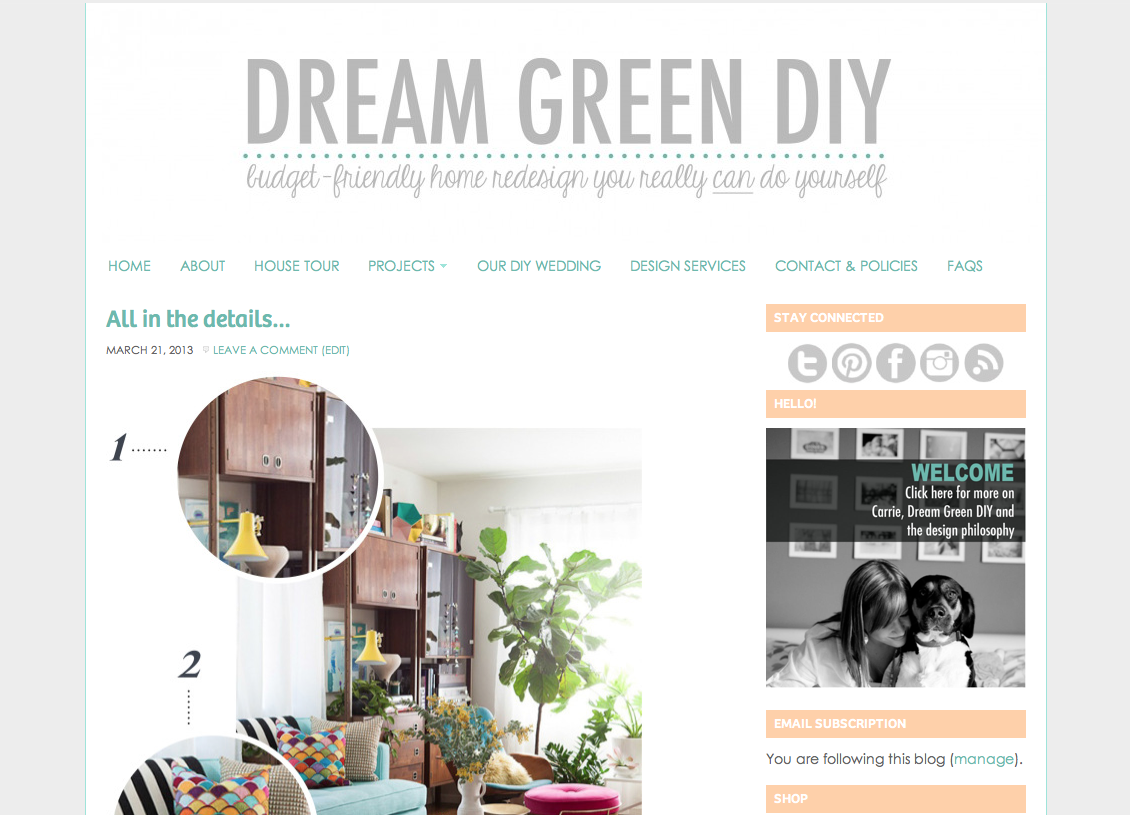
SO. Birthday speech aside, Let’s talk about the new redesign! I had absolutely zero intention of making over the blog until, ohhhhhh, about 9:45 p.m. last night. It just suddenly hit me that I should welcome year 3 with a new face, something more stream-lined, more toned down and a little more sophisticated – DGD is 2 years old now, afterall. Time to grow up and start fitting in with the big kids.

It’s okay if you’re a little sad to see the big colorful banner fade into the past – I was a little sad too (even John fought the new look), but it didn’t take long for us to come around to the idea of that nice steely gray and turquoise. I hope you do too! You may have already picked up on my intentions here, but ultimately I was hoping to tone down the header and sidebar so that the post features could really shine. Now instead of a face full of color, you get a nice balance of monotones framing those big colorful spotlight photos. Just the thing to welcome this new year.

Speaking of this new year, it’s time to think ahead and into the wide open year 3 frontier. I have grown to really enjoy my features routine. We’ve got a pretty good thing going on every Monday, Tuesday and Thursday, with random projects, reviews and thrifting adventures thrown in between, but it might be nice to change things up. Do we need to revamp these tried and true features? Do we need to CUT any? Do you want more of a certain thing? Do you want something NEW?

Reader Feedback Graphic

As you can see, I need your help to decide. I’ve put together a SUPER QUICK 4 question survey for you. I actually love taking surveys – I’m the girl who, after getting an email from a company asking for feedback, immediately clicks through and considers one mundane question after the other with the utmost seriousness. But I know not everyone feels that way. There’s obviously no pressure to take the survey – Your computer will not self destruct if you don’t click through, but as I see it this blog is really as much (if not MORE) for you then it is for me, so your feedback will only enhance YOUR experience. But still. No pressure. Click here if you want to take my reader feedback survey, or click here to see my favorite funny kitten video on YouTube – In my opinion, two stellar options for spending your next 5 minutes.

And finally, I just want to thank you guys from the bottom of my heart. Your comments, emails, connections and even your silent visits if you don’t say a WORD all mean the absolute world to me. You and this blog have transformed my life in record speed – My motivation to do the things I do is largely fueled by your tremendous support. So ::big group hug:: and let’s take this next year in stride, one project at a time…

Cheers!

“It Started With Yum” Blogging Exchange: Let’s make a pie!

Notice a little something different around these parts? Nope, You’re not crazy…DGD has undergone a little facelift in honor of its 2nd blogiversary!!! To celebrate the milestone, I’ll be back this afternoon with stats, talk of the future and a heartfelt thanks for all that you guys have allowed this blog to accomplish in the past 24 months. But first…

It’s that time again! Time for fellow blogger, Jessalyn (of It Started With Yum), and I to get together to exchange our own personal expertise with the other – It’s our little way of expanding our creativity into new realms, AND a good excuse for two friends to meet up and talk shop. In the past, our seasonal exchanges have consisted of shelf styling basics and DIY green cleaning solutions and, later on, DIY Christmas bunting flags made from holiday cards (hers|mine).

Here’s a photo of the two of us back in December because, of course, the one thing we FORGOT to do this particular trip was snap a photo. Before I jump into our collaboration, be sure to open a new tab with Jessalyn’s post explaining the basics of screen printing fabrics – My contribution to this fun blogging exchange of ours.

Screen shot 2013-03-22 at 9.22.03 AM

When Jessalyn and I began to coordinate this trip (she and her husband live an hour away in Charlottesville, Virginia, thus the “coordination”) I immediately knew what I wanted her help with. I’ve never been much of a baker, preferring kitchen adventures like stir fries and pasta, but it was high time that I learned. My pastry of choice? Pie…

While the thought of pie alone sounds generally fantastic, Jessalyn took things one step further by suggesting strawberry pie. This was a whole new level of excitement. Is it just me, or does strawberry pie sound a bit exotic and unusual? Those little red berries happen to be my all time favorite variety (I eat them like chips, one after the other), so to say I was an enthusiastic student is an understatement – And Jessalyn’s tutorial did not dissapoint.

IMG_4931

Jessalyn’s Incredible Strawberry Pie

Pie Crust:
2 1/2 cups all-purpose flour
2 sticks unsalted butter, cubed
1 teaspoon salt
1 tablespoon sugar
1/2-1 teaspoon cinnamon
3/4 cup ice-cold water

Whisk together dry ingredients. Cut in the butter using a pastry blender/cutter, working your way around the bowl until the butter is incorporated as pea-sized dots into the dry ingredients – This is a great arm workout, as I discovered! Next, add the ice water slowly in portions, using the pastry blender to work it into the dough. Once it starts to stick together, dust the counter with flour and dump the dough out of the bowl to work. Gently knead it together into a ball, then divide in half with a knife. Wrapping each in plastic wrap, refrigerate for one hour. Keeps in fridge for 1 week; freezer, for longer.

Pie Filling:
6 cups frozen strawberries
1/2 cup sugar
1/4 cup brown sugar
1 tablespoon lemon juice
1 tablespoon cornstarch
1-2 tablespoons balsamic vinegar

Preheat oven to 400 degrees. Combine pie filling ingredients in a large mixing bowl. Stir together to incorporate. Set the mixture aside and roll out one of the dough rolls, laying it across the bottom of a pie pan. Continue to stir the pie filling as you do this – The frozen fruit will start to thaw, which gives the sugar its chance to dissolve a bit.

Once the dough is laid out in the pan, dump the pie filling into the pan. Roll out the second dough ball and, using a floured rolling pin to transport, roll it out on top of the pan. Then use your fingers to fold the edges of the dough up and over one another, squeezing as you go to seal it. Poke a few holes into the top of the dough using a knife to allow for ventilation.

Place the pie pan on a baking sheet (used to catch overflow) and put it into the oven on a low rack. Bake the pie at 400 degrees for 25 minutes, then lower the heat to 350 degrees and bake for another 45 minutes. Remove from oven, let cool and enjoy!

DSCF1401

DSCF1407

DSCF1409

DSCF1414

DSCF1418

DSCF1415

DSCF1438

DSCF1434

IMG_4872

Was it tasty? Oh, MY yes. The balsamic vinegar secret ingredient is the little POW that takes this pie from amazing to gone-in-five-minutes finger-lickin-good. Jessalyn sent me home with two pie dough rolls of my own and I ended up baking them right up at 9 pm. last night – All this pie talk has me ravenous, so I think I’m gonna go sneak a slice for breakfast. Don’t judge.

Before I sign off for the morning, here’s that link again so that you can check out Jessalyn’s post, all about how I taught her how to screen print. I was pretty new myself to this inking process, but managed to create something worth sharing AND showing off! Believe me, no one was more surprised than this gal.

Screen shot 2013-03-22 at 9.21.07 AM

And don’t forget to come back this afternoon for a bonus post in honor of DGD’s 2nd birthday!

getsocial
have yousubscribed?
Everybody's doin' it.