Shadowbox jewelry box

This project was previously featured on the Breathe Magazine blog and can be found by clicking here. There are extra thoughts found on the first post that won’t make it into today’s, so definitely check it out!

Just like any (or at least, MOST) girls, I love pretty things. I gravitate towards sparkle, color and delicate details, so it’s no wonder that my jewelry holds a special place in my heart. I hardly ever leave the house without a pair of drop earrings and a long chain necklace to match my ensemble – Heck, I’ve even been known to don something sparkly over a t-shirt and jeans before heading to the grocery store.

Because I love my jewelry, I’ve spent a lot of time and effort to make sure I display the collection in a proud way – You’ve seen me talk about my earring organizer, my necklace organizer and even my odds-and-ends jewelry box. Each project was meant to bring just a touch more oomph to my collection.

Today, I’m sharing a “New Use for an Old Thing” trick that I learned and decided to try out on my own. You might remember my chevron jewelry box, which I made and chatted about over here.

Well, as you can see in the pulled out drawers below, I had a lot of stuff packed into that little wooden box. We’ve got bracelets, broken necklaces that I still need to repair, rings and a bunch of post-style earrings that won’t properly hang on my dangly earring organizer.

At some point a few months ago, I reaped a little online inspiration from one of my daily blogging reads, Jess Constable of Make Under My Life. She was chatting about how she stores her accessories (things like scarves, jewelry, etc.) – One brilliant solution she mentioned was to use a shadowbox to hold post earrings. This idea was the lightbulb moment I had been waiting for.

I hardly ever wear my small collection of post earrings because they are all buried at the bottom of my jewelry box’s tiny drawers. I knew if I had them out on display like the rest of my collection that I would be far more likely to use them, but couldn’t for the life of me think of how to get them out in the open without losing them. But this new thought was precisely what I needed to hear.

Luckily, this project cost me no money at all since I already had a shadowbox on hand that I didn’t mind dismantling. So I grabbed my vacation-themed frame and carefully removed all of the fixings. After that, it was just a matter of digging out my post earrings, removing the backs and sinking them into the soft foam core backing inside the shadowbox – Think of them like decorative, dainty push pins going into cork board and you’ll get the gist of the process. For the loose backs, I tucked those into a little palm-size canvas drawstring bag I had and now keep in one of the vanity drawers for easy access.

Granted, my collection is a little sad…But I was also able to fill in with pretty antique pins that I have collected over the years from estate sales. I’m hoping that I’ll start gravitating more often towards these tiny pieces of jewelry since I’ve become a bit obsessed with chunky pieces as of late. It’s high time I switch things up.

I ended up popping it up on the wall beside my bathroom sink within easy reach. Since my shadowbox has a “front-door-like” loading system where you just swing the glass panel back on hinges to access the inside, I can easily get to a pair of earrings or pin whenever I want.

As I mentioned in my Breathe Magazine blog post (again, check that out here), I would recommend getting a front-loading shadowbox if you want to try this out at home. If you use a back-loading frame, then you’ll have to take it off the wall each time you want something and that might get old after a while.

How do you store YOUR post earrings and pins?

Pinspiration Monday: Elephant wall art

Good morning and happy Monday to you! Just as I was about to head out the front door for work, I was met with a major downpour. I L-O-V-E rain though, so it was a happy unexpected surprise. Hope the weather suits your happiness this morning too!

Today, I’m sharing my latest Pinterest-inspired project, which just so happens to be a birthday gift for my friend Alyssa. You might remember her from this post of yore when I gifted her a different DIY project for Christmas.

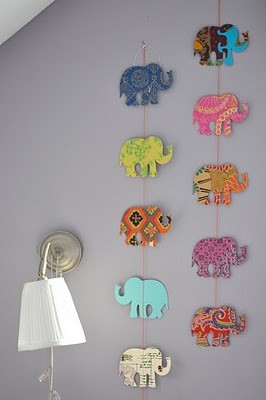
Well I continued the DIY Alyssa love by scouring her Pinterest boards and decided to recreate this adorable elephant wall art collection that she had pinned. Our group of girlfriends is made up of 7 people, so (excluding the birthday girl) we thought it would be fun to craft up 6 little elephants so that we could decorate the backs with personal messages to Alyssa, one from each of us.

Source: Love Peace Pionies

Keeping the pinned inspiration image open on my desktop computer, I recreated the shape of the elephants on a piece of computer printer paper. After that, I cut it out to serve as a tracing template for the final elephant shapes.

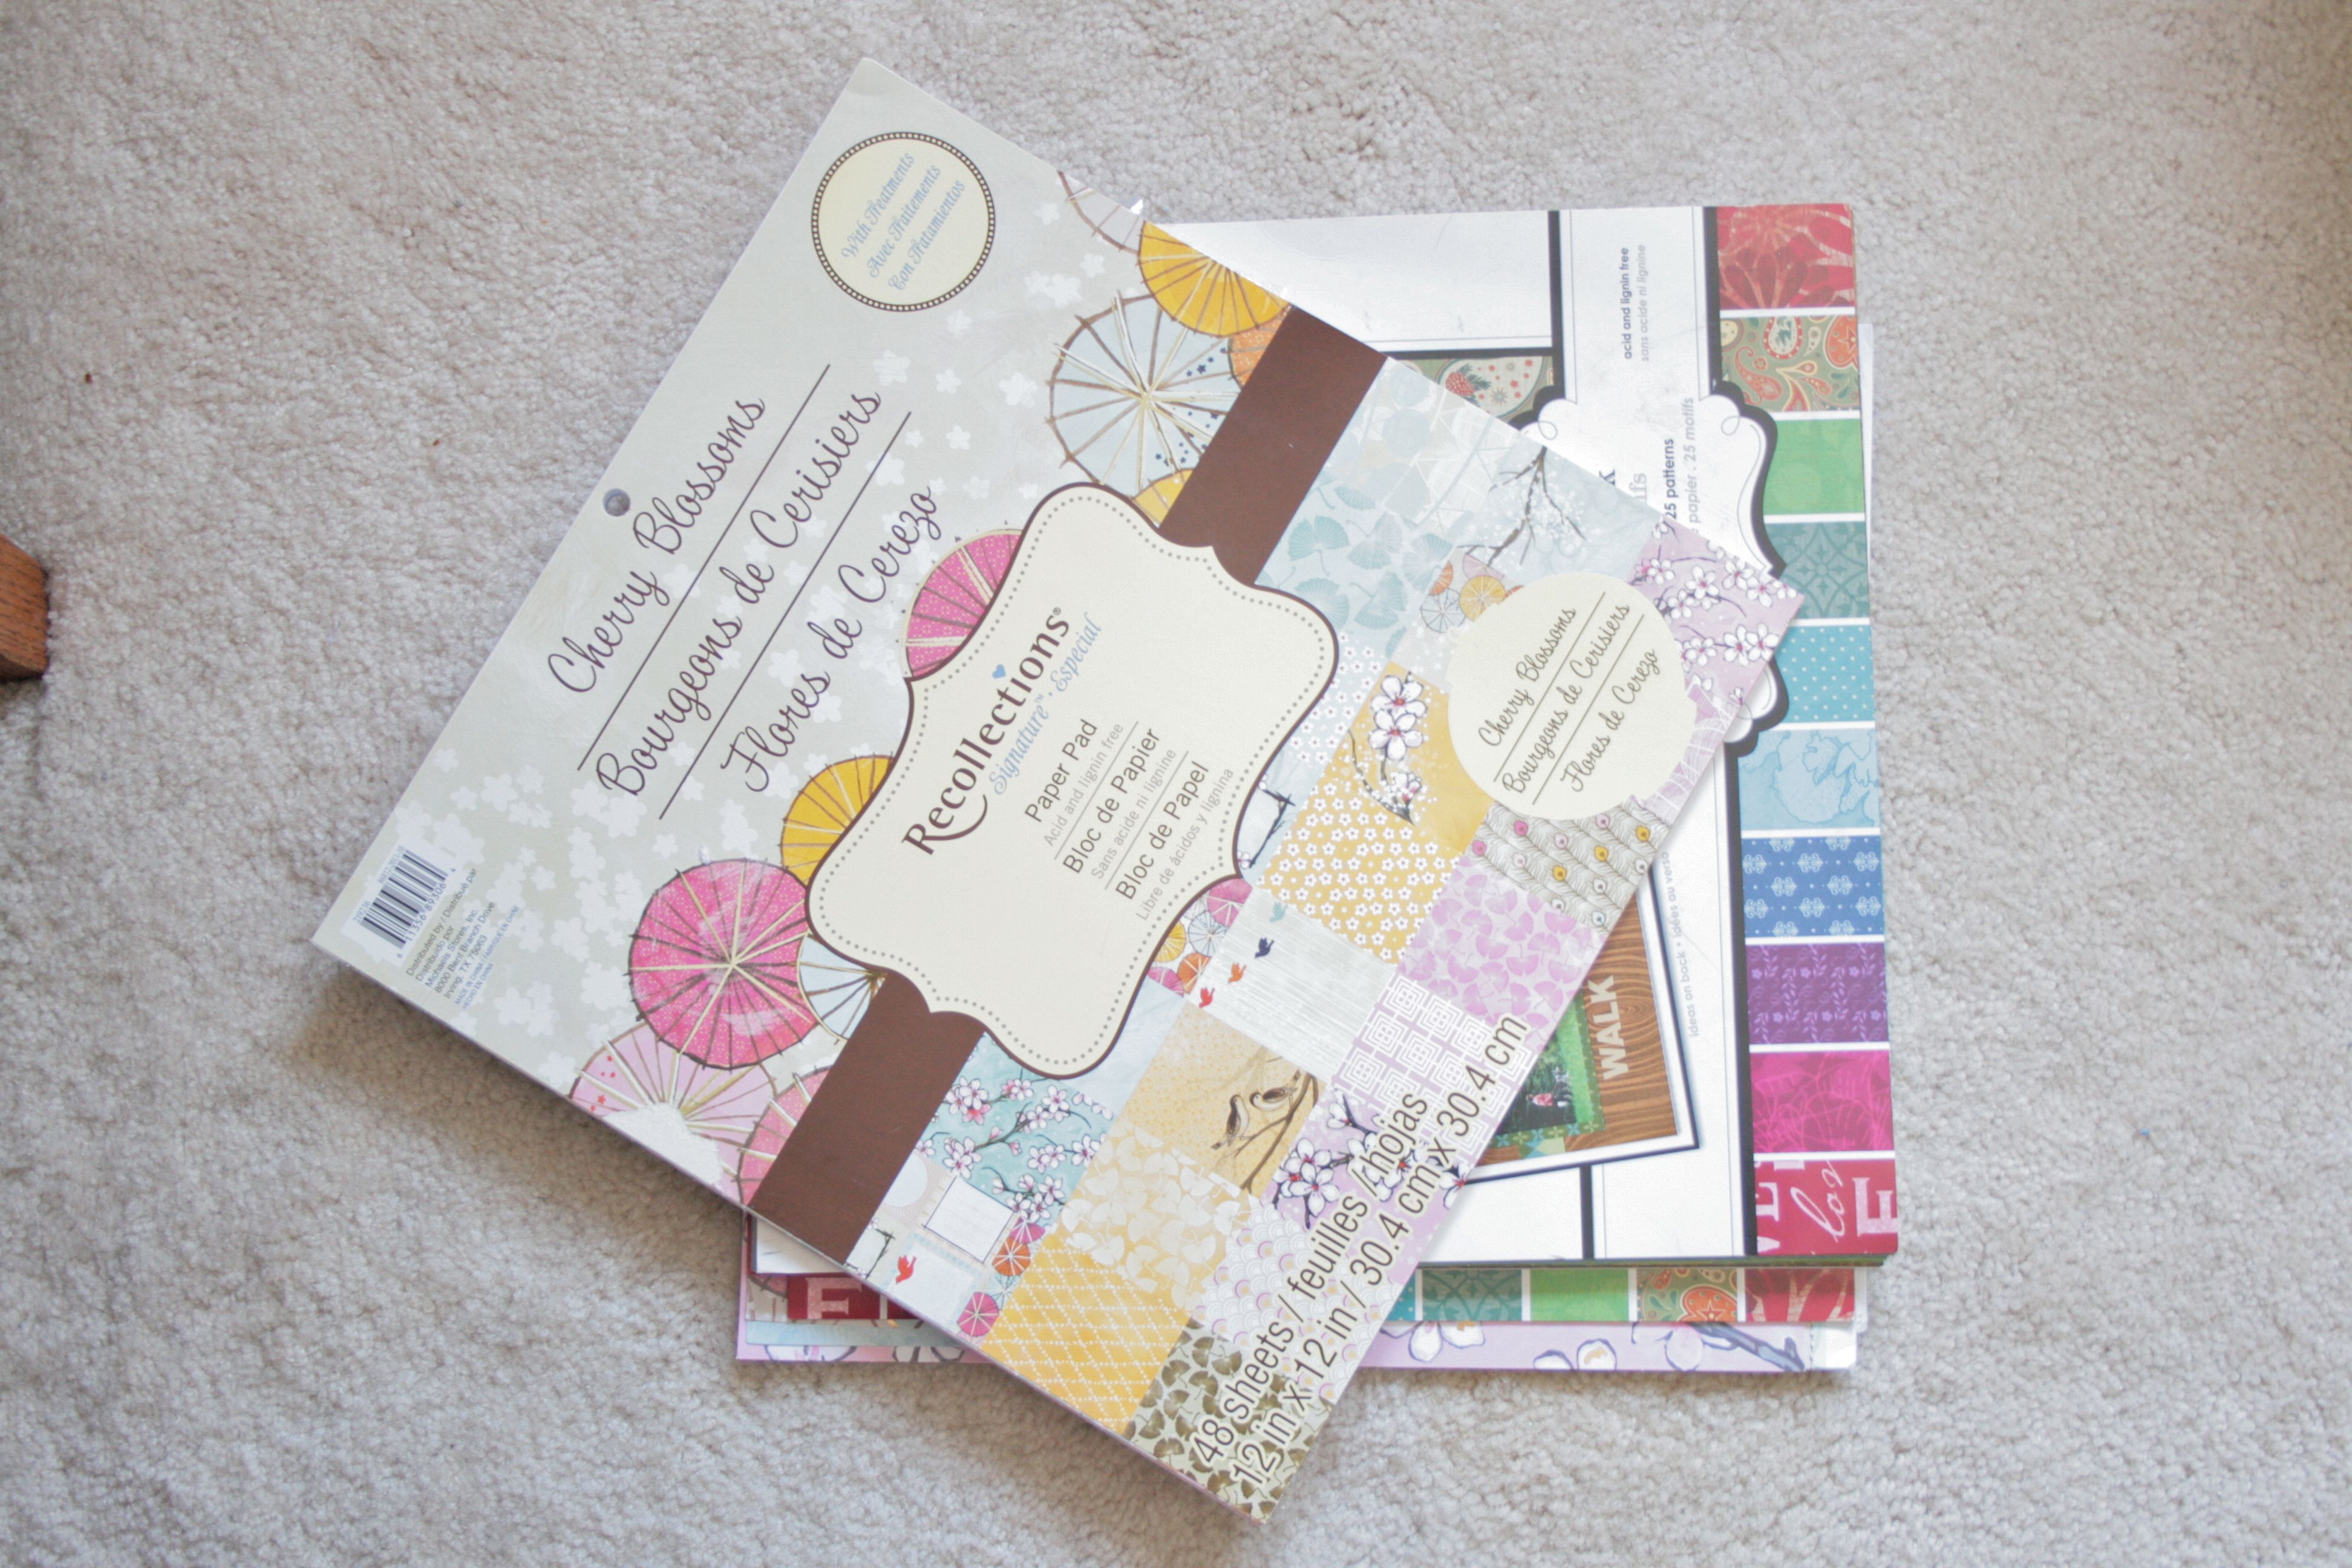
To get the colorful, patterned look of the elephants in the Pinterest image, I traced my elephants onto pretty scrapbook paper. I always seem to have a bunch on hand and, since the elephants I made would only be about 5×7 inches, I was able to use some scrapbook paper scraps too. Reduce, reuse, recycle, right?? I simply flipped my sheets of paper over and traced the elephant template on the back – By tracing on the back of the paper, I made sure that none of the ugly pen marks would show on the finished product.

Oh, and you may notice that some of the elephants are facing a different direction. I thought it would be fun to give the finished collection an asymmetrical look by making the middle elephants face the opposite way then the others.

While scrapbook paper tends to be thicker than regular copy paper, I still decided to give the elephants a little more stability and thickness with the addition of cardstock beneath. My hope was that the added thickness would make the shapes not curl since paper tends to do that. I would have LOVED to cut these out of wood and hand-paint them, but I was running out of time with her birthday fast approaching. In the end, the cardstock seemed to do the trick.

To attach the cardstock, I mixed up a batch of craft glue + water (about two parts glue to one part water) to give it a thinner consistency – I can’t stand gloopy glue, plus the thin watered down glue applied much quicker and avoided any air drying before sticking the elephants to the cardstock.

After that, my process was pretty simple and methodical – I gingerly held each of the elephants in turn in my hand and applied the watered down glue to the back with a paint brush. Then I pressed the elephant onto the card stock. I was able to save paper by gluing two elephants to one sheet of cardstock, so I positioned them at the top and bottom of the paper.

Once all of the elephants were in place and drying on their respective sheets of cardstock, I layed them beneath stacks of books to make sure they didn’t curl up from the wet glue. Thankfully, at the time I already had all of my books down and in piles while waiting to hang my studio shelves.

The next day, I lifted the books free and was rewarded with three sheets of happy, colorful elephants. The last step in the elephant creation process was to cut them out of the cardstock by following the lines of the scrapbook paper shapes.

To attach the elephants to each other, I punched a hole at the center of each of their backs. The plan was to string lengths of golden yellow ribbon through the holes to connect them. Below you’ll see the hole in the back, but I ended up punching a second hole in the bottom of their bellies as well.

Time for another stint beneath the book stacks to minimize the curling that happened during the cutting process…Another night under the books seemed to be all they needed to flatten out.

After stringing on the ribbon and getting the girls to write (or email me) their messages, we were all finished. I hung them in my studio just so that you could get a sense of what they might look like at Alyssa’s home, but I’m sure she’s done something beautiful with them in her own way.

Here is one side flipped over so that you can see what I mean by writing little “happy birthday” messages on the back. Since one of our friends lives an hour away in Charlottesville, she emailed me a little Haiku poem to print and tape to the back for Alyssa to read and giggle over.

I think Alyssa was surprised to see one of her pins come to life. I am so glad that I was able to make this project for her and hope she had a fabulous birthday – She deserves it!

P.S. I was also recently gifted a rather unexpected present! My sweet hubby surprised me with my very own iPhone!!

This is my first smart phone and I am absolutely addicted…One of the first things I did was download Instagram and I am loving the ability to share photos via Twitter and Facebook. If you want to follow my Instagraming, follow me on the social media pages just linked to, or find me on Instagram via @dreamgreendiy.

Have a great day!

getsocial
have yousubscribed?
Everybody's doin' it.