Chevron jewelry box

Hope your week is going well! I am feeling surprisingly chipper and excited about the weekend’s big event – With only three days until our wedding, there’s really nothing more that I can do. Projects are wrapped up, my planner is coming over this evening to check out all of the many DIY projects we’ve put together and now I can finally breathe knowing that I’ve done the absolute best I can.

I told John that the one time I will probably break down and cry during the big day is when I see our reception space filled with all of the things I’ve created with the help of my family and friends. I’m sure seeing everything finally pulled together, knowing that it was all thanks to dedicated creativity and effort on our part will be very emotional. (Not to say that our wedding ceremony won’t be FAR more emotional, but I have a feeling we will be so focused on saying the lines correctly that we won’t have time to cry. But I’m sure that could all change in the moment. We’ll see!)

Today, I am back to share a non-wedding-related project (I know, crazy – right?). After using Martha Stewart’s metallic craft paint on my frames, I decided that I couldn’t stop there. With a recent affinity for fashion and accessories, I decided to amp up my table-top jewelry display starting with this little wooden box that I use for my rings and stud earrings.

The piece came from a craft store and was originally raw, unfinished wood. After bringing it home I quickly took care of the plain wood situation by painting it a creamy pale green (although, based on today’s trends of color dipping, I probably would have painted it only partially green and left part of the raw wood showing, sort of like this  – Maybe next time). It turned out nicely but a couple of years later and I was ready for a little upgrade.

So, using Martha’s gold paint once again, I added a fun chevron pattern to my little green jewelry box.

To get the pattern right, I unrolled a long piece of masking tape and stuck it to the edge of my ruler. Then, using scissors, I cut a slit in the tape every inch – That way, I could remove the tape from the ruler and could carefully and accurately cut out multiple little pieces of tape in 1-inch lengths.

Then I simply smoothed the tape against the box, making a zigzag pattern by alternating the direction of the strips. I just kind of eye-balled it and used the width of the tape as a “ruler” of sorts for where to start the next one. I wasn’t going to worry about perfection with this project. It was at this point (twenty minutes into the project with only the amount of taping seen below complete) that I realized I would need to switch up my method or else I’d be there all night. So instead of using 1-inch lengths of tape, I removed what I had started and began again with 2-inch lengths. It still gave me the chevron pattern I wanted, but with a quicker completion time.

Just had to share my line of tape strips…Although tedious at times, you get a sort of system down and pretty soon I was barely paying attention, instead focusing on the Friends marathon on TV.

An hour and a half or so later, my little jewelry box was looking ziggy zaggy and ready for some gold paint.

Using a small foam paint brush, I lightly painted the box with one coat of the craft paint. I let it dry for about twenty minutes before putting on a second coat. If you want a solid finish with none of the undercoat showing through, you may want to put on a third coat. My particular box has always looked a little shabby chic, so the idea of a little undercoat showing through seemed fitting – I liked the idea of a washed look, so two coats did the trick for me.

Here is my newly styled jewelry box, sparkling it up in our master bathroom. I love how you can see the subtle sheen in the metallic finish towards the bottom of the box pictured below. It is just enough of a pattern to give it some much-needed personality, but not enough to make it scream in our soft green, peaceful space.

For a grand total of about $1, I’d say this was a DIY well done. What do you think?

Pinspiration Monday: Wooden hangers

I have really been into fashion lately…Not sure when my focus shifted from home style to clothing and accessories, but I can’t deny my love of a great outfit any longer. Now, I wake up every morning motivated to craft a colorful, cohesive ensemble down to the bracelet. It’s fun to mix and match patterns, colors and metals to make a balanced and sophisticated look – In fact, it’s really not much different than styling a shelf or arranging fabrics in a living space. The same principles still count here, just in clothes.

Obviously, a new love and longing for style means a little shopping was in order. I’ve bought a good amount of new clothes in the last month, but to keep myself on track I kept a list of must-have essentials with me and have kept to it like it was the law. So now I am rewarded with a closet of thought out pieces – Here’s my latest (and, as promised to my bank account, my LAST) big haul, this time from Target and T.J. Maxx.

One of the most affordable ways I’ve been able to feed my new need for fashion and style in my closet (beyond sticking to a list when shopping) is to work on making the most of what I already have. In the past month I have spent long periods of time in my closet getting rid of things I no longer fit into or that no longer fit into my style. Shout out to our local consignment shop though (Salvaged), I don’t donate clothes anymore – I bag them up and take them straight to consignment. So far, I’ve made over $100 – Pretty fabulous when I think about how I was just going to take everything to Goodwill for zero profit…

Another thing I decided to do was find ways to amp up the display in my closet, right on down to the hangers…After seeing these two Pinterest images of clothing hung on natural wood hangers and how it gave it a high-end boutique look, I knew I had to upgrade.

Source: The Everygirl


Source: barefoot contessa

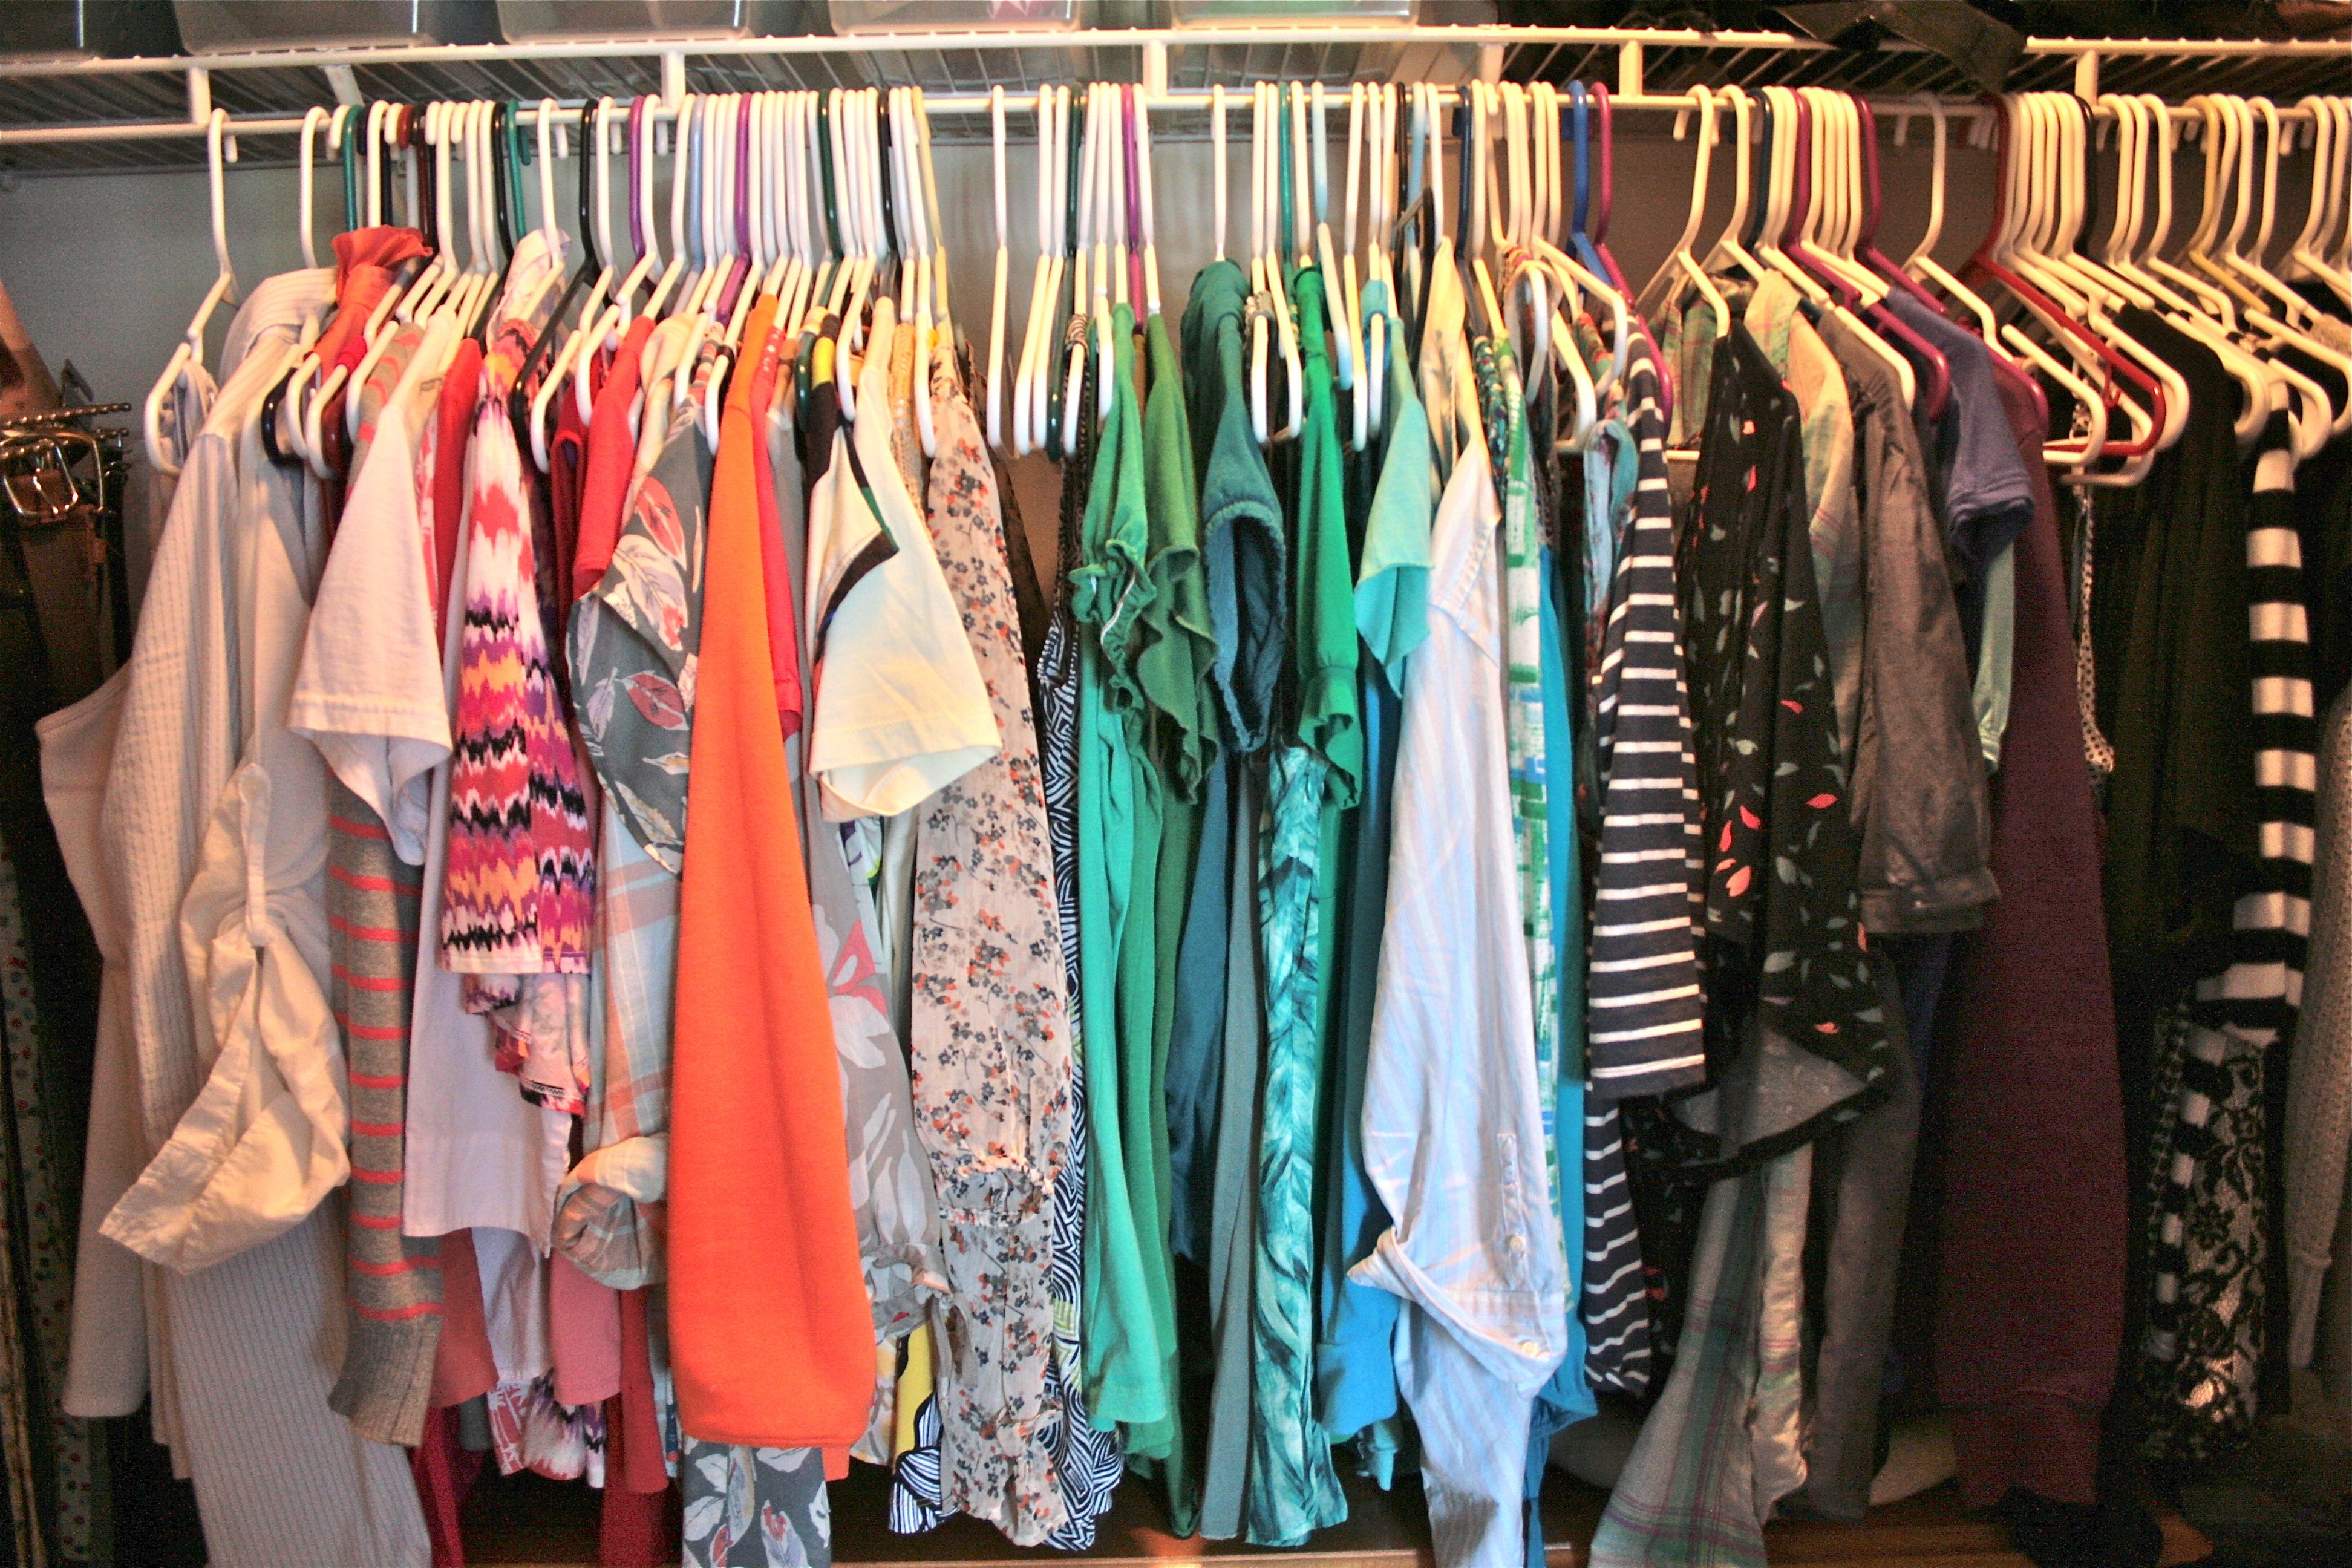
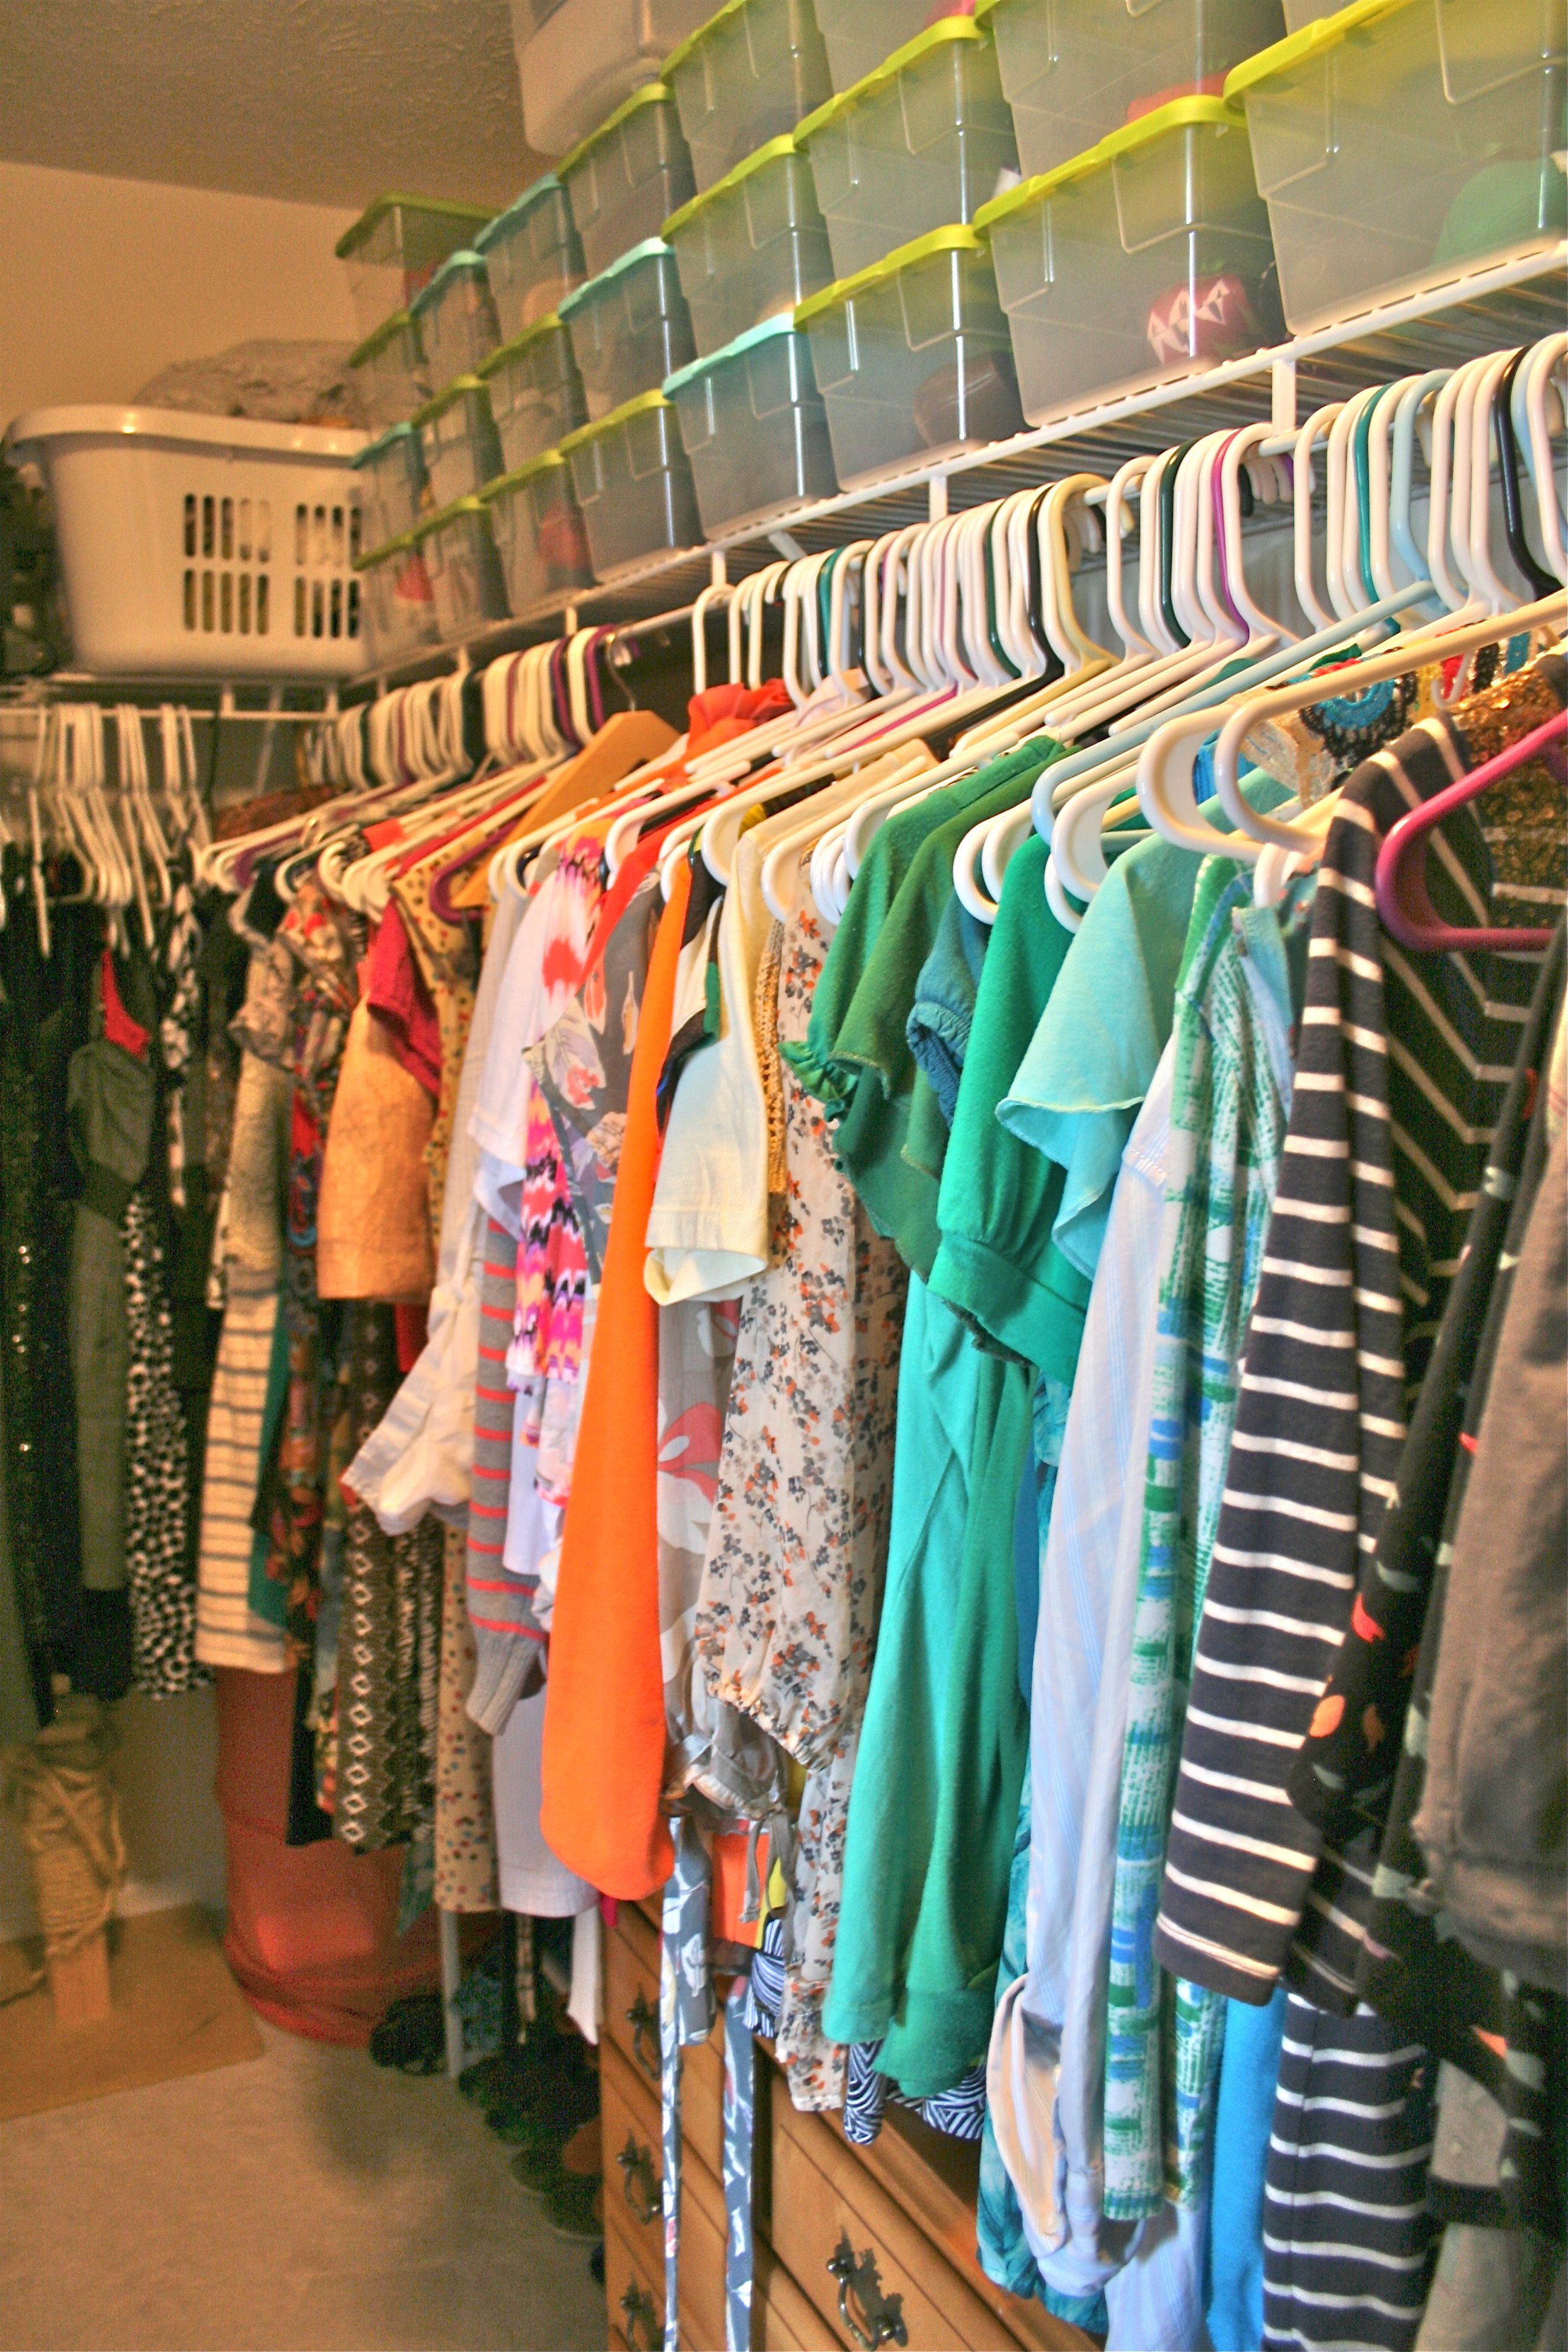
My closet as it was, came dominated by plastic hangers. Now, I do think that plastic is a big upgrade from plain wire hangers, which tend to bend…But I could envision just how much better and more cohesive the space would look with matching wooden hangers.

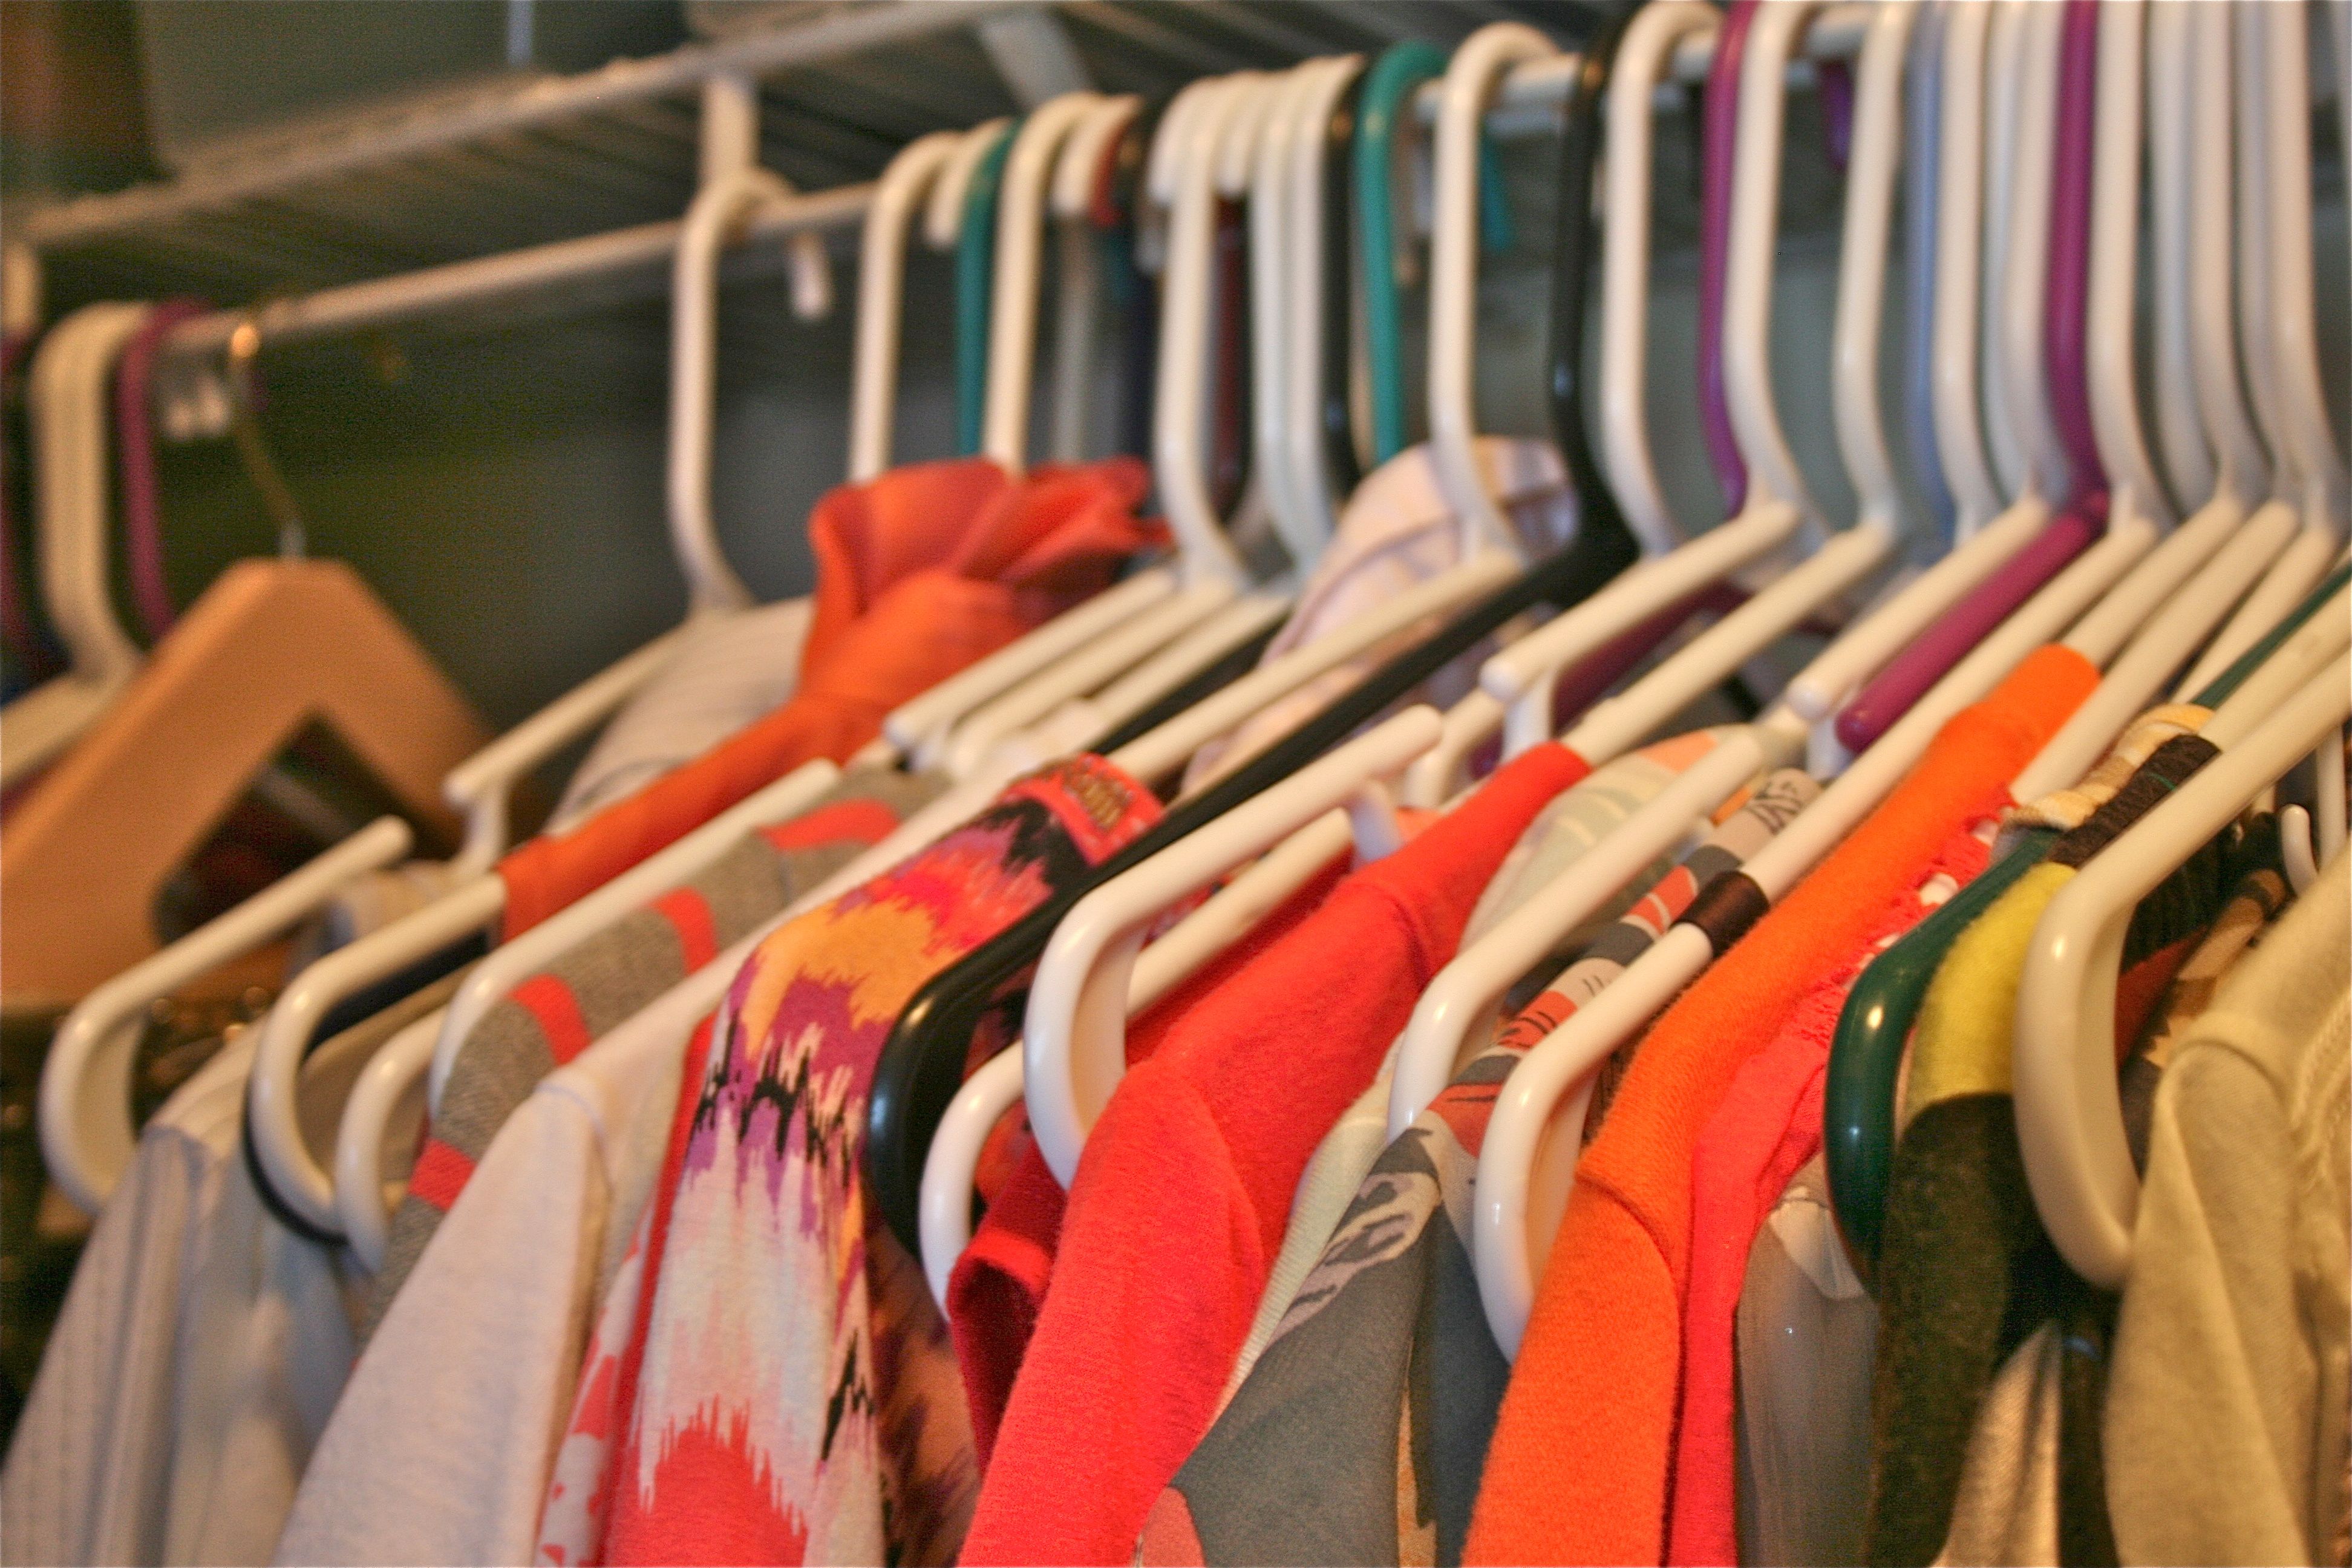
Have you guys seen on Pinterest or heard this tip from a friend? Essentially, to make the most of your clothing, you turn all of the hangers backwards and then, as you wear something, you turn the hanger right-ways. That way at the end of the season, you’ll know what clothes you didn’t utilize by seeing their hangers still turned backwards – Time to get rid of them. I attempted this at one point (as you can see in the photo above and below), but eventually gave up. I have a pretty good handle on what piece make me feel good and what don’t. It was just about finding the motivation to actually get rid of things that I’d been holding onto for years.

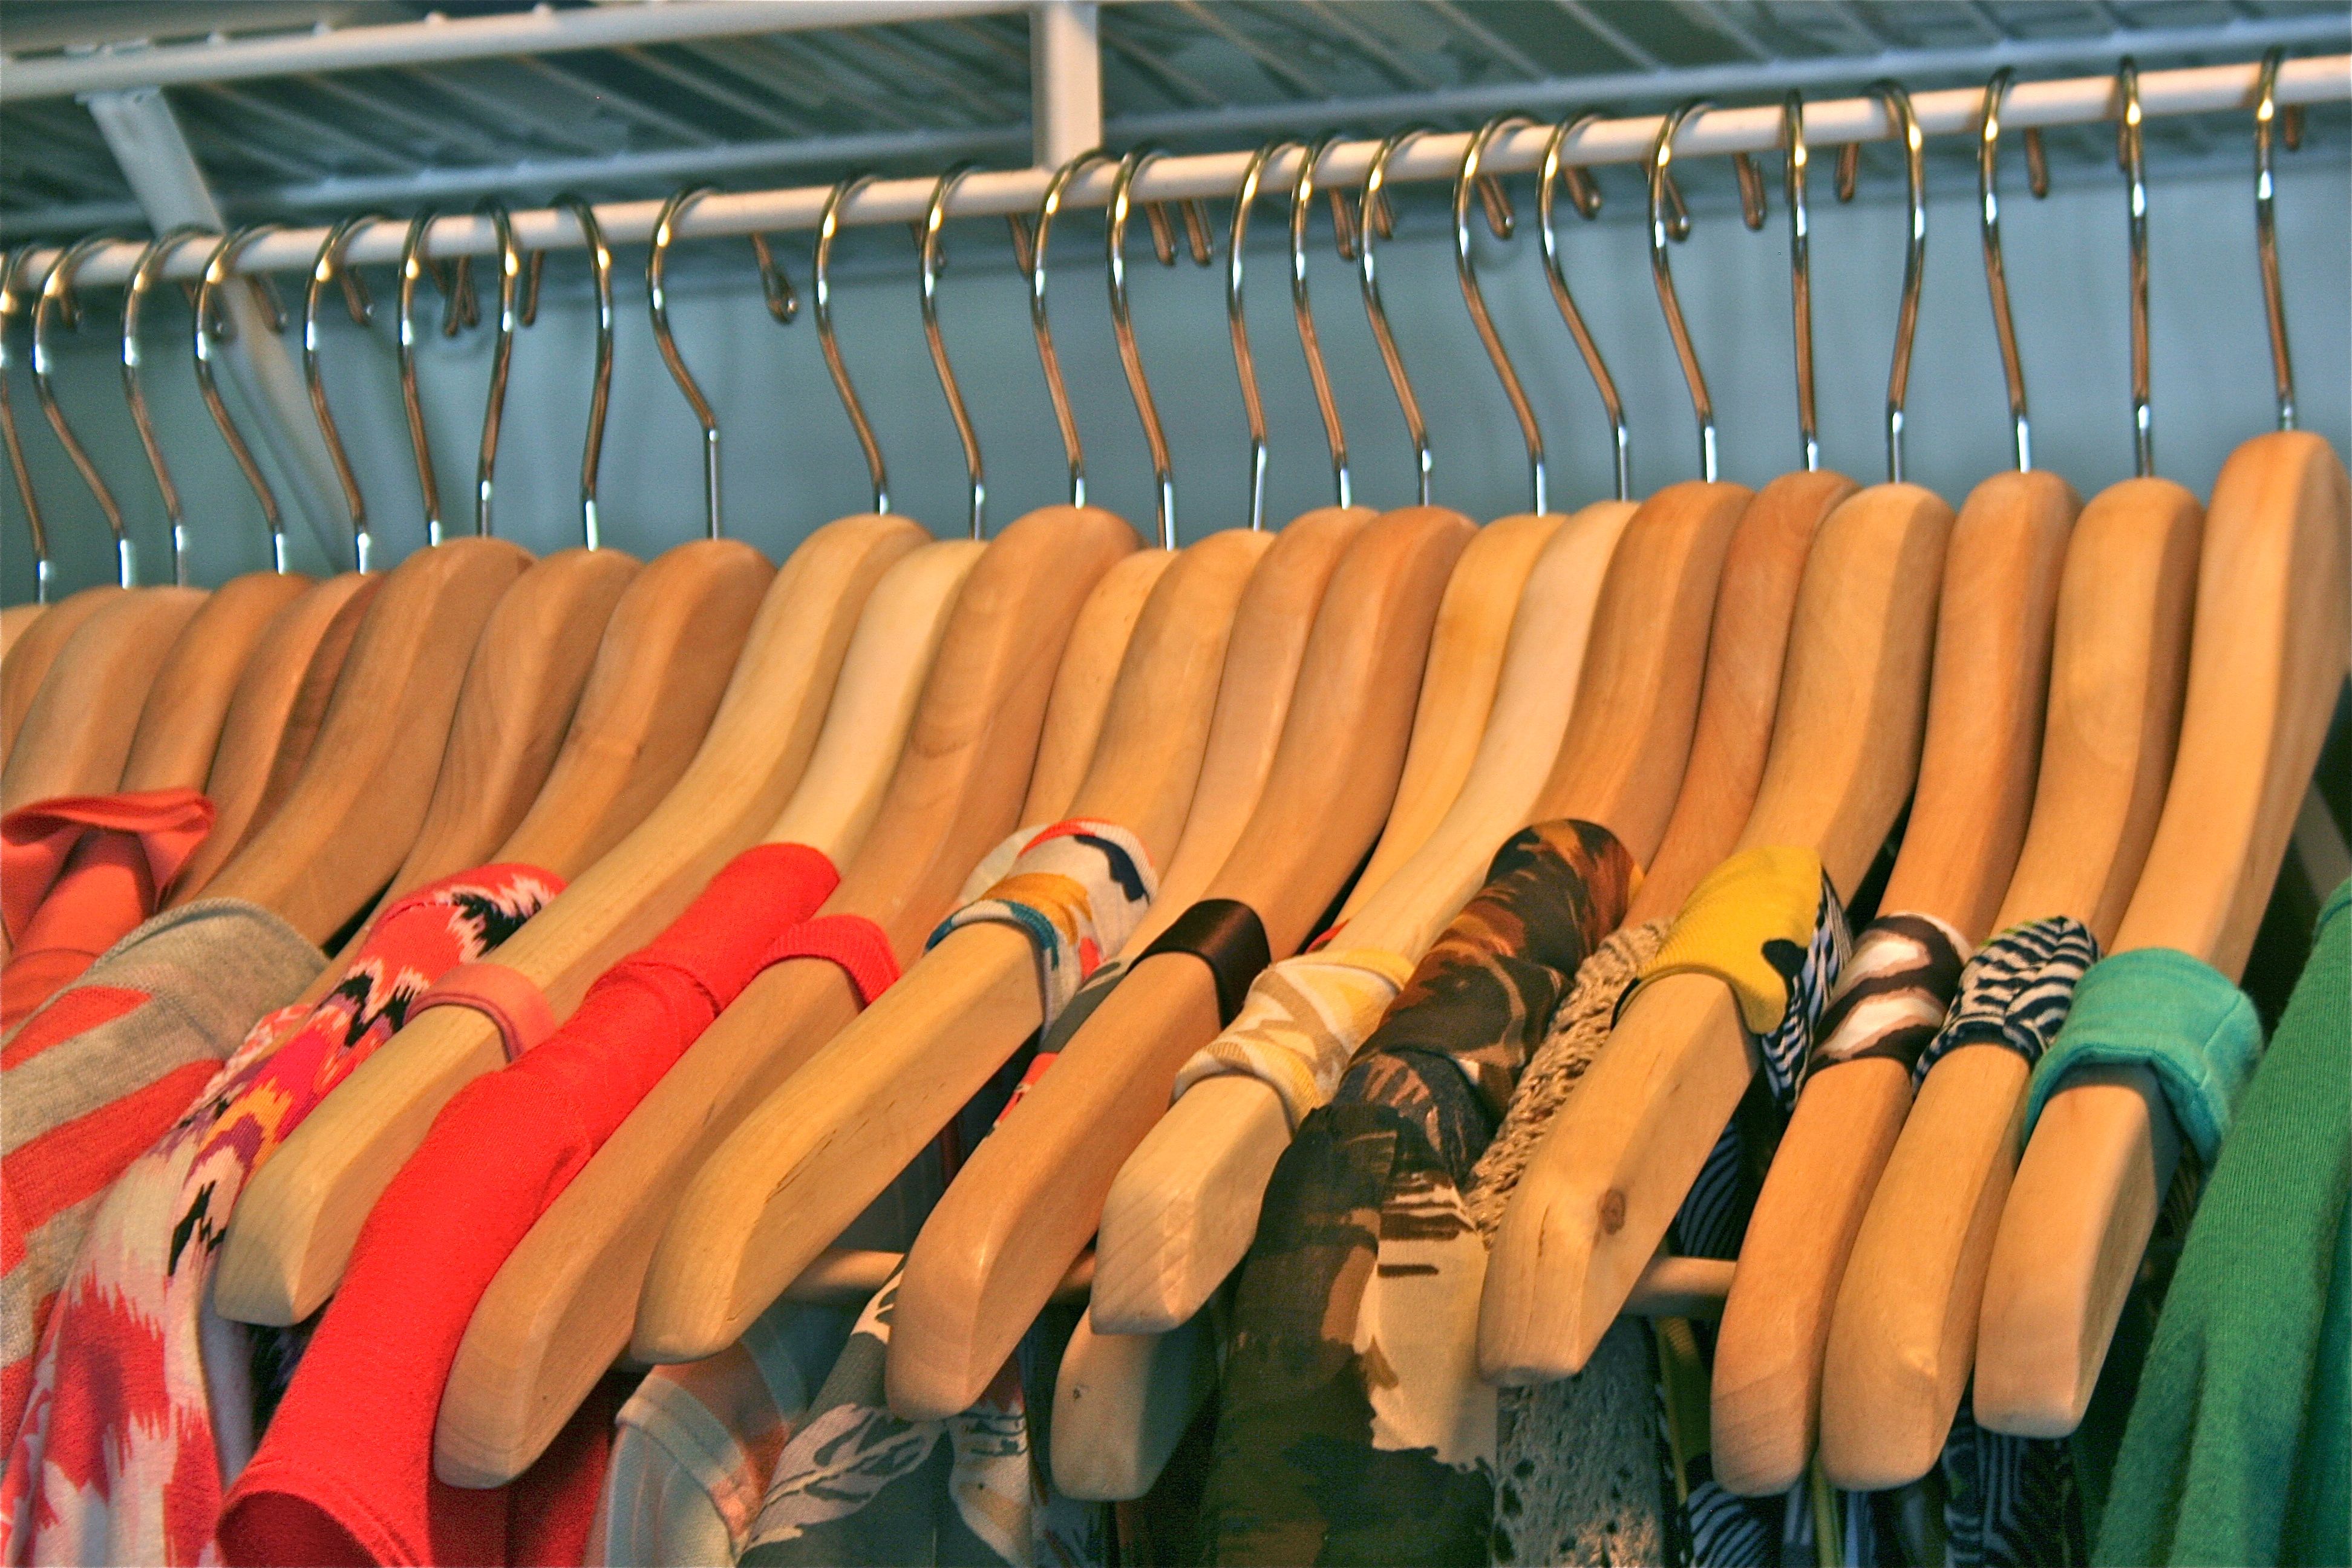
My motivation? Upgrading the hangers. I eventually found my collection on Ebay for about $50 shipped for 80 wooden hangers (with pant bar in the middle). I knew that 80 wouldn’t be enough for the amount of clothes I had, but figured it would be that motivator for purging that I was looking for – Only the best and most important pieces would get hung back up in the closet, while the rest would get consigned.

First things to get lovingly hung on their new boutique hangers? The three pieces I bought for myself at T.J. Maxx. I could already get the sense that the new wooden hangers made them feel straight out of a fancy designer clothing store – In my own home, no less! Exciting news for a girl like me…

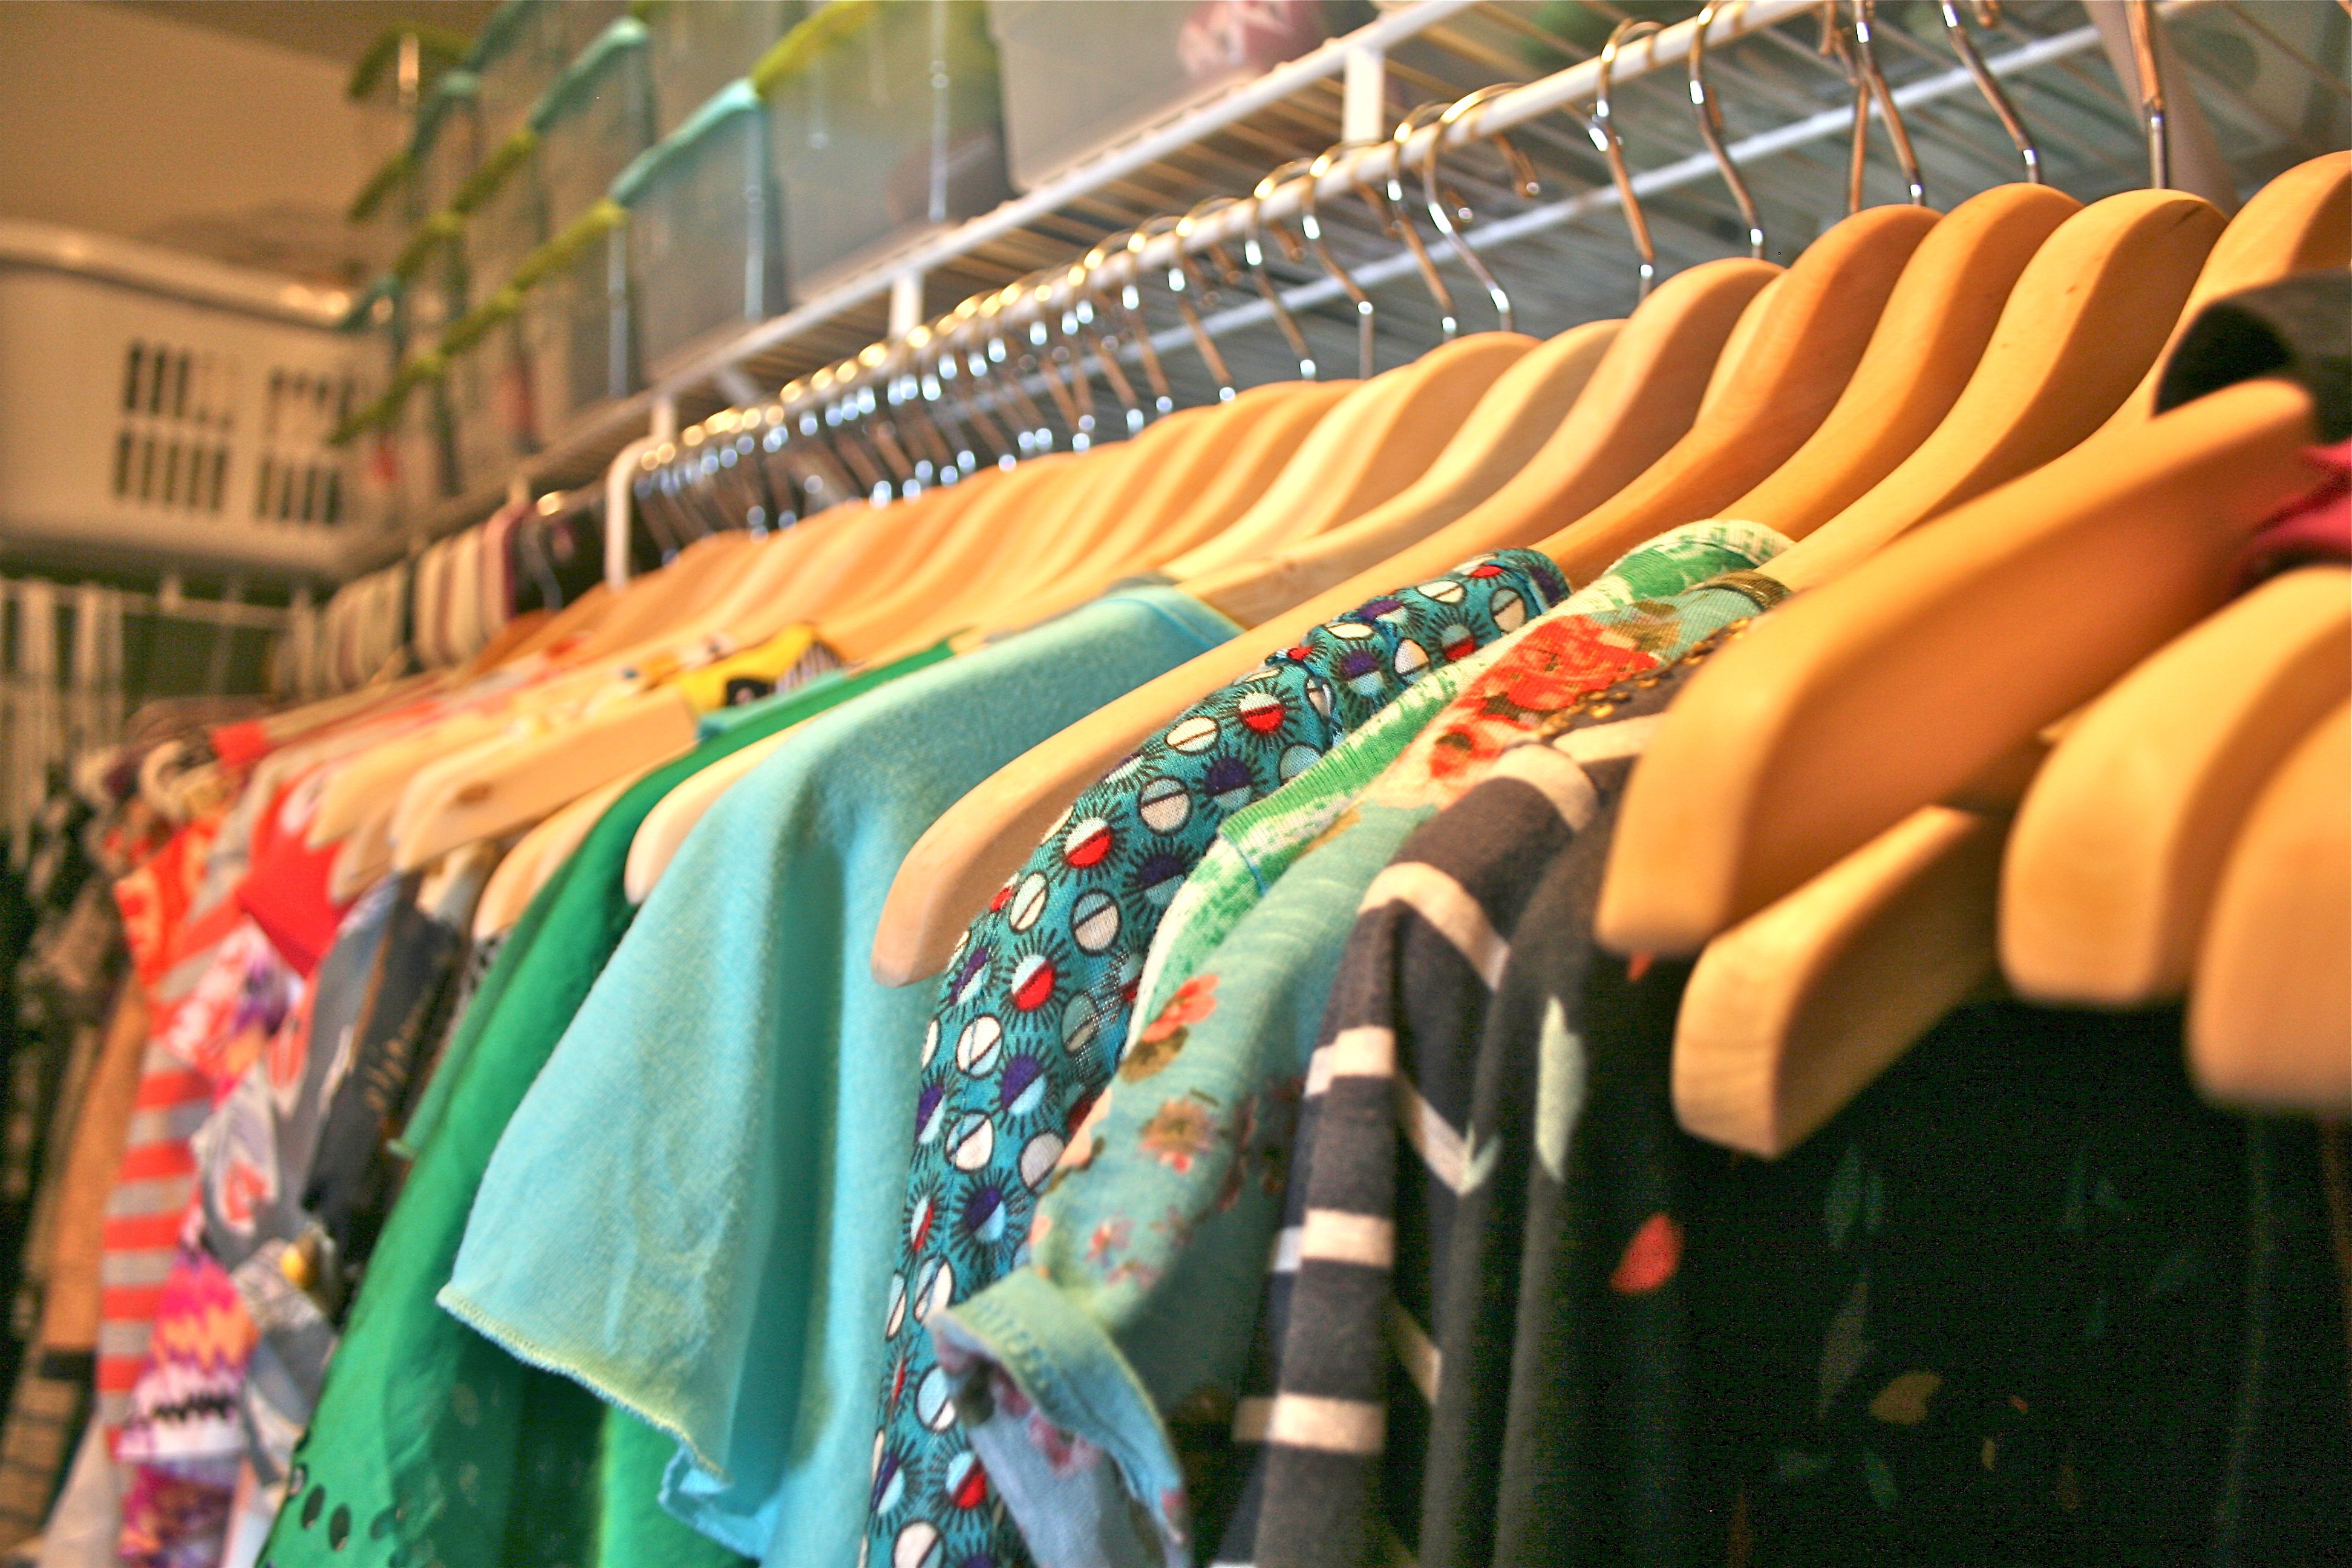
I spent about two hours in my closet that afternoon, making sure to choose wisely as to what stayed and what would be bagged up for consignment. With each new hanger put into place on the bar, the whole feel of the wardrobe started to shift from cheap to luxurious. It really is amazing how wooden hangers can do that to your clothes. As I purged and rehung, I started a new pile of plastic hangers – They eventually made their way into the box that the wooden hangers came in. SO MANY HANGERS!! I plan on donating them to a thrift store soon.

And now to show off the new look – Again, I just love how things look more high-end after the hanger upgrade. No more light “click click” of plastic hangers when I go to pick out an outfit. I’m loving the more substantial wooden ones.

Unfortunately, despite letting go of what felt like a TON of clothes and half of my wardrobe, I still ran out of wooden hangers. I just couldn’t muster the will to get rid of the last bit of dresses to make it even. I resolved to get some more hangers later on to remedy the mismatched situation.

UPDATE:  I went out to Target over the weekend for wooden hanger supplements hoping to buy no more than 10, but left with a value pack of 24 hangers for only $14. They don’t match the Ebay hangers perfectly, but they certainly do the trick, and I doubt anyone would notice the inconsistency other than me.

So what tricks do you all have up your sleeves (pun intended) for making the most of your closet space and wardrobe? How do you “dress things up”?

getsocial
have yousubscribed?
Everybody's doin' it.