Despite lamenting to my mother as a child in kindergarten that I would “NEVER be able to read” (picture huge little girl tears streaming down my face) I finally mastered the art 😉
As I mentioned here (at the bottom of the post), I am a HUGE fan of reading, doing it each spare moment I get to myself. It could be the latest issue of Do-It-Yourself or Dwell magazine, or it could be the new Candace Bushnell or Nicholas Sparks novel. When it comes to books I’ve been known to pick up classics, new-age, home improvement (duh!) and self-help – I just can’t get enough of learning and going off to some imaginary place/scene.
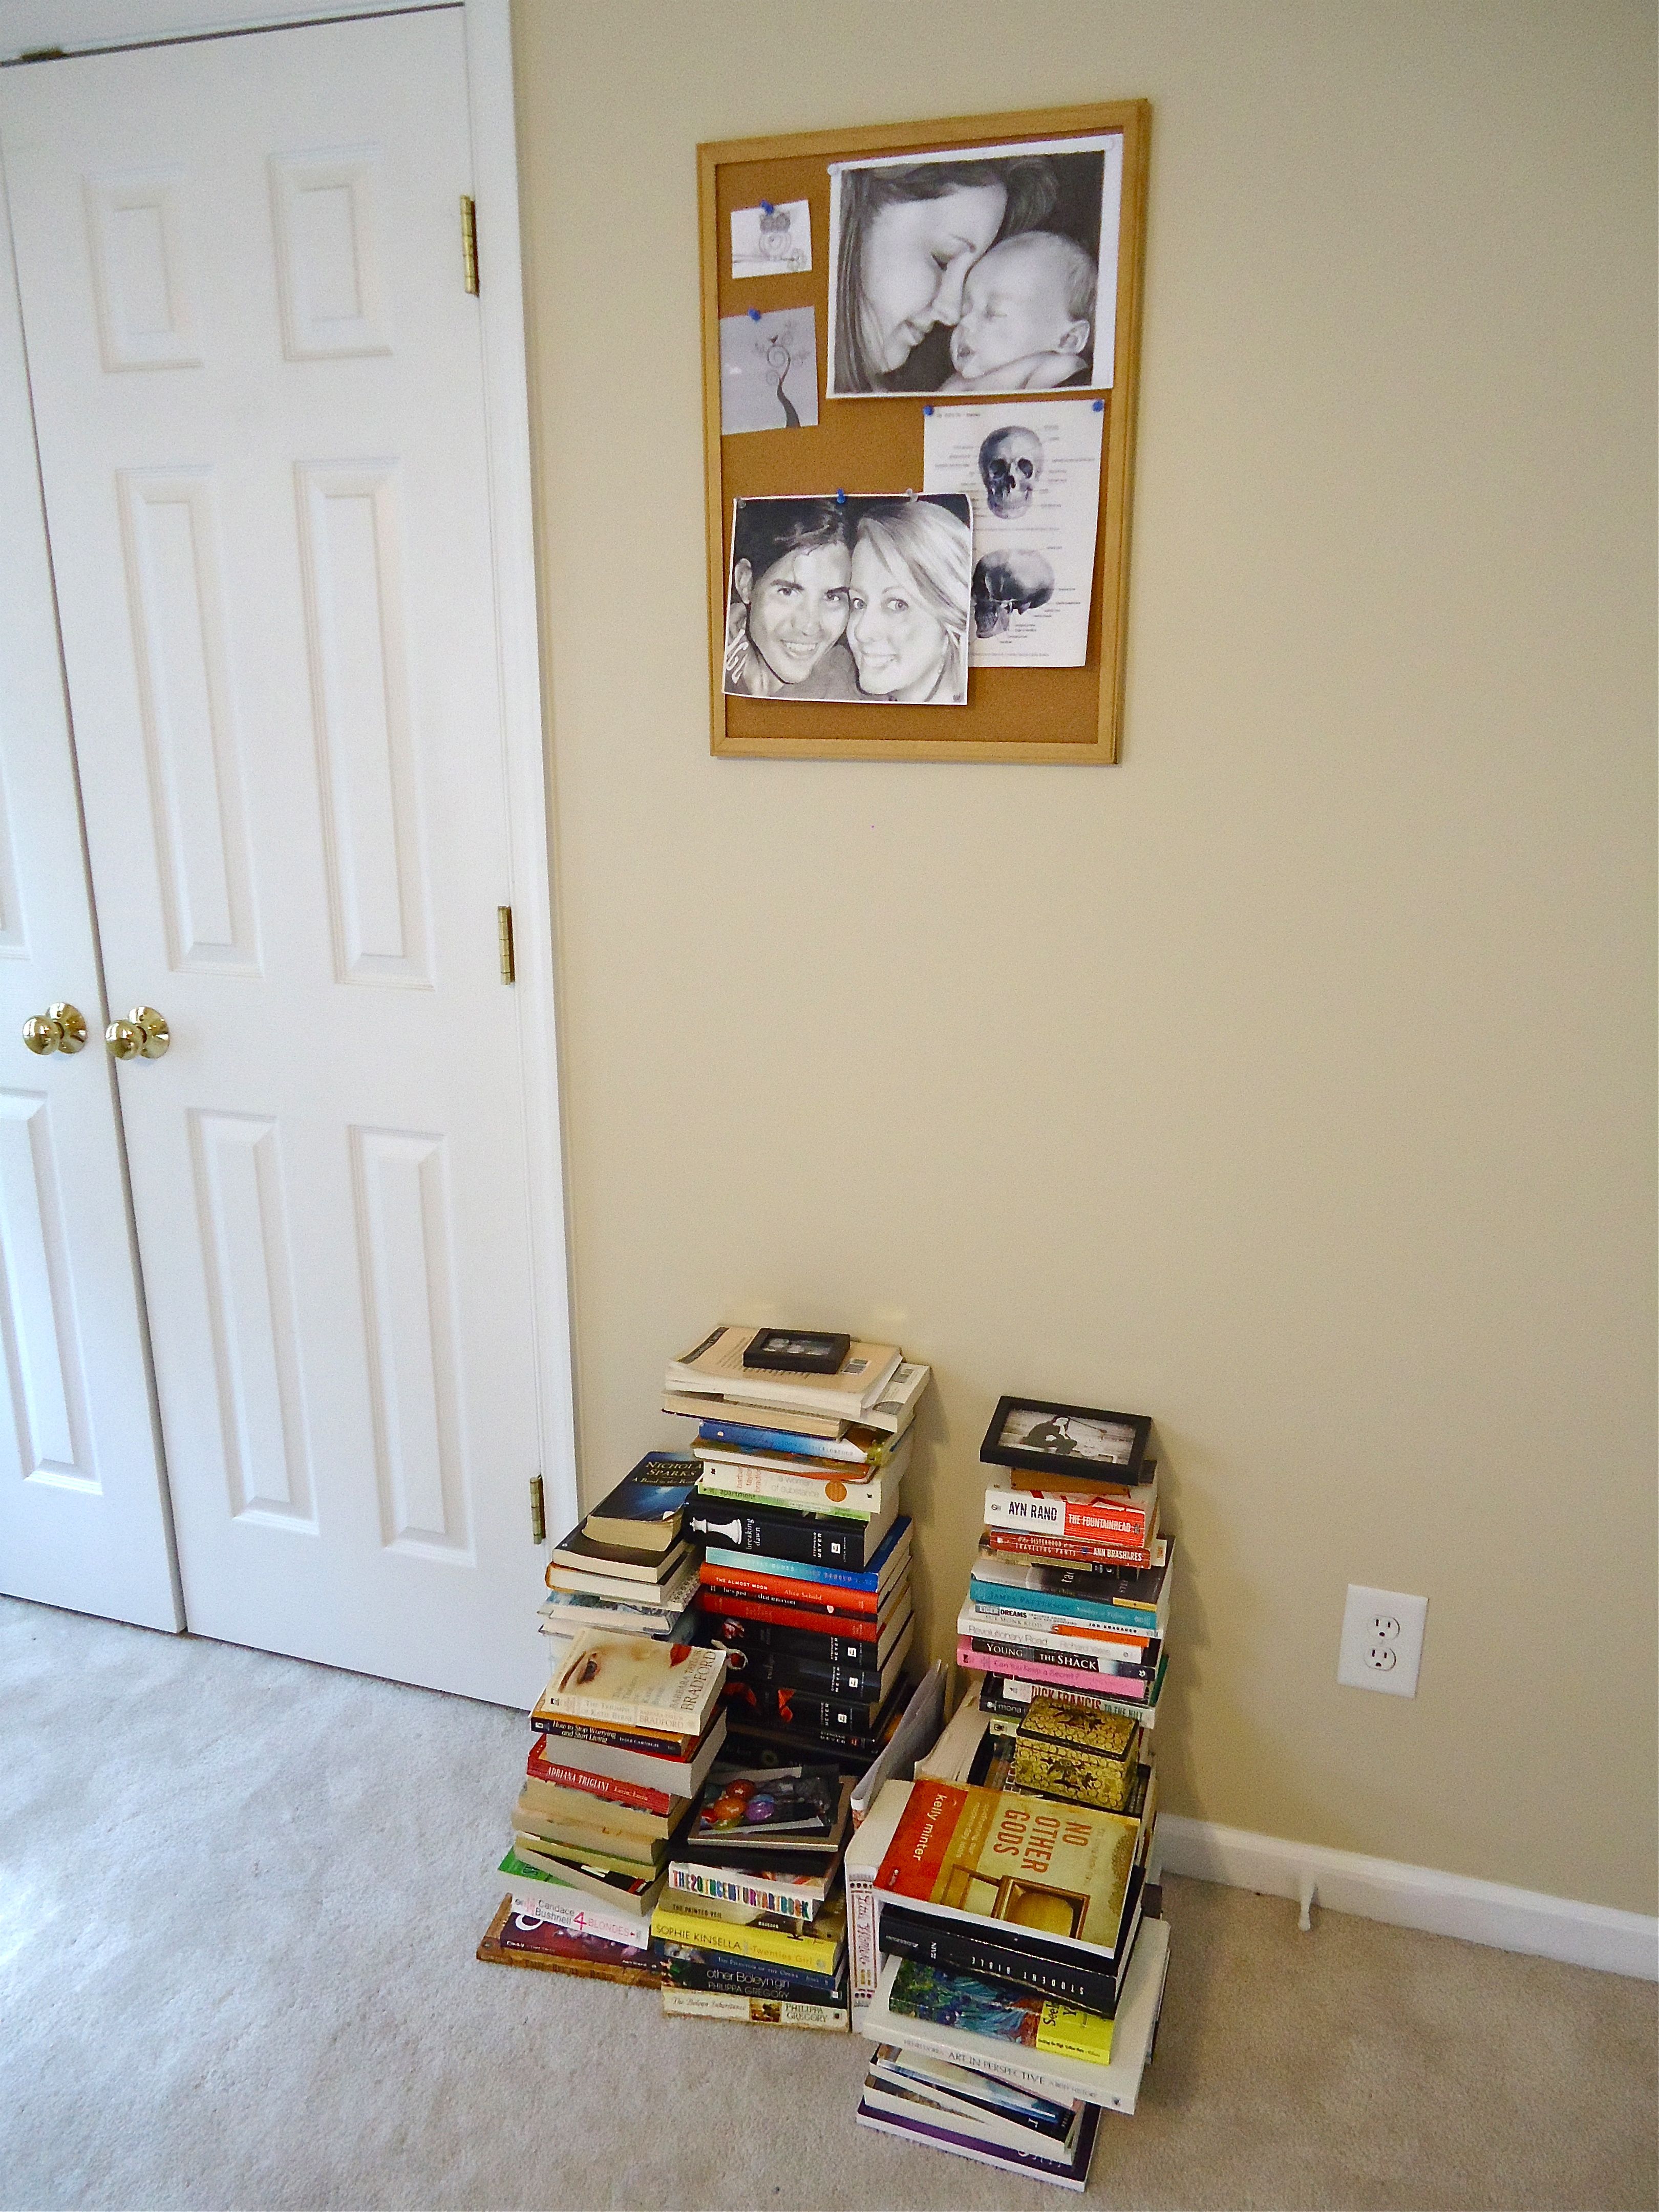
So with that said, I’ve got a lot of books…Here’s a reminder of what I recently moved into the house – It’s about 1/2 of my collection.
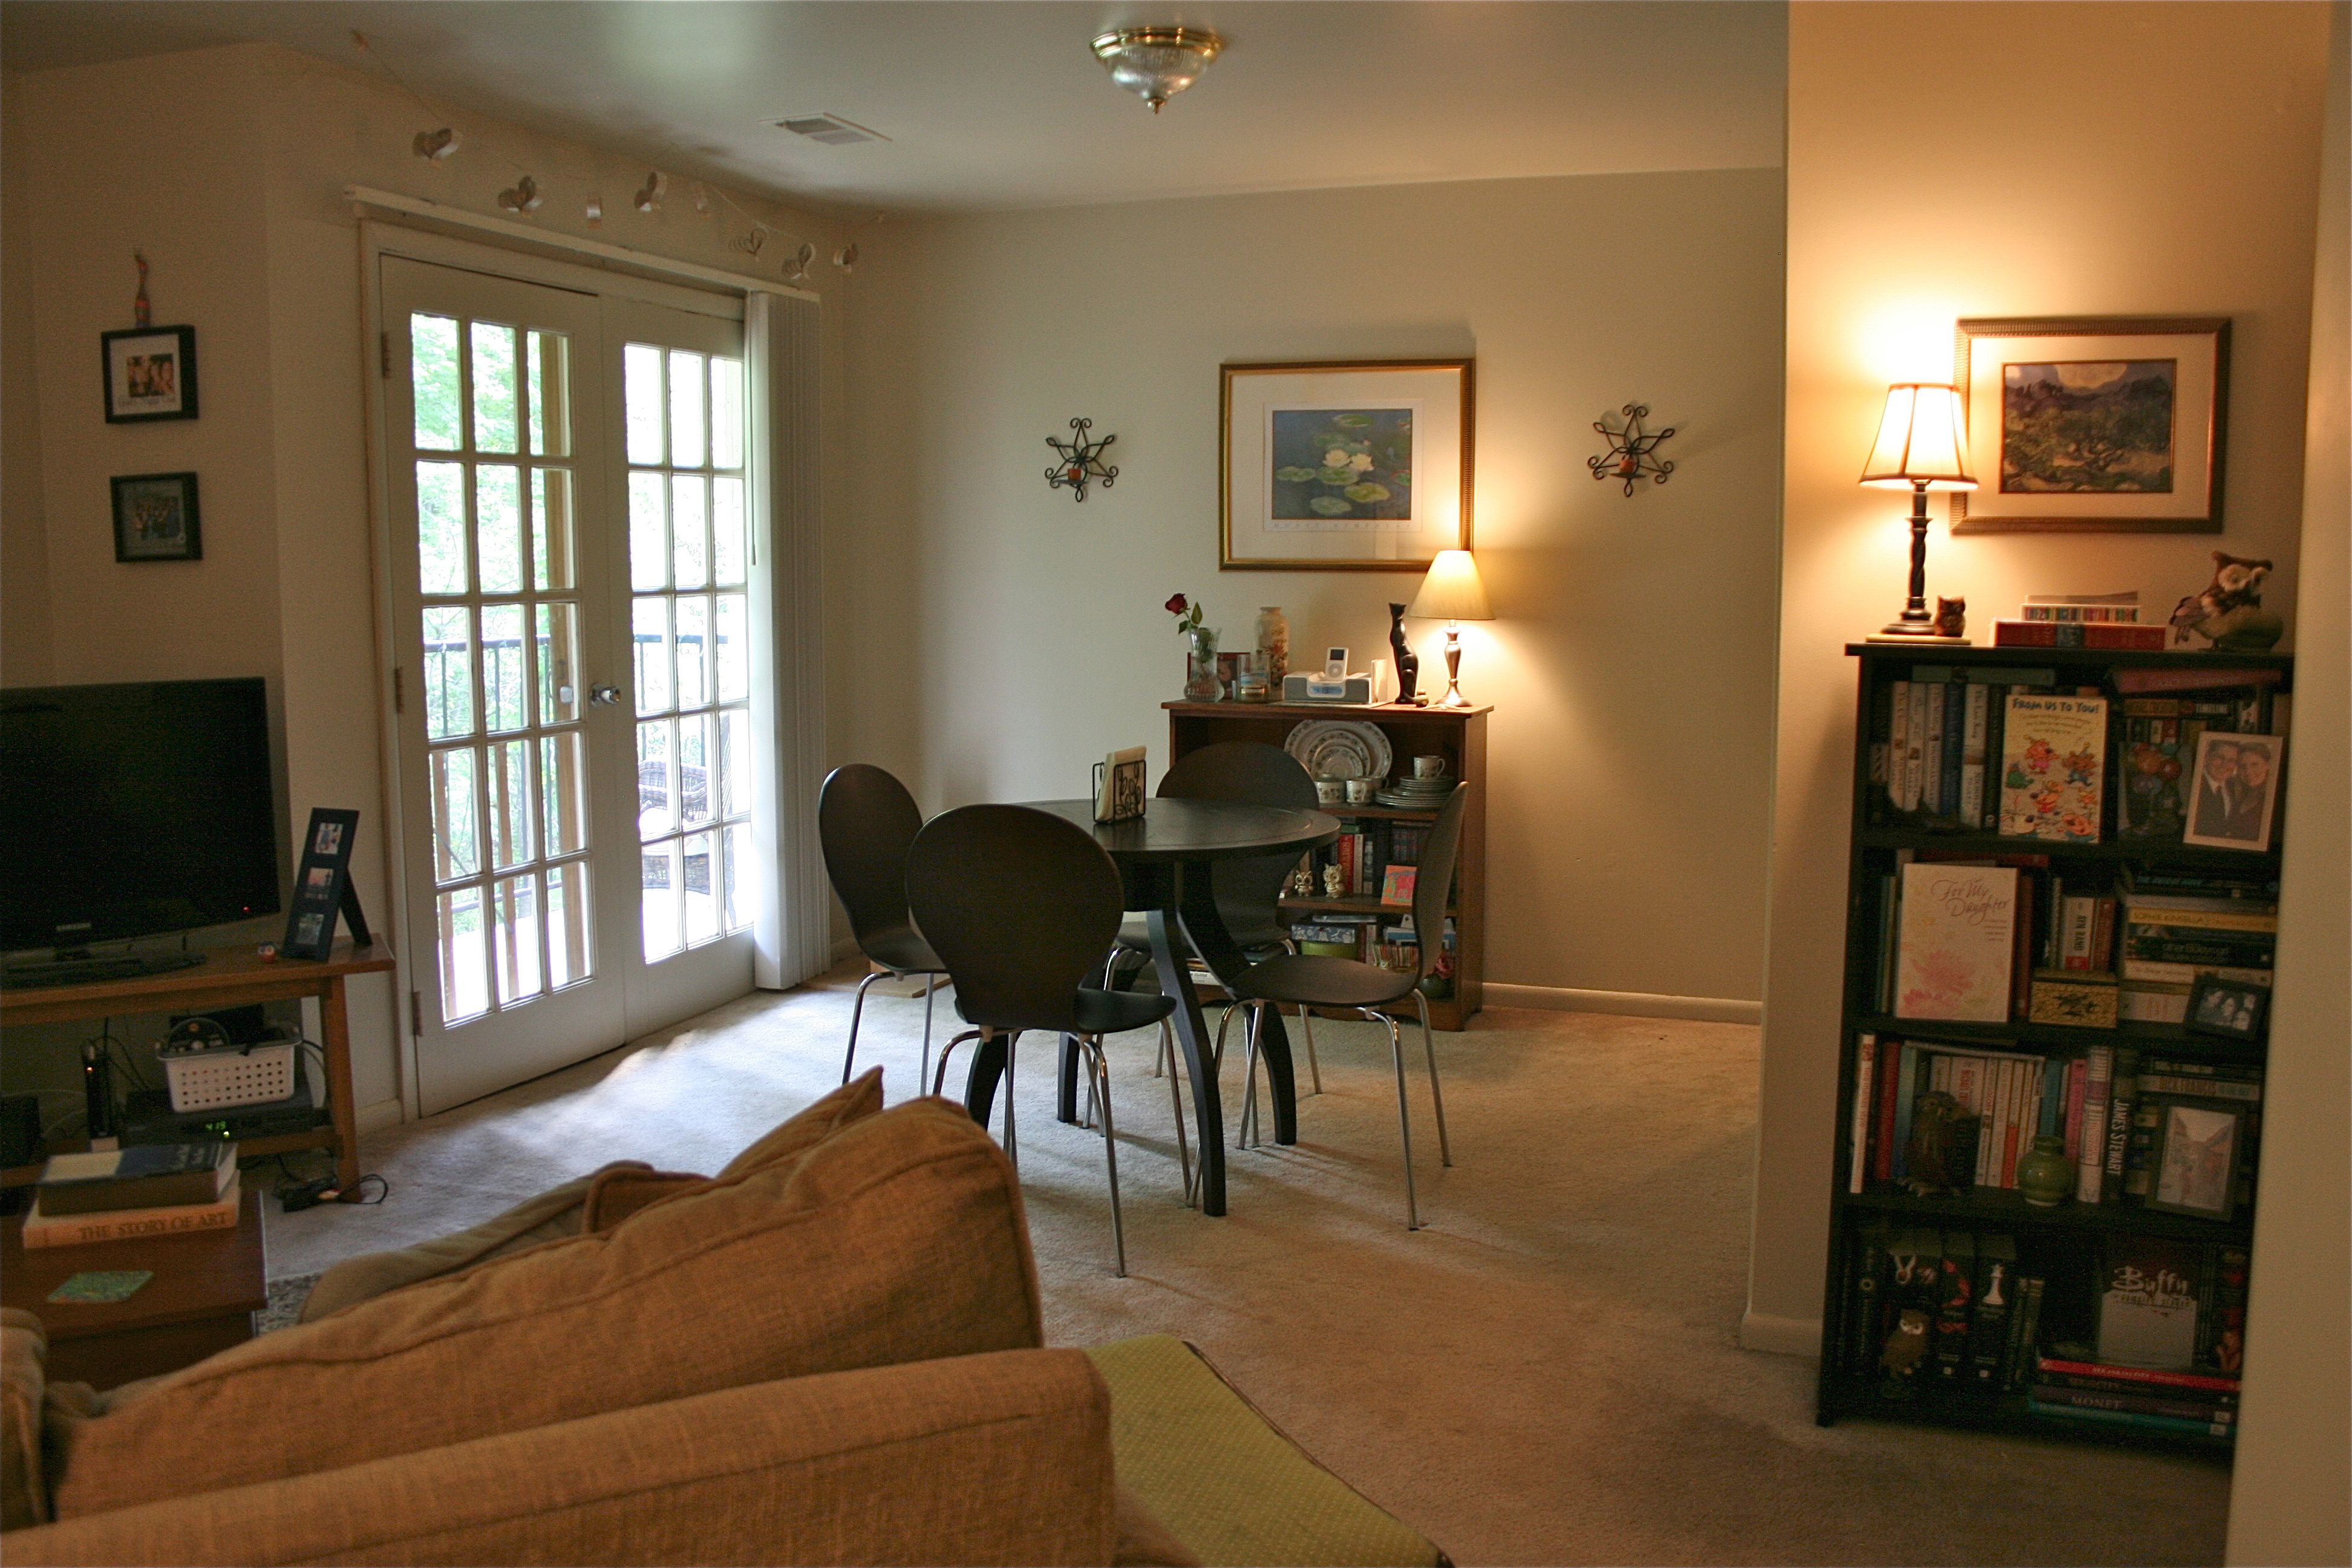
In my apartment, I housed my full collection in two matching black bookcases that my dad built for me (one of the two is seen to the right in the photo of my apartment below)
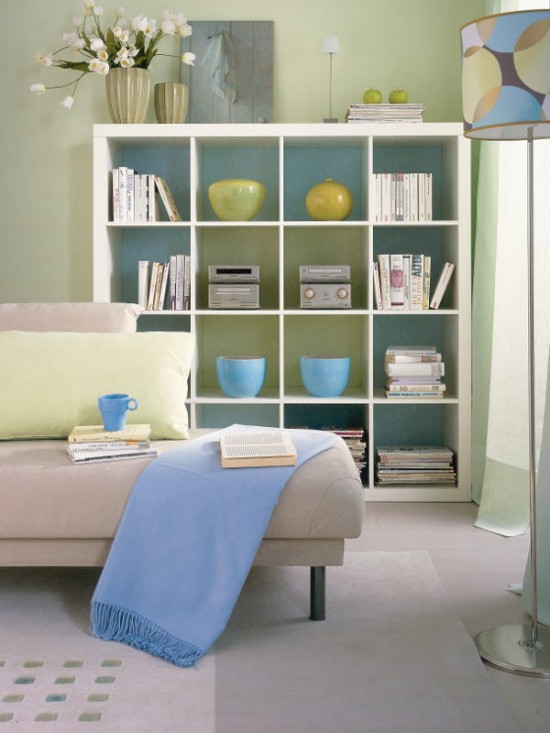
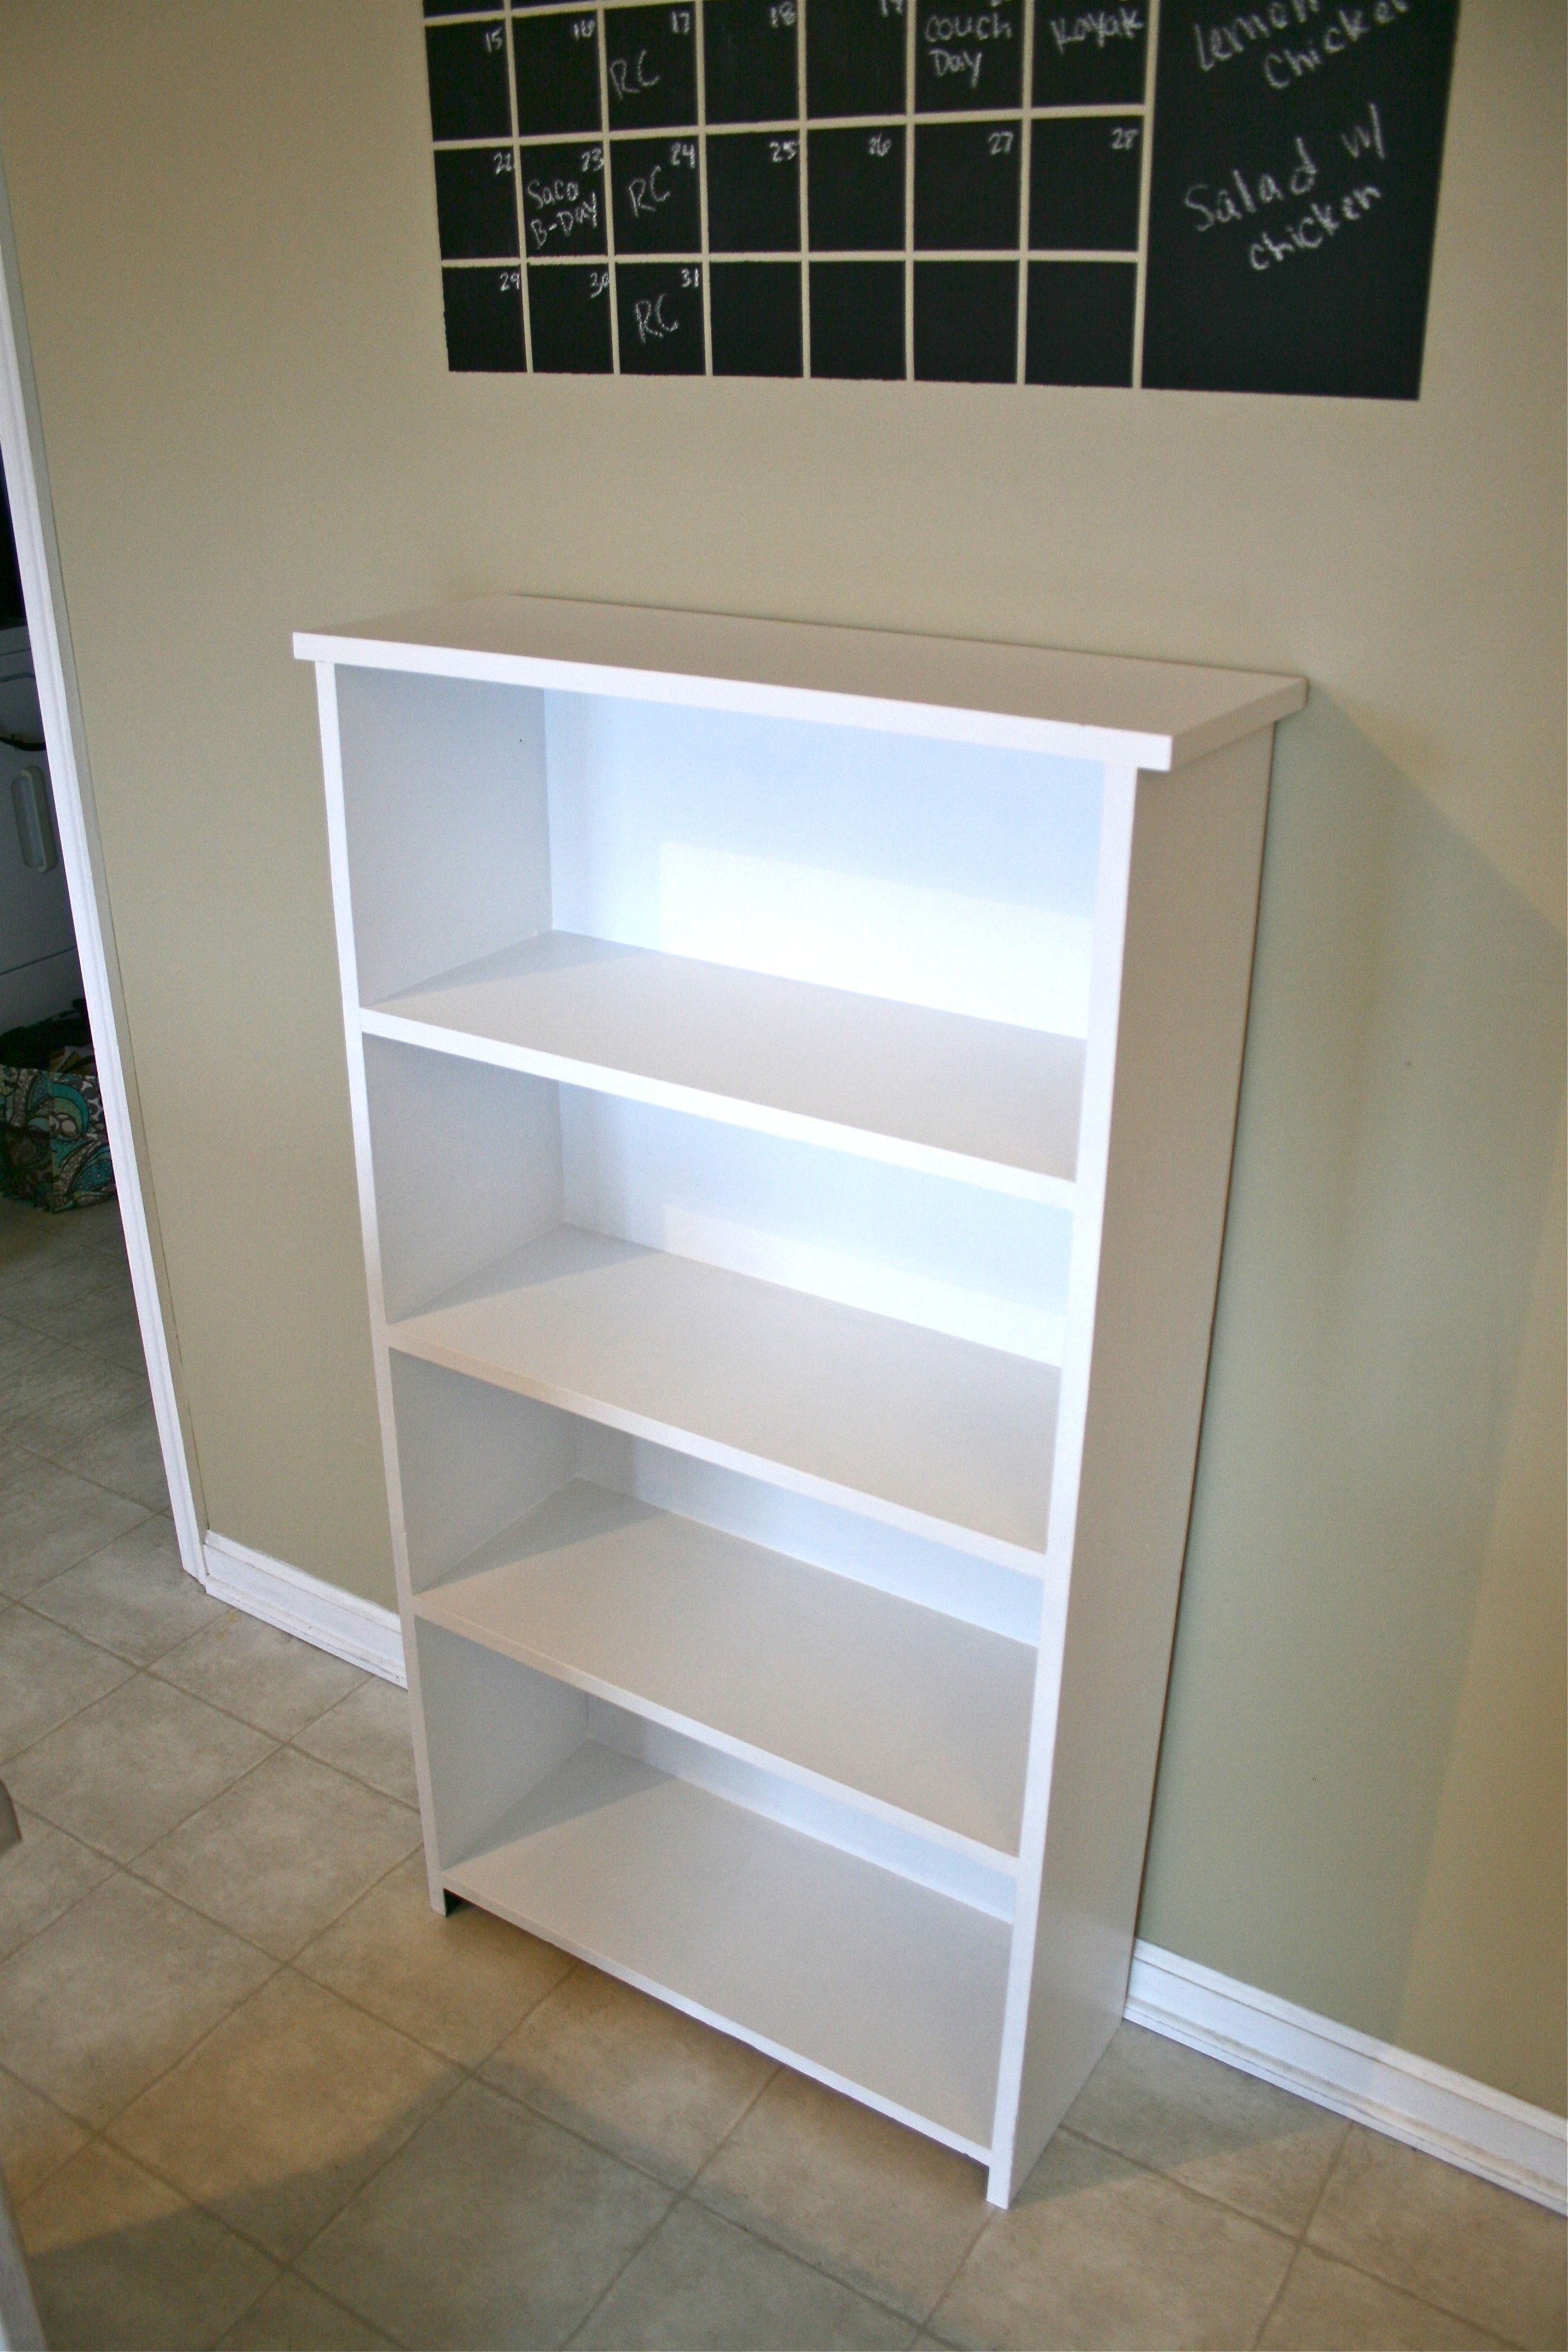
When we brought it over to the house last week, I realized that the black paint job was a little too stark for our color schemes…So I decided to go with a new crisp white finish. But I didn’t stop there! I also wanted to add a colored back to it – Sort of like this:
I felt like the unexpected pop of color peeking over the shelf’s contents added a fun touch of character. So using the studio’s color palette of teal, green and white, I decided to paint the back board of the shelf a pretty pale green.
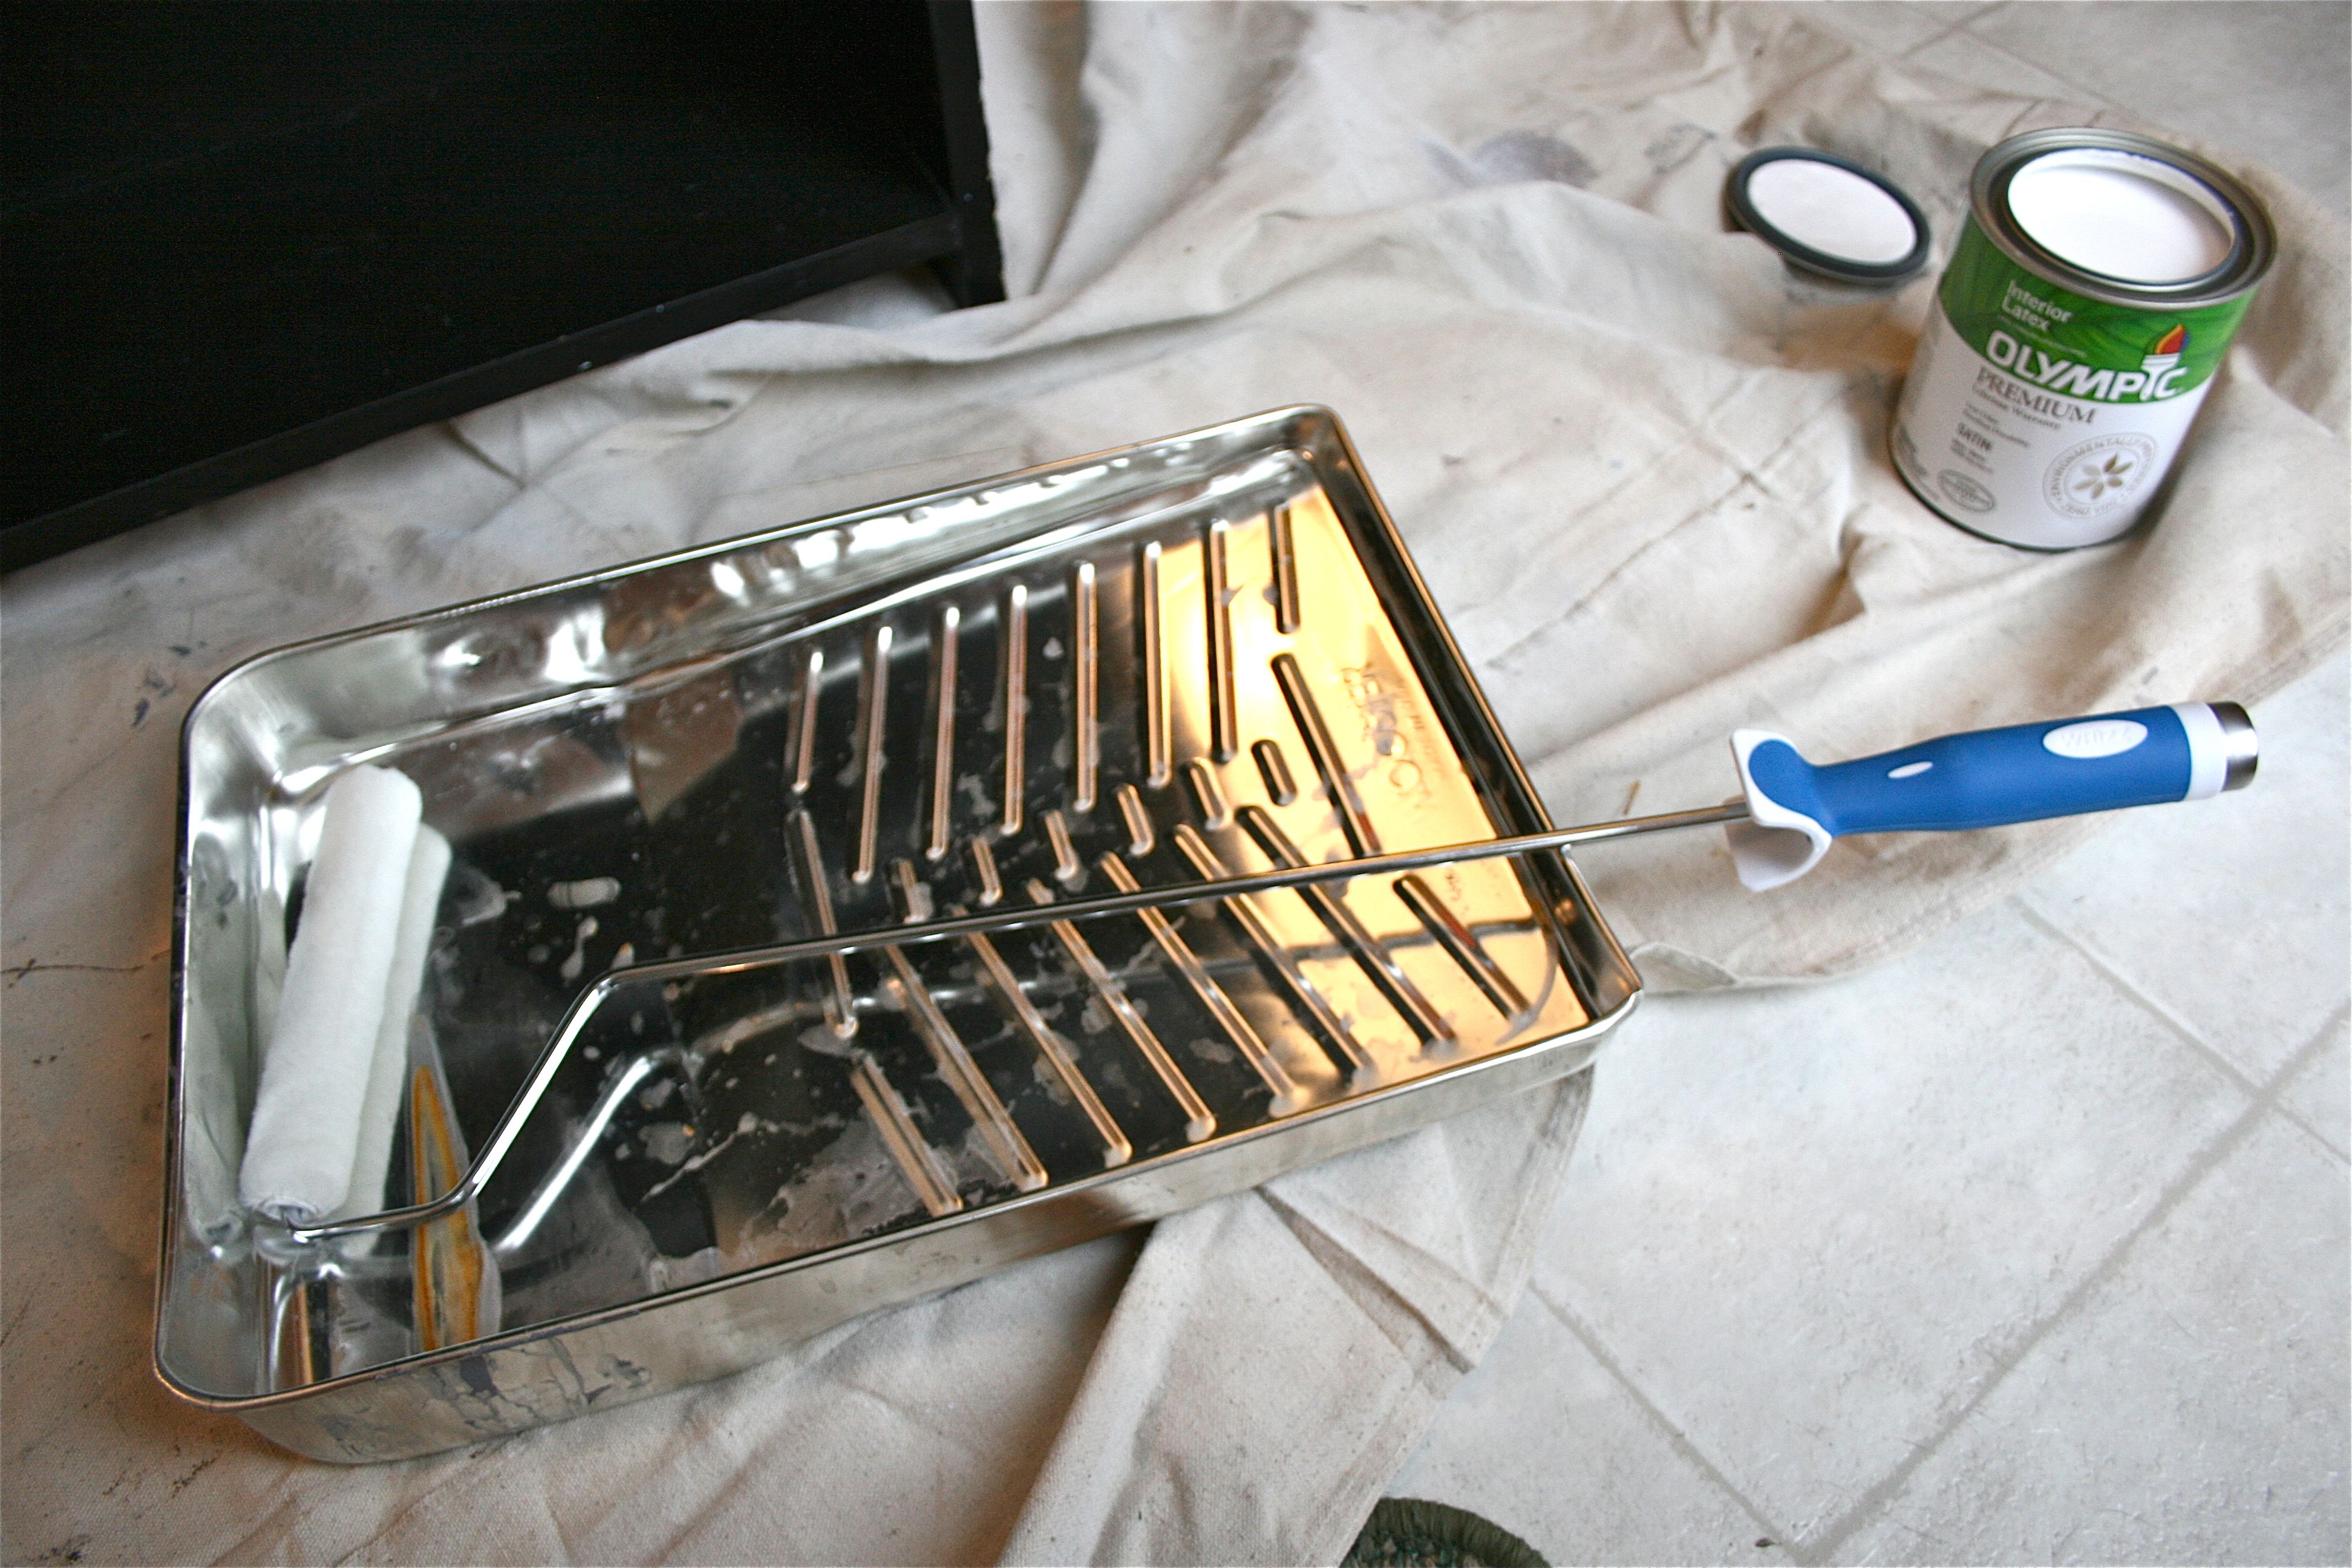
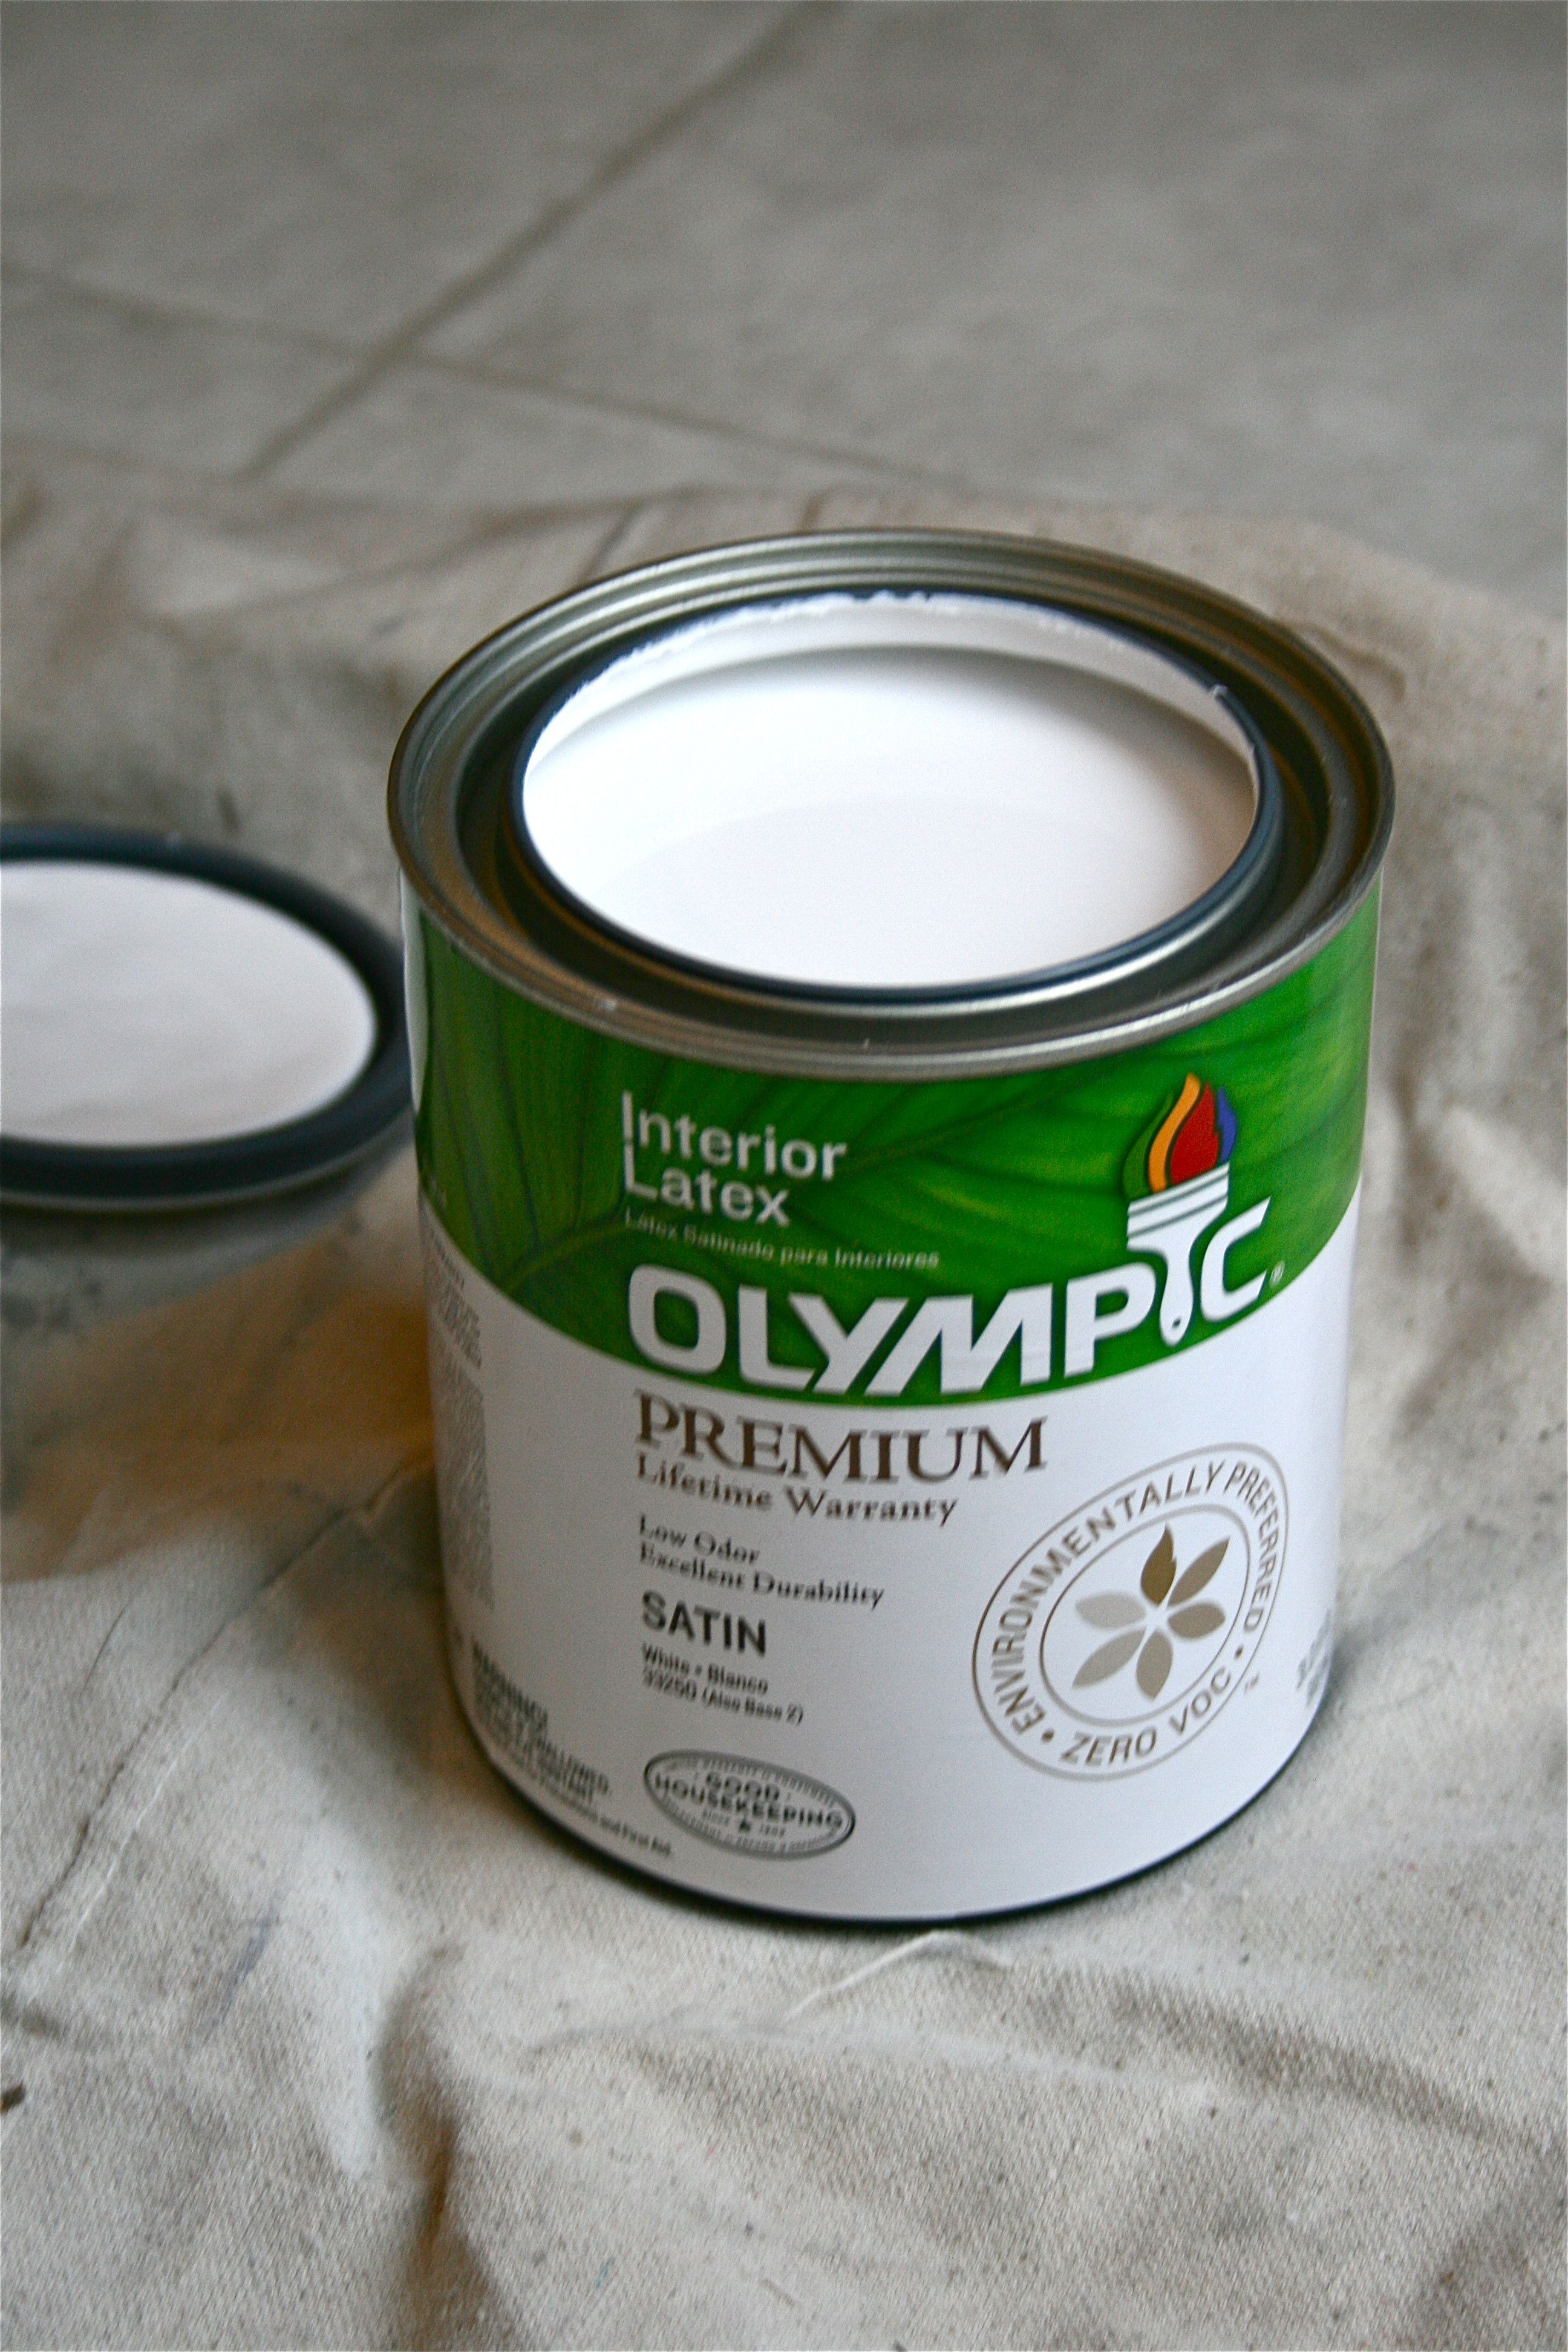
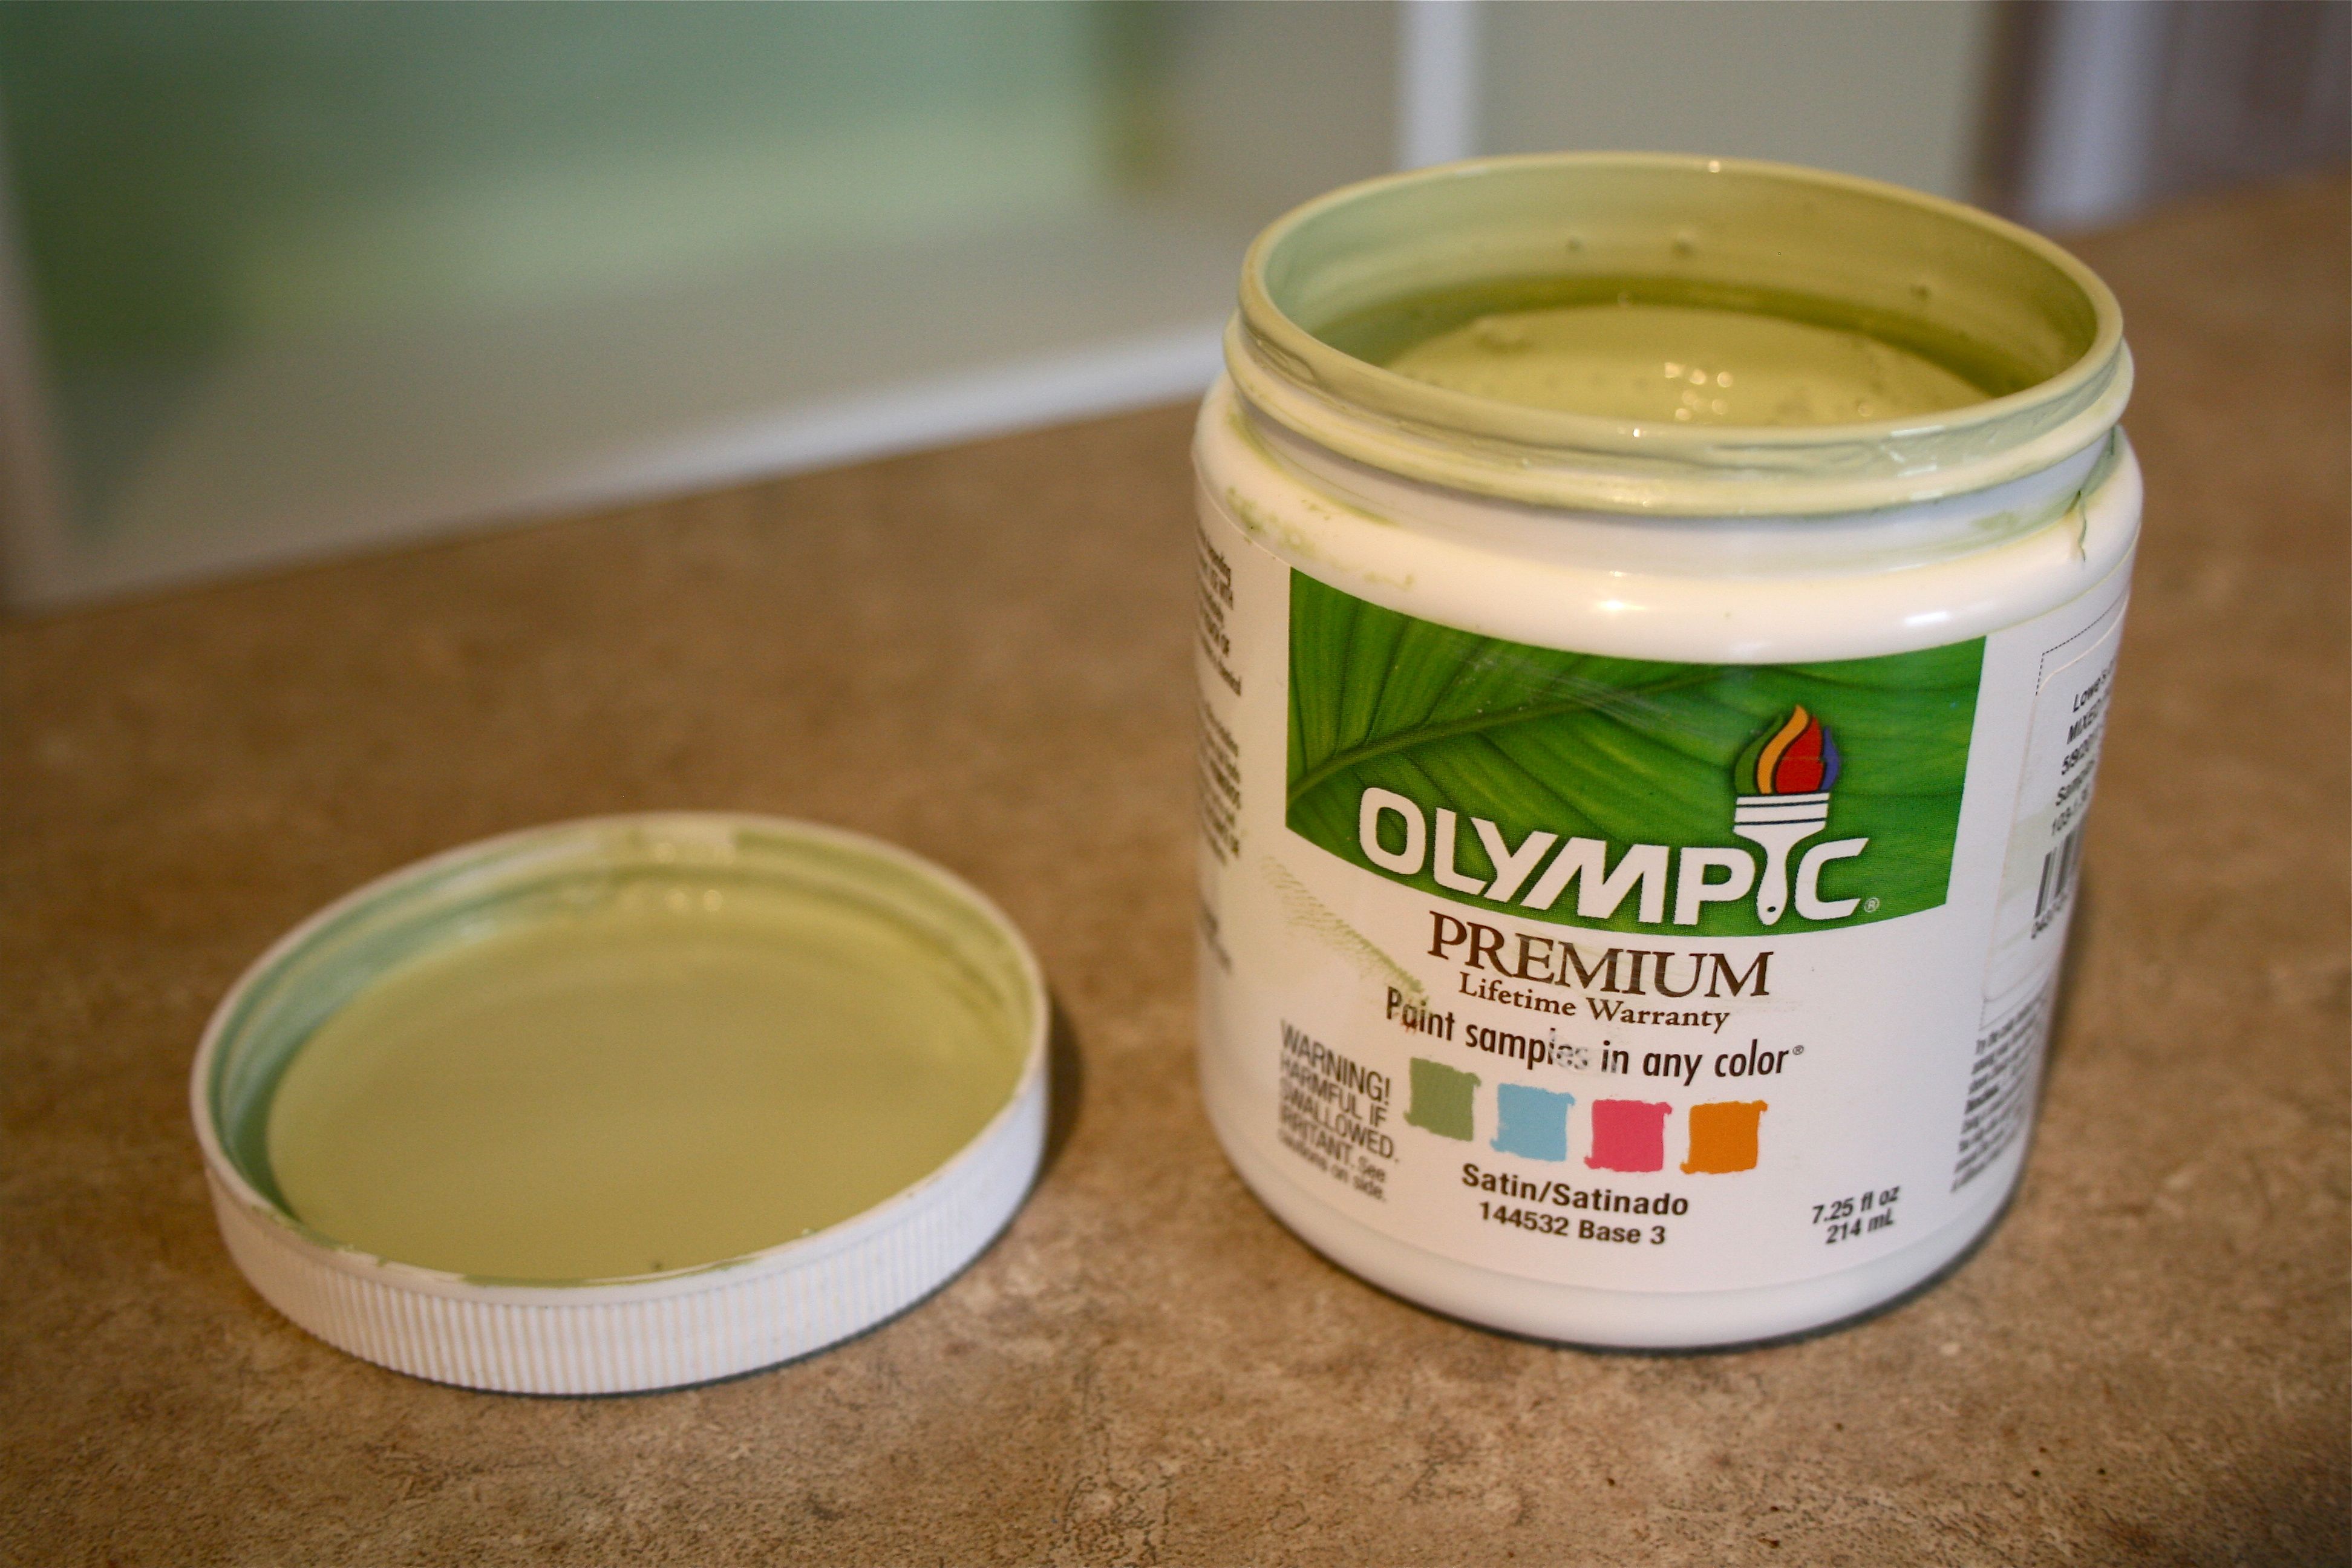
After picking up a new long-handled paint roller, a quart of white Olympic paint in Satin finish and a sample size Olympic green “Quaking Grass” paint (also in Satin) we were in business!
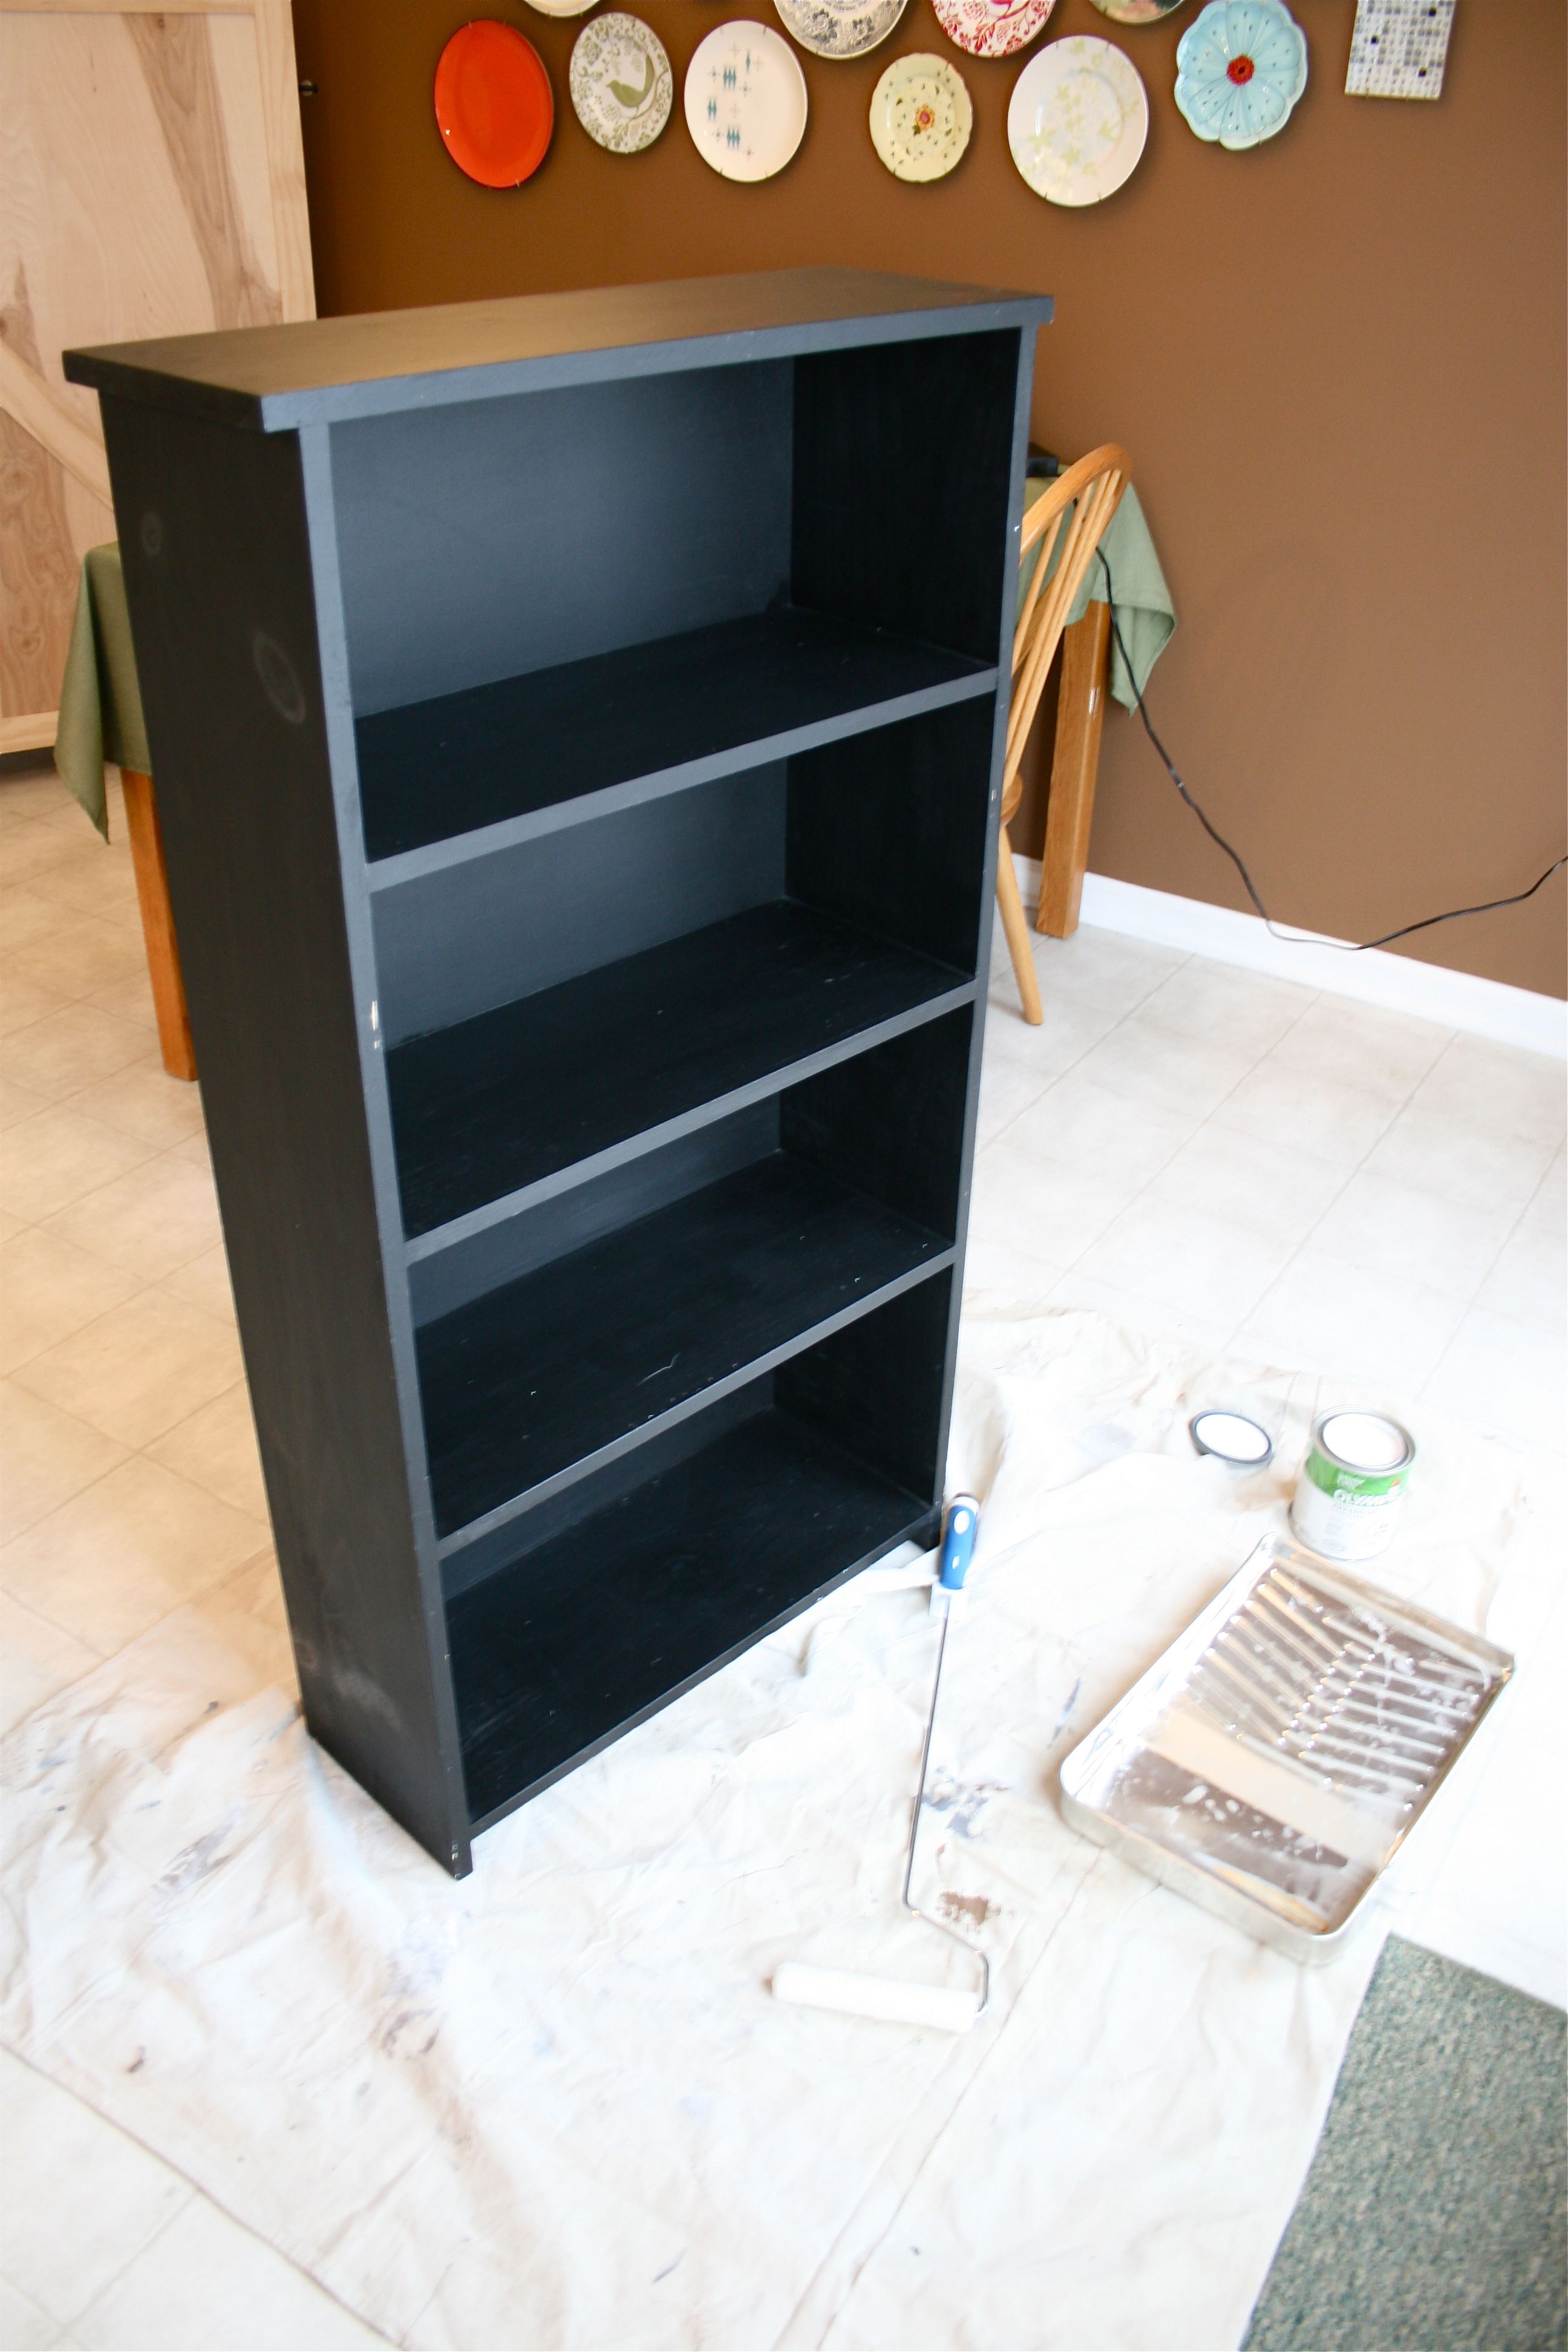
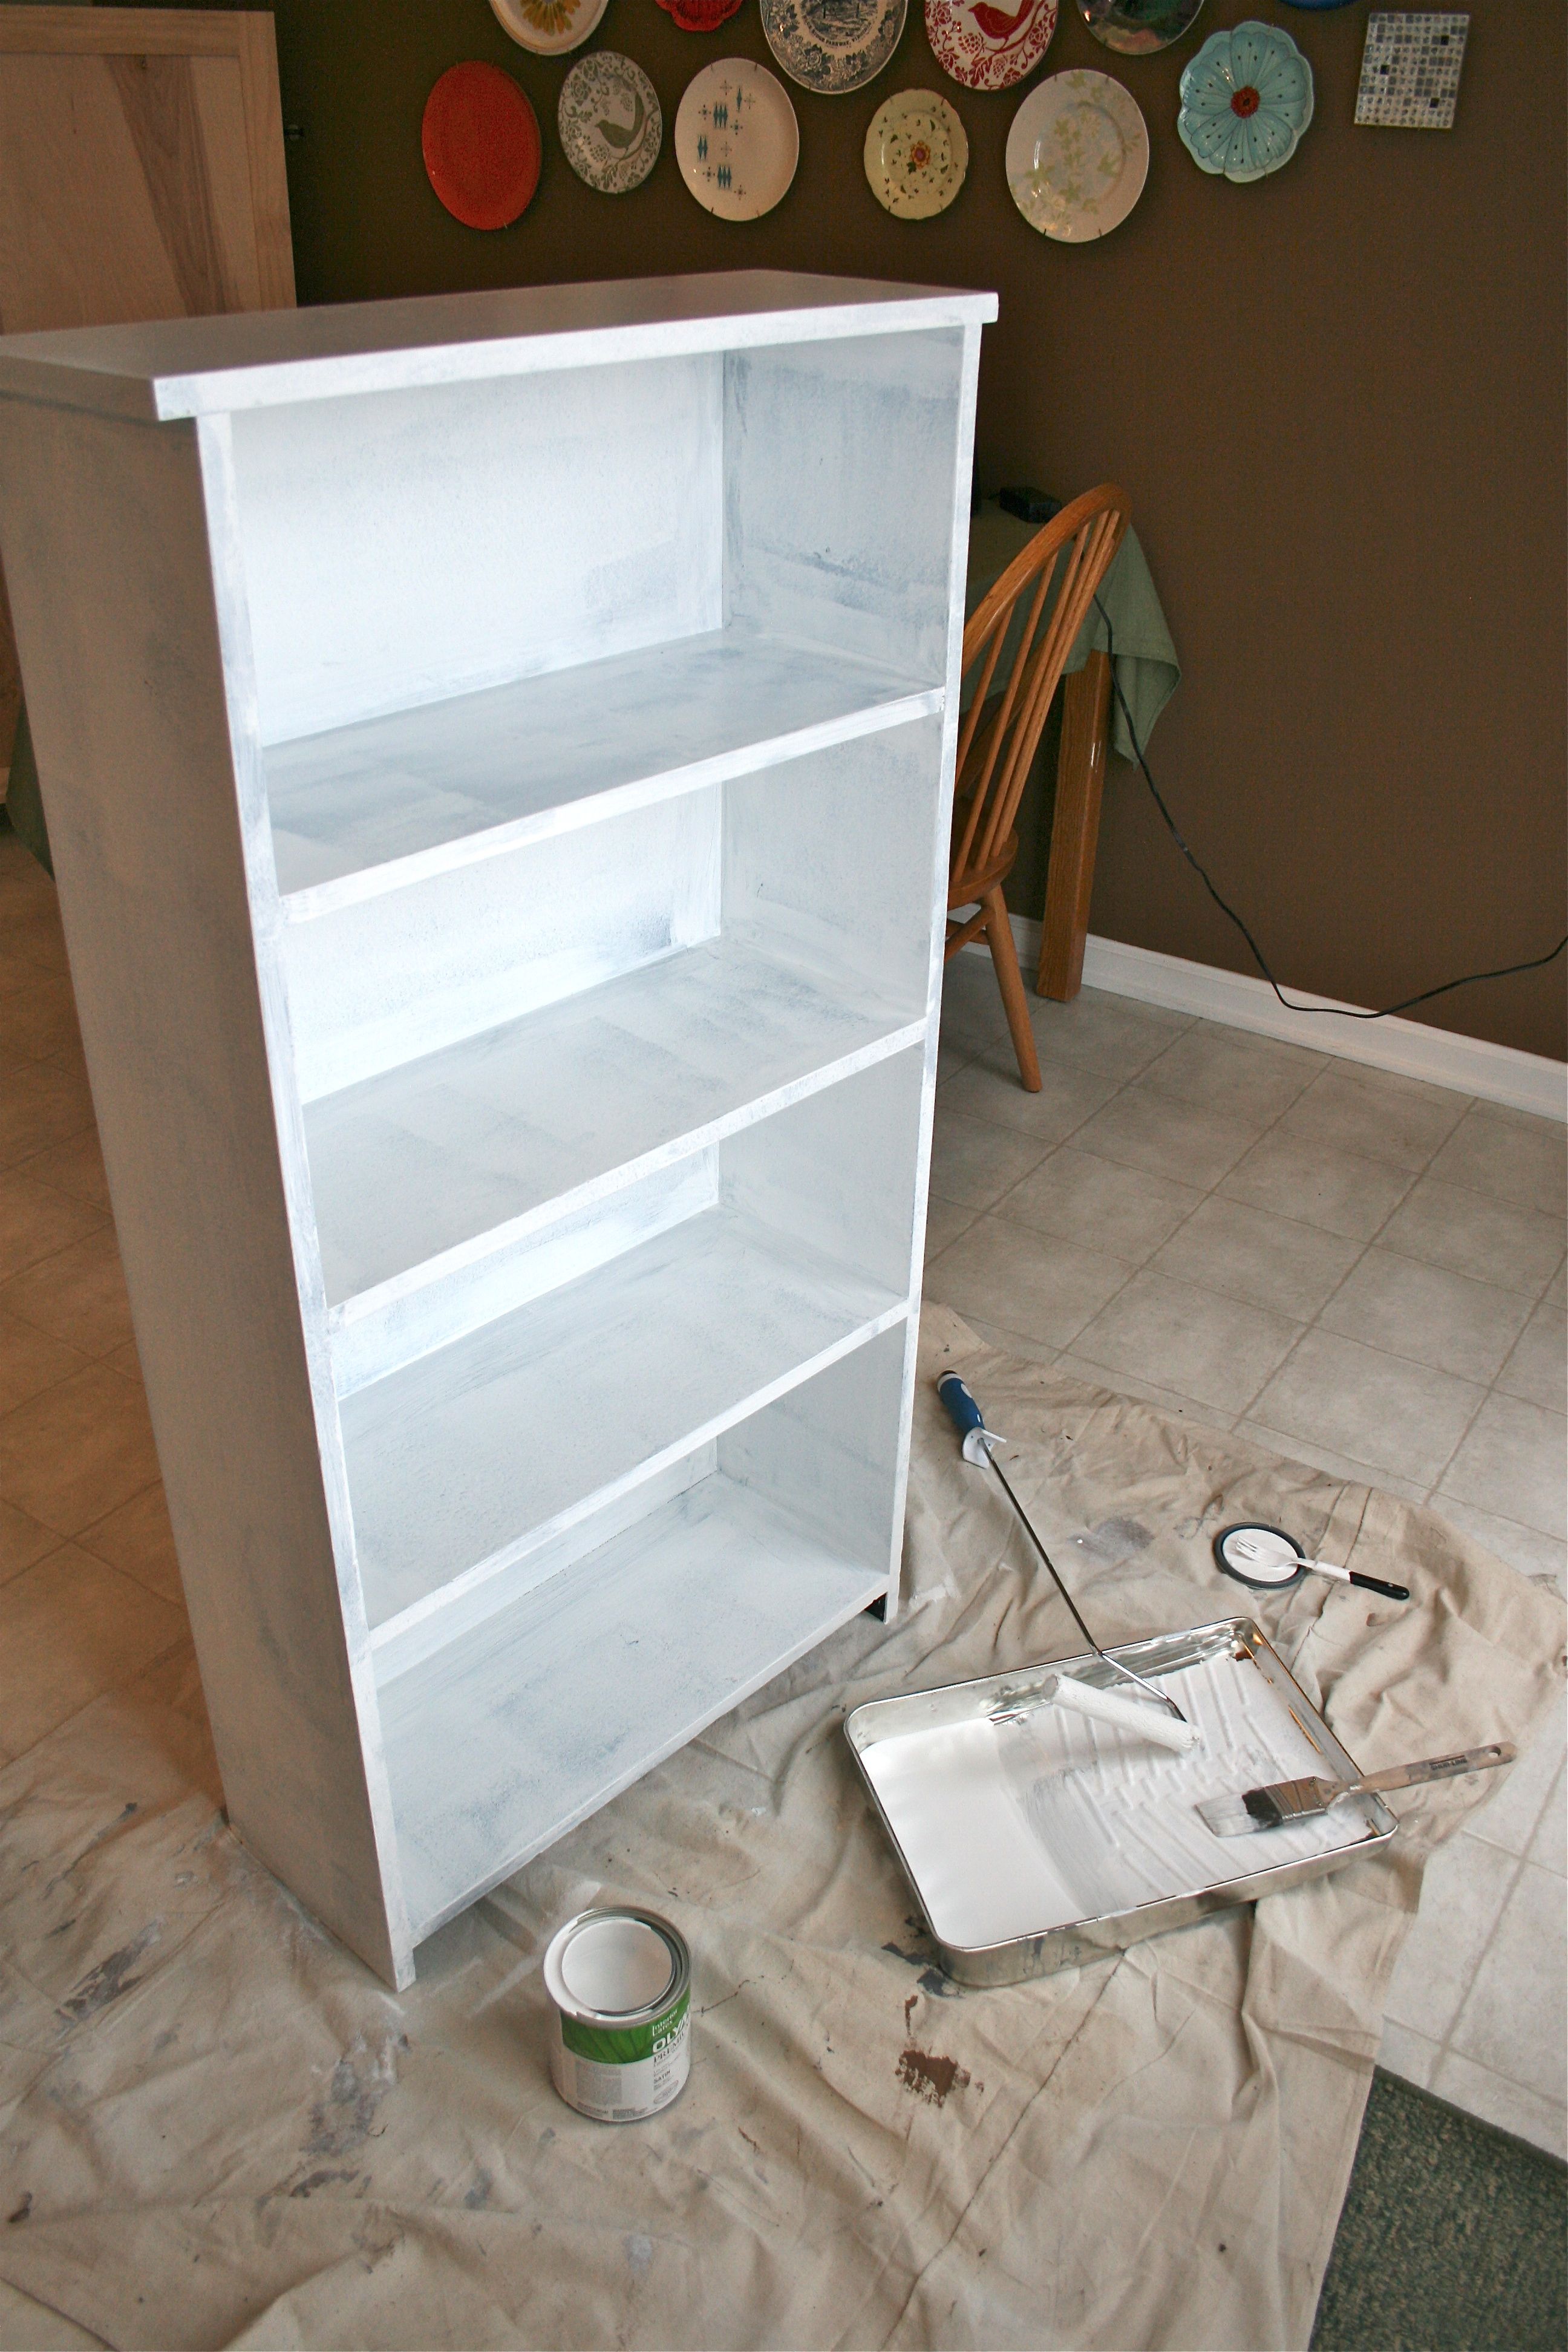
I set up shop in the kitchen with a drop cloth we had from past painting projects and got to work. Here’s the shelf before it started its big makeover:
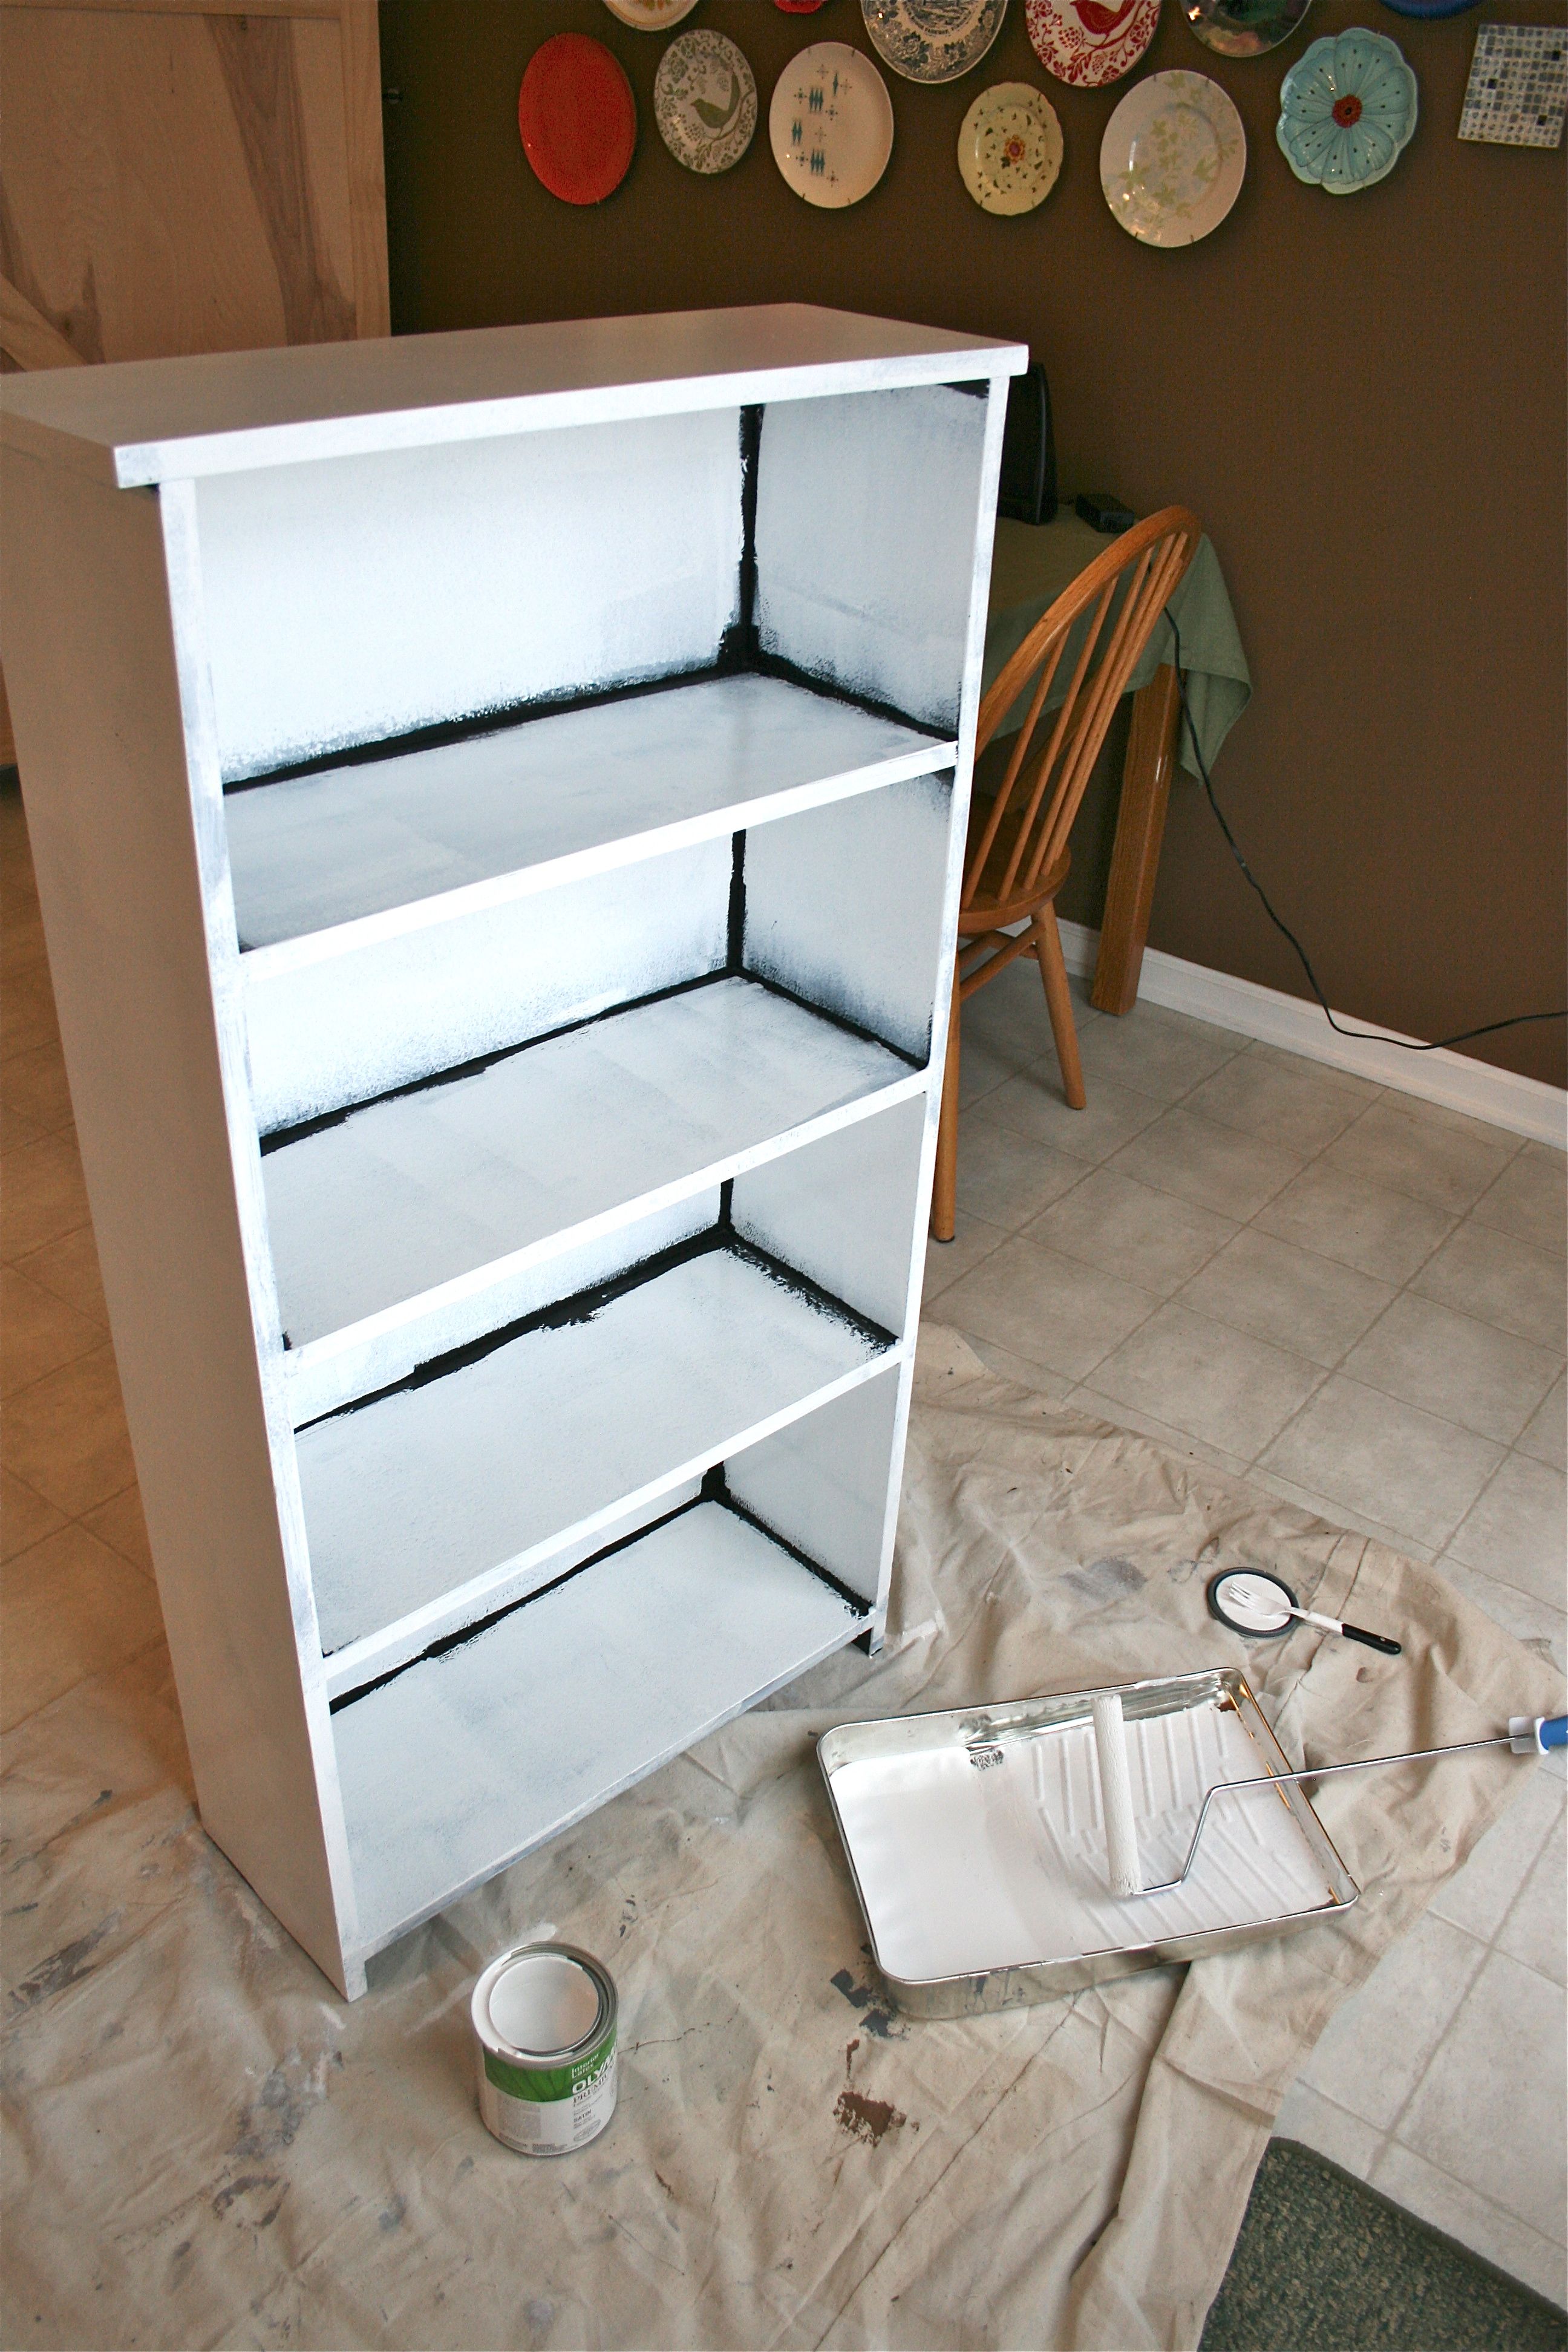
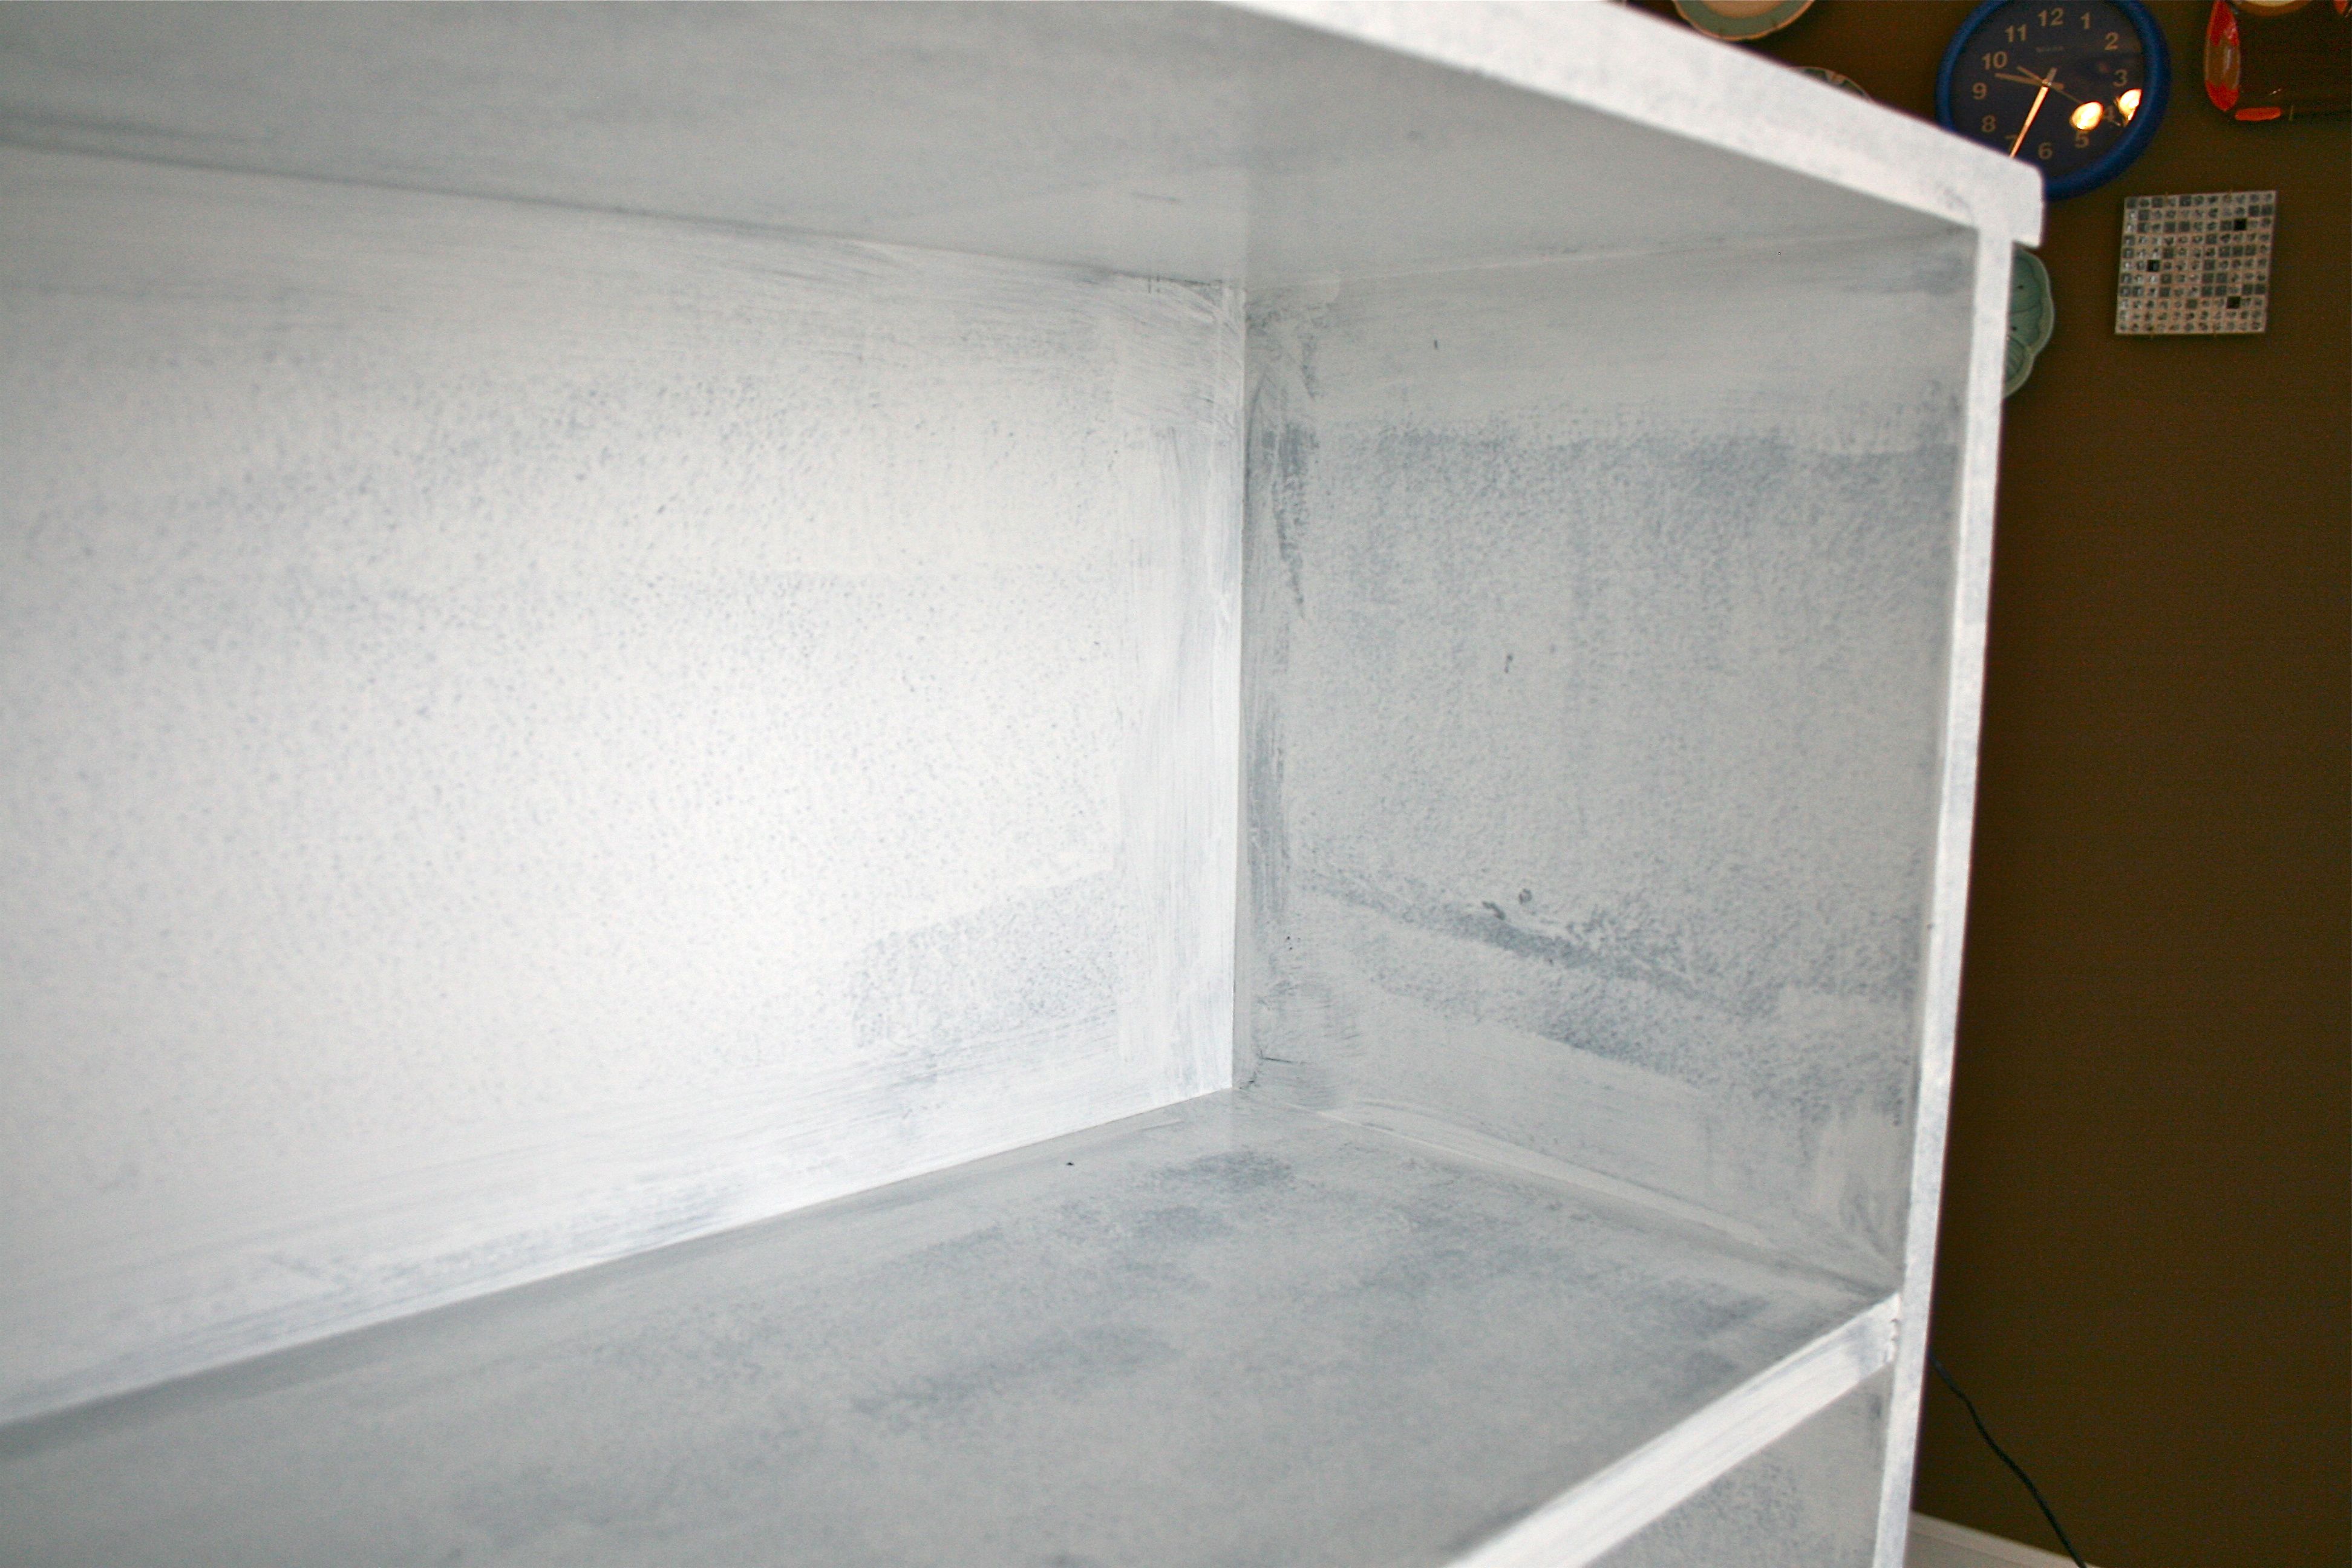
And then one coat of the white paint later (no edging done yet):
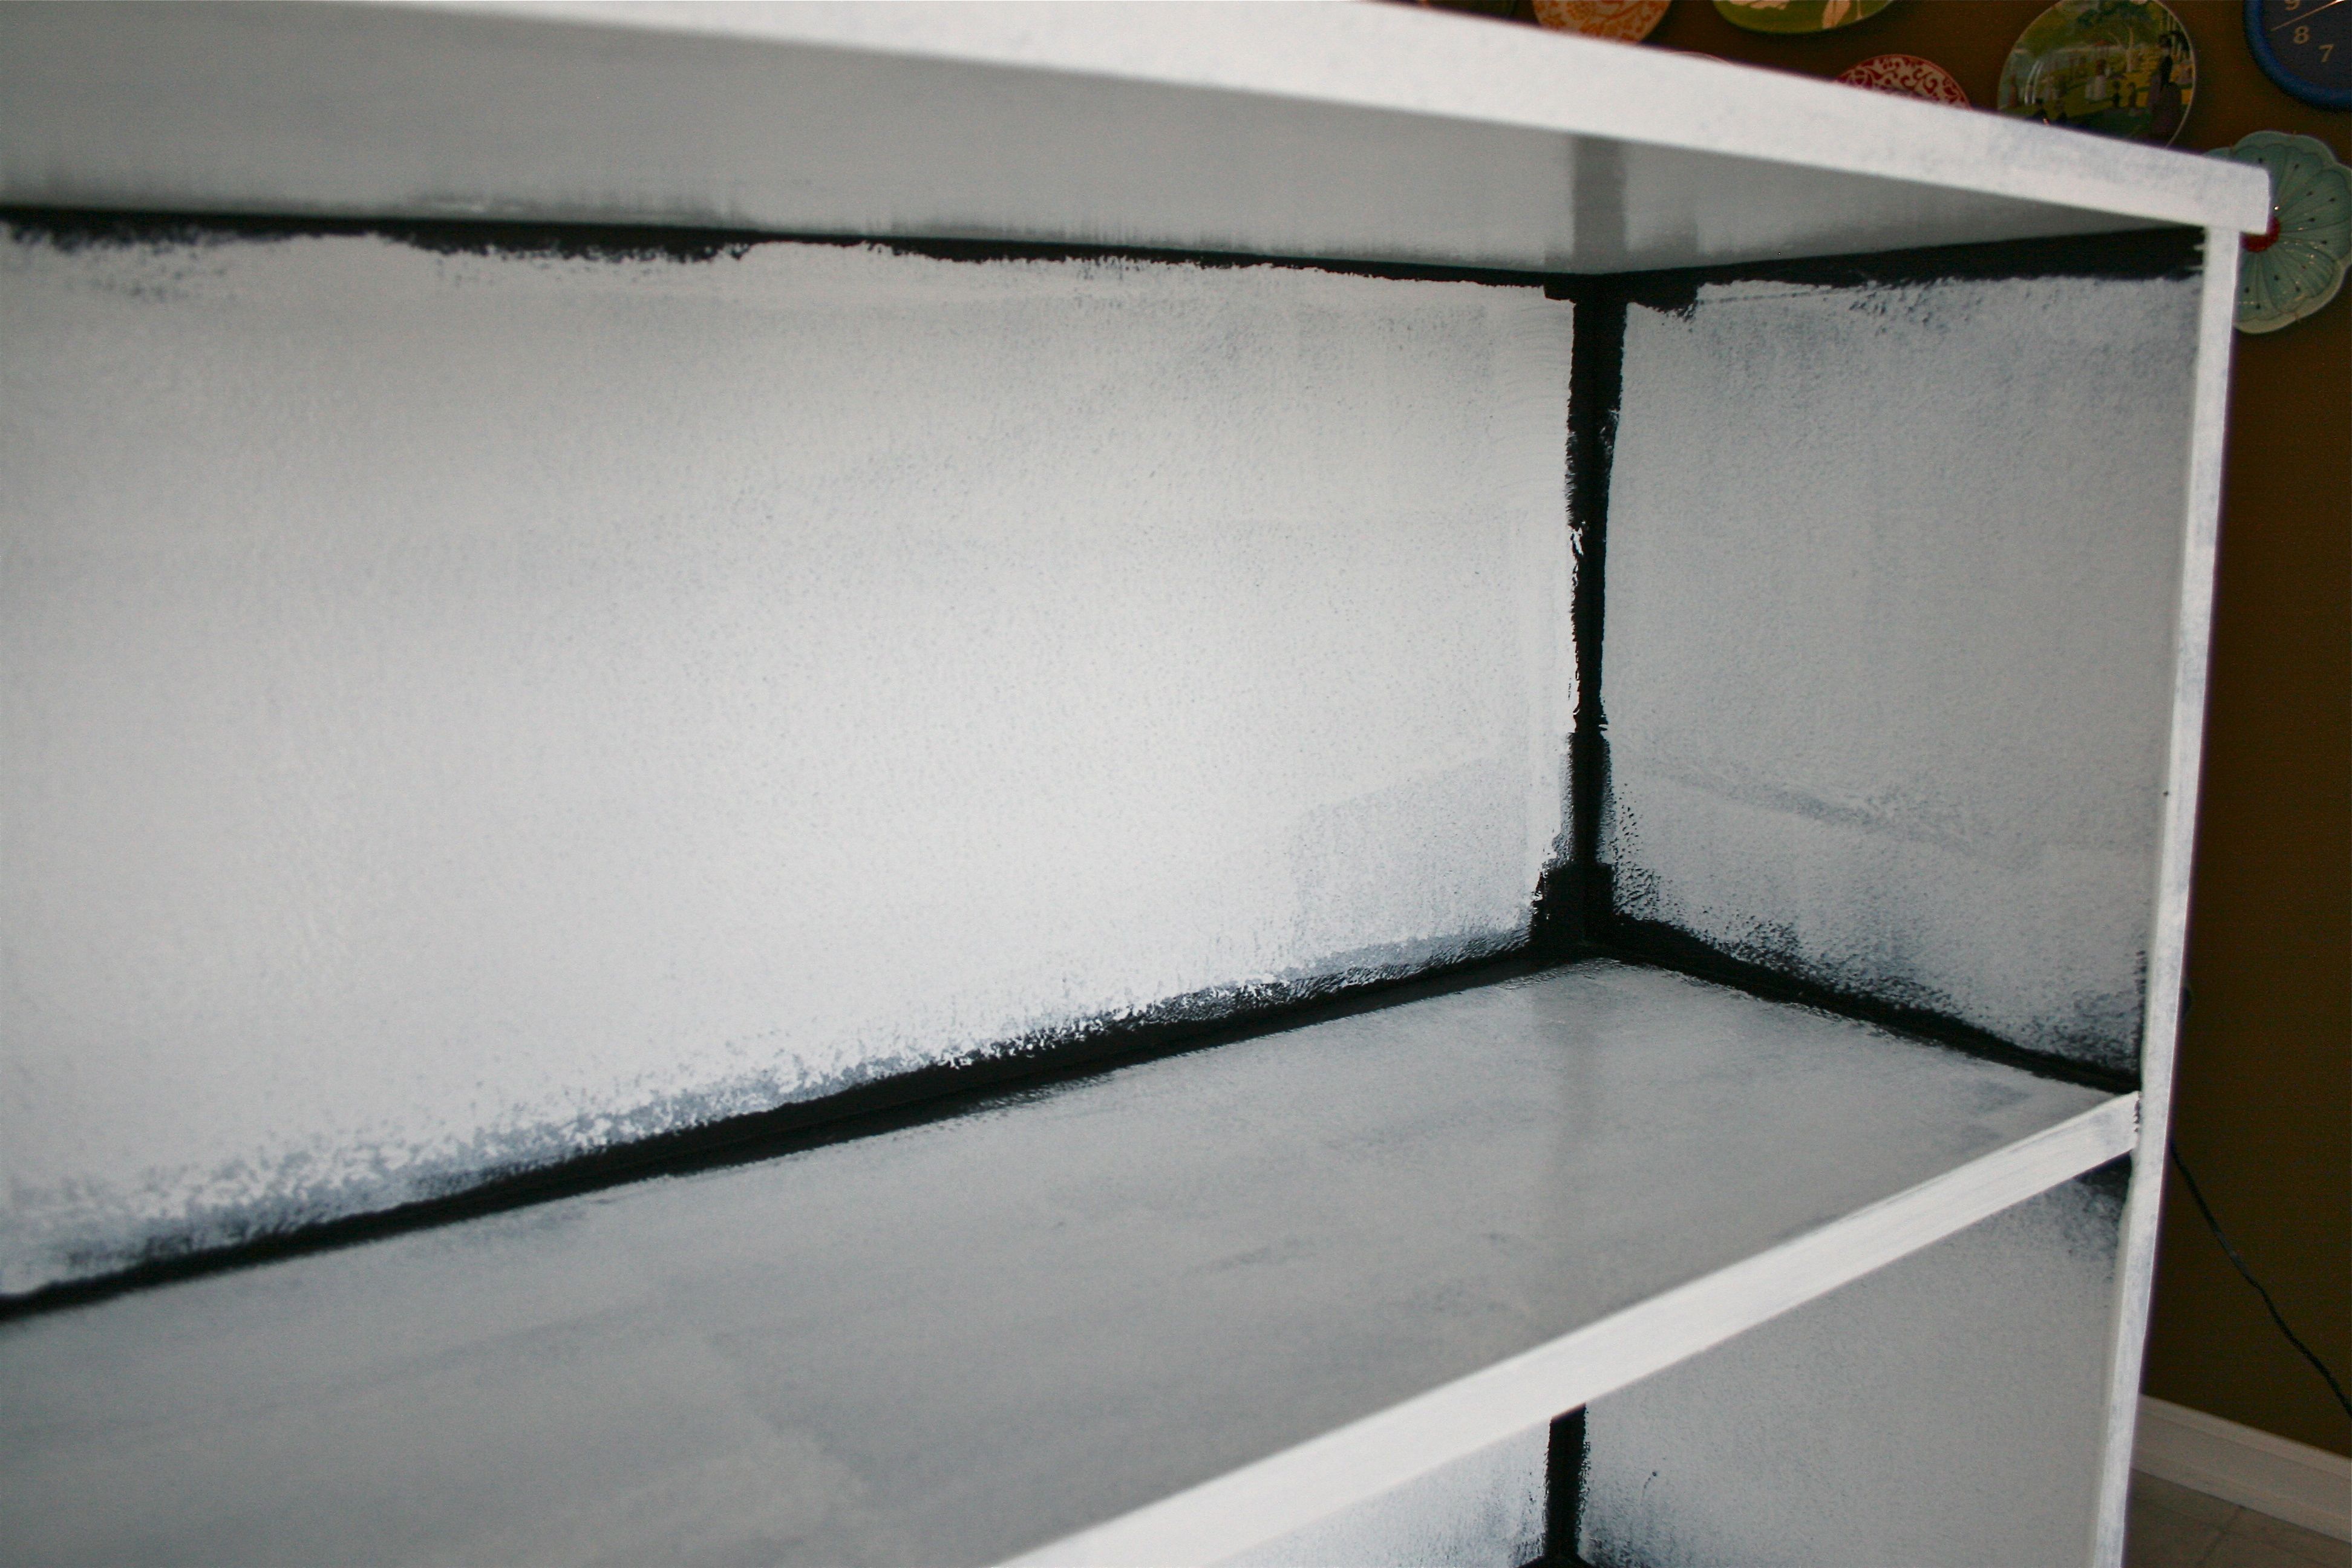
I wanted to use the roller for as much of it as I could and then got into the tighter spaces with an angled paint brush – Which is exactly what I did! Here’s the edges after one coat with the paint brush:
Not surprisingly, it took many coats to cover the black…I think I ended up doing 4 coats of the white, eventually getting a nice even finish.
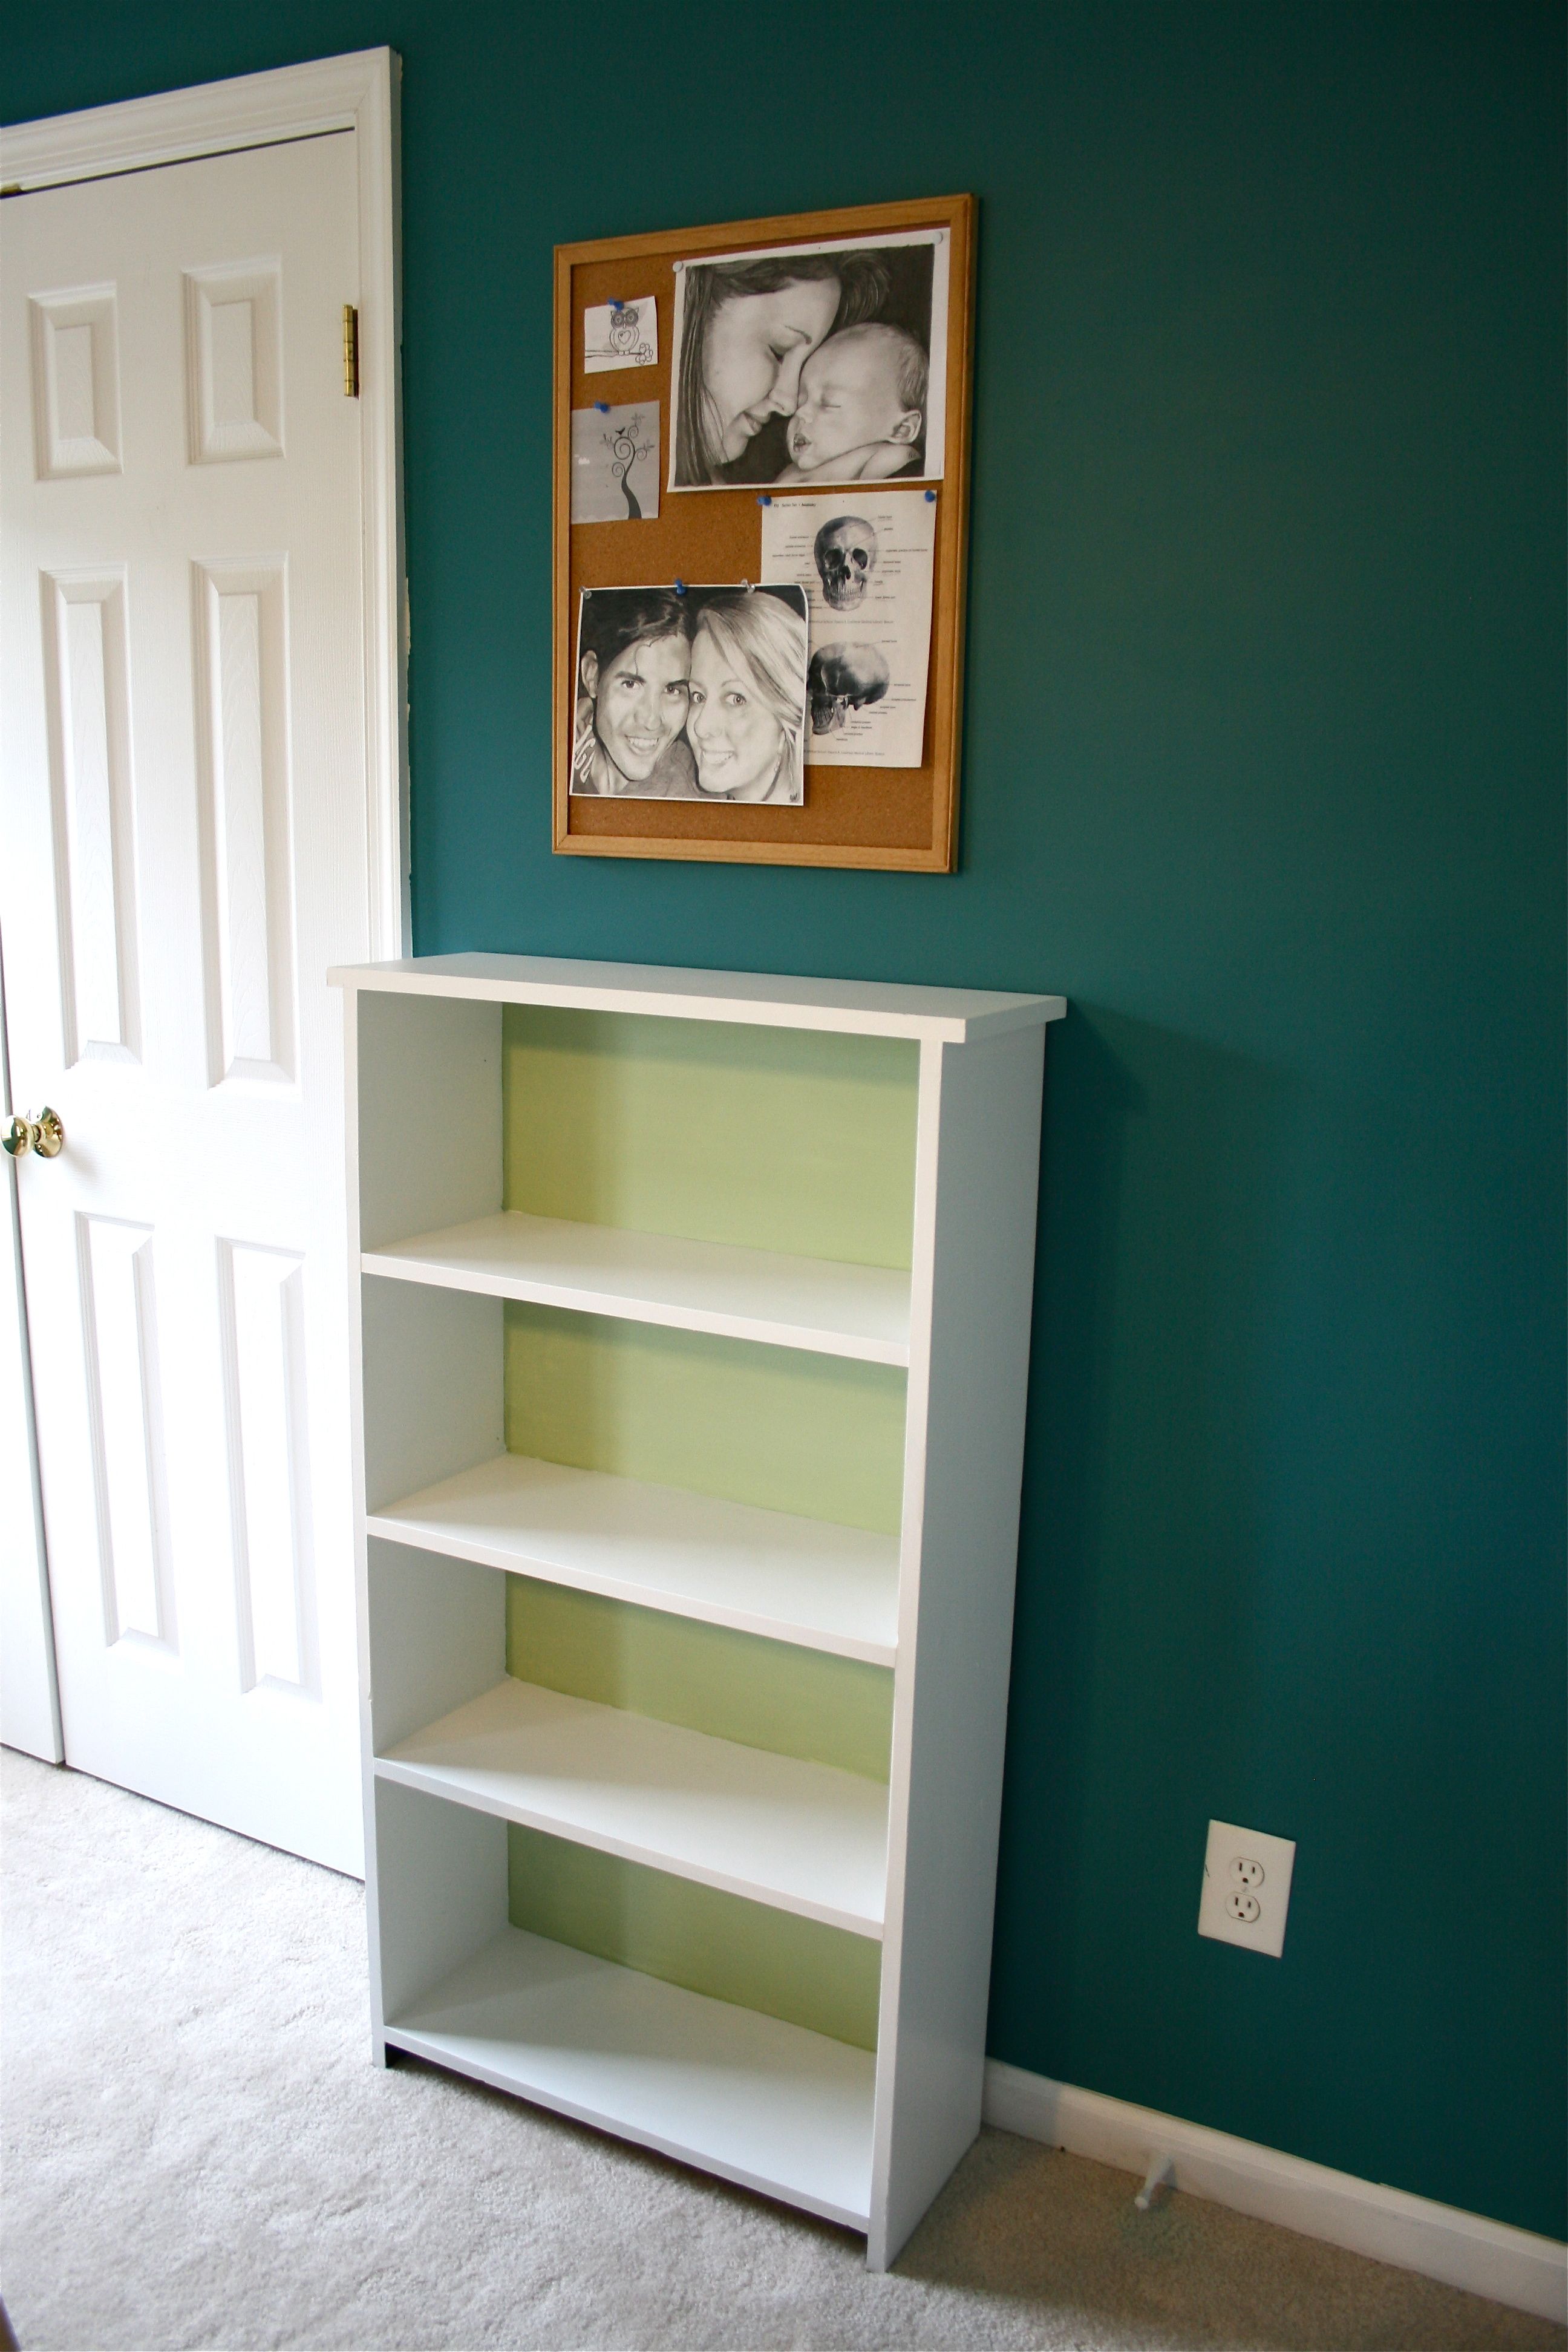
Time for the green accent! After two coats, we were left with this:
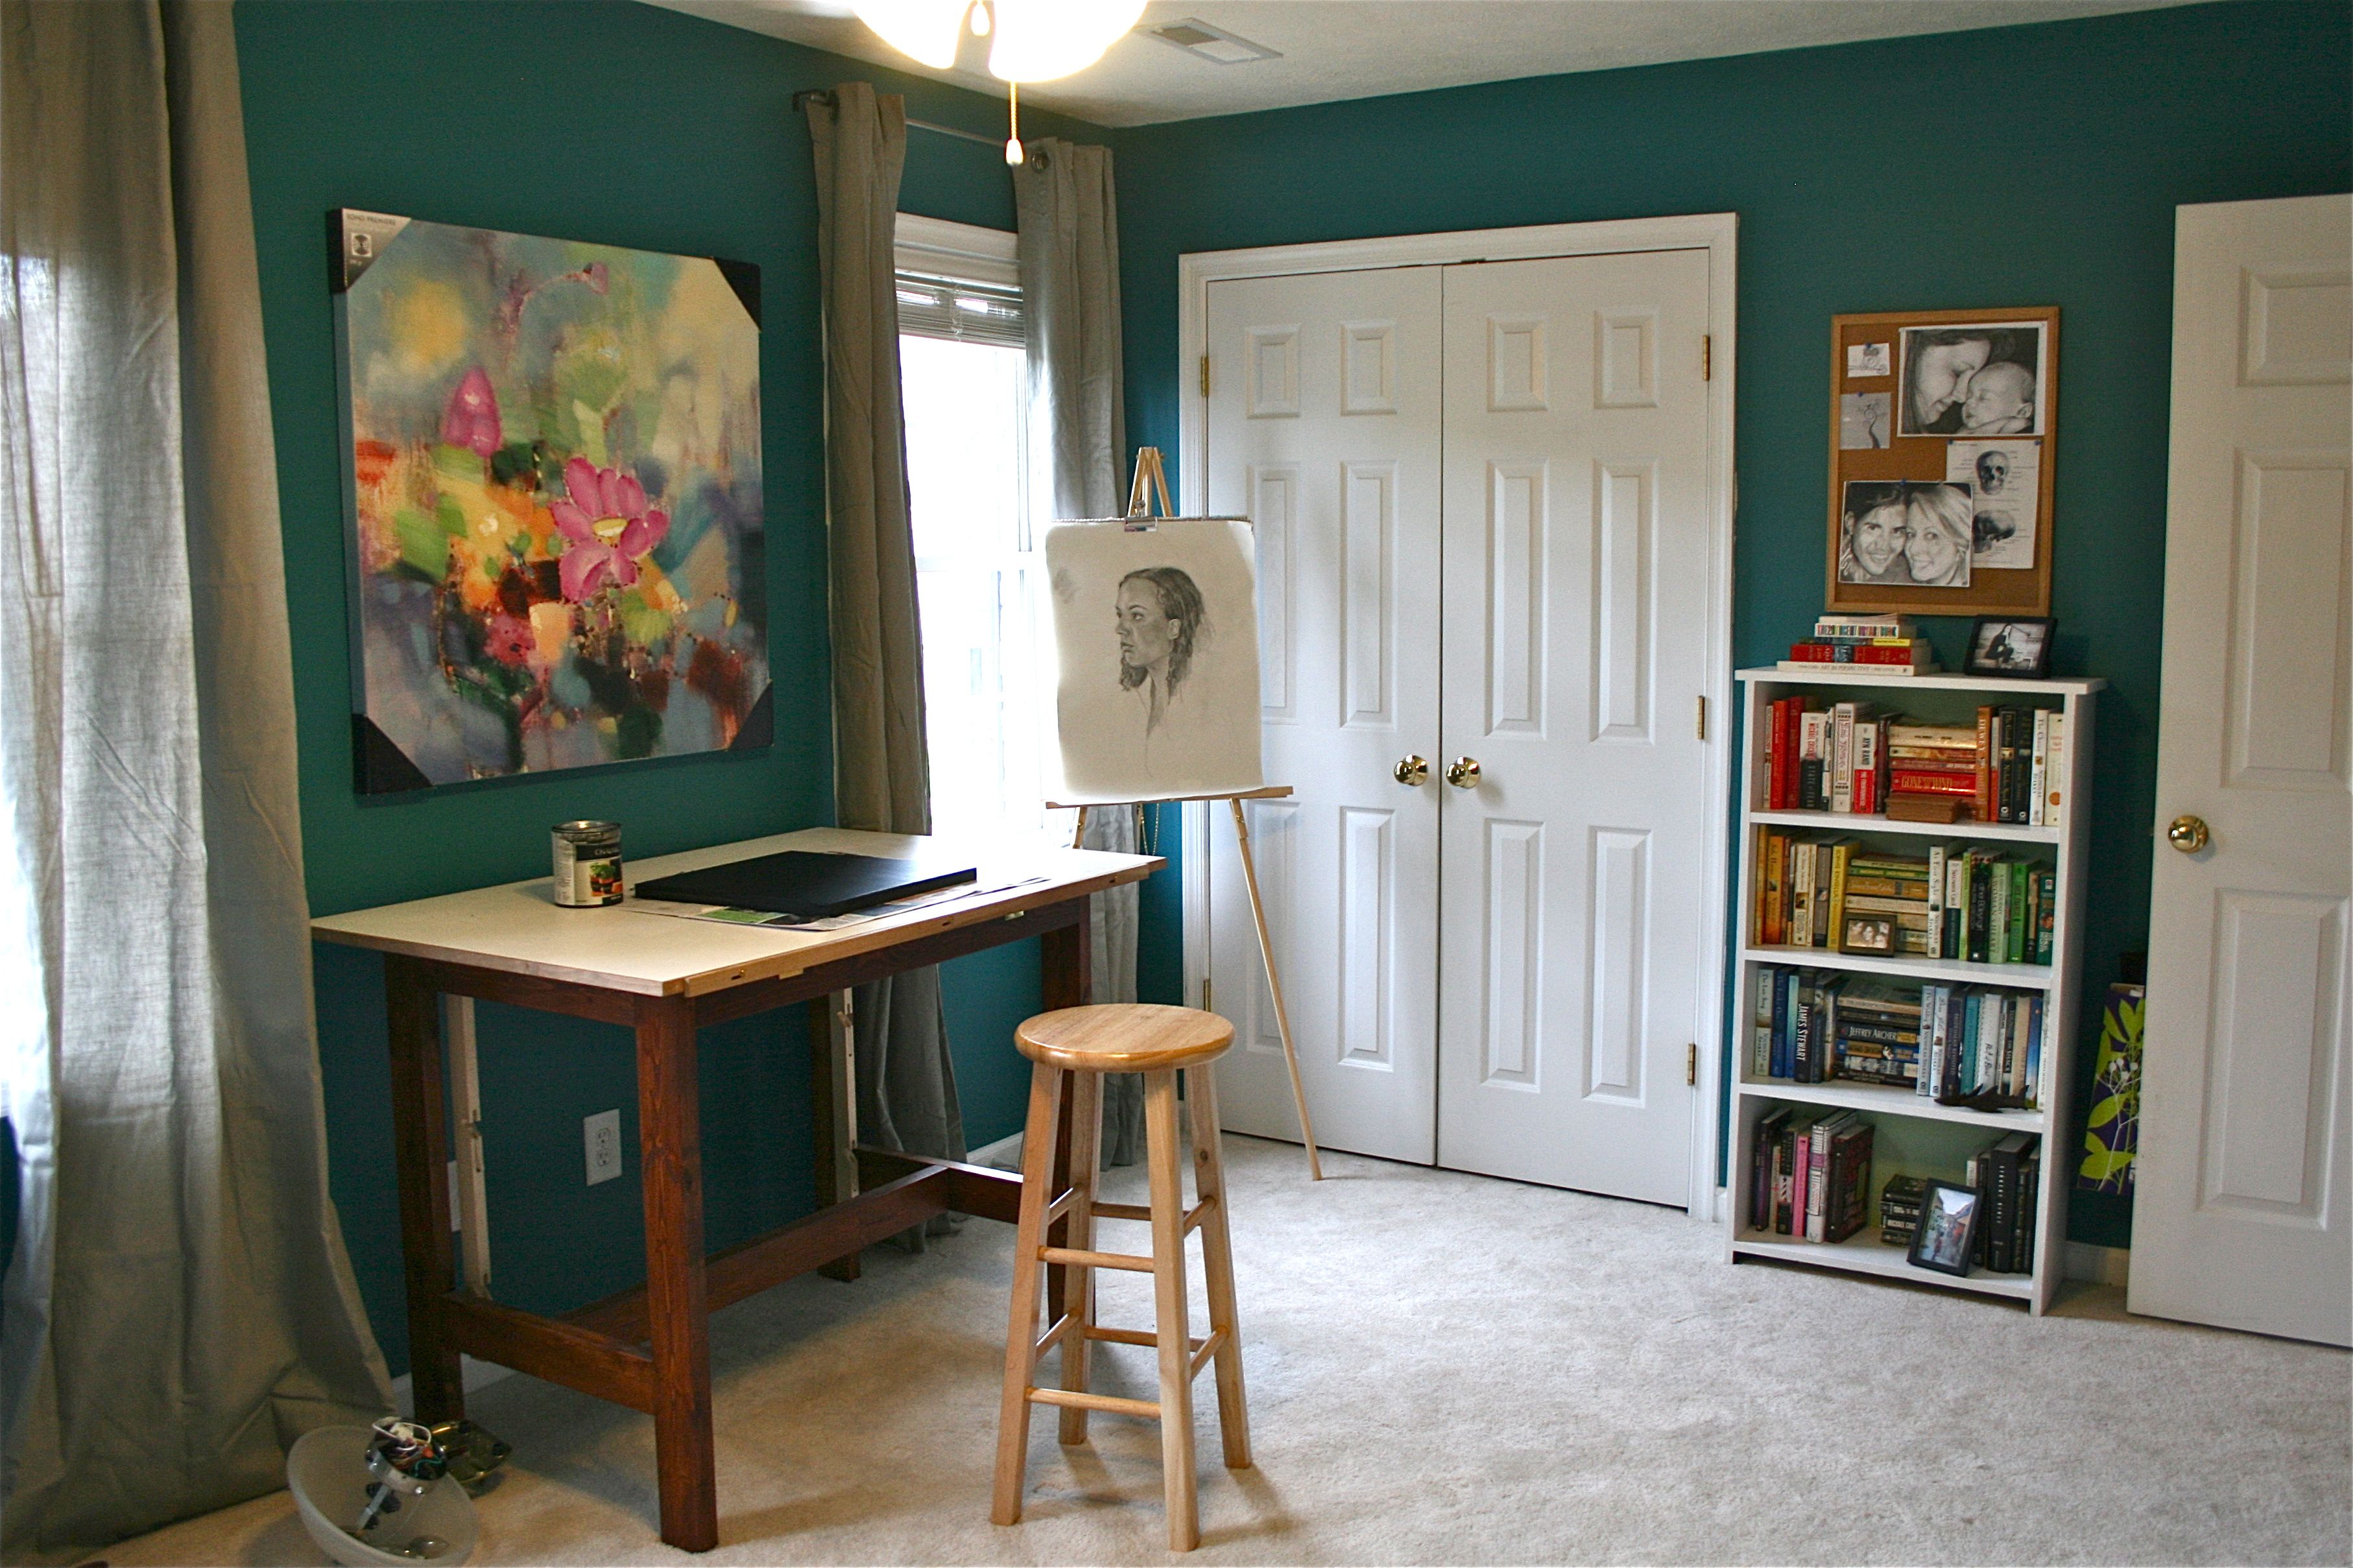
I love how the crisp white and pale green soften the richness of the newly painted “Teal Zeal” walls of the studio (final room reveal in all its luxurious glory seen here)
Now you know I can’t stop with just a cute bookshelf…I have to arrange the books themselves in a fun way! After stumbling upon the image below (and pinning it to my Pinterest of course!), I knew I just HAD to try it:
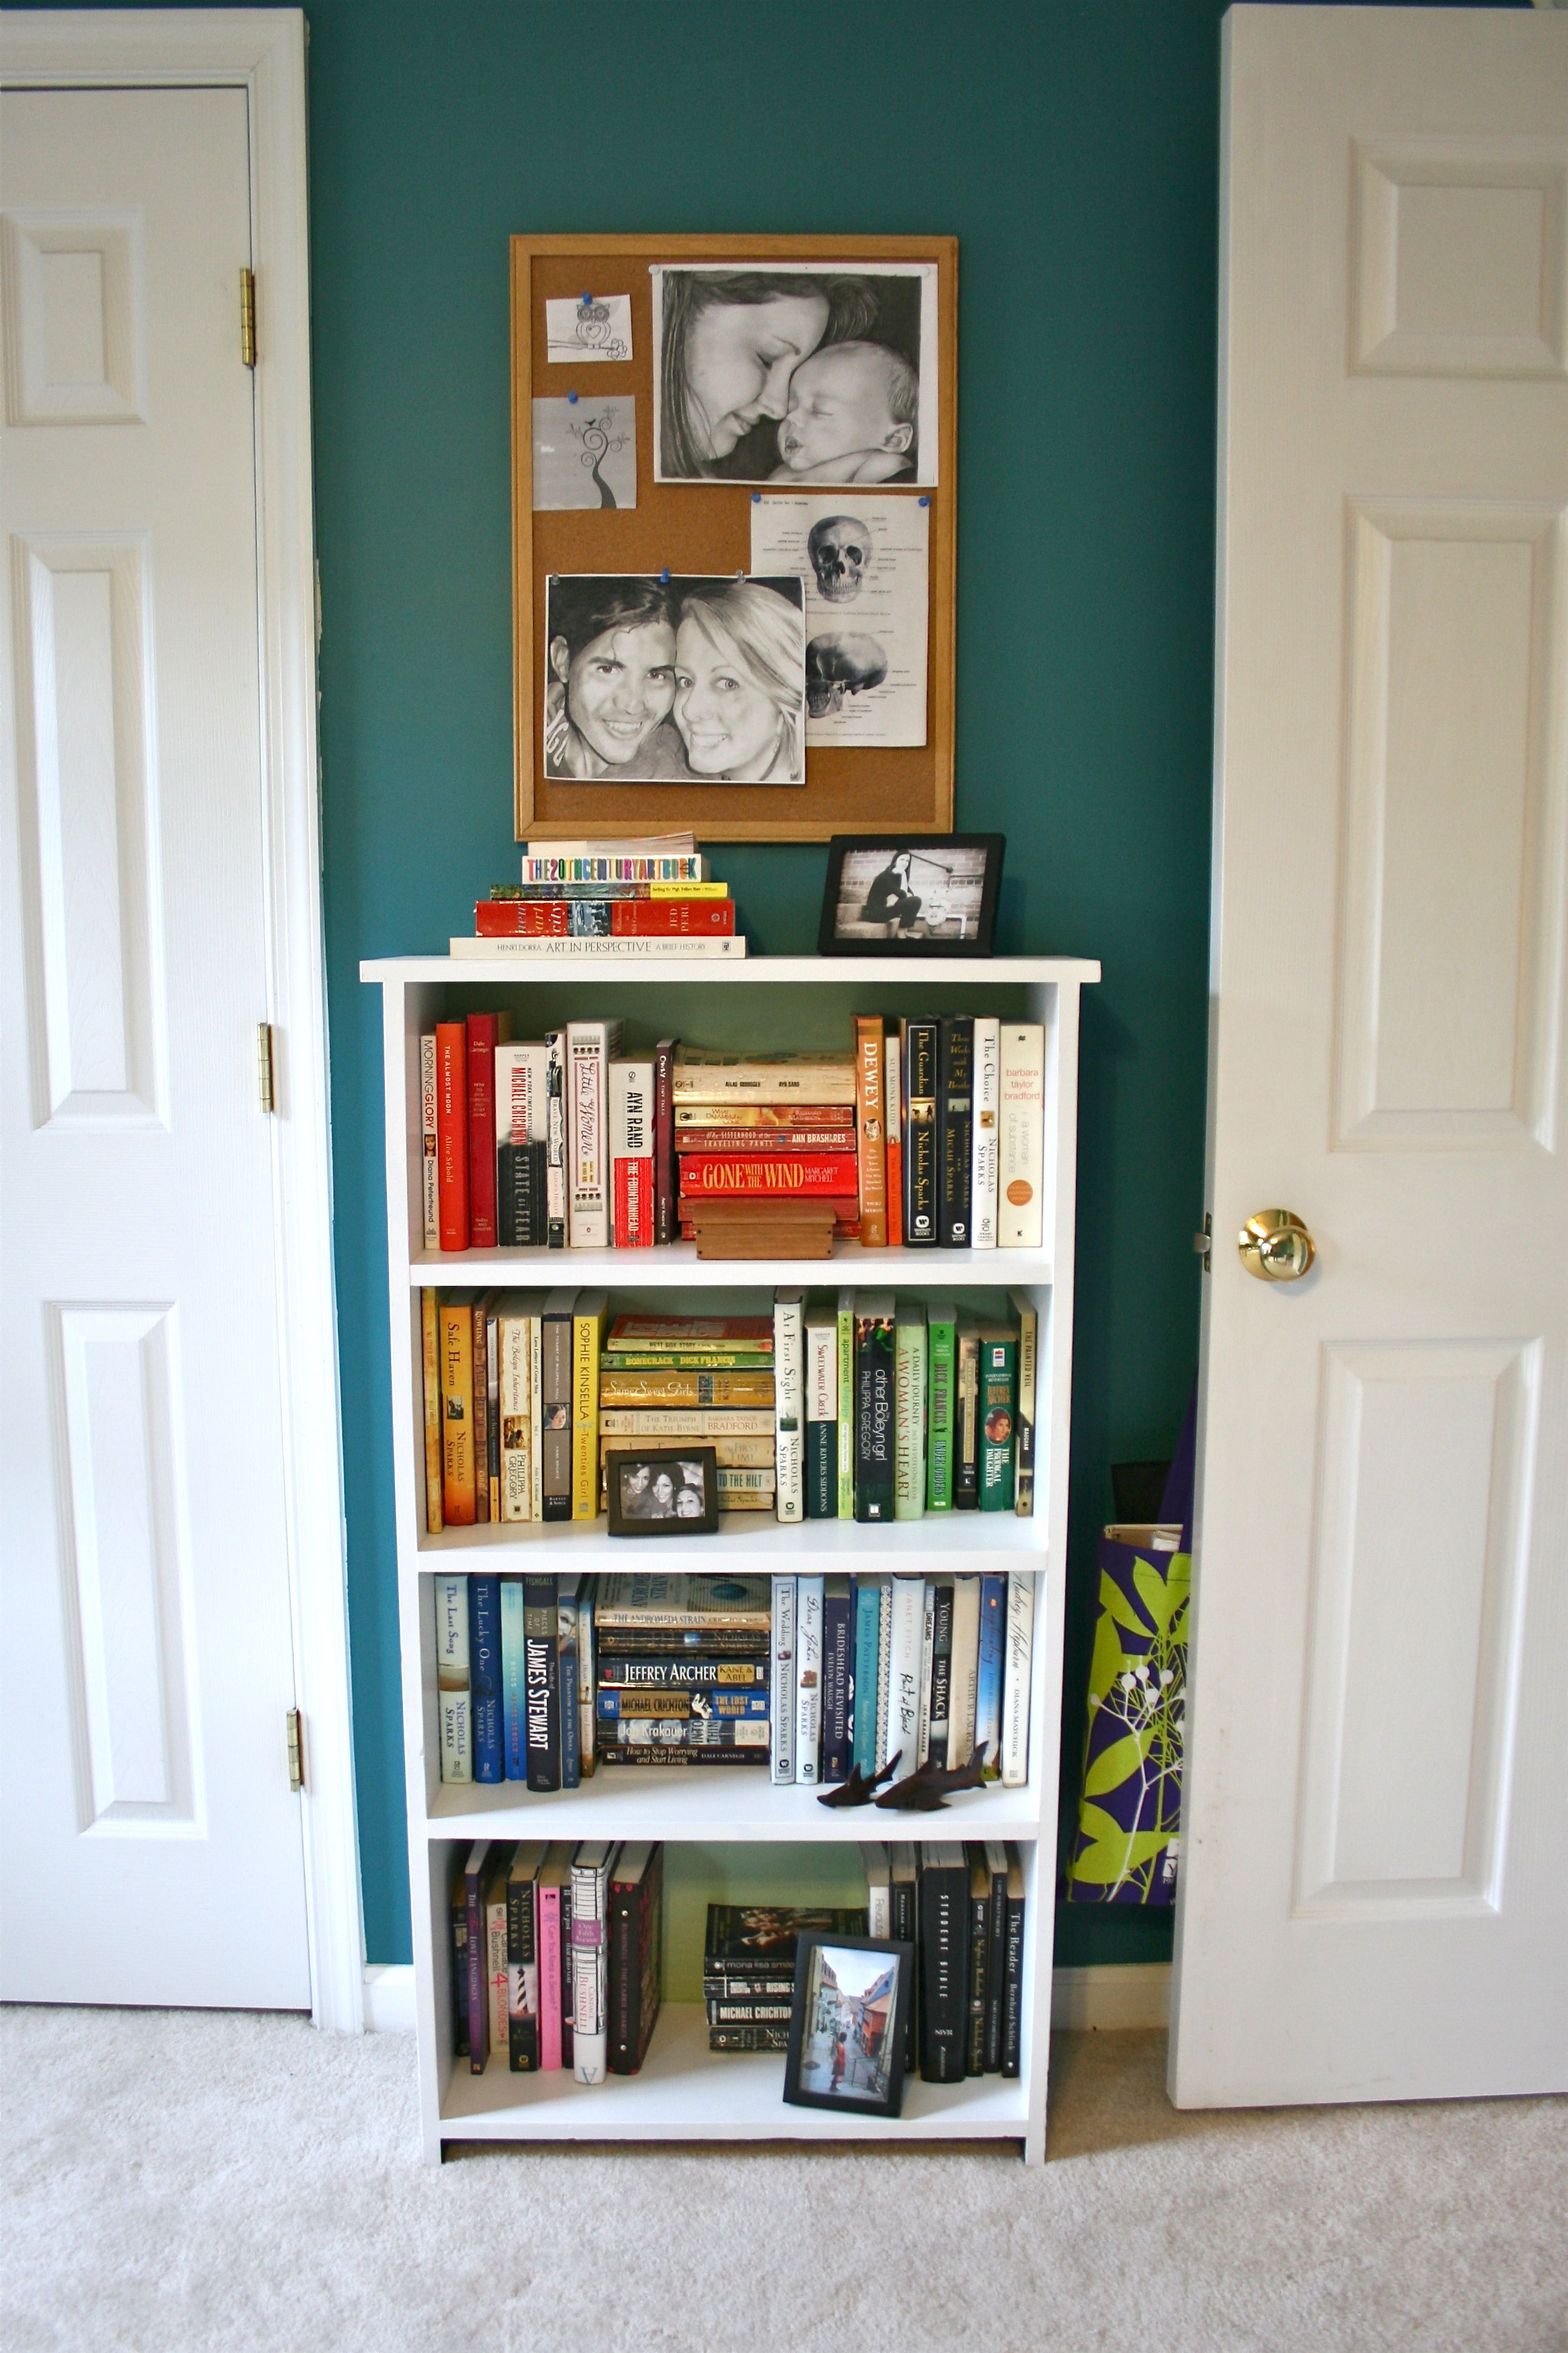
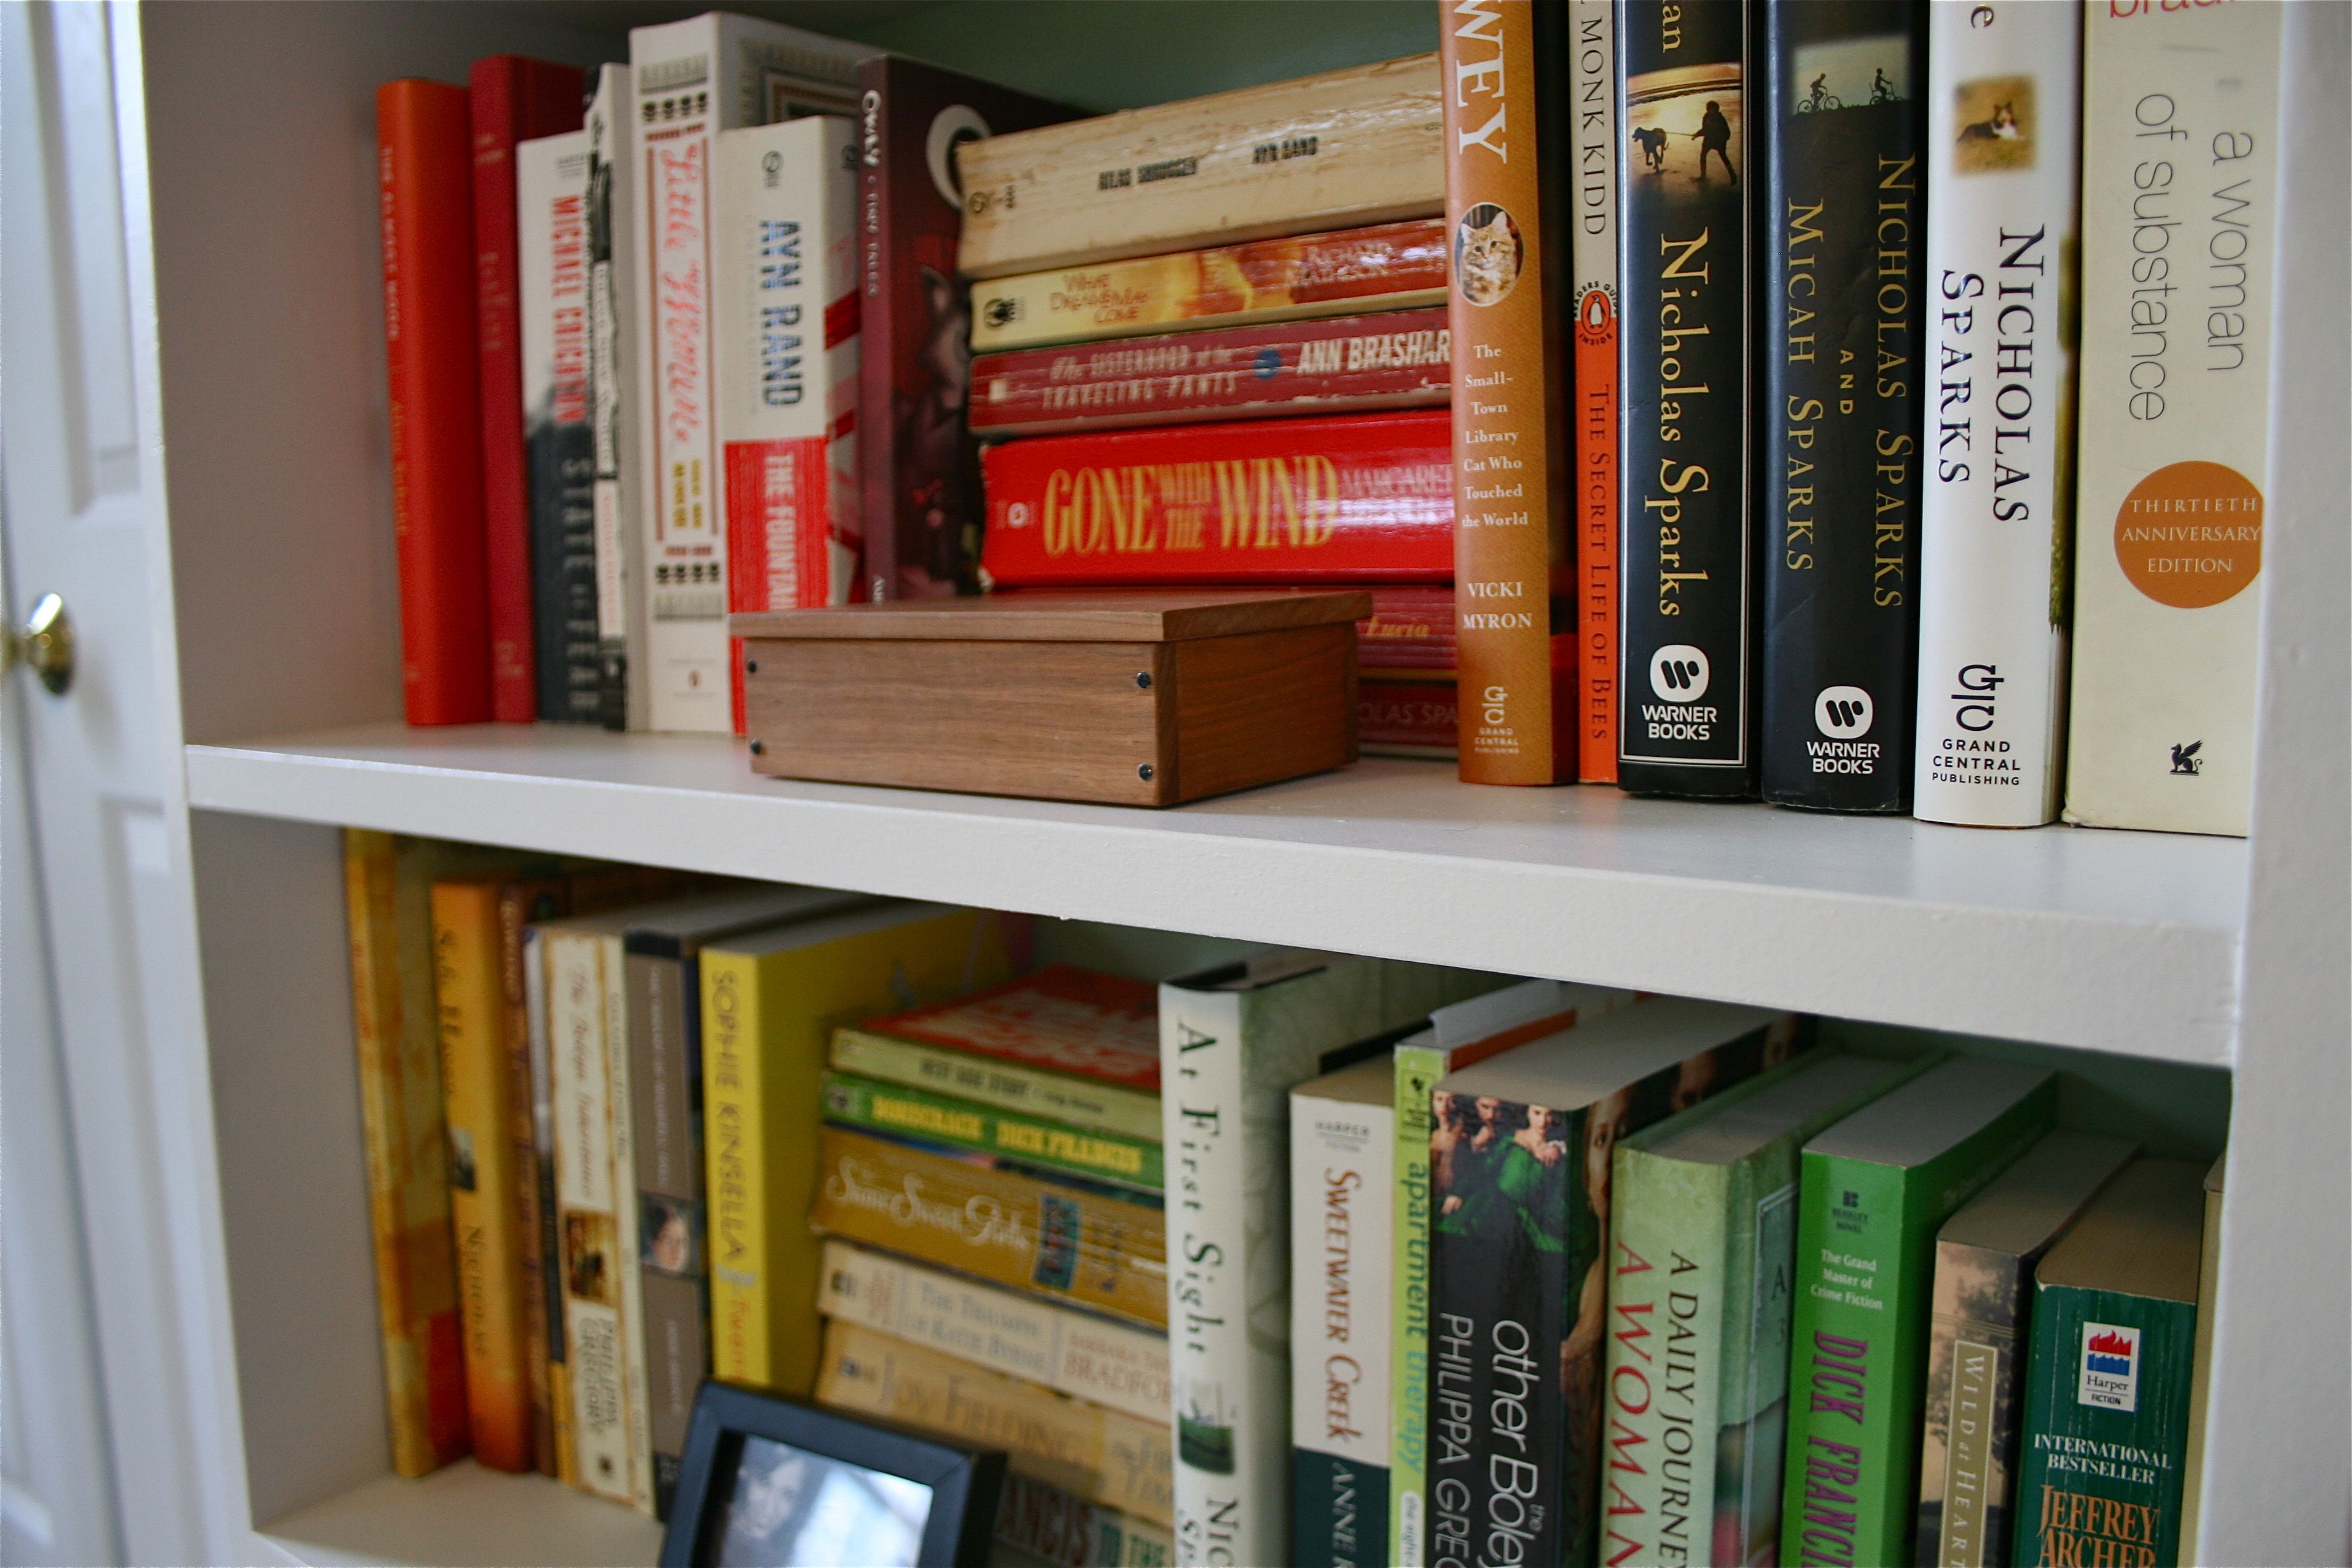
I sometimes joke that my favorite color is the rainbow – There’s just something so visually appealing about seeing all those colors together in order (did I mention that I am seriously deranged when it comes to orderliness?). So I made a pile of books with red covers/spines, a pile of books with orange covers/spines, a pile of books with – Well…You probably get the idea.
So after a little blissful Type-A OCD reorganizing, I came away with the very final “After” product!
I’m a tiny bit bummed that you can’t see more of the newly painted green background, but I think that can be easily fixed by paring down my book collection.
As I said, I have a matching black (soon to be white and green) bookcase that goes with this one, but we are going to put that in the kitchen to house cookbooks, a stereo (because we like to jam out when cooking) and china. So I think I’m going to need another bookshelf, but that’s easy enough to find…
Thrift stores, here we come!
P.S. T-minus TWO days until “Couch Day”!
(Photo credit for inspiration painted bookshelf: here; Rainbow books: here)

