Happy Halloween!!!! Today is officially the day for all the ghouls and goblins to come out…At least the kid-sized ones 🙂 I think the majority of us party-hardy adults celebrated this spooky holiday over the weekend, John and I included. But we are looking forward to doling out the sweets to adorable children roaming through our neighborhood this evening.
The other night while John and I were out walking the dog through the neighborhood, we took a look around and noticed just how RADICAL our area is for trick-or-treating. As you may know if you’ve taken our house tour (also linked to on the right-hand side of the blog, and which we DESPERATELY need to update…Adding to “to-do” list now) we live in a townhouse. As such, we are surrounded by many other town homes, making for one loooooooooooooooooooong line of front doors. John hates this word, but it must be EPIC to troll through our neighborhood, pumpkin bucket or pillow case in hand. The haul away must be pretty tremendous. And we are happy to add to that with our own ready-and-waiting bowl full of candy!
But let’s backtrack a few days to Friday, when we hosted an adult-worthy Halloween bash. As any good host, I wanted the house to look festive and Halloween-y, so I spent a little time pinning away on Pinterest to get all the inspiration I needed to transform our little abode into a haunted house. Truth be told, I didn’t really get as much done as I wanted…I felt like I spent a good amount of money for not much of an impact. But I was working with zilch in the Halloween decorations department since I had never hosted such a soiree and neither had John – I just keep telling myself that we can buy a little each year and eventually have enough to enter our house for a holiday spread in Martha Stewart or Better Homes and Gardens. A girl can dream!
For today’s post, I chose three DIY projects to explain step-by-step. They were SO easy to create and cheap too!
The first is a pair of over-sized candy corn pieces:
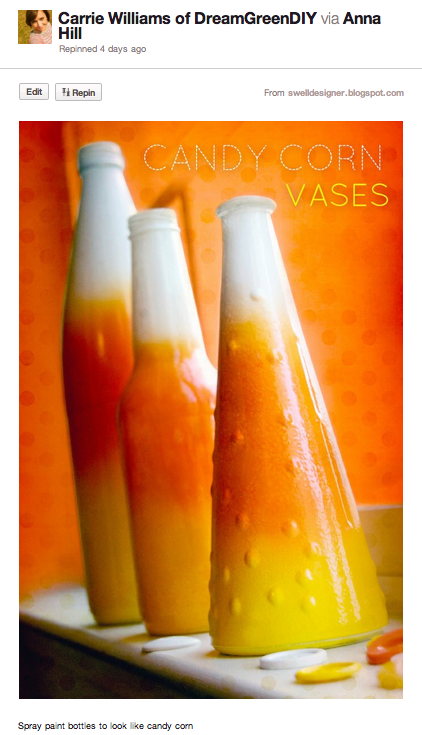
Pin Source: Alexa Westerfield of The Swell Life
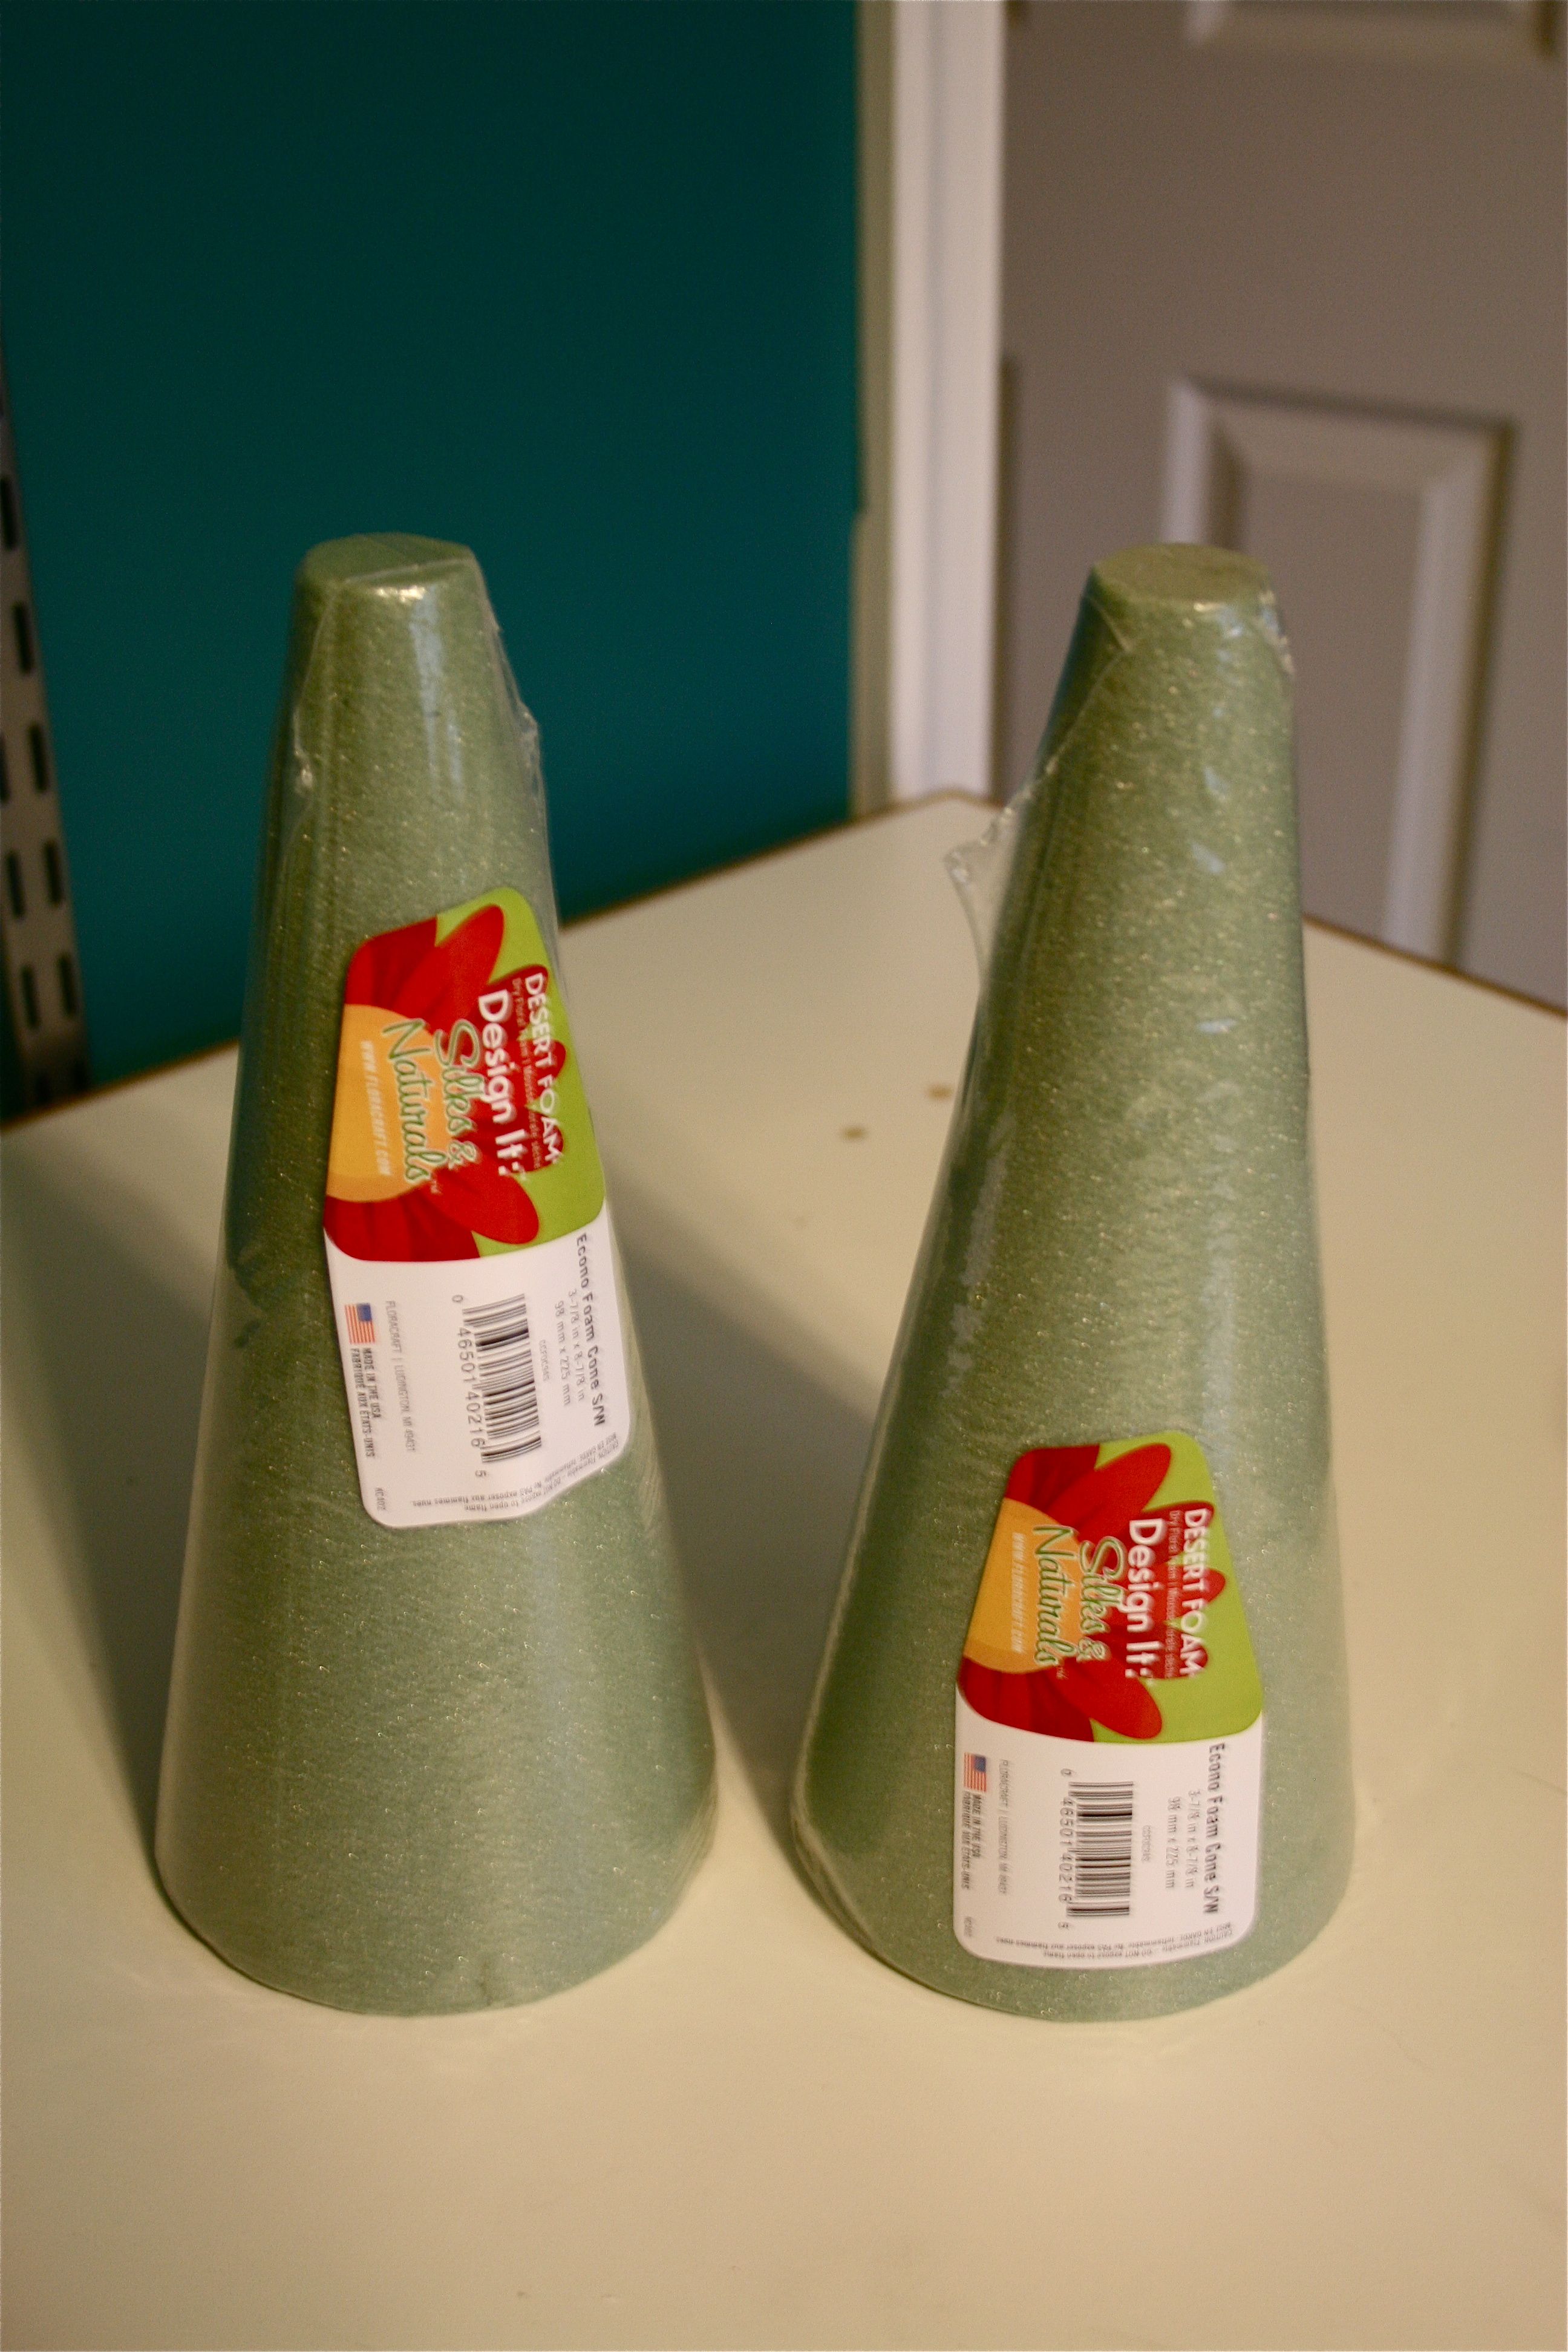
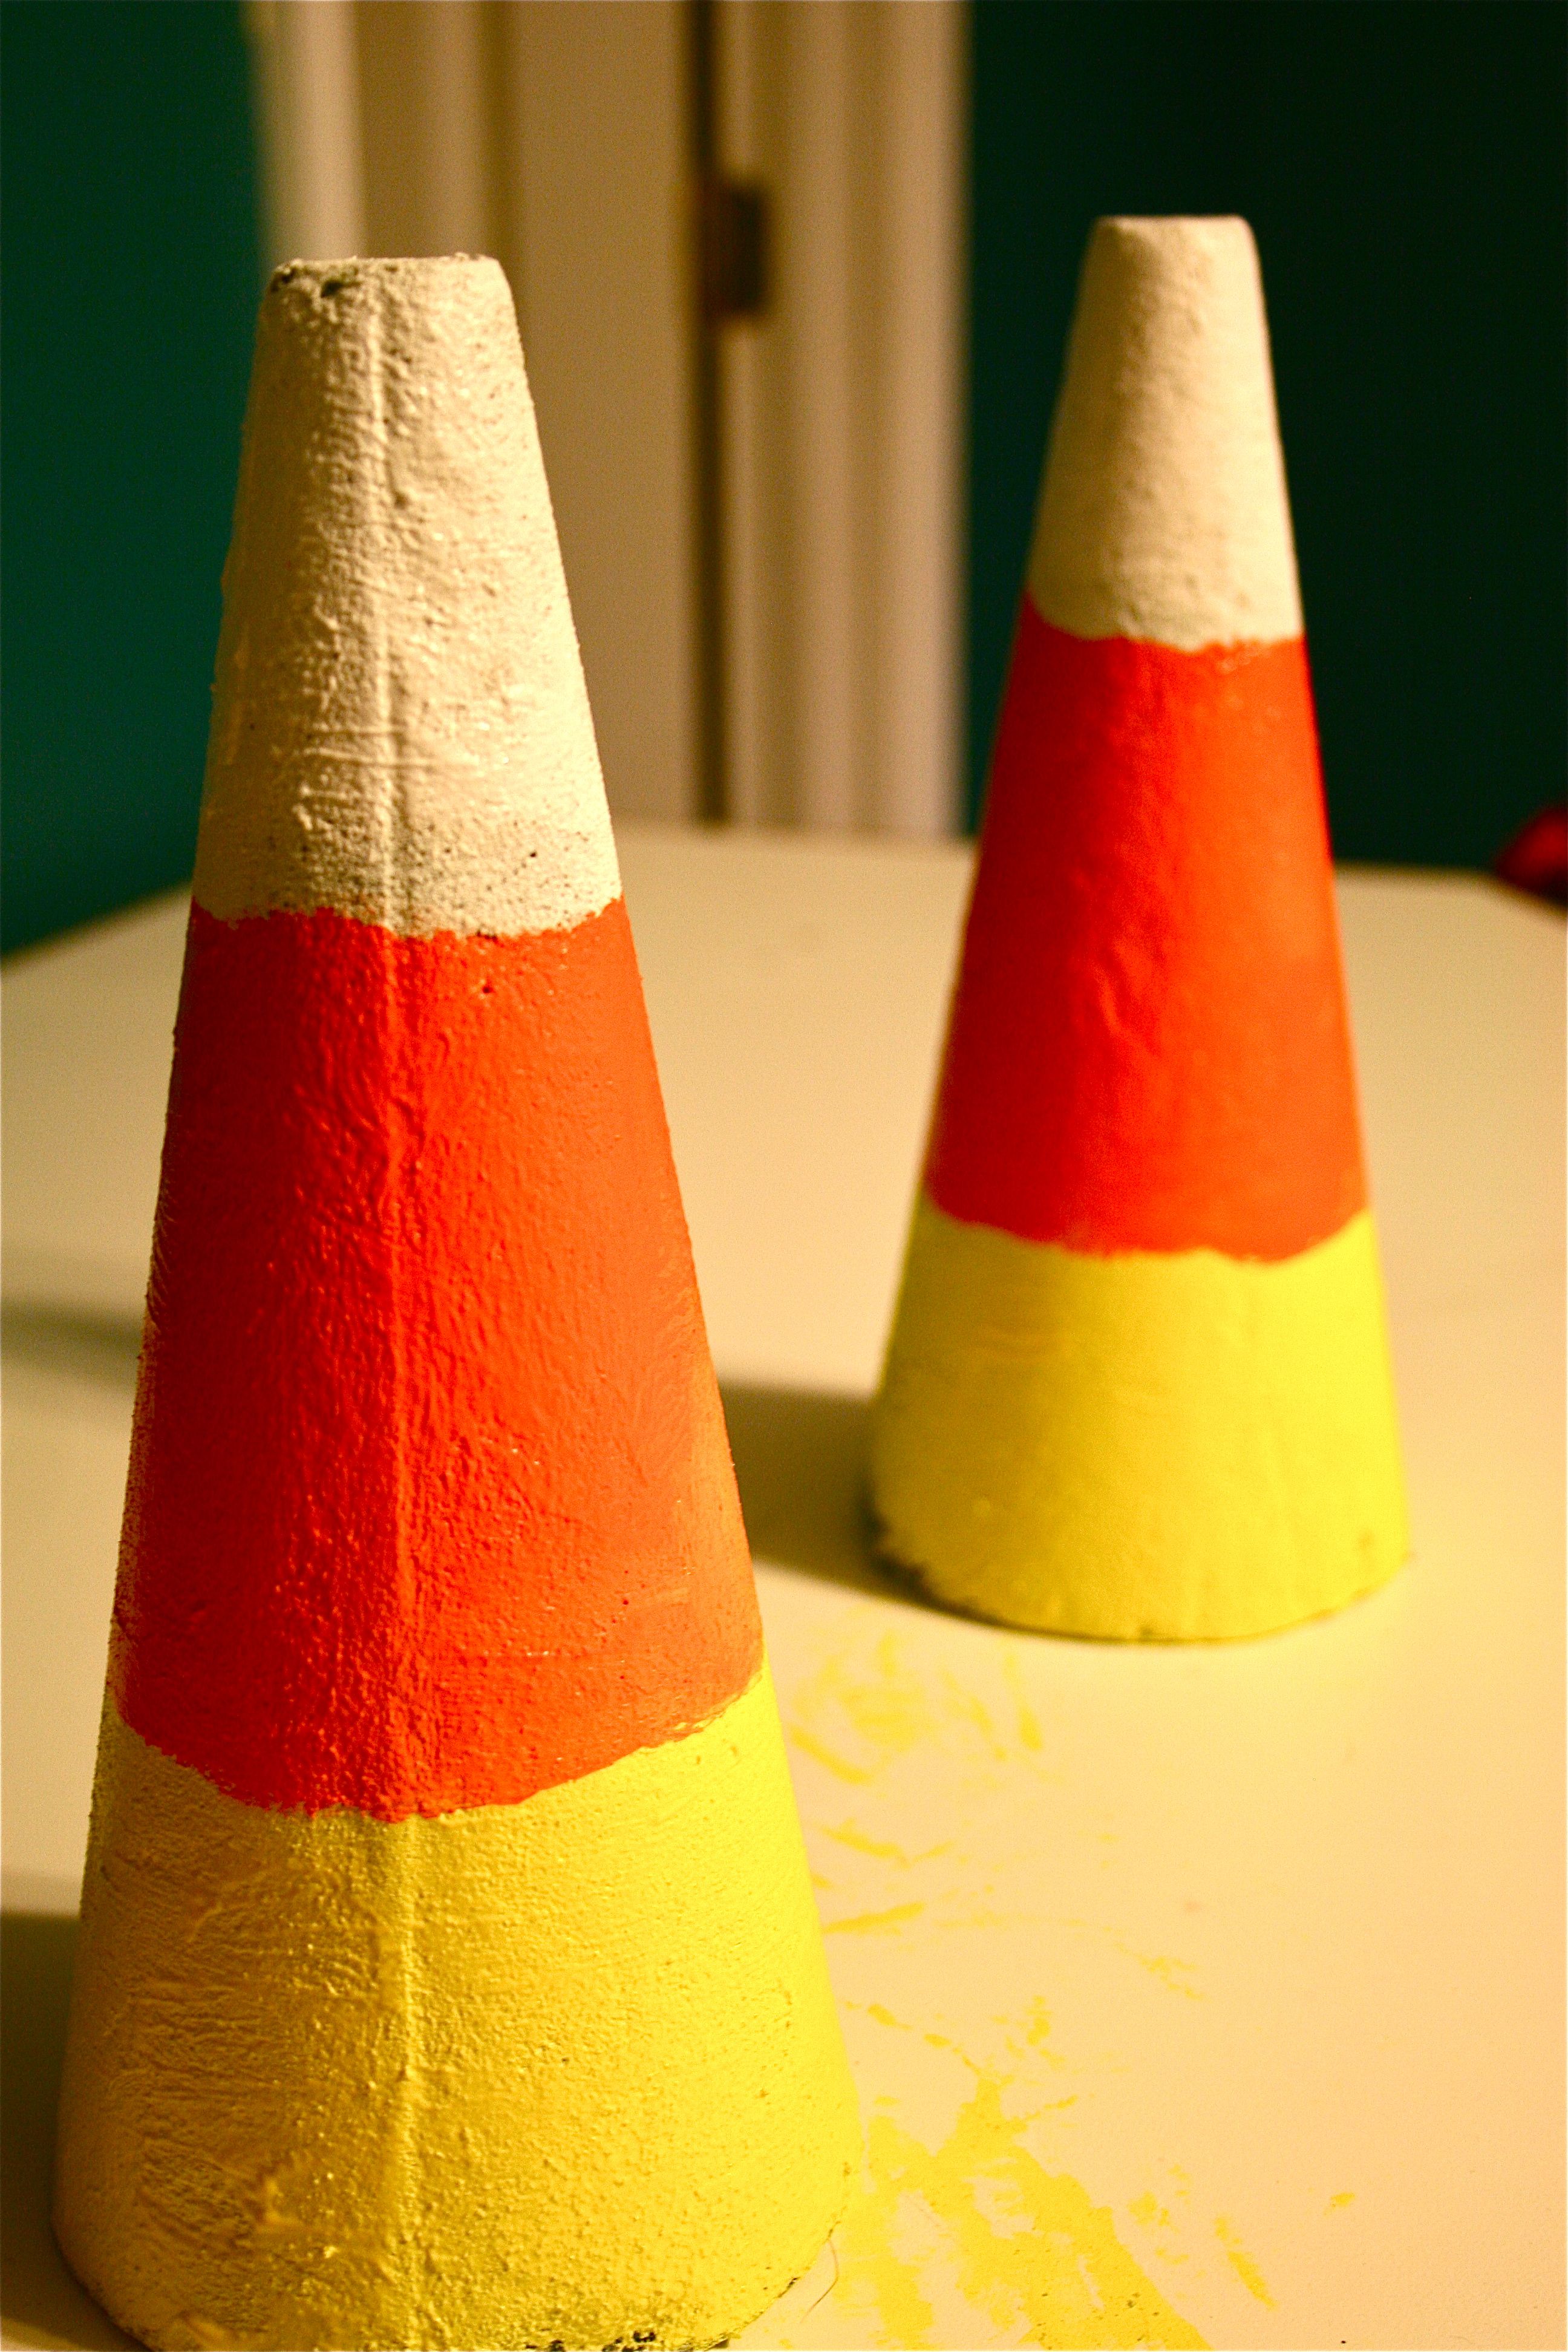
The tutorial pinned above used bottles as their candy corn forms, but I decided to go with two foam topiary forms that I found for about a dollar – They were the perfect size and shape.
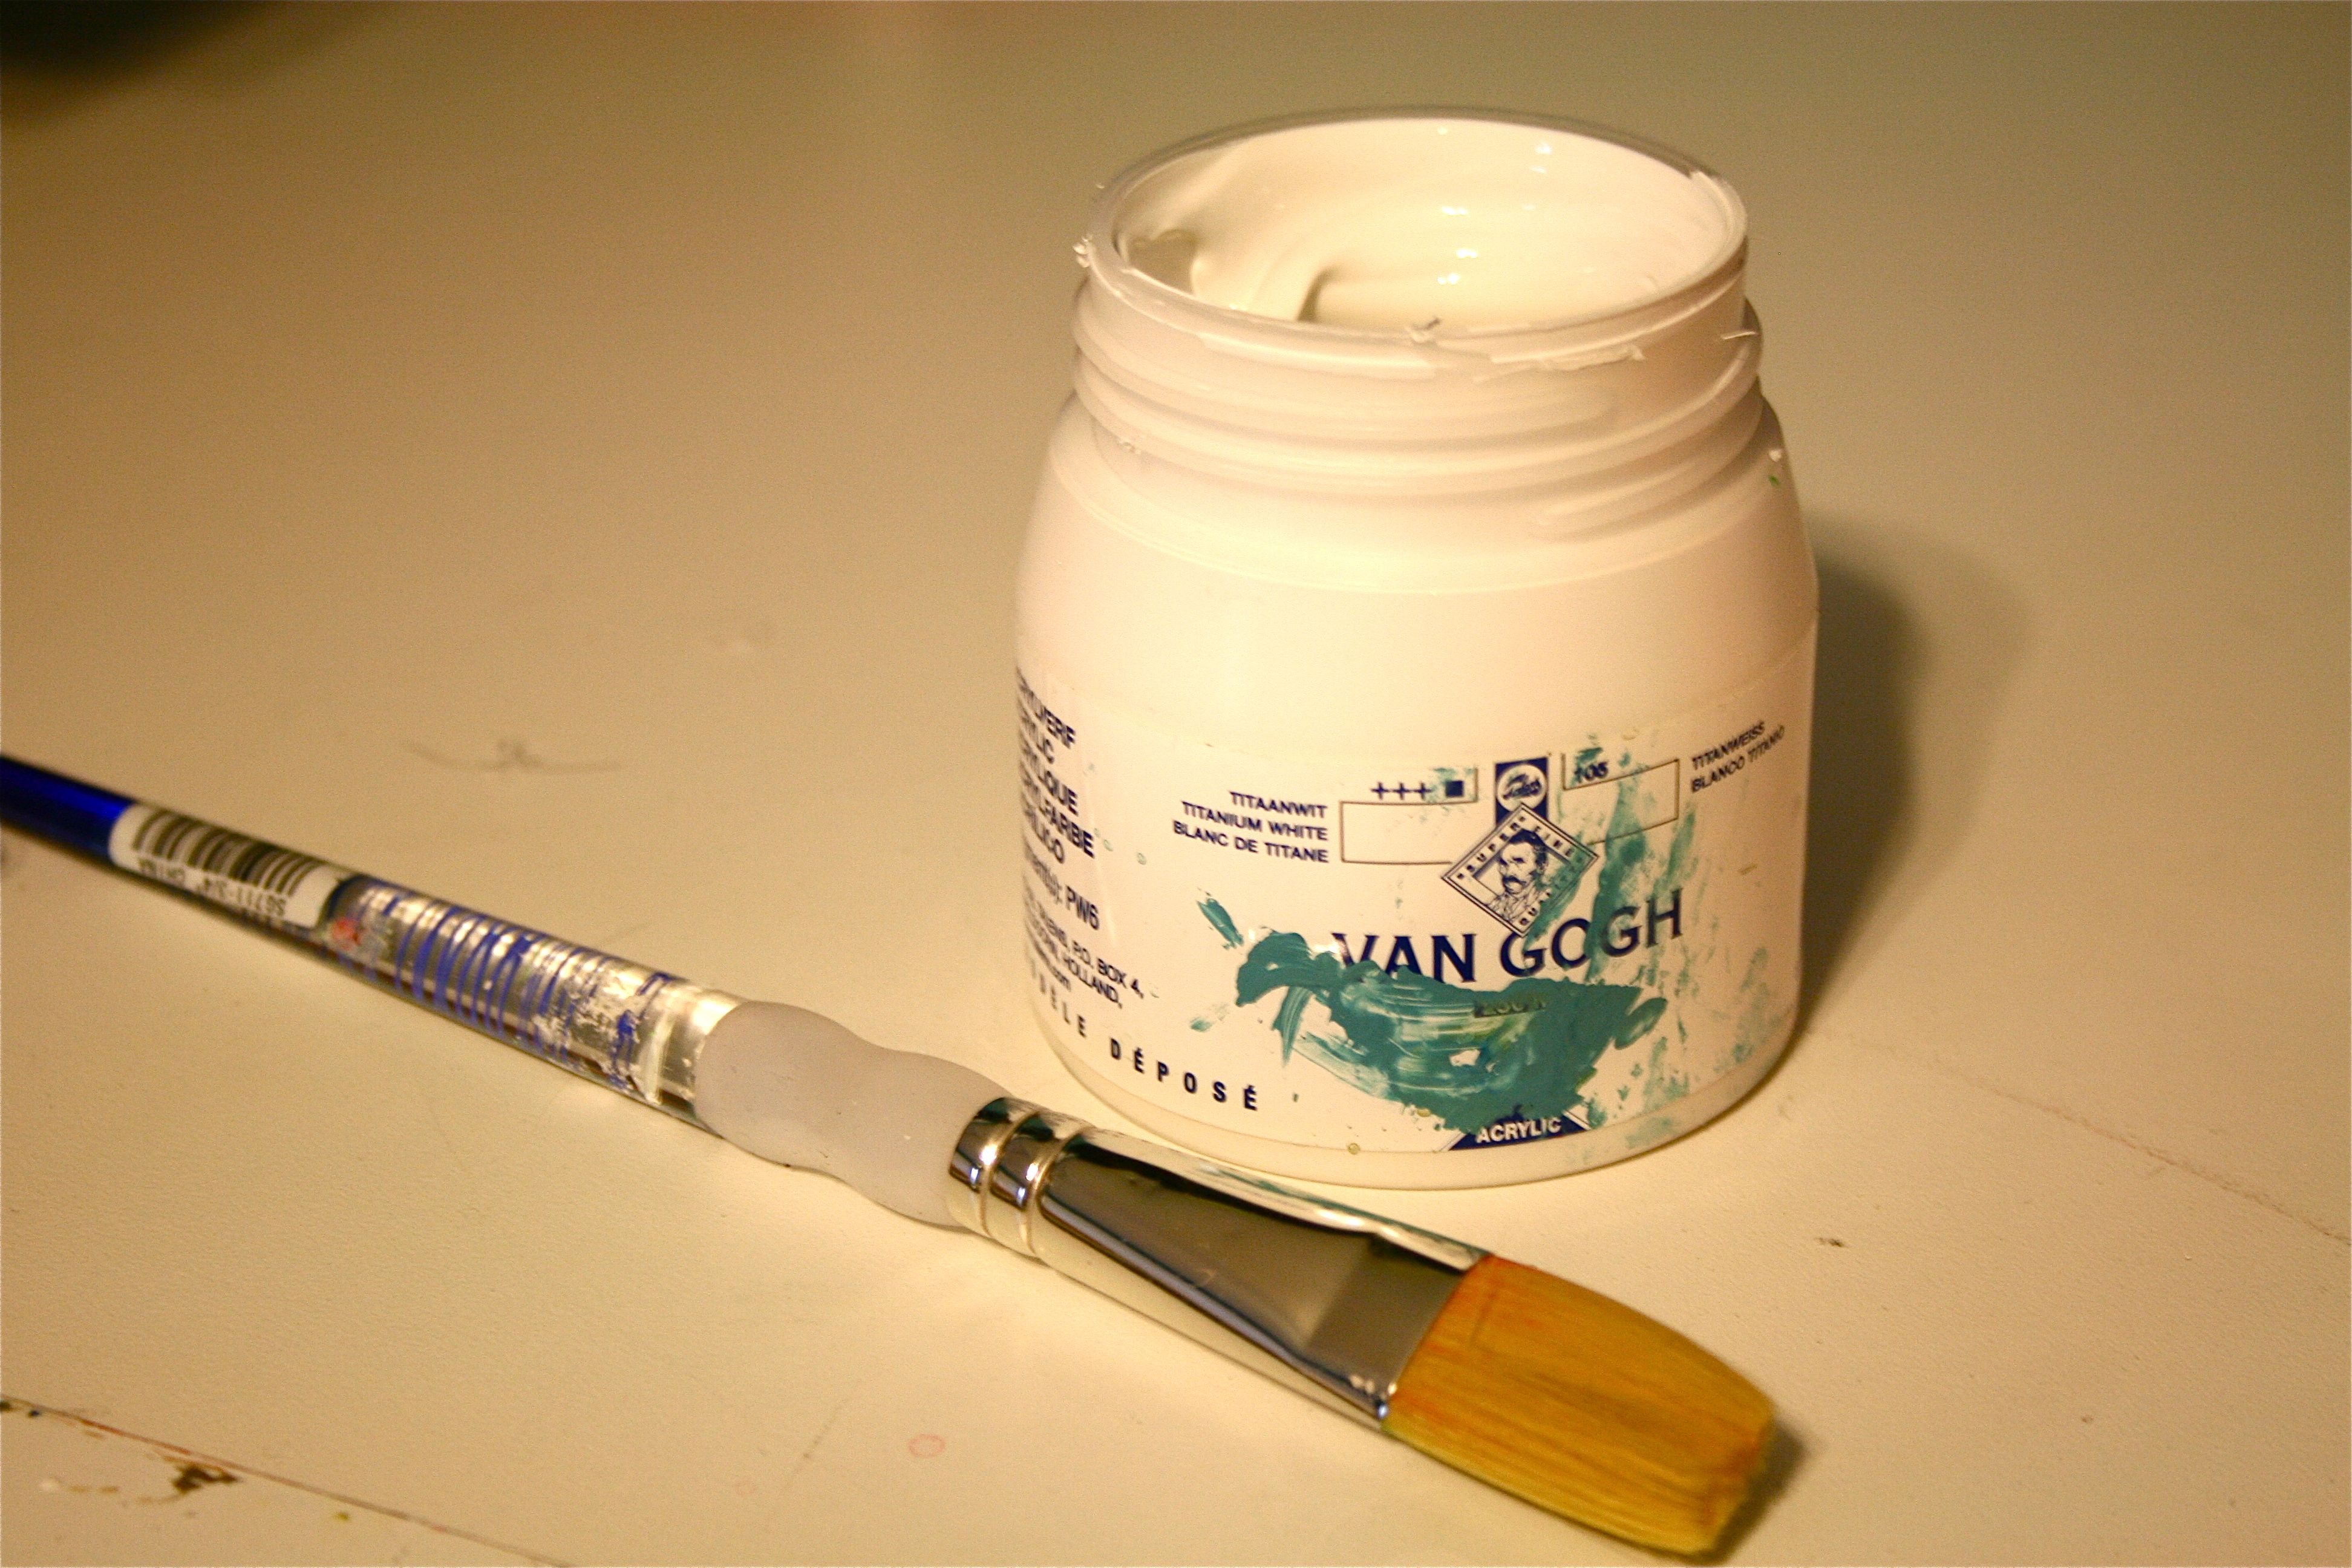
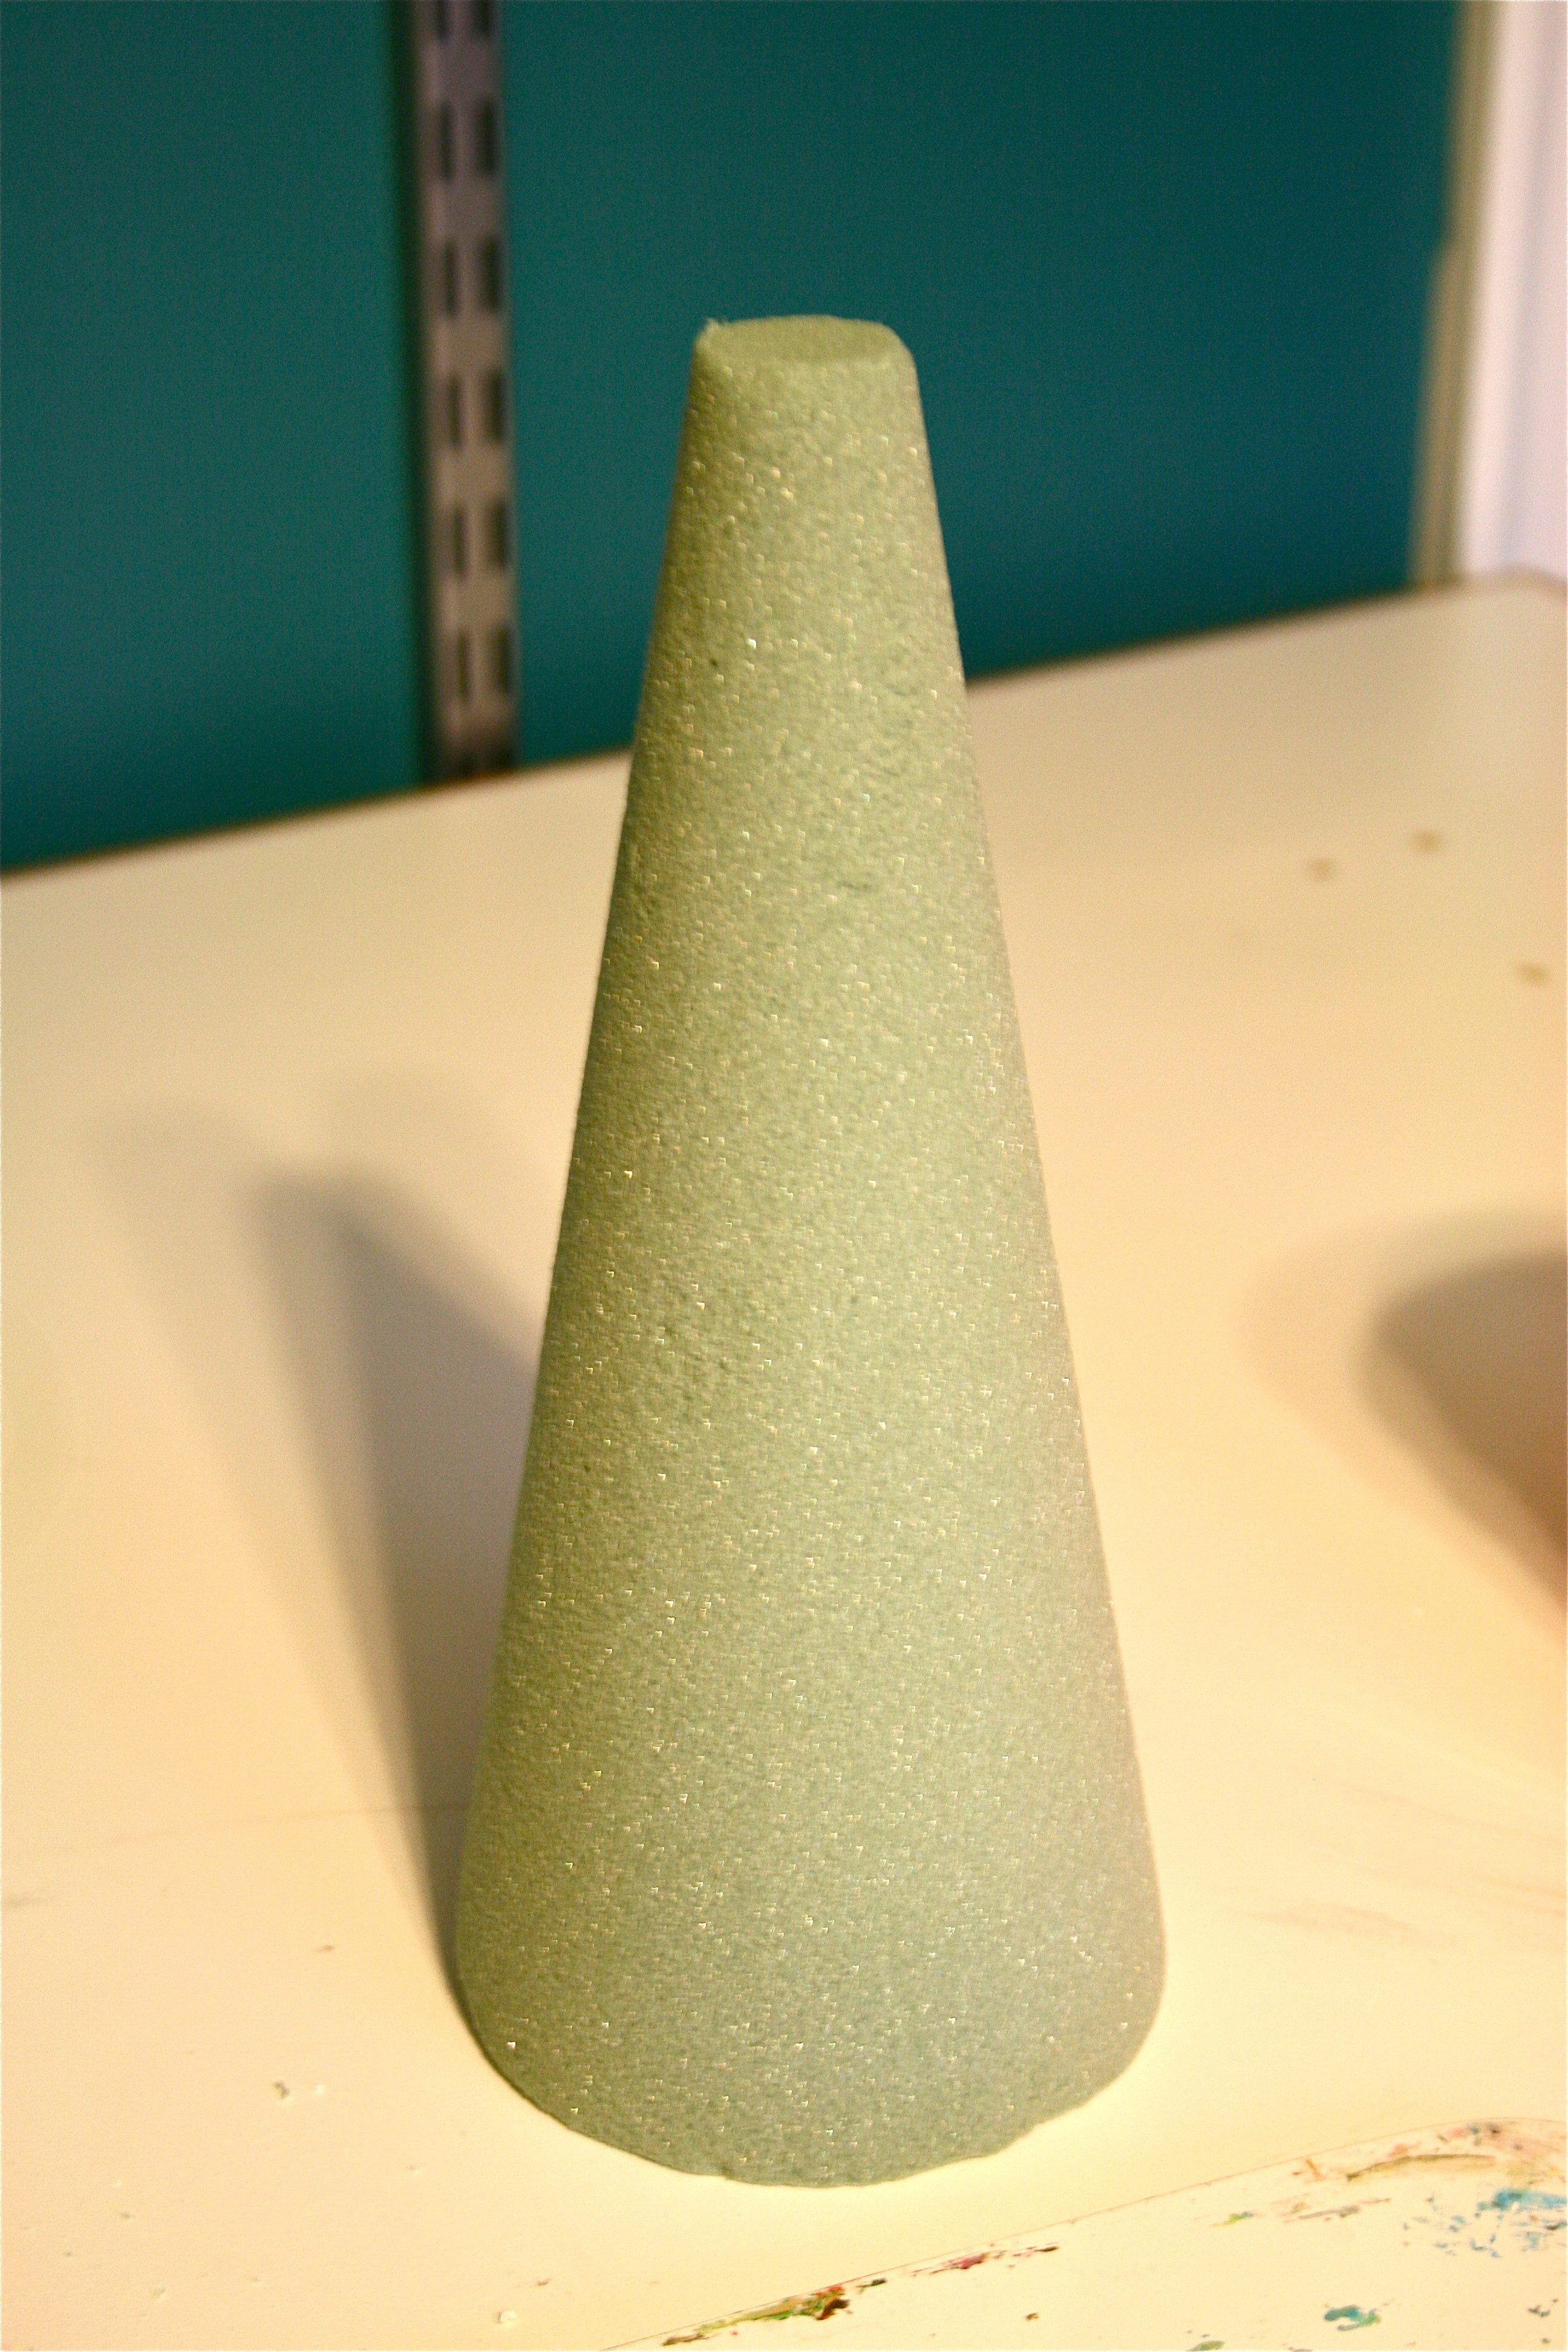
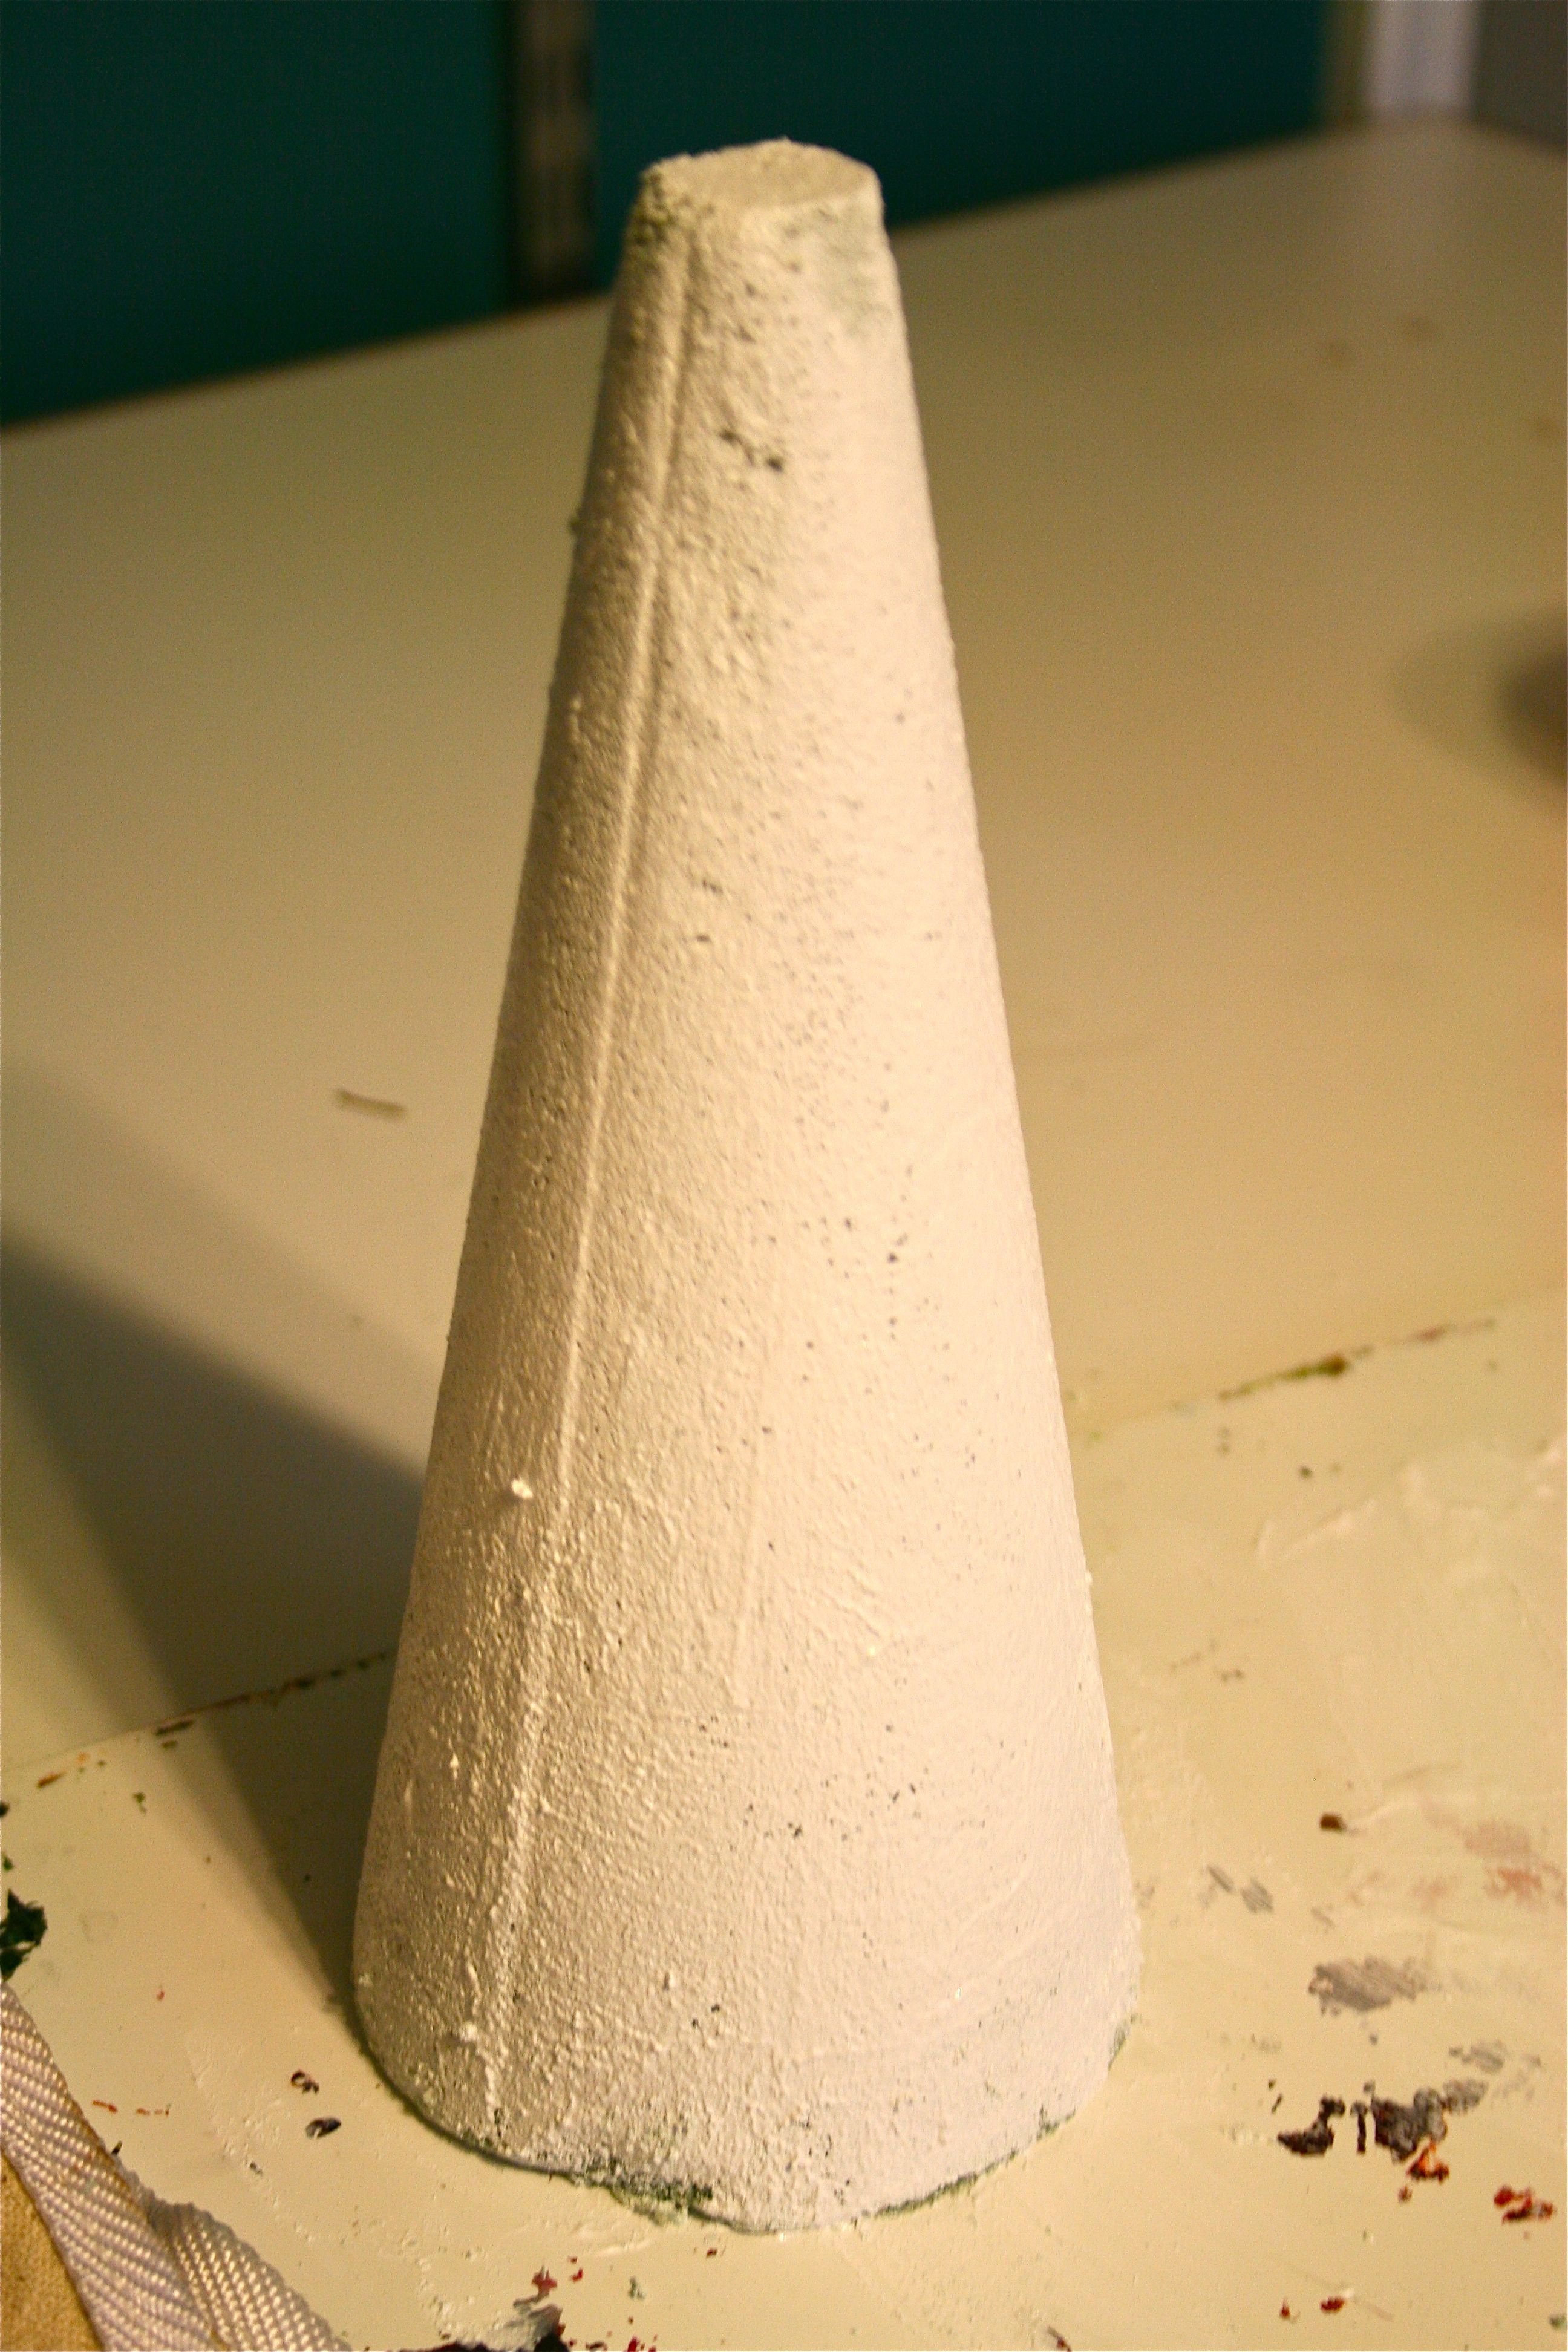
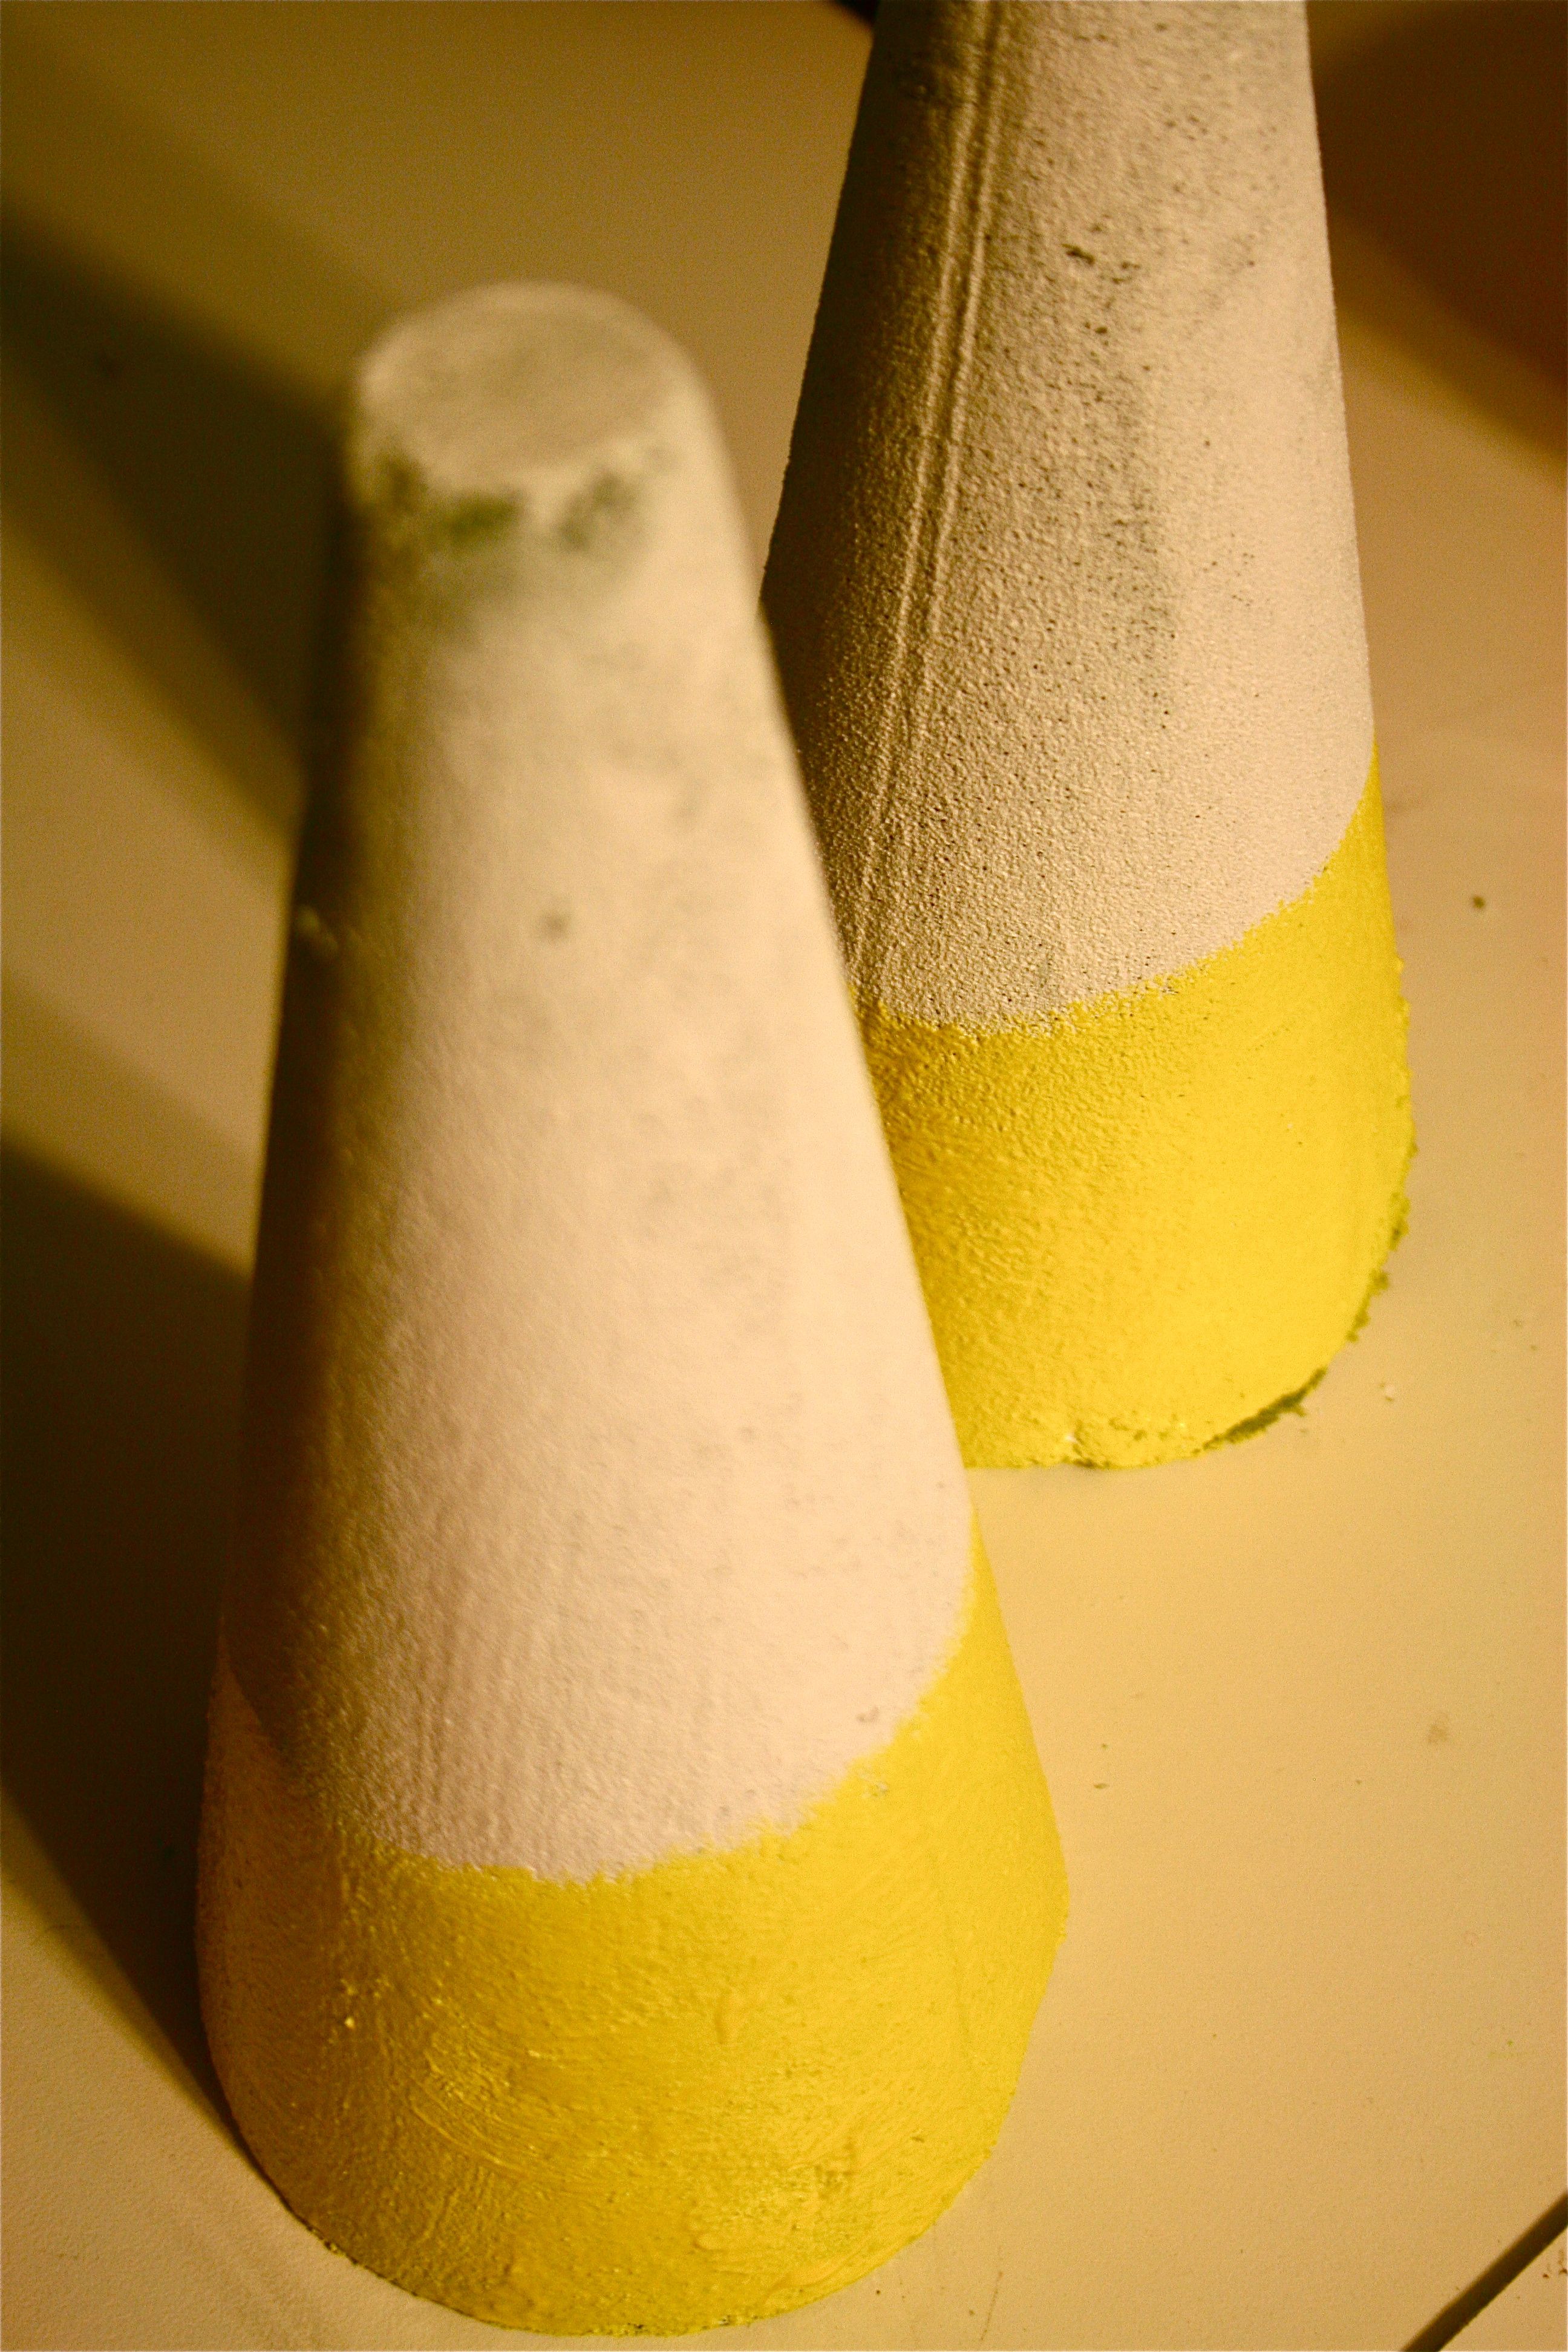
First, I gave them each a coat of white paint to cover the green foam. A lot of the foam came off on my paint brush because the topiary surface is so fragile. But once the first coat of paint was on and had time to dry, the surface hardened up enough to prevent more de-foaming.
Before:
And after:
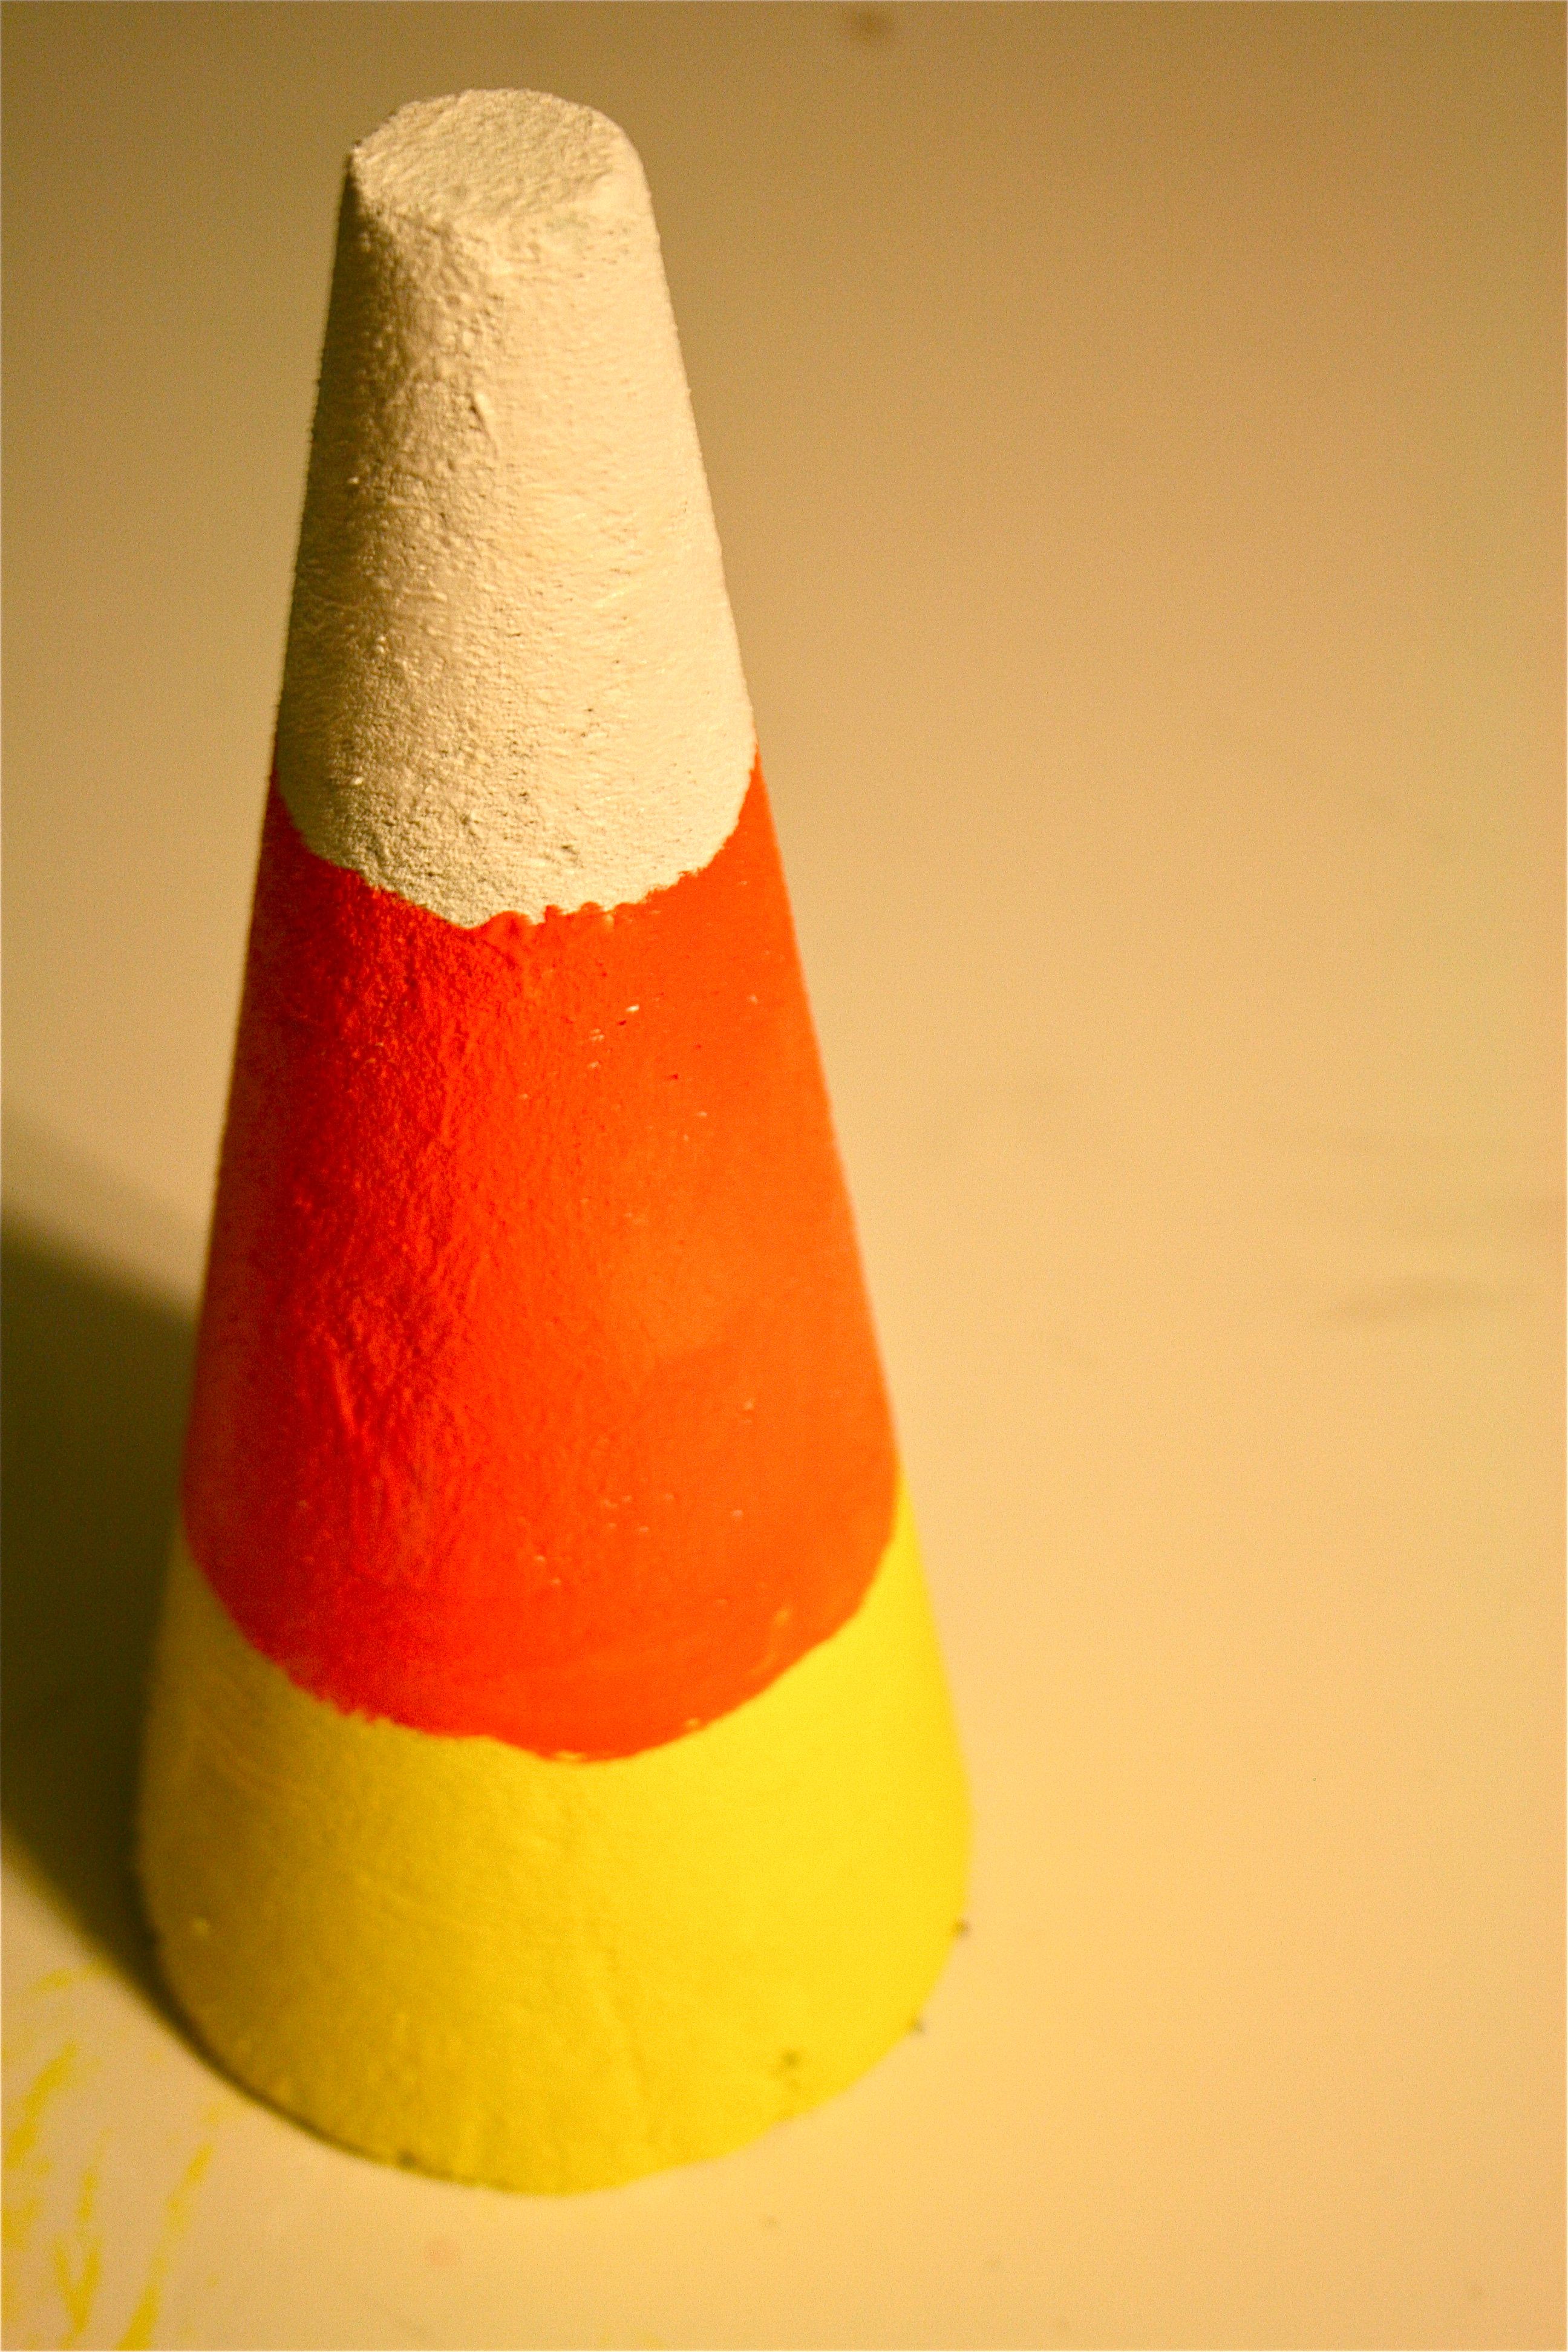
After the primer coat had a chance to dry for a couple of hours, I started at the bottom by painting on a ring of yellow…
And then orange!
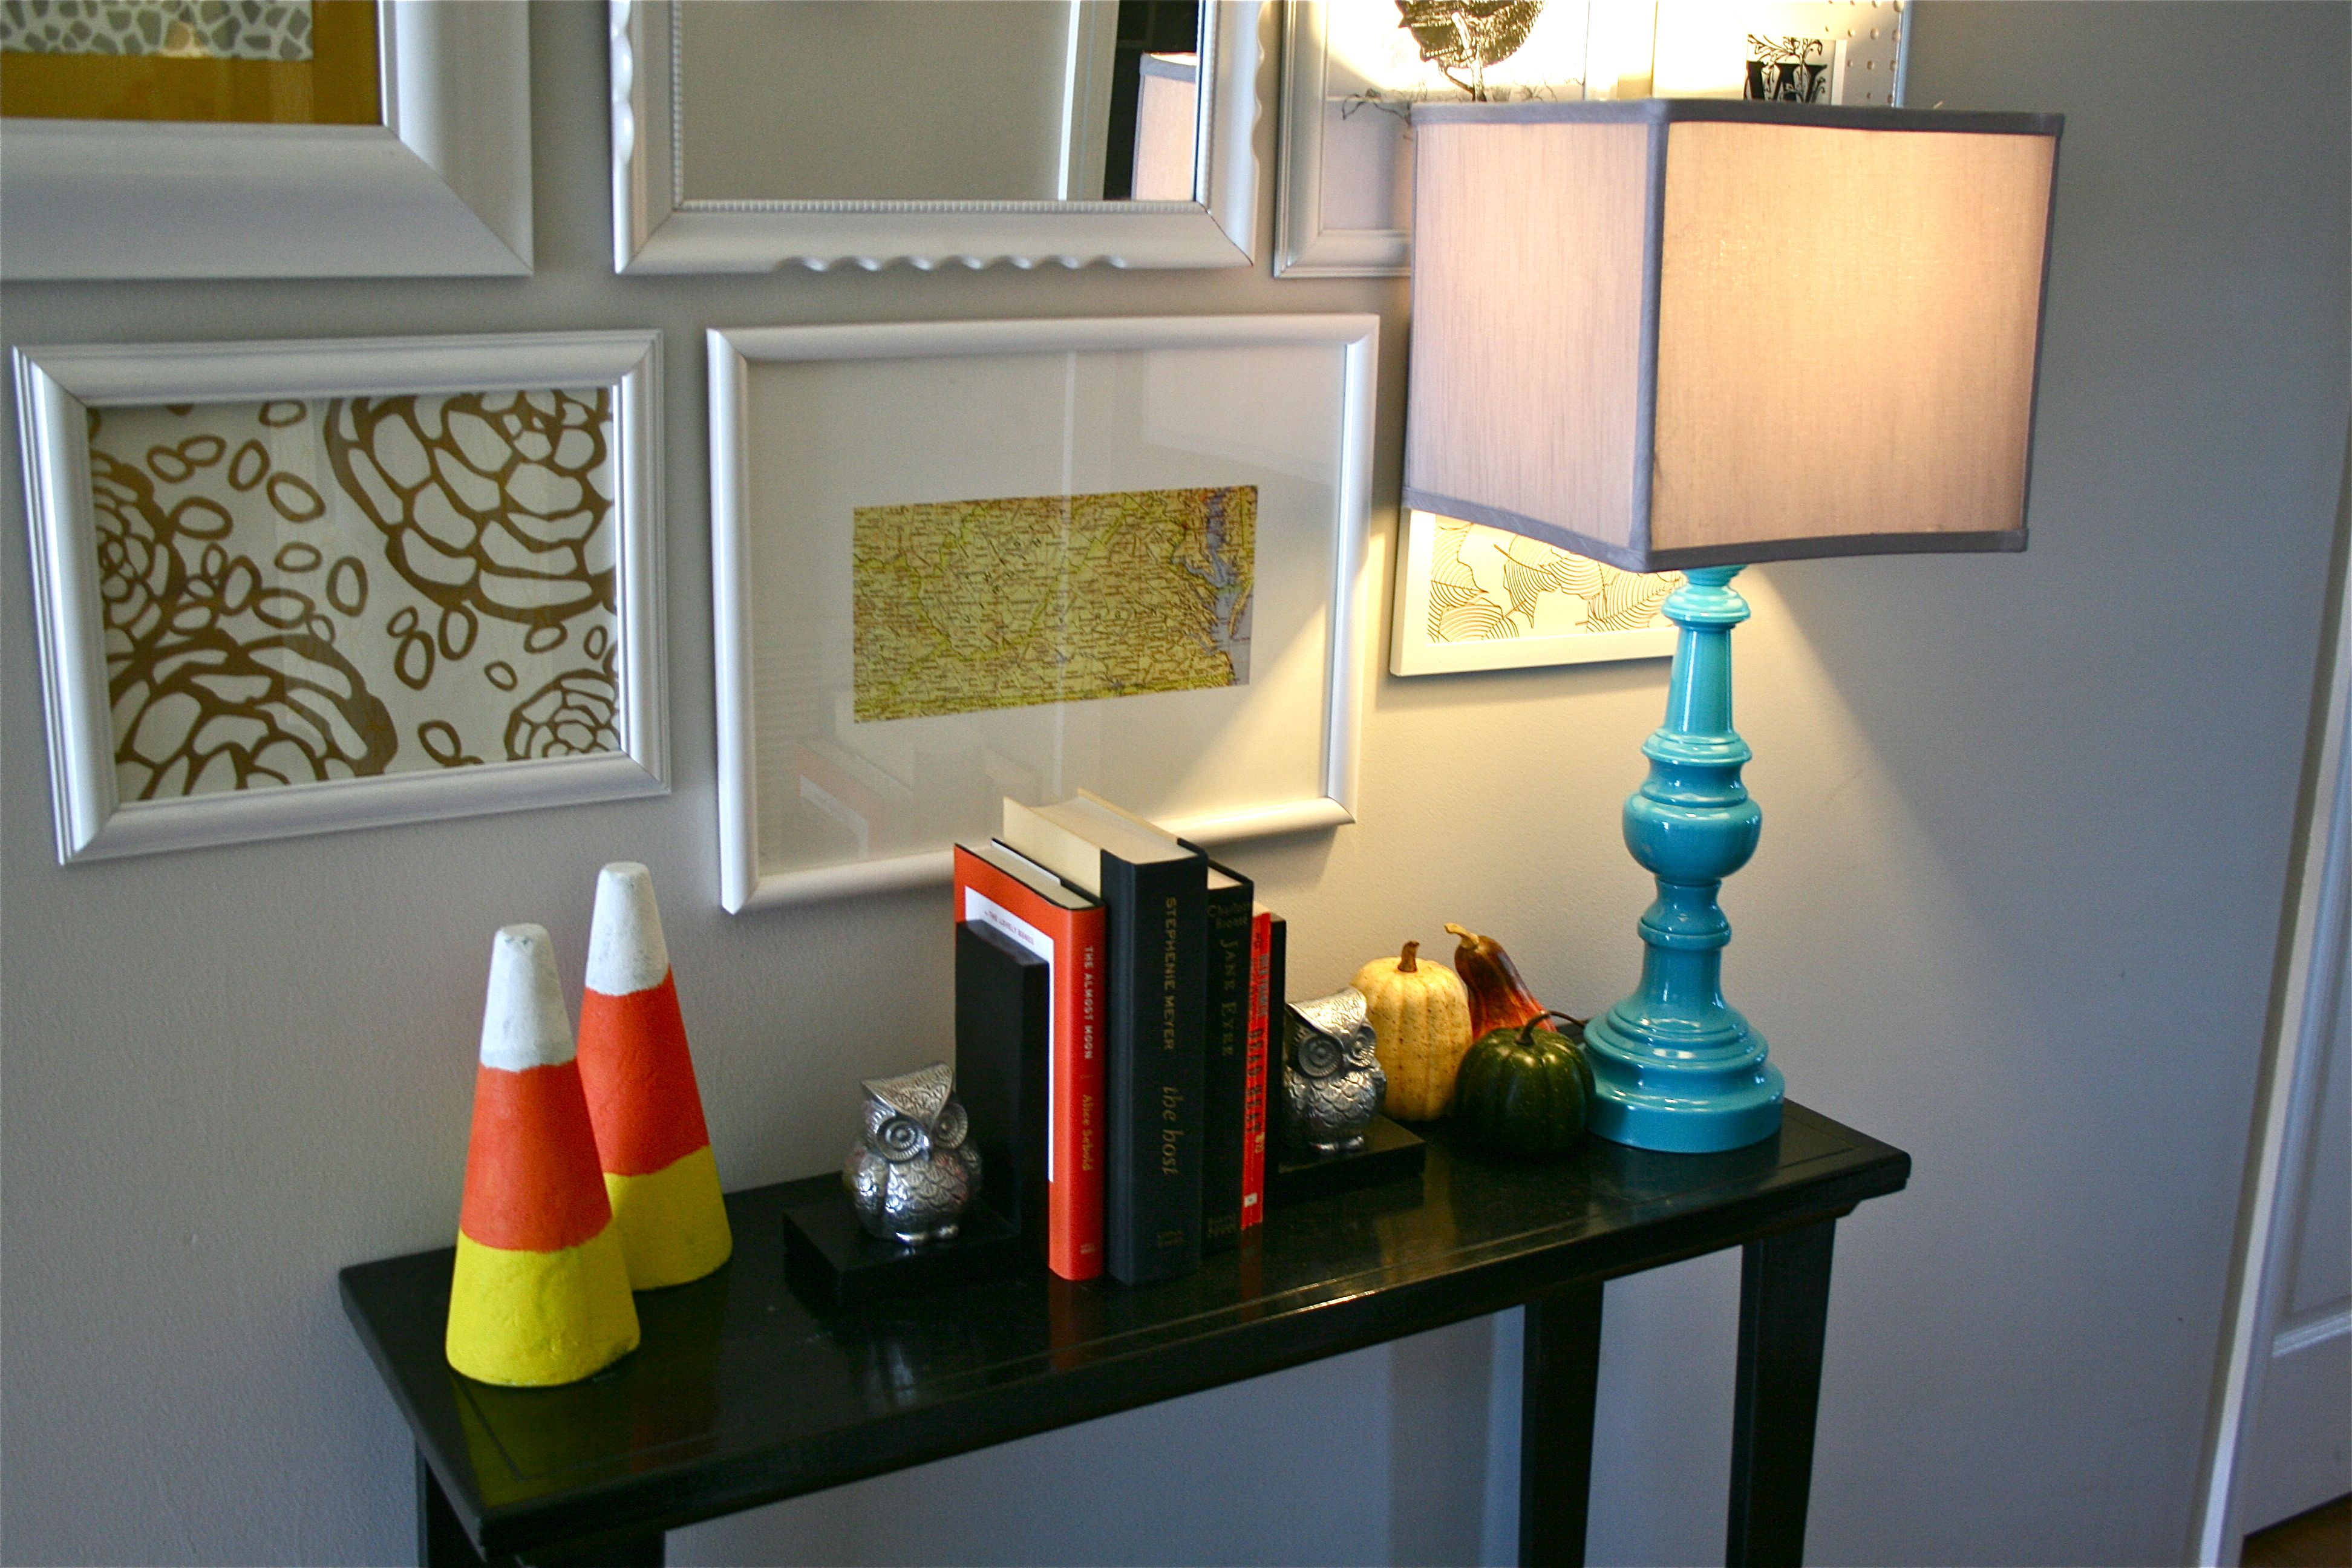
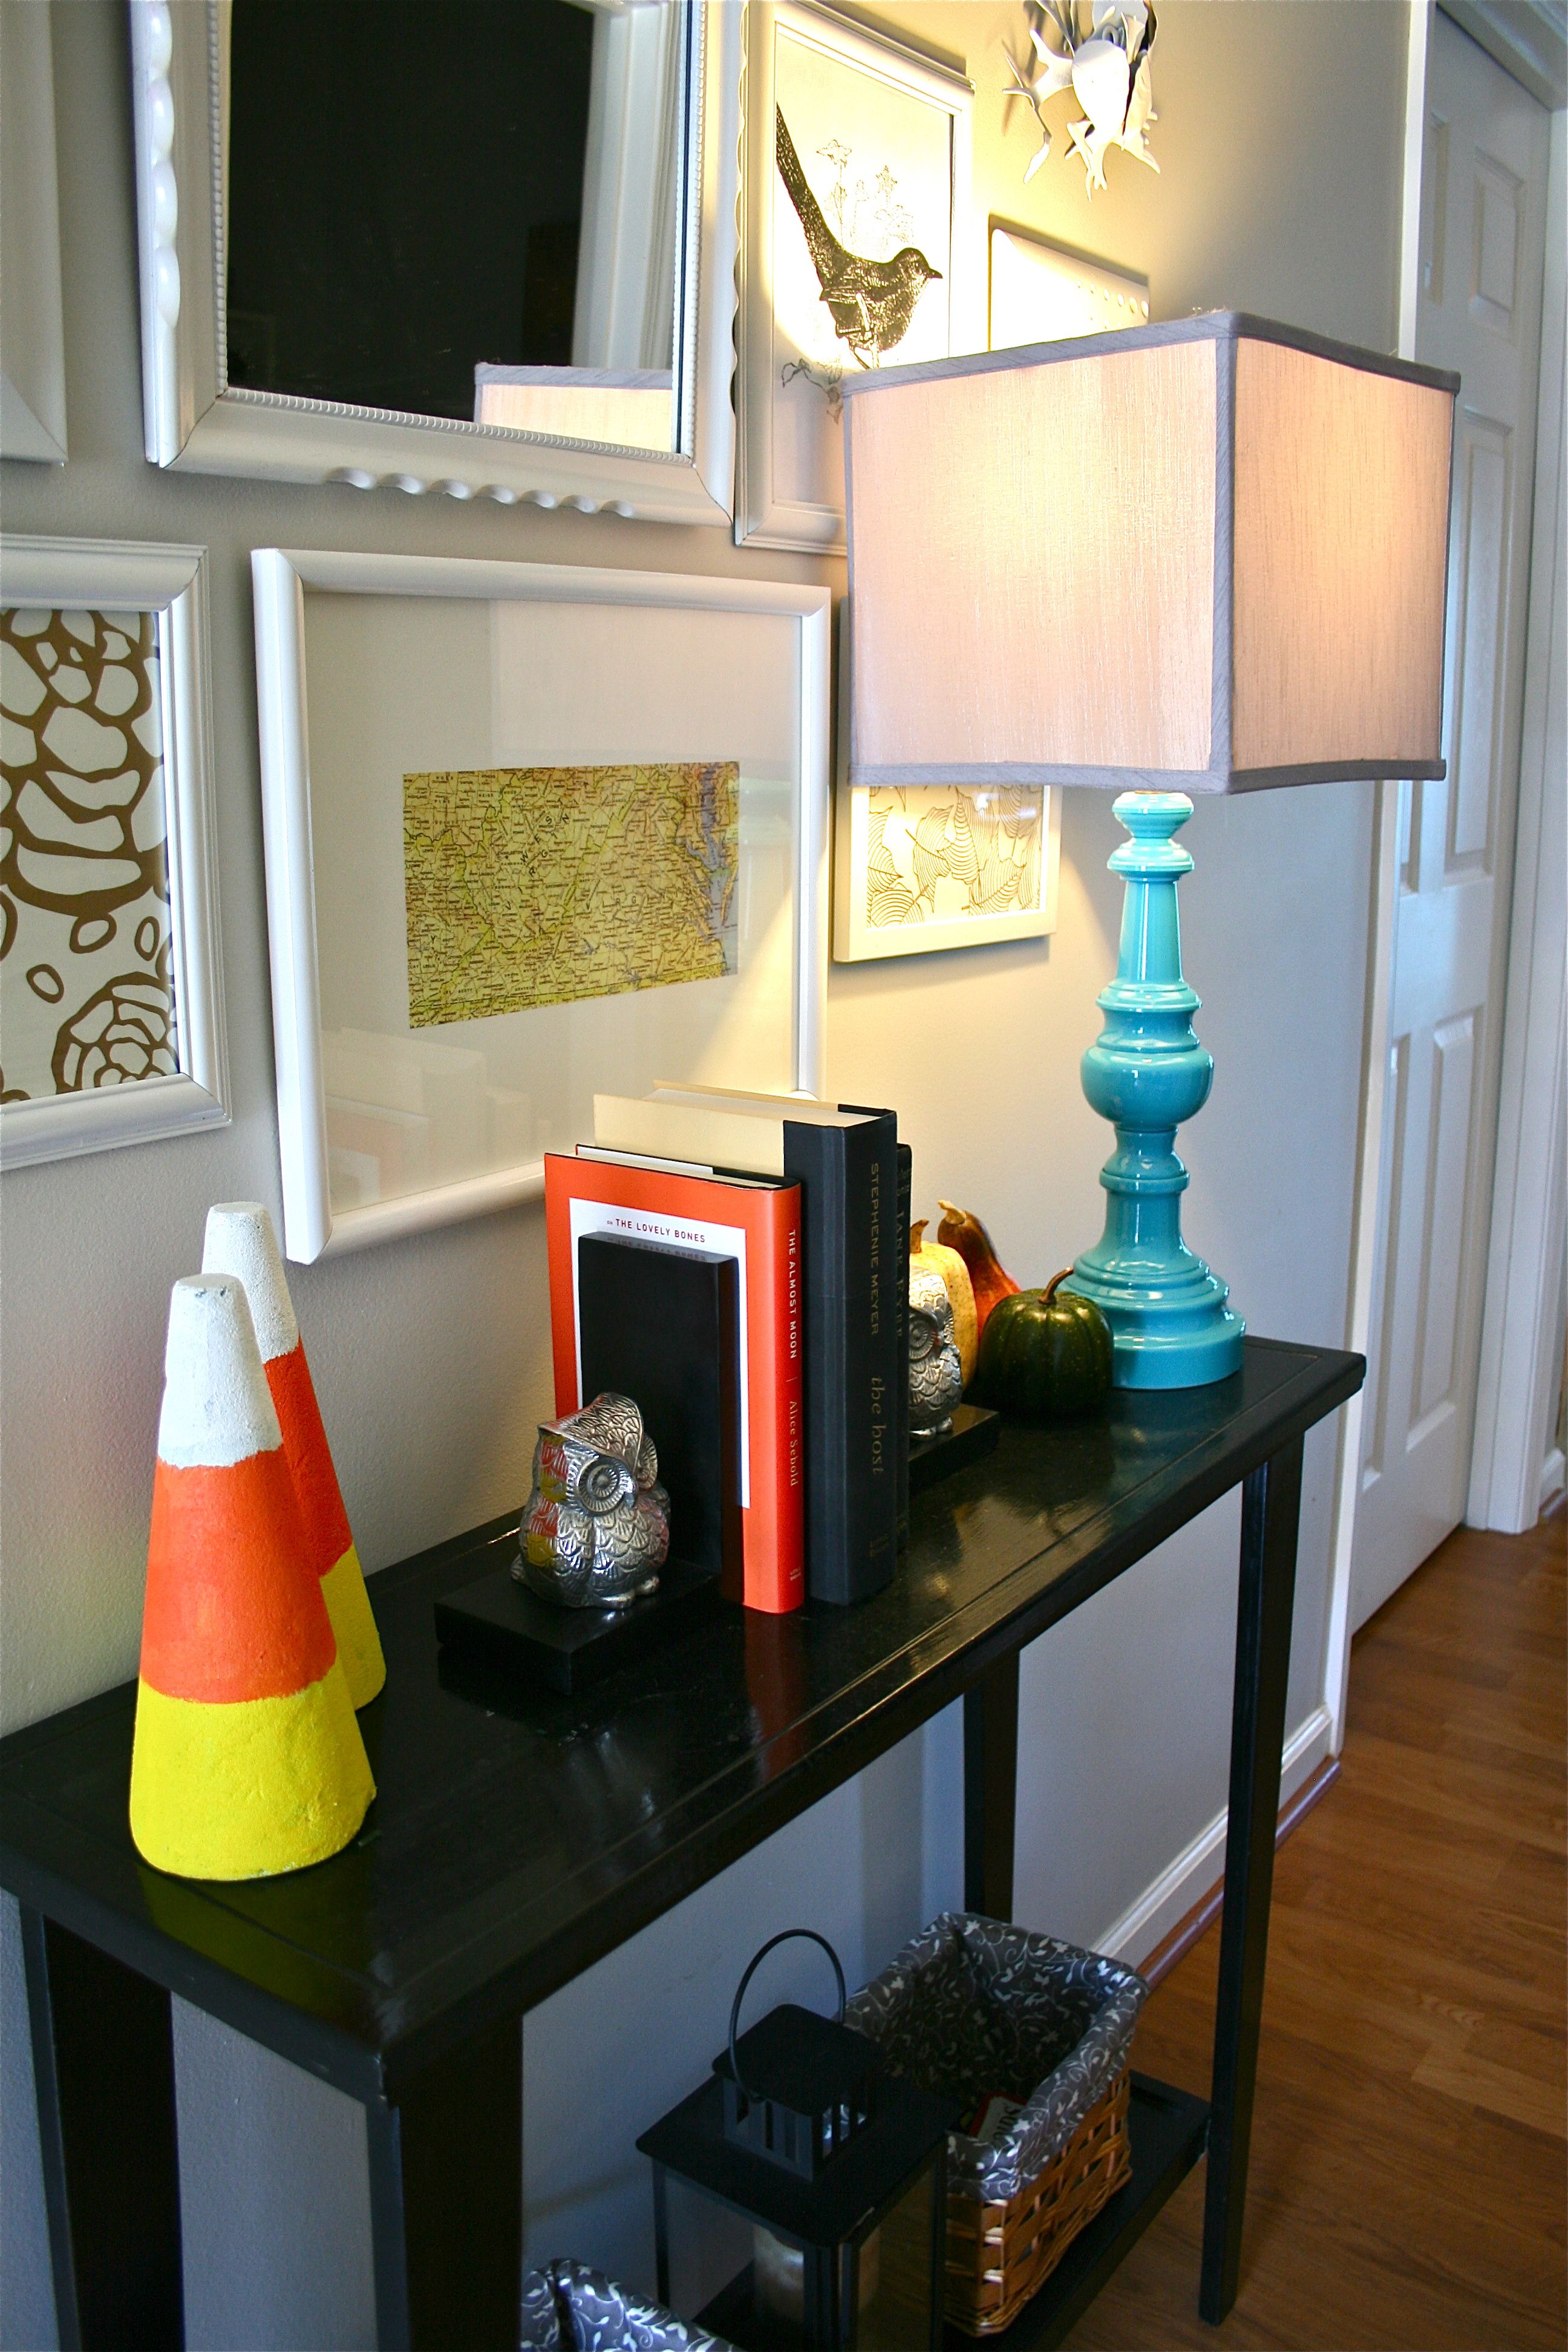
It was literally that simple…And since I had all of the paint on hand already, the project cost came to about $2. Awesome! If I am able to store them safely enough with a bunch of padding so the foam doesn’t dent, I think they will definitely stand the test of time until next year. They were a cute addition to our entry table, which also featured a collection of books in Halloween colors (black and orange of course) and a few reusable faux gourds from Wal Mart for 97 cents a piece. Not a bad set up for $5 worth of accessories!
Next up, we have the ever-popular bleeding candles…I LOVE the end result of this project! Not sure why they excite me so much, but I just think they look really neat. Plus the cost was under $2! Gotta love all of these inexpensive decorations…
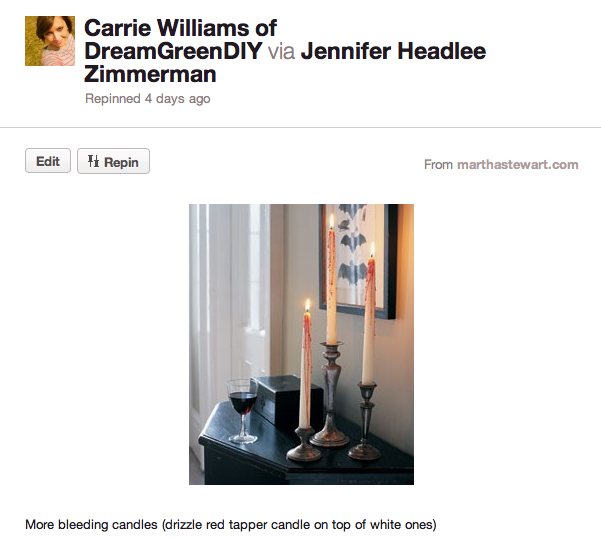
Pin Source: Martha Stewart
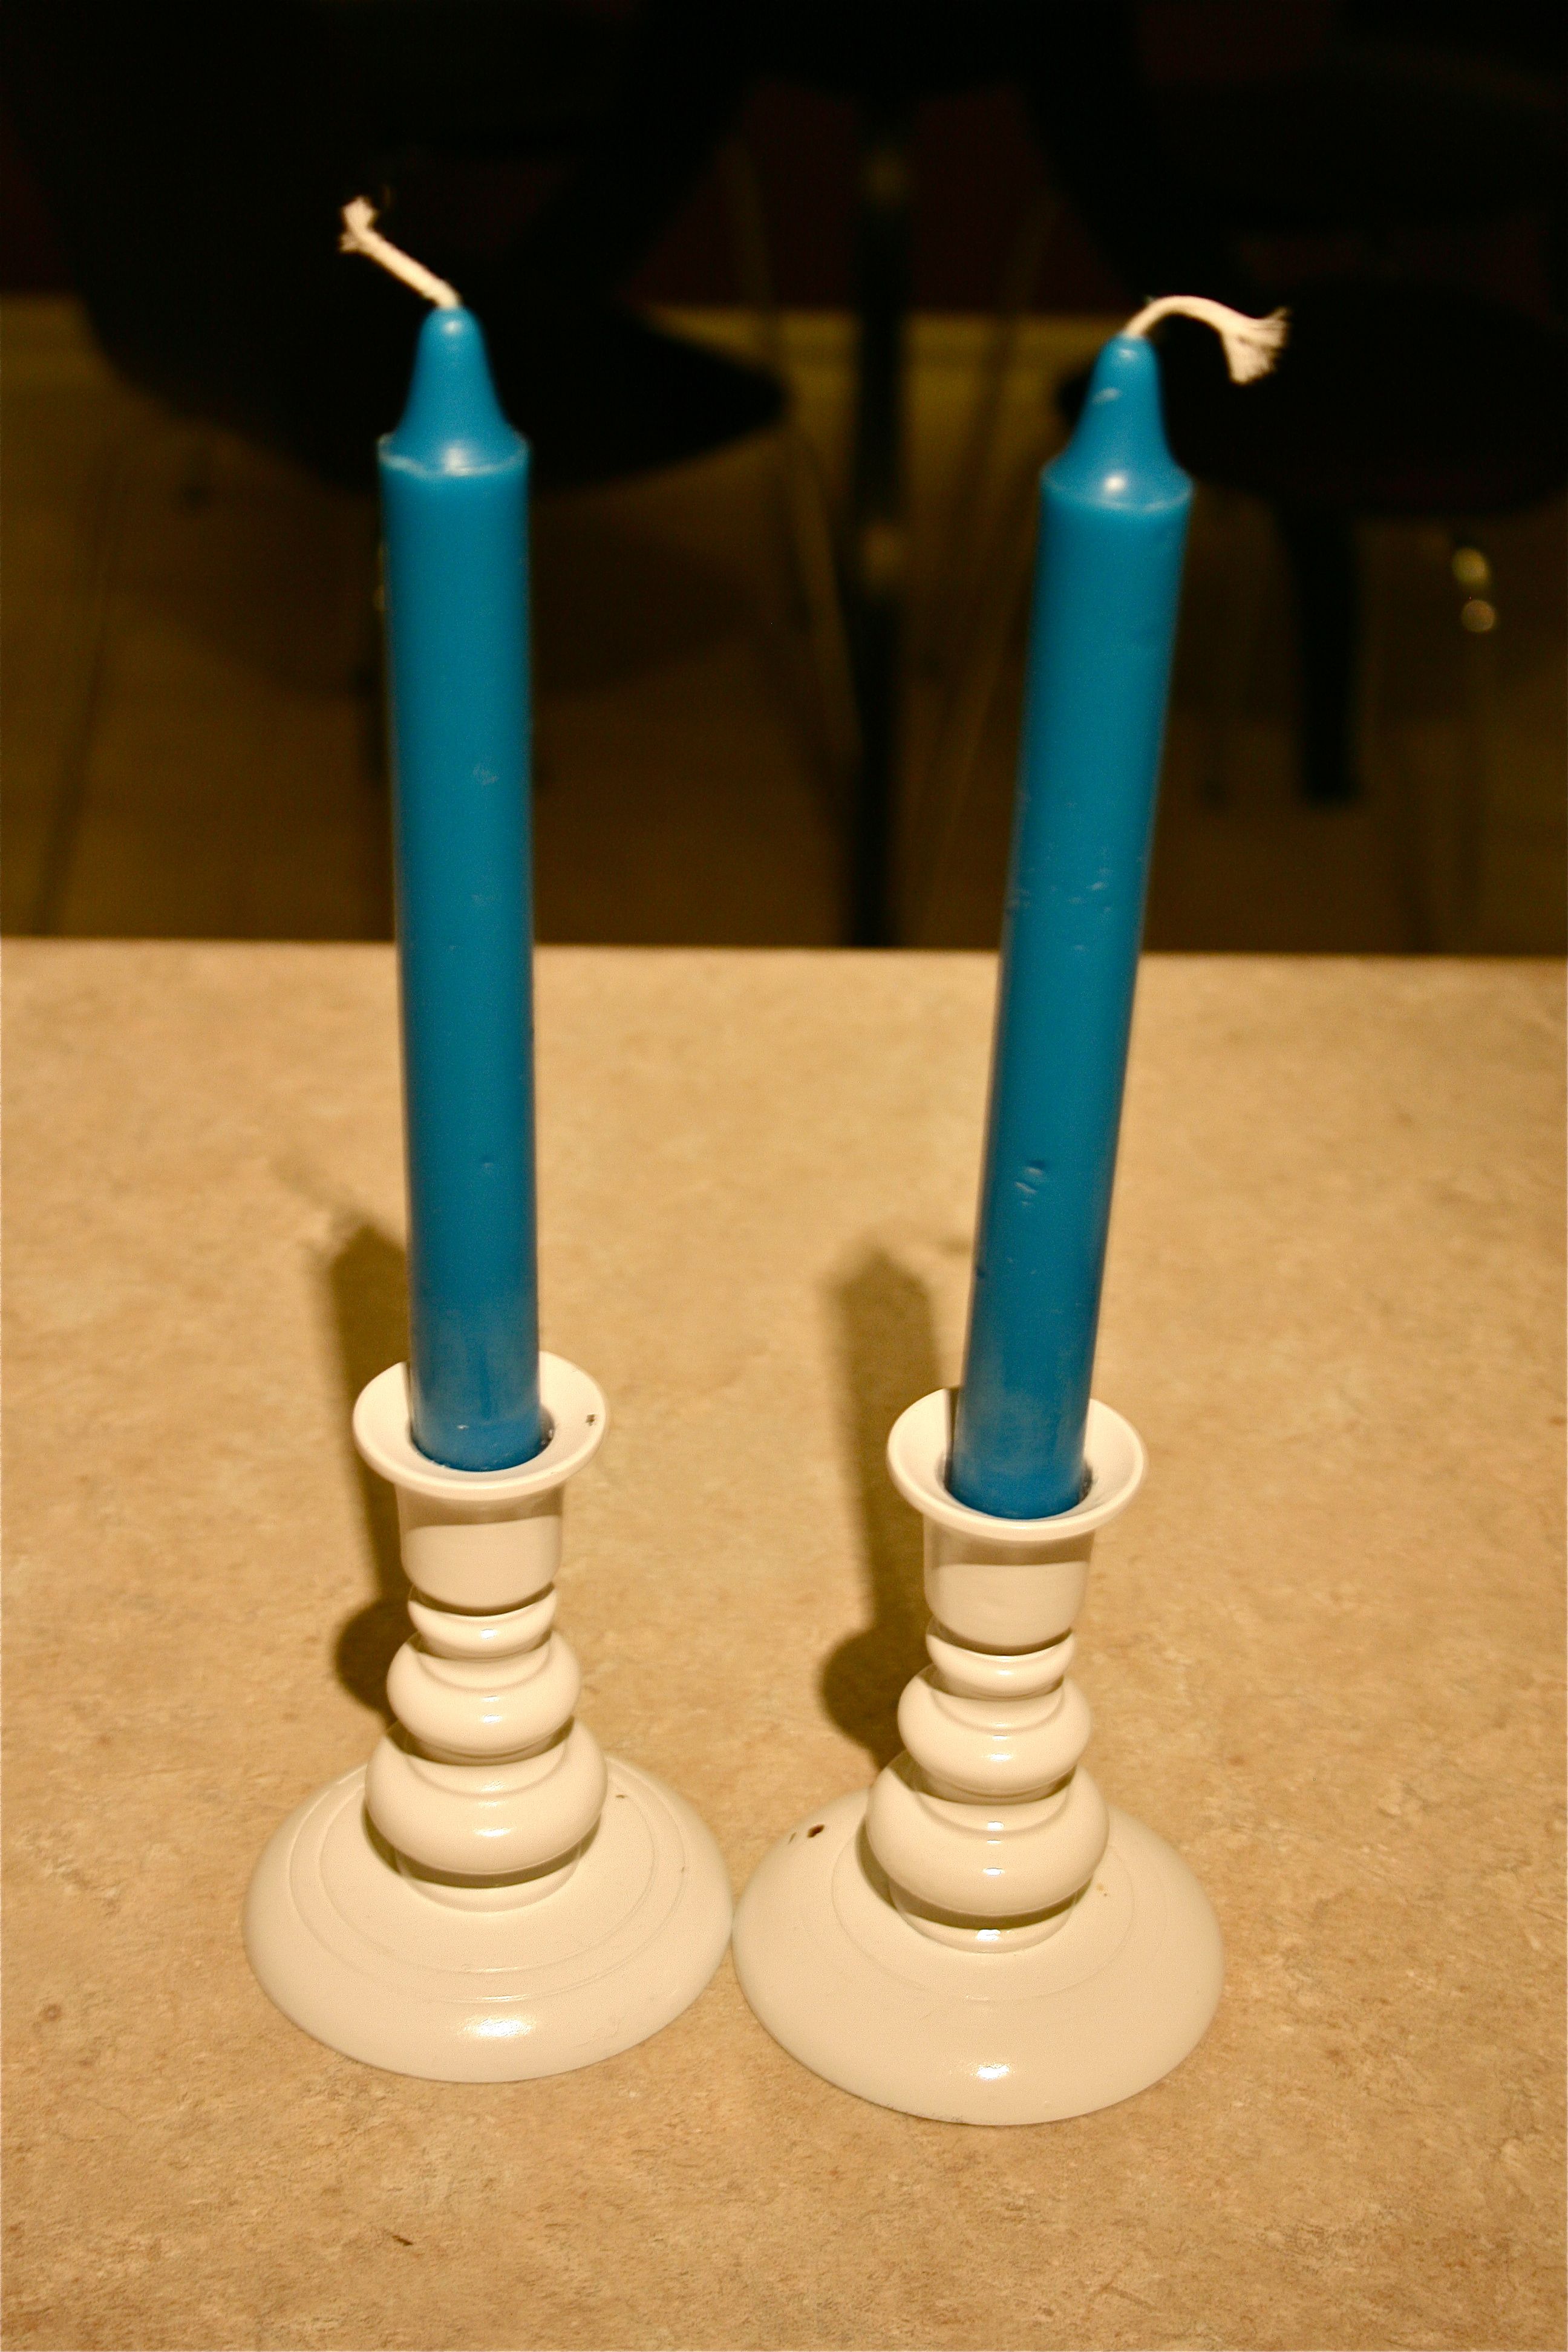
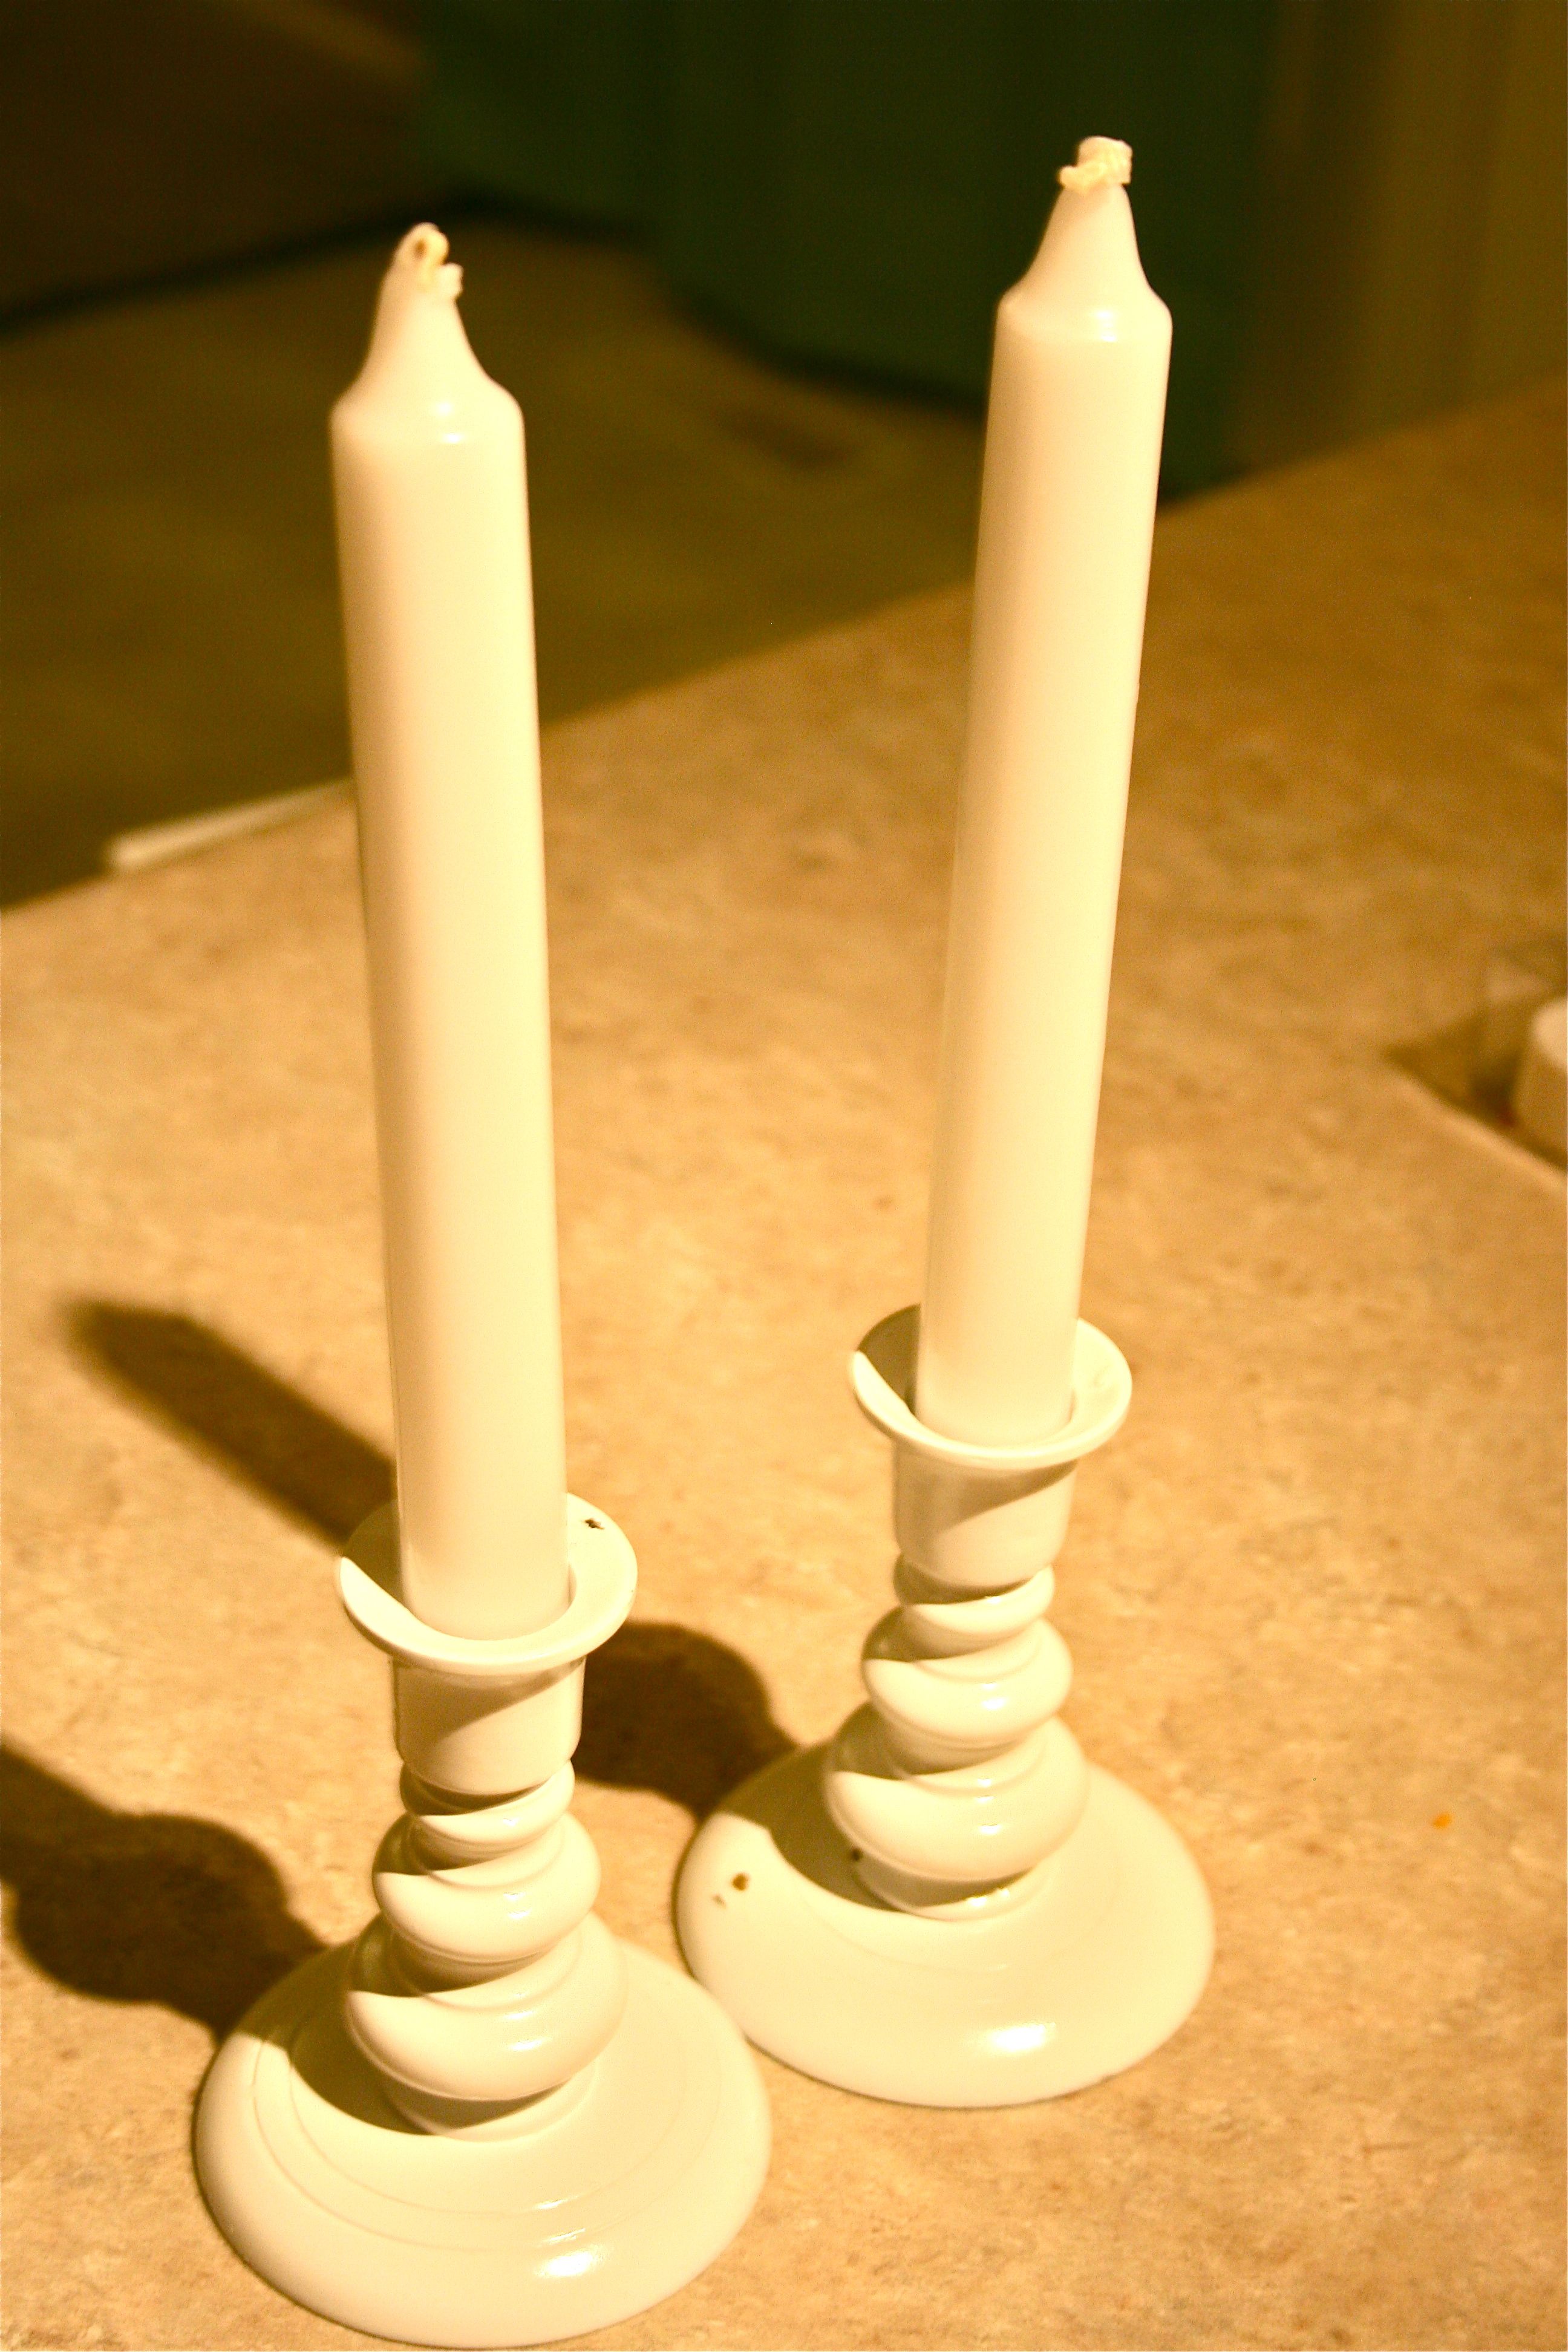
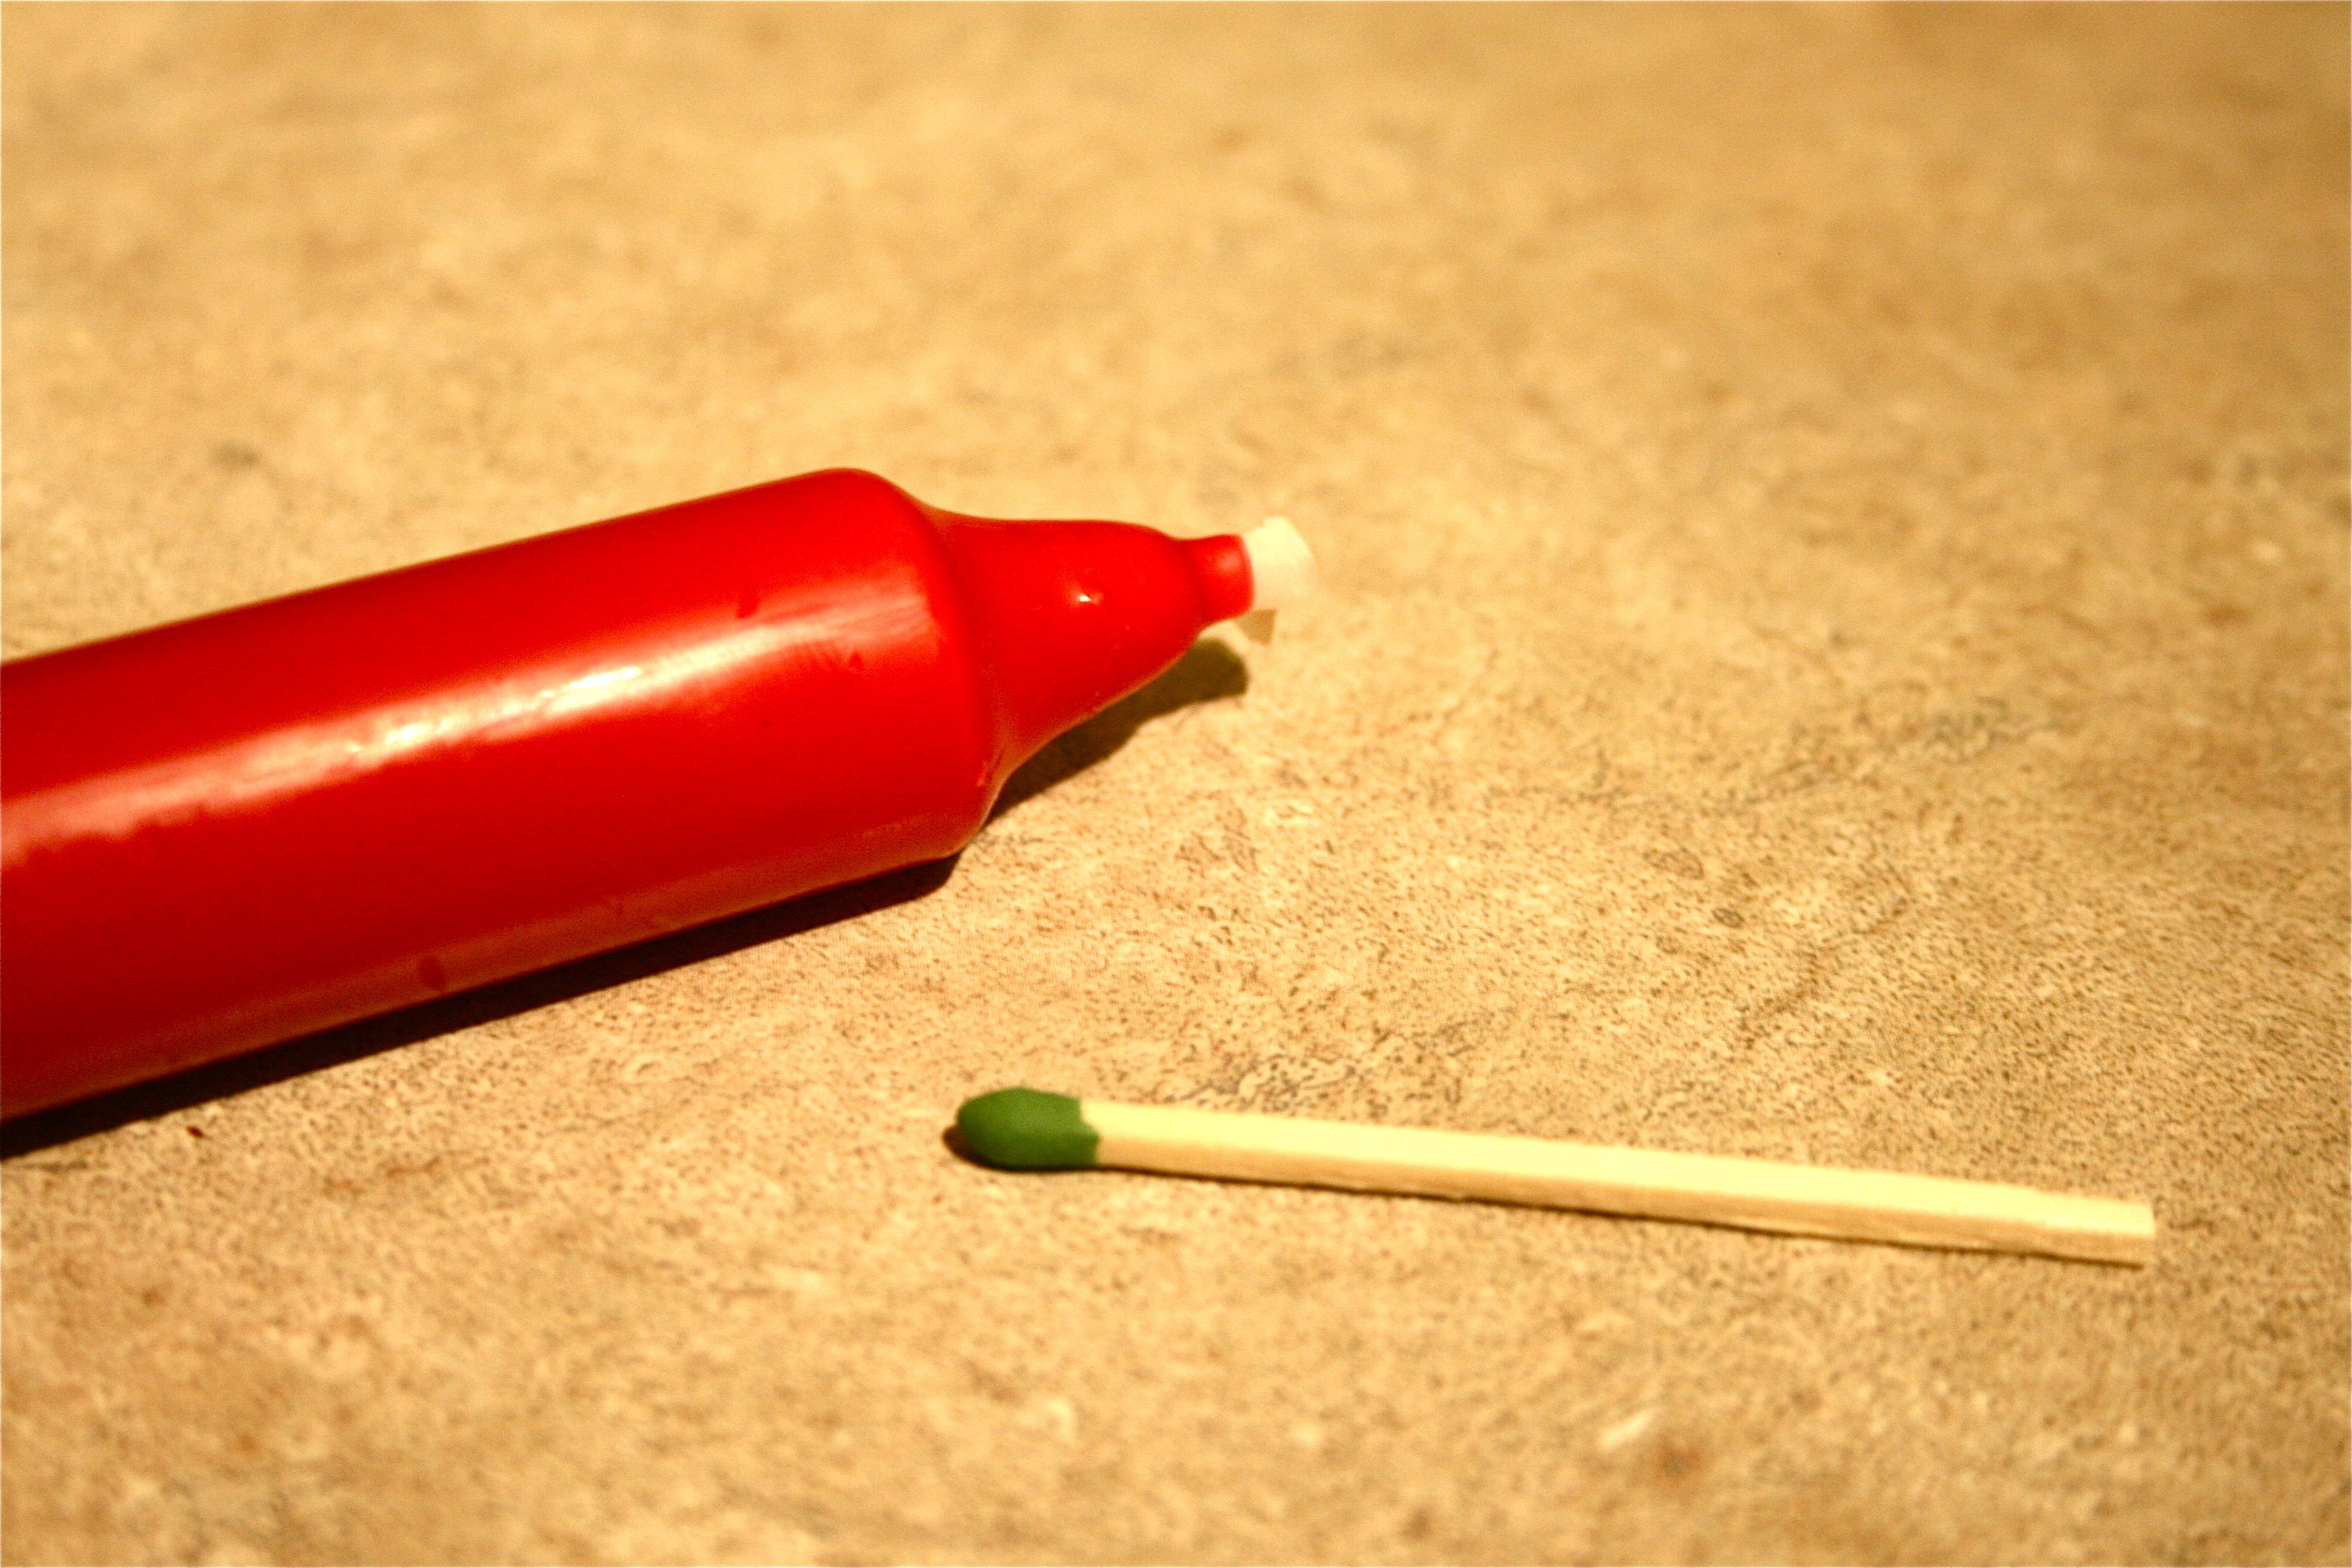
All you need for this project is a pair of white taper candles and one red one, which cost about 50 cents each at places like Wal Mart or the grocery store. The first thing I did was switch out the daily blue taper candles we usually have out on the kitchen table with our new white ones.
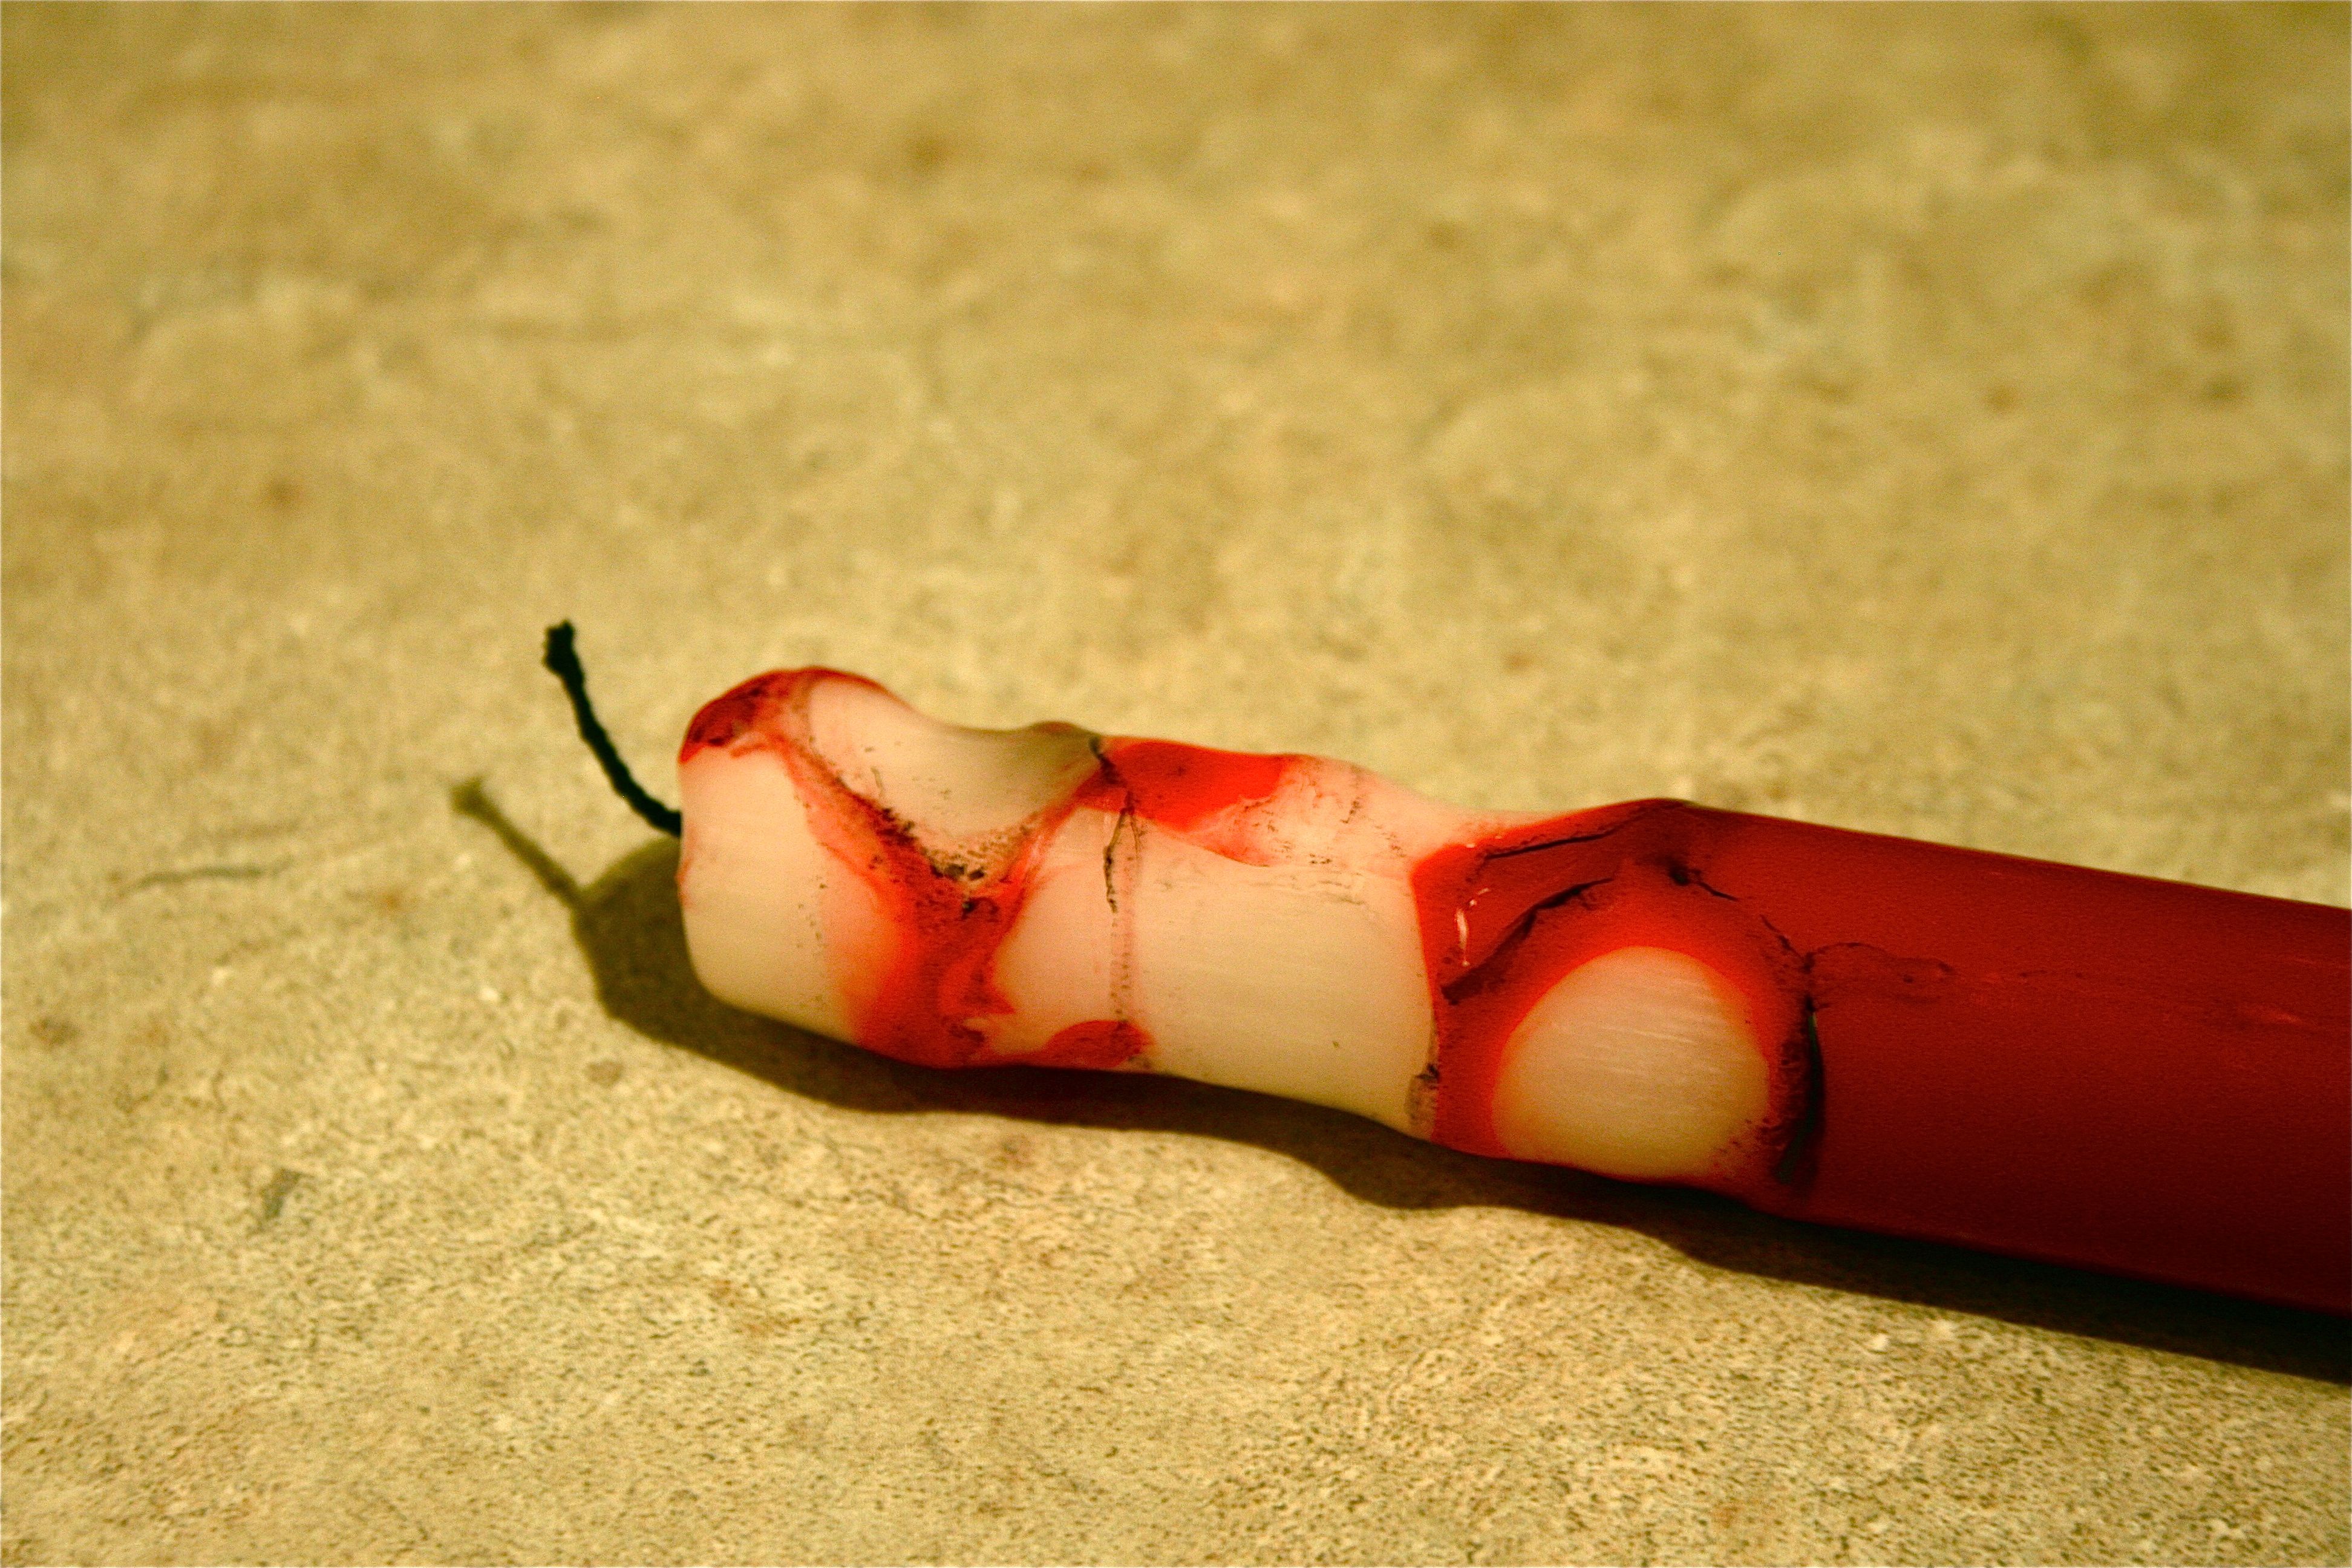
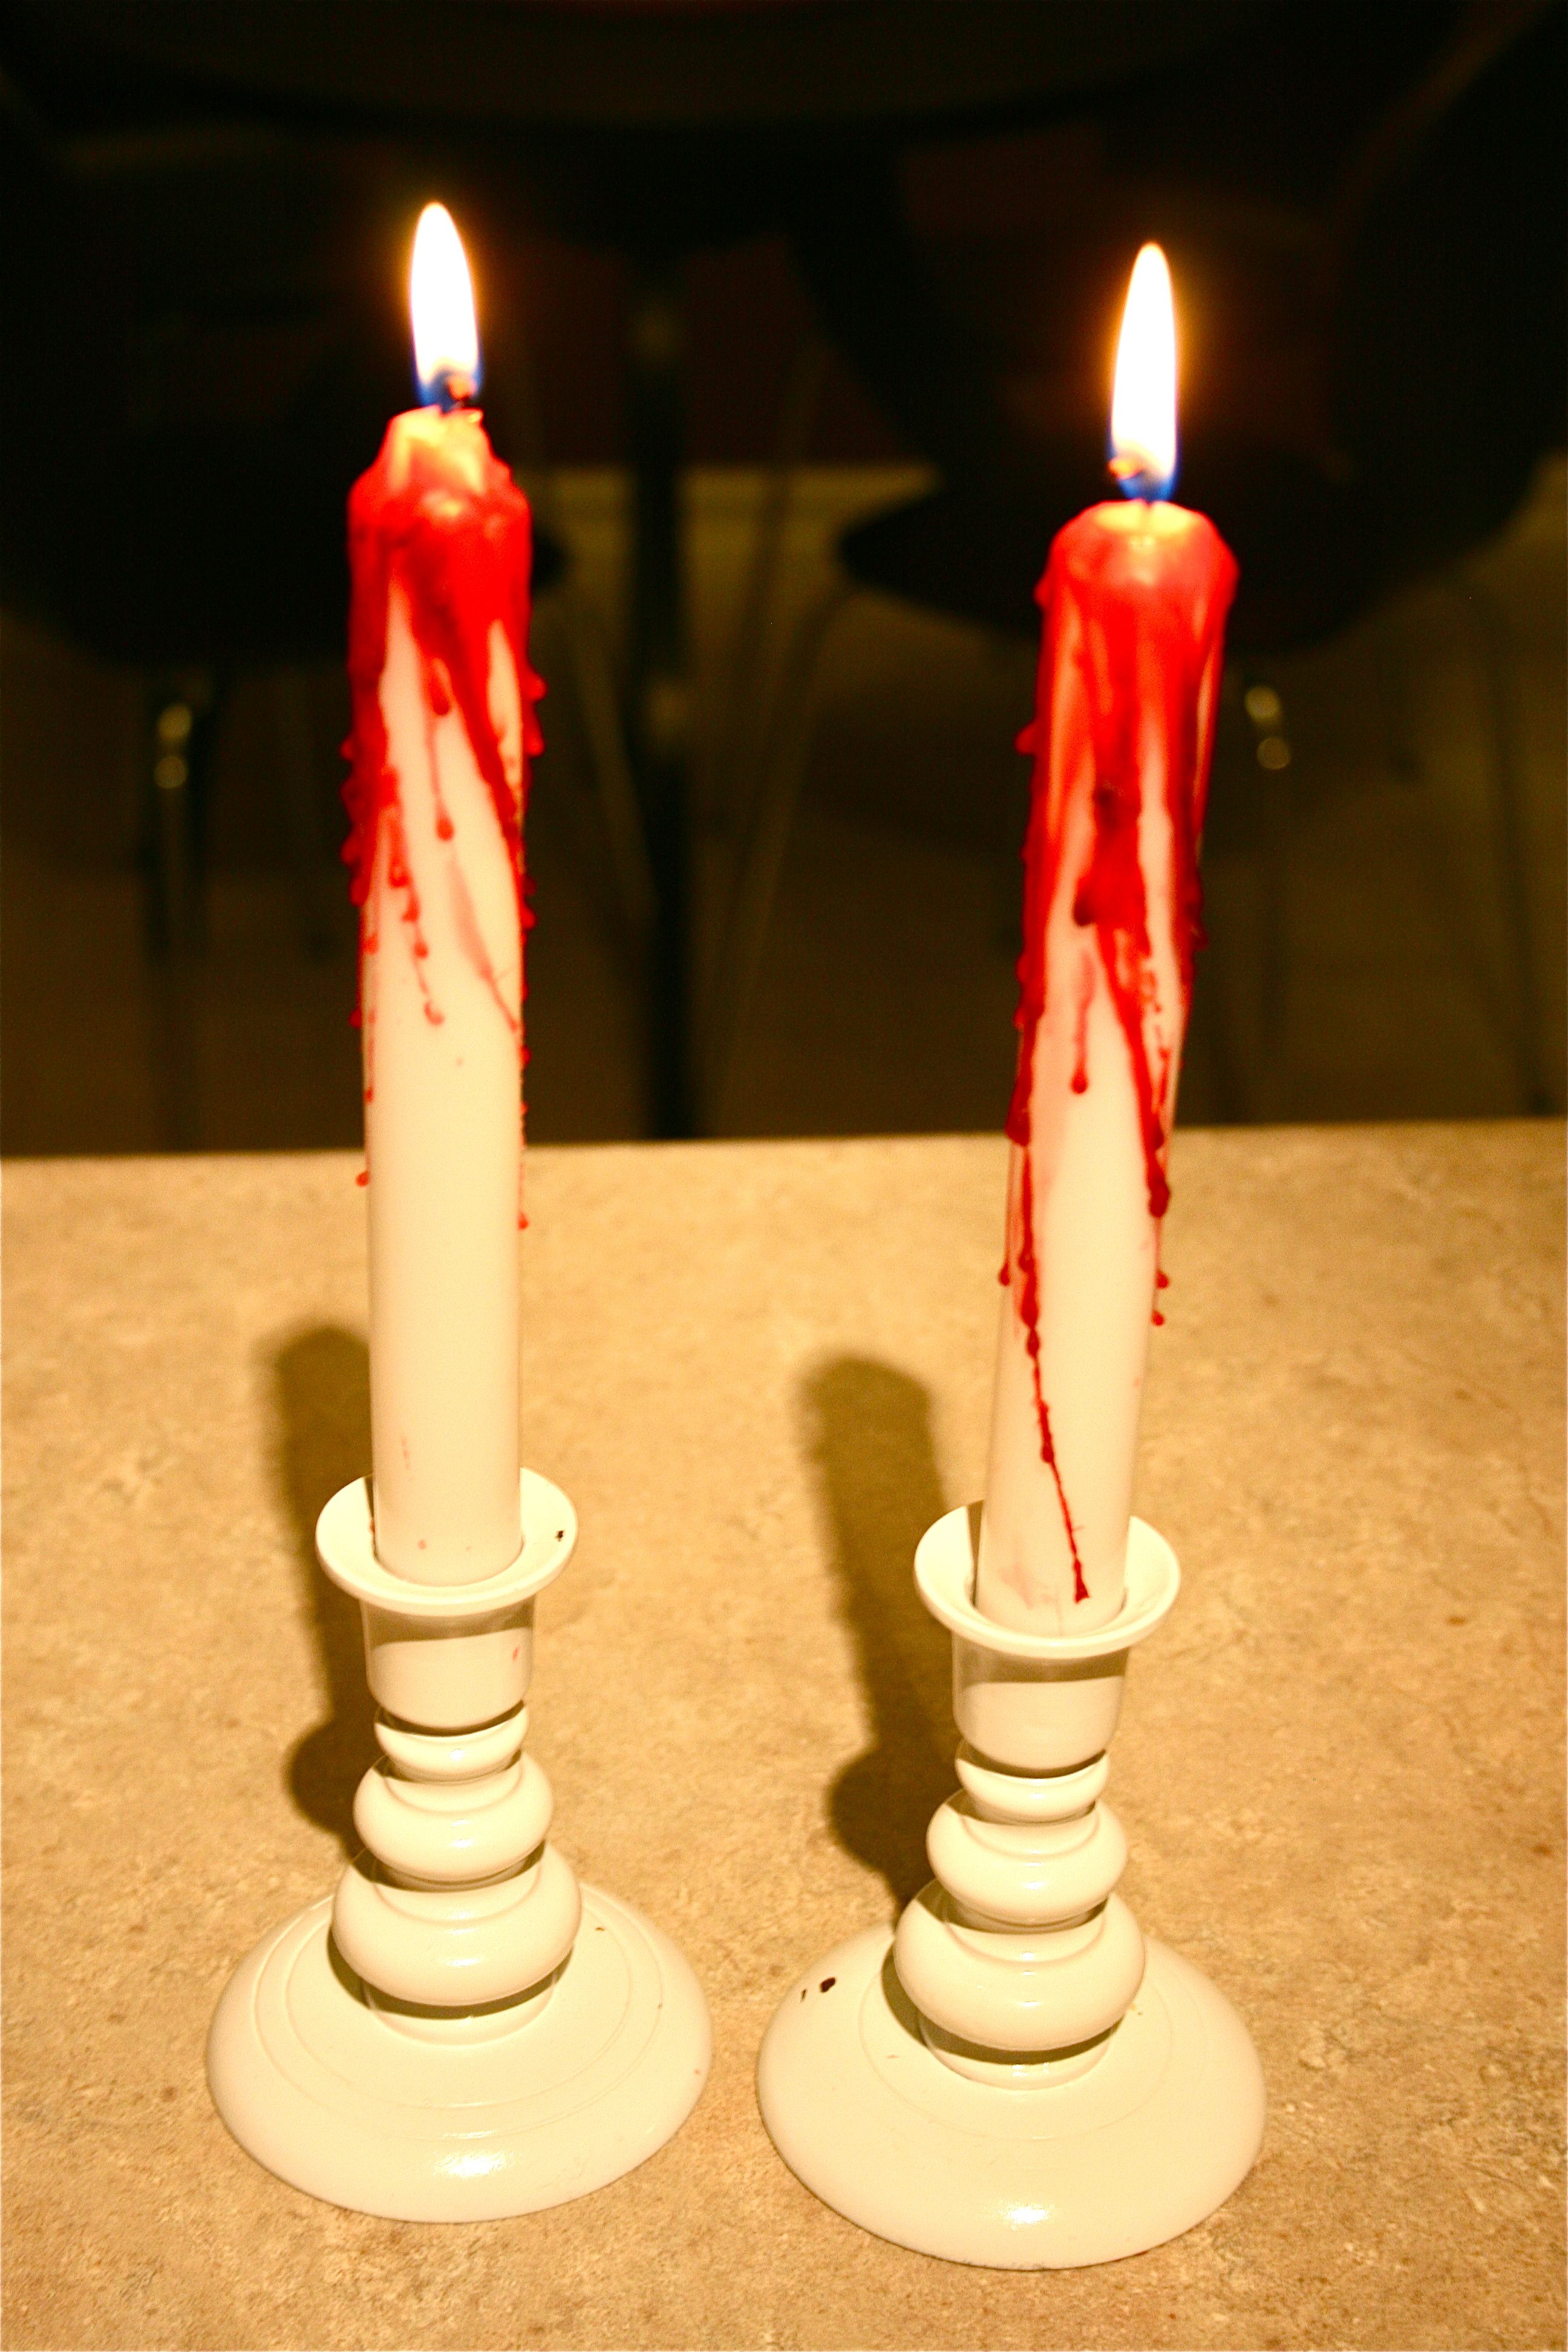
Next, I took my red taper candle and lit that, letting the wax get a little drippy. To finish the look, all you do is hold the red candle over the white ones until you get some good layers of gory looking red wax dripping down the sides. After a few minutes of burning my hands with errant hot wax, I made a mental note to tell you all to burn the WHITE candles instead of the red one. You can control the melting of the red candle better this way.
Once all was said and done, the red candle was shot – Definitely won’t be putting this one out in a candle holder for dinner parties. But I did pack it away for next year’s bleeding candle project.
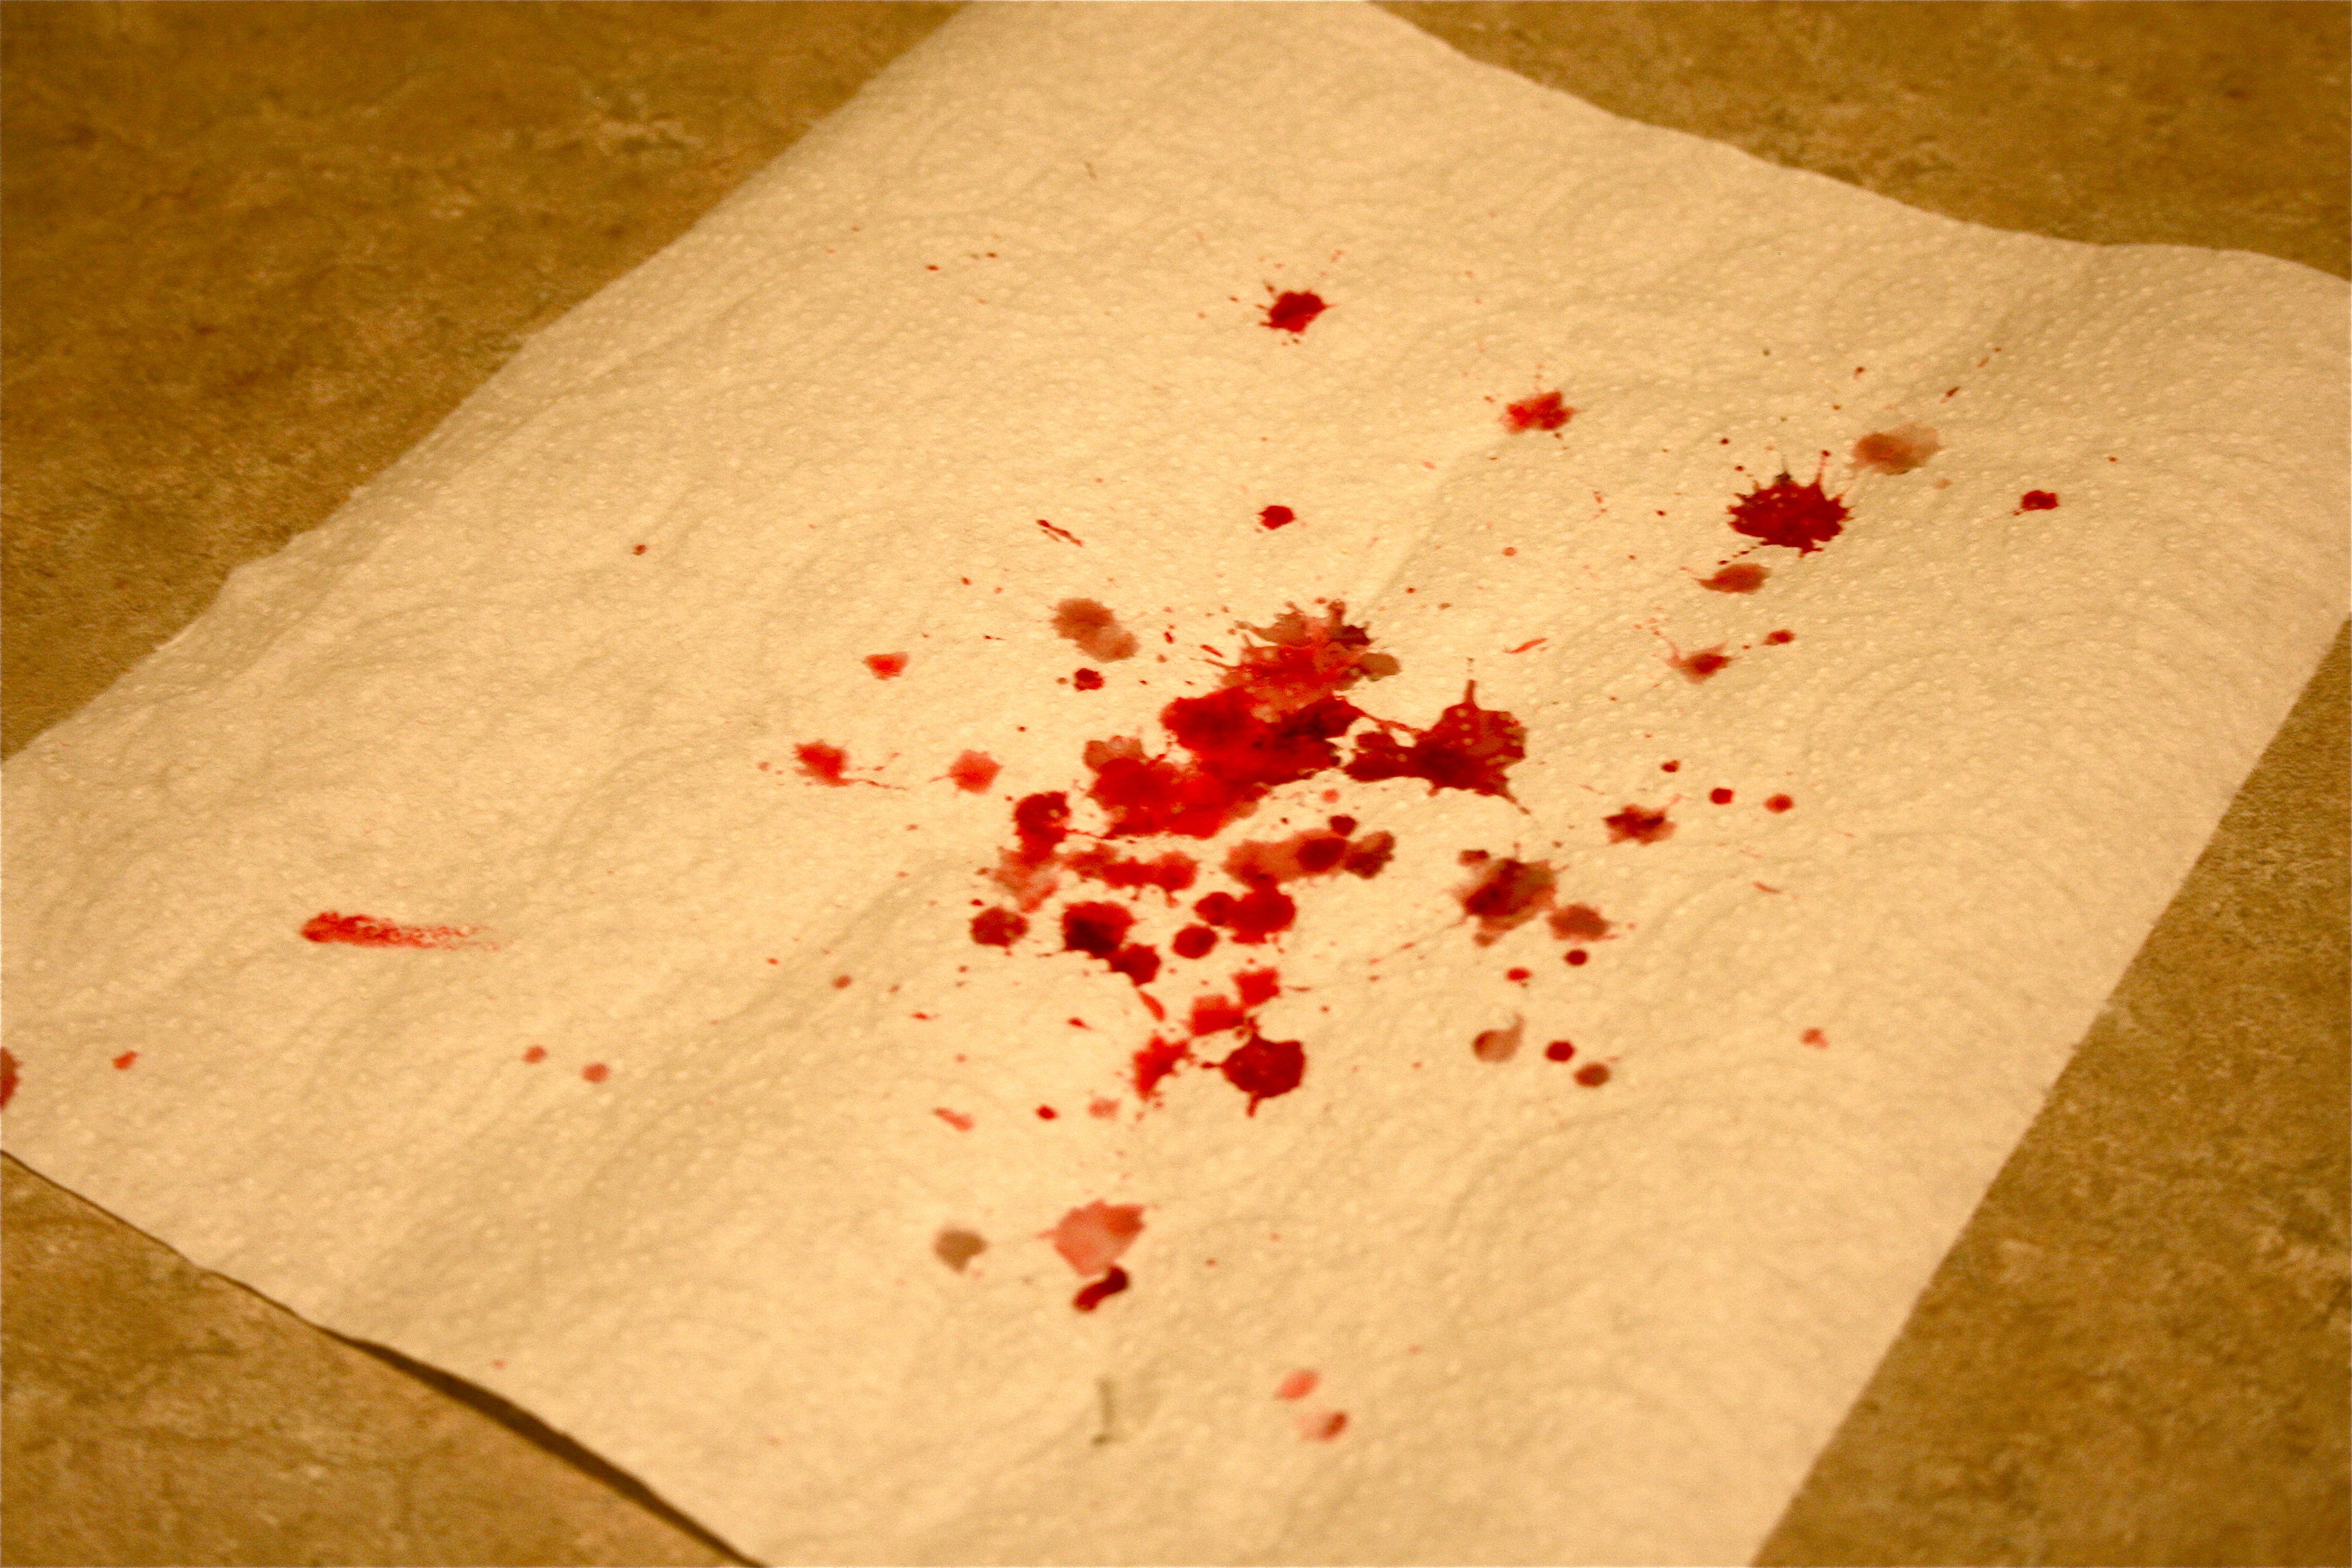
Oh and definitely put a paper towel down when melting because you’ll inevitably make a mess…A pretty gruesome looking mess, I might add.
Here they are all done!
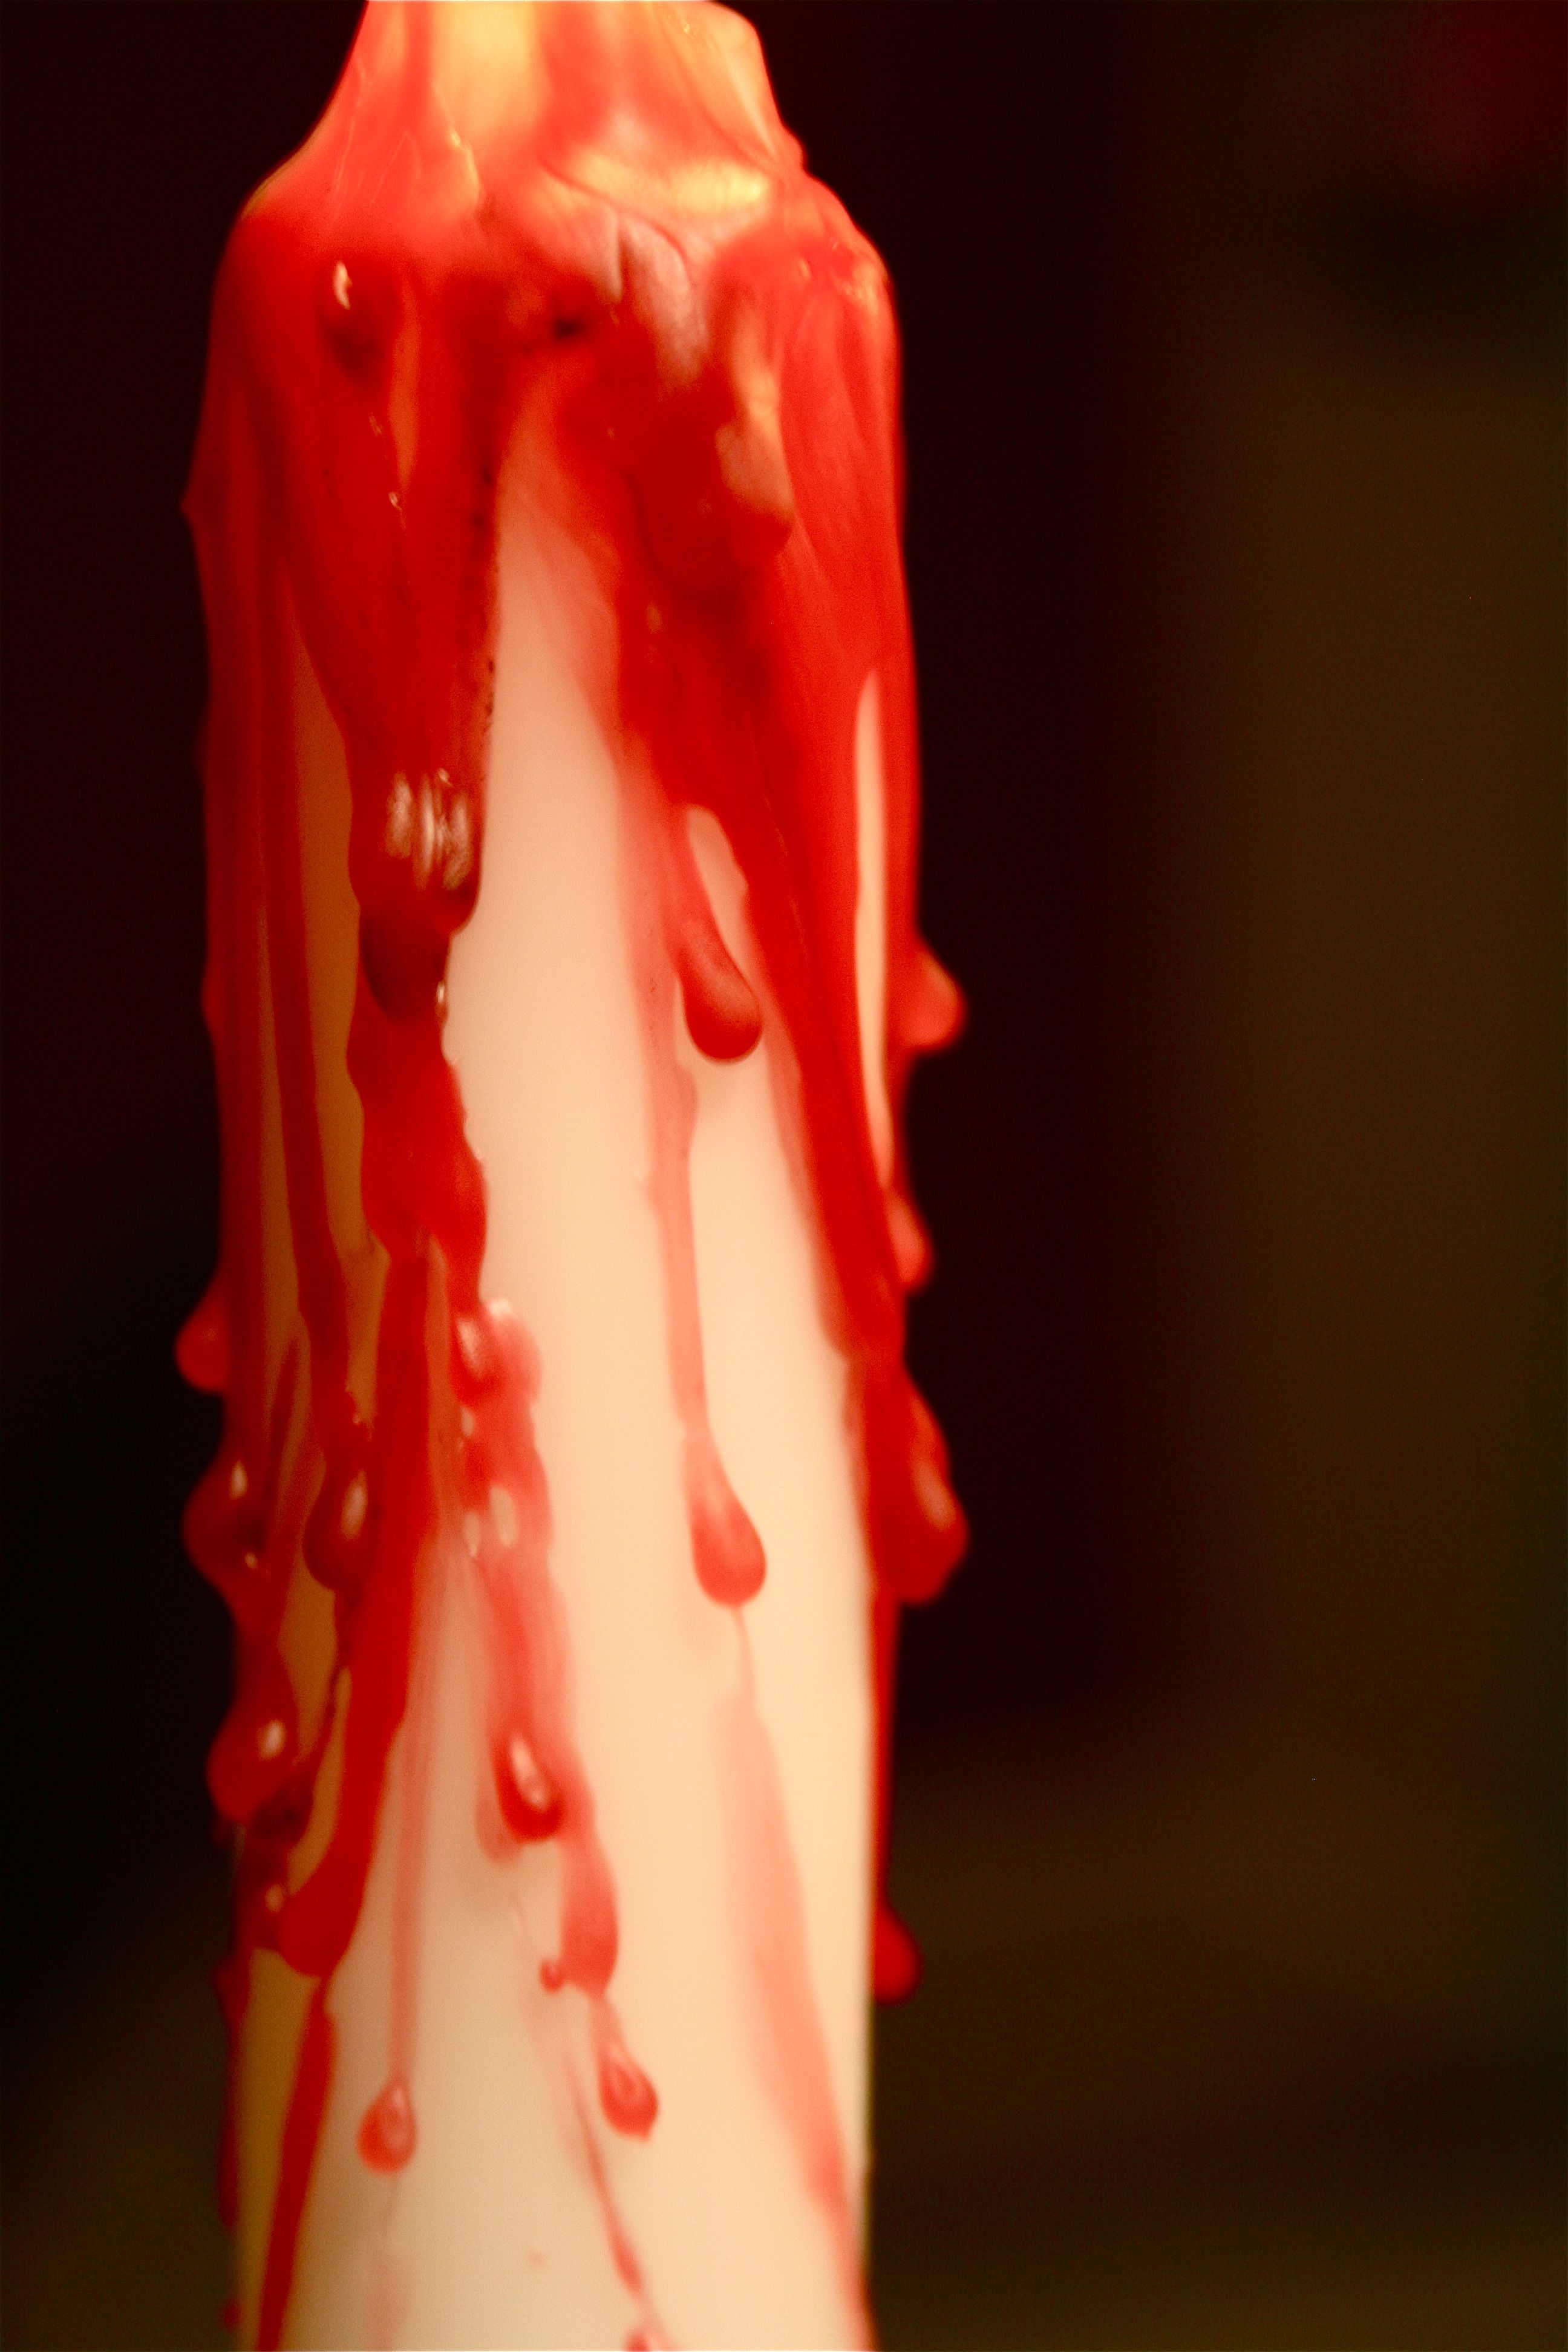
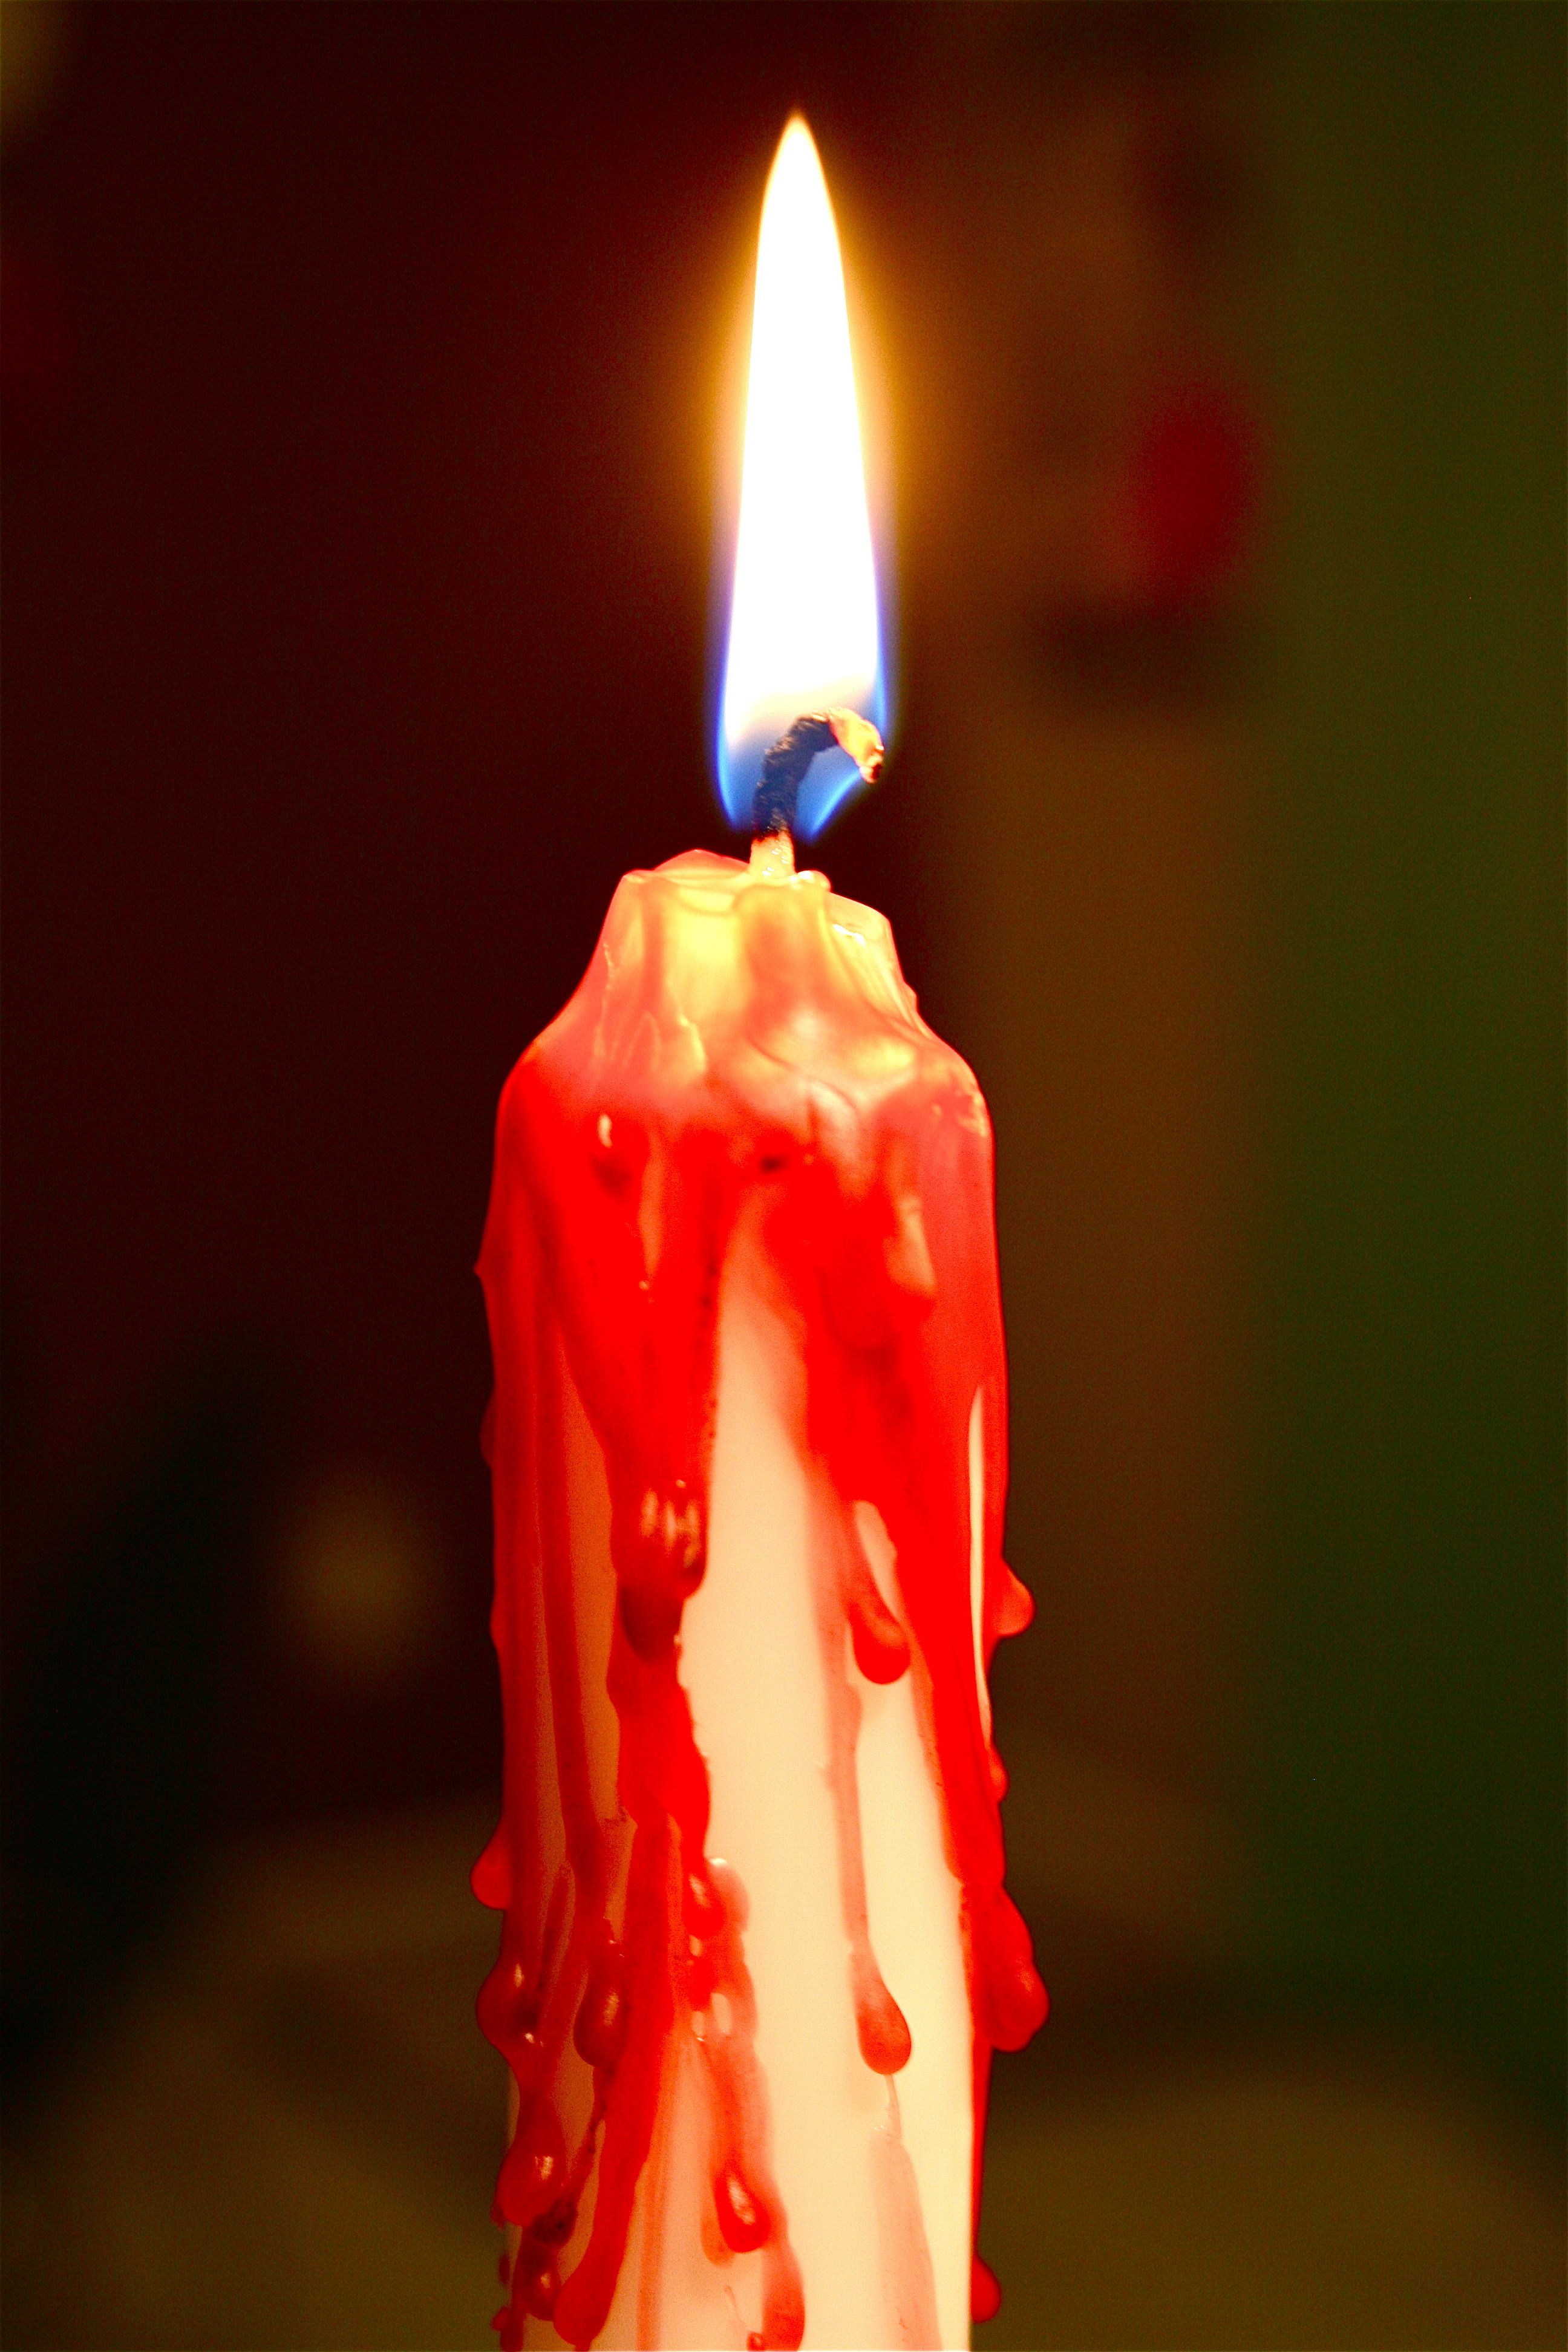
I just think that looks SO cool! Hands down my favorite Halloween decor trend of the year.
For the last project, I’ve got another (simpler) candle holder idea:
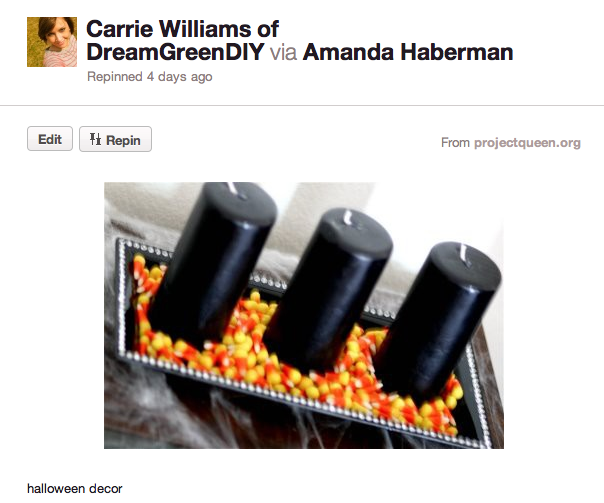
Pin Source: The Project Queen
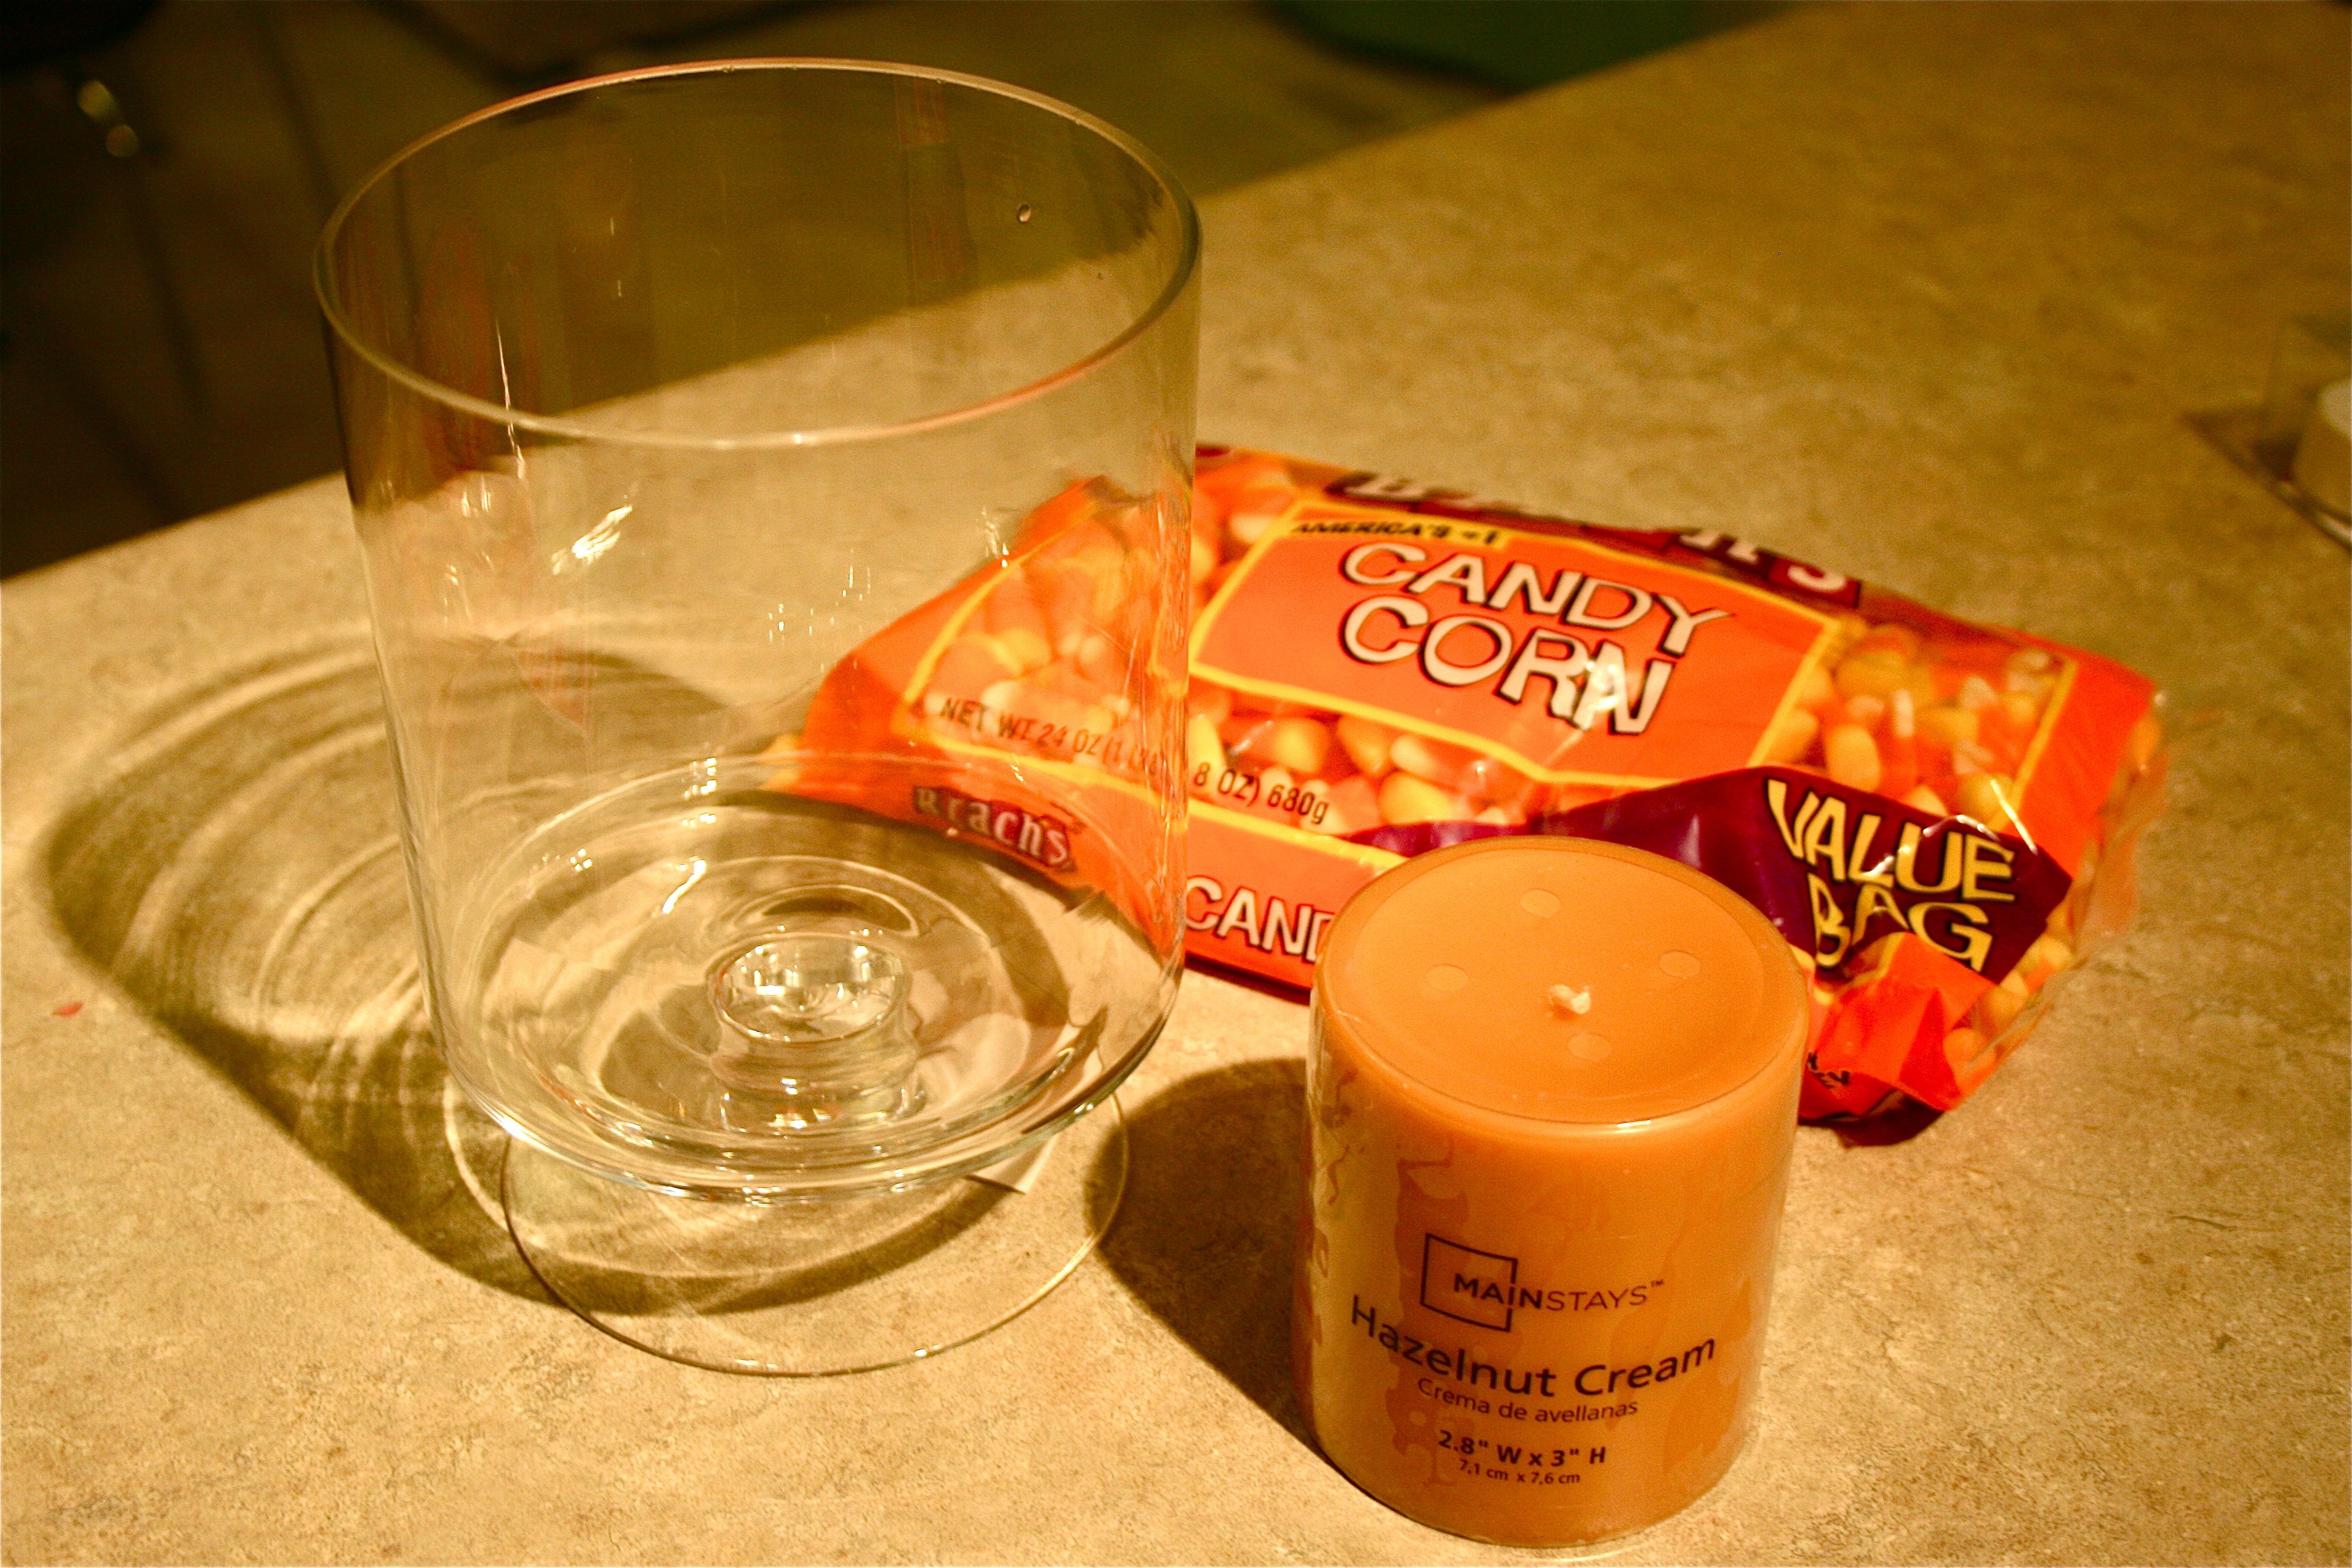
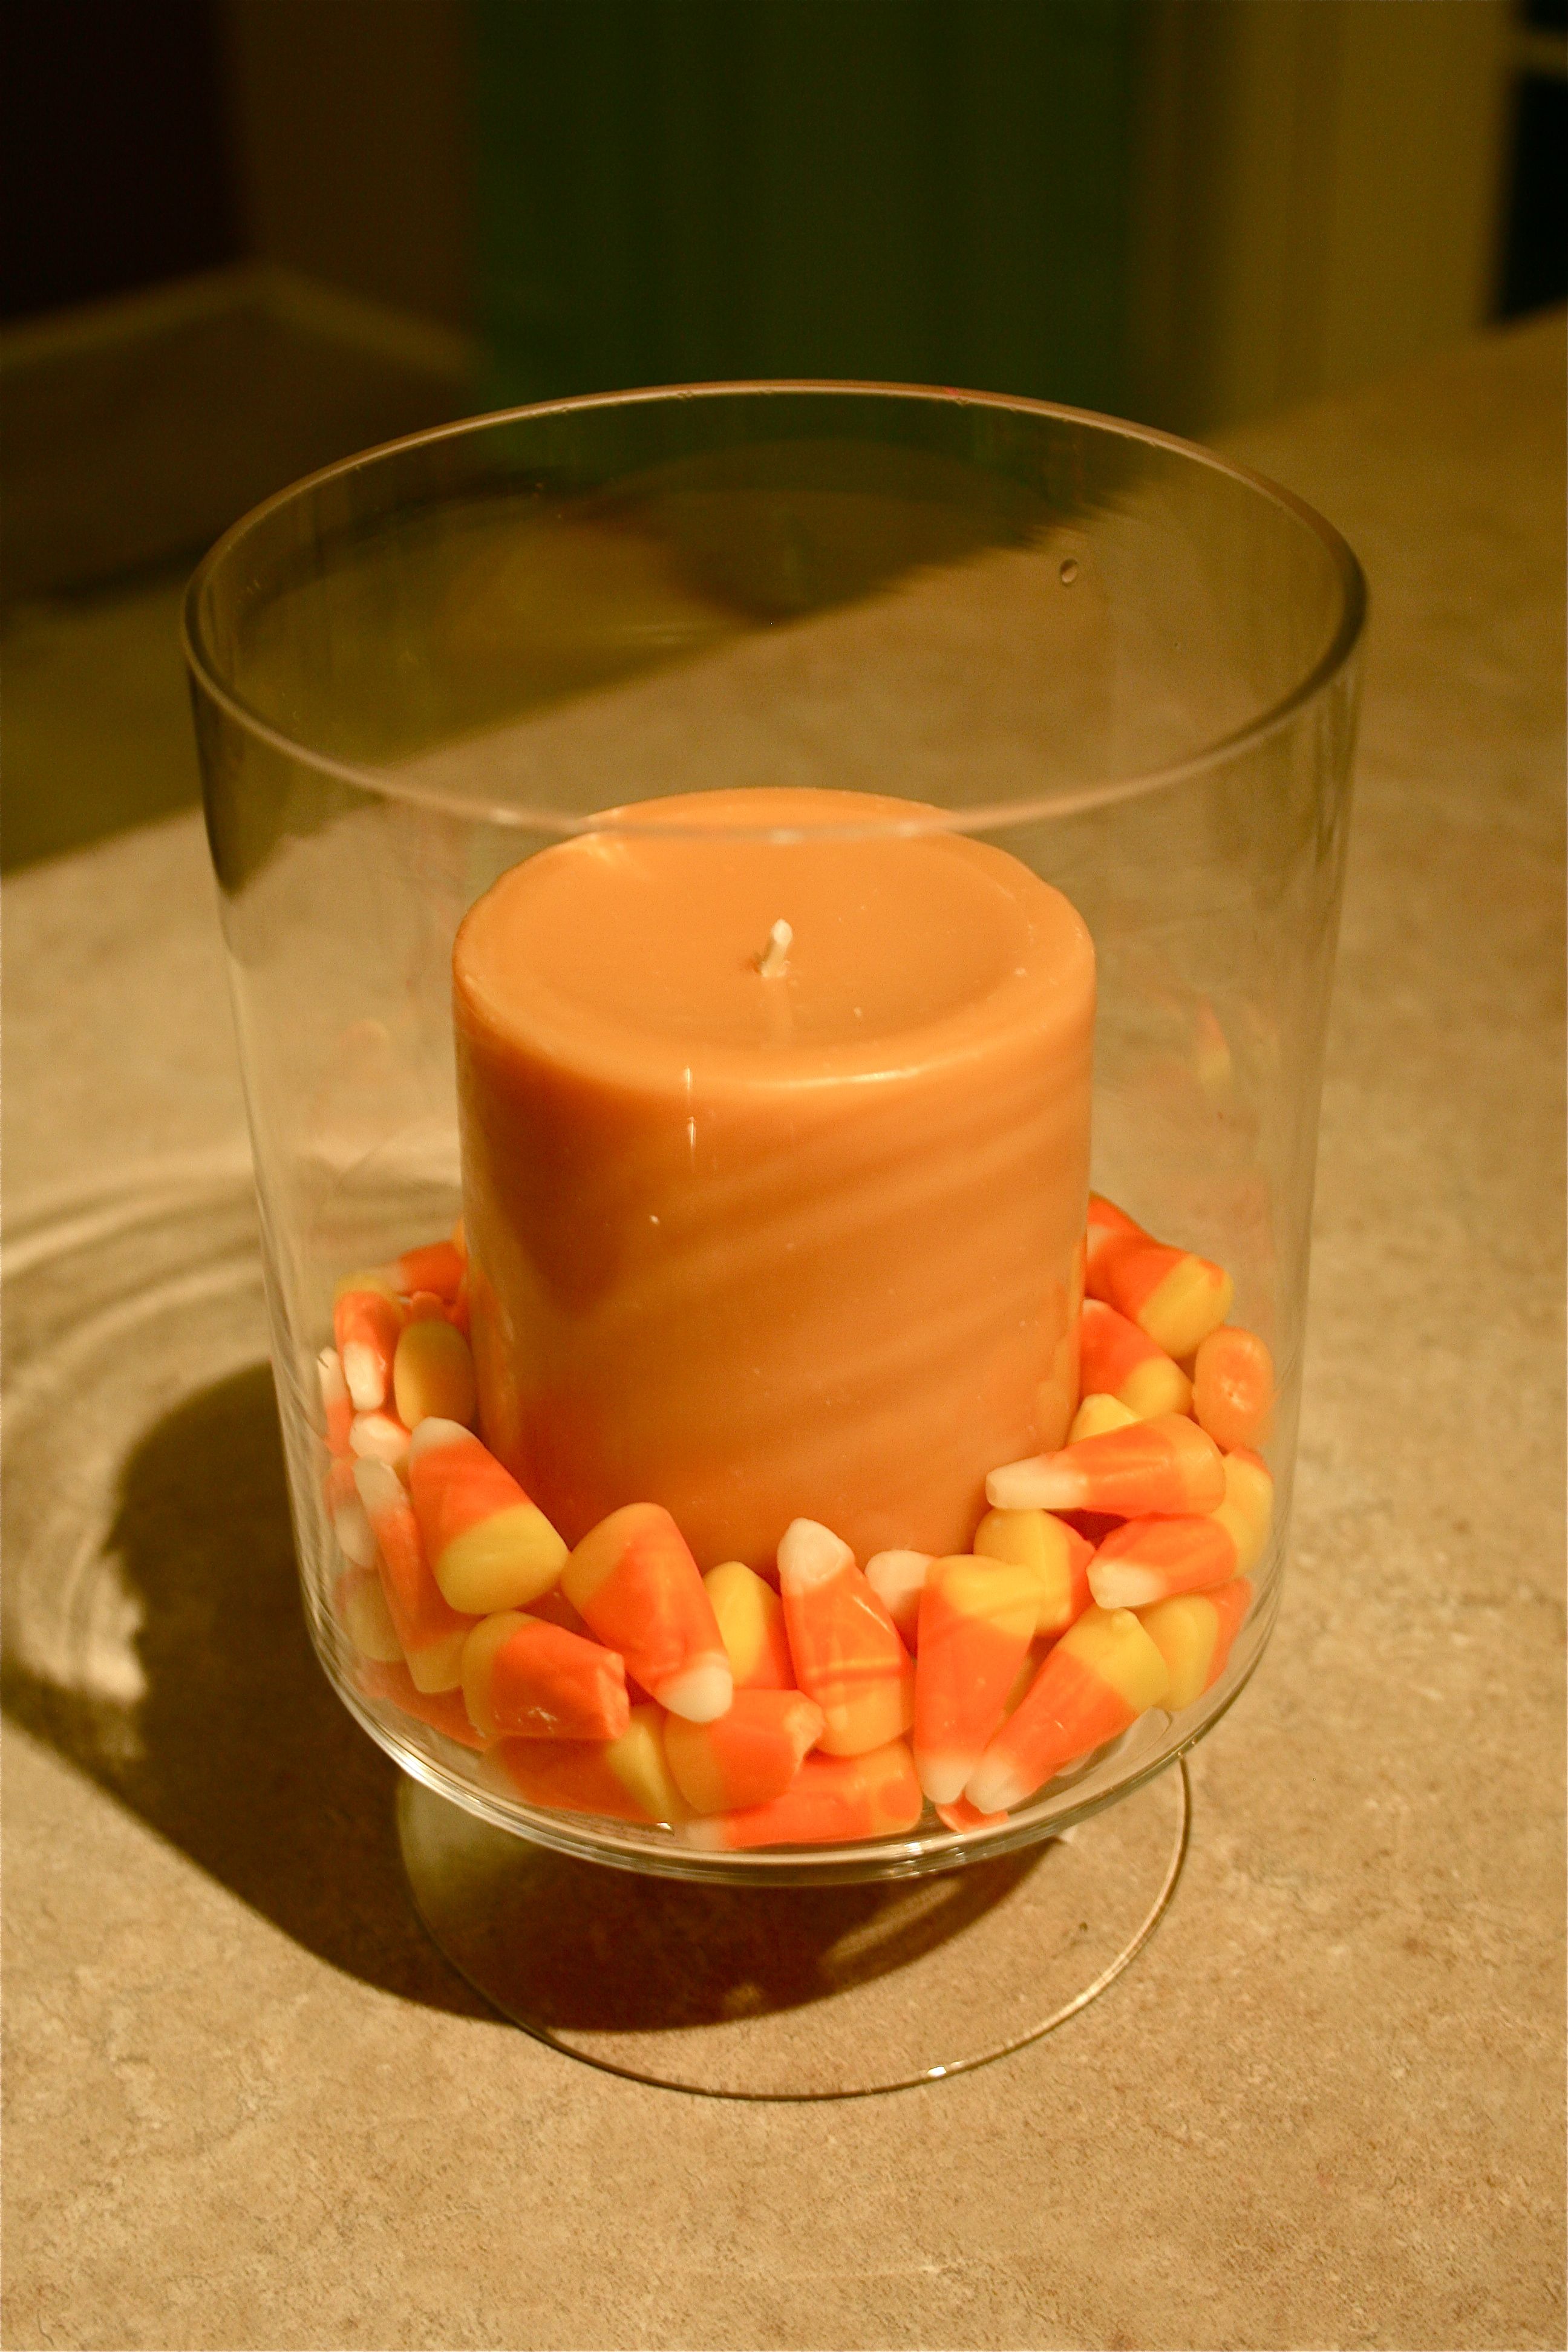
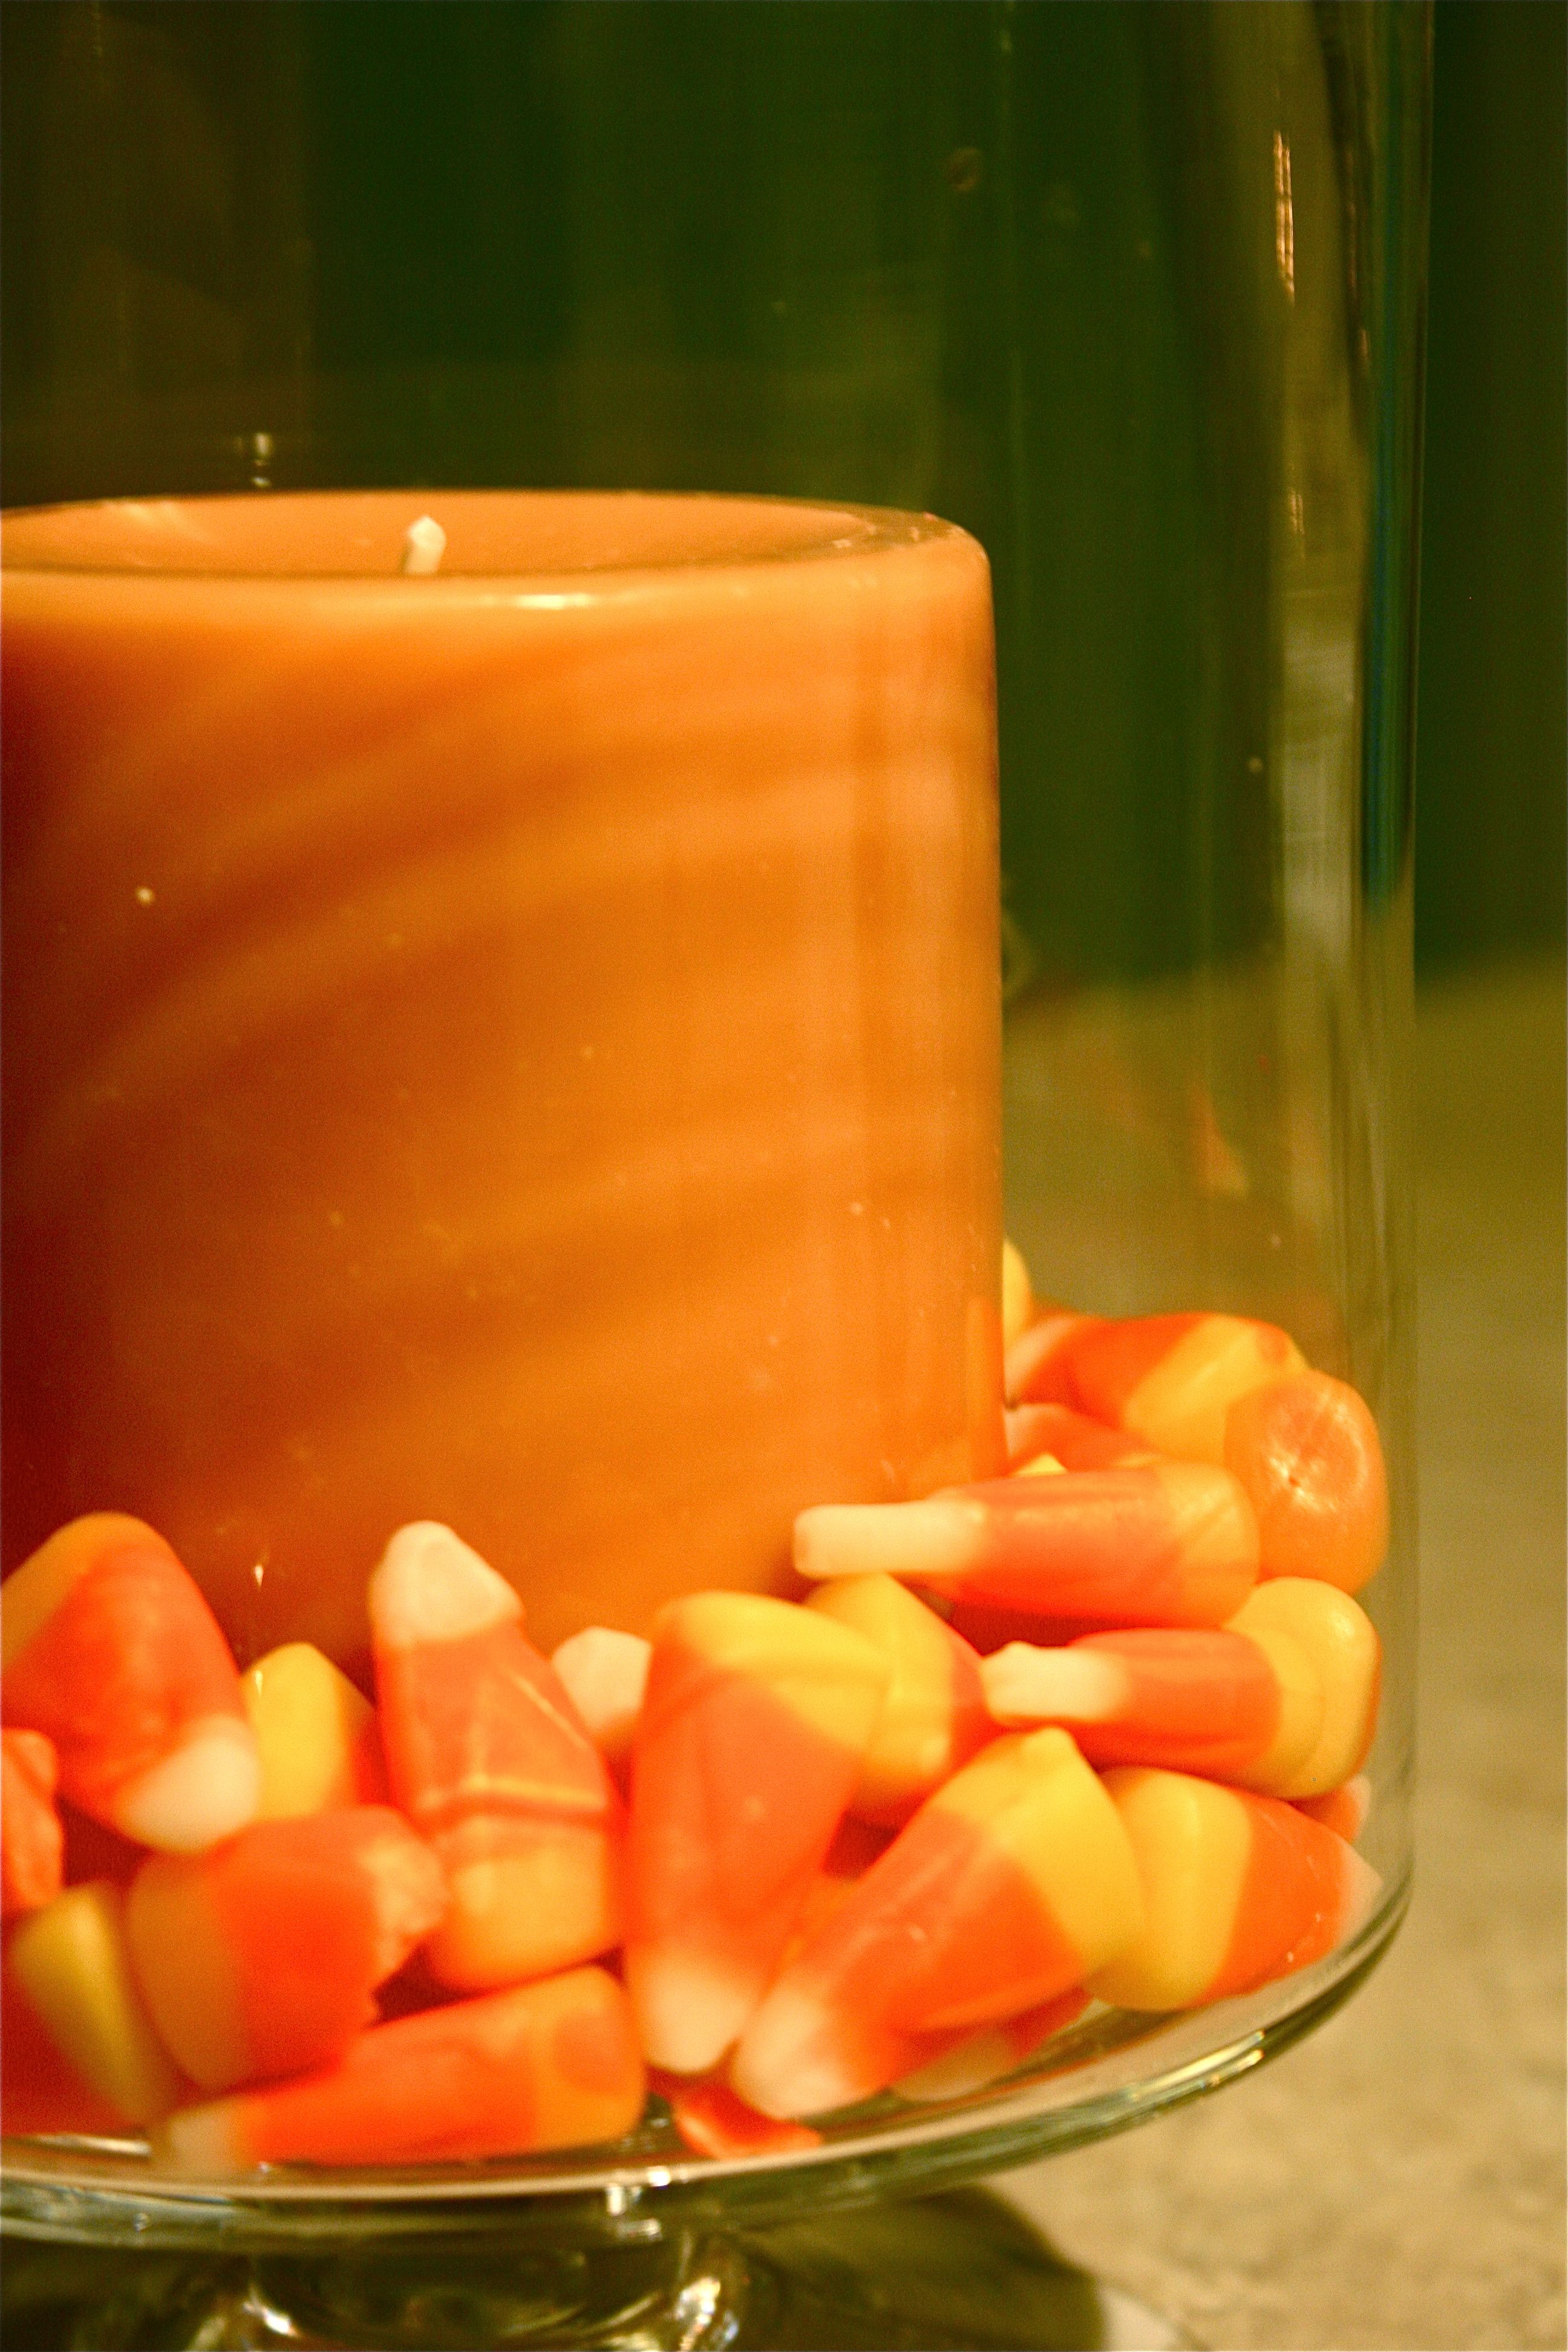
A couple of candles, a dish and some candy corn, and you’ve got yourself a sweet little festive candle centerpiece! I ended up getting a brown candle instead of the black ones shown in the pin above – (1) because I couldn’t find black ones at Wal Mart, and (2) because I wanted to be able to use the centerpiece through Thanksgiving and thought the mellow brown candle would be more season-general.
And voila! Definitely the easiest project and so cute. Oh, and boyyyyyyyyyy does it smell good – Between the Hazelnut-scented candle and the candy corn, this is one sweet centerpiece.
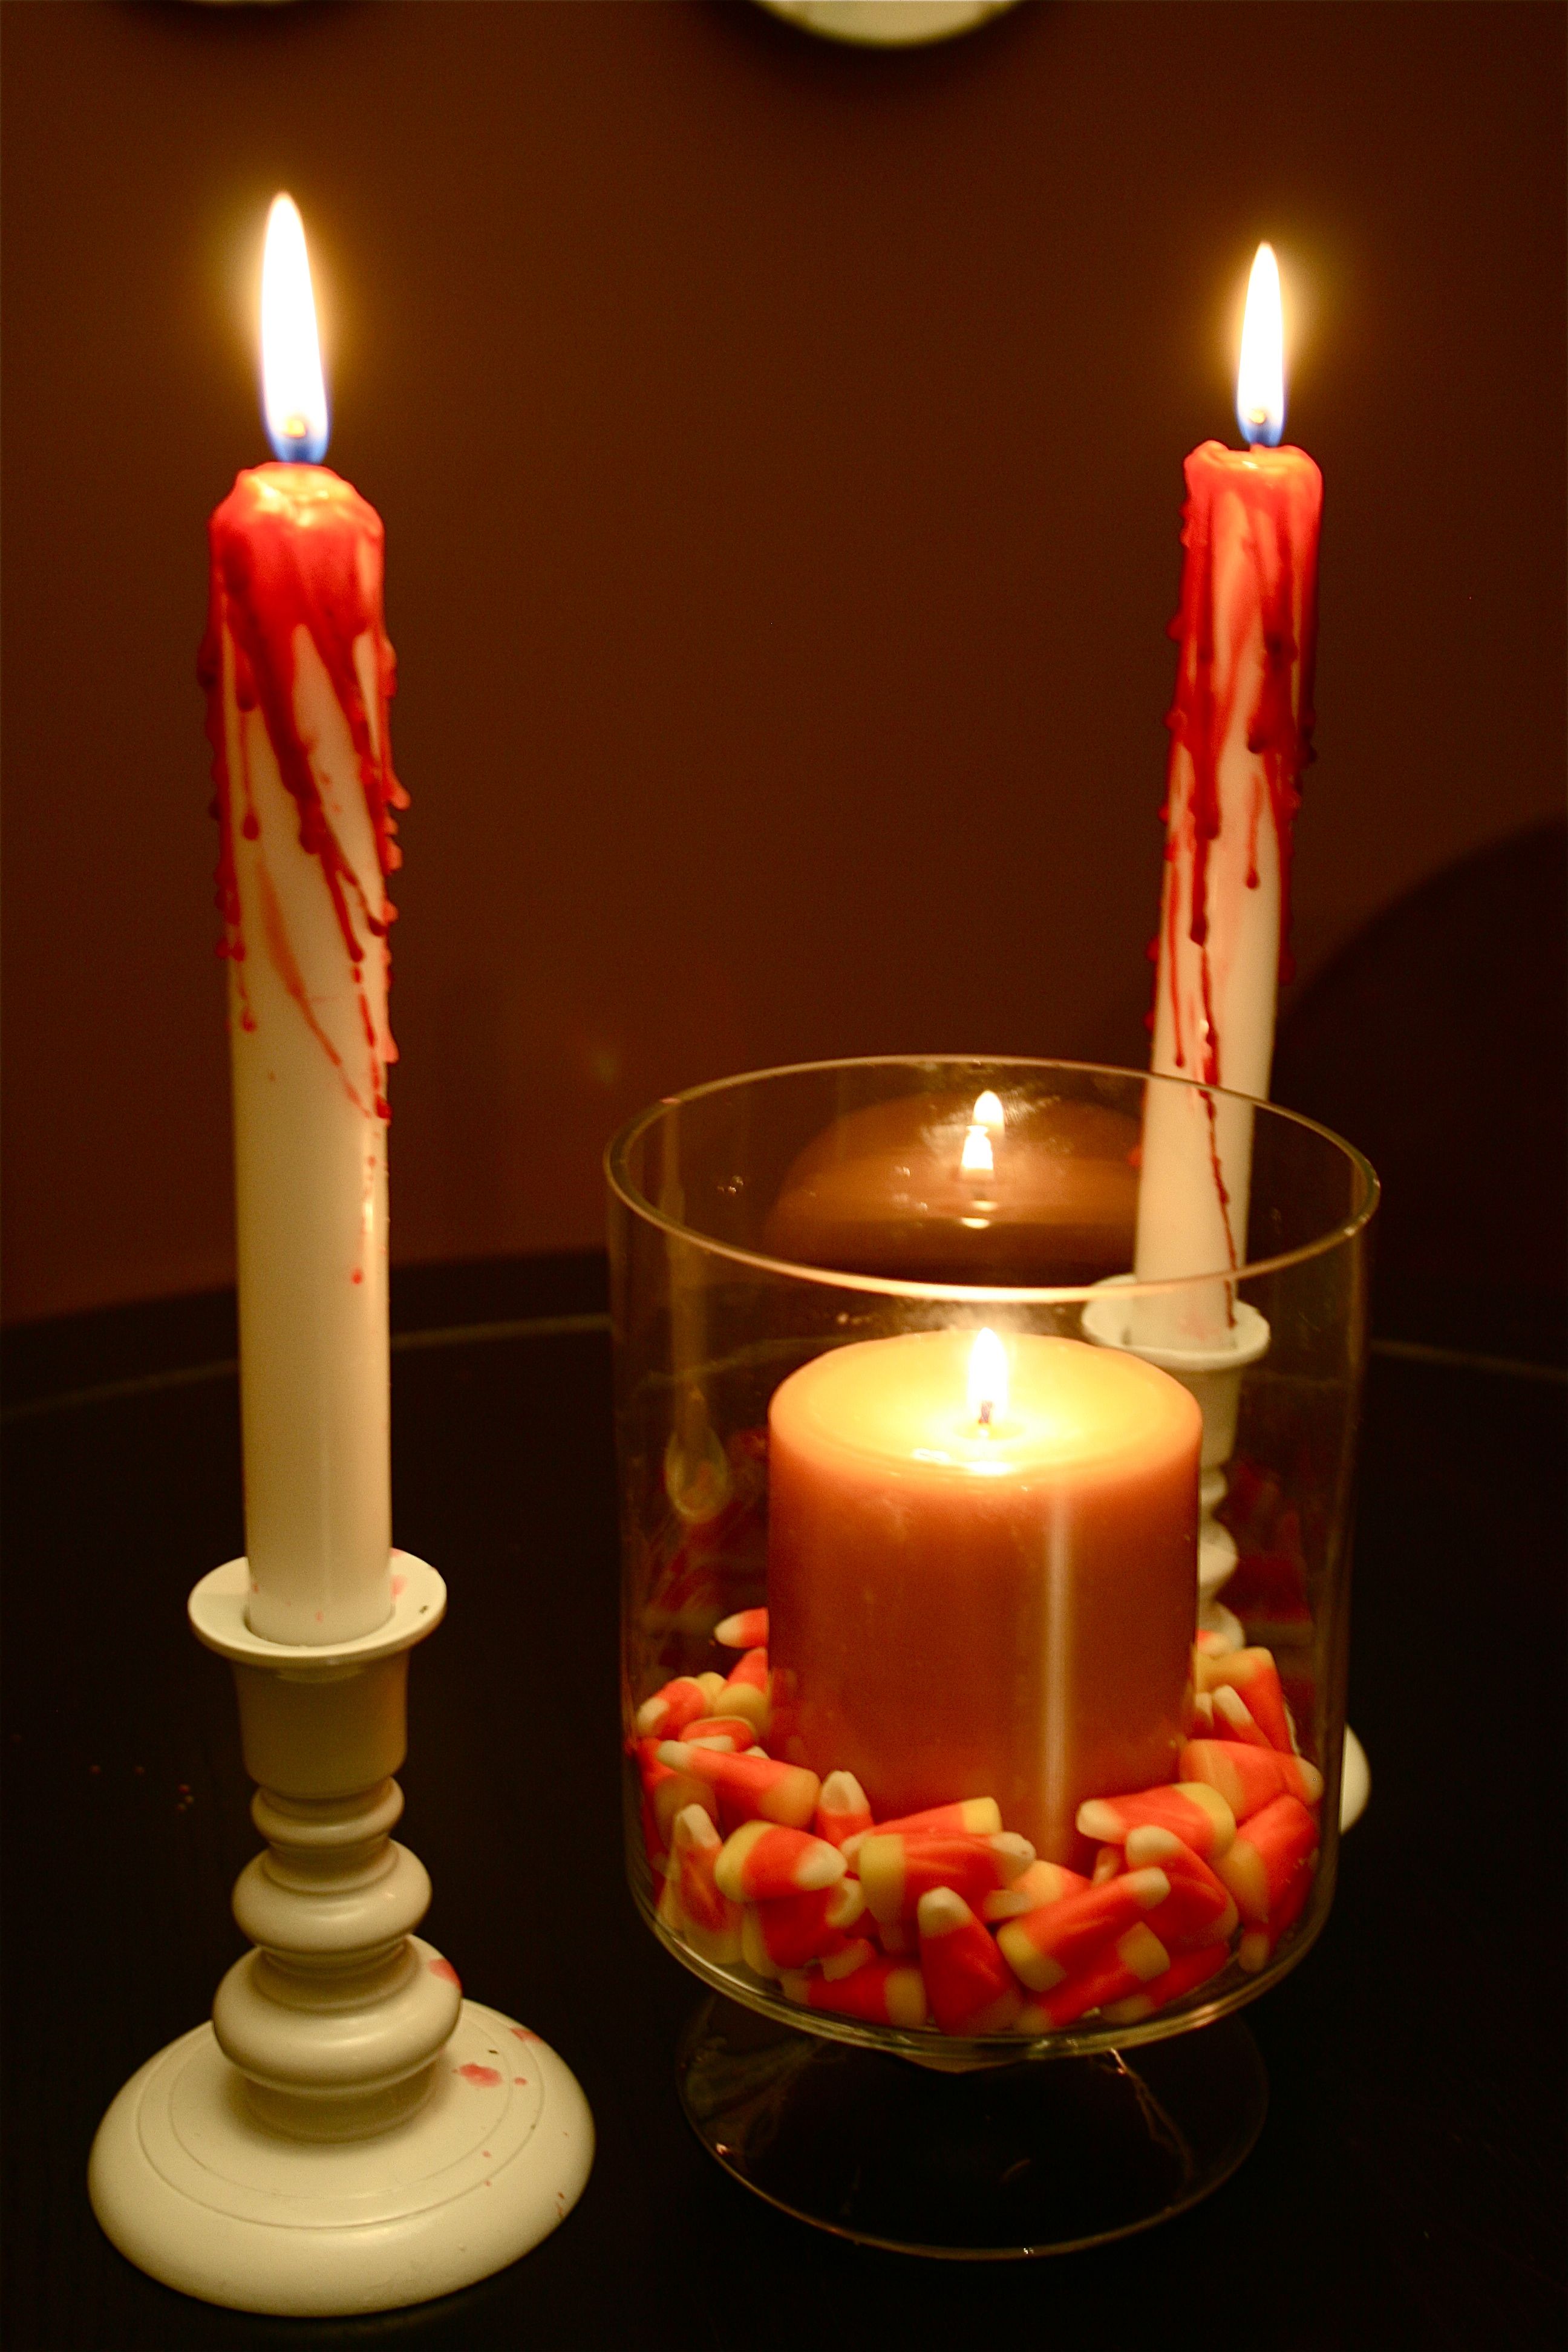
Here’s the completed centerpiece arrangement for the party, decked out with the bleeding candles and the candy corn candle holder. The perfect touch for our Halloween party!
Hope everyone has a safe and happy Halloween 🙂 Would love to hear about your costumes, projects and/or candy inventory!
UPDATE: See our projects (plus a TONNNNN of other amazing ones) linked over on Young House Love’s amazing blog here! We are adding to their Pinterest Challenge to share the pinning love 🙂


