DreamGreenDIY recently recieved another reader shoutout that I just had to share! Yet again, we have a very creative reader on our hands (see our very first reader question/blog response here). Josefine just moved into her first place and is doing her best to make a small space feel like home. She’s doing a fabulous job using DIY projects to spruce things up, but needs a little help with storage. Read on:
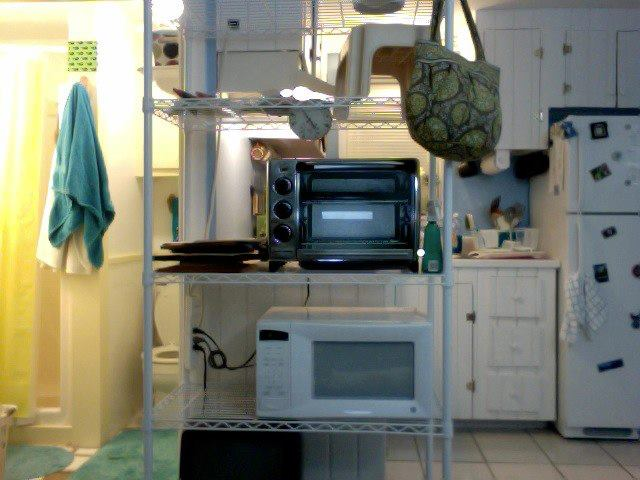
“I just moved into my first place, and it was a total fix up. The whole thing, top to bottom, was painted this horrible flesh color—not one single other color. There was a hole in the roof, holes in the wall, windows missing, etc. but it looks pretty good now! I am all moved in, and just having fun with the nesting part and trying to look less like a dorm room and starting to edge towards more adult decorating (still love my Beatles poster though!). Anyway, it is basically two rooms stacked on top of each other (less than 400 sq. ft.), so for any kitchen space I had to get an industrial-looking shelving unit for my microwave, blender, table top oven, TV, etc. It does not look like a nice homey thing, and I was wondering if you had ANY ideas on how to make it look nicer but still be functional. I was considering getting totes for the top two empty shelves, but I’m not sure…Any ideas would be great! —Josefine”
I am so excited for Josefine, because I definitely remember moving into my first place. Nothing will ever replace that feeling…The “nesting” phase is one of my favorites and something that is second nature to me. Whether it’s my first apartment living by myself, the home I now share with my fiancé, or even my tiny cubicle at work—I just love making a place feel like home!
As I said before, Josefine is doing some really great things with the décor of her home. She sent us a few photos to showcase the work she’s done and I was impressed! Between bright colors on the walls and sweet feminine touches, I think she’s doing a great job. (She apologizes for the quality of the photos, siting a less-than-great camera and technology issues. We don’t mind though, the idea is definitely obvious)
Notice the embroidery hoop art on the wall in the photo below. I just recently did this project myself and loved it. Josefine used shirts she found at a thrift store to add color and pattern to her hoops instead of splurging for sometimes-expensive fabric from the store.
.png)
.png)
.png)
Gotta love a girl who uses her fanciest high heels to decorate display shelves! I adore this idea and, if I wasn’t concerned with John’s masculine taste, I would definitely break out some of my more sparkly shoes for display.
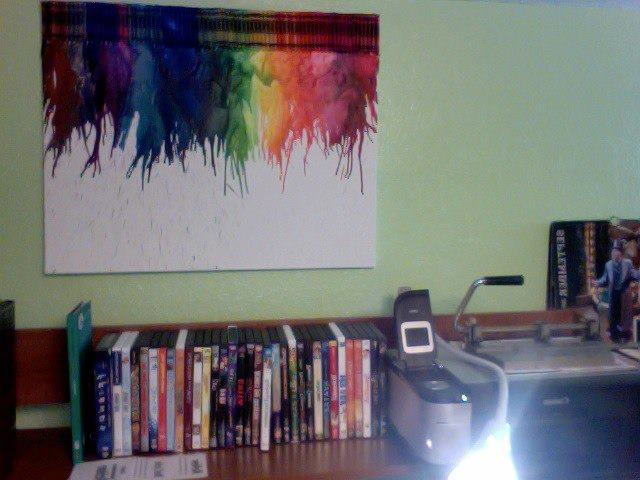
If you are as Pinterest-obsessed as I am, then you’ve probably seen this project pictured below crop up. Using adhesive, you press a row of crayons to the top of a canvas and melt the colored wax down with a hair dryer:
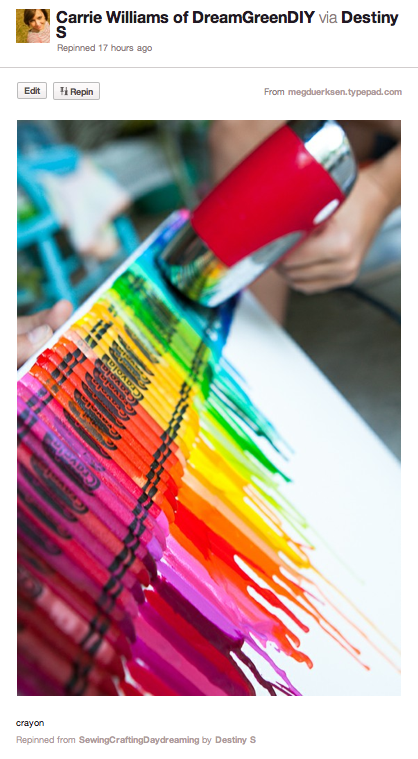
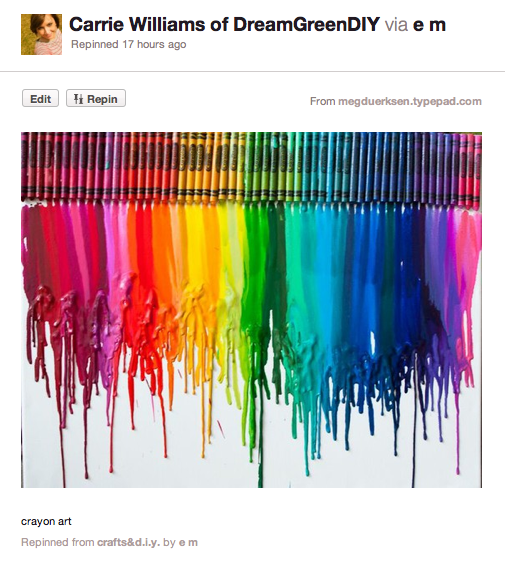 Both pin sources come from: Meg Duerksen at Whatever
Well, Josefine did just that and shared her “After” product with us. It’s so neat! I love that no one’s finished canvas will look the same, and you could easily change the arrangement of colors you use to mix up the look of the melted wax.
But to get to the real reason for this post, we have to talk about her industrial shelving unit. Storage is absolutely key in a small space, so I see why she went with a sturdy shelf to take care of her appliances. In fact, we just recently bought and used one in our garage. These things will take care of clutter quickly. I’m actually a pretty big fan of the “industrial” look, so I don’t hate the idea of using one in a living space. But I can see that the majority of Josefine’s home is more along the lines of a cozy, ecclectic cottage.
To make the shelving unit keep a little more with her soft, feminine decor and style, I would suggest getting boards cut to fit the size of the shelves. Then there are a number of things she could do. Try painting them to match the color scheme of the room, or even wrap them with fabric to bring some pattern into the mix. For storage, I would avoid using standard, inexpensive Tupperware boxes. Her house is full of vintage touches, so I say keep an eye out for old hat boxes or even a vintage suitcase. While plastic boxes will get the job done, so will vintage storage solutions, and they’ll look more personal in the long run.
An other idea is to purchase high-end kitchen accessories to make an inexpensive shelf look like it came straight out of a cooking magazine. A few shiny things, like metallic bowls, will make the metal shelf look intentional. A little goes a long way, so you don’t need to splurge on all high end pieces. She could also try trading up for nicer appliances, like a good microwave. Roaming Craigslist every day will probably turn up a steal in no time. Besides, upgrading appliances will more then likely mean that your new piece will stand the test of time:
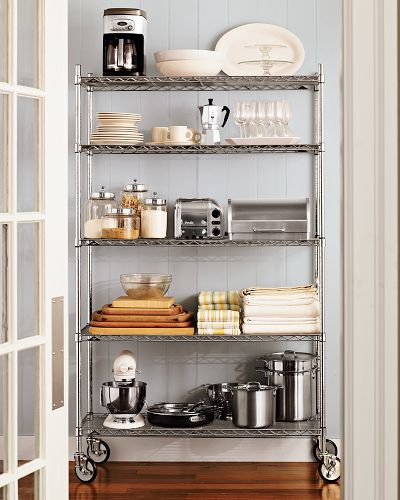
Maybe try color coordination! Simply repeating colors in whatever sits on the shelves will make it seem decorated and “pretty,” matching the rest of your stylish space:
.jpg)
What drew me to this DIYed version of an industrial-style shelving unit is the color. If Josefine is able to push the shelf against a wall, perhaps painting a warm, bright color like yellow behind it would be enough to balance the cold, hard metal.
.jpg)
I know that Josefine’s shelf is used mostly for kitchen appliances, but adding just a few decorative items might give it a little personality:
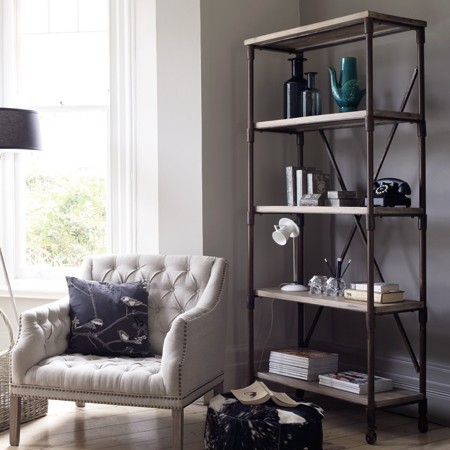
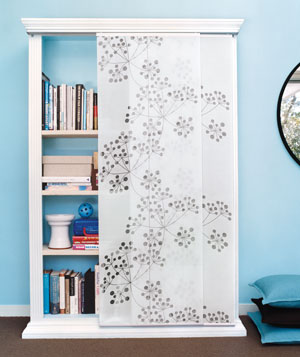
Or, if all else fails, maybe the best solution is to hide the shelves entirely! An easy pannel of fabric that slides back and forth over the shelves could be just the ticket to soften the hard-on-the-eye unit:
If she finds that nothing is working to soften the look of the metal shelf, I have to put in a plug for my absolute favorite past-time…Thrifting! I say run out to your nearest thrift store and find an old bookcase. It might take a few trips to find the one that’s juuuuuust right (and it might even mean looking for an old armoire that you can add shelves to for deeper storage), but adding a fresh coat of paint and hardware could turn trash to treasure.
Hope that helps, Josefine! Good luck and keep up posted on your progress.
(Photo credit for pop-of-wall-color shelf: here; “screened”-in shelf: here)

