
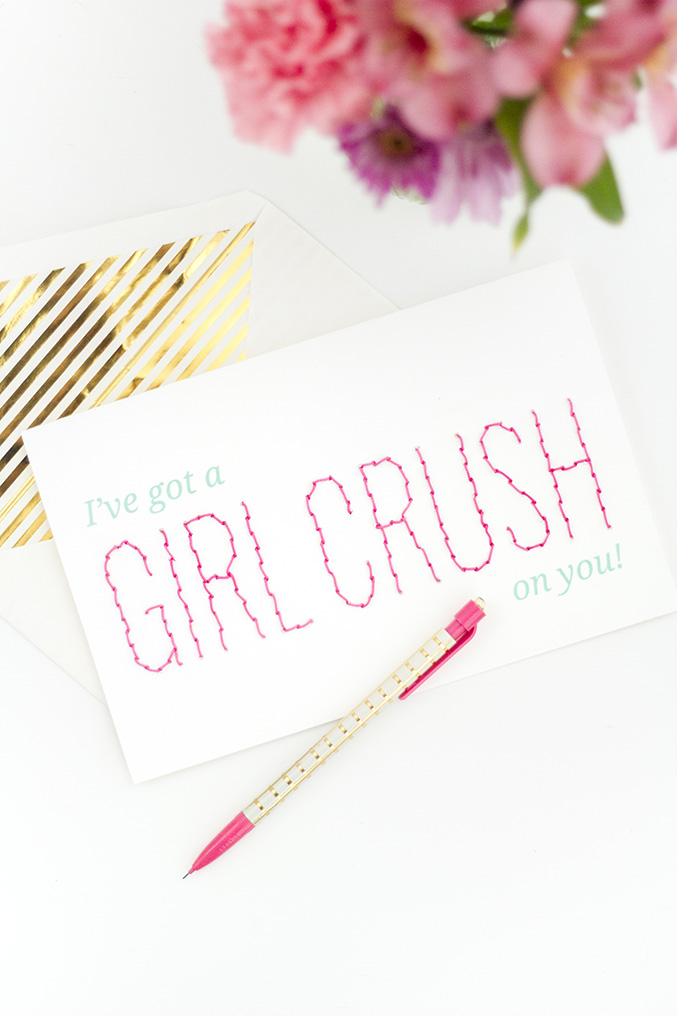
Valentine’s Day is almost here, ladies! Have you snagged your Galentine an extra special gift yet? Or maybe you are keeping it low key this year! If that’s the case, then I’ve got a simple project for you to eke out ahead of February 14, 2016. My hand-stitched “Girl Crush” Valentine’s Day card can be printed, stitched, signed, and delivered all with time to spare, so read on for the DIY details!

- Printable “Girl Crush” card download
- Sheet of 8.5×11″ white cardstock
- Printer
- Needle
- Scissors
- Pink cording
Start by downloading the printable “Girl Crush” card. This design is made to fit a standard sheet of 8.5×11″ white cardstock, so you just need to download the art, print it onto cardstock, and then you’re ready to do the finishing touches before folding right in half.

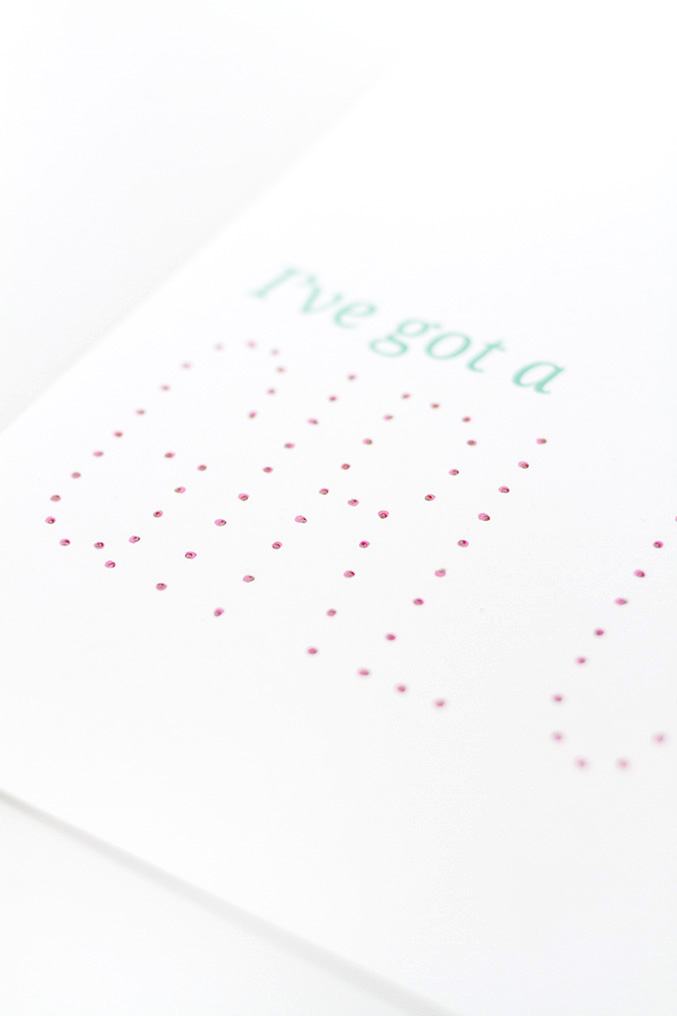
As you can see illustrated above, the printable design features a polka dotted pattern for the larger “Girl Crush” text. Start by taking your needle and poking through the little pink holes in the design. This will make the stitching step much easier later on. I actually laid my printed cardstock on carpet since I could push right through the paper into the plush carpet without bending the cardstock, but feel free to use another soft material to push into, like cork or a foam core board.
Once you have all of the holes pierced, cut a piece of pink cord from the spool using scissors. NOTE: I used roughly four feet of cord, but you can always add more if you run out while doing the project. Thread the cording onto your needle, add a small knot to the end so that it doesn’t come right out when you pull it through to the front of the card, and begin looping the cord through the holes.

I started by coming up from the back of the paper at the end of the “G,” looped the string over to the adjacent hole from the front, pushed it down into the hole, and then came back up the next hole from the back of the paper. This left a blank line between the holes with each stitch I made, but then I circled back after completing the first run of stitches and filled in the blank spots to complete the letter.

After finishing up the last letter, I snipped the excess cord, tied a knot from behind and called it “done”! In case you run out of cord in the middle of the phrase, just trim and knot the end of the stitched cording in the back, and start a new line, also from the back of the paper. Since you’ll be able to see the raw knots and stitches from the inside of the card, you may want to consider gluing a second sheet of blank white cardstock to the back of the card to hide your handiwork.

I can’t wait to gift my handmade card to my own “Girl Crush” this year (probably my little sister!), and hope you have a gal pal to gift one of your own DIY stitched cards to as well. In case you’re looking for more printable Valentine’s Day card ideas, hop over to my friend Rachel’s blog, The Crafted Life, for 10 fun, festive, and FREE options to try.
Be sure to check back daily throughout my ‘Week of Pink’ for more blush-colored inspiration ahead of Valentine’s Day 2016!


This is so fun, I love it!
Thank you!! So glad you love it, Amy!