I don’t know if it’s the artist in me or what, but in my opinion a room isn’t a room until it’s got art up on the walls…Luckily the hunt for the perfect print or the creation of something completely unique is part of the fun in adding life to a room’s blank walls!
As we work our way through our home redo, John and I have utilized our shared interest in vintage pieces to create walls that scream “lived-in character”.
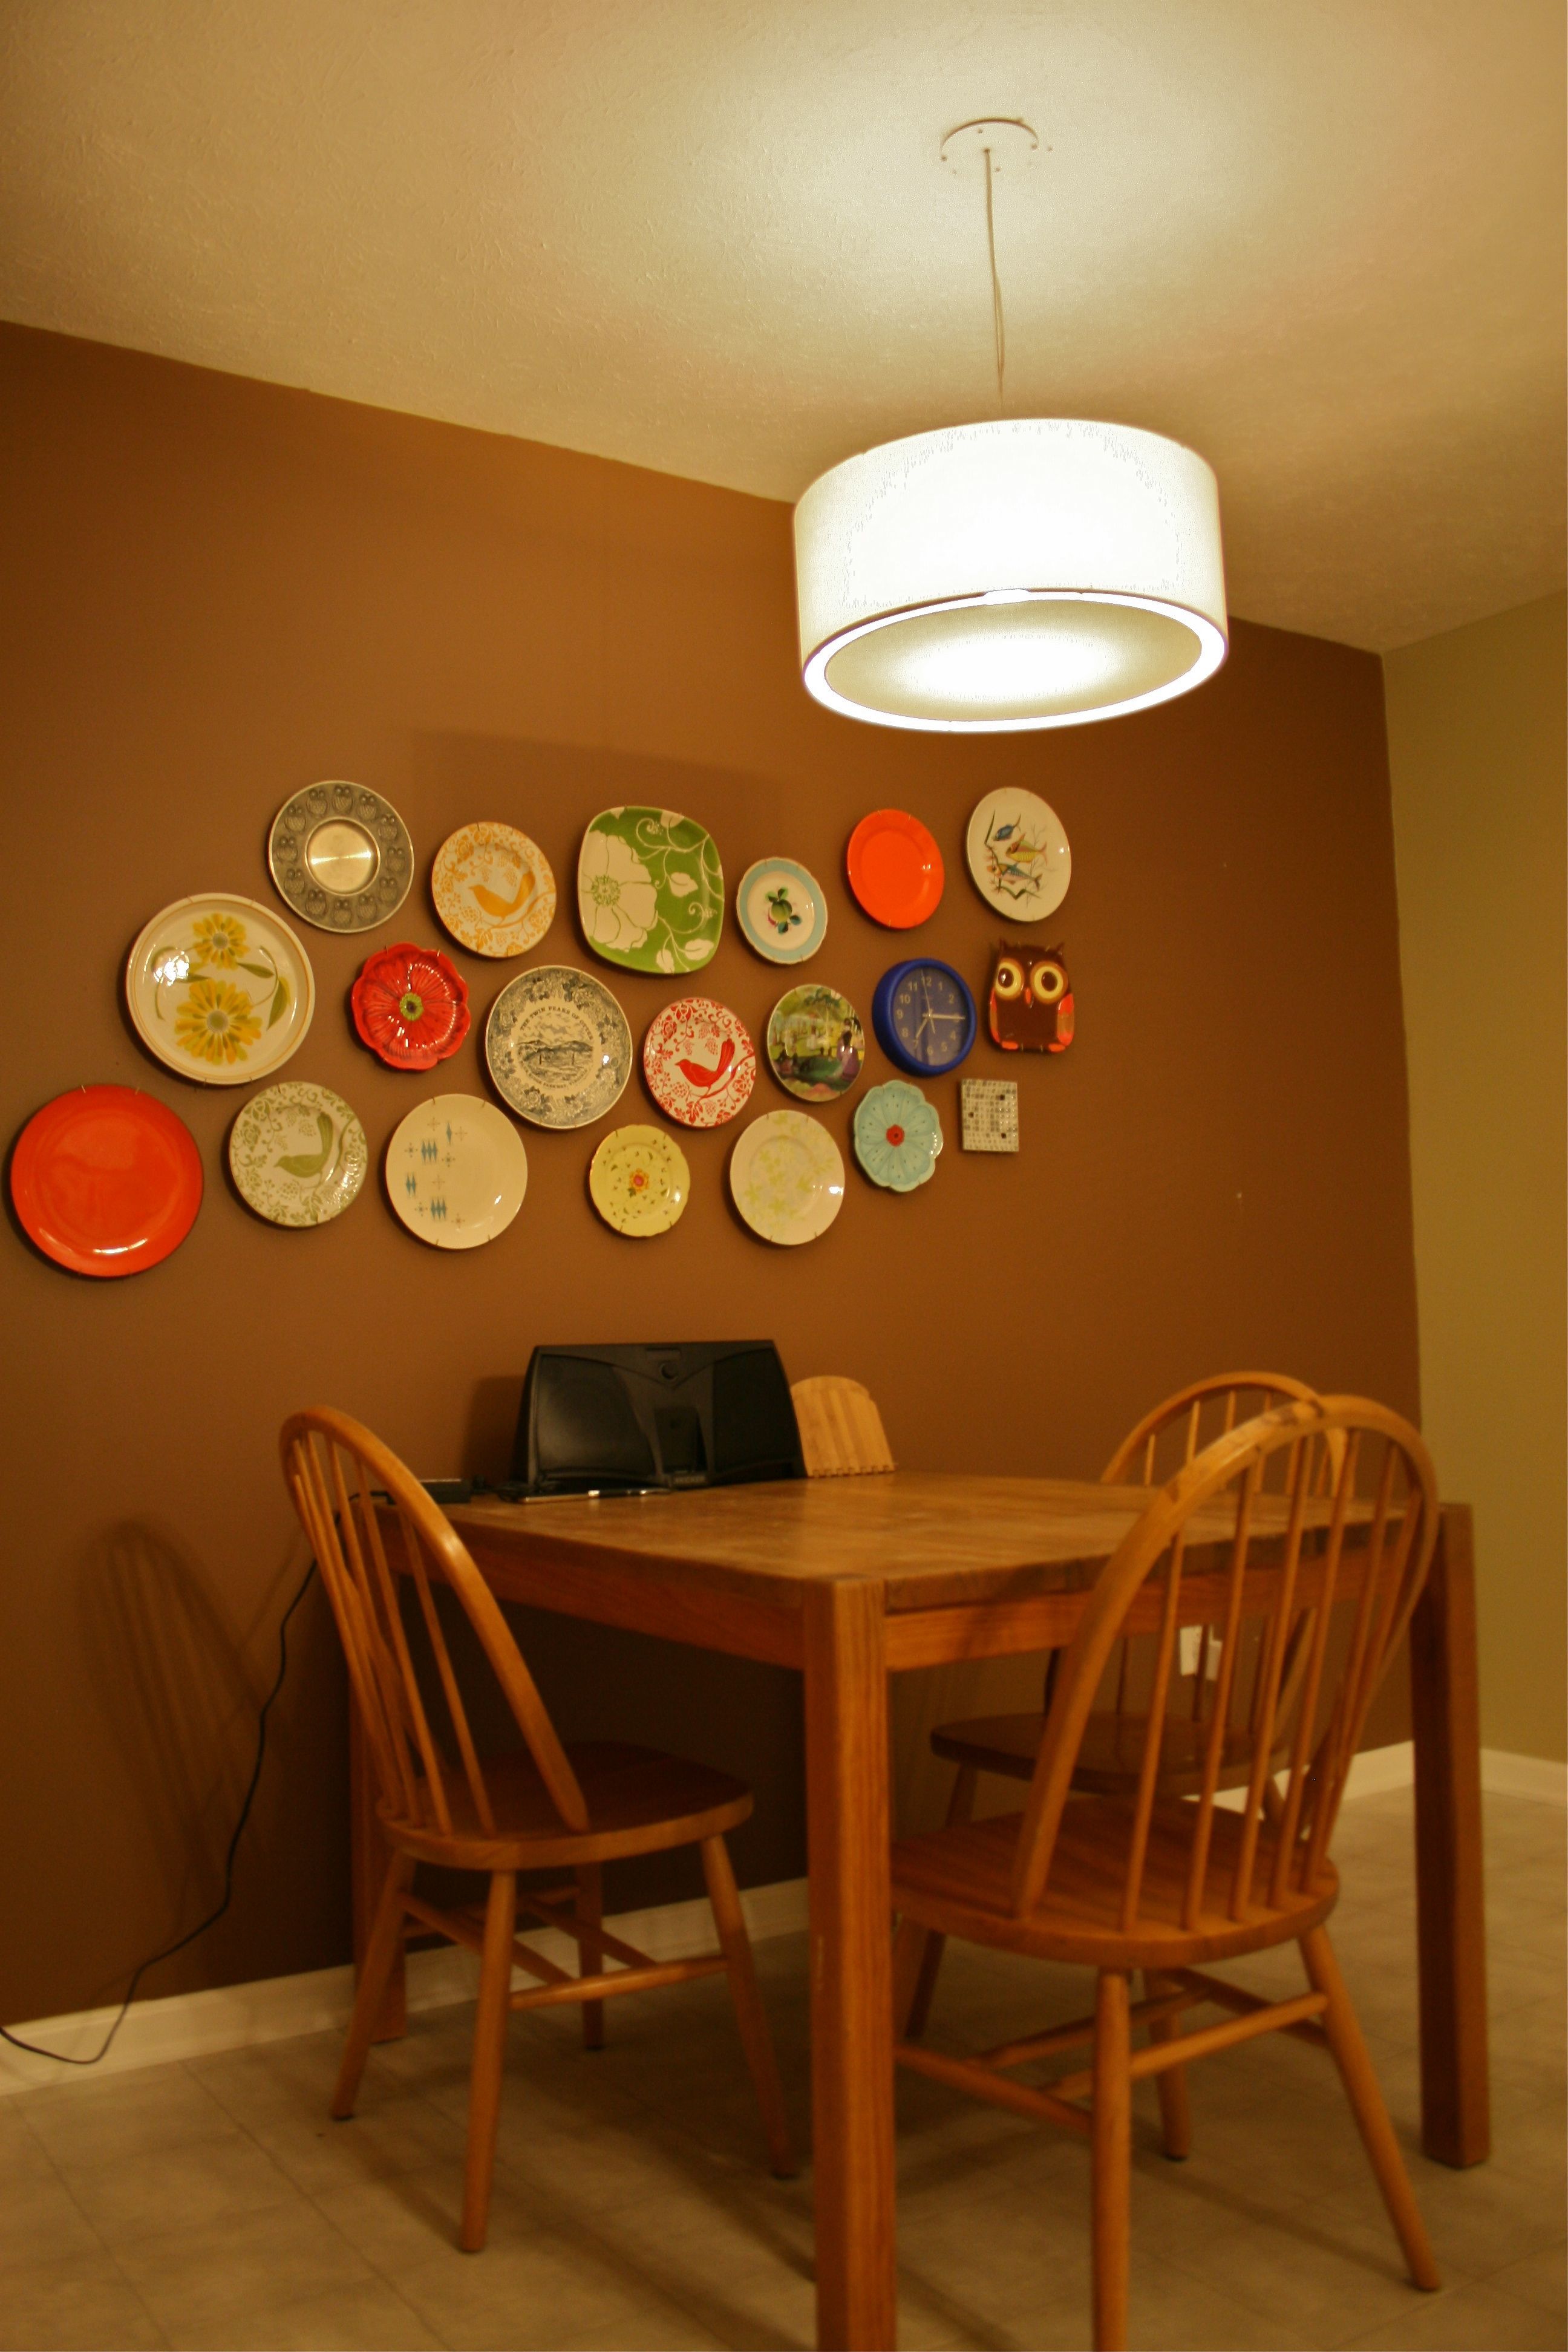
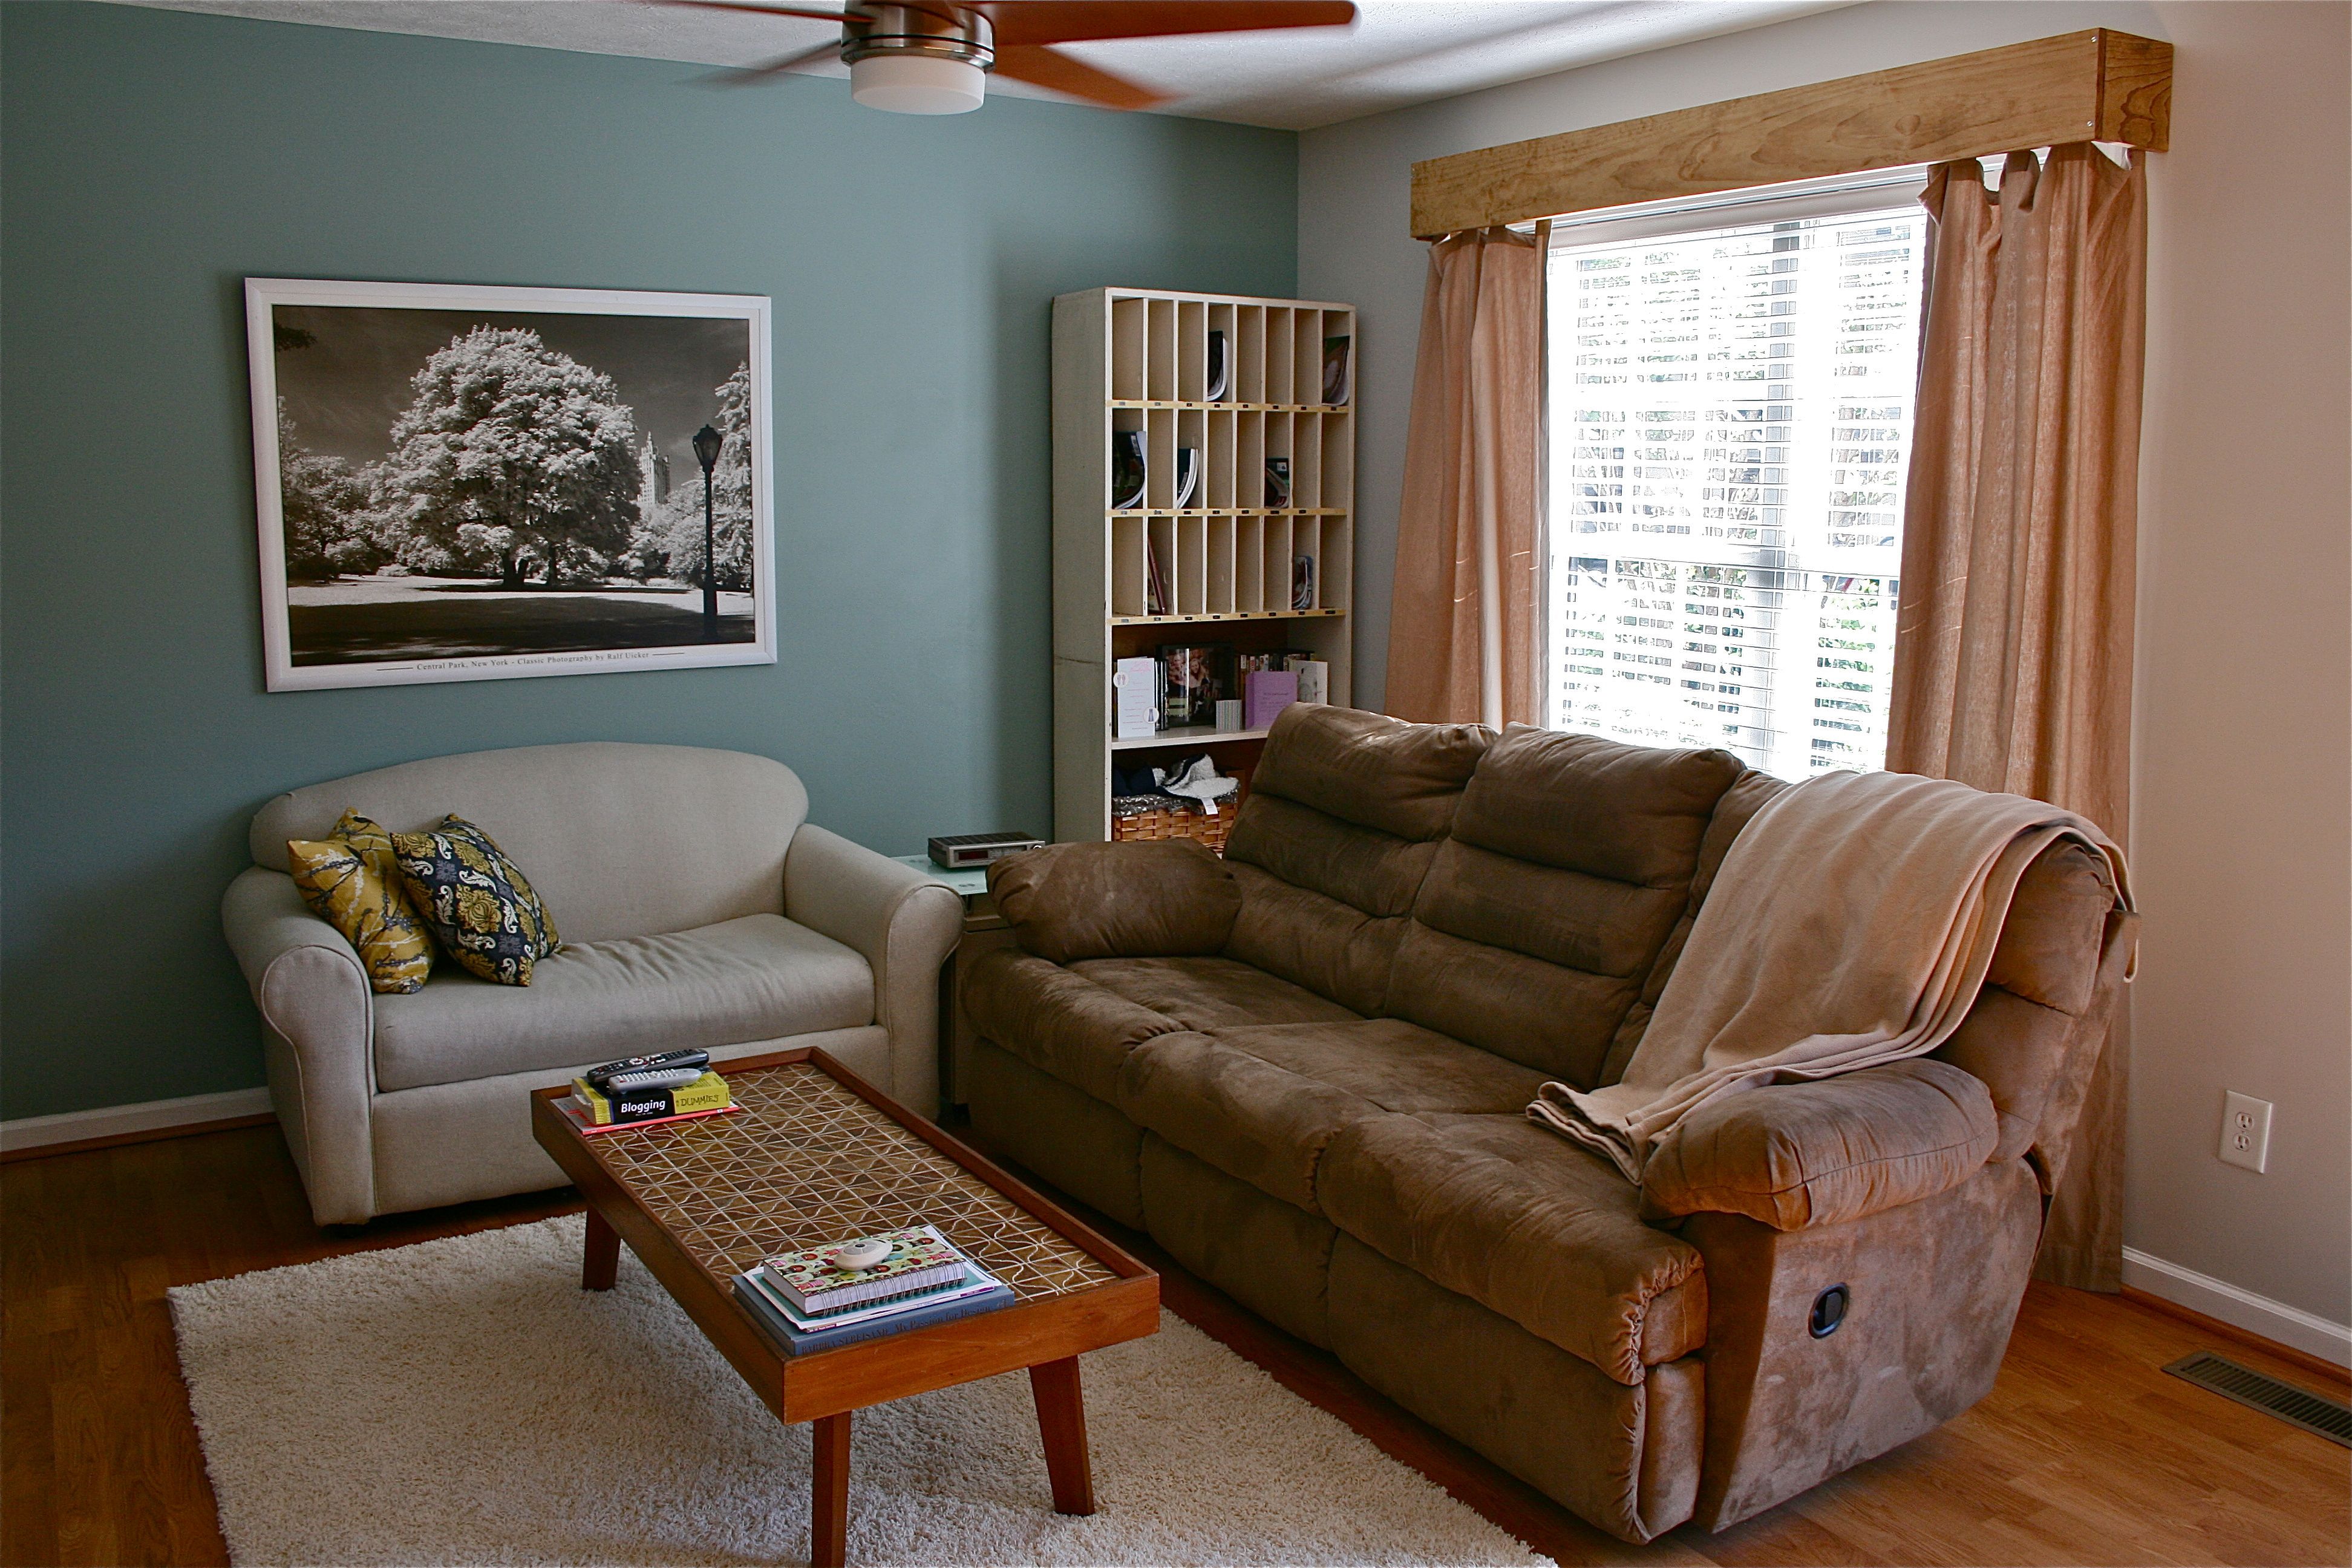
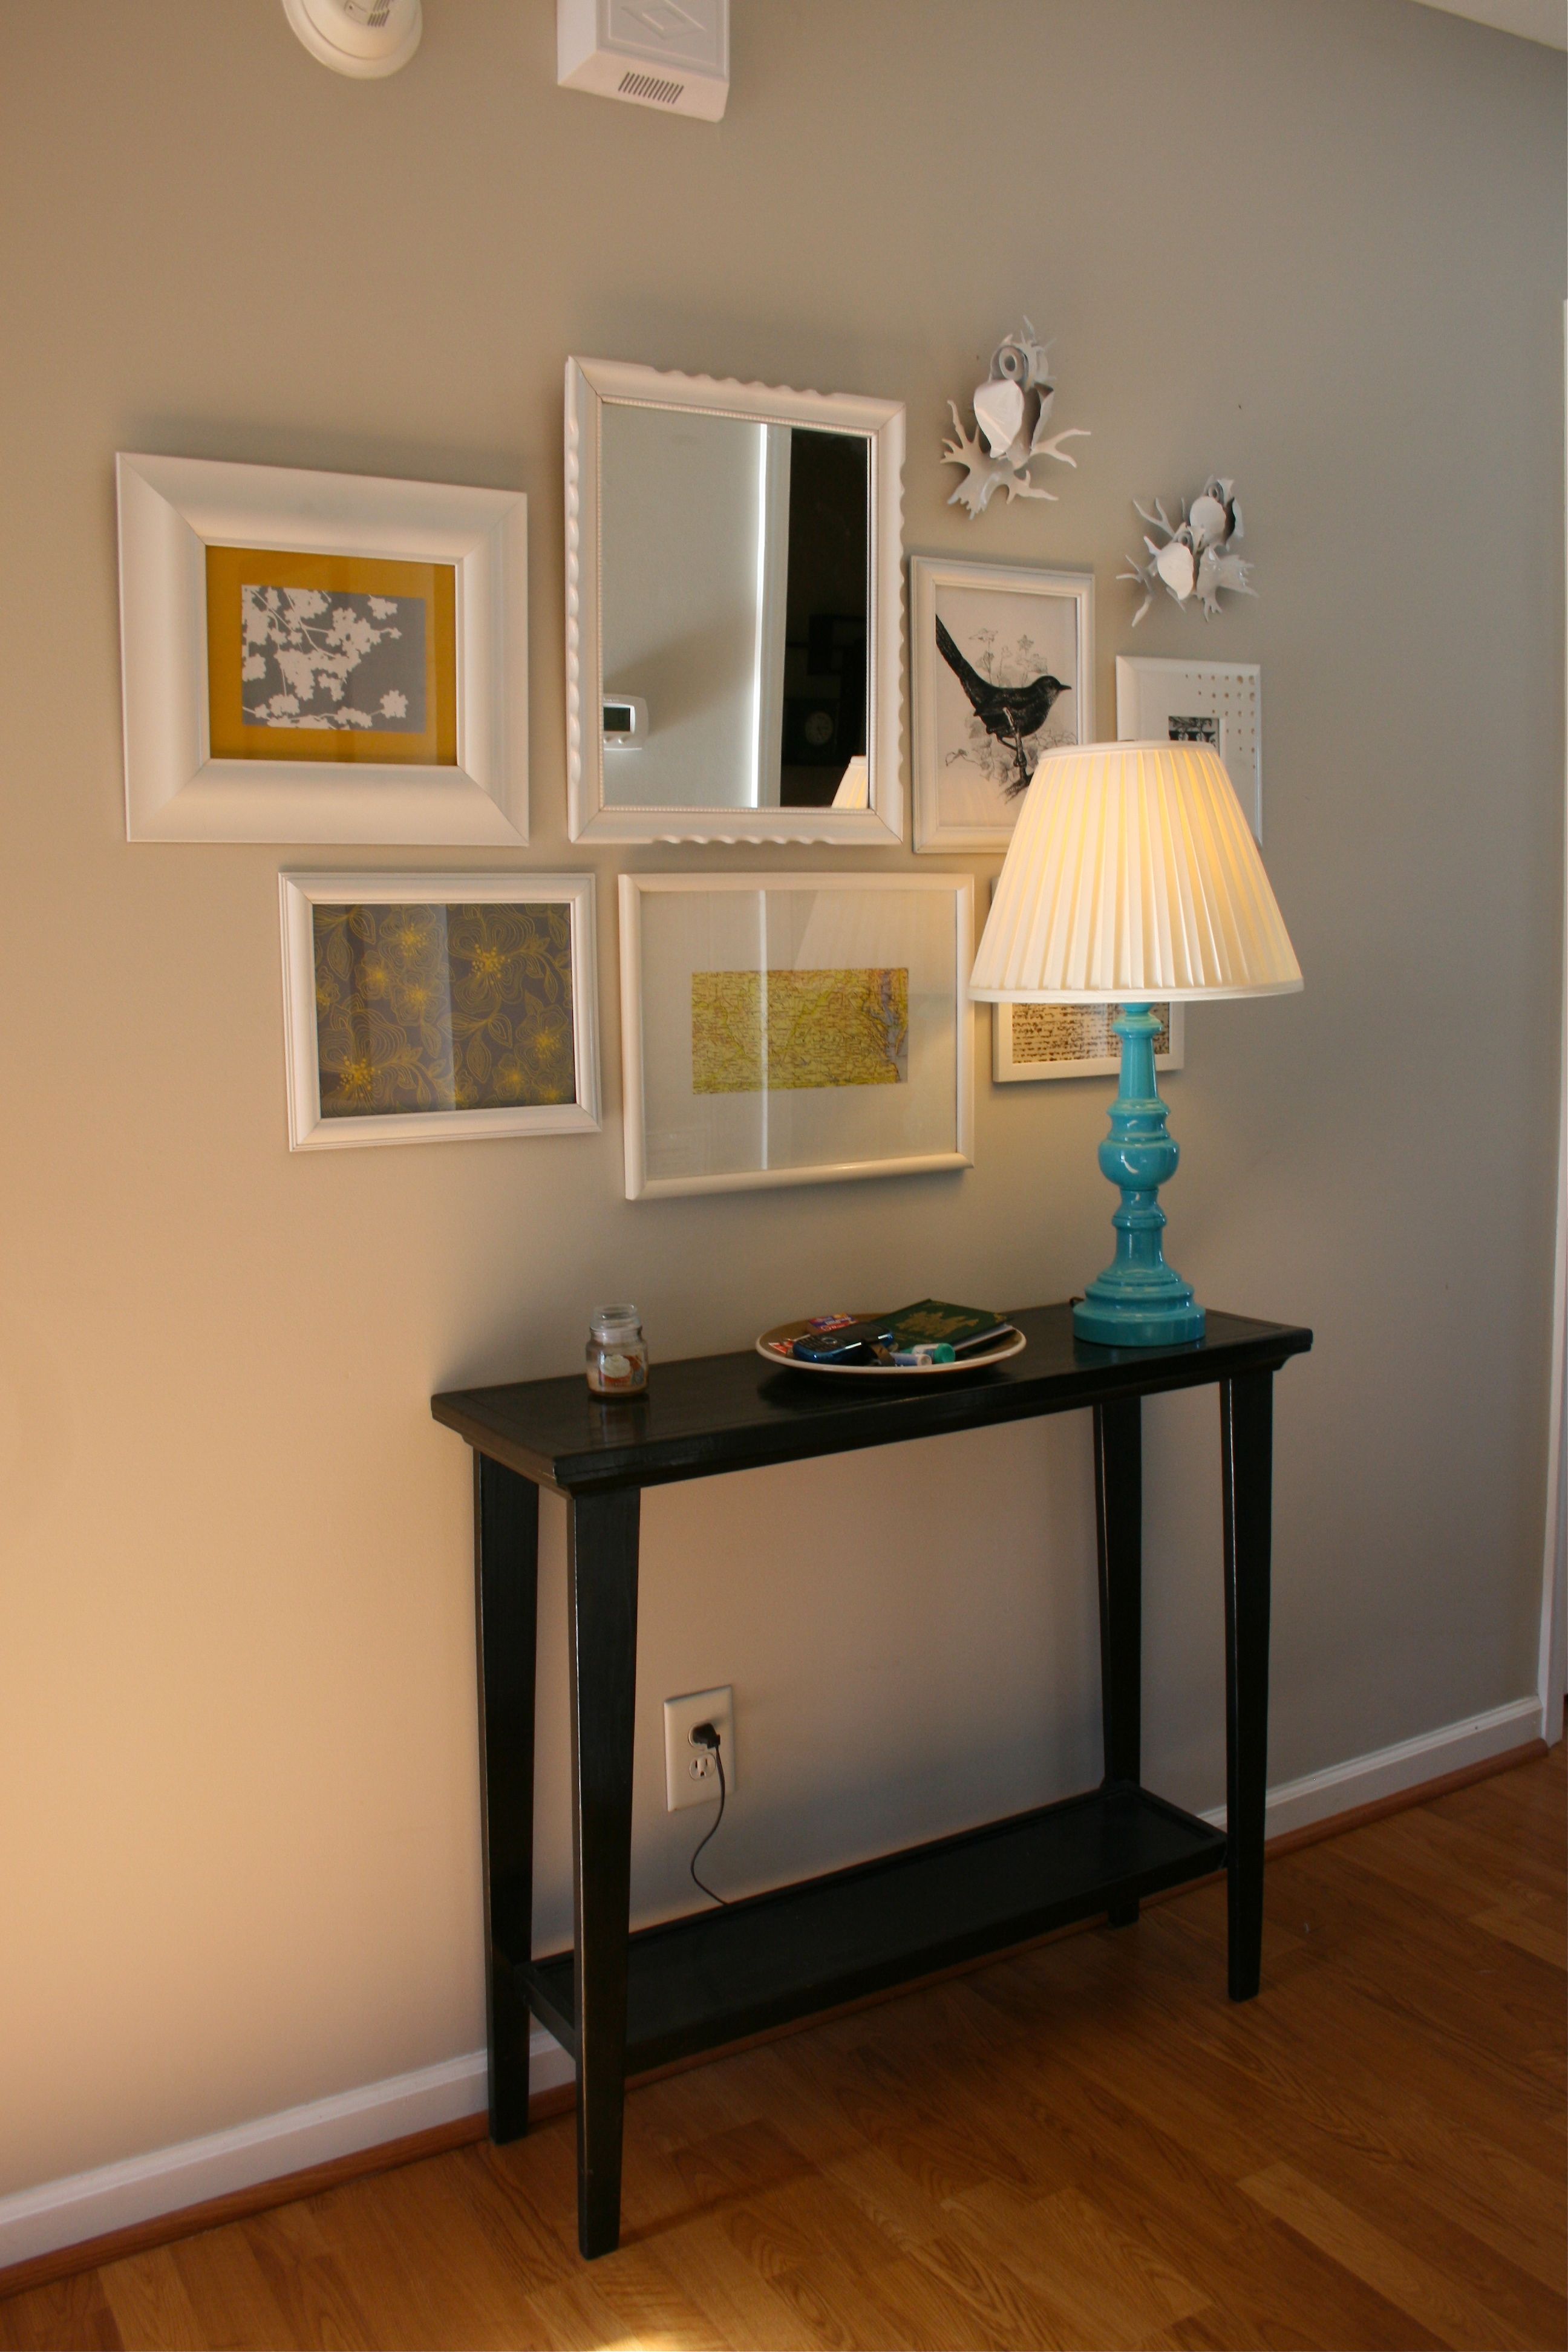
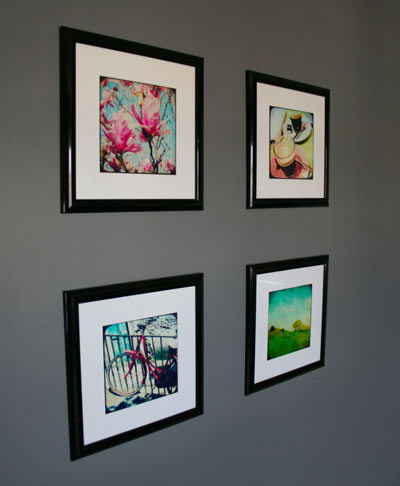
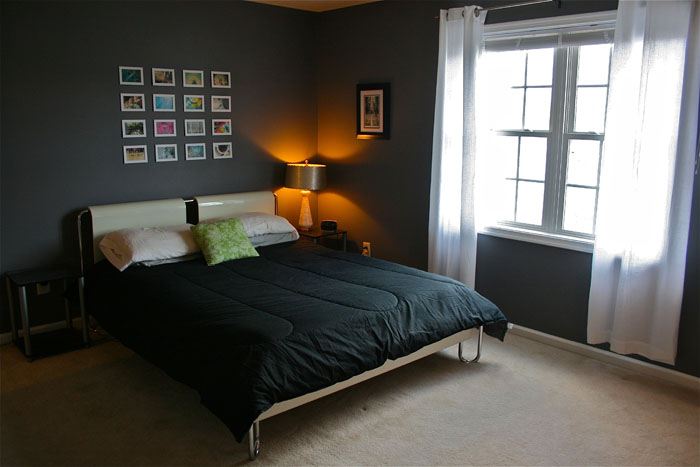
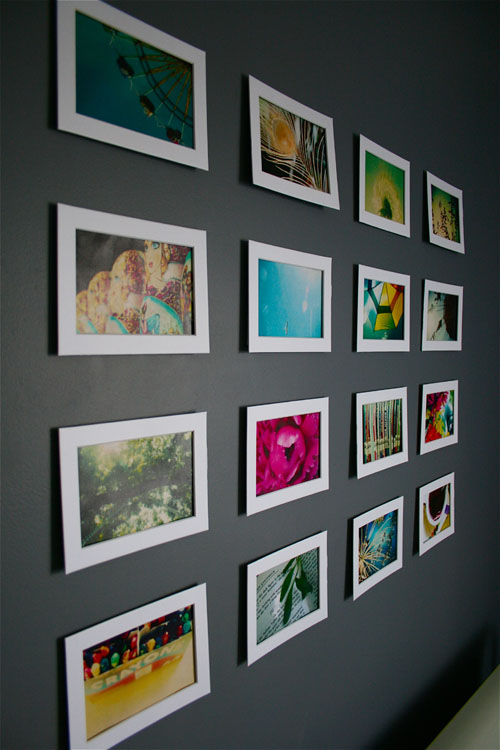
We’ve added a plate wall to the kitchen using mismatched plates we picked up on our many trips to second-hand shops, we hung a vintage print of NYC in the living room (after trying and failing on a certain art project several times…), created a gallery wall in the entry and used new paint and vibrant color photos to make the master bedroom exude urban charm.
It should then be a no-brainer that the new art studio needed something EXTRA special for the walls!
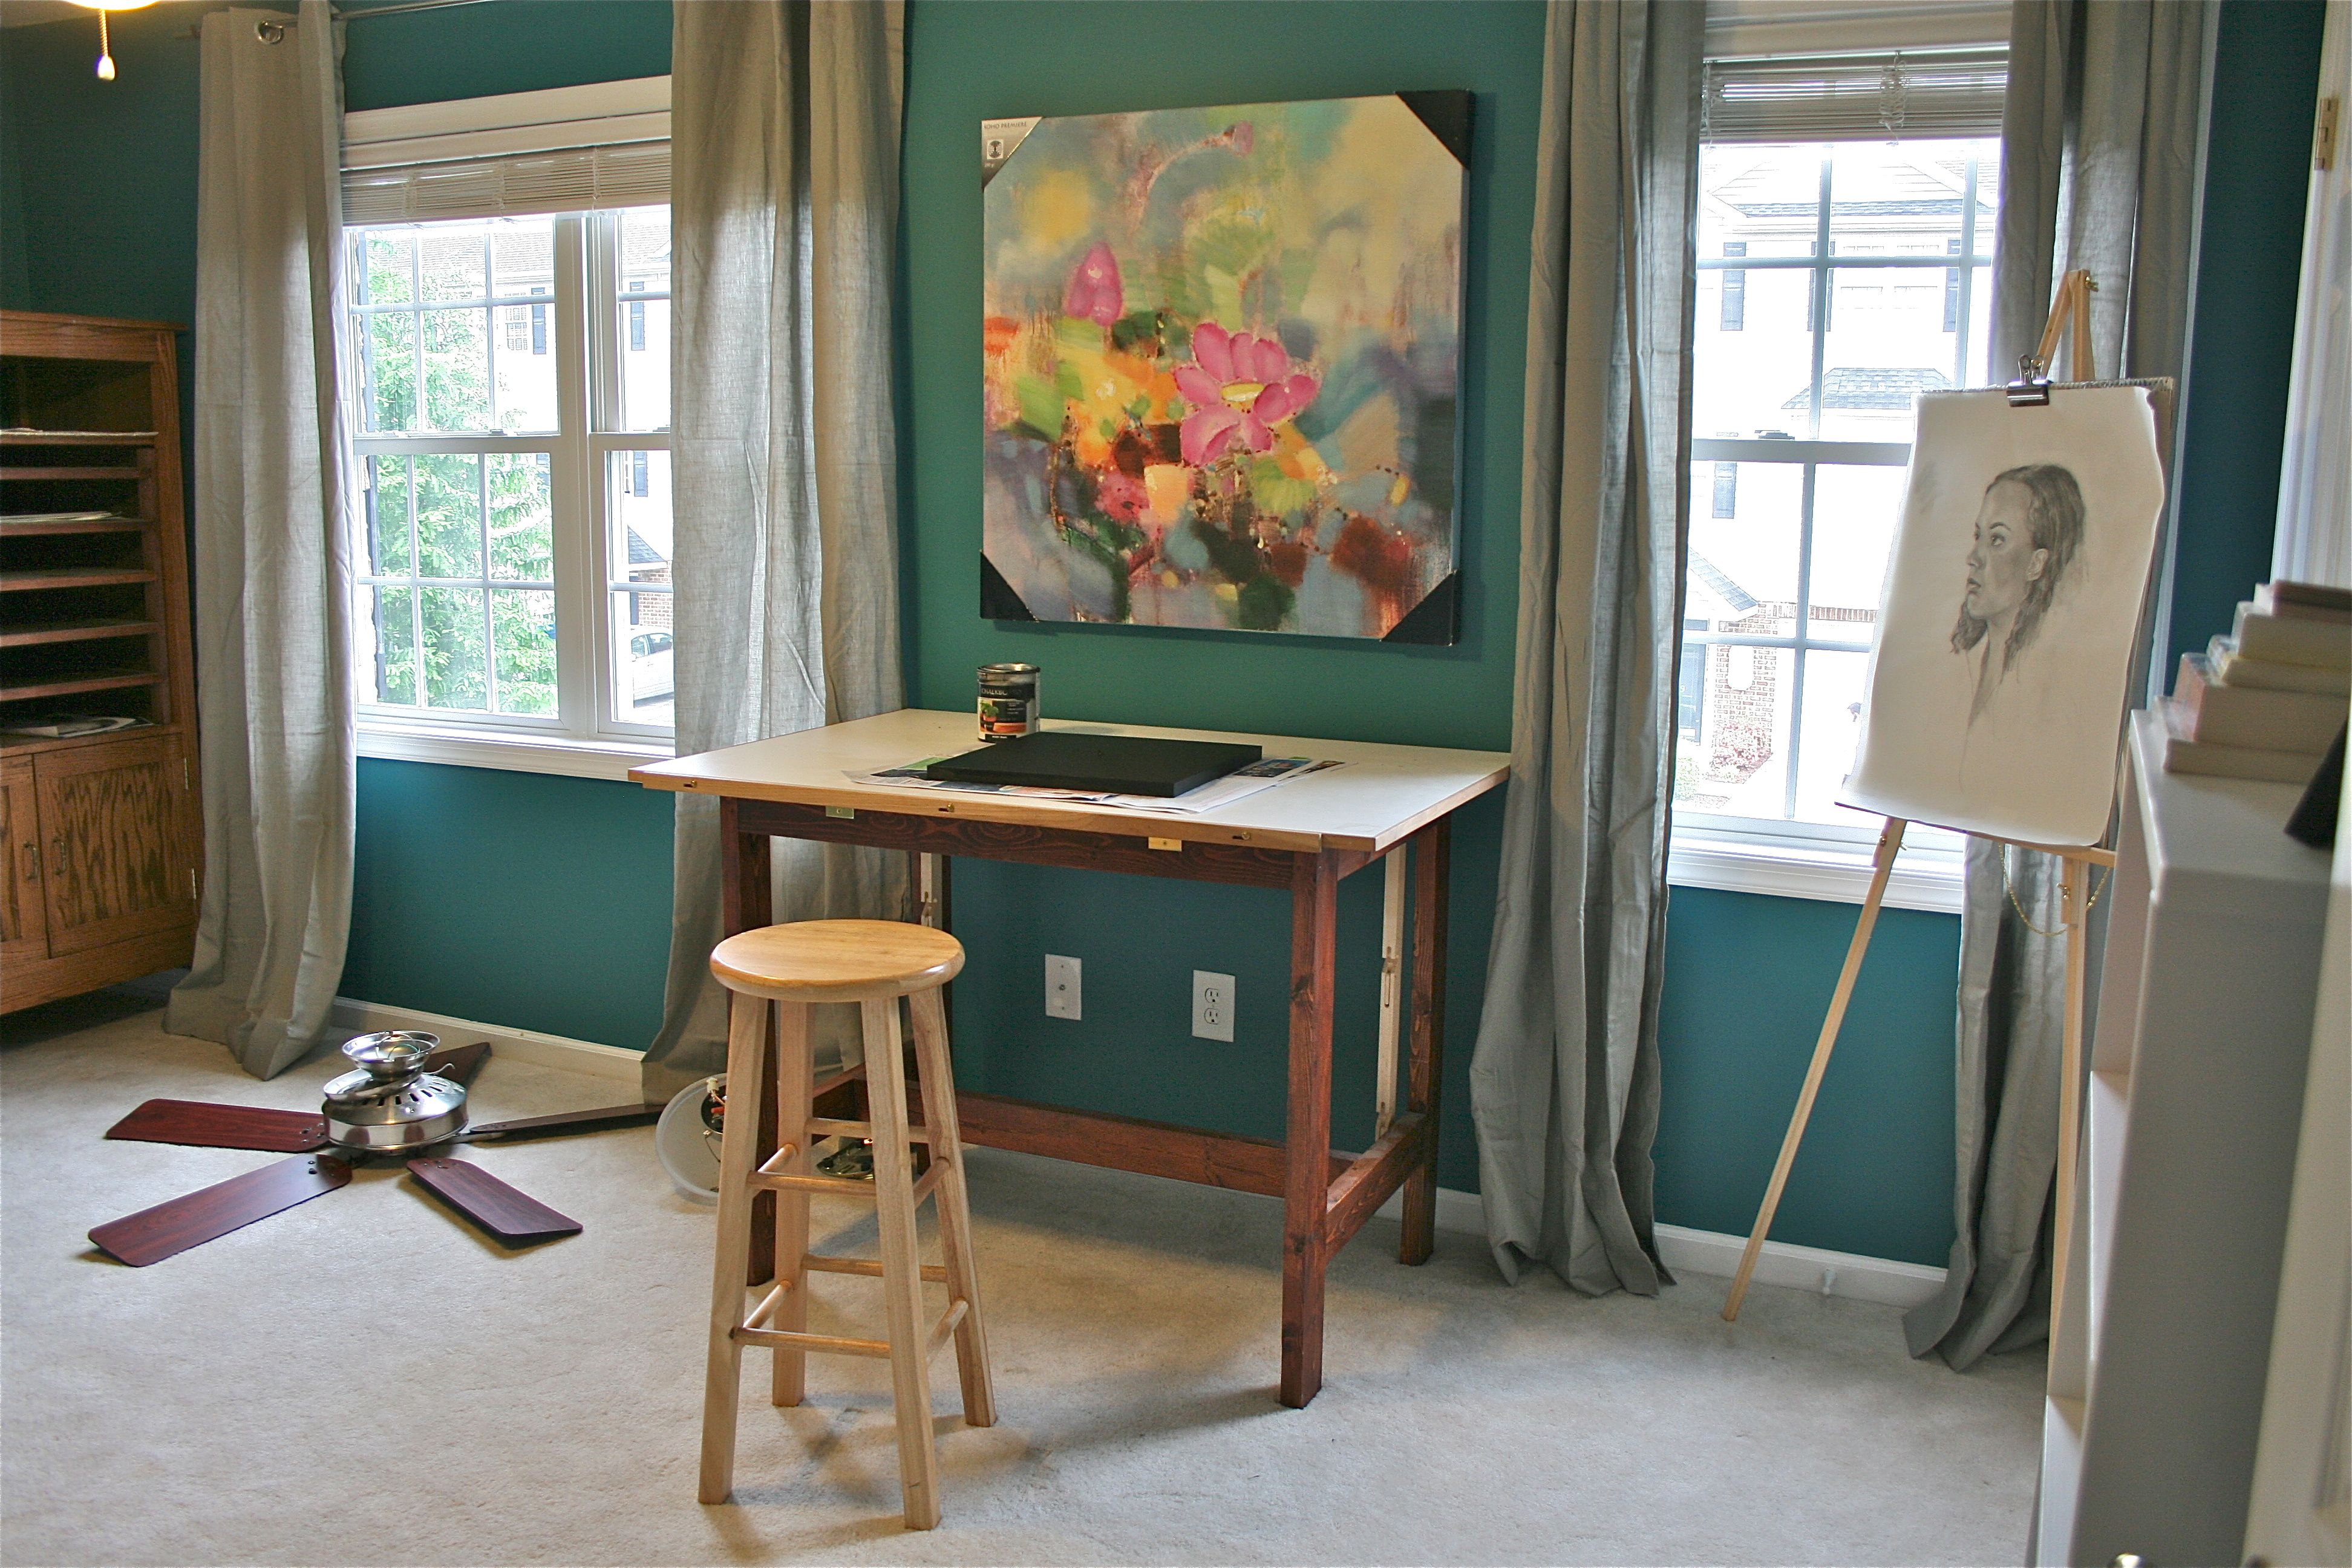
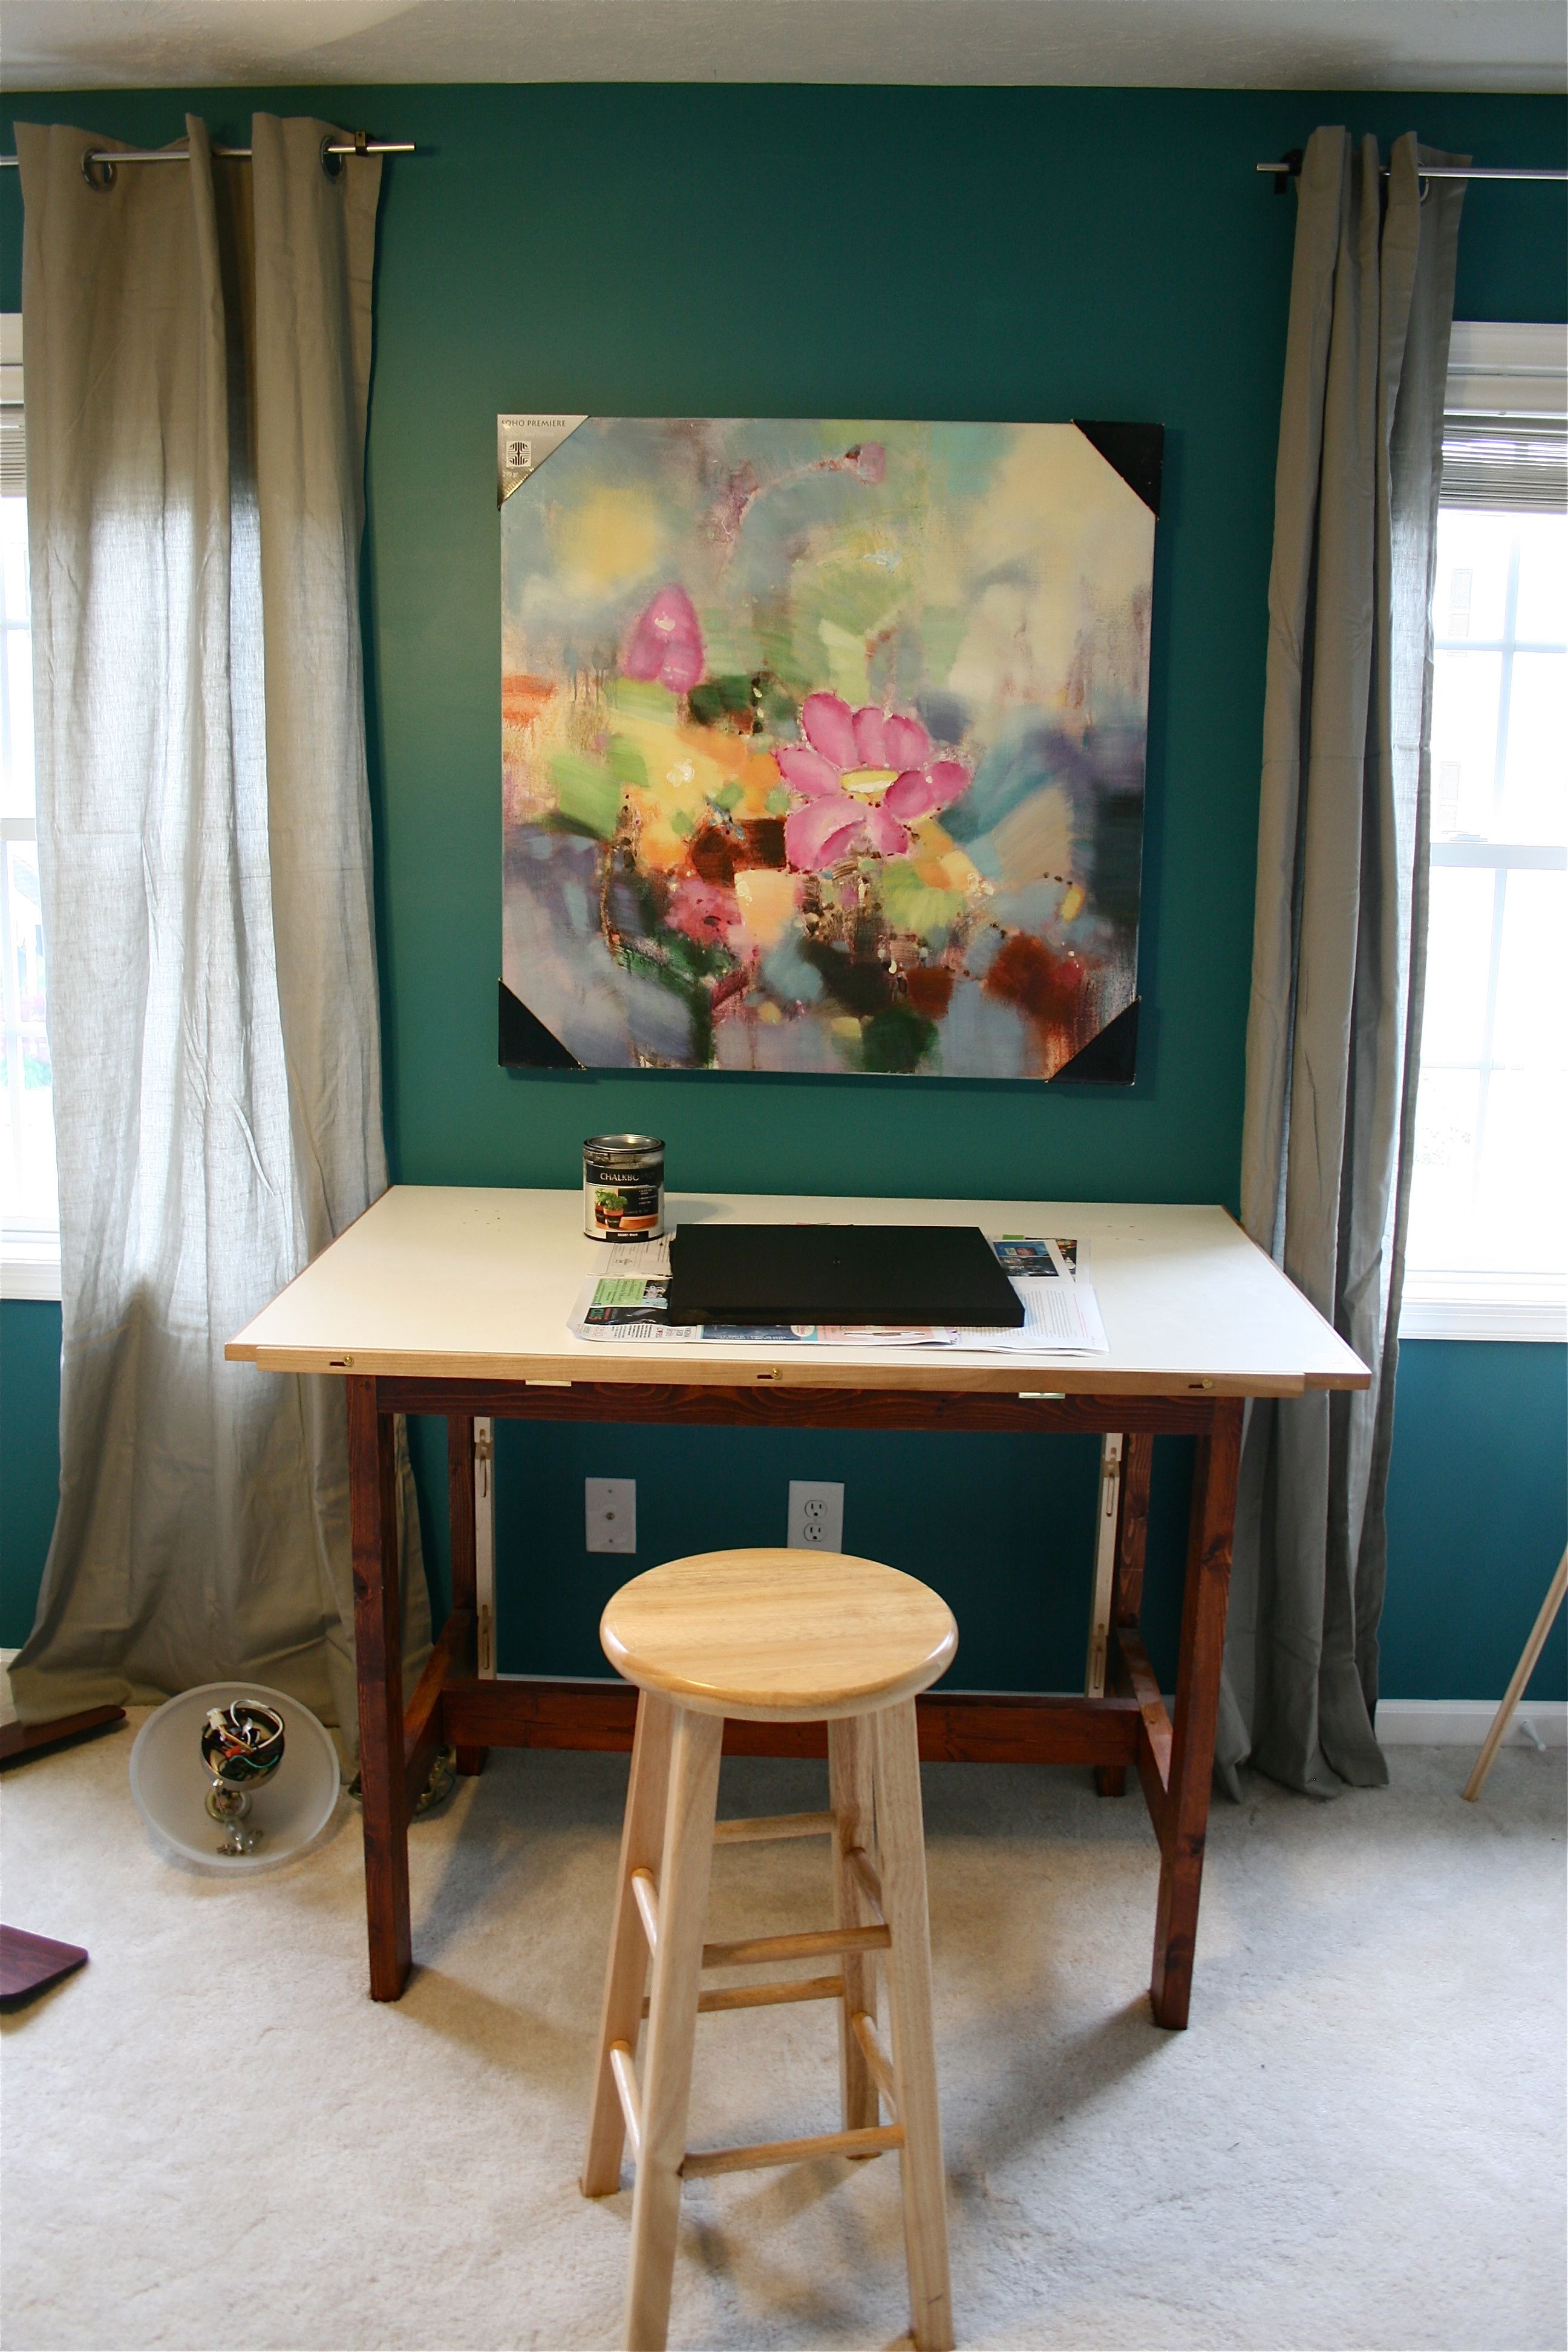
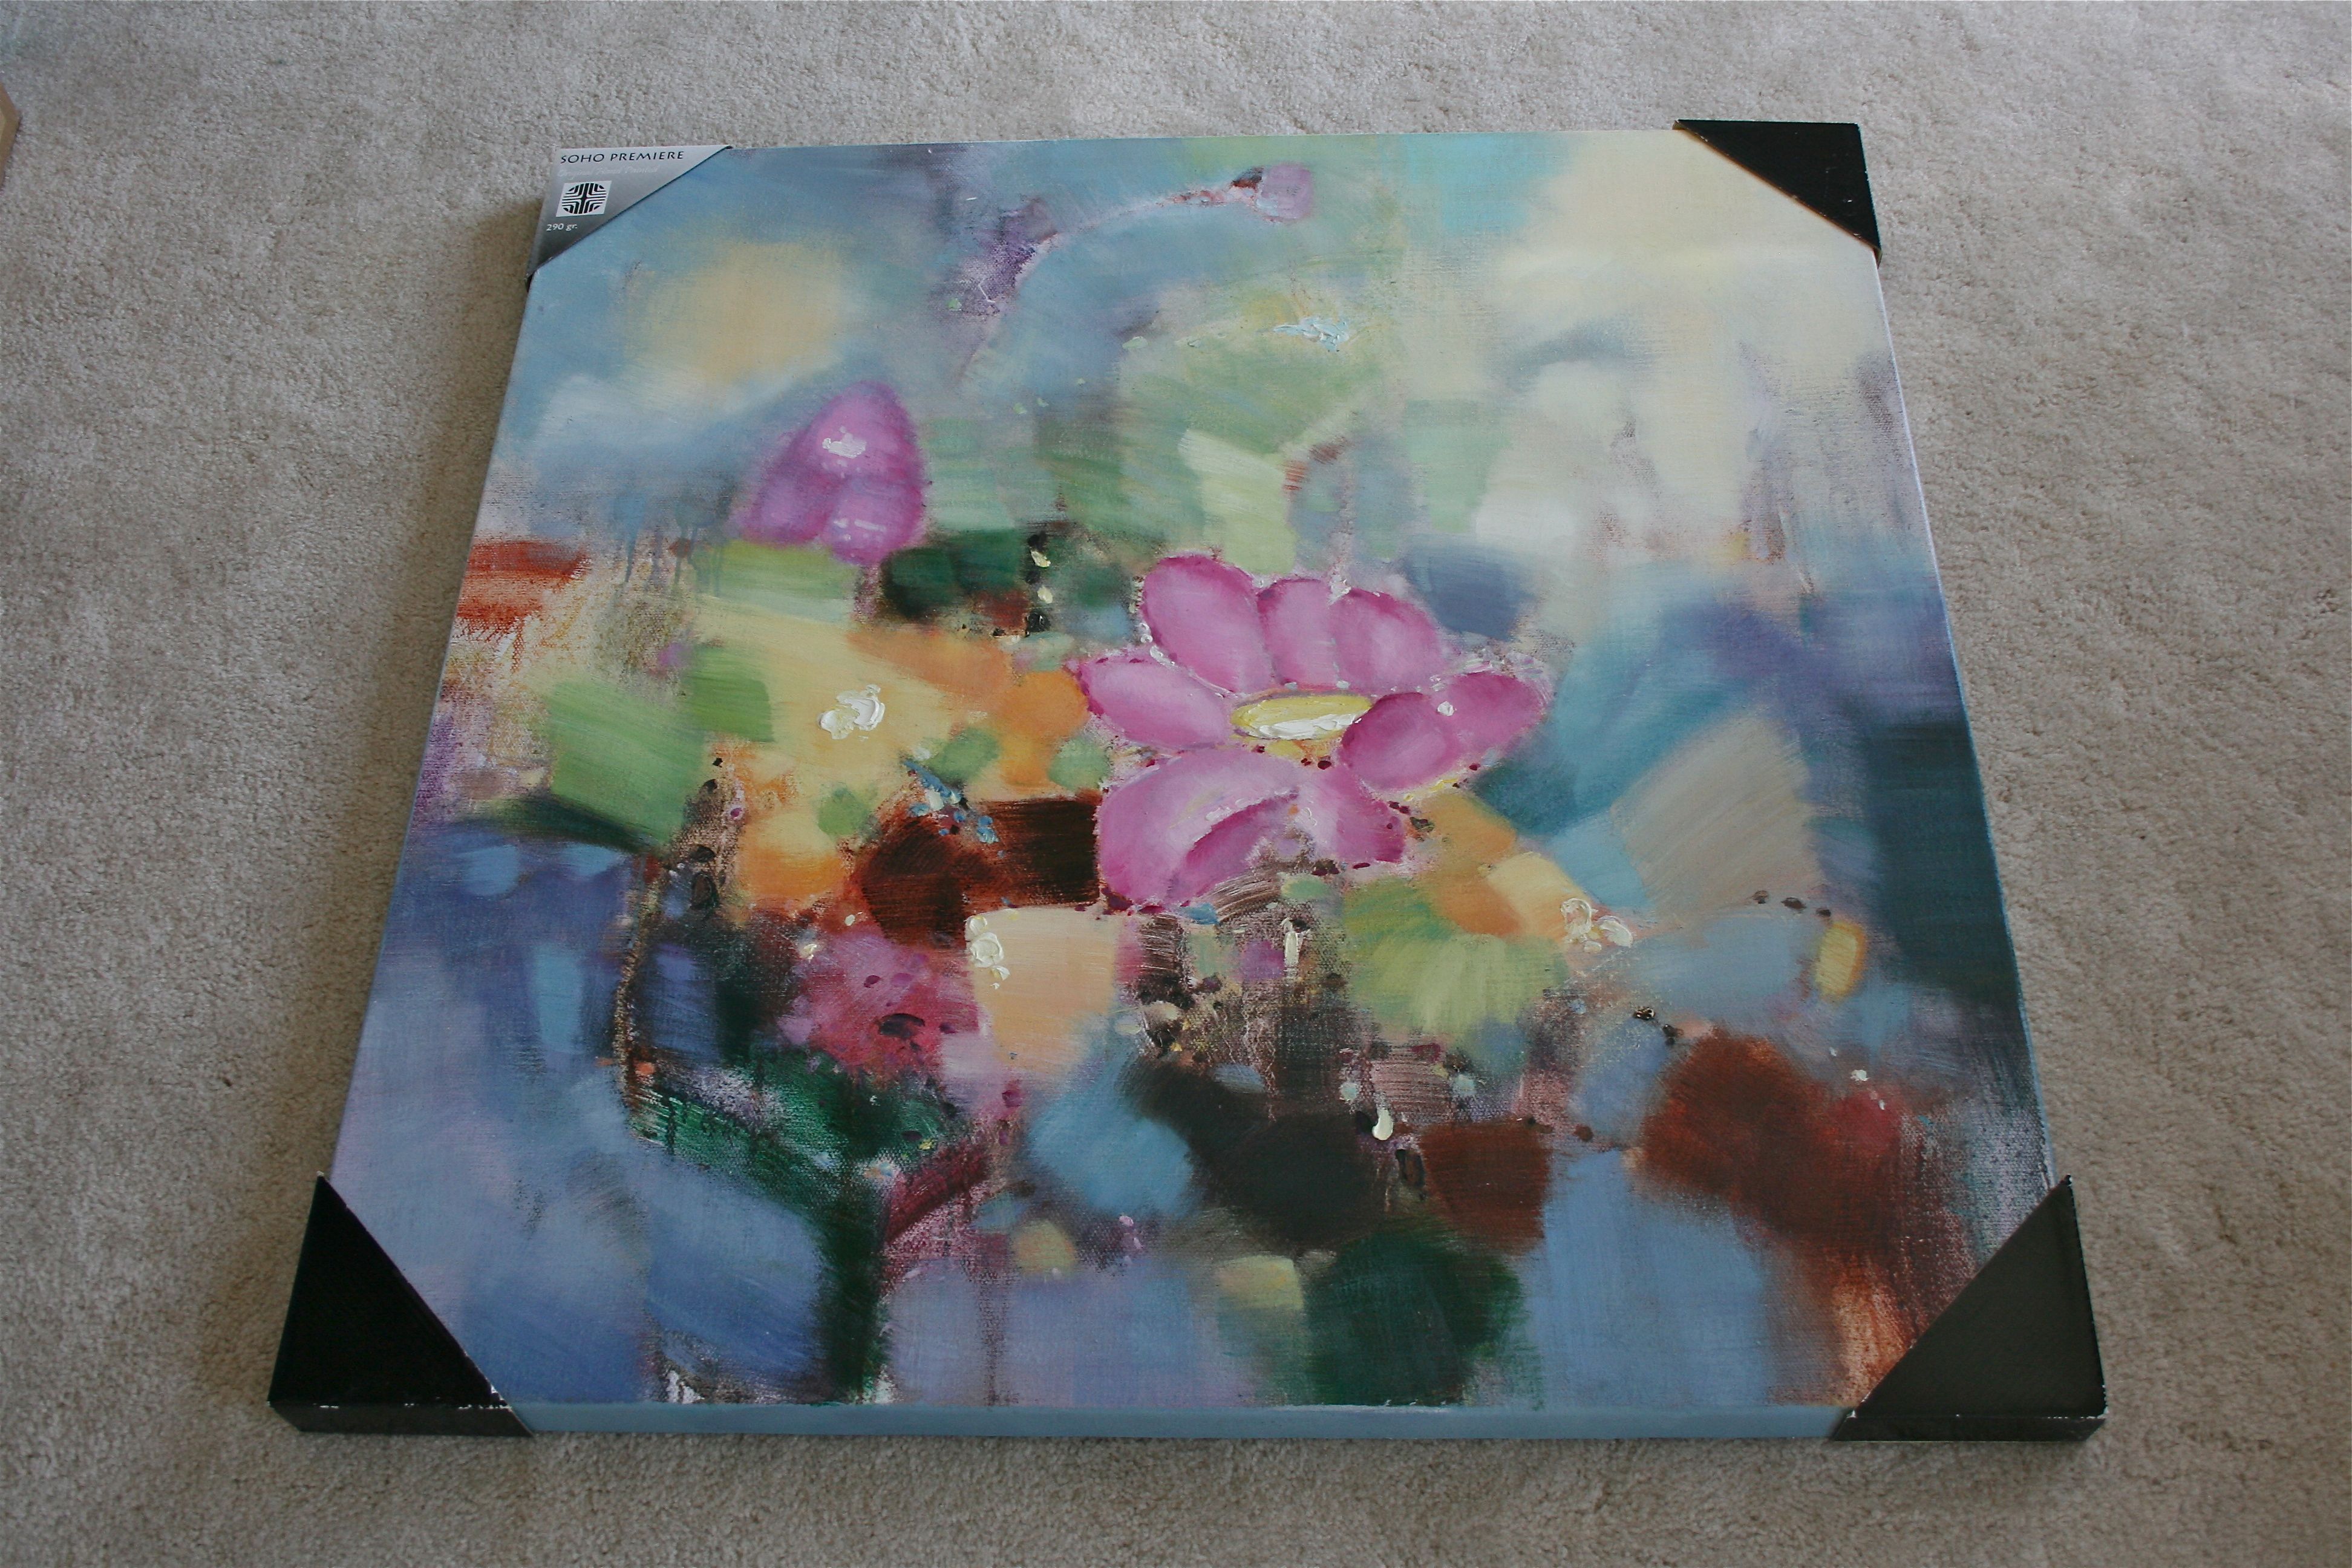
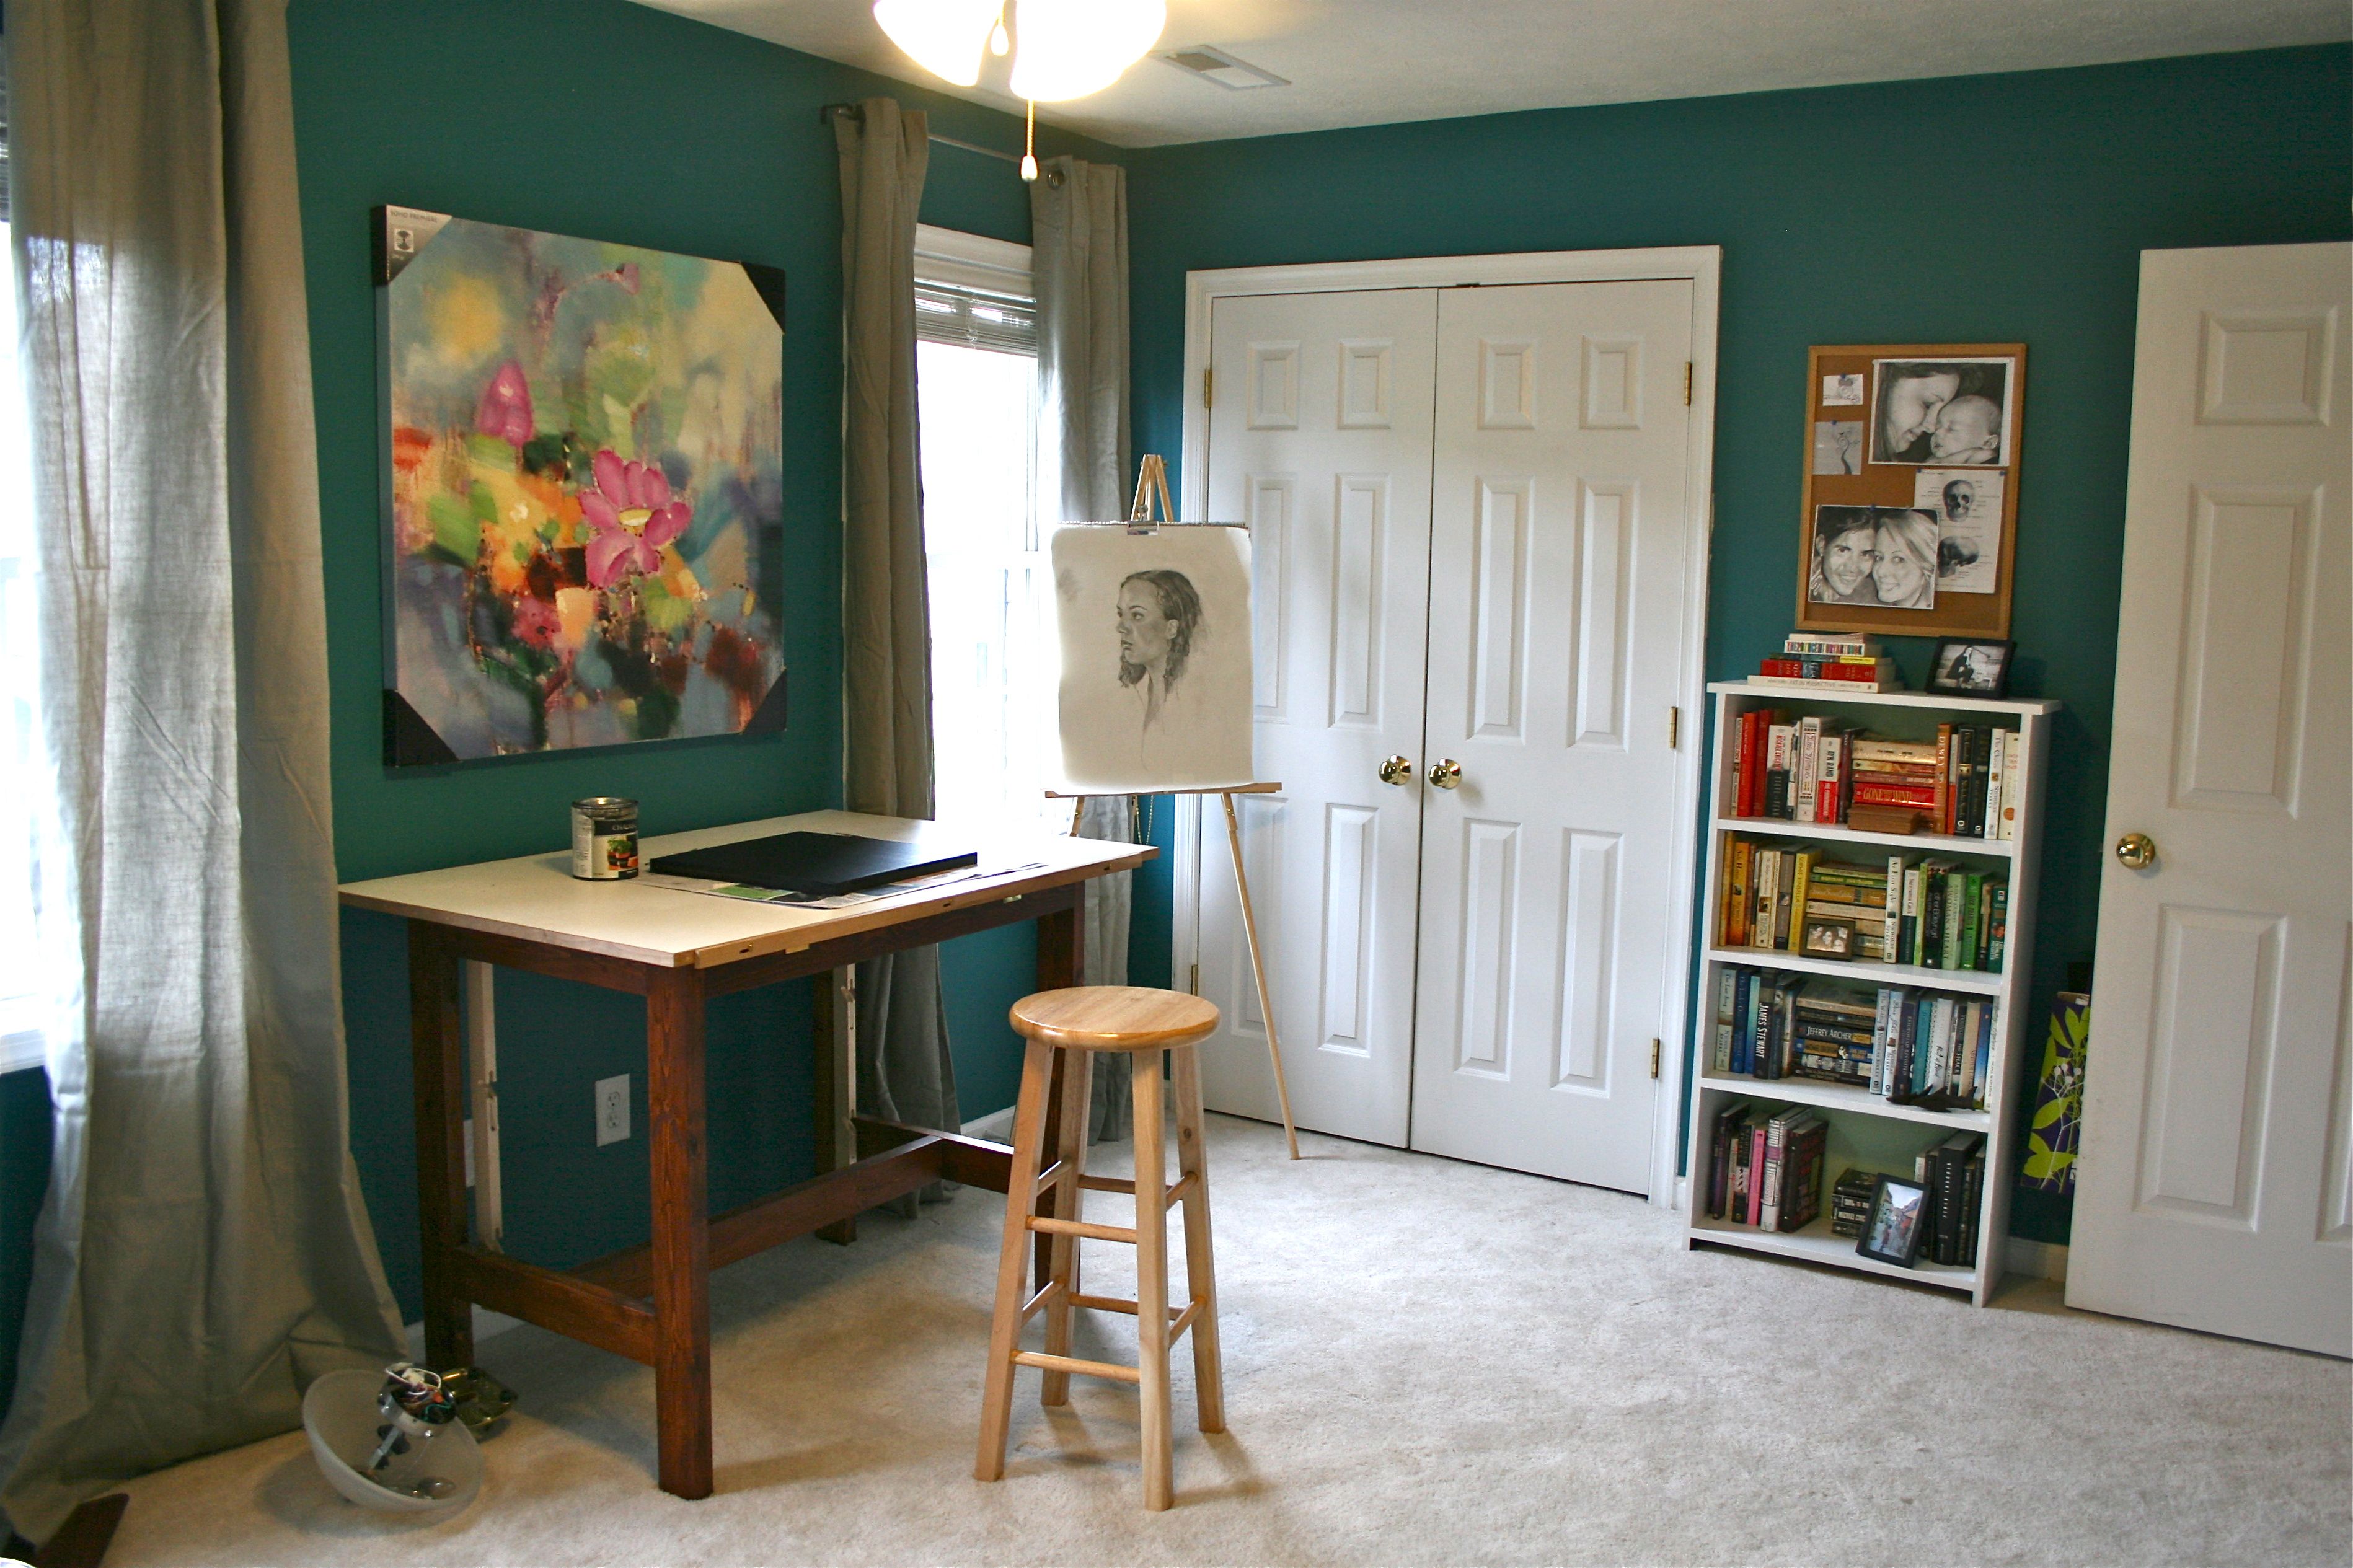
Here’s a reminder of the first piece hung on its newly painted teal walls:
I like the colors and the abstract character of the painting (picked up for $40 at Ross!), but I can’t stand the pink flower and upside down pink heart – cheesyyyy.
I had a little something up my sleeve though, which was later validated by a comment from one of my talented readers and fellow-bloggers:
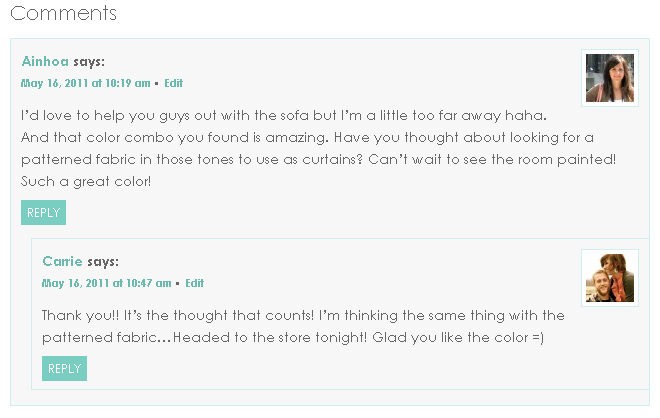 Patterned fabric was definitely in the works – Not as curtains just yet (although, I think it will get taken to that point soon enough) but as artwork!
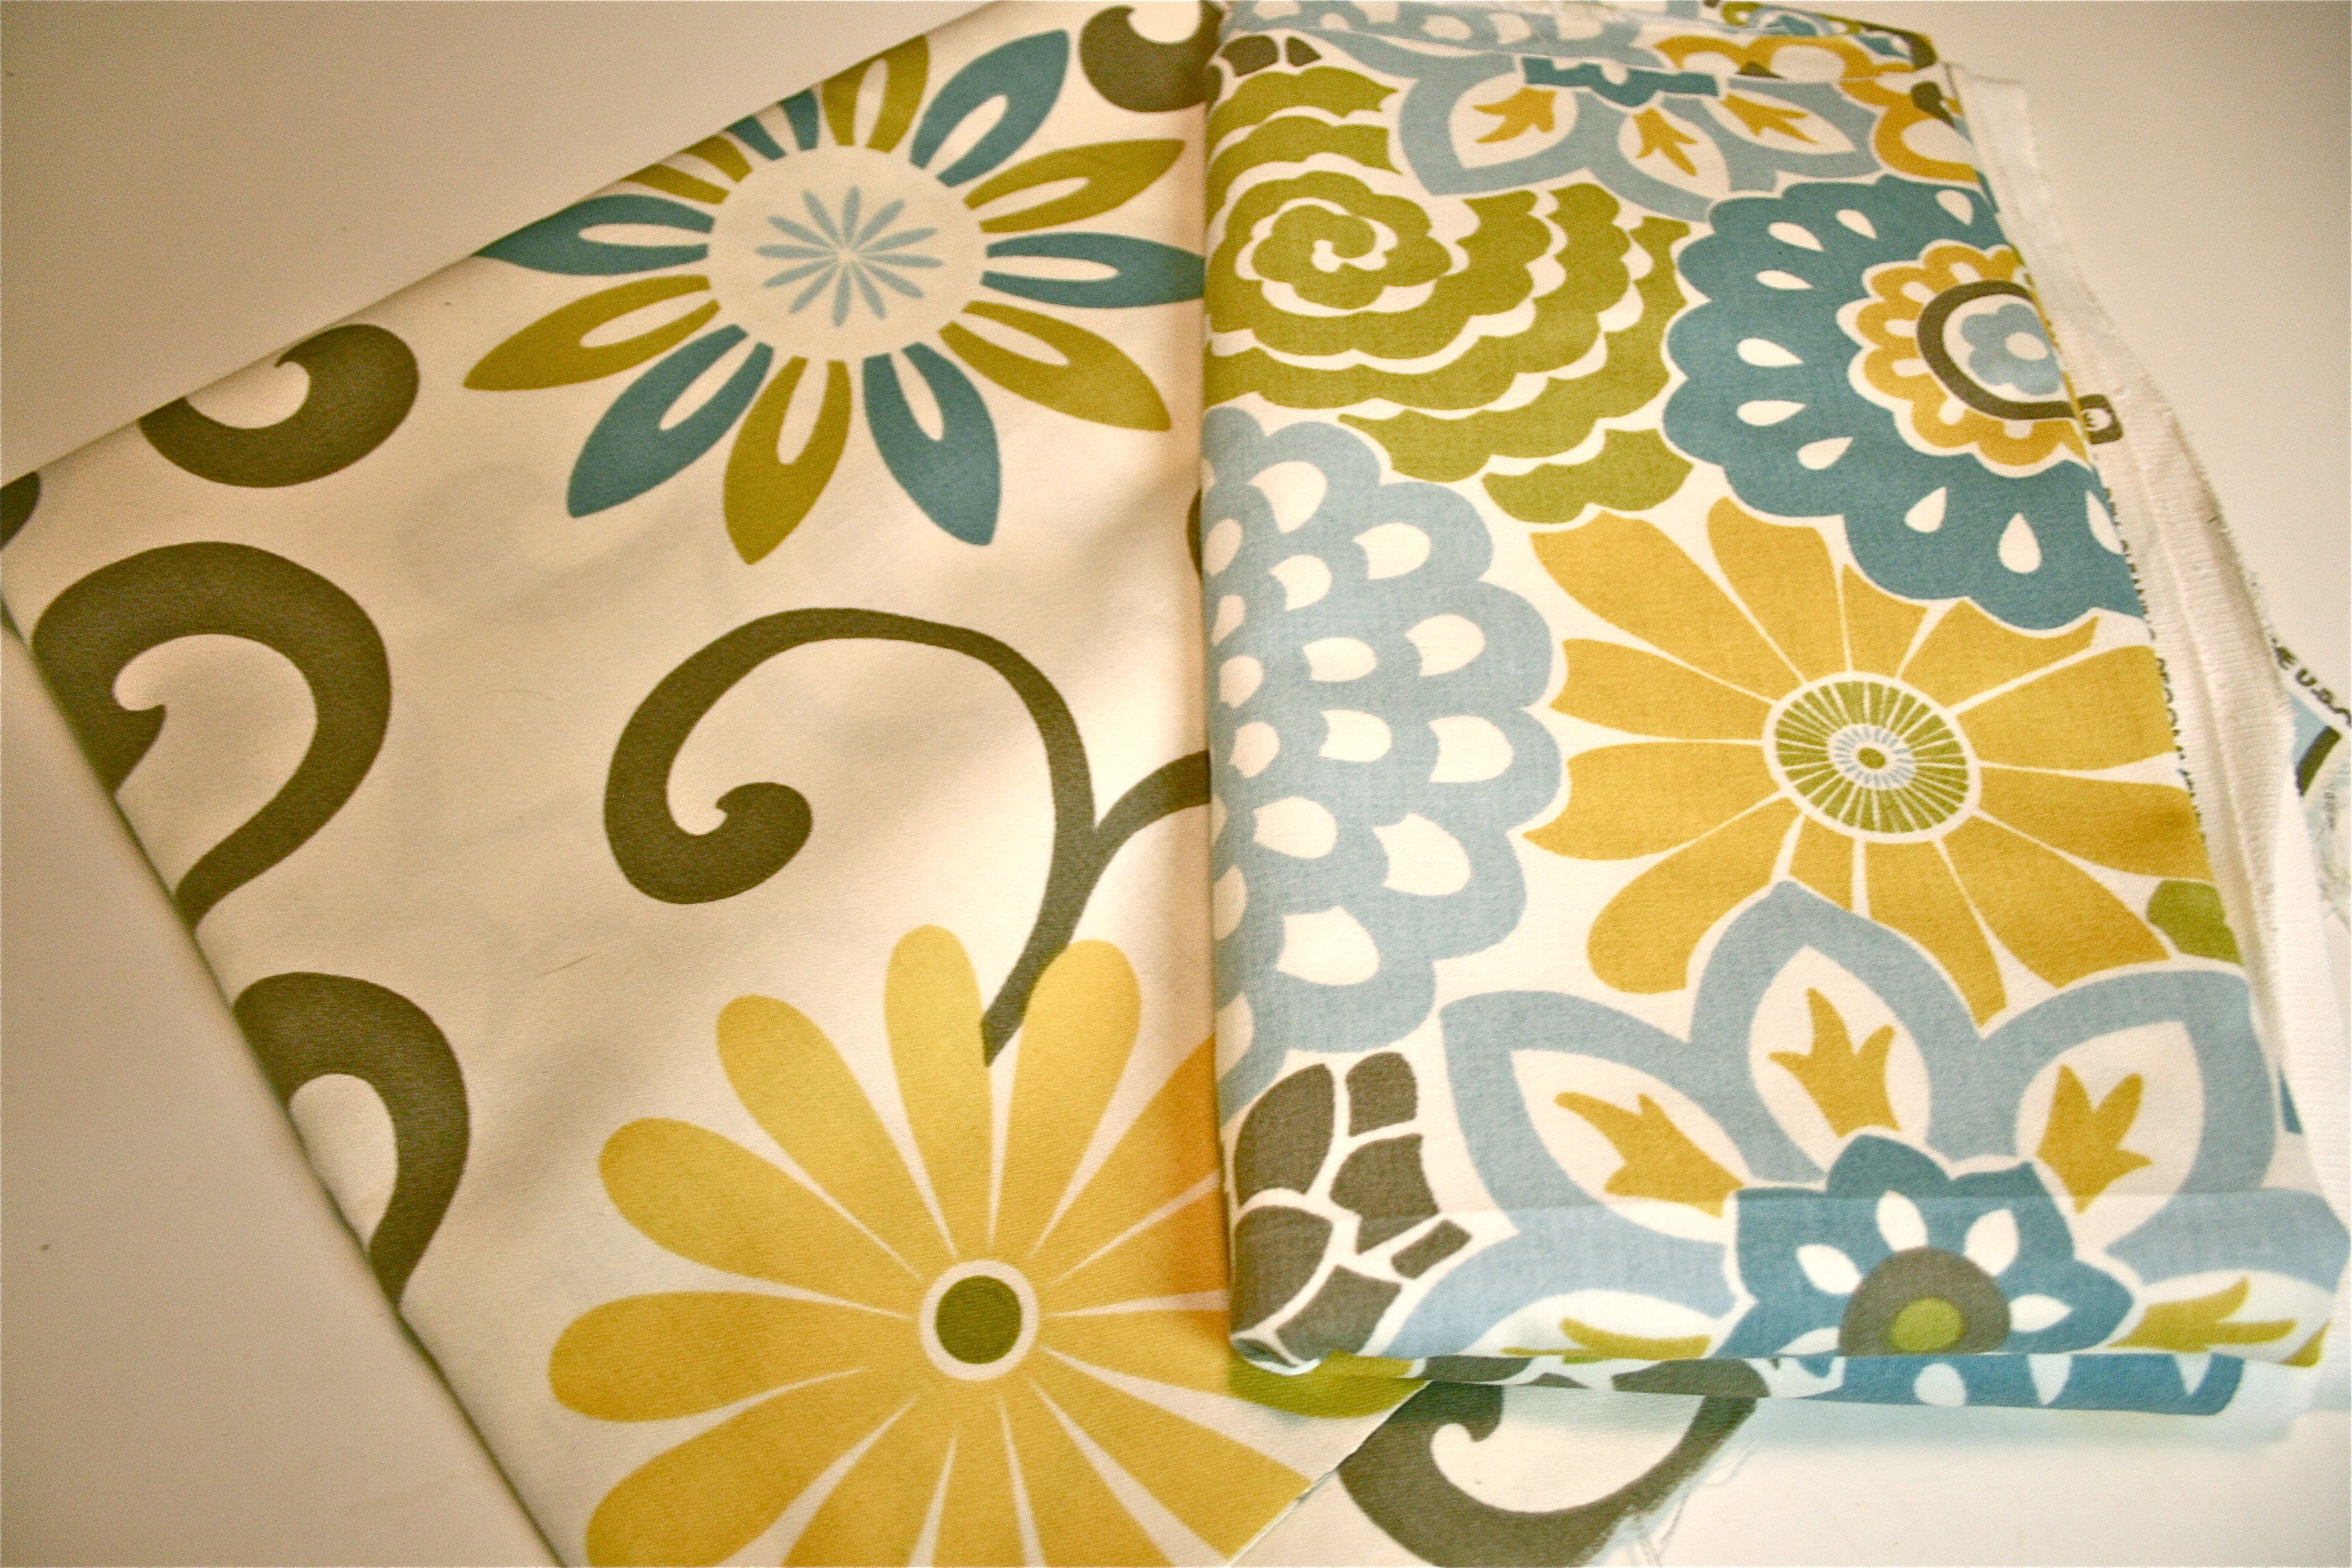
I gave you all a quick sneak peek of the two lengths of fabric I picked up at Jo-Ann Fabrics in this post, but here’s another glimpse:
As I already mentioned in that sneak peek, the plan was to cover the painting with one of the two patterns of fabric creating a brand new piece.
And that’s exactly what I did one evening this past week!
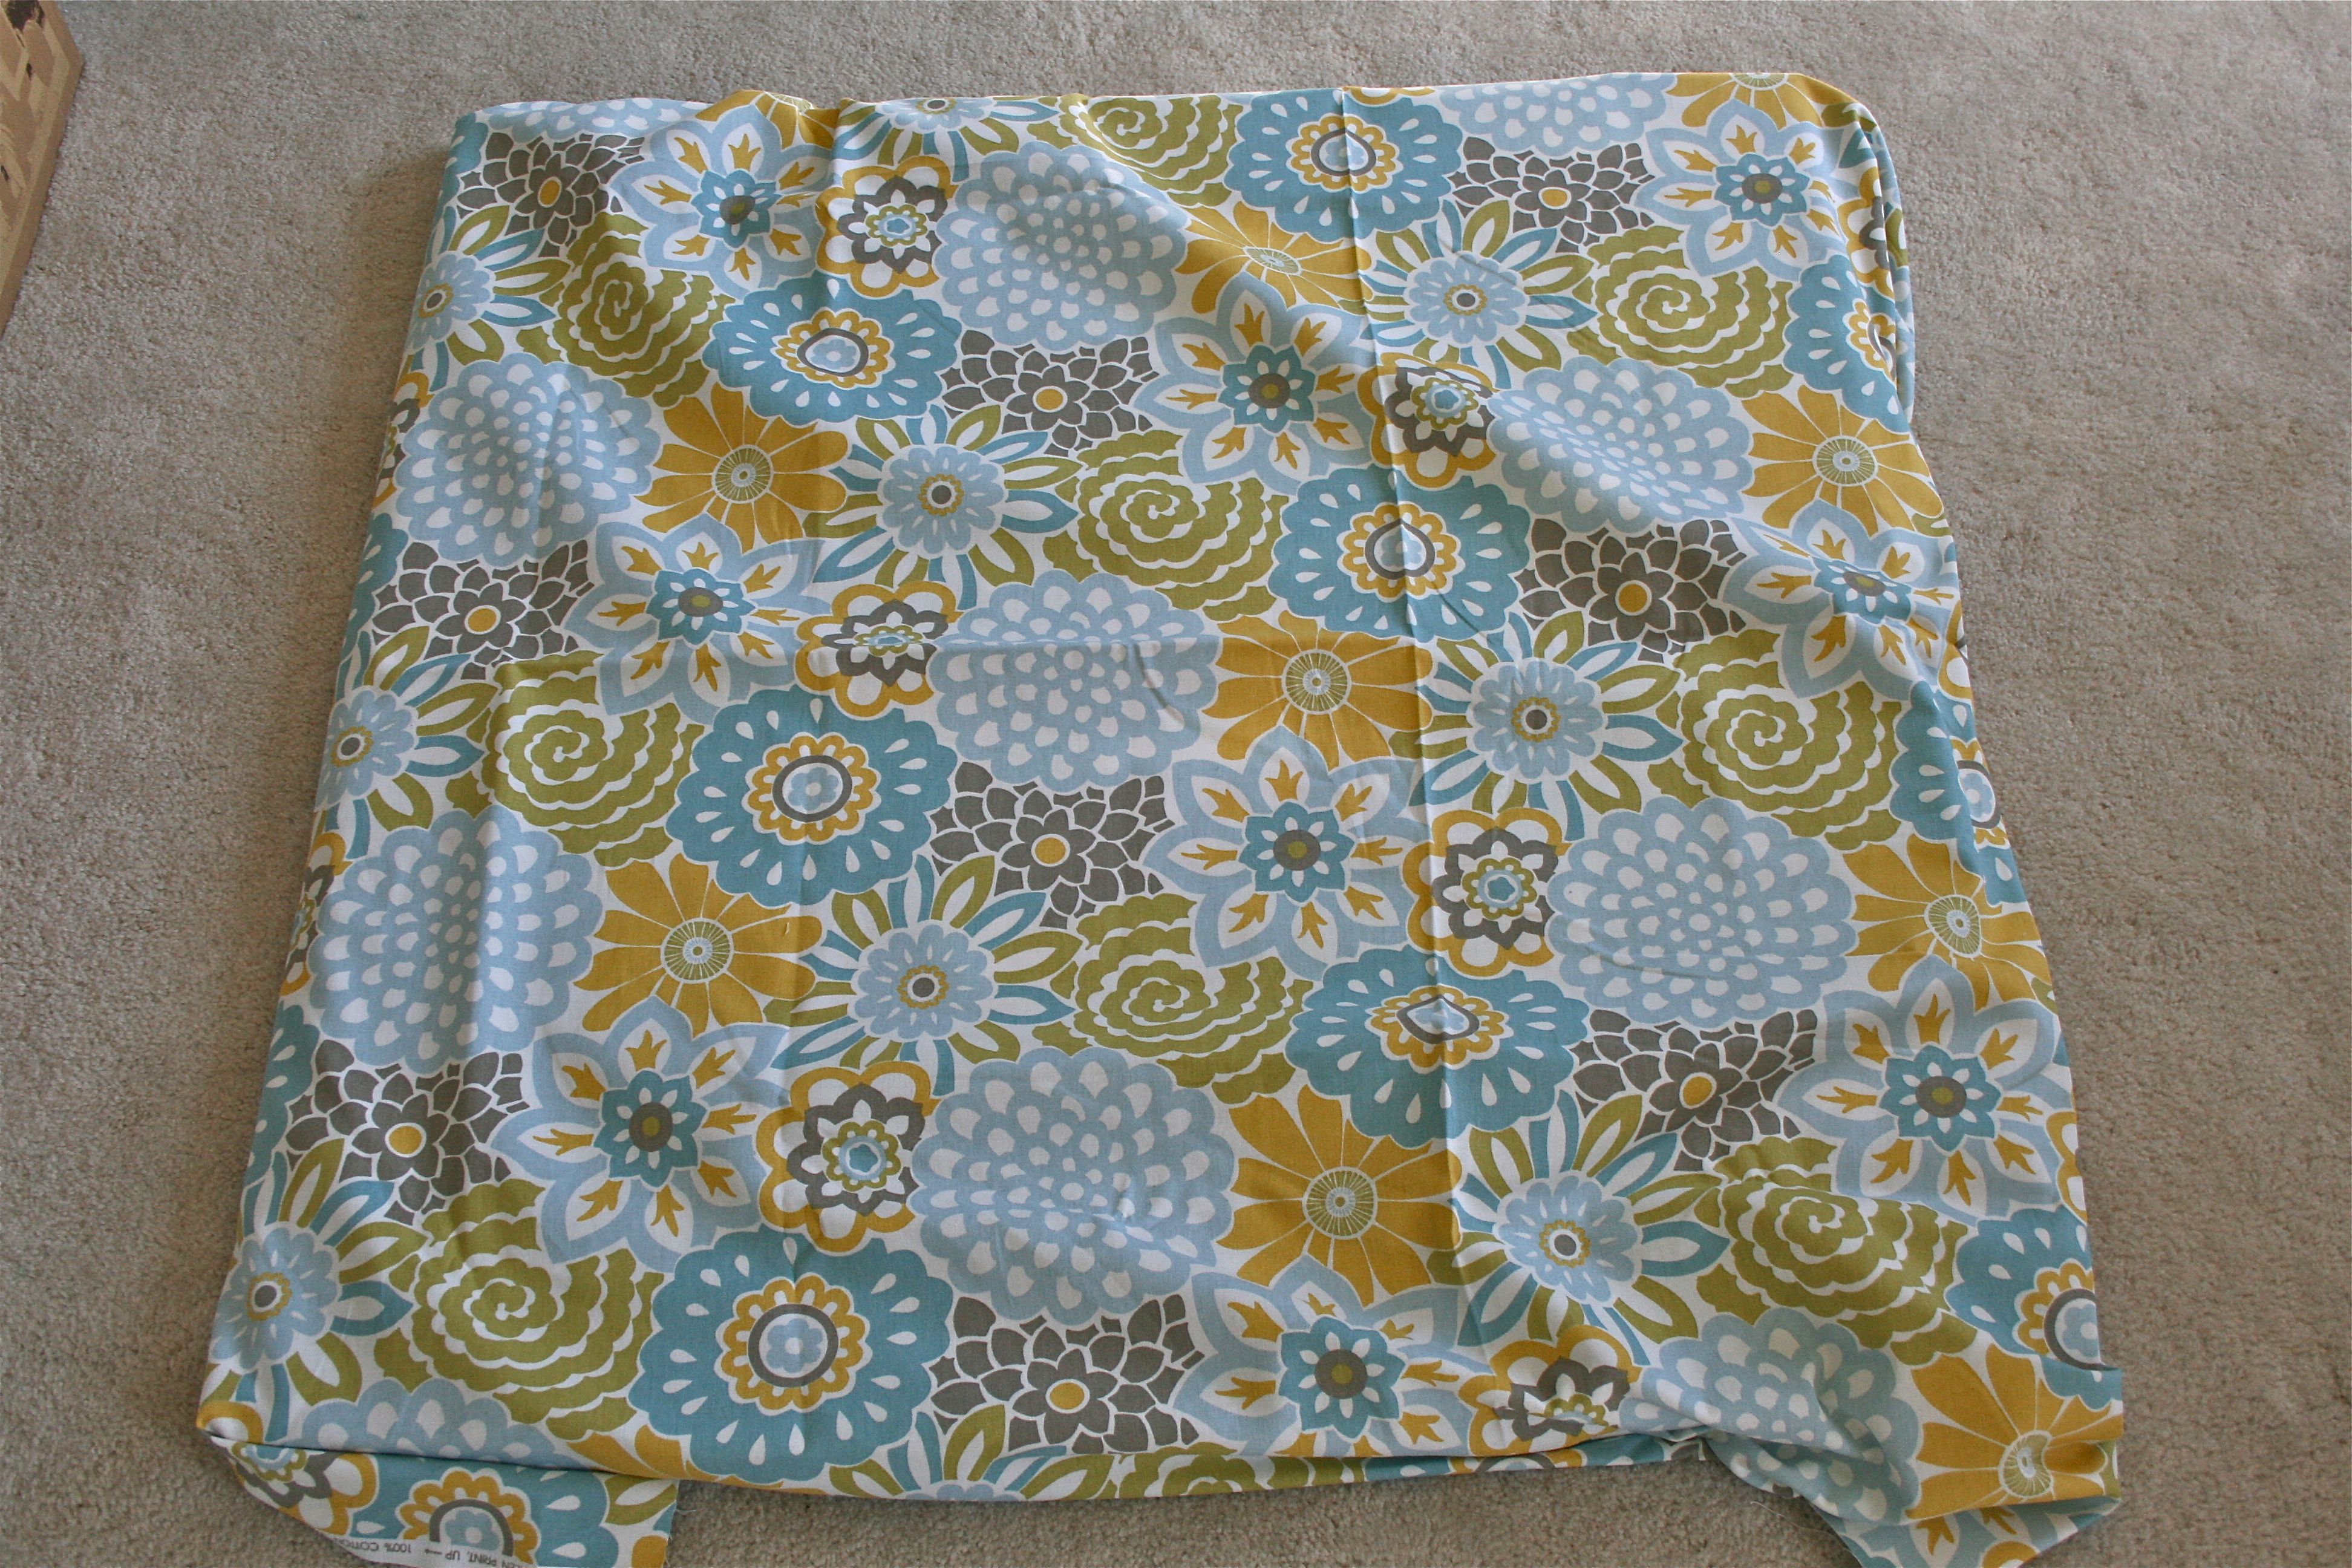
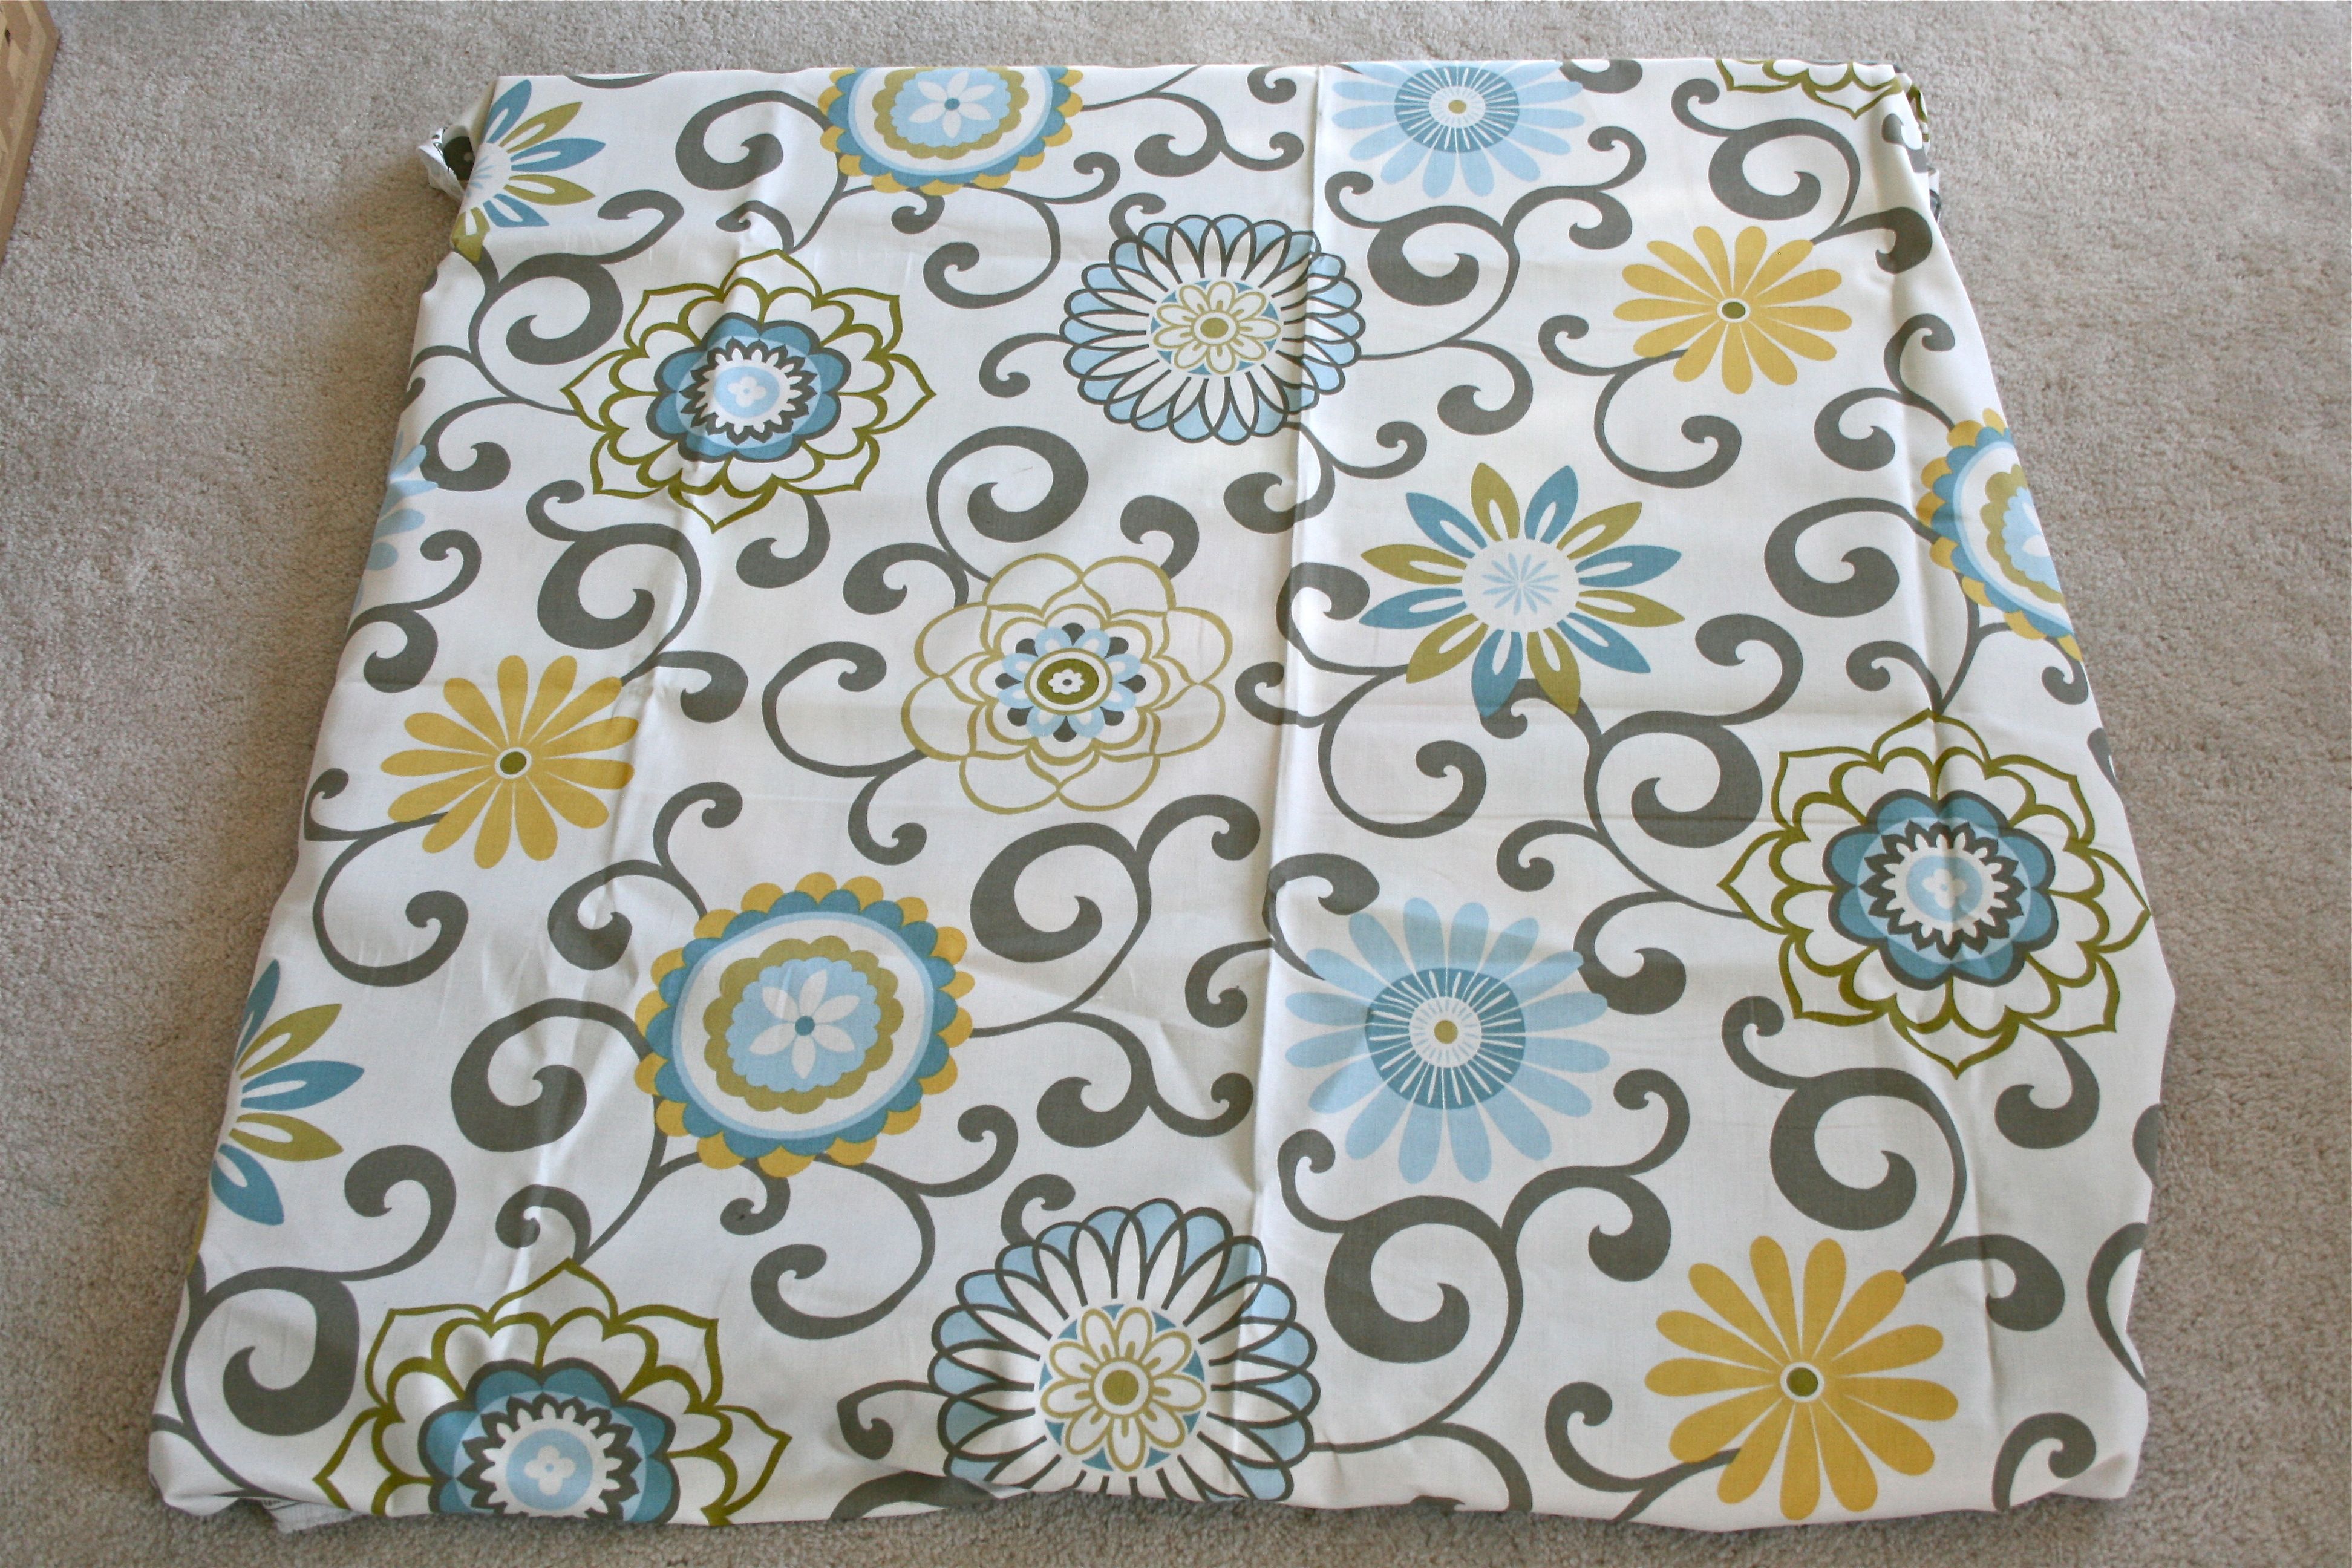
I started by laying the painting on the carpet in the studio and draping the two fabrics across it in turn to decide which to use:
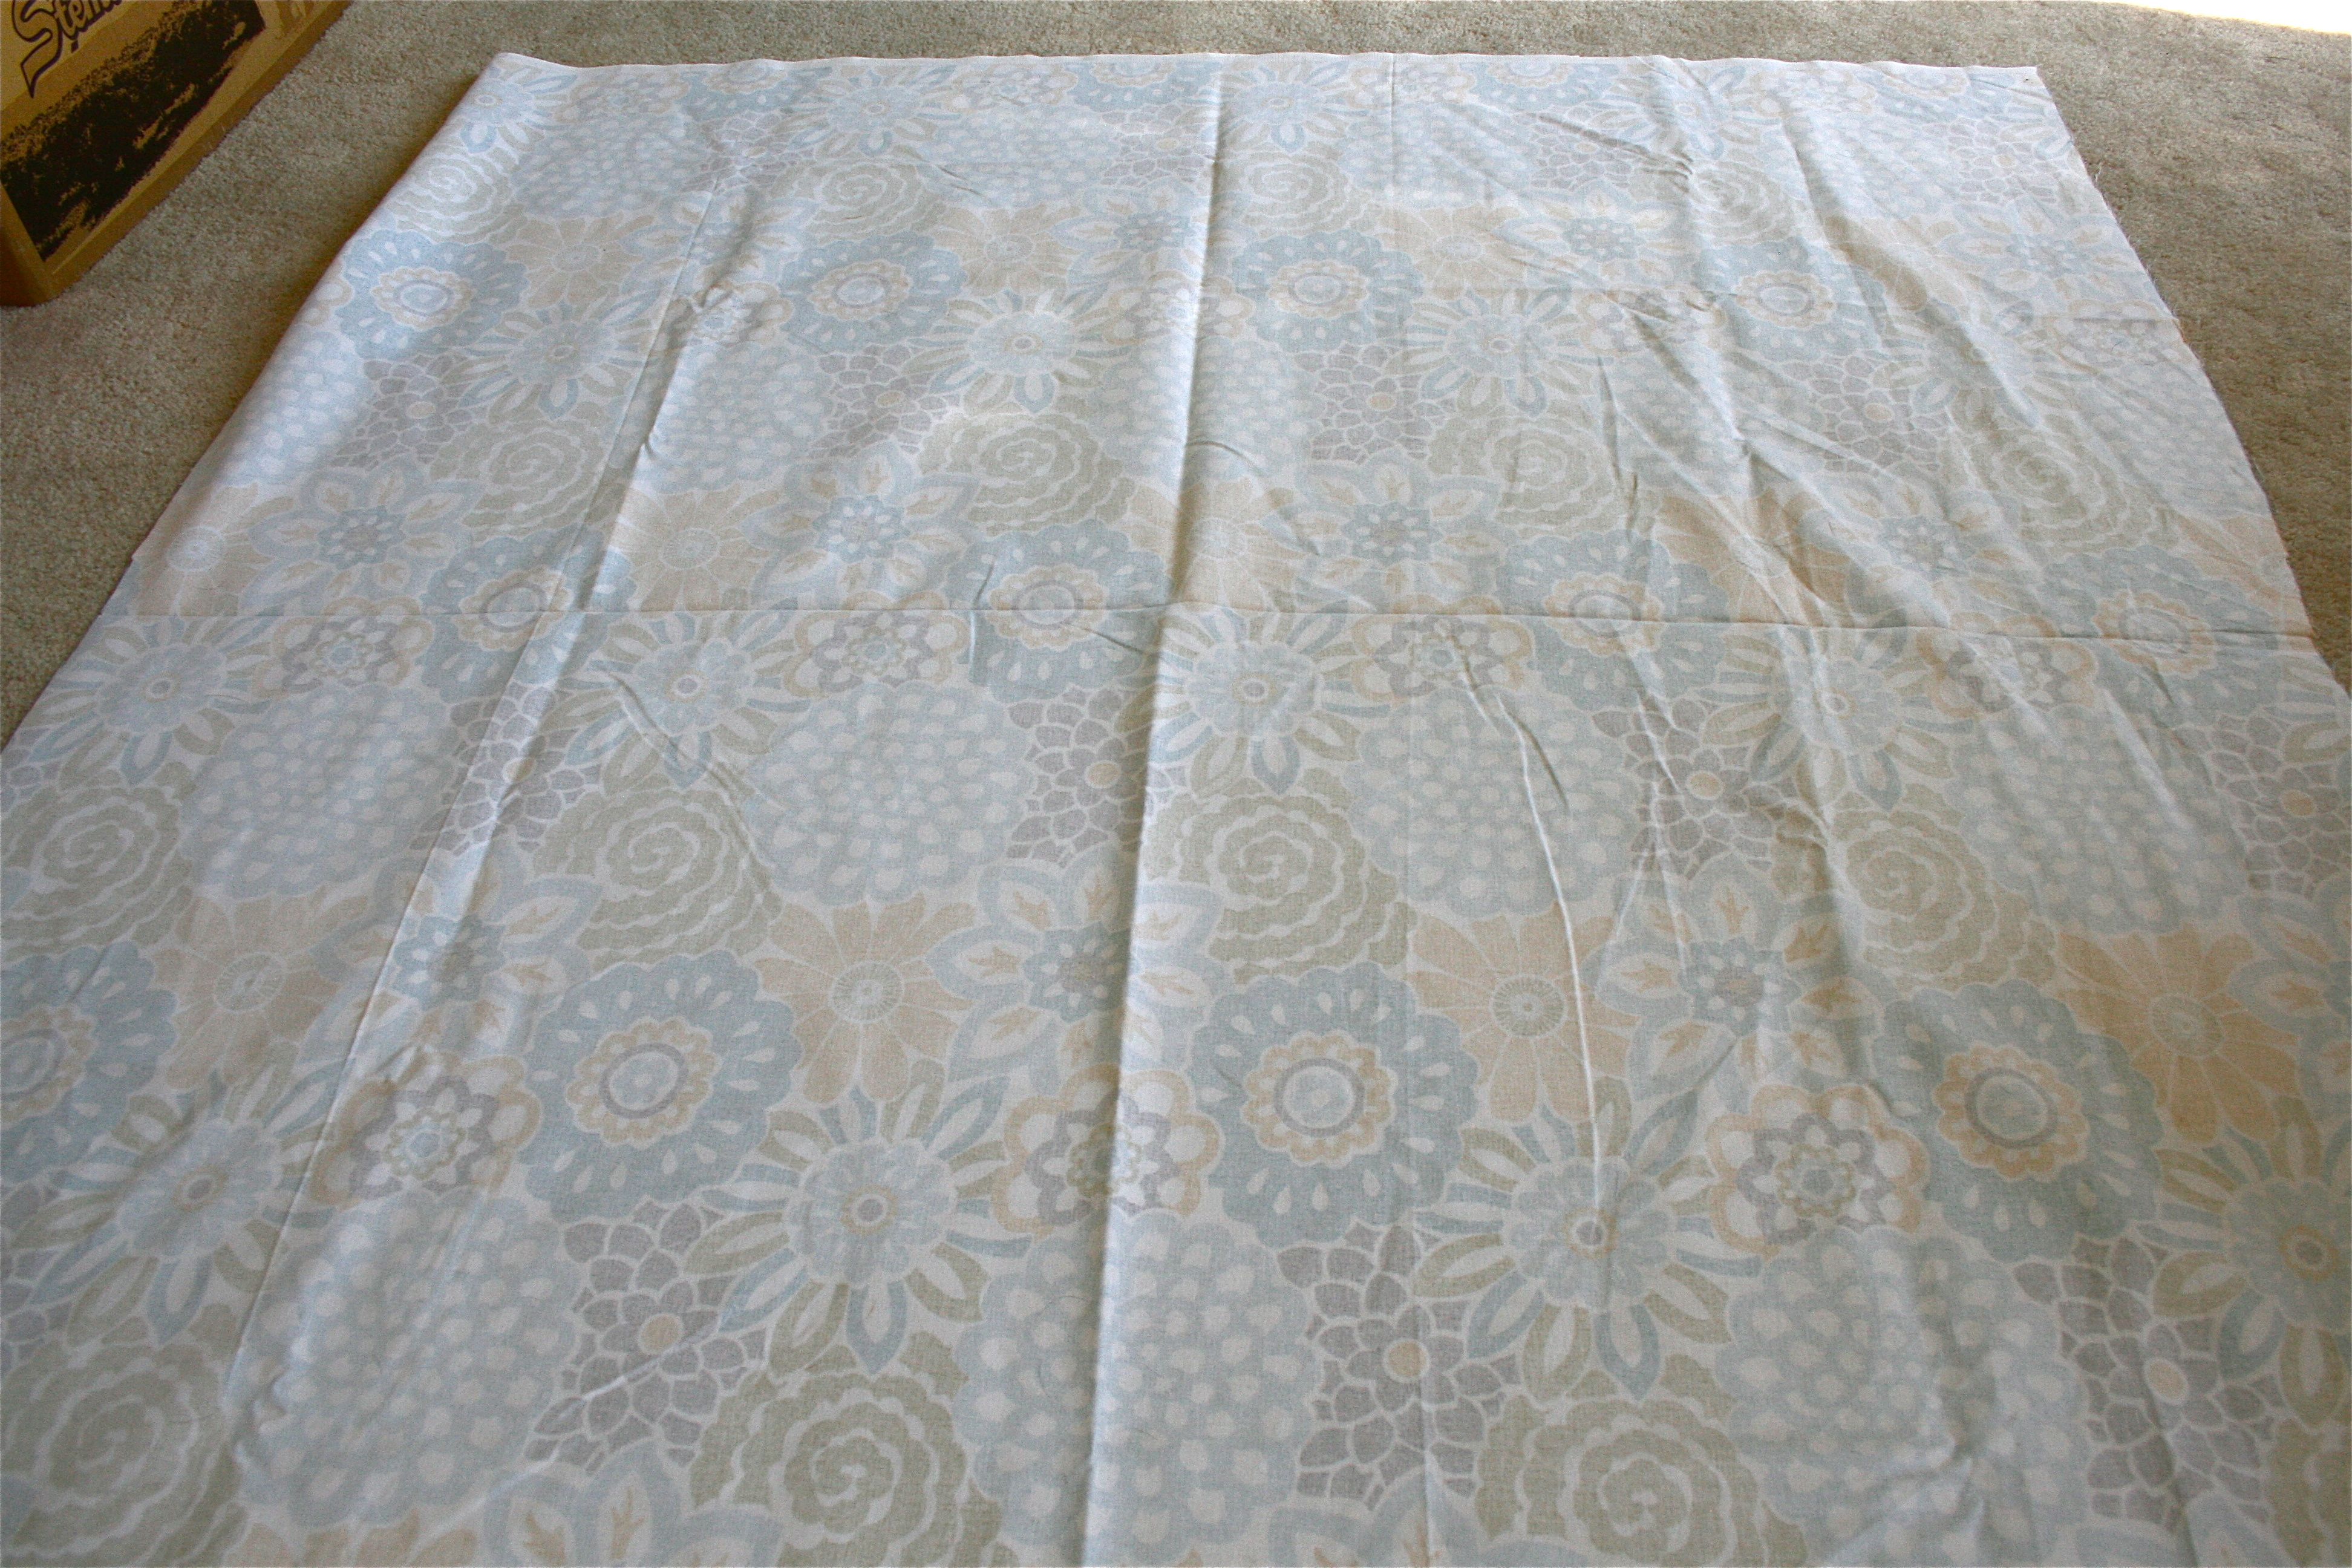
Option #1 – Smaller Pattern:
Option #2 – Bigger Pattern:
I think I like the bigger pattern a TAD more but, for better or worse, the decision was made for me because you could see a bit of the painting’s bright colors through the light cream background of the second option…Option #1 it is!
So I moved the Ross painting out of the way and laid my fabric out upside-down on the carpet. It was easy to see that I had an extra step before I could start my stapling…
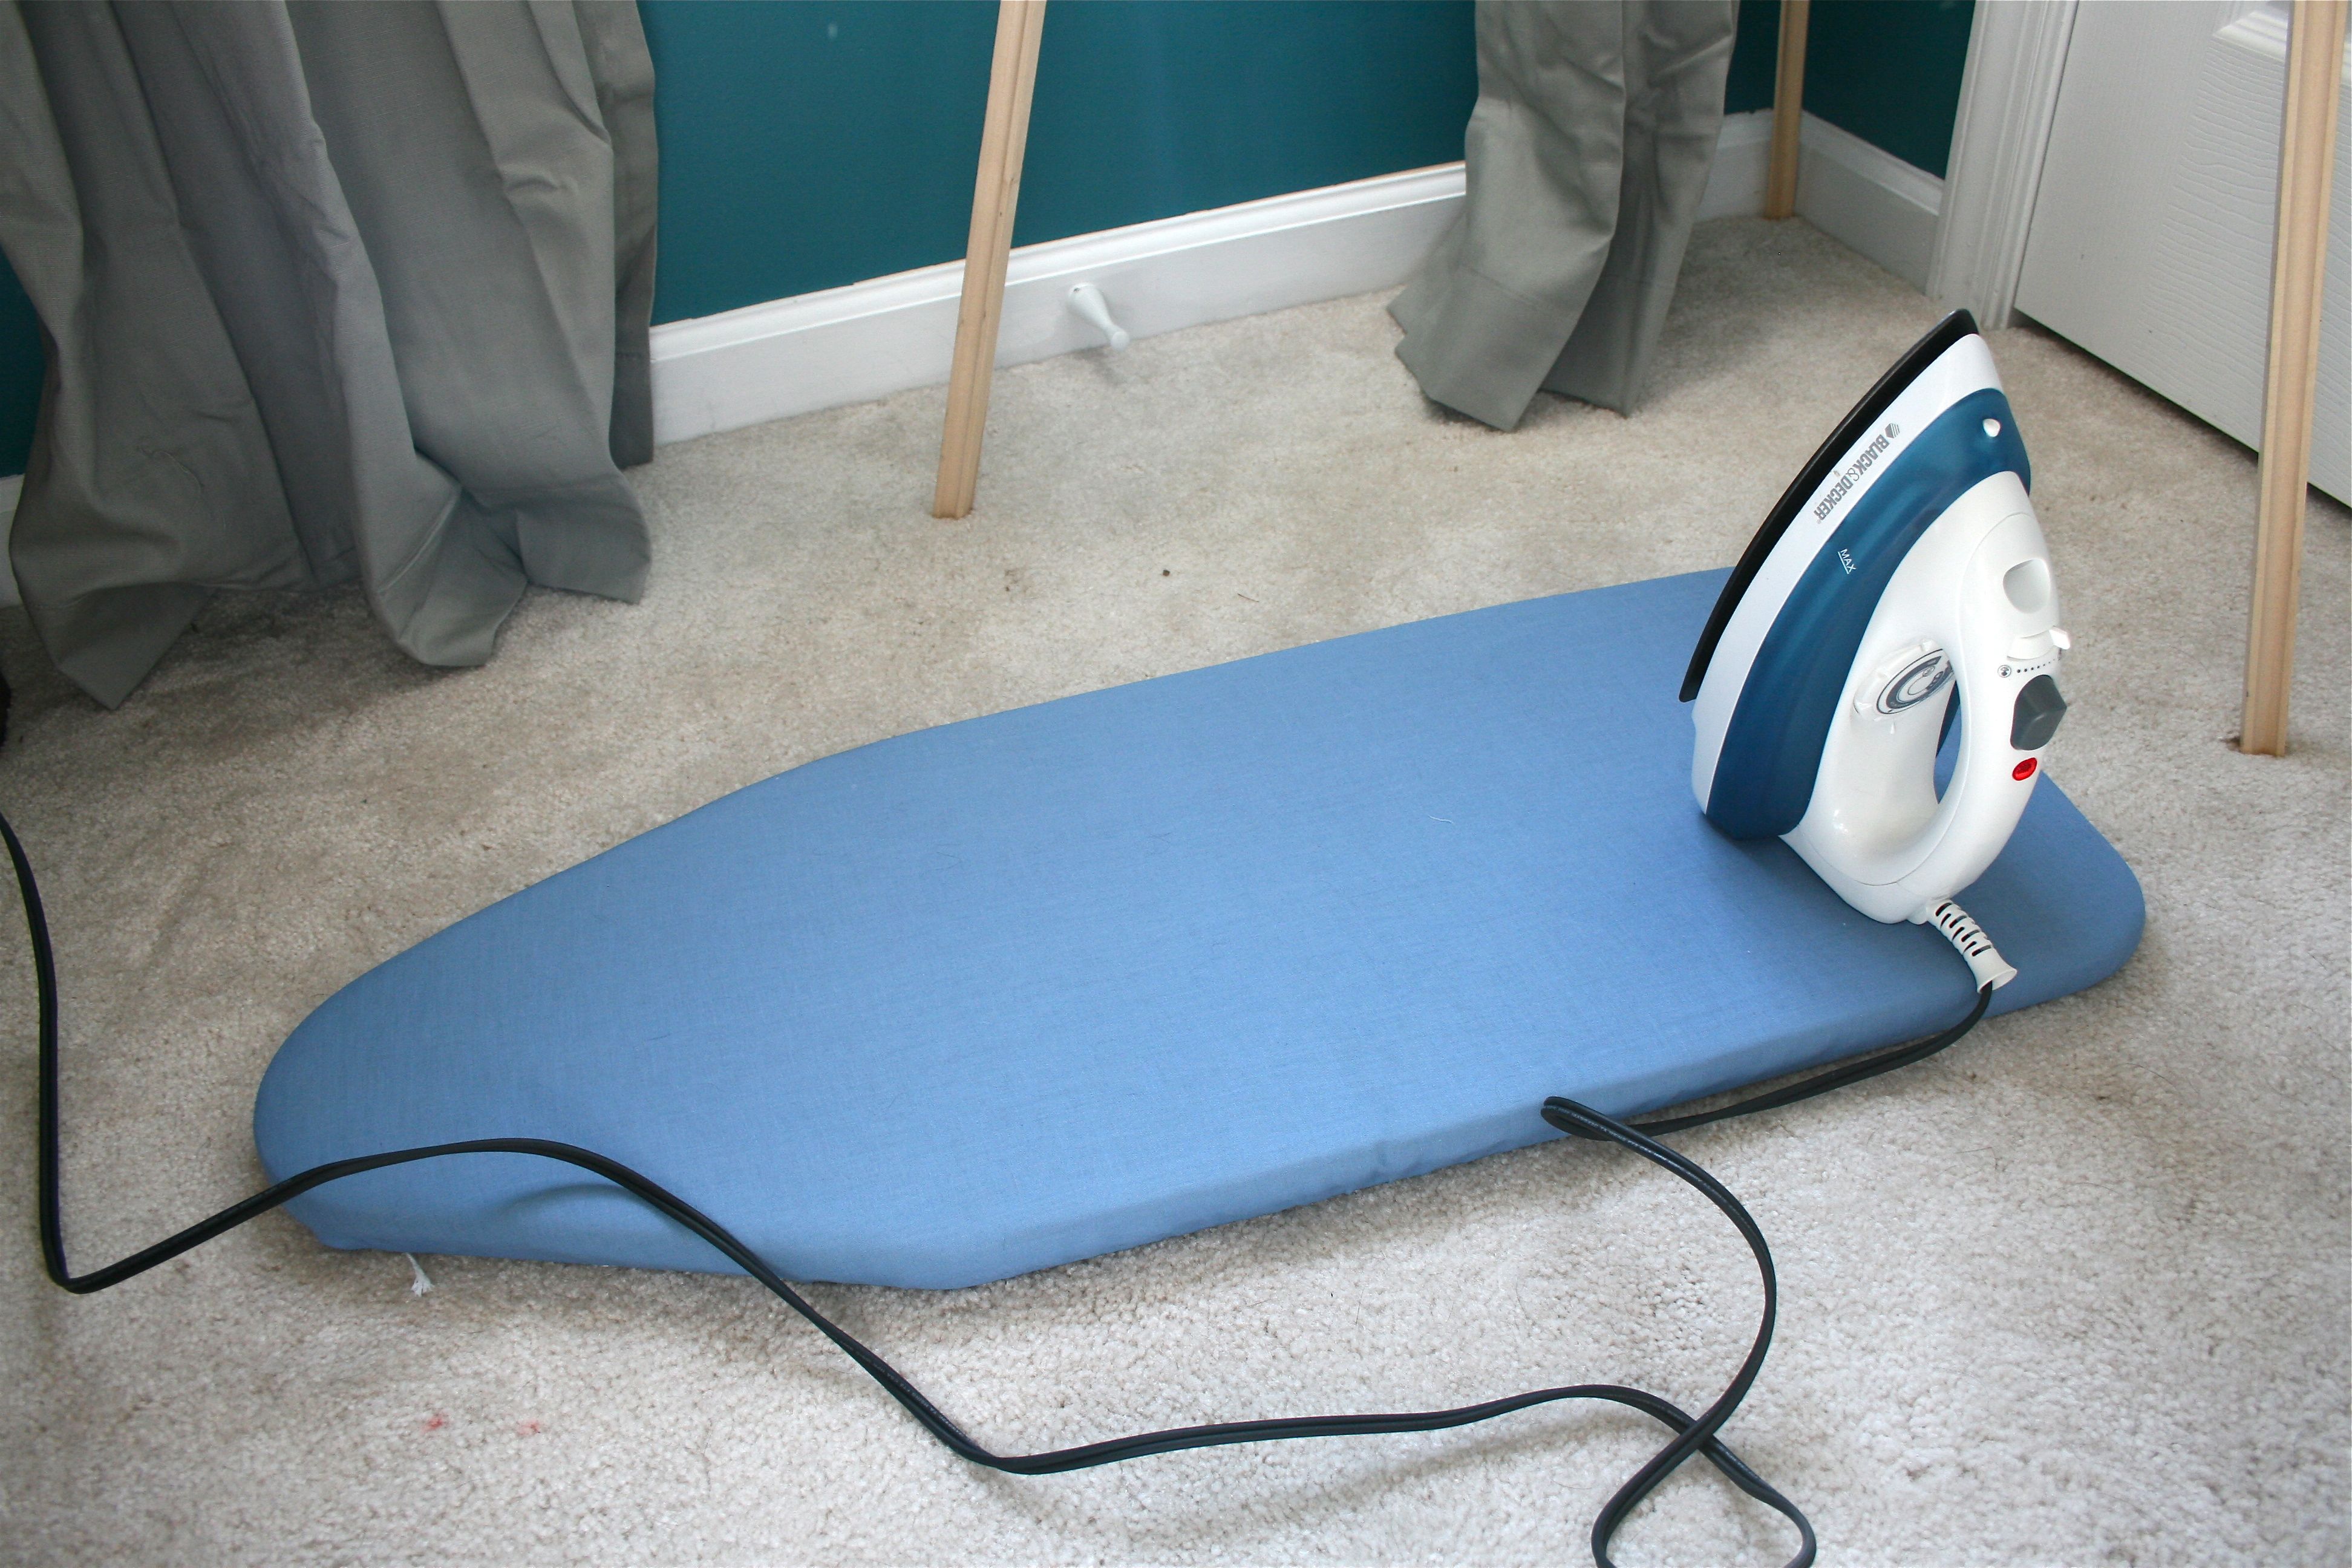
Needs some ironing! So I grabbed my iron and completely inadequate counter-top ironing board and got to work.
Can you tell that I don’t do much ironing?? I think I need to graduate to a full-size ironing board soon though for future projects like this one…
But anyway! After 20 minutes of struggling with ironing, the fabric was finally in tip-top smooth shape for wrapping the canvas 🙂
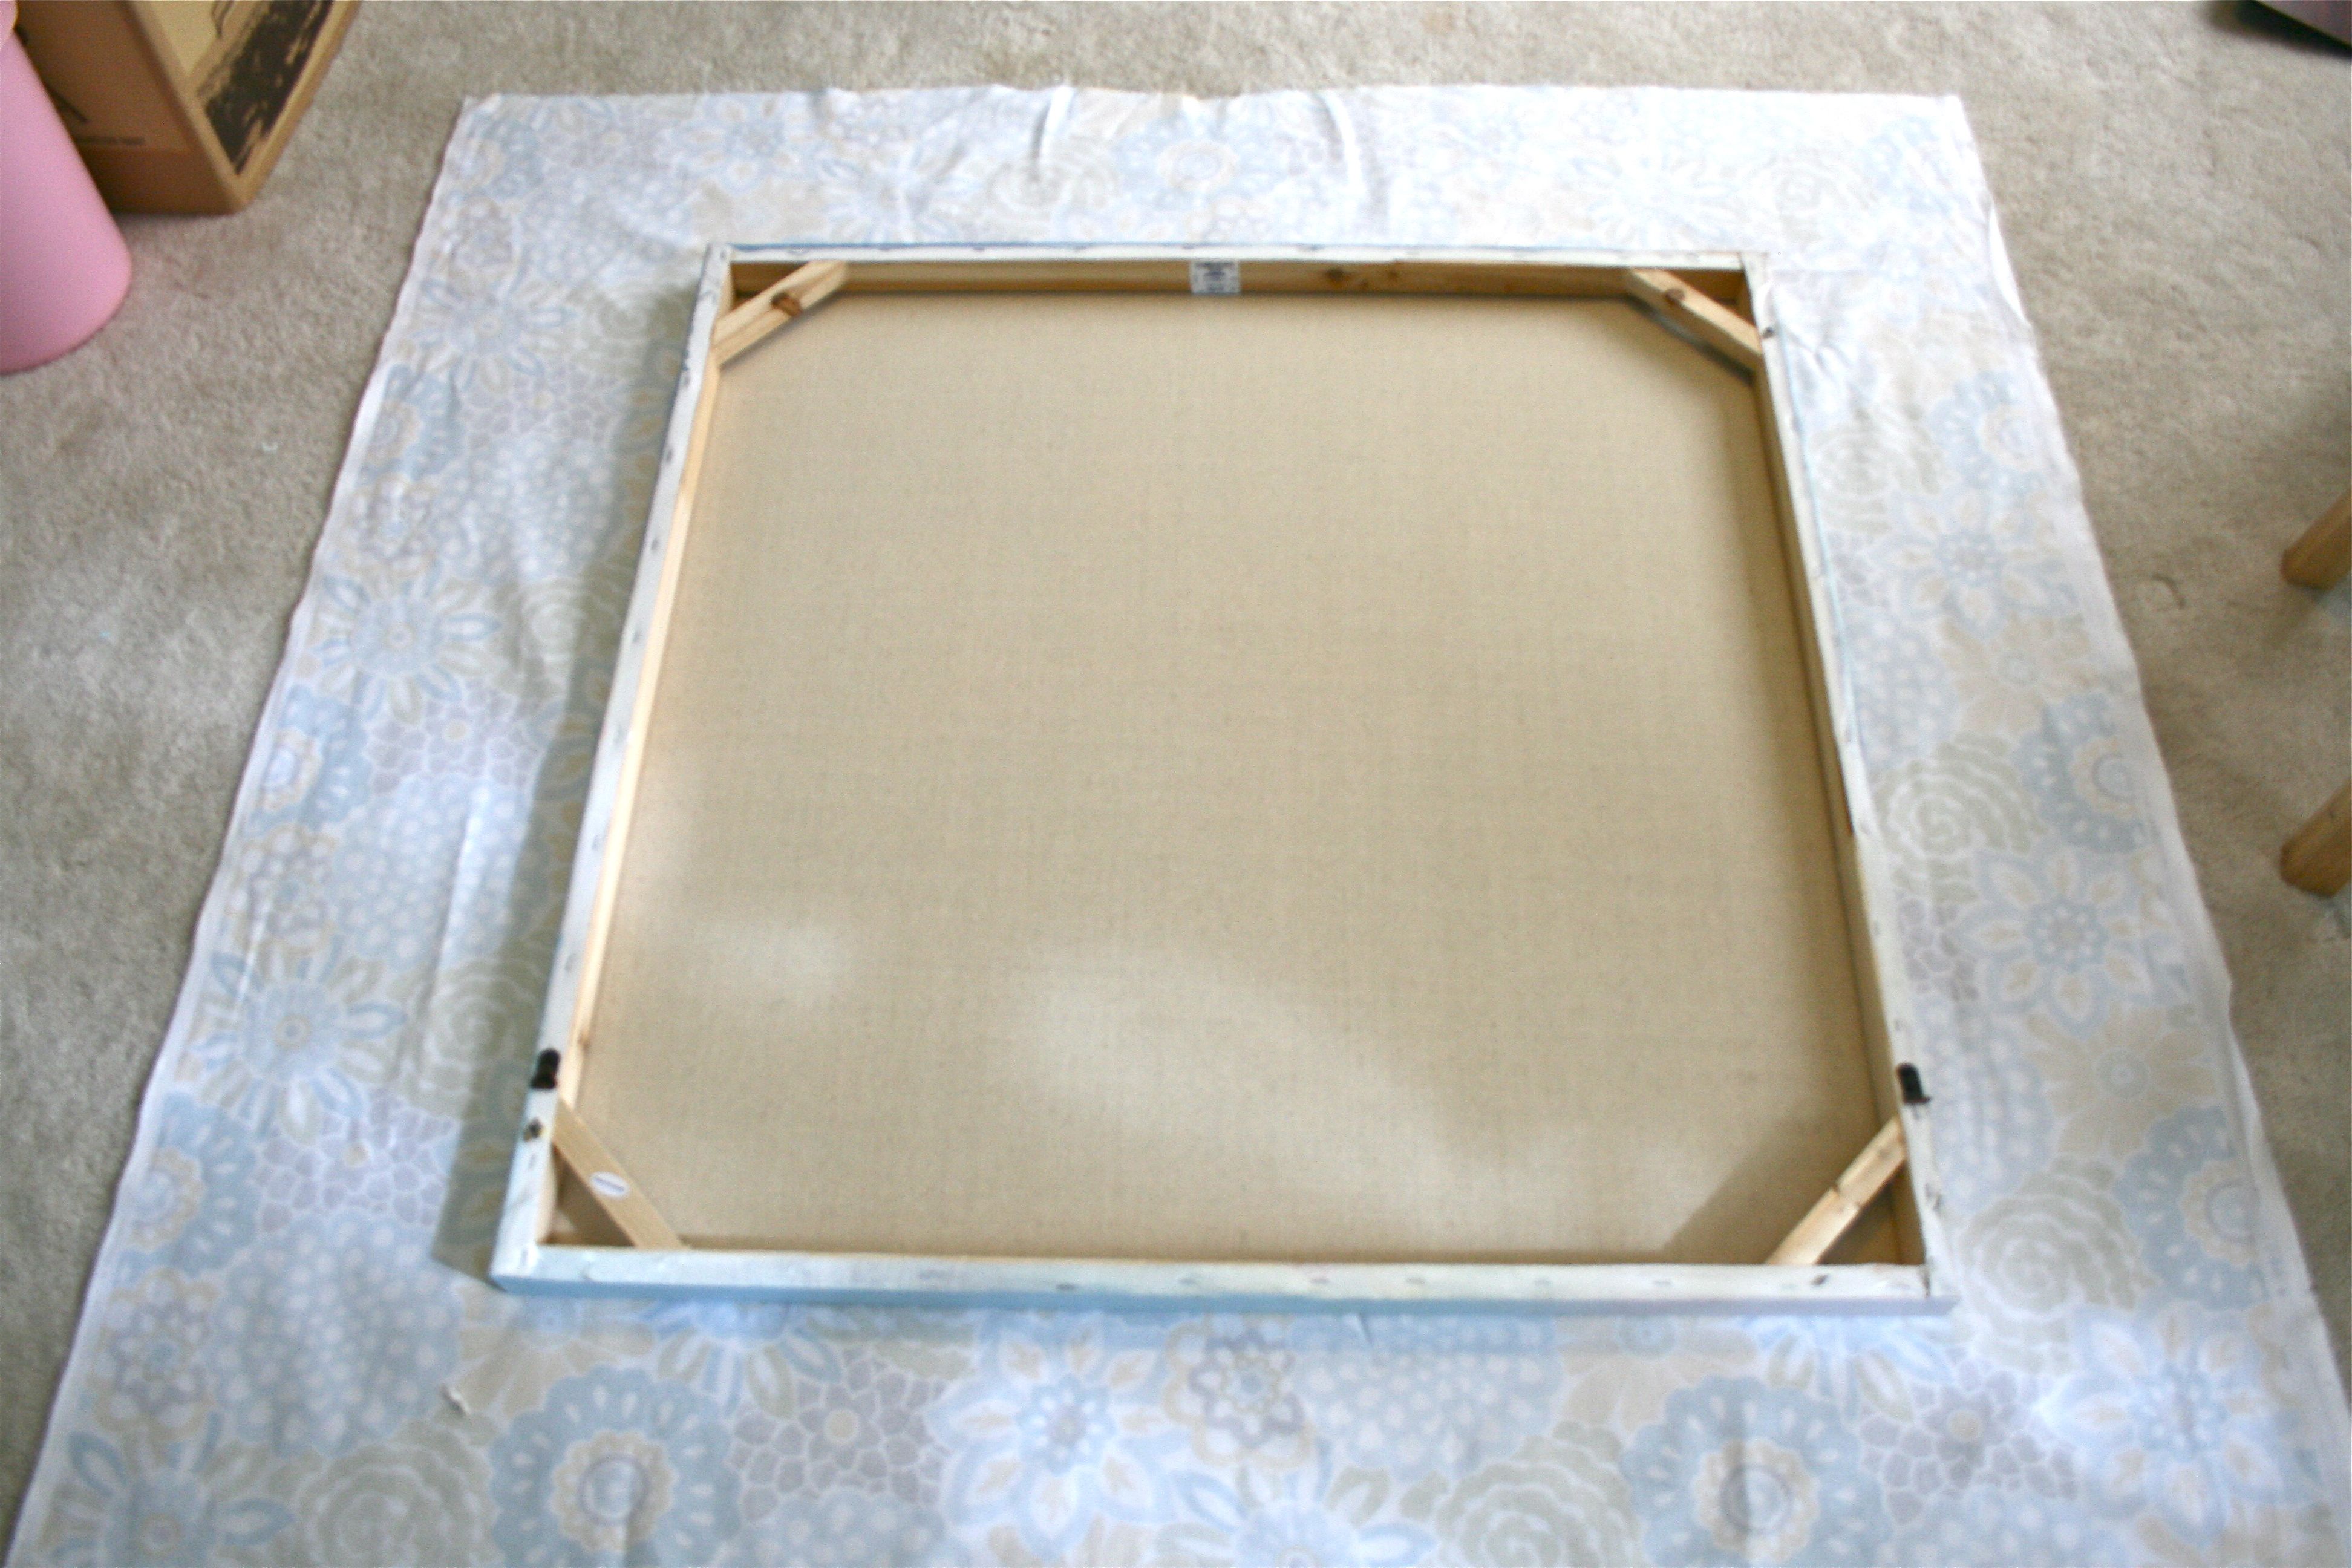
I laid it out on the floor upside-down again and then placed the canvas (also upside down) on top of the fabric.
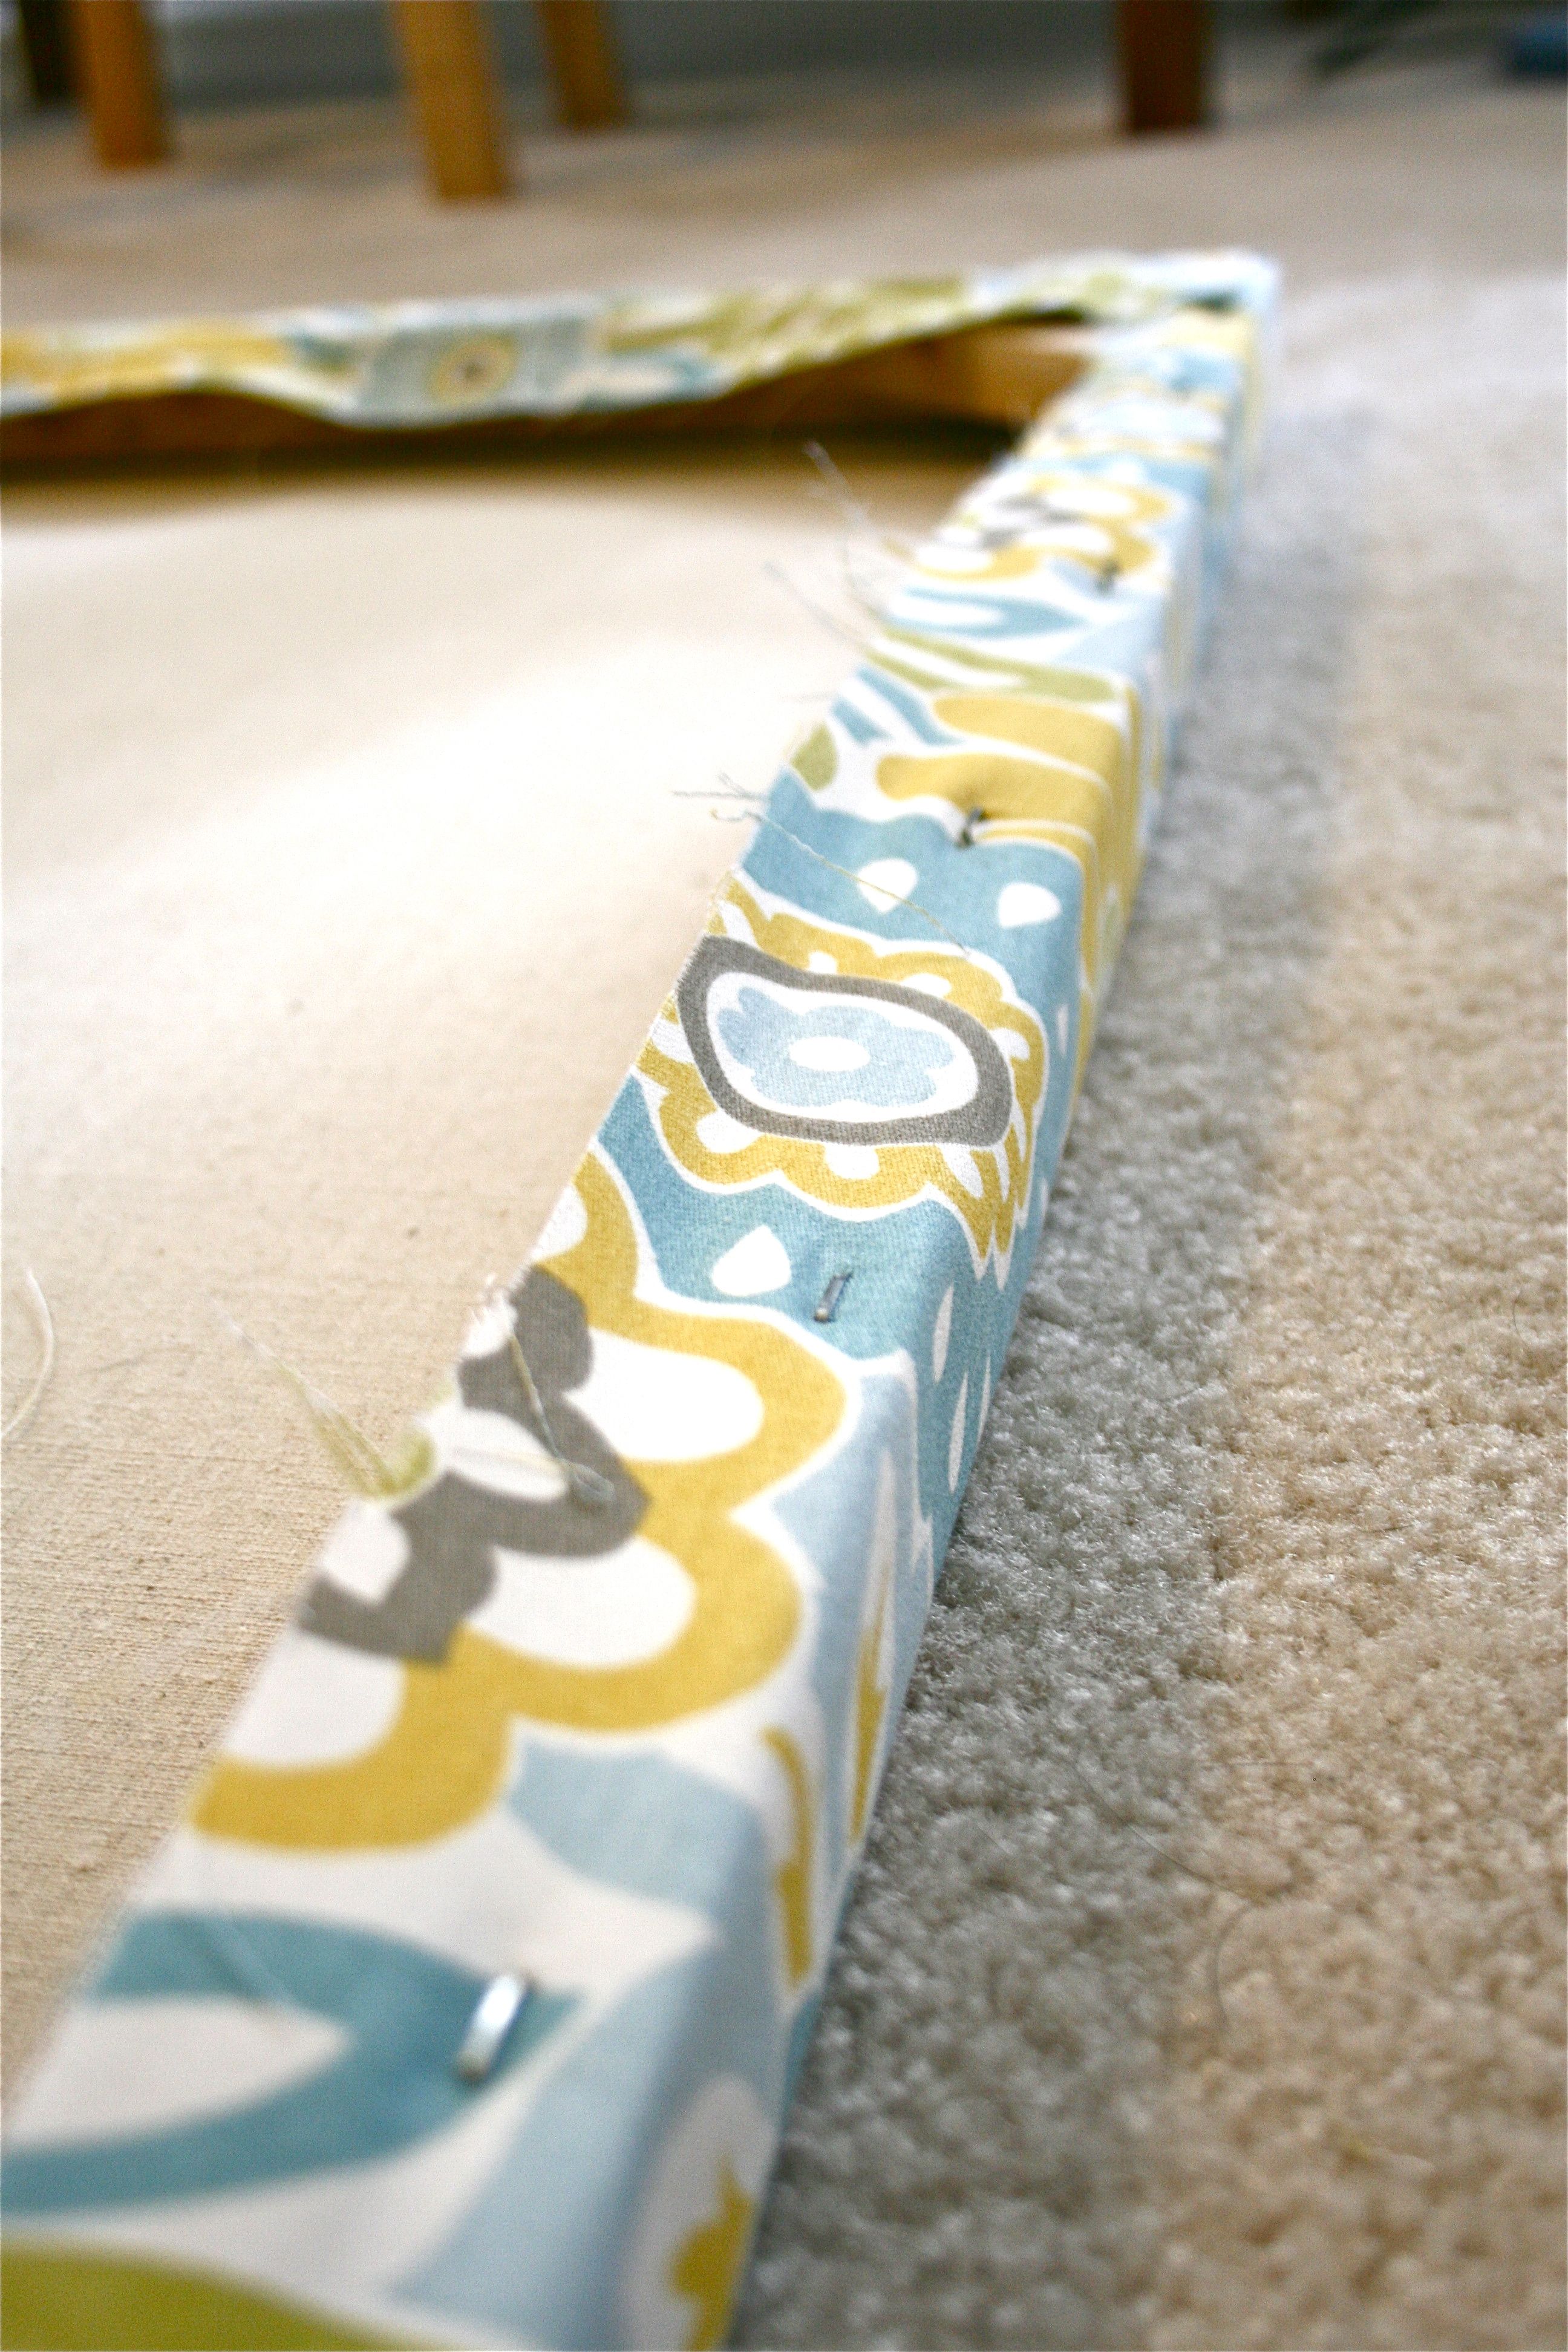
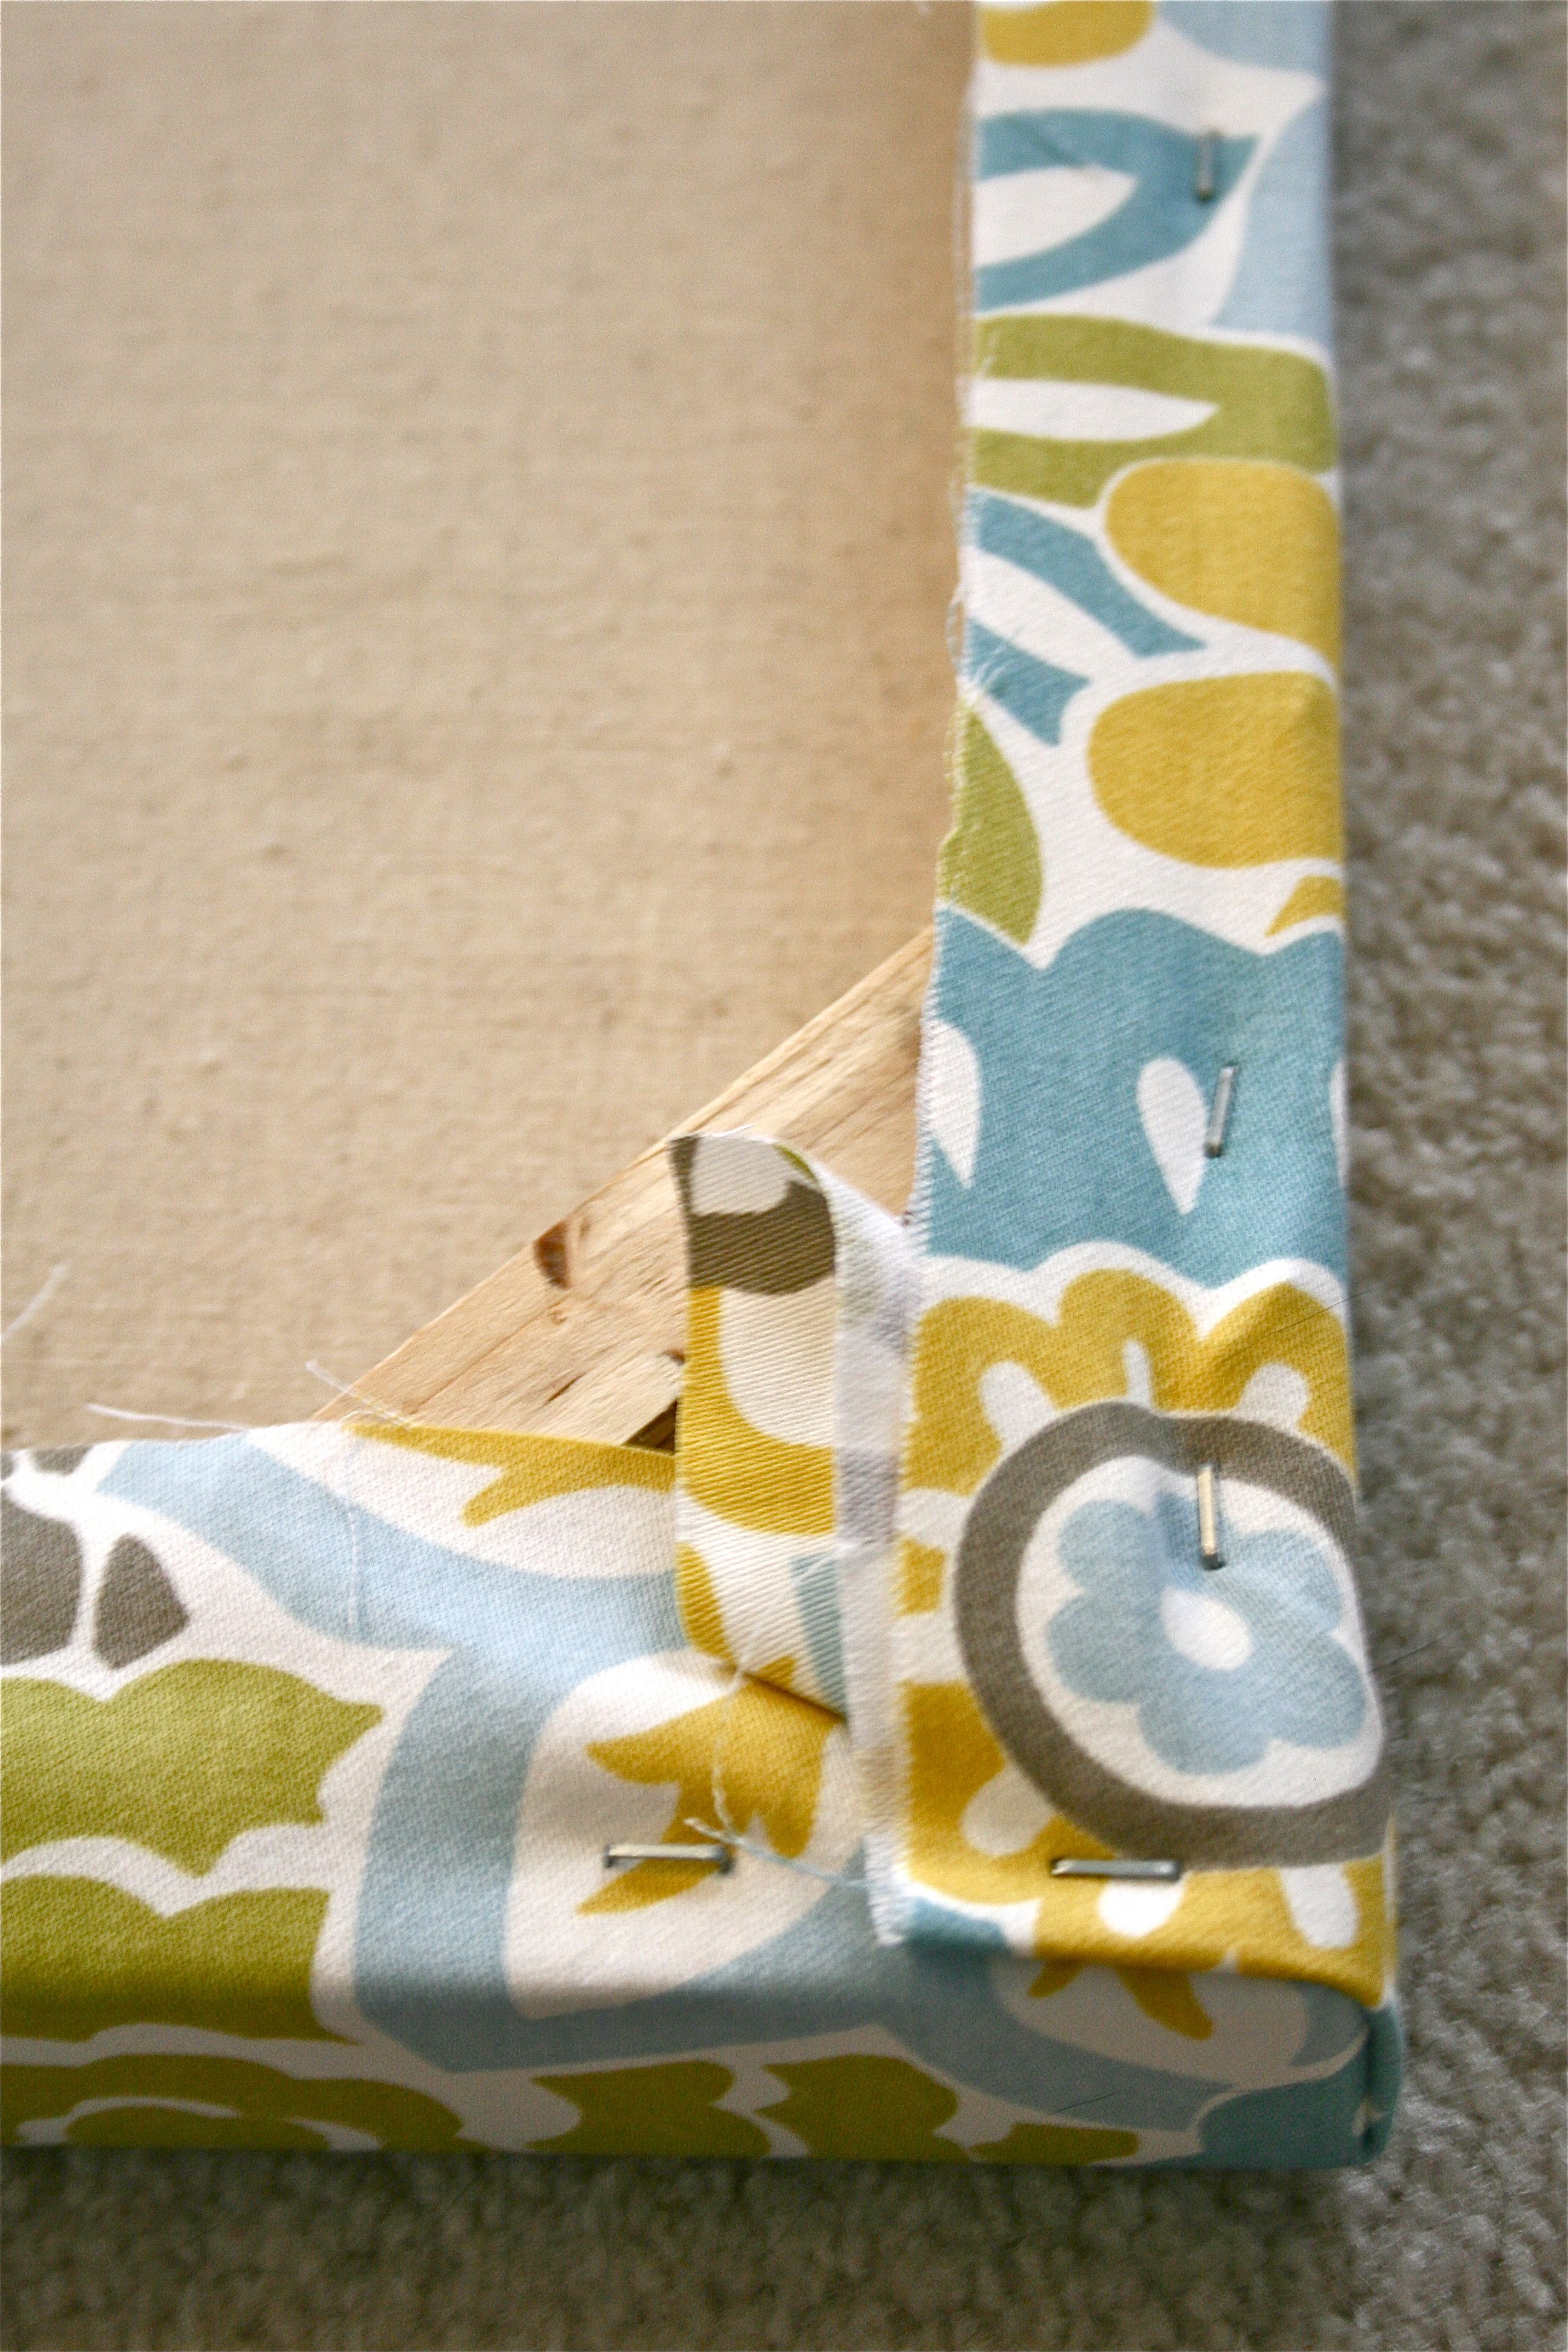
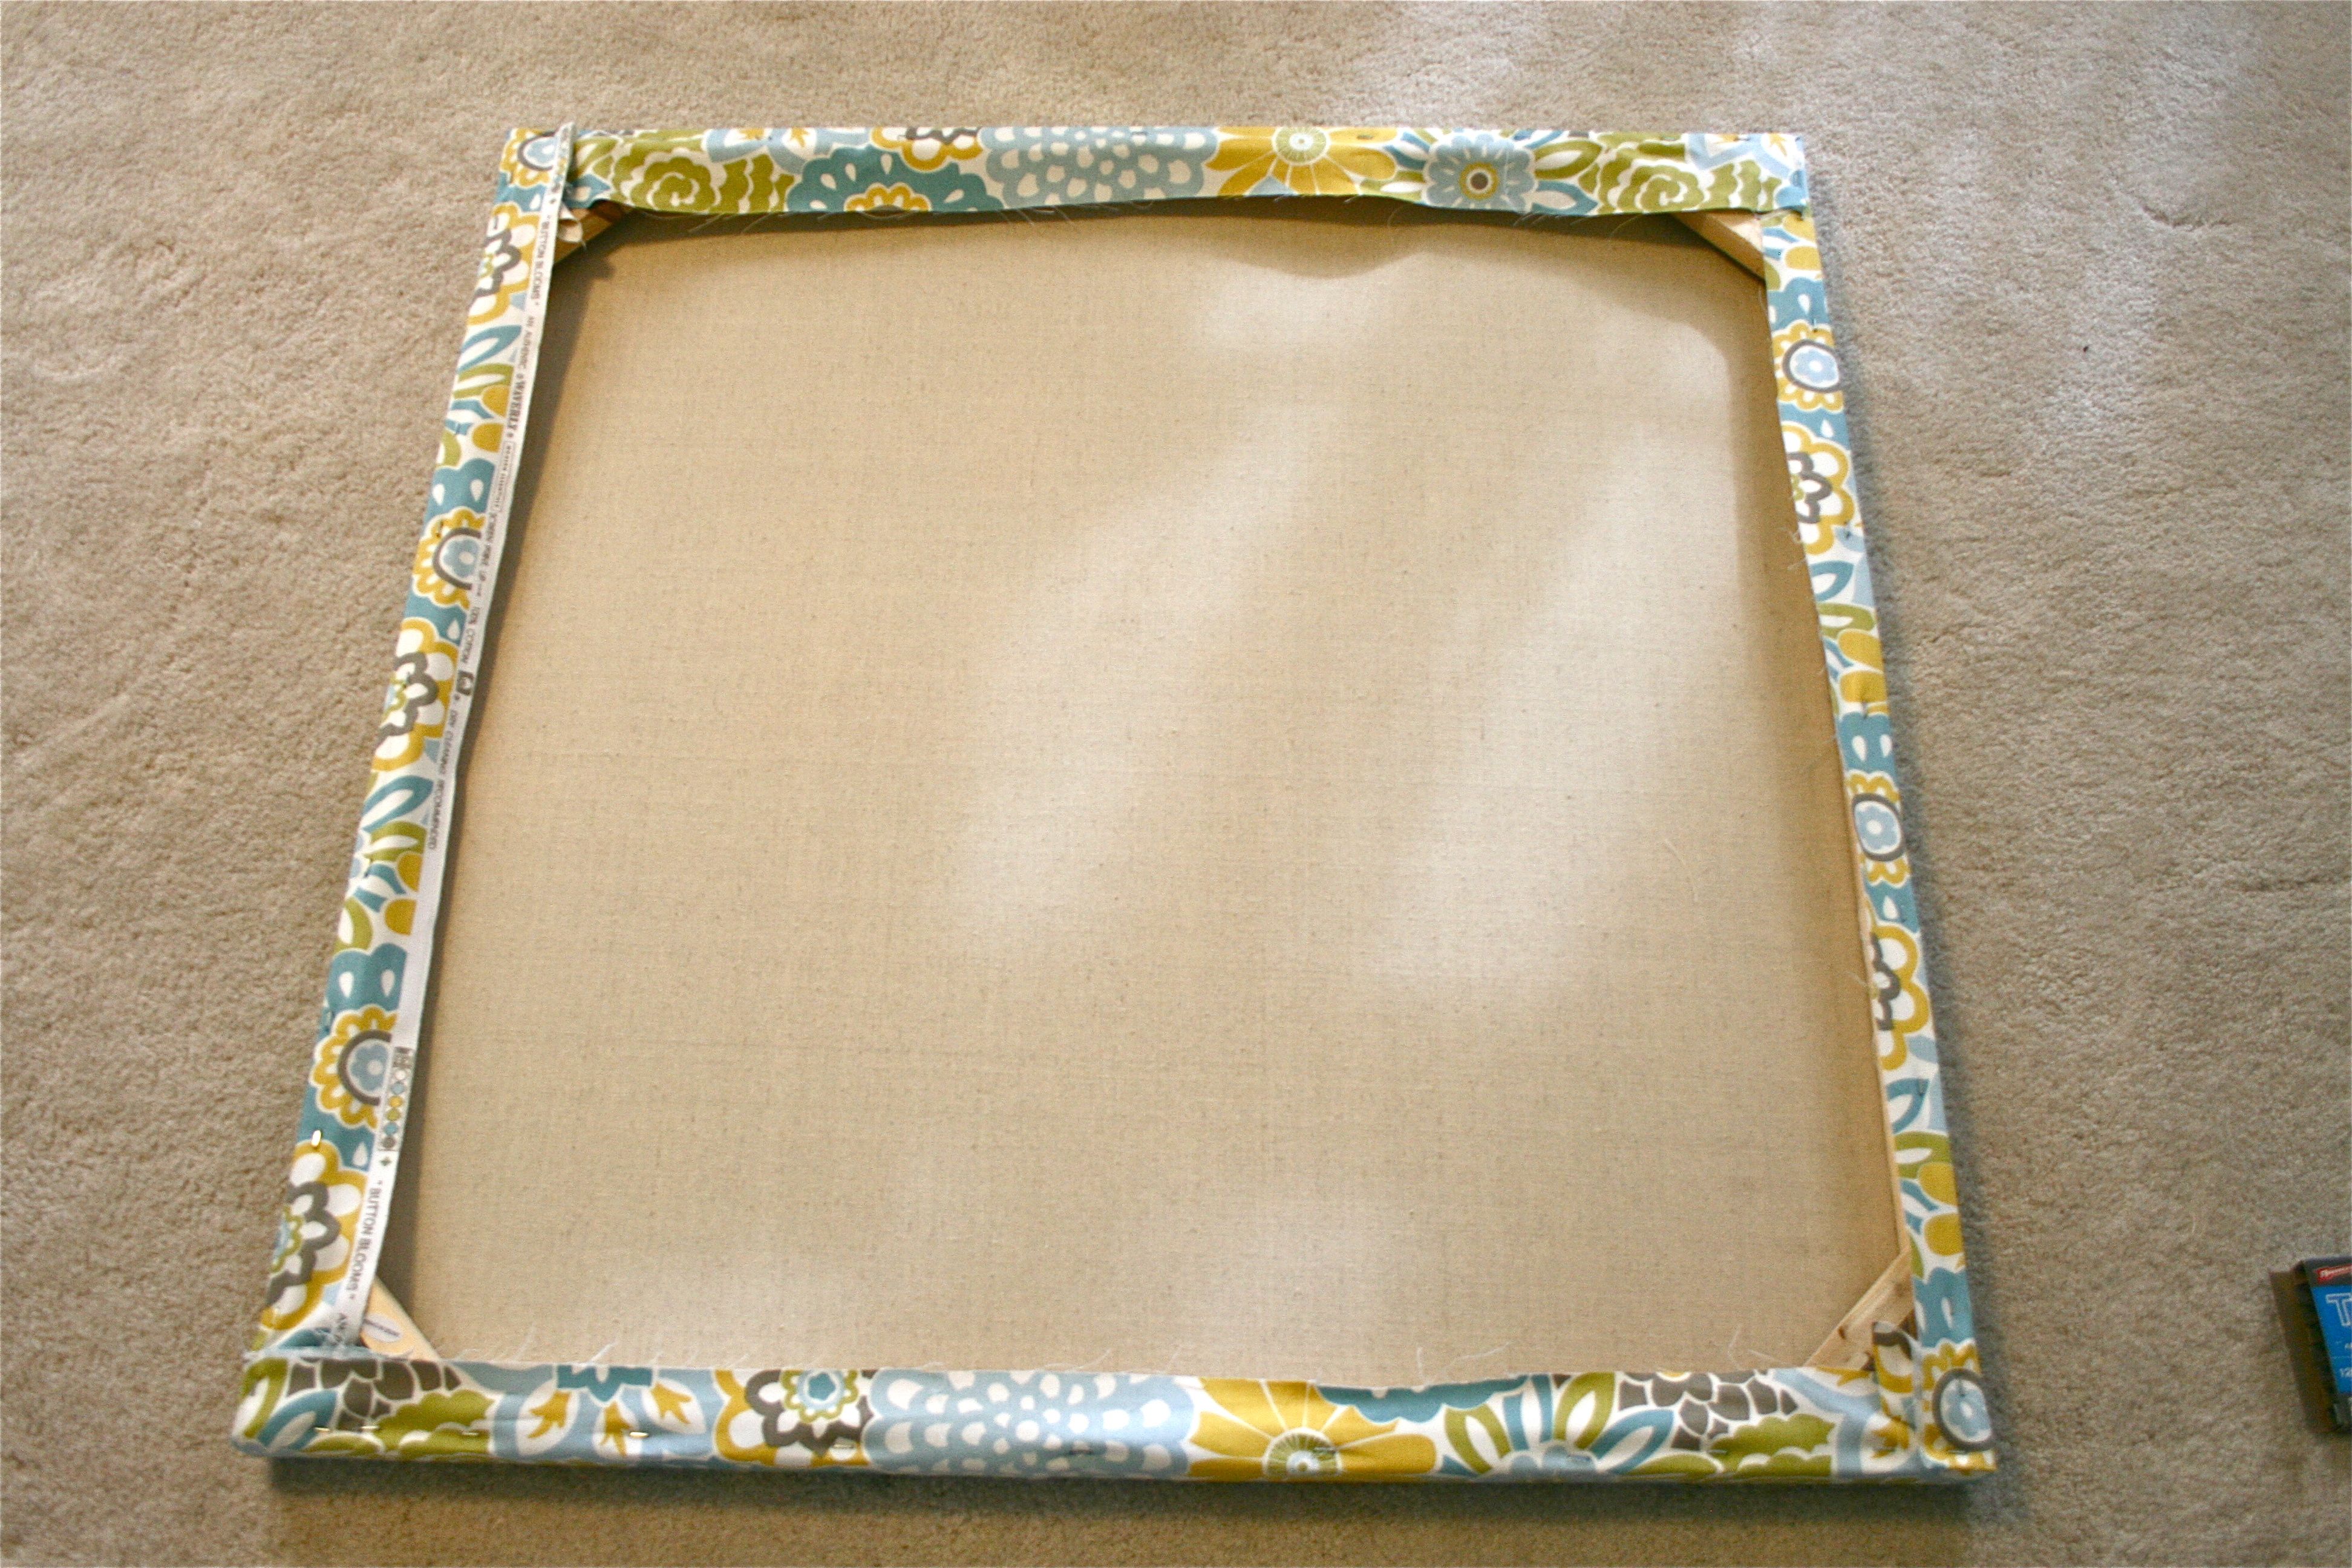
And then, with my handy-dandy fancy new staple gun, I got to work pulling the fabric around the edges and stapling it in place. I started in the middle of each of the four sides and then went around again, putting two staples on either side of the first staple. I continued the slow process of working my way out from the center on each edge – This would ensure that the fabric was pulled evenly taut across the front of the canvas.
Last step: I gave the fabric the old hospital-corner treatment to finish everything off!
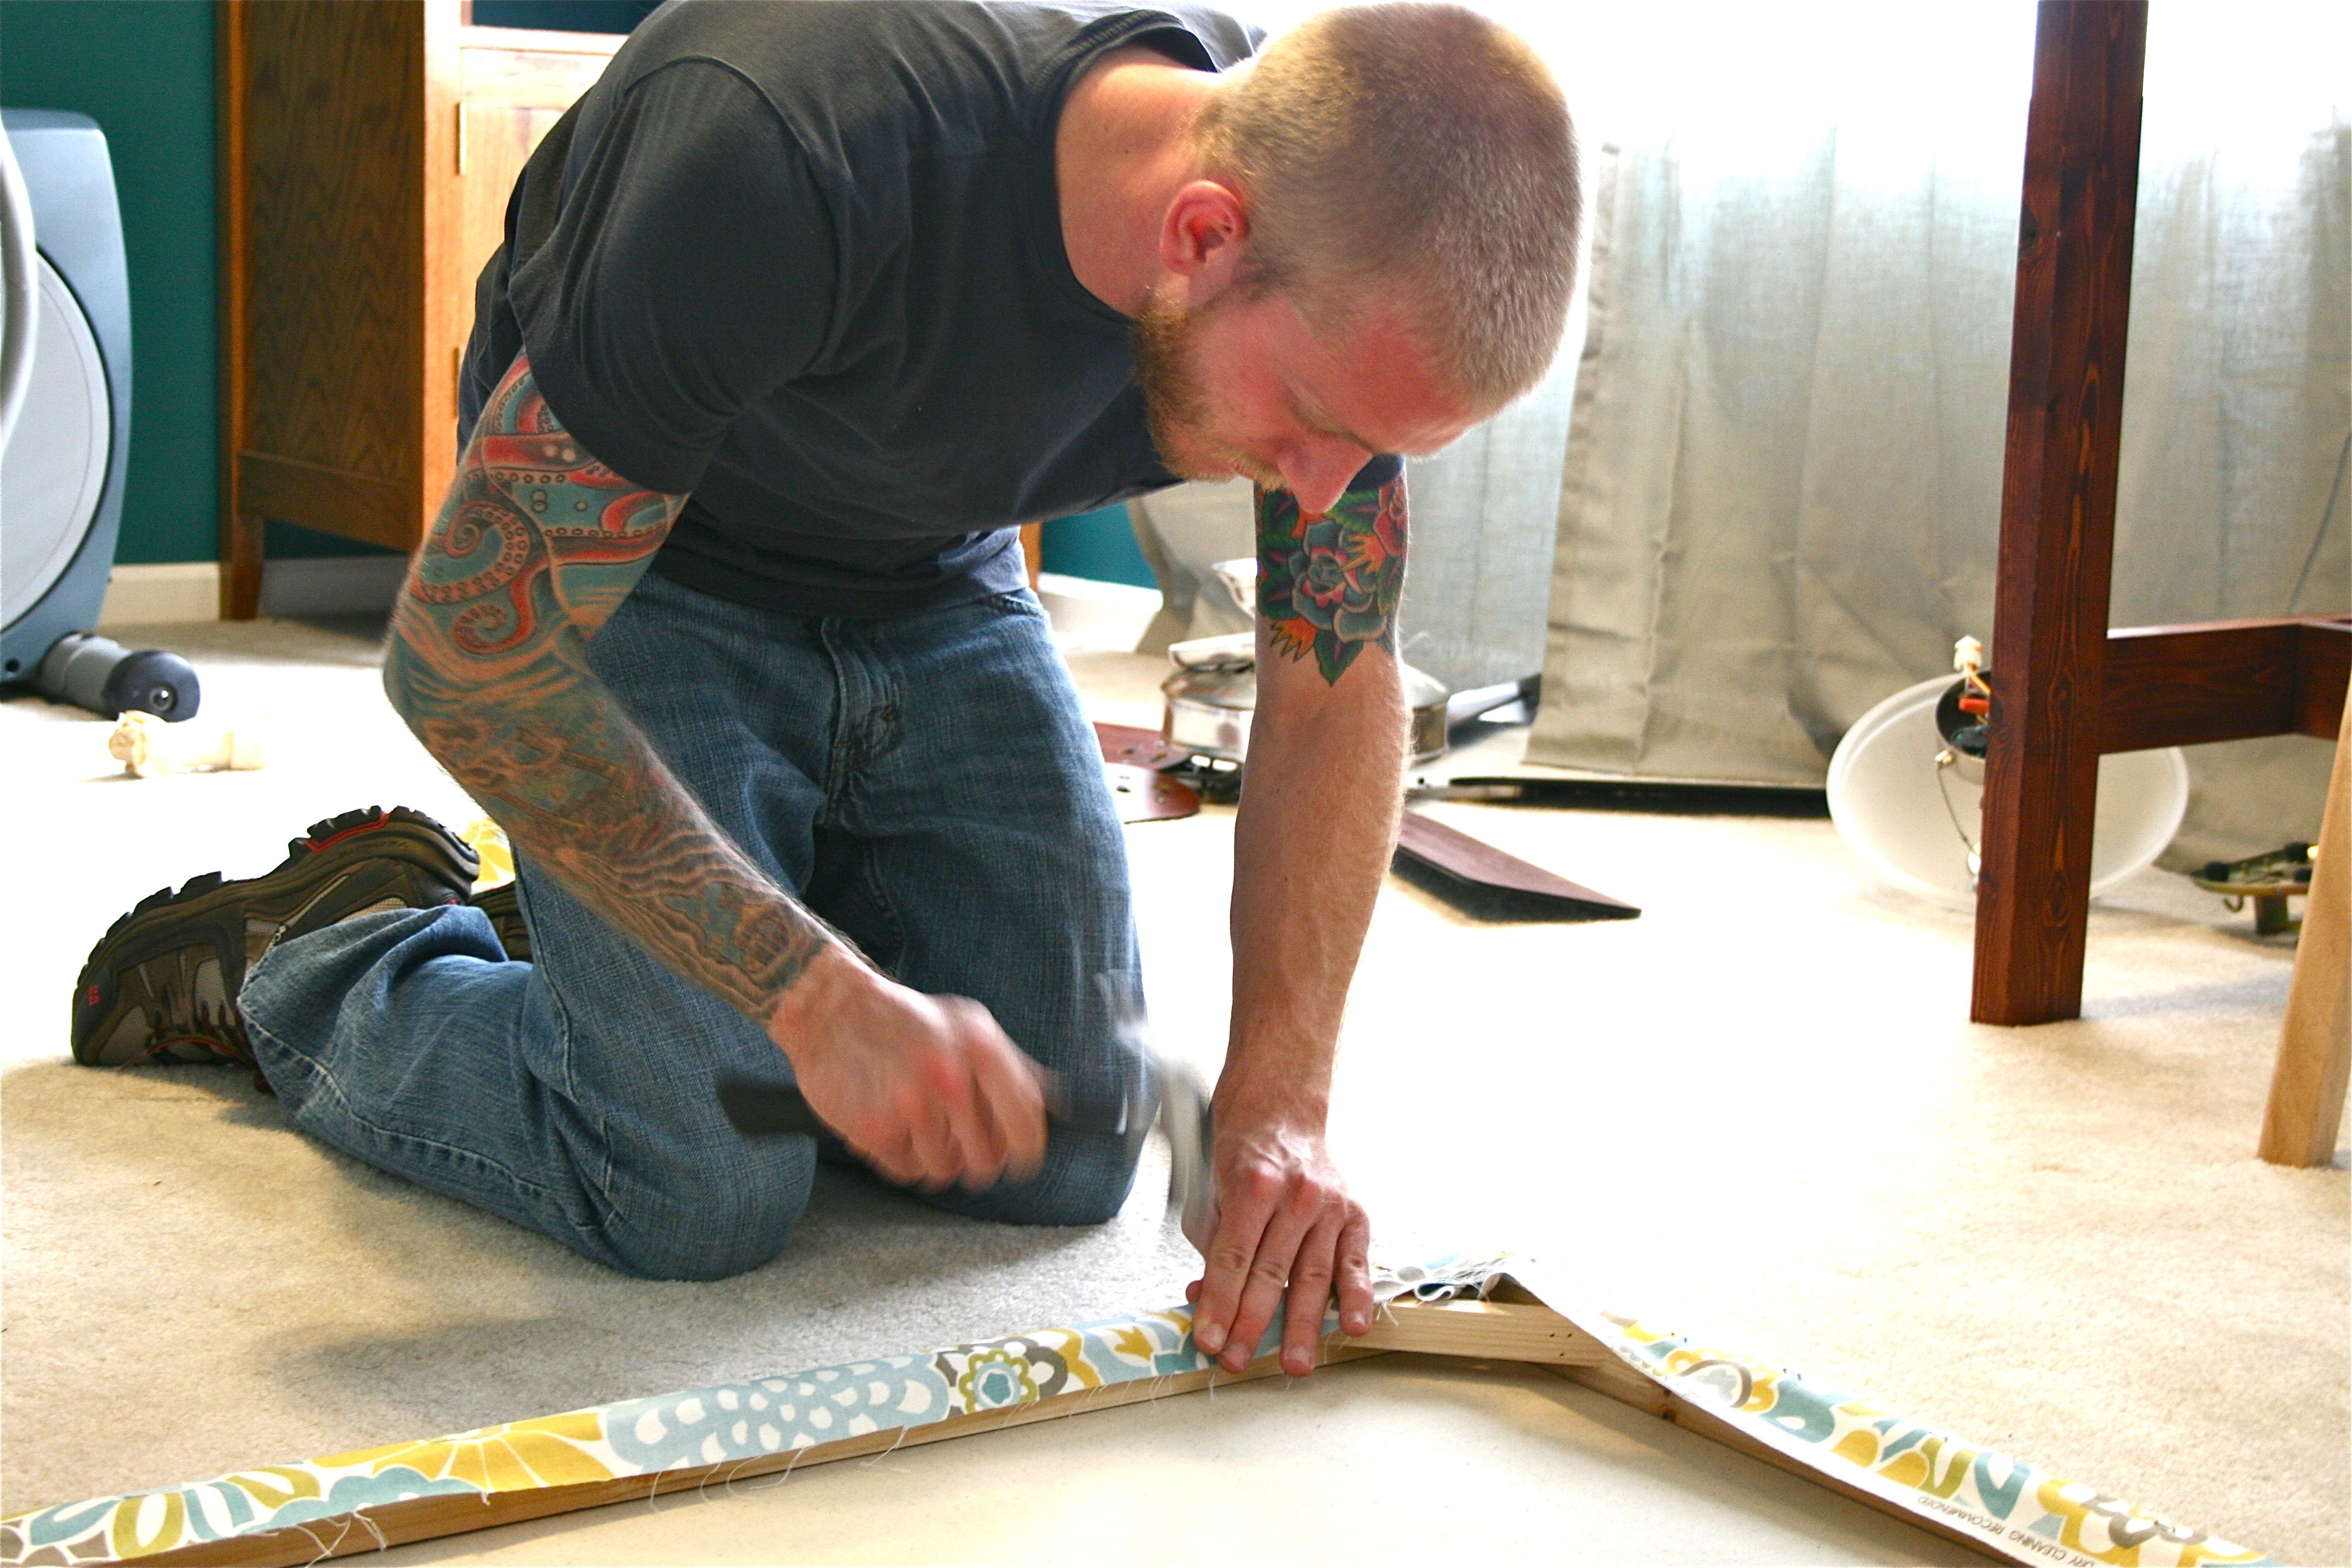
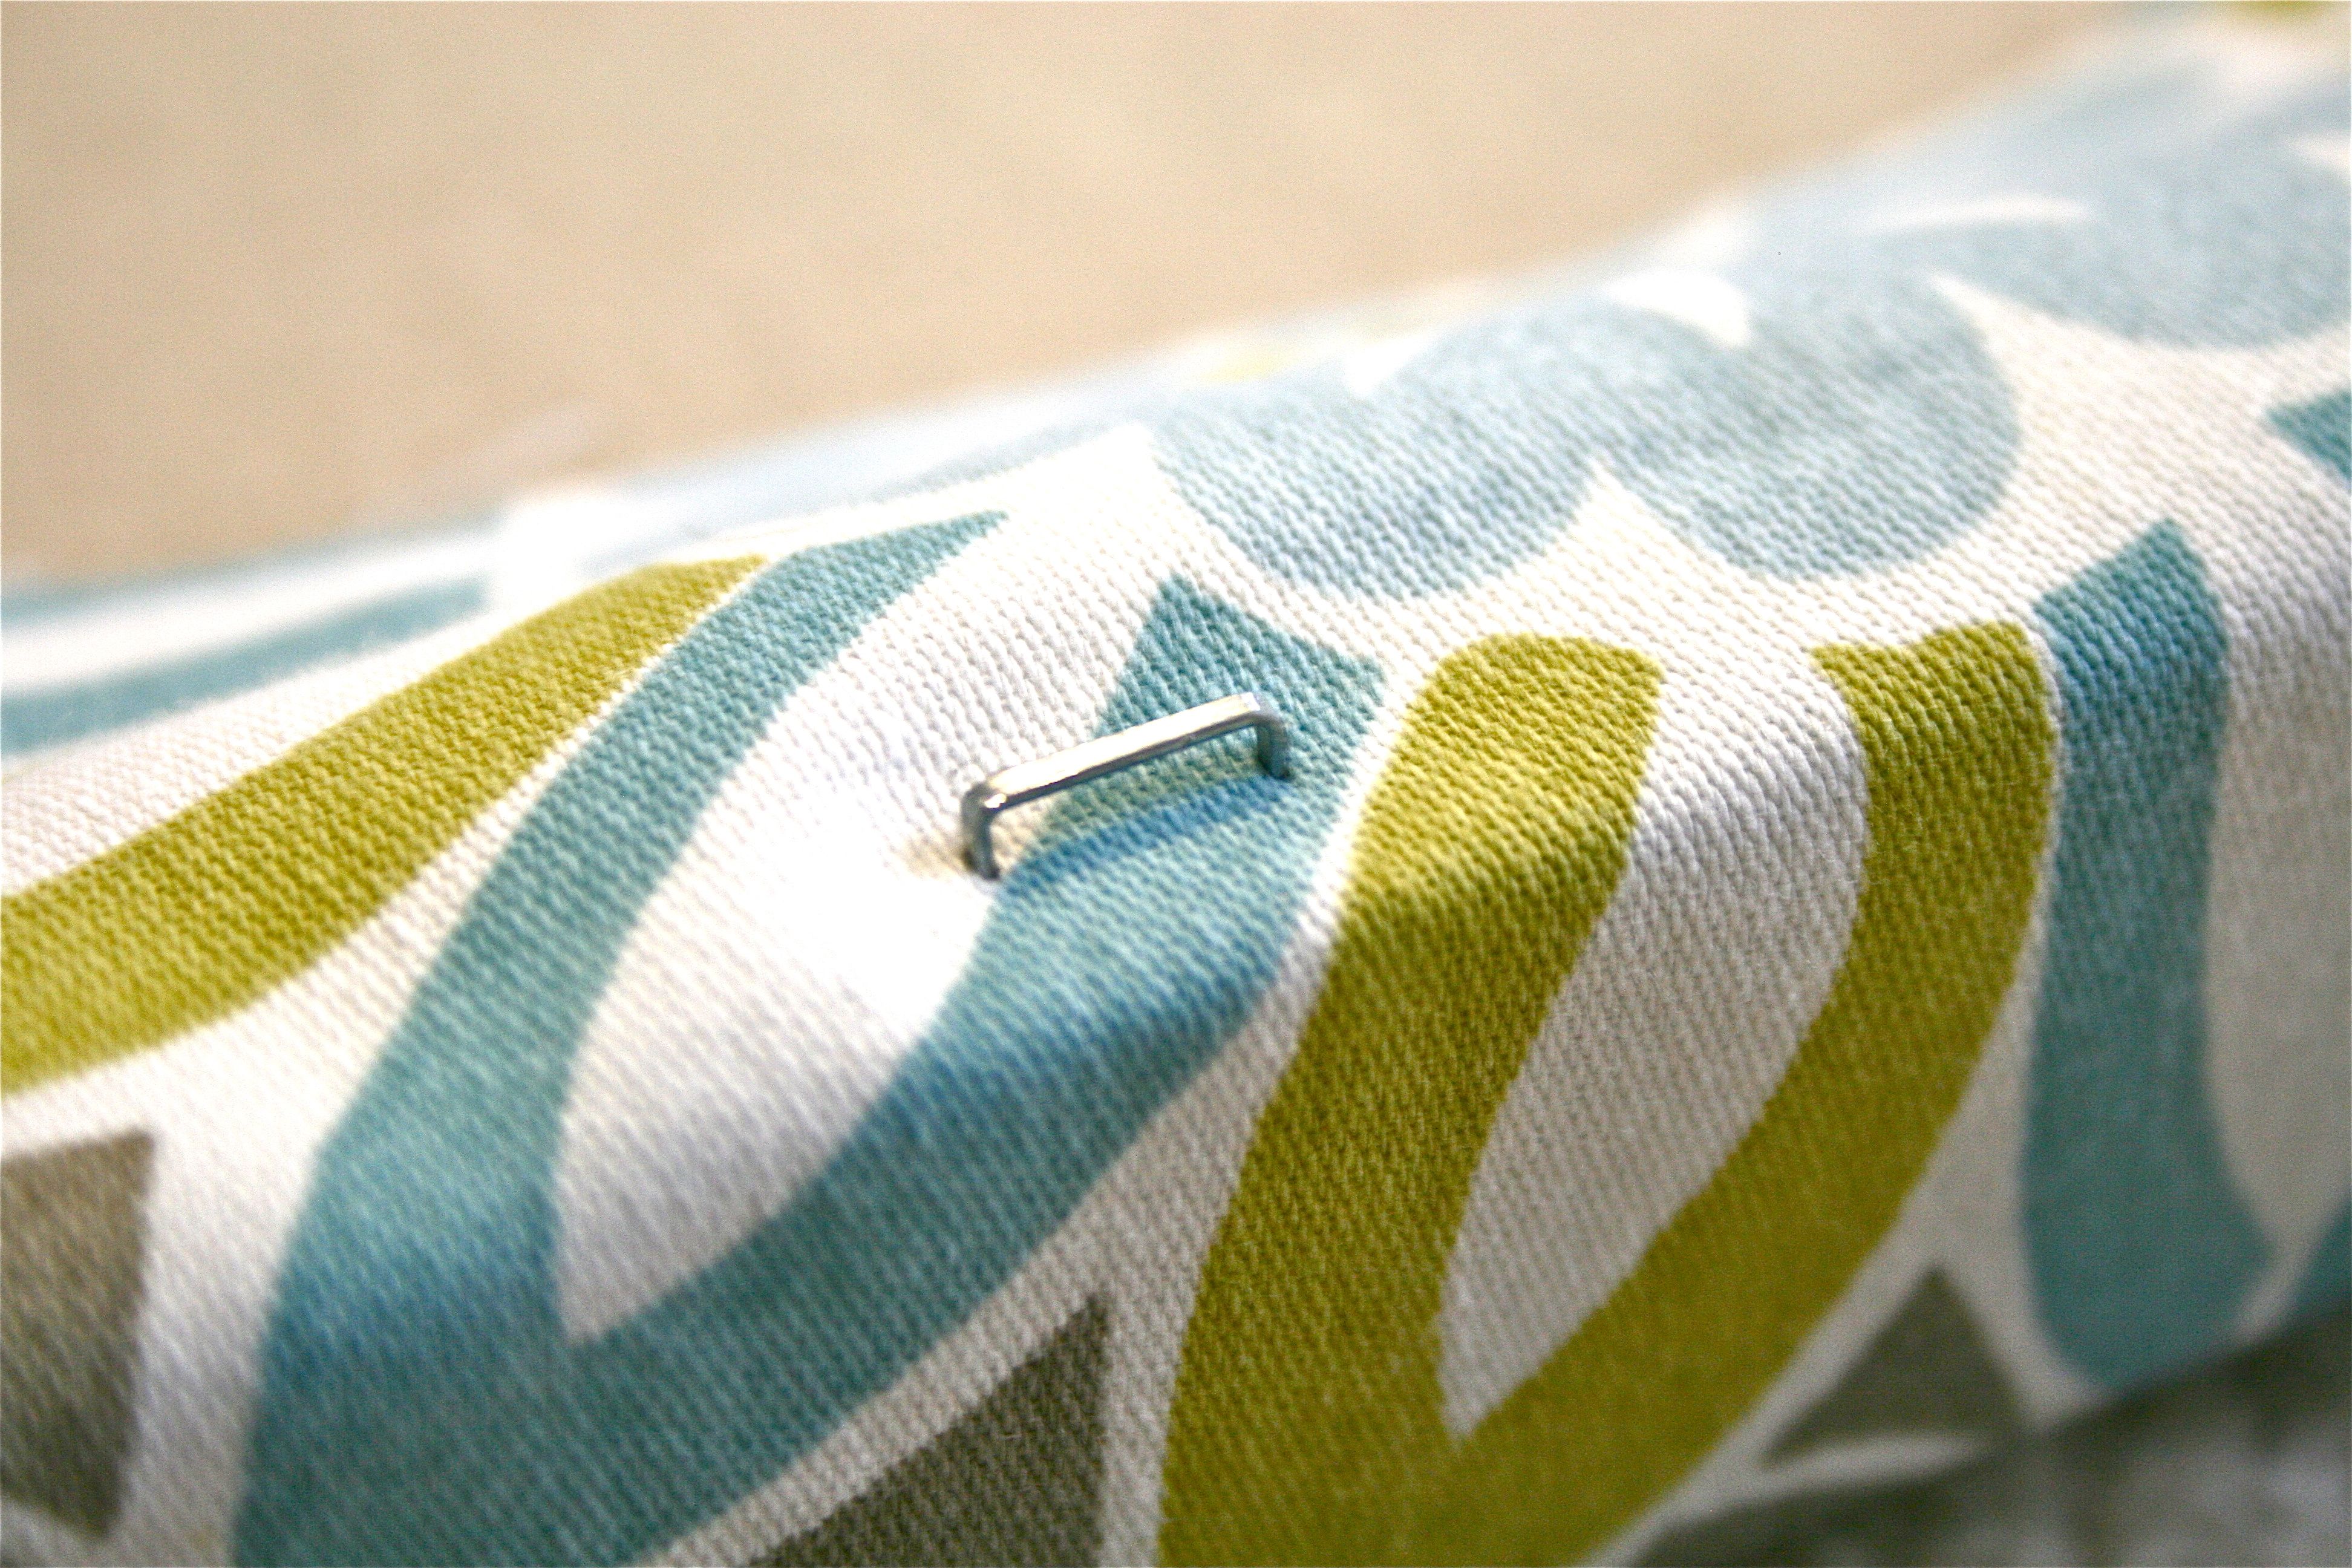
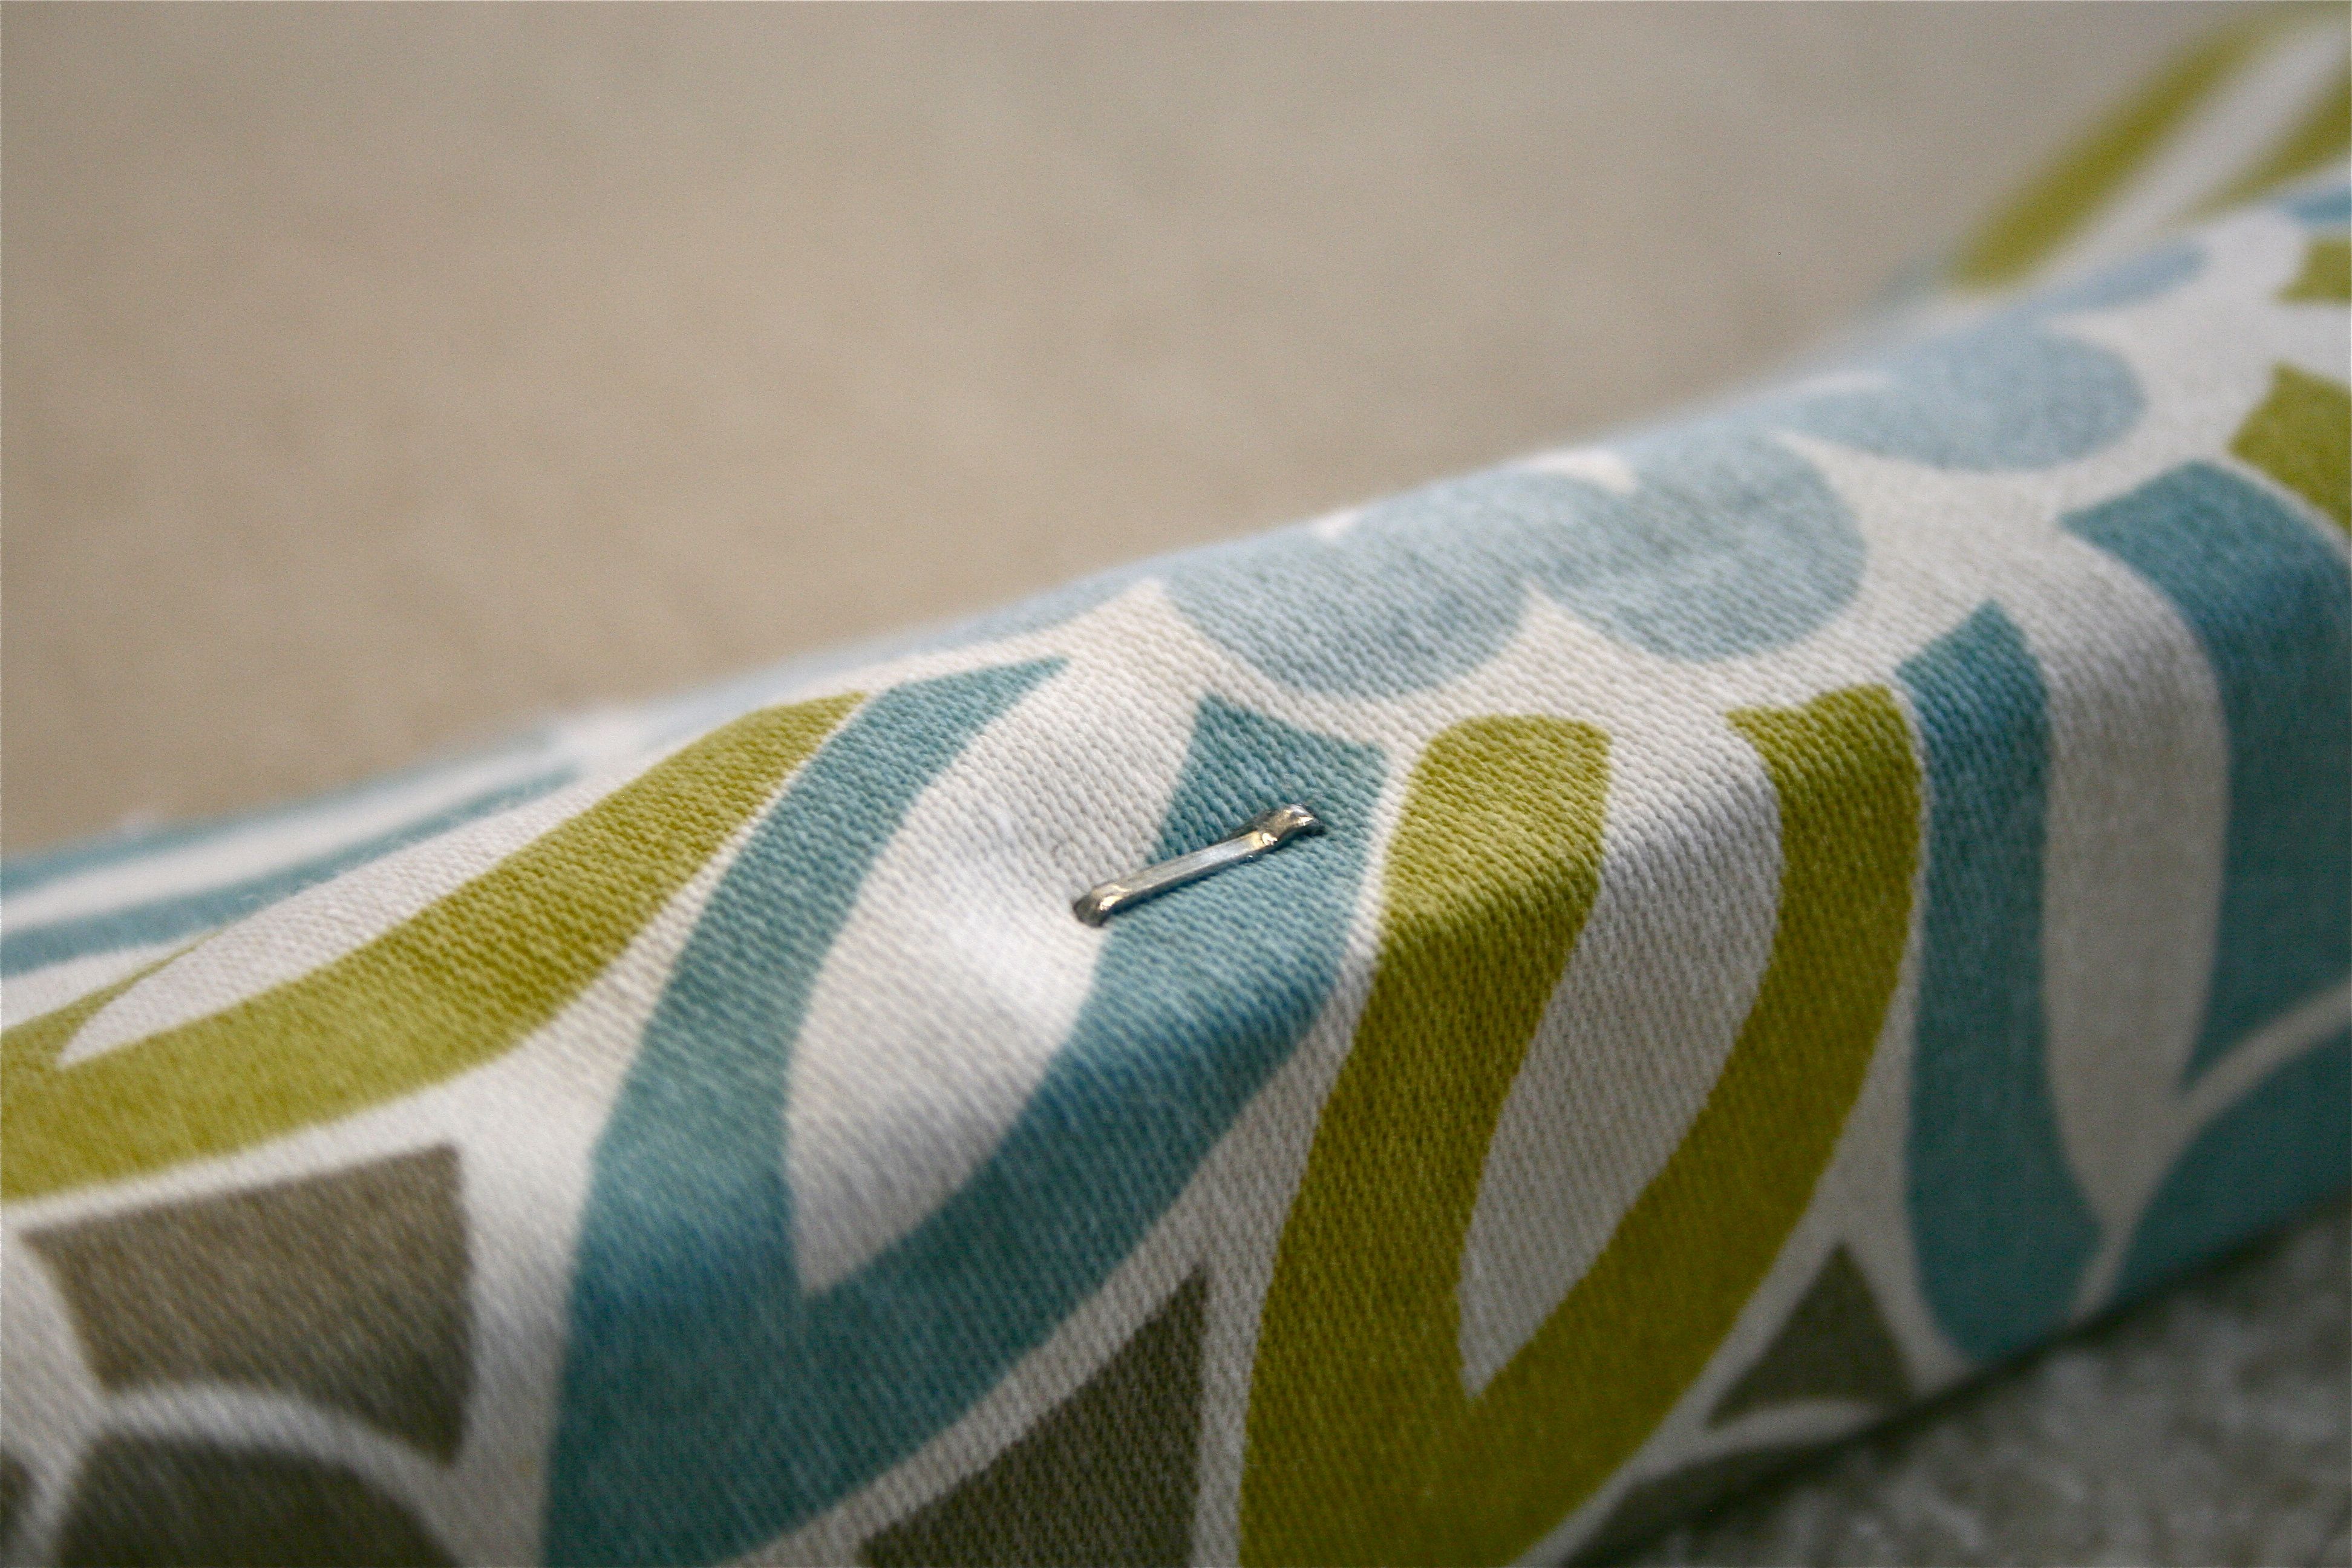
Some of the staples didn’t make it all the way into the wood of the frame though…So John helped by breaking out the hammer and making sure those suckers were IN there!
Before hammer treatment:
And after!
Moment of truth…Maybe it’s just me, but my heart is always in my throat when I do a upholstery recovering project and flip it over after all the pulling and stapling…Will it be straight? Did I pull too hard? Will there be huge creases in the fabric?
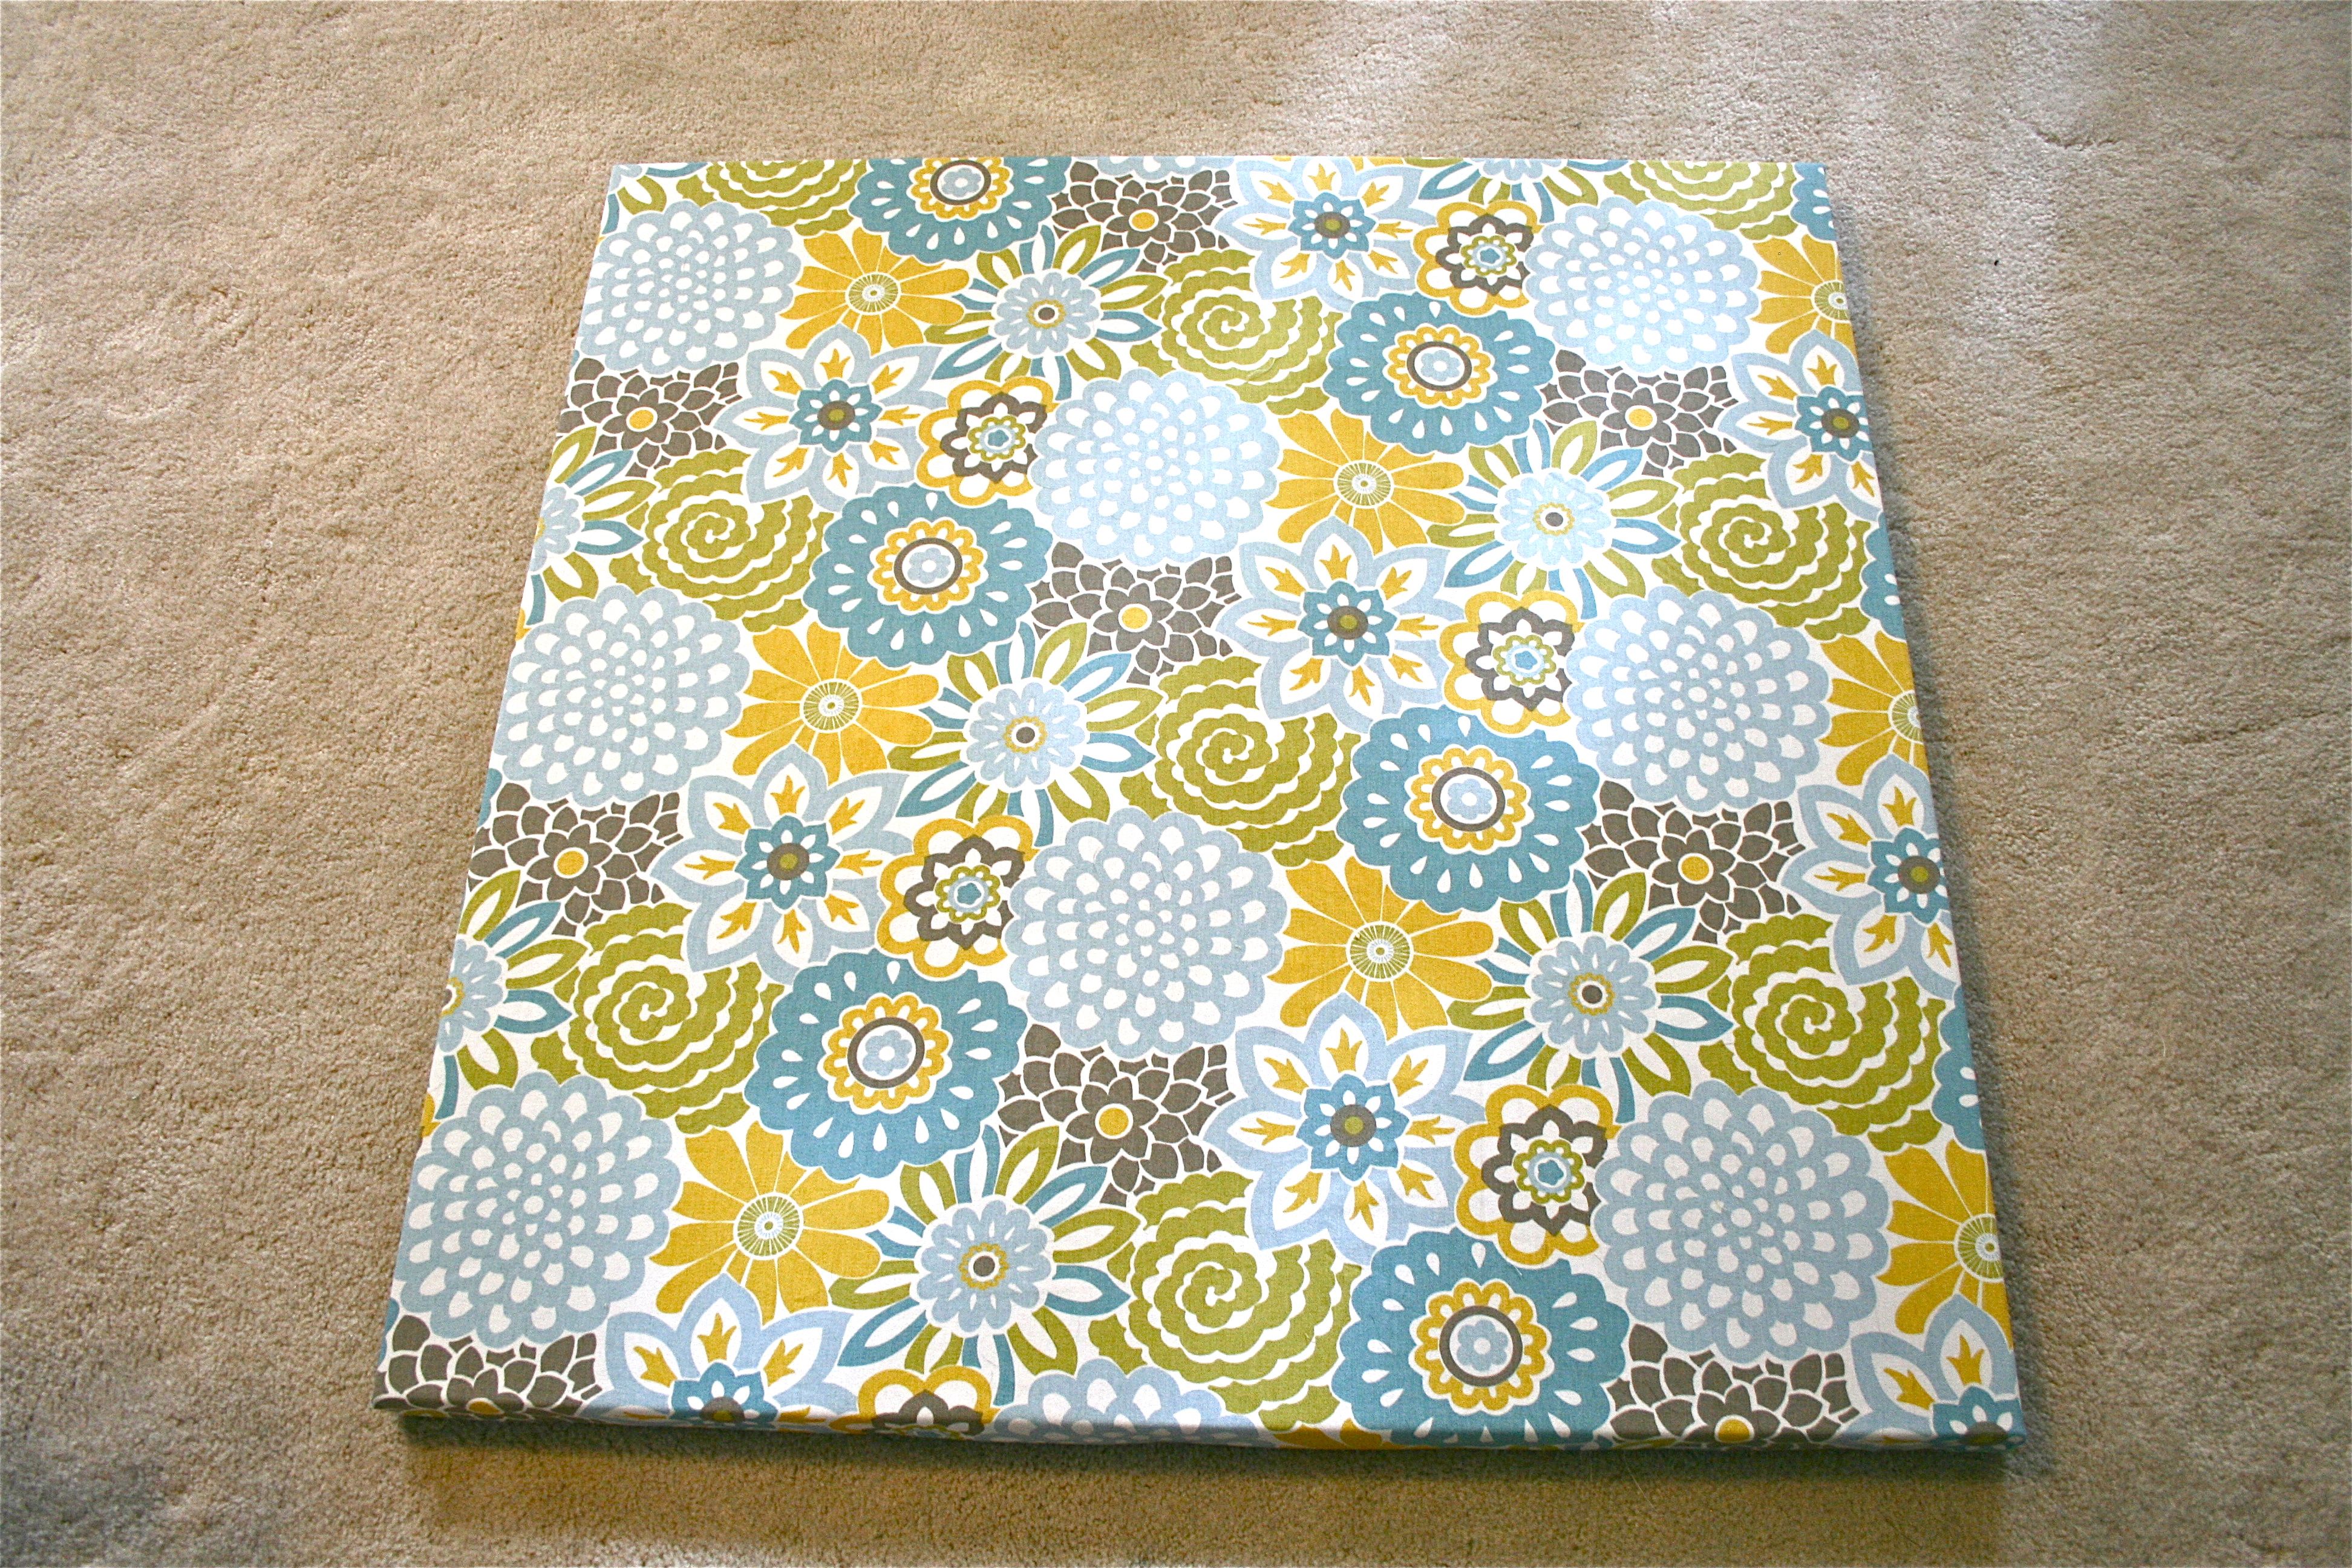
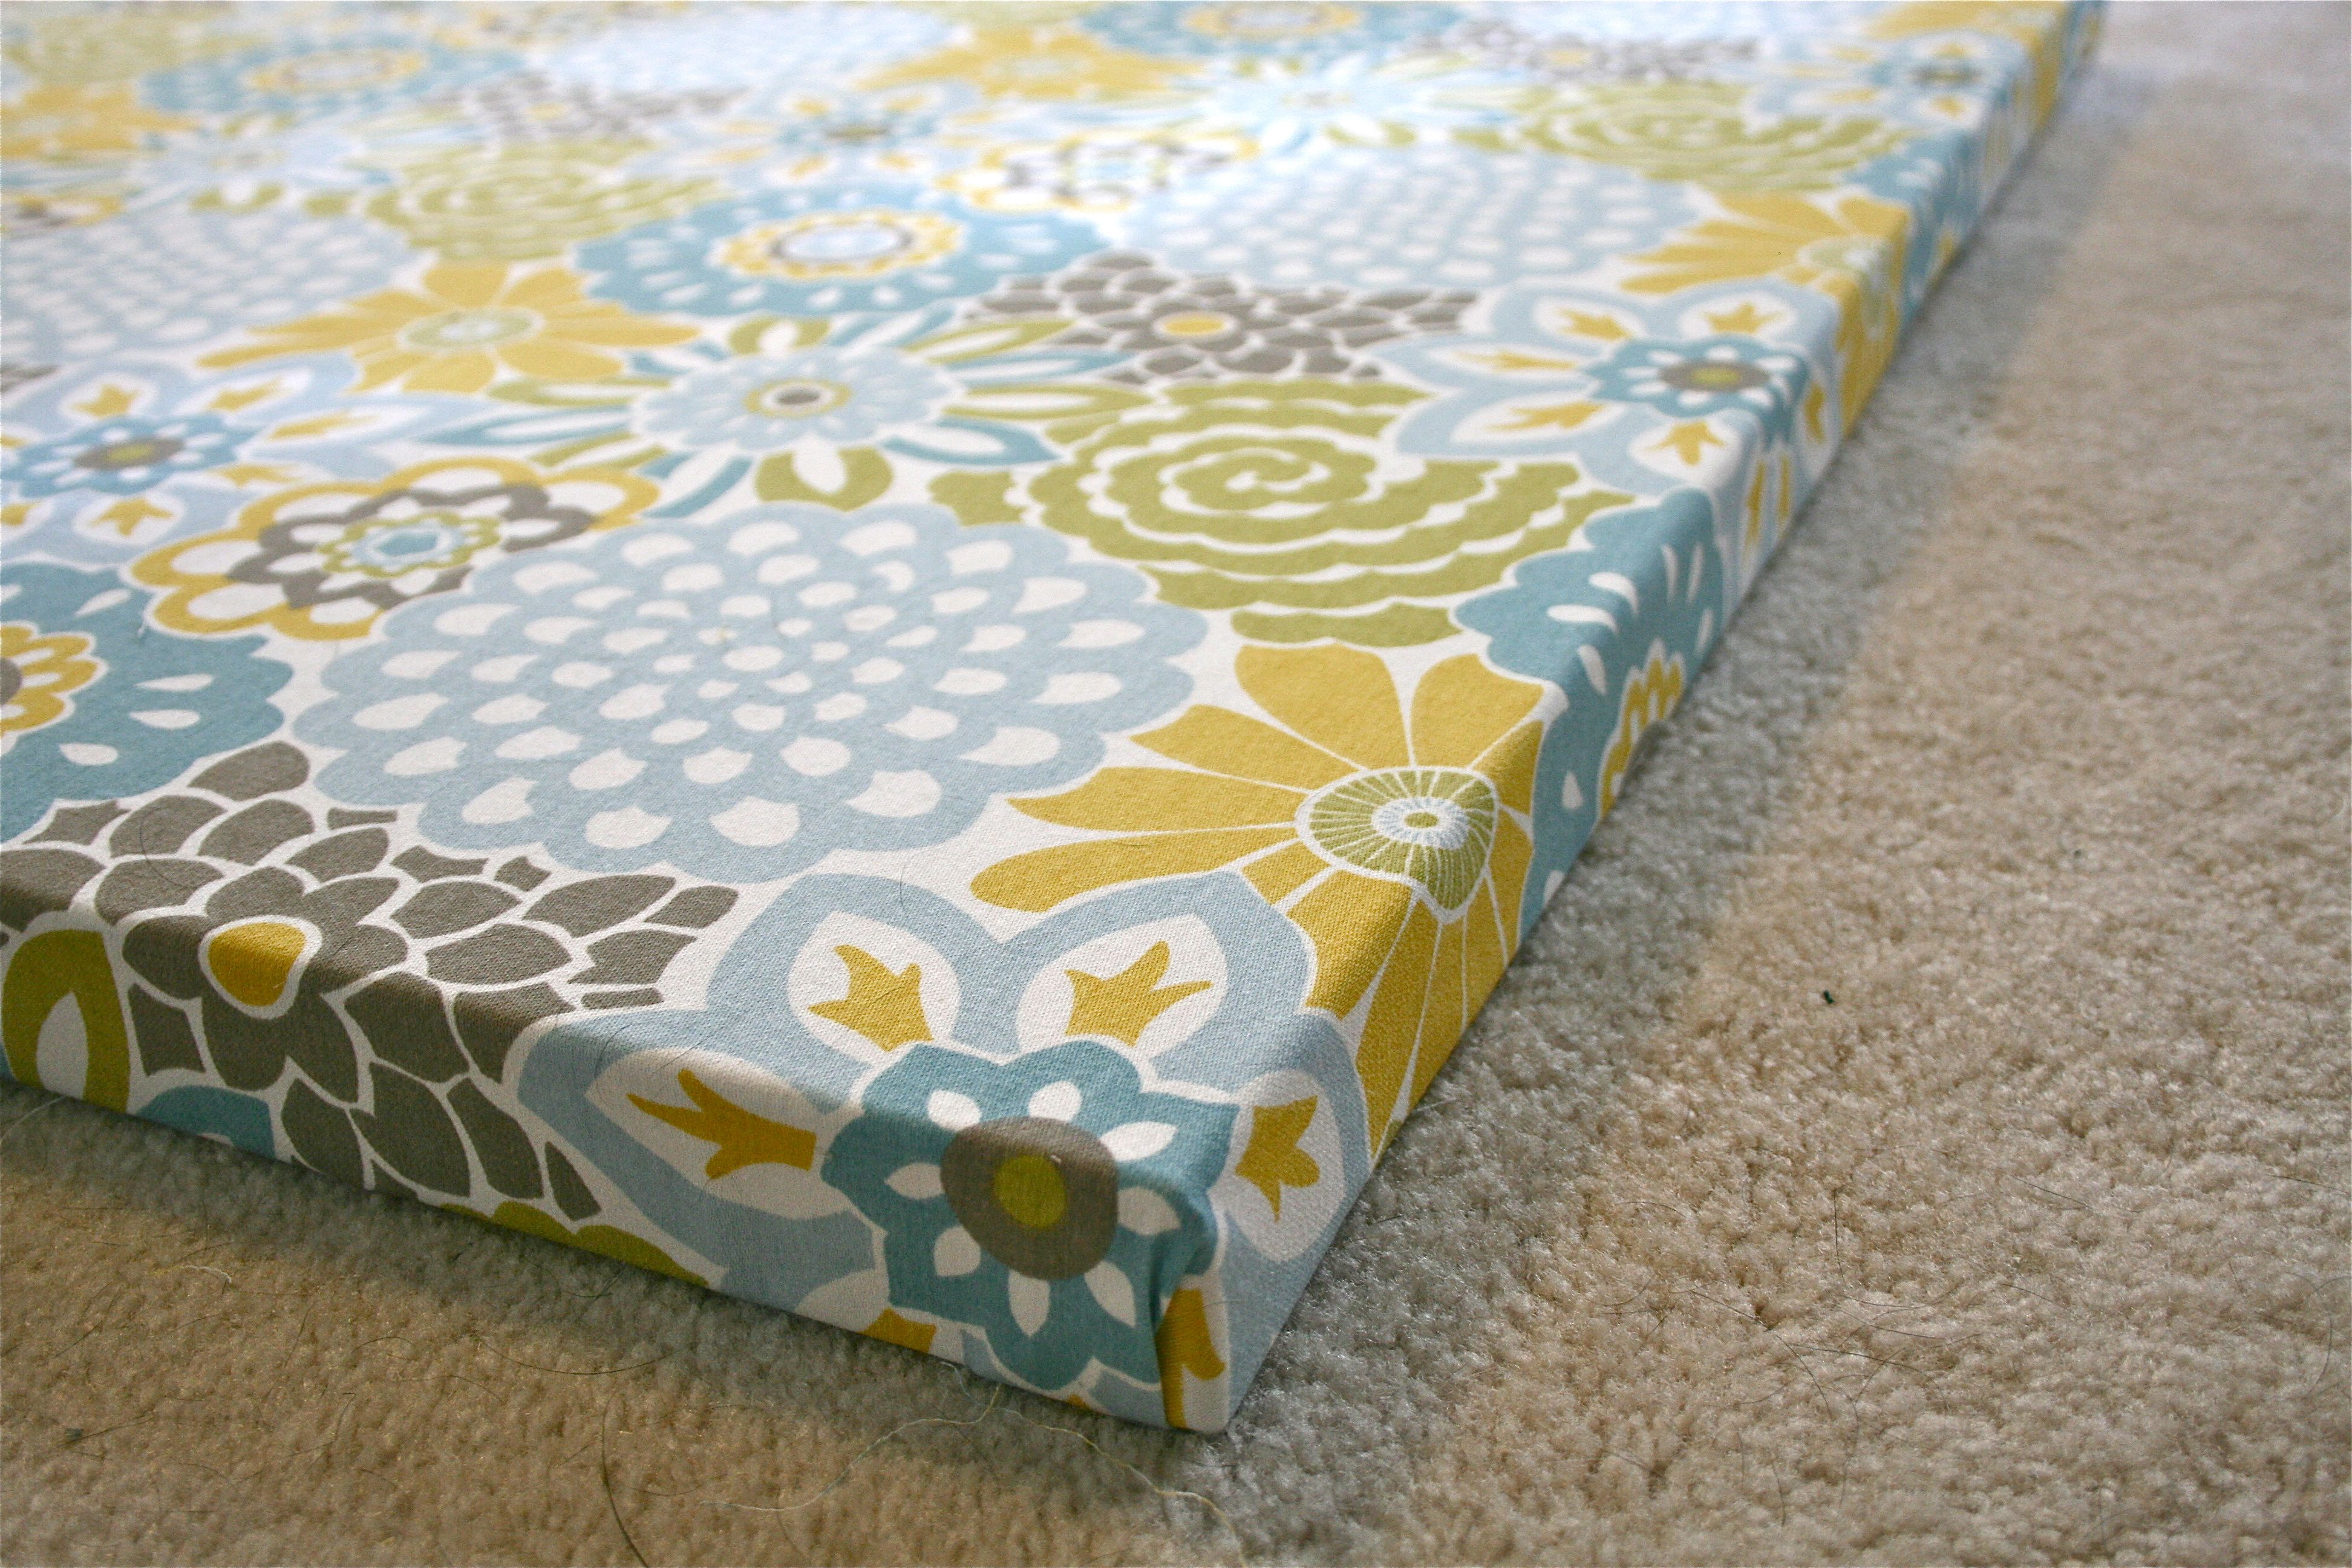
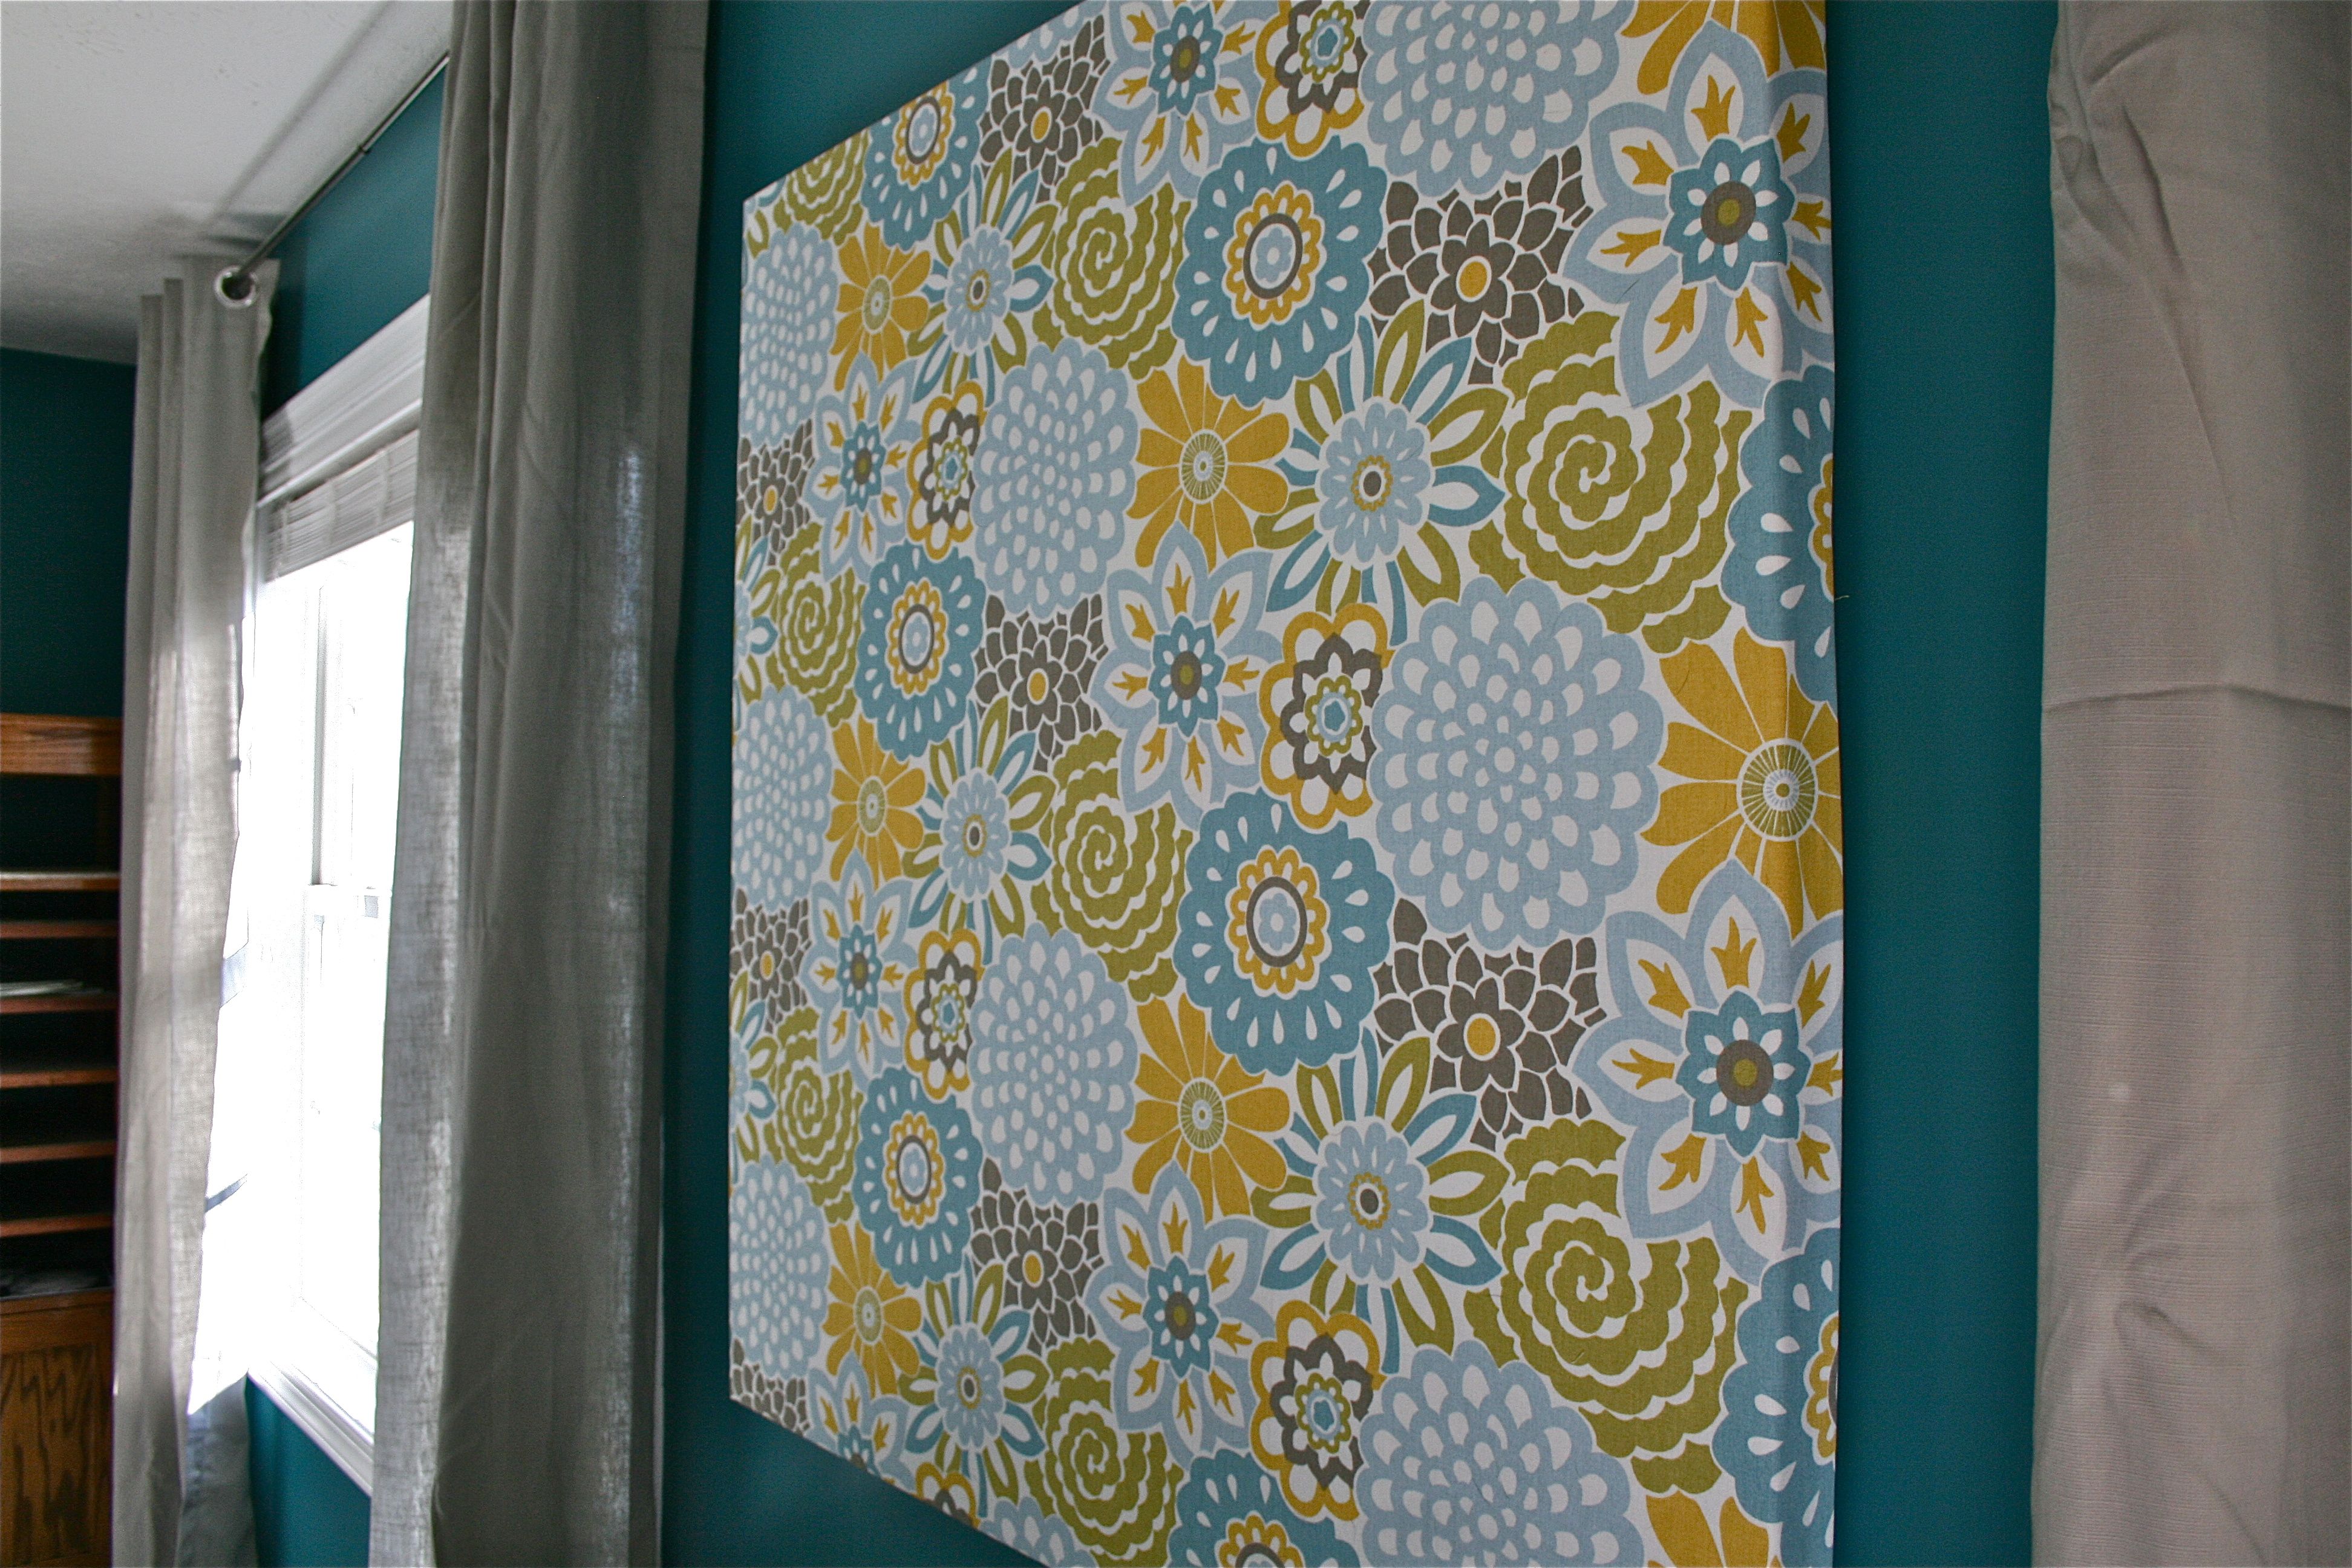
But I was fretting over nothing! It came out perfectly:
I wish I could say that I planned the pattern to be so centered, with the two rows of teal flowers perfectly parallel to the middle of the canvas, but that was definitely a happy accident 🙂
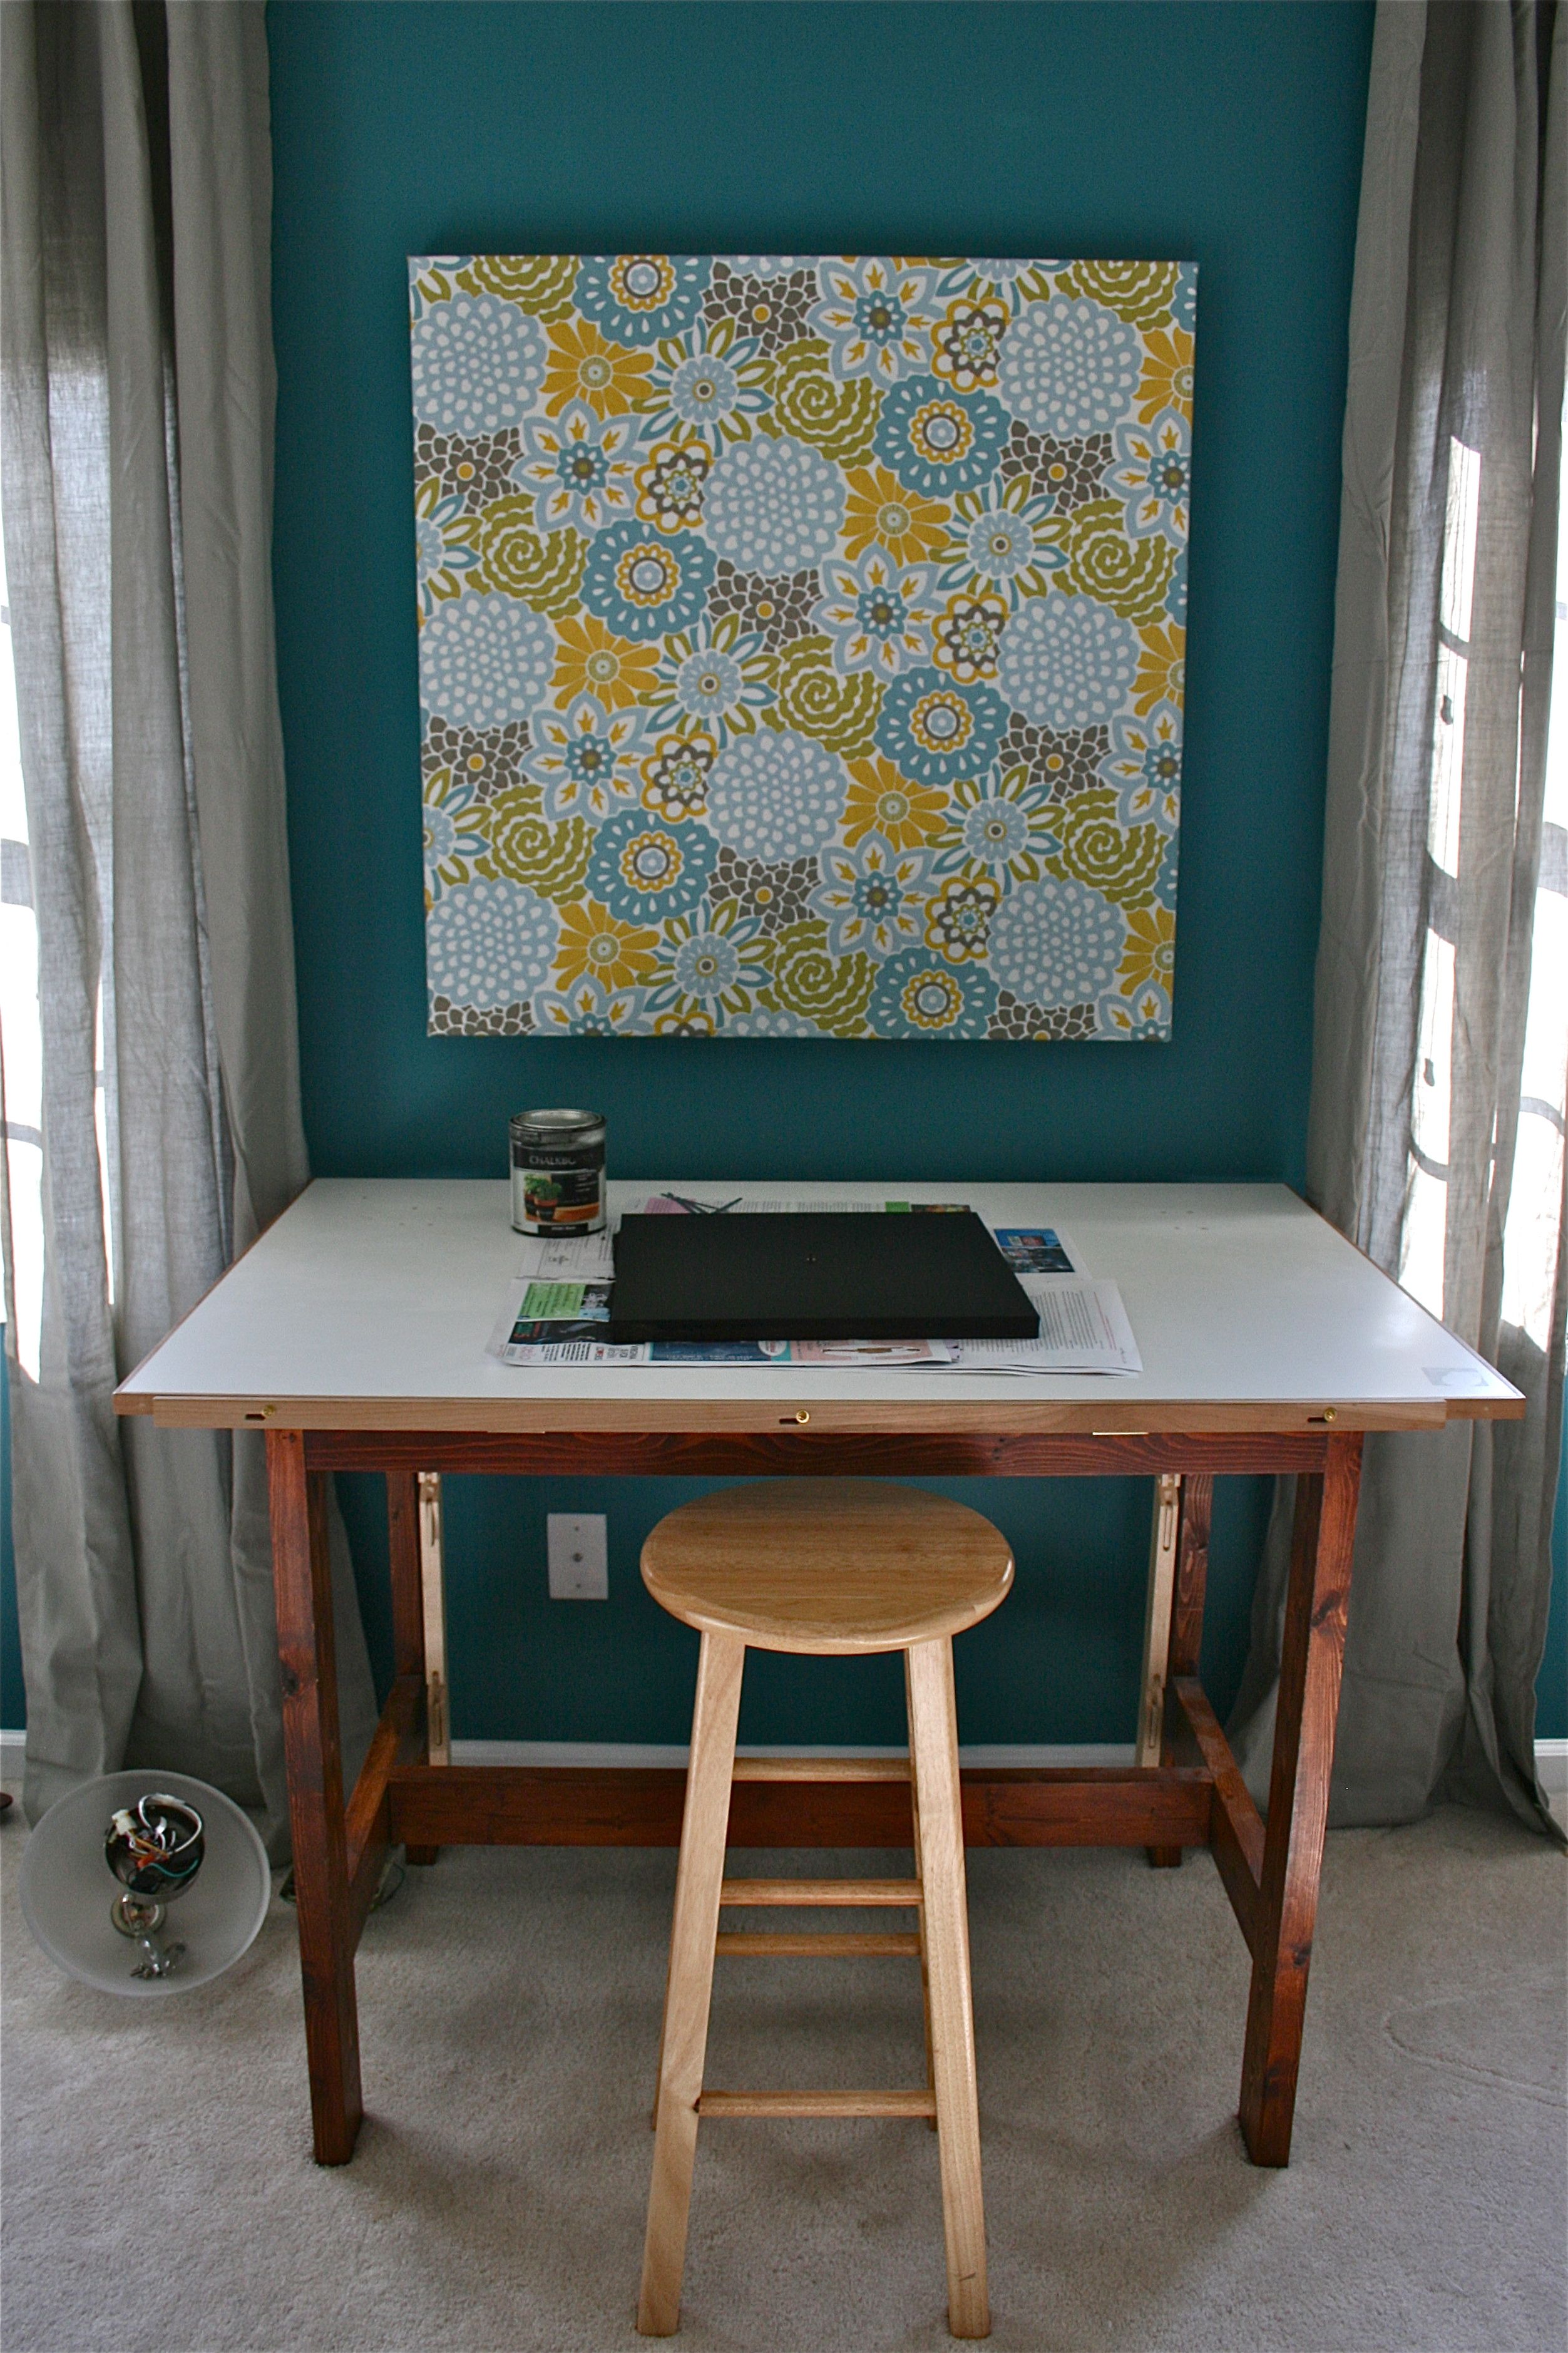
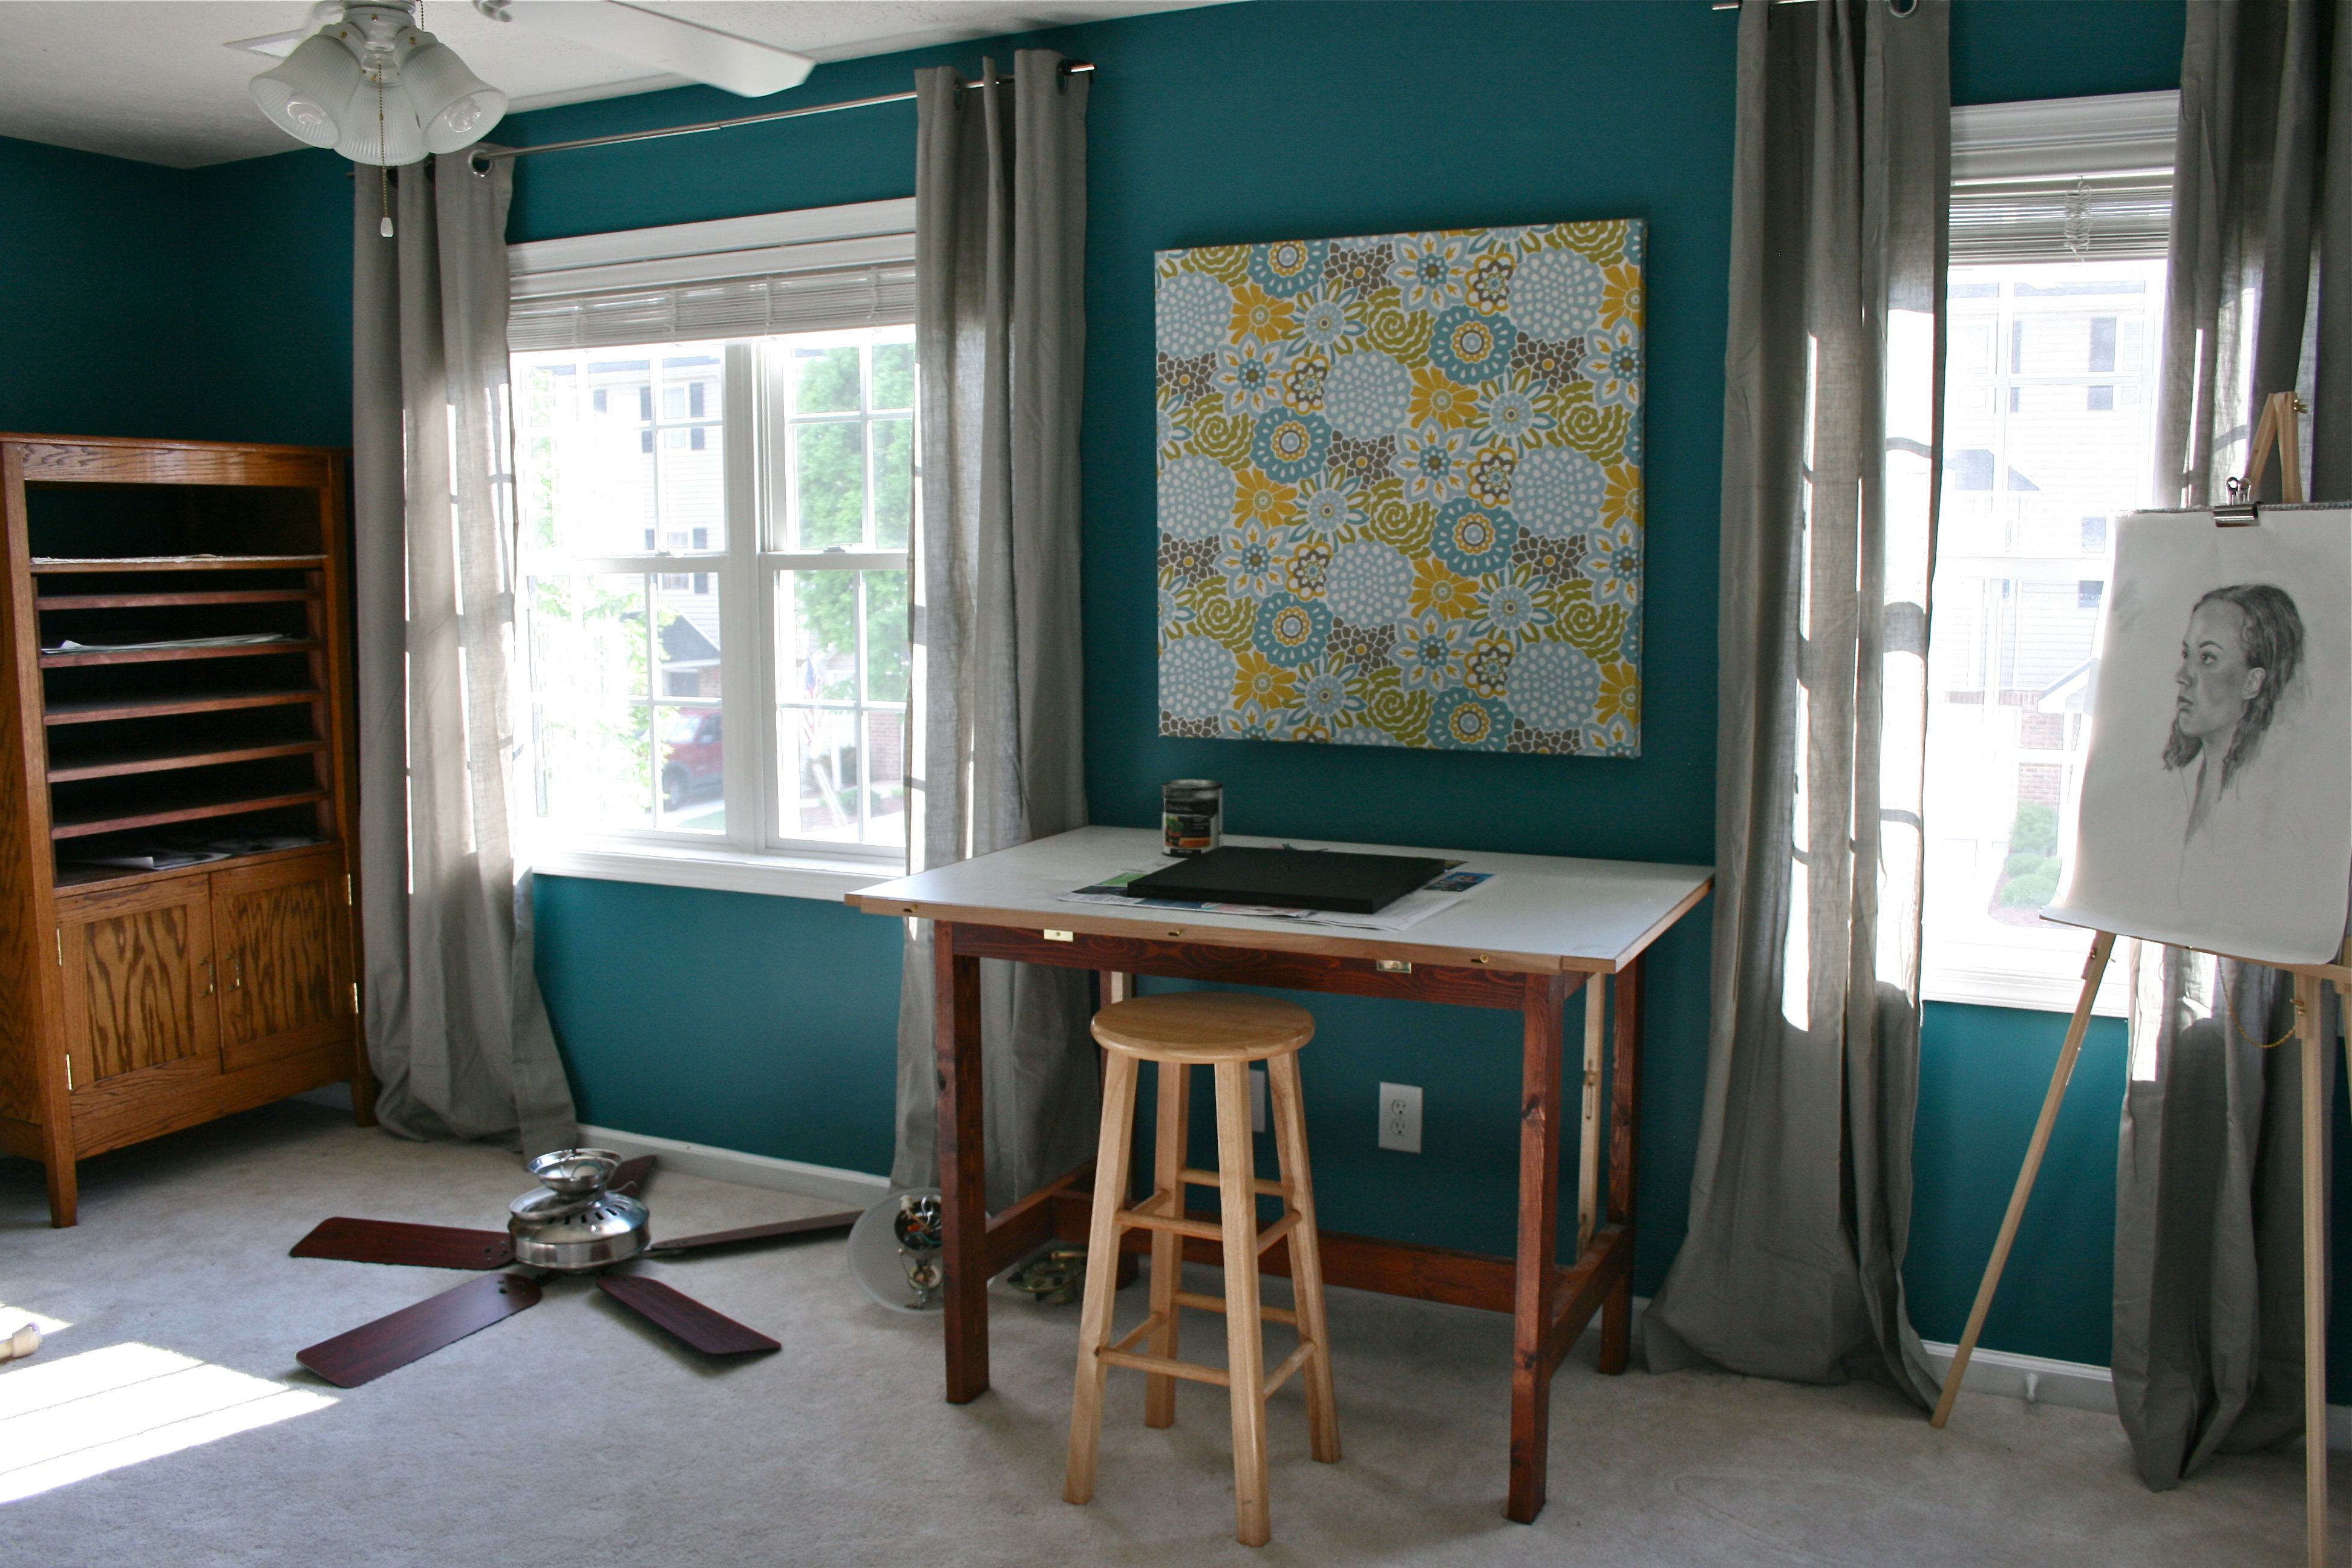
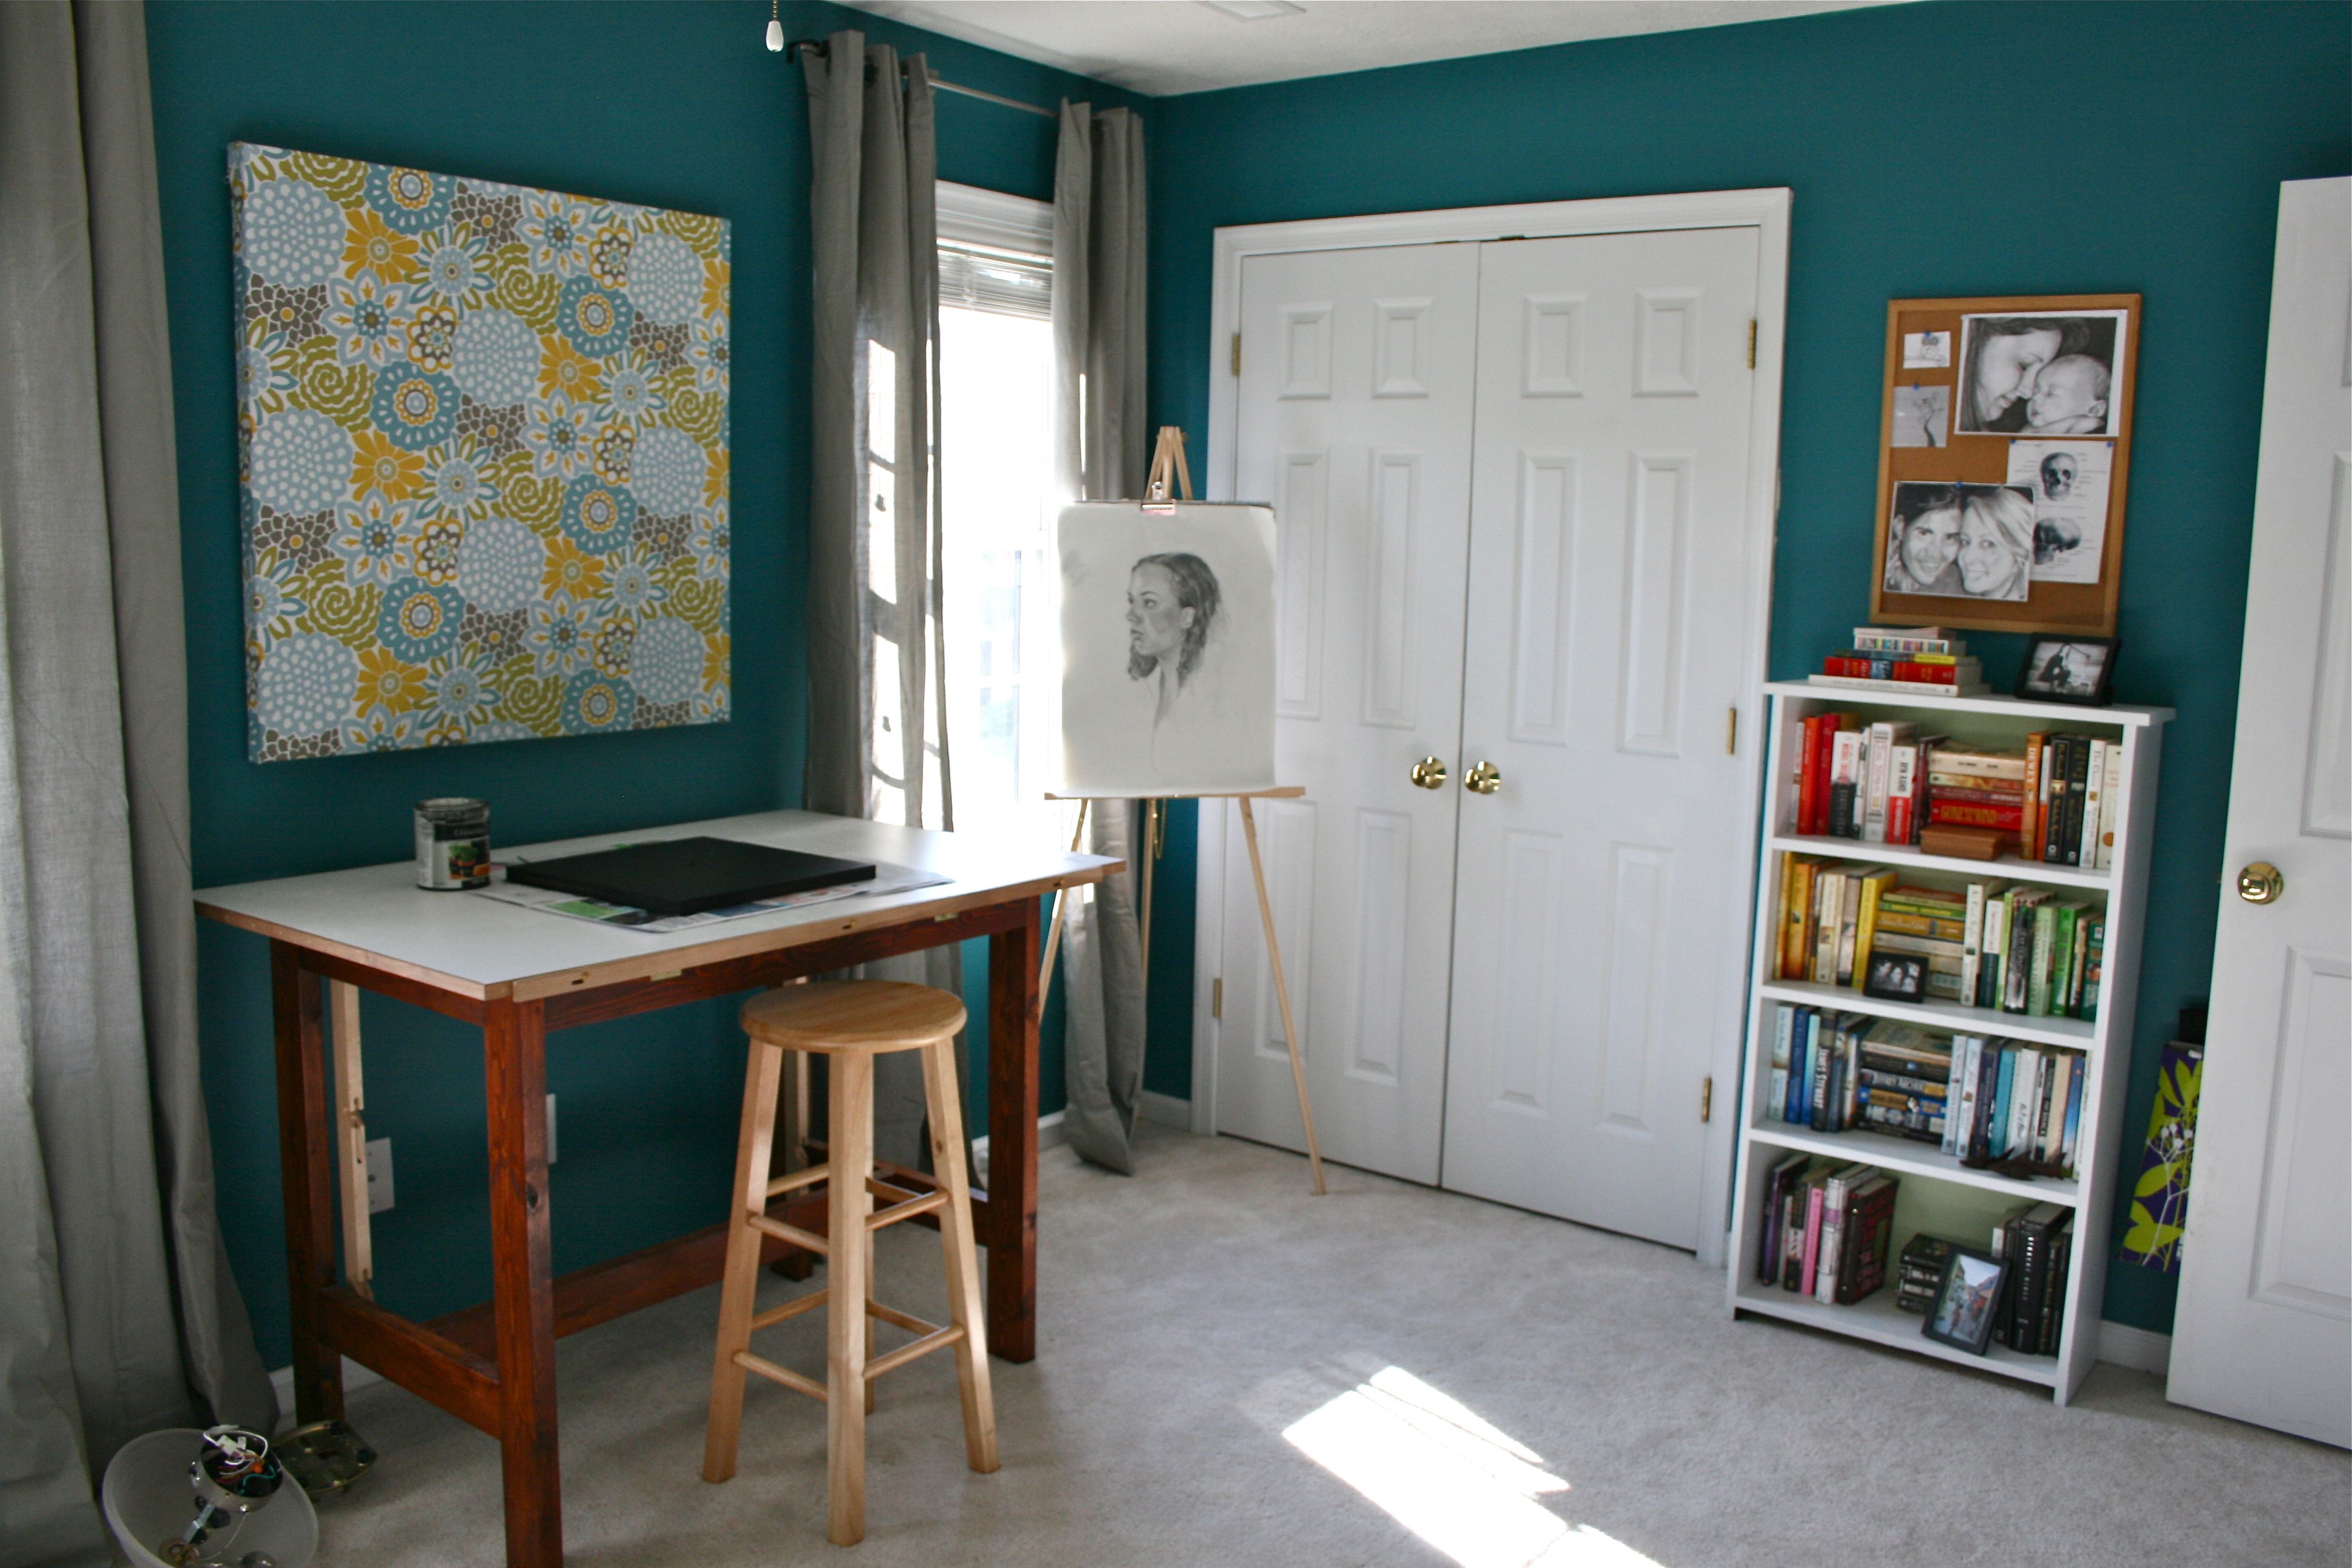
Up on the wall she goes!
Before:
And after!
Soooo much better then the original painting…I love the pattern and colors of the new fabric and look forward to using the coordinating fabric in possibly some curtain valances, other framed art for the walls and/or recovering my desk chair. I bought a yard and a half of each so I have plenty leftover for more projects 🙂
I’m going to do the humble thing and admit that this project wasn’t quite the CHEAPEST I’ve ever done…Here’s the breakdown:
- Original painting from Ross: $40 and some change
- 1 and 1/2 yards of option #1 fabric: $29.00
- 1 and 1/2 yards of option #2 fabric: $29.00
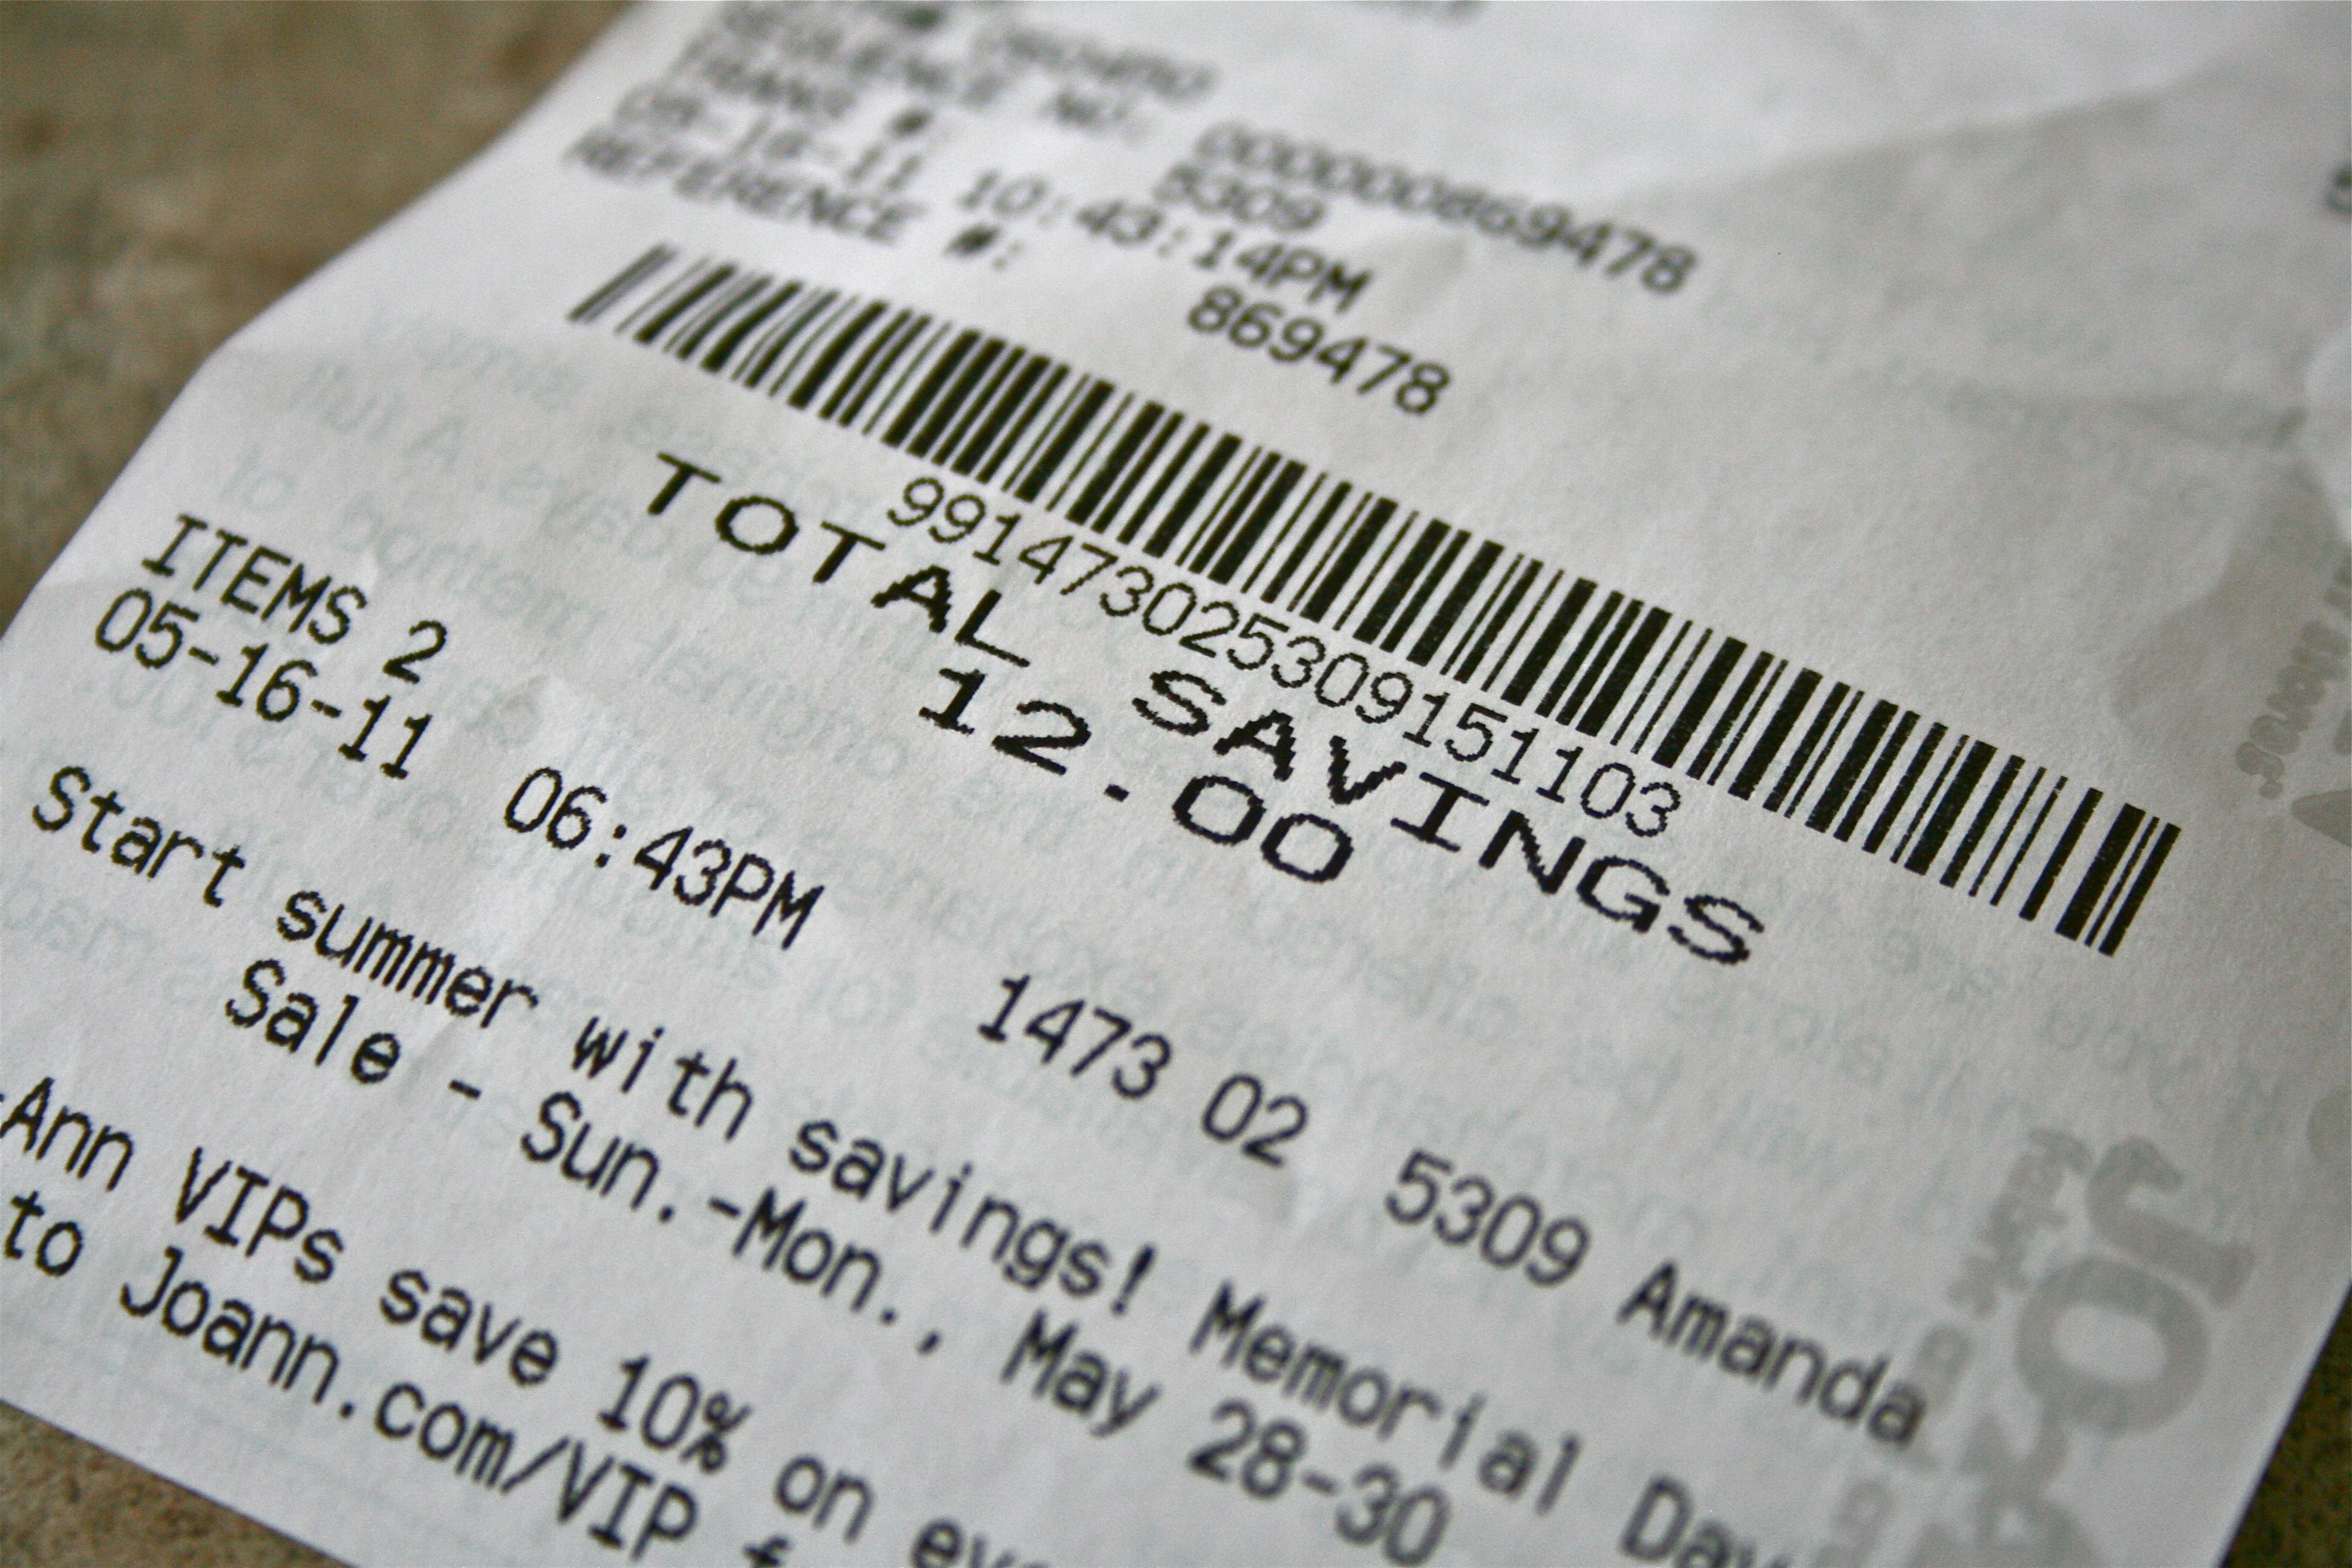
BUT I was able to shave off $12 from the scary final $60-some cost of the fabric (after taxes) by asking the cashier if she had any coupons. She nodded, pulled a store flier out from under the counter and “beep” went her scanner! Never hurts to ask 🙂
Not too bad! And especially when you consider that I only used about a yard of option #1 fabric and NONE of option #2 fabric yet – Plus, I can still use the $40 painting from Ross as-is by removing the staples and fabric. So essentially I got three pieces of potential art out of it (not to mention the other projects I can do using the smaller fabric scraps).
Besides, I’m happy and that’s priceless right??
Hope everyone has a great weekend!
P.S. It’s finally “Couch Day”!!! John took today off so he will be able to oversee the delivery of our new “Big Box SCORE!” sometime between 9am and 12pm (which is the window the delivery guys gave him). Can’t wait to show it off next week!
UPDATE: See what we recently did with fabric option #2 here!

