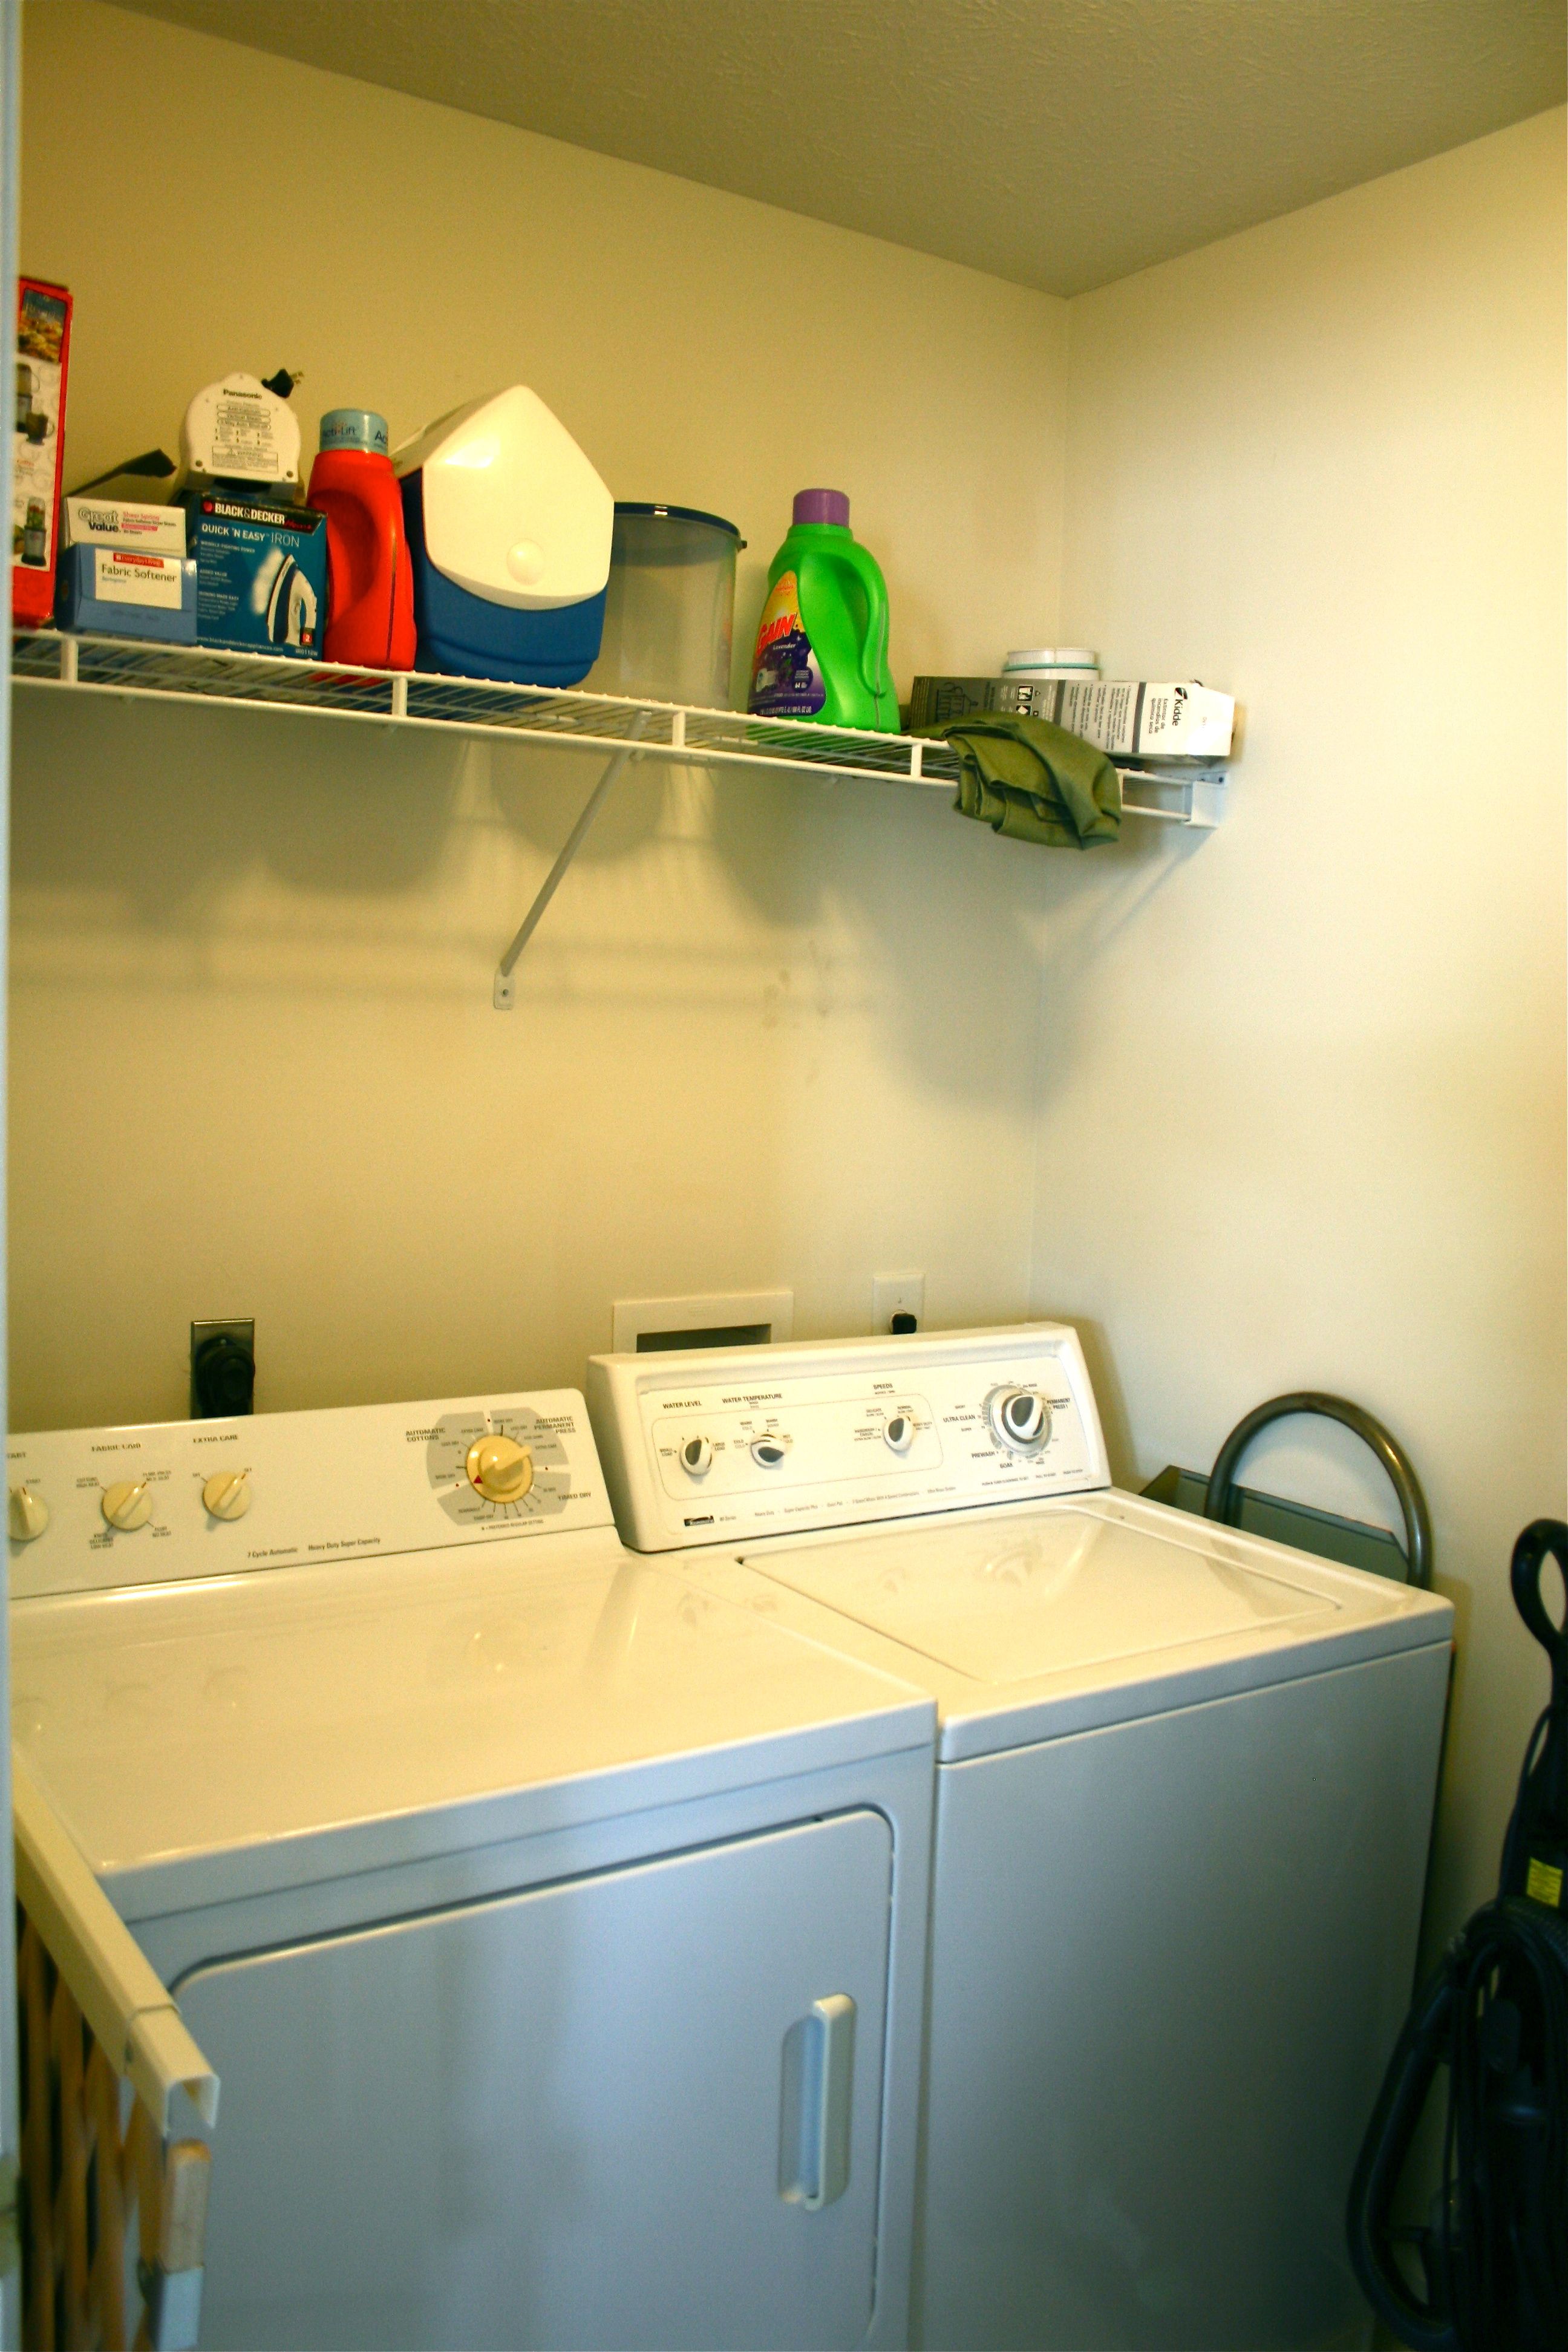
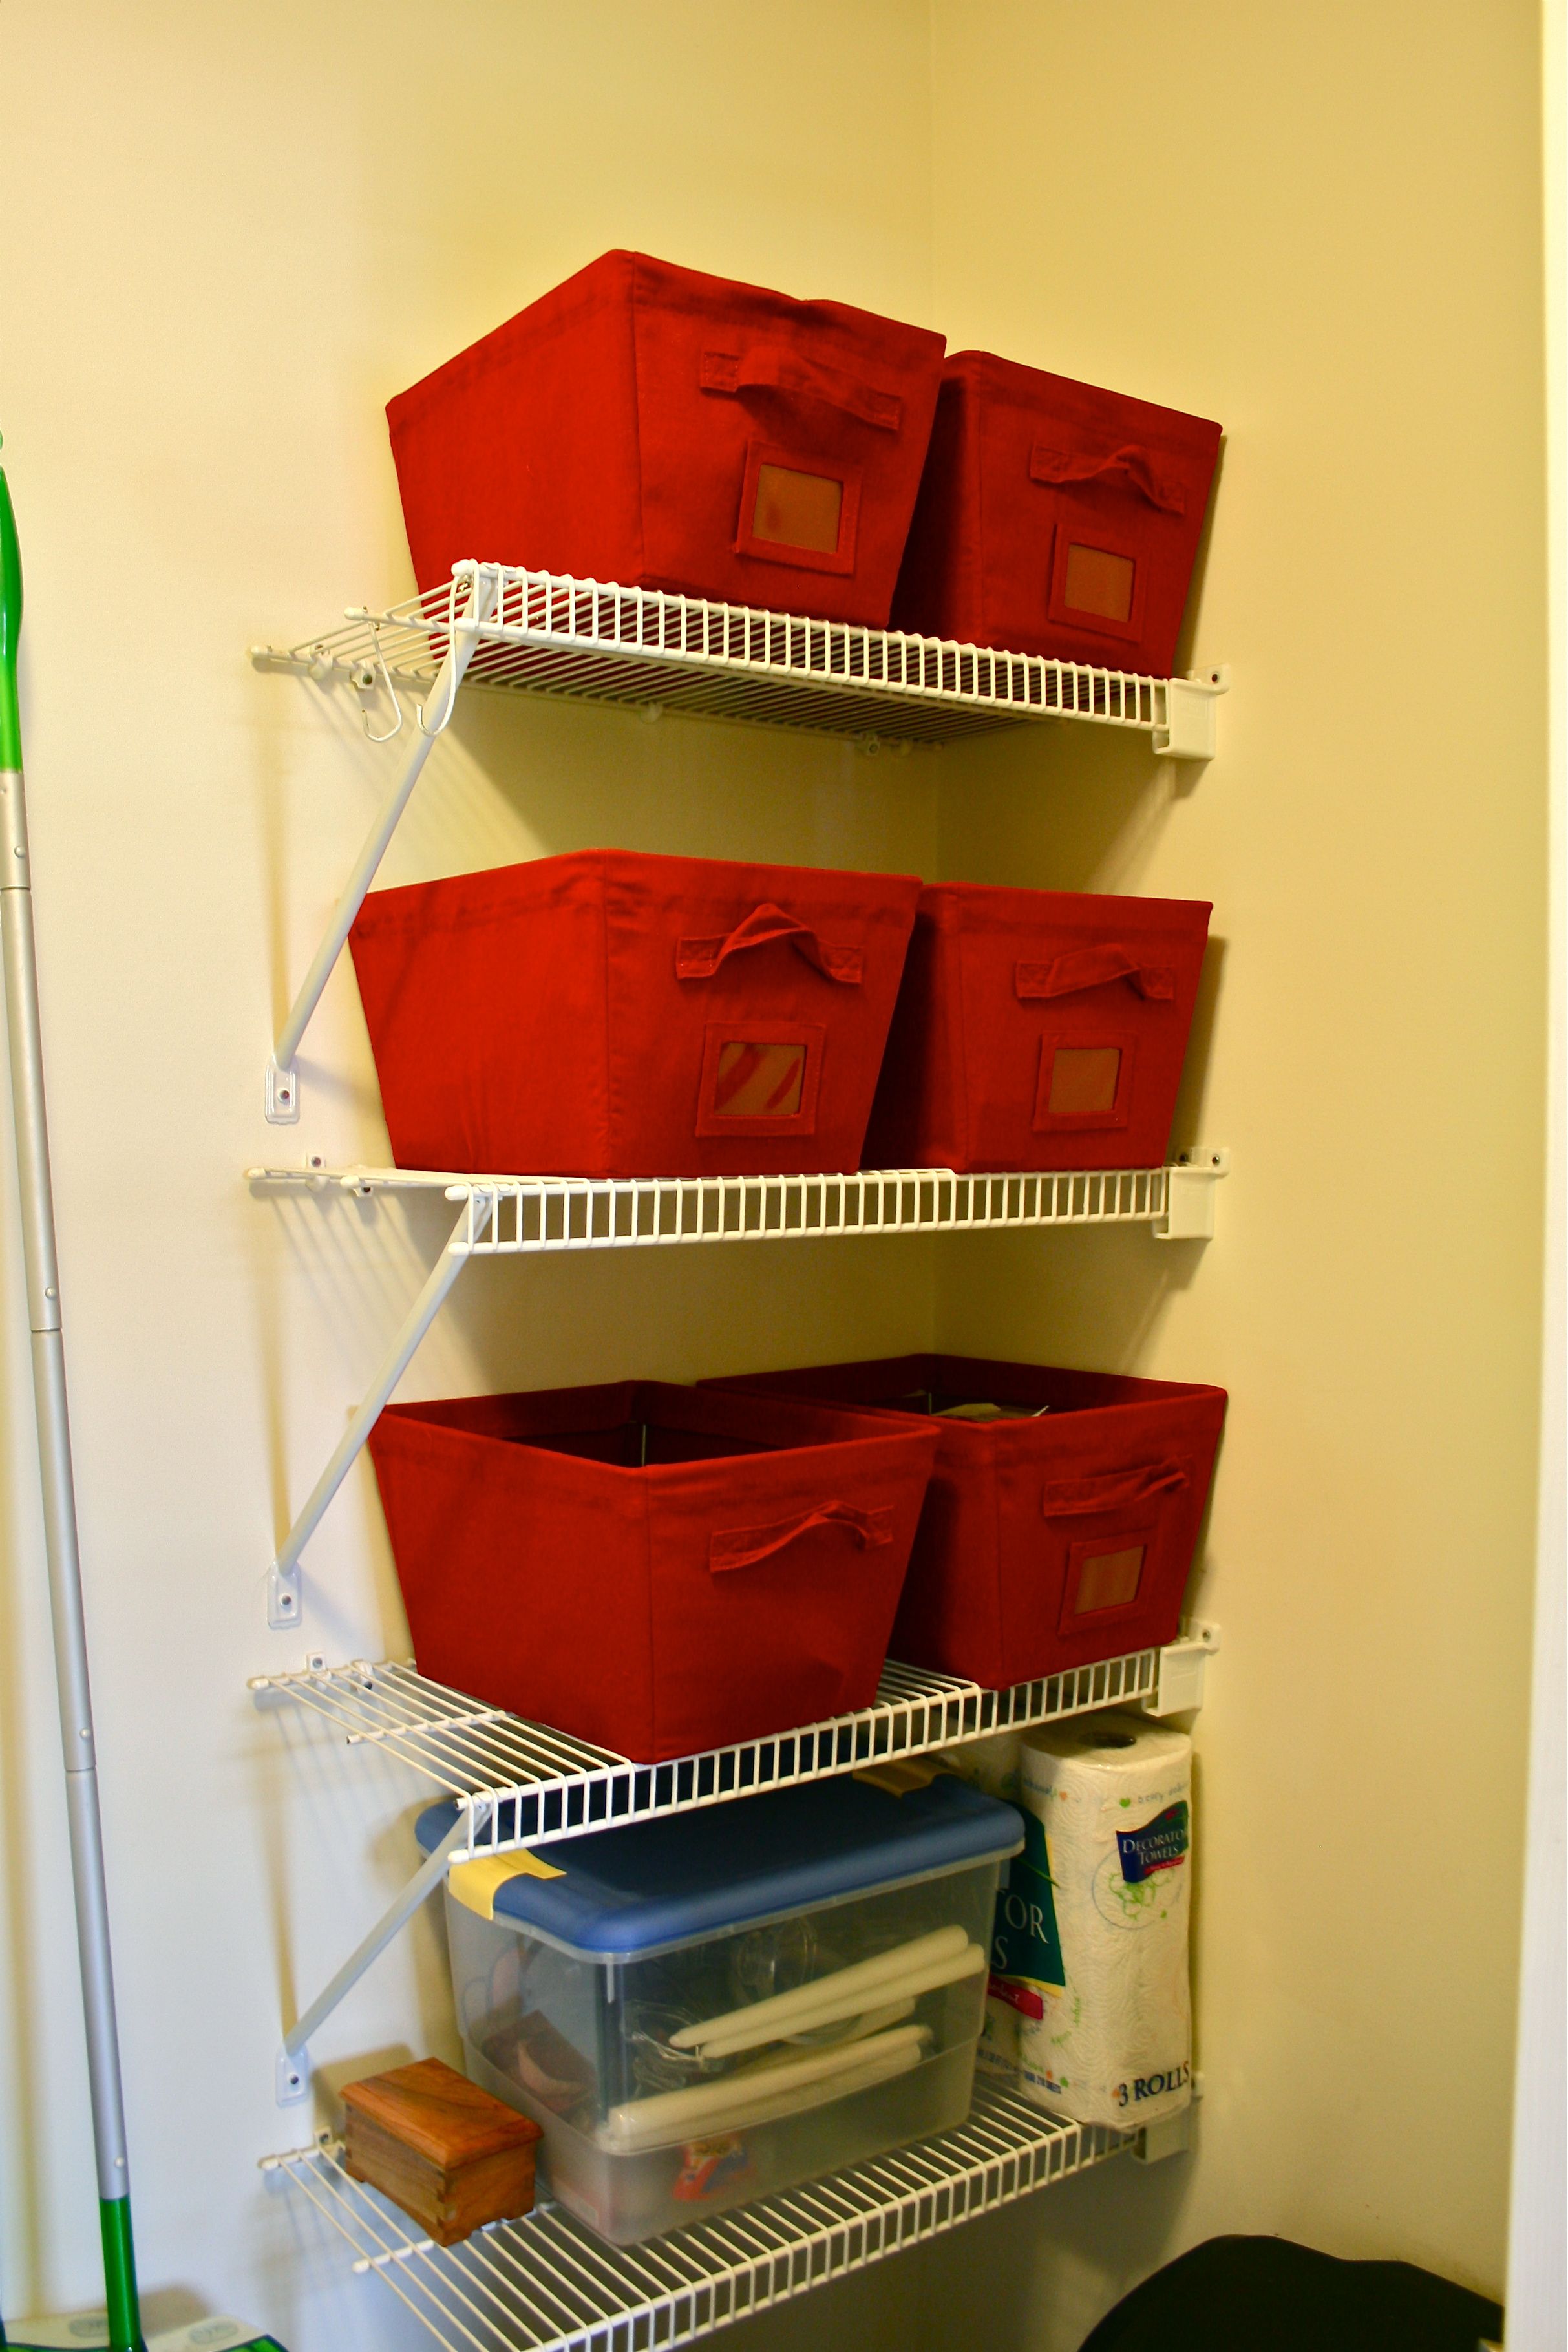
As I hinted in the post right before my small hiatus from the blogosphere, I decided to redo our laundry room. The main thing was to get all of the clutter under control – This room is our main go-to storage space for tools/hardware (I think we now officially have a supply of these on all three floors of the house…), dog stuff, candles, reusable bags, extra paper towels and appliance overflow from the kitchen, gardening supplies, camping supplies (??) and, of course, laundry stuff. I think the space was intended for a pantry, but it just works better for us to use it as household storage instead.
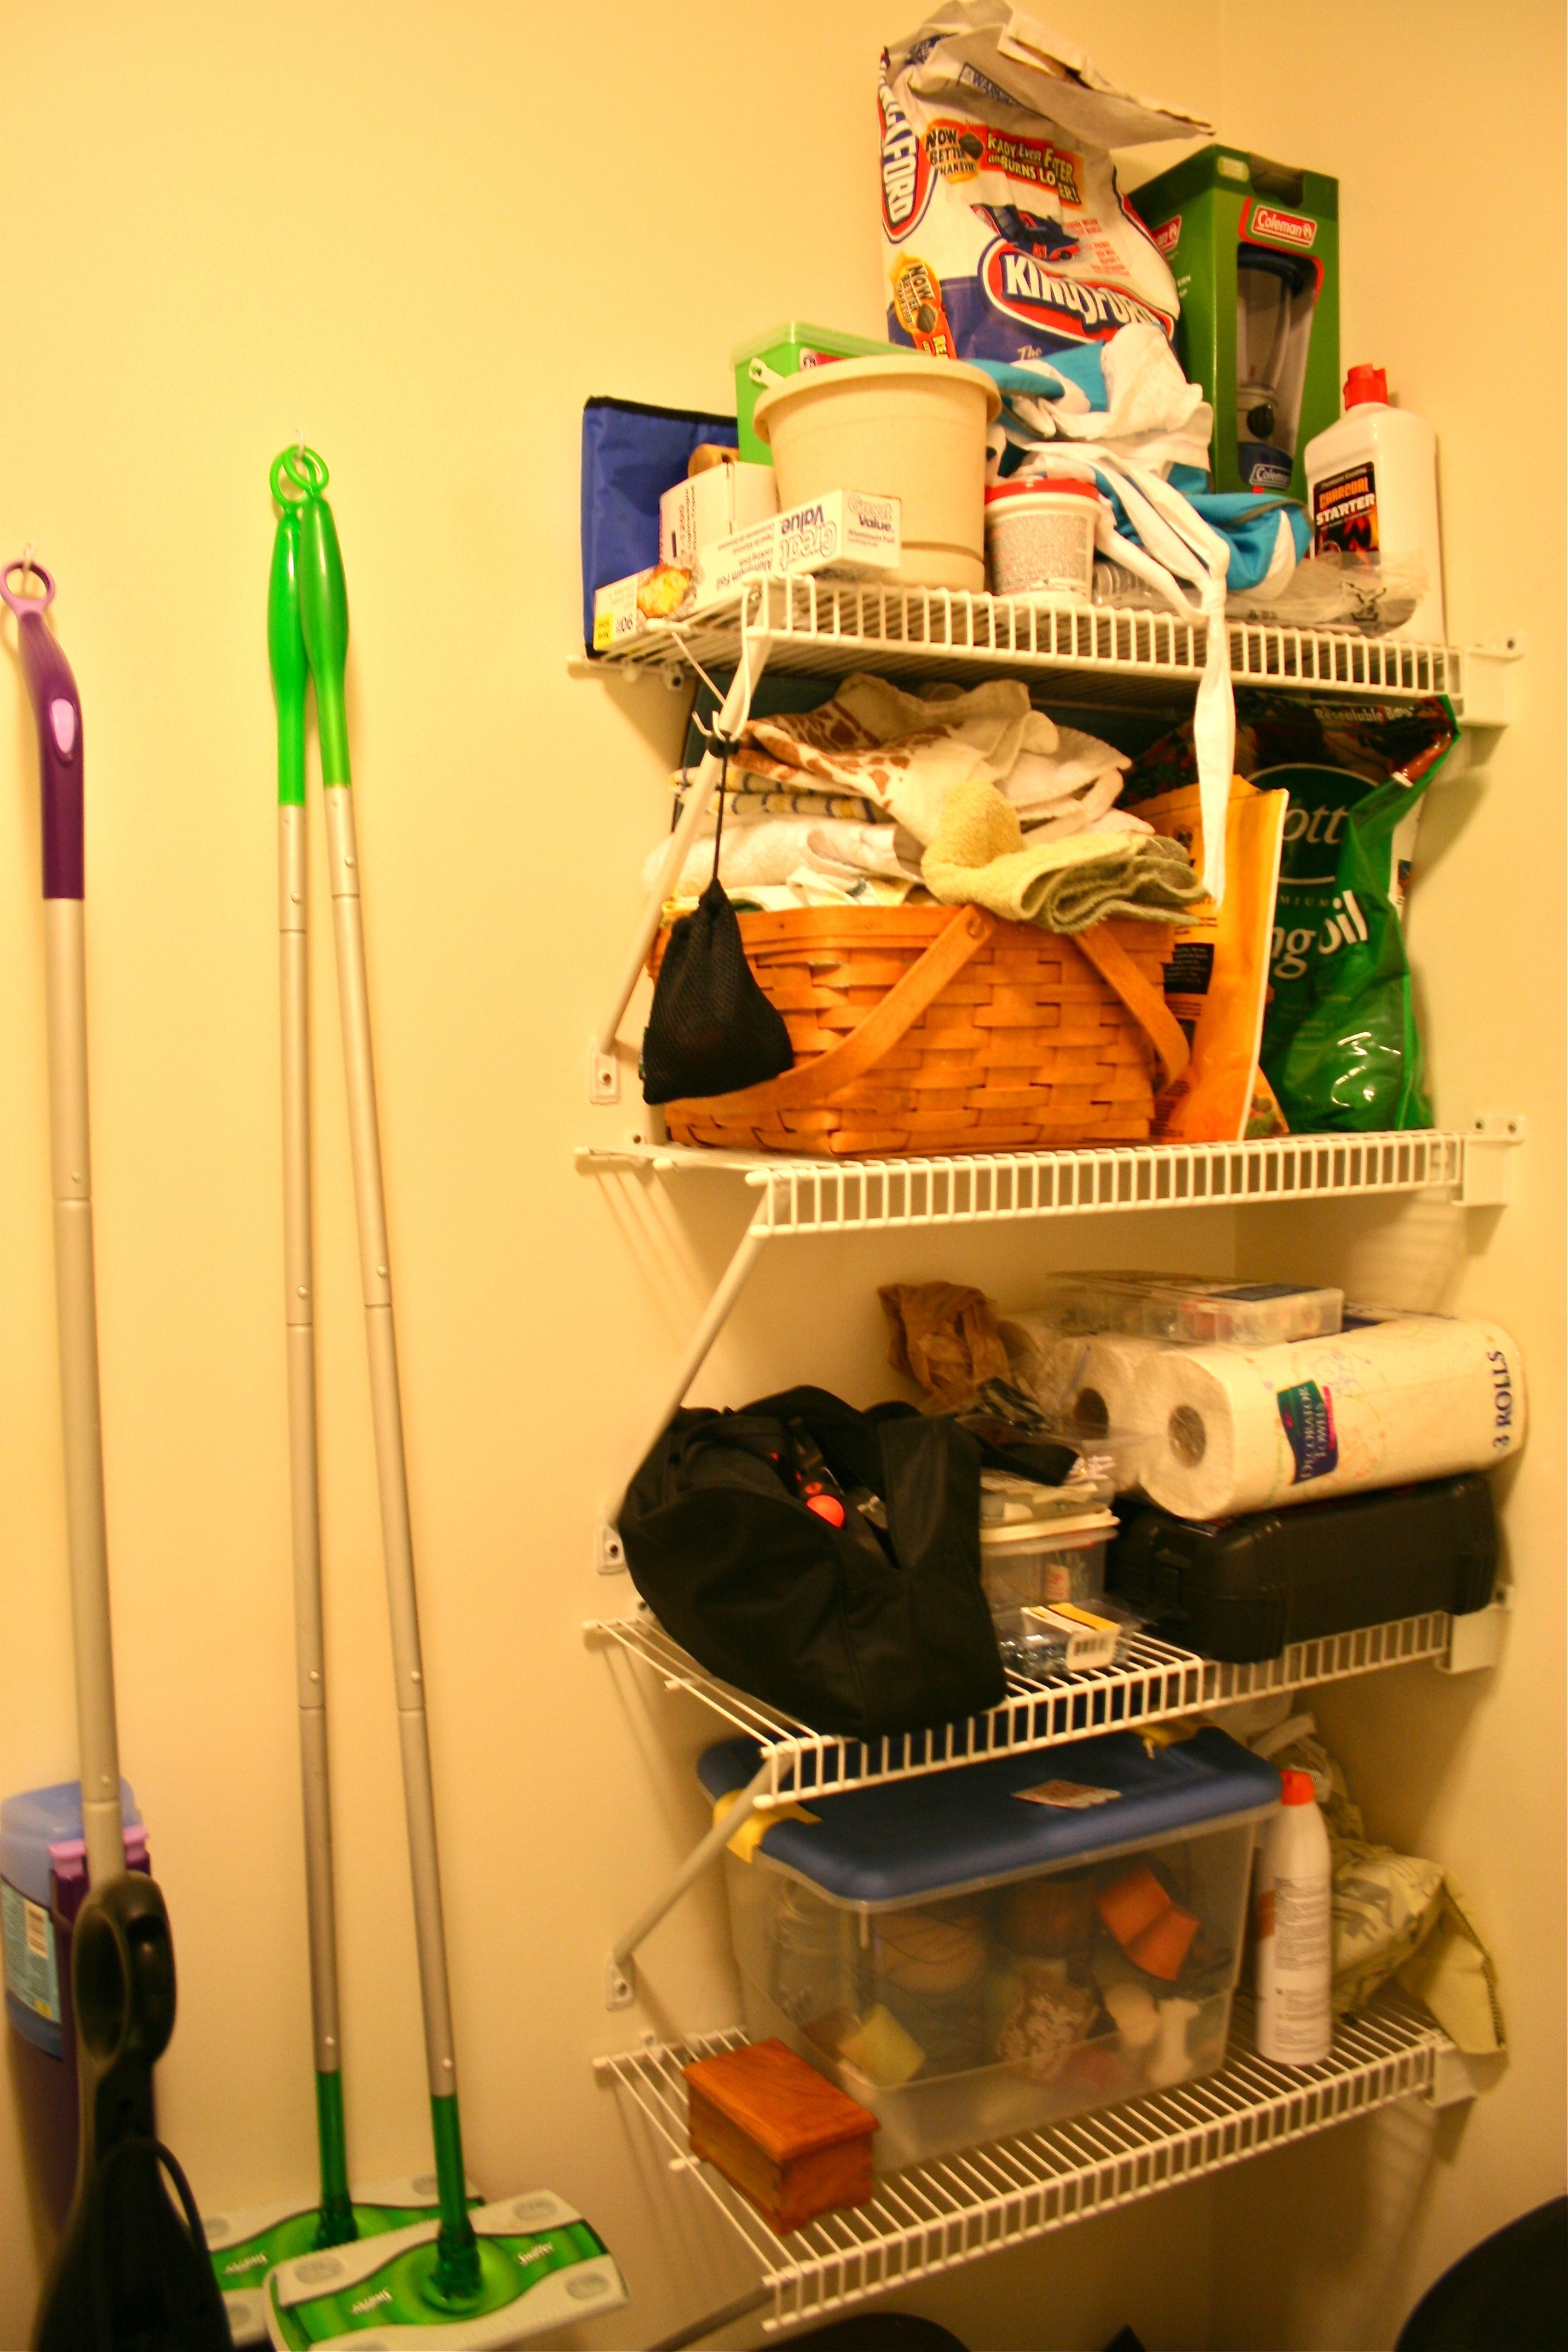
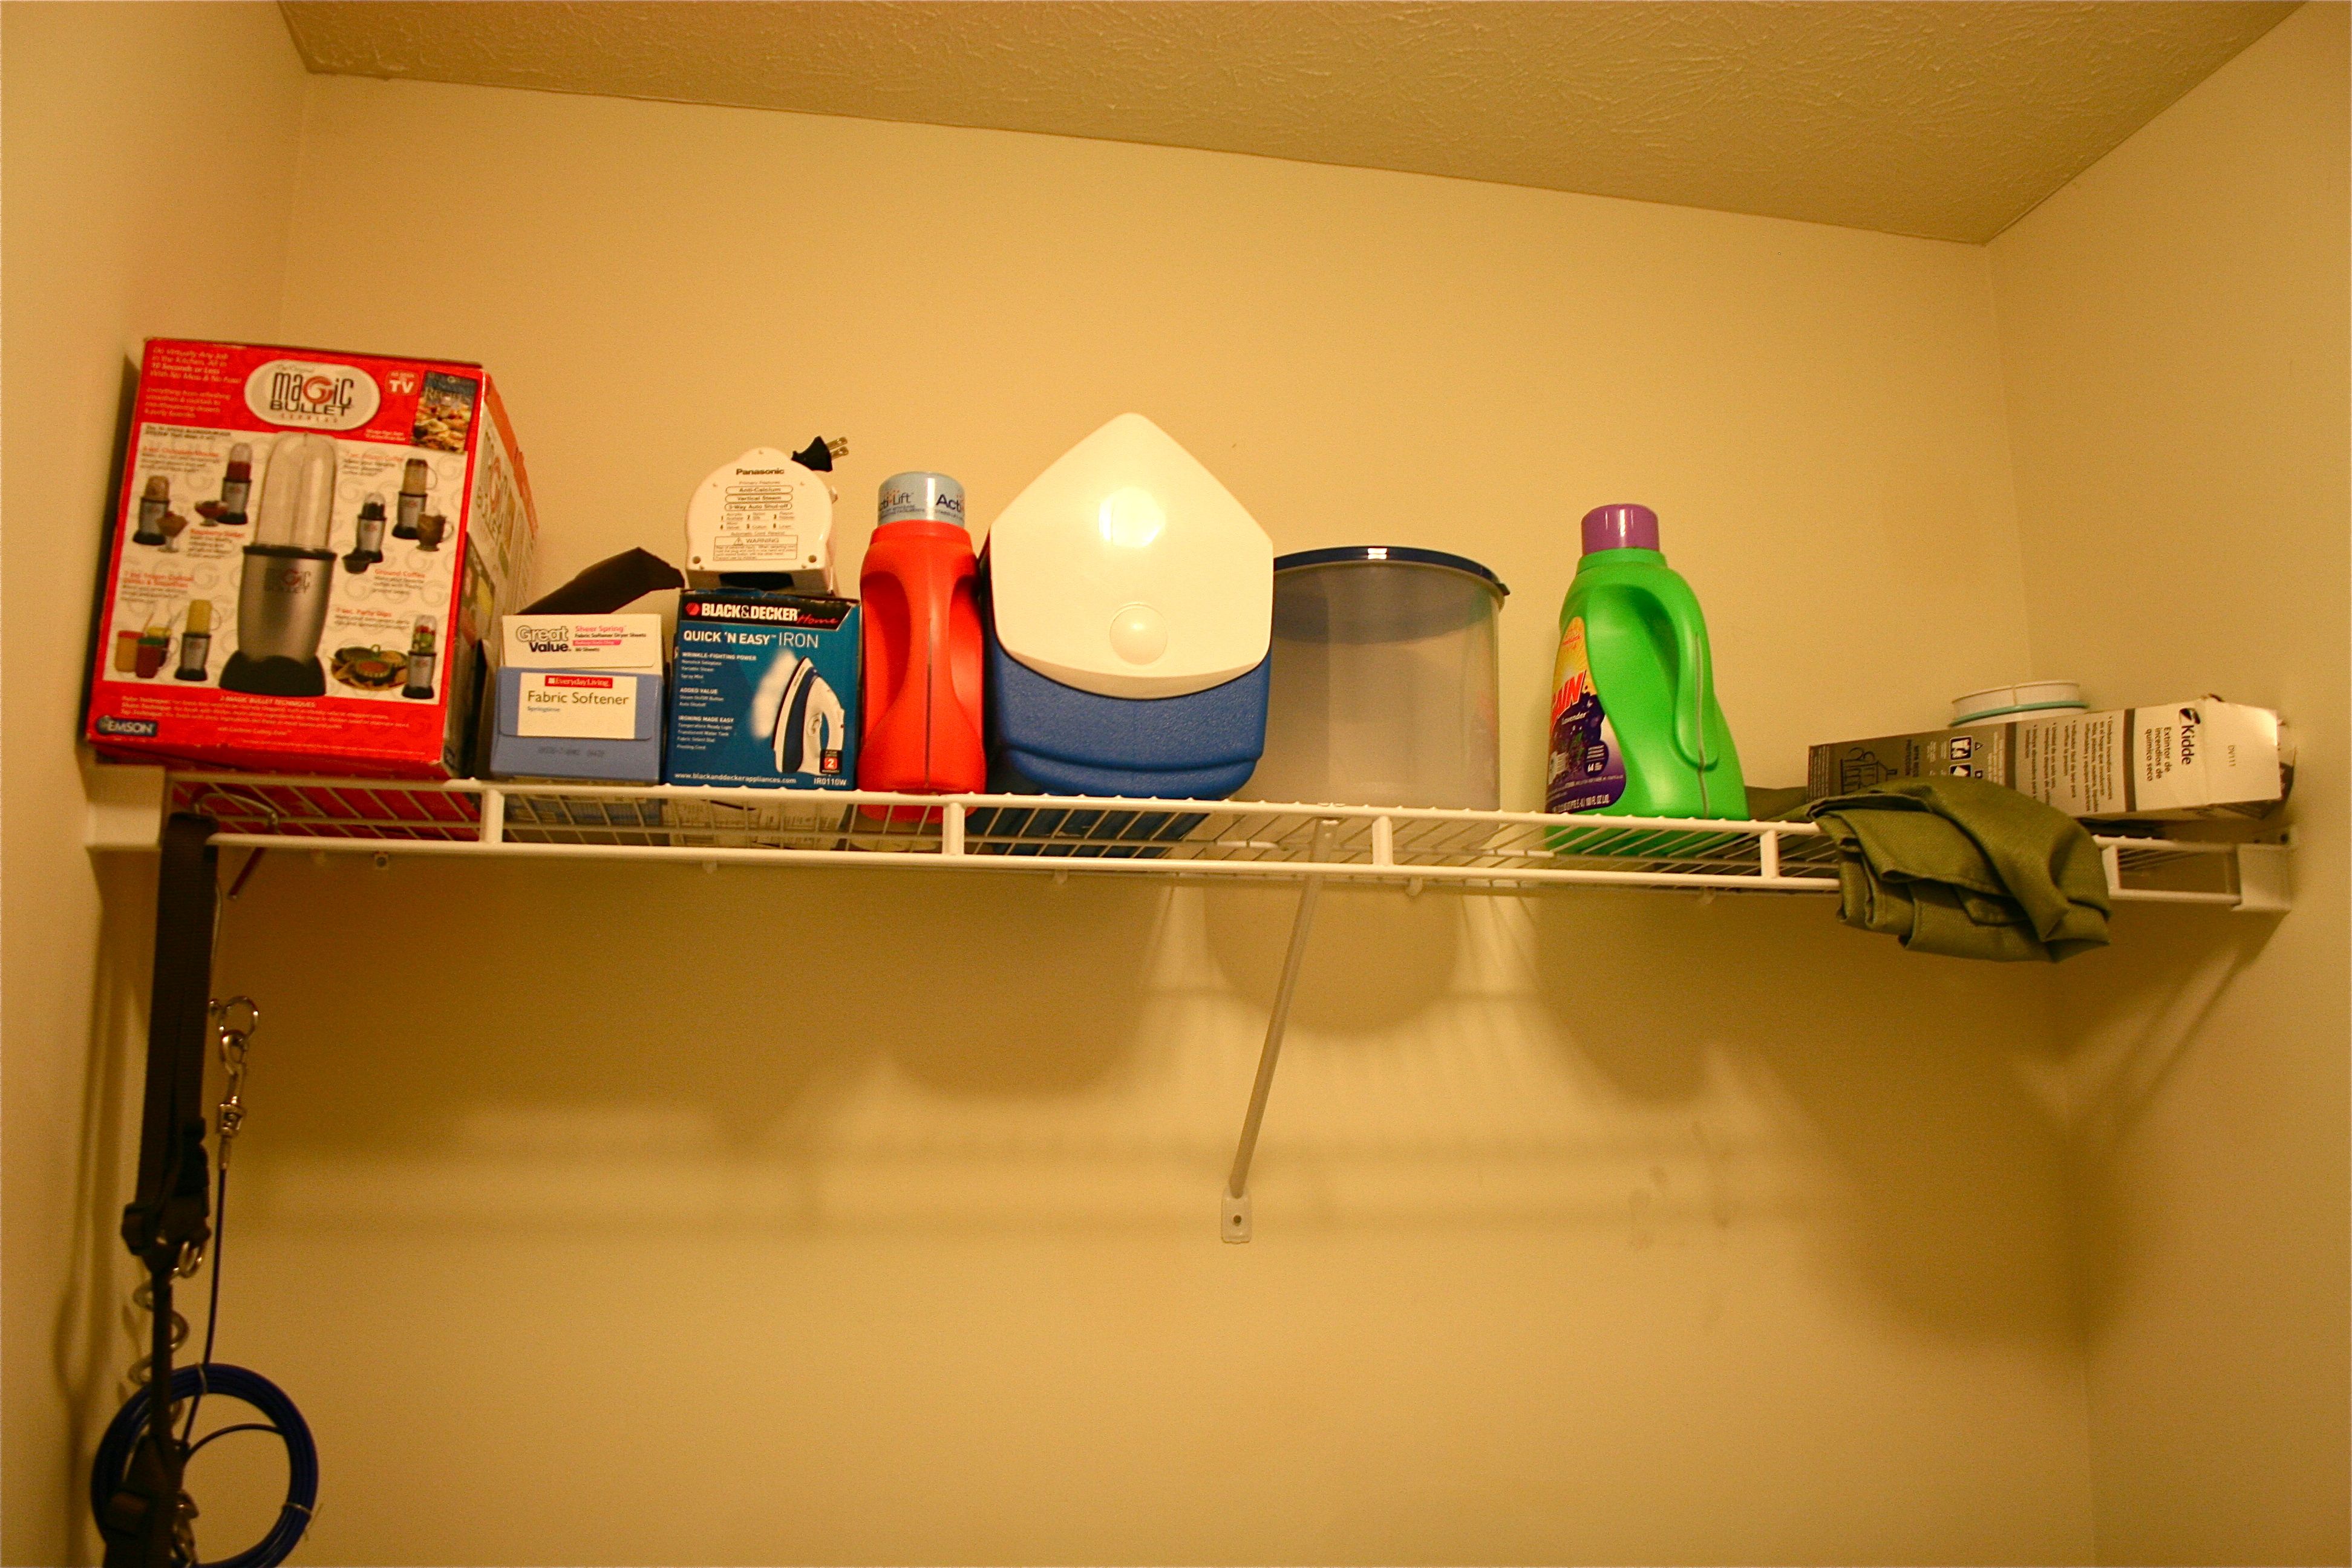
With all of that stuff, comes a whole lot of cluttered shelves…Feast your eyes on this chaos:
Okay, okay…That side’s not so bad. But wait until you virtually turn a bit to your right and see this…
Oh my GOSH, I’m so embarrassed to show you that…You know how sometimes you don’t realize how bad that too-tight pair of jeans looks on you until you see a picture of yourself and you’re like “HOLY CRAP! That’s how I look in those?!” – An objective perspective on things can really be a kick in the gut. I had no idea until just this very moment how bad our laundry room looked until I saw this picture – Especially those top two shelves. I guess since we can get to all the stuff we really need to get to, I never really noticed how the rest of the shelves looked…
Plus, why do we have TWO Swiffer dry mops?
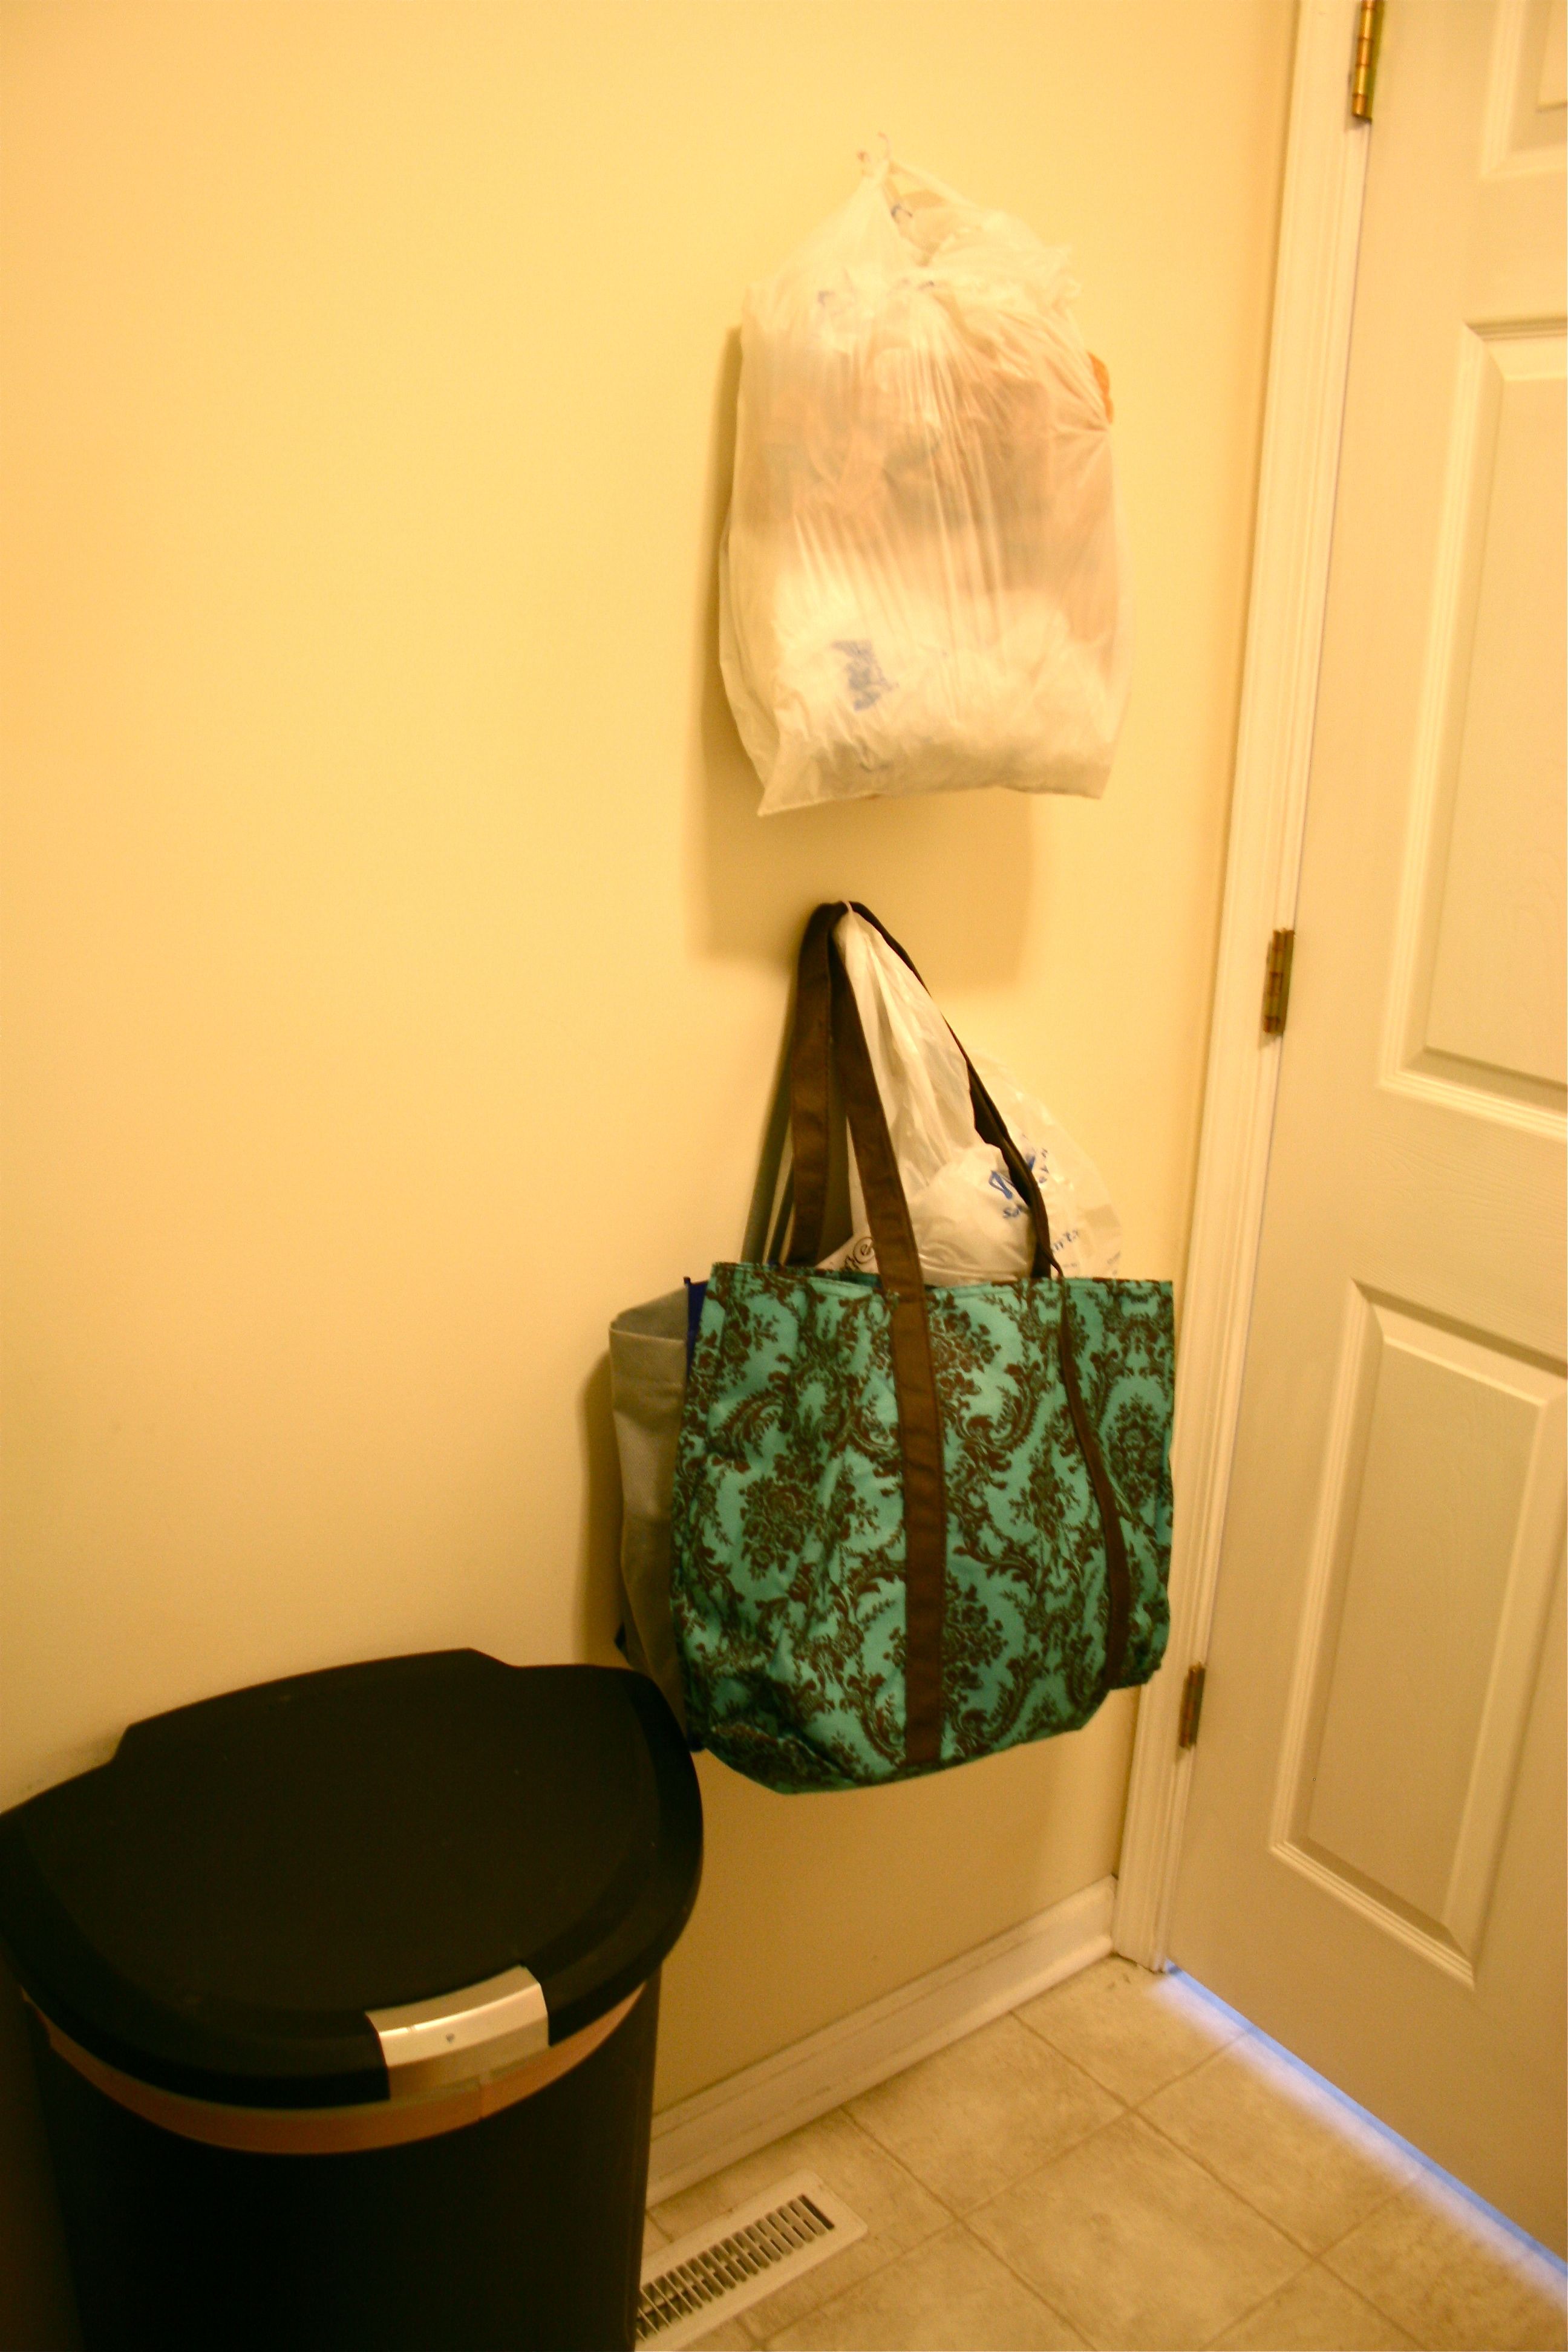
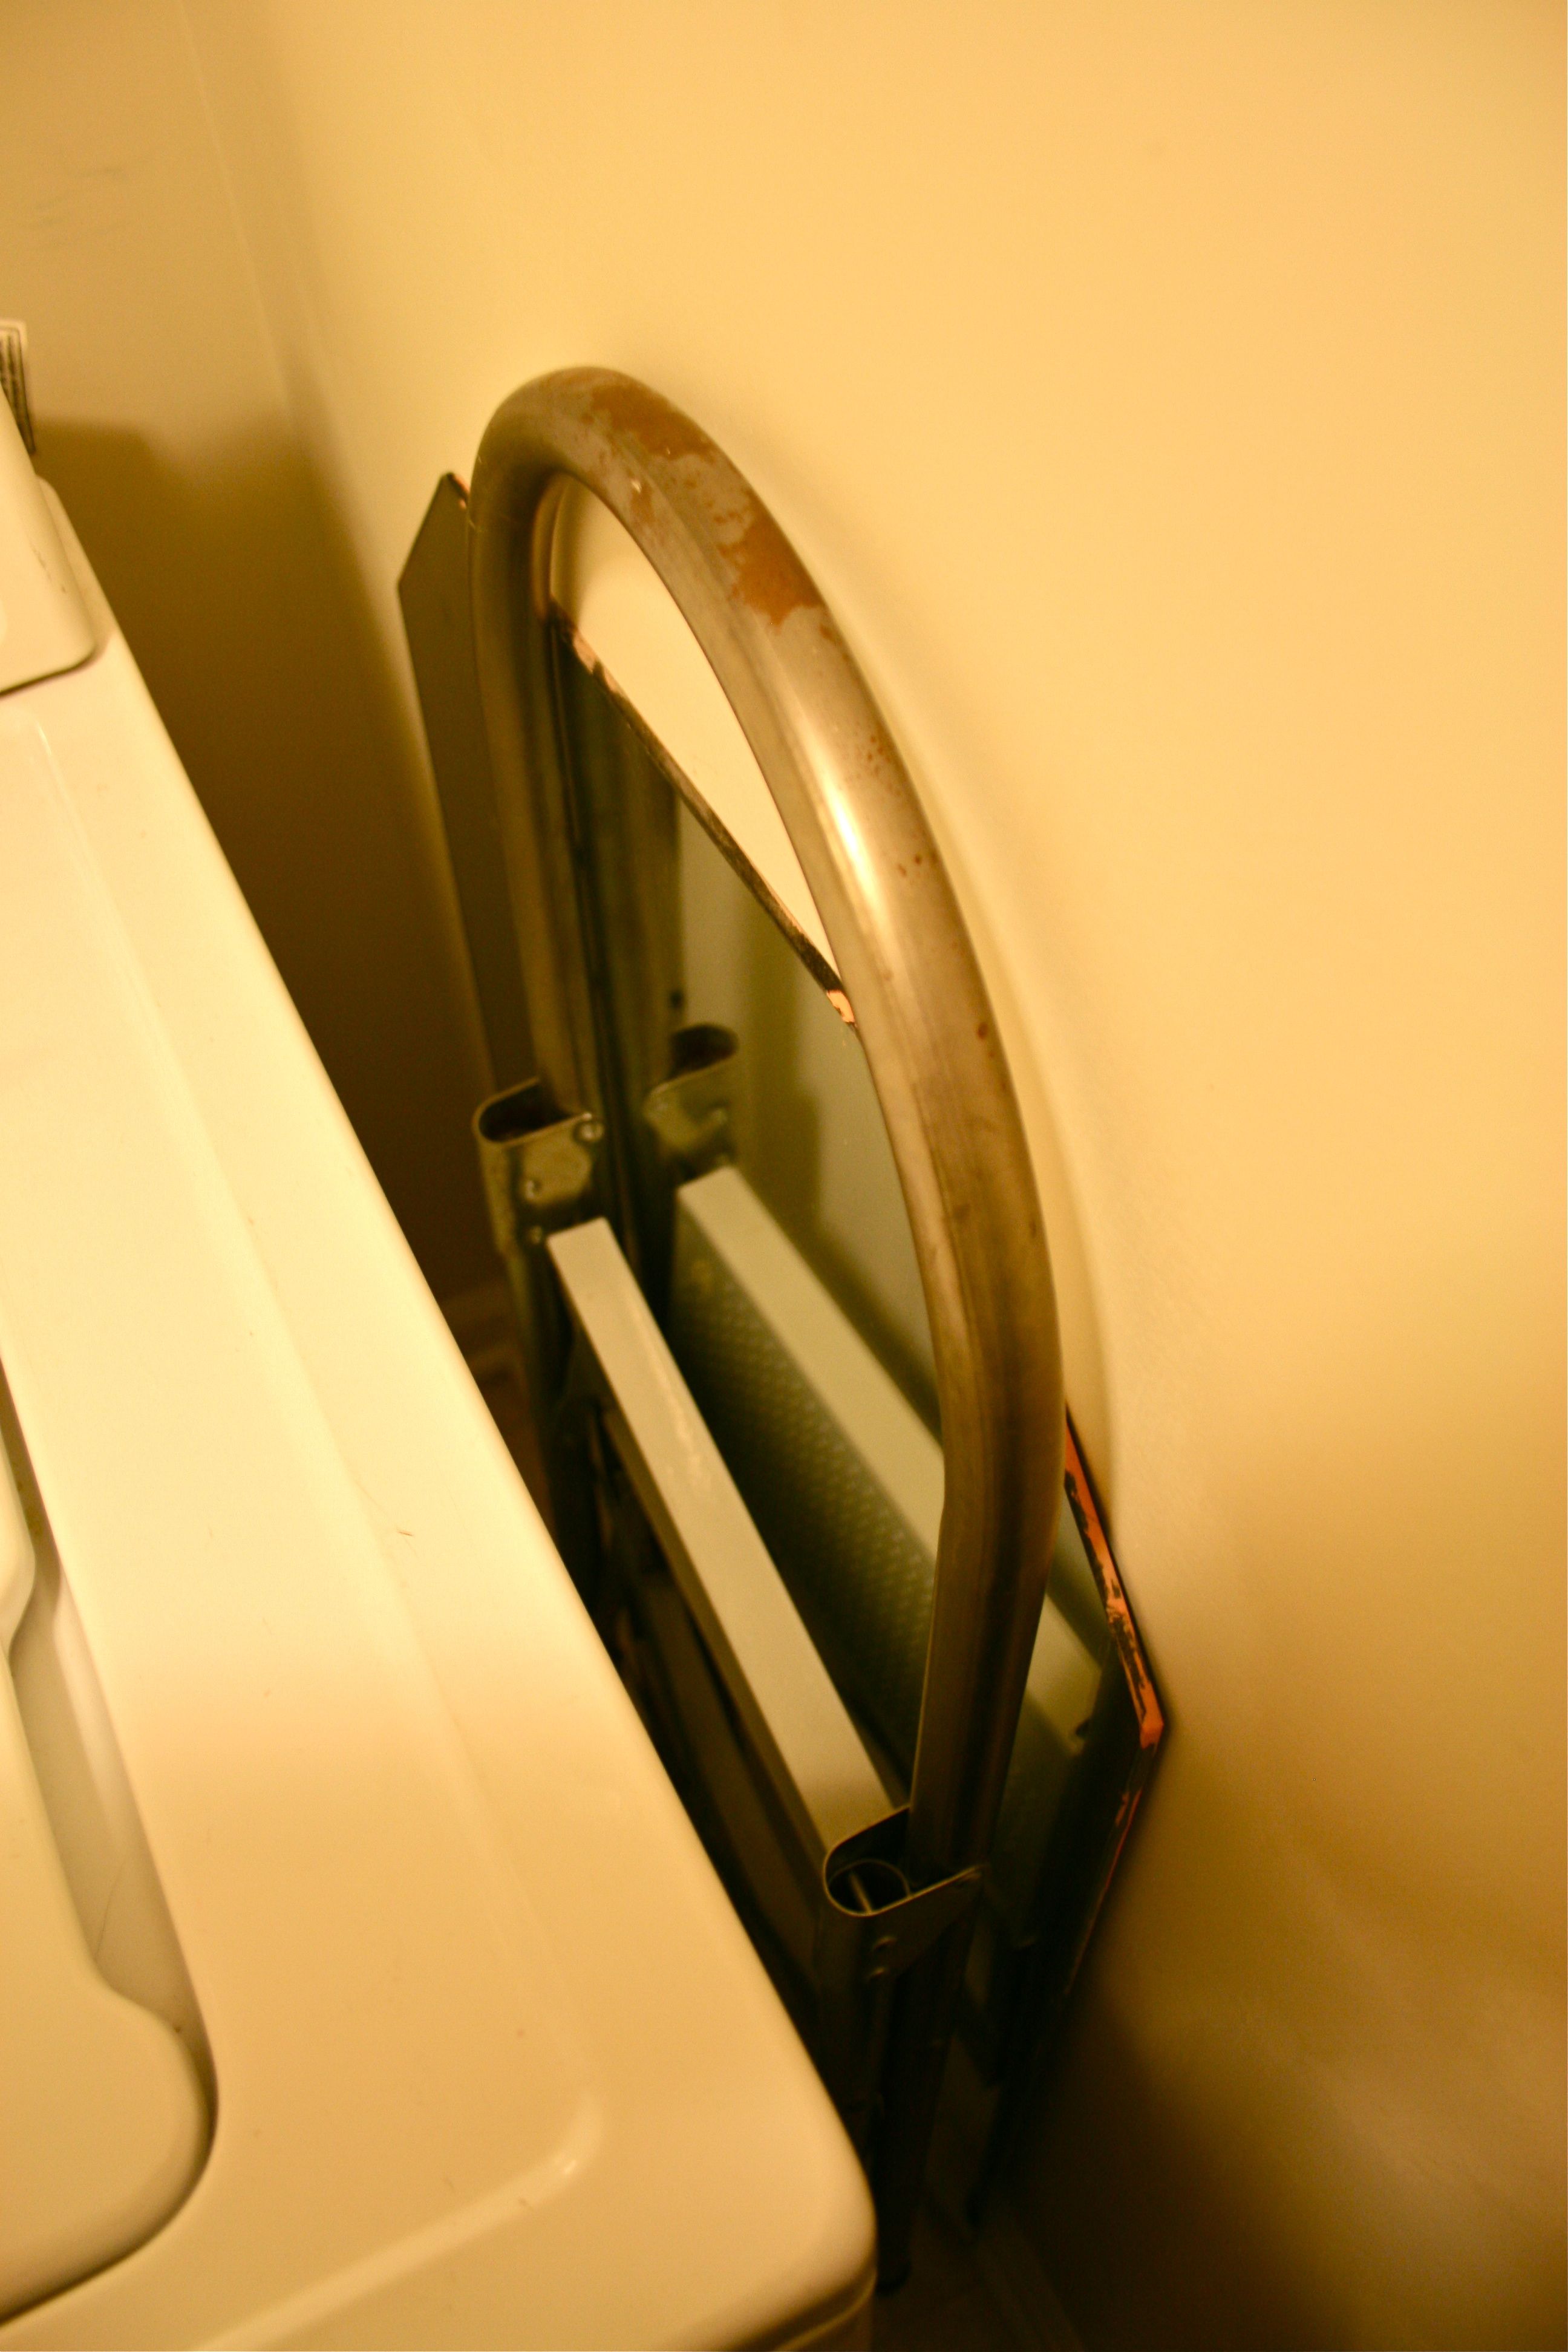
Here are a few more angles of the rest of the room:
The photo above shows how we store our step ladder – But notice also the displaced mirror from this project lurking…Time to send that on its way to Restore! (Speaking of Restore, stay tuned for a Habitat-for-Humanity-related sidenote at the bottom of this post!)
Thankfully, all of that craziness has been taken care of and the pictures to come are much more serene and organized – You may even hear a chorus of angels in the background…Just sayin.
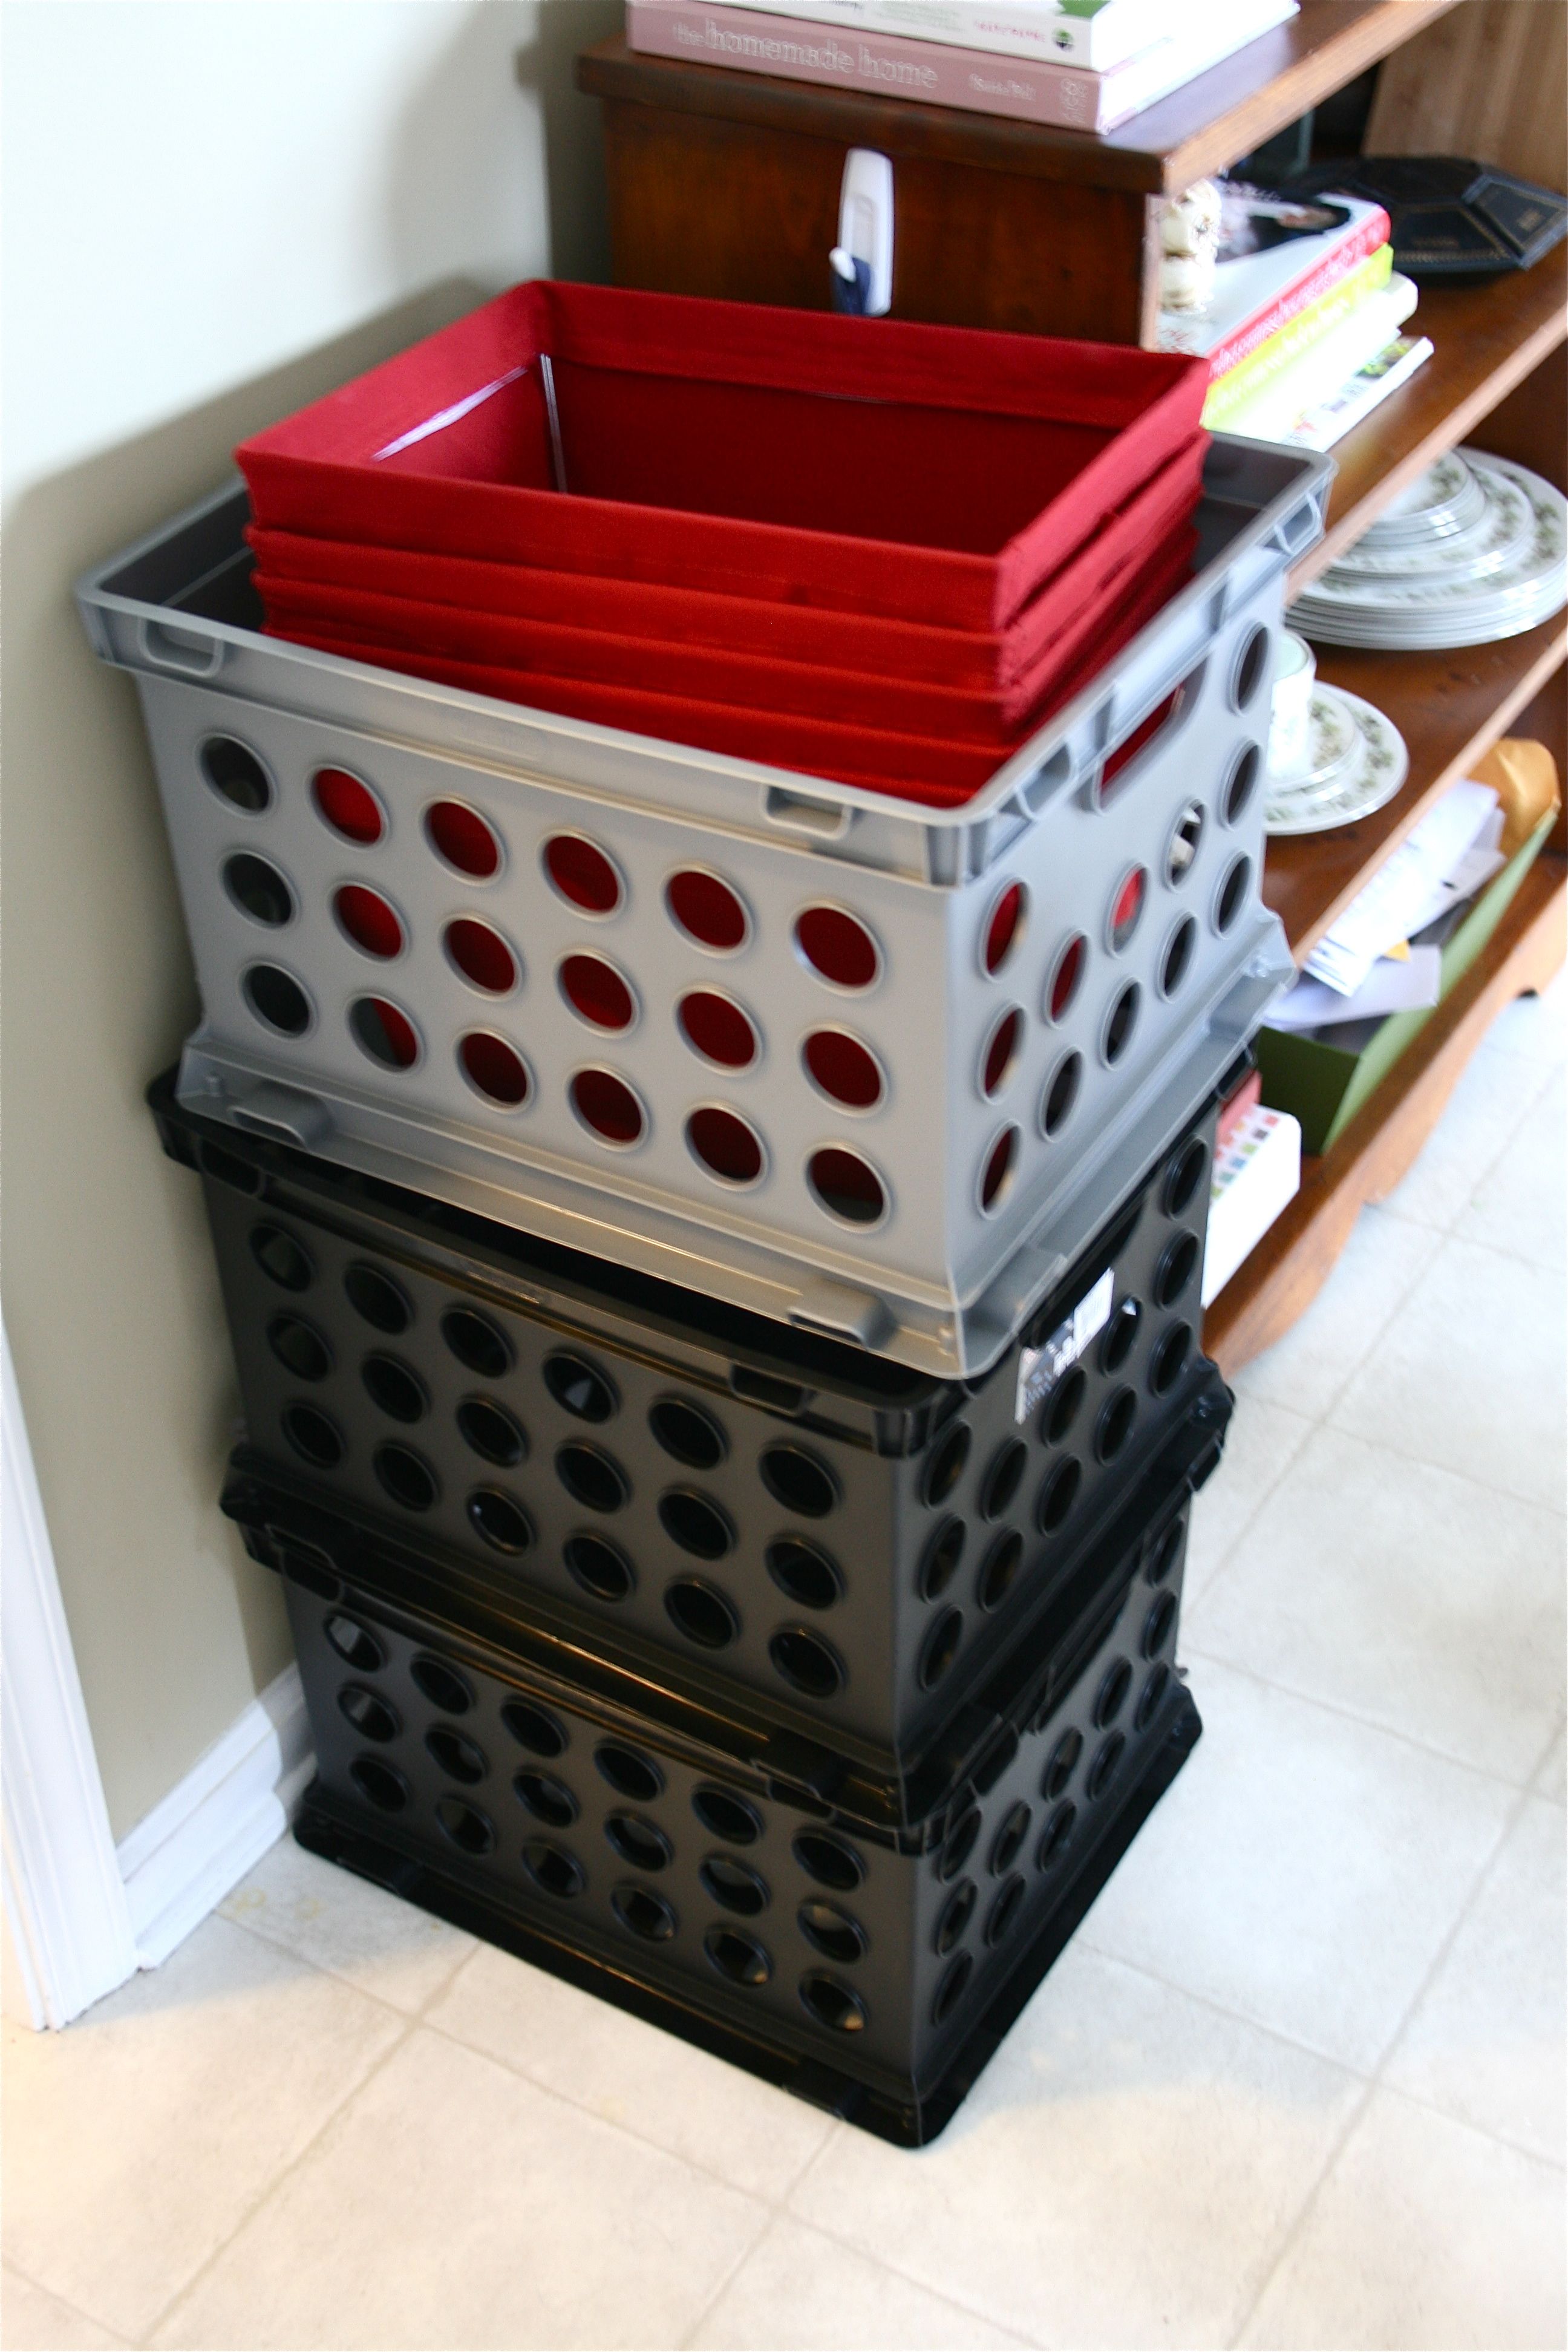
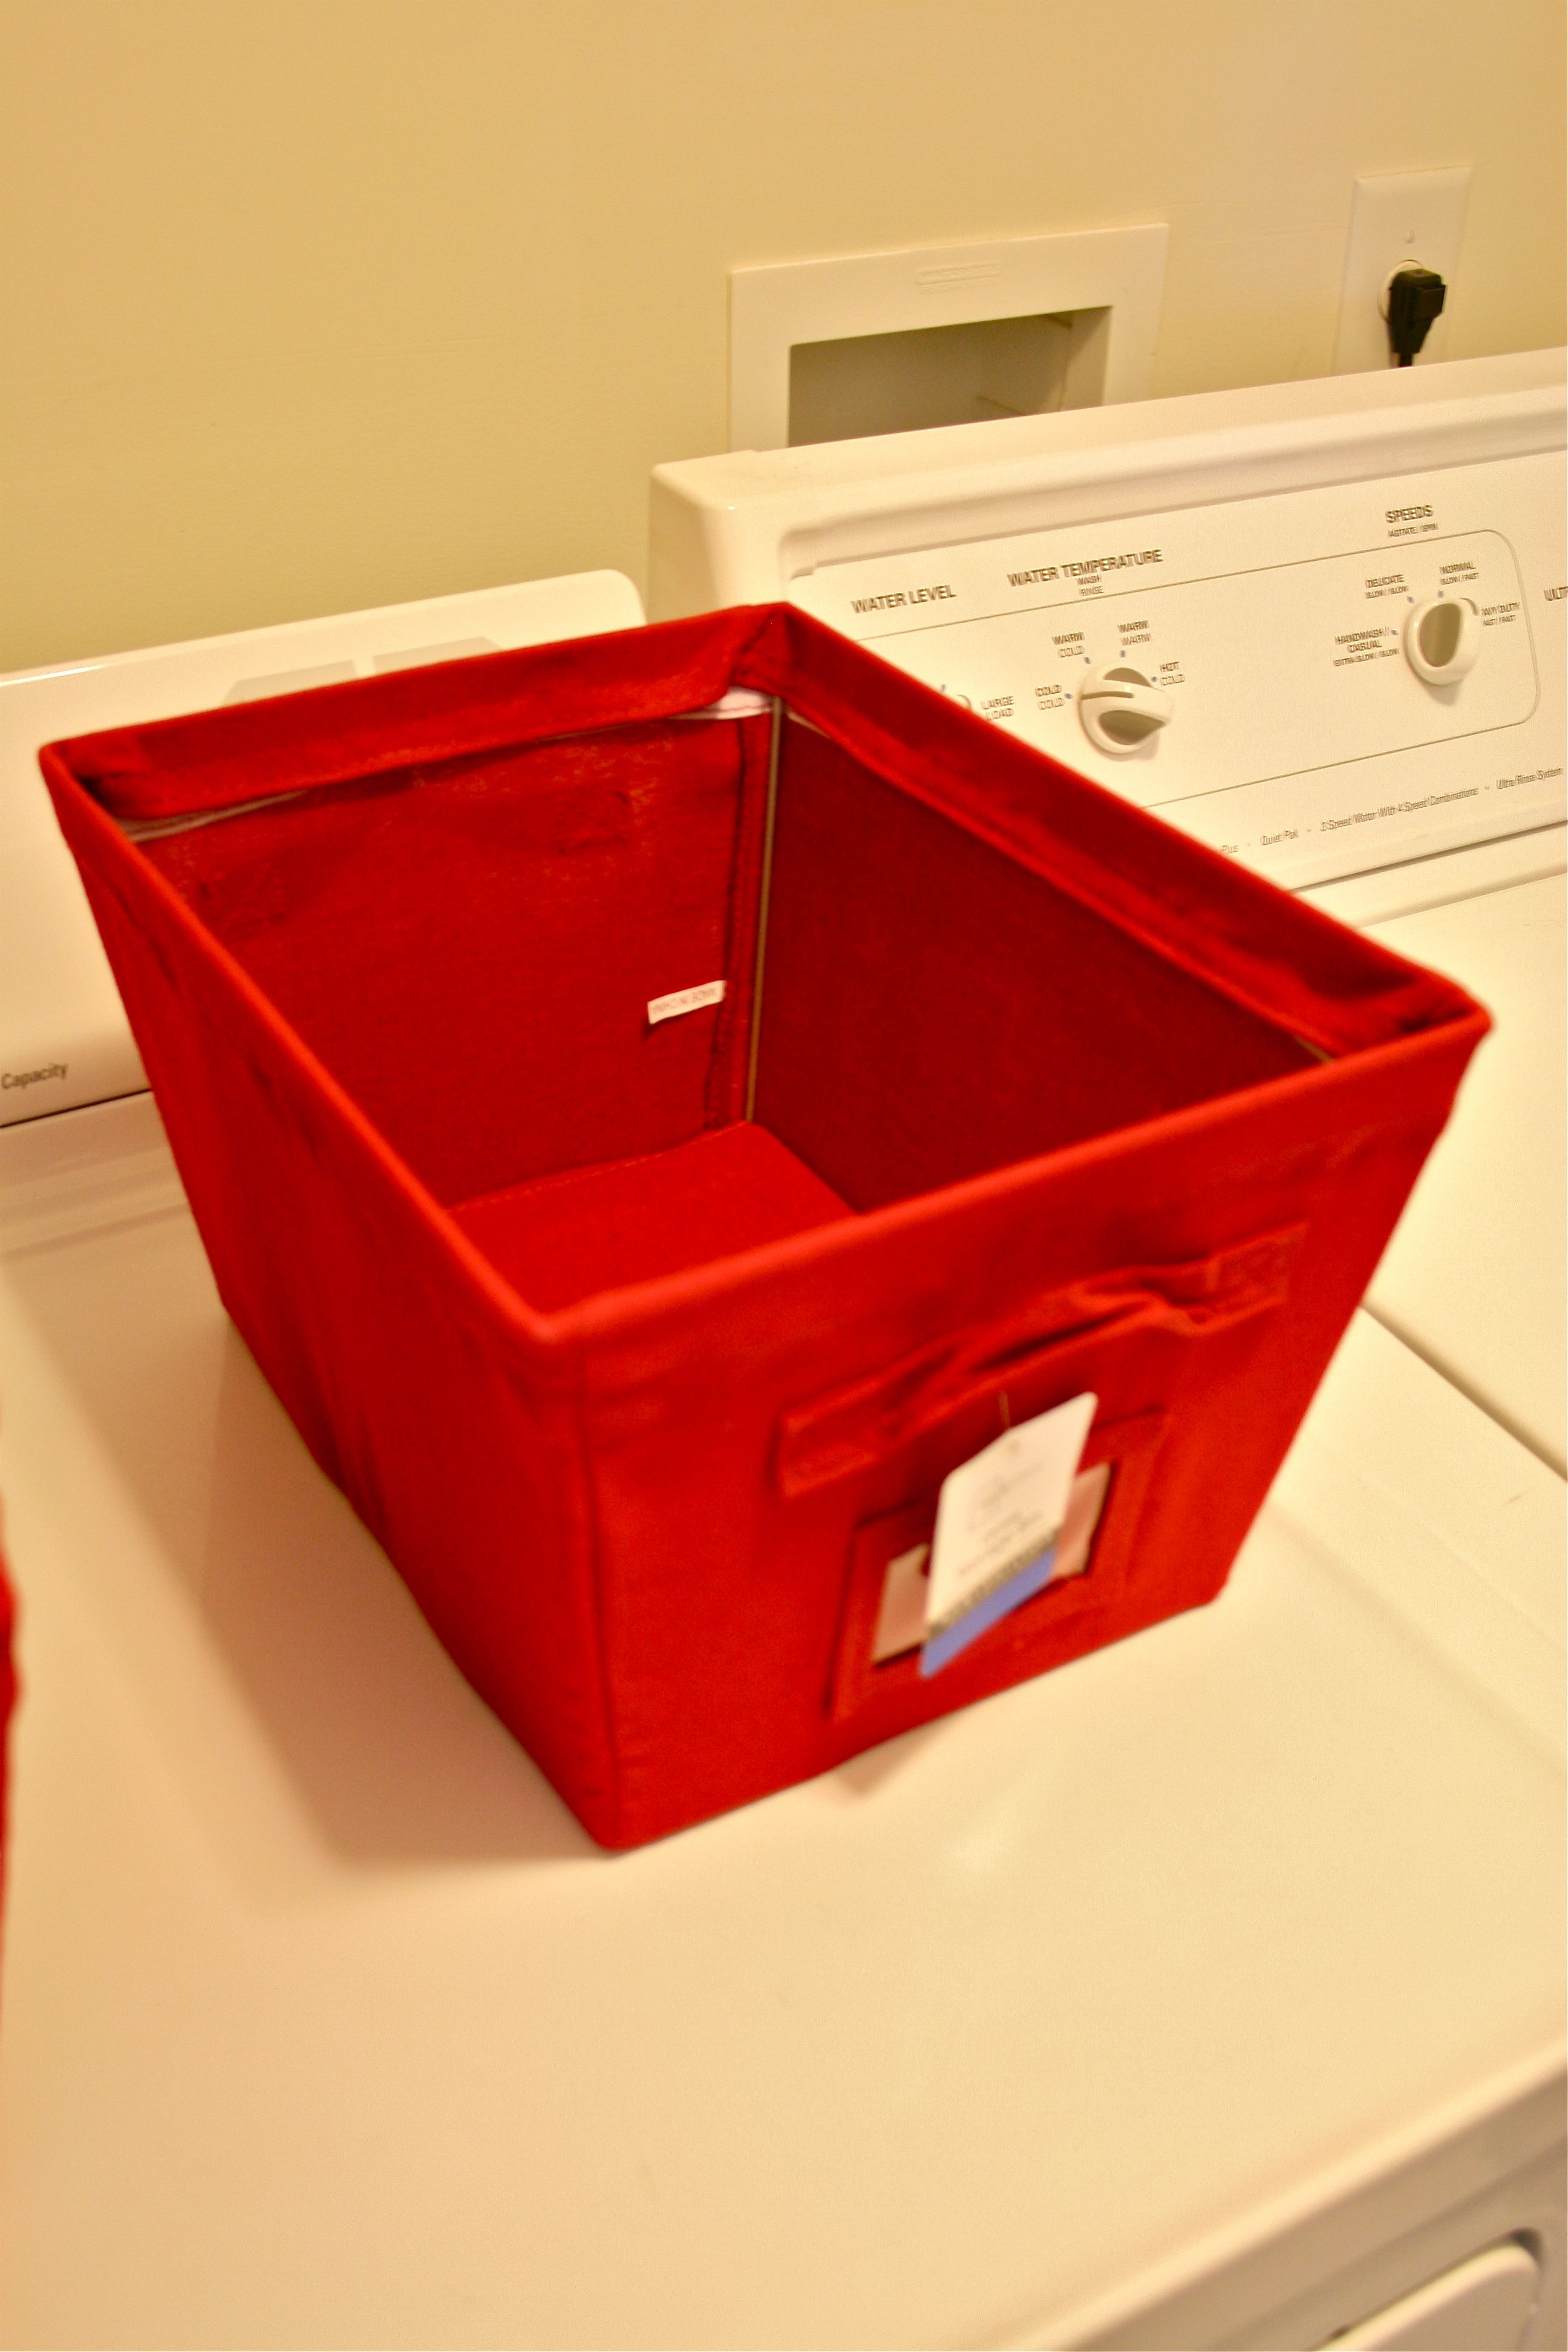
So at one of our weekly Sunday trips to Wal Mart, I wandered over to the storage aisle and picked up a large stack of clutter-killing boxes. I really wanted to go with a bright sky blue color in terms of accessories for this room, but all they had were dark red, dark green and dark blue…I figured the brightest color we could do was the red, so I tossed six of the canvas boxes into our cart. I also bought some plastic, hard-shelled boxes that were a tad bigger and could hold more on the high shelves above the washing machine and dryer. They didn’t have red, but I figured black and grey went well enough – Although, now our laundry room is the exact colors of my high school…Not sure if I like that or not.
Now for the fun part – Filling up the boxes!
My method for this process was essentially just going shelf by shelf, filling a box with like items and then moving on to the next. If I came across something that didn’t make sense in the space, I took it out of the laundry room and placed it on the kitchen island just outside the door – My compromise on this stuff was, if we ended up having room in the boxes once I was done with the essential stuff, it could come back in. Otherwise, it had to find a new home. Luckily, there was only a small arm-load that had to move out!
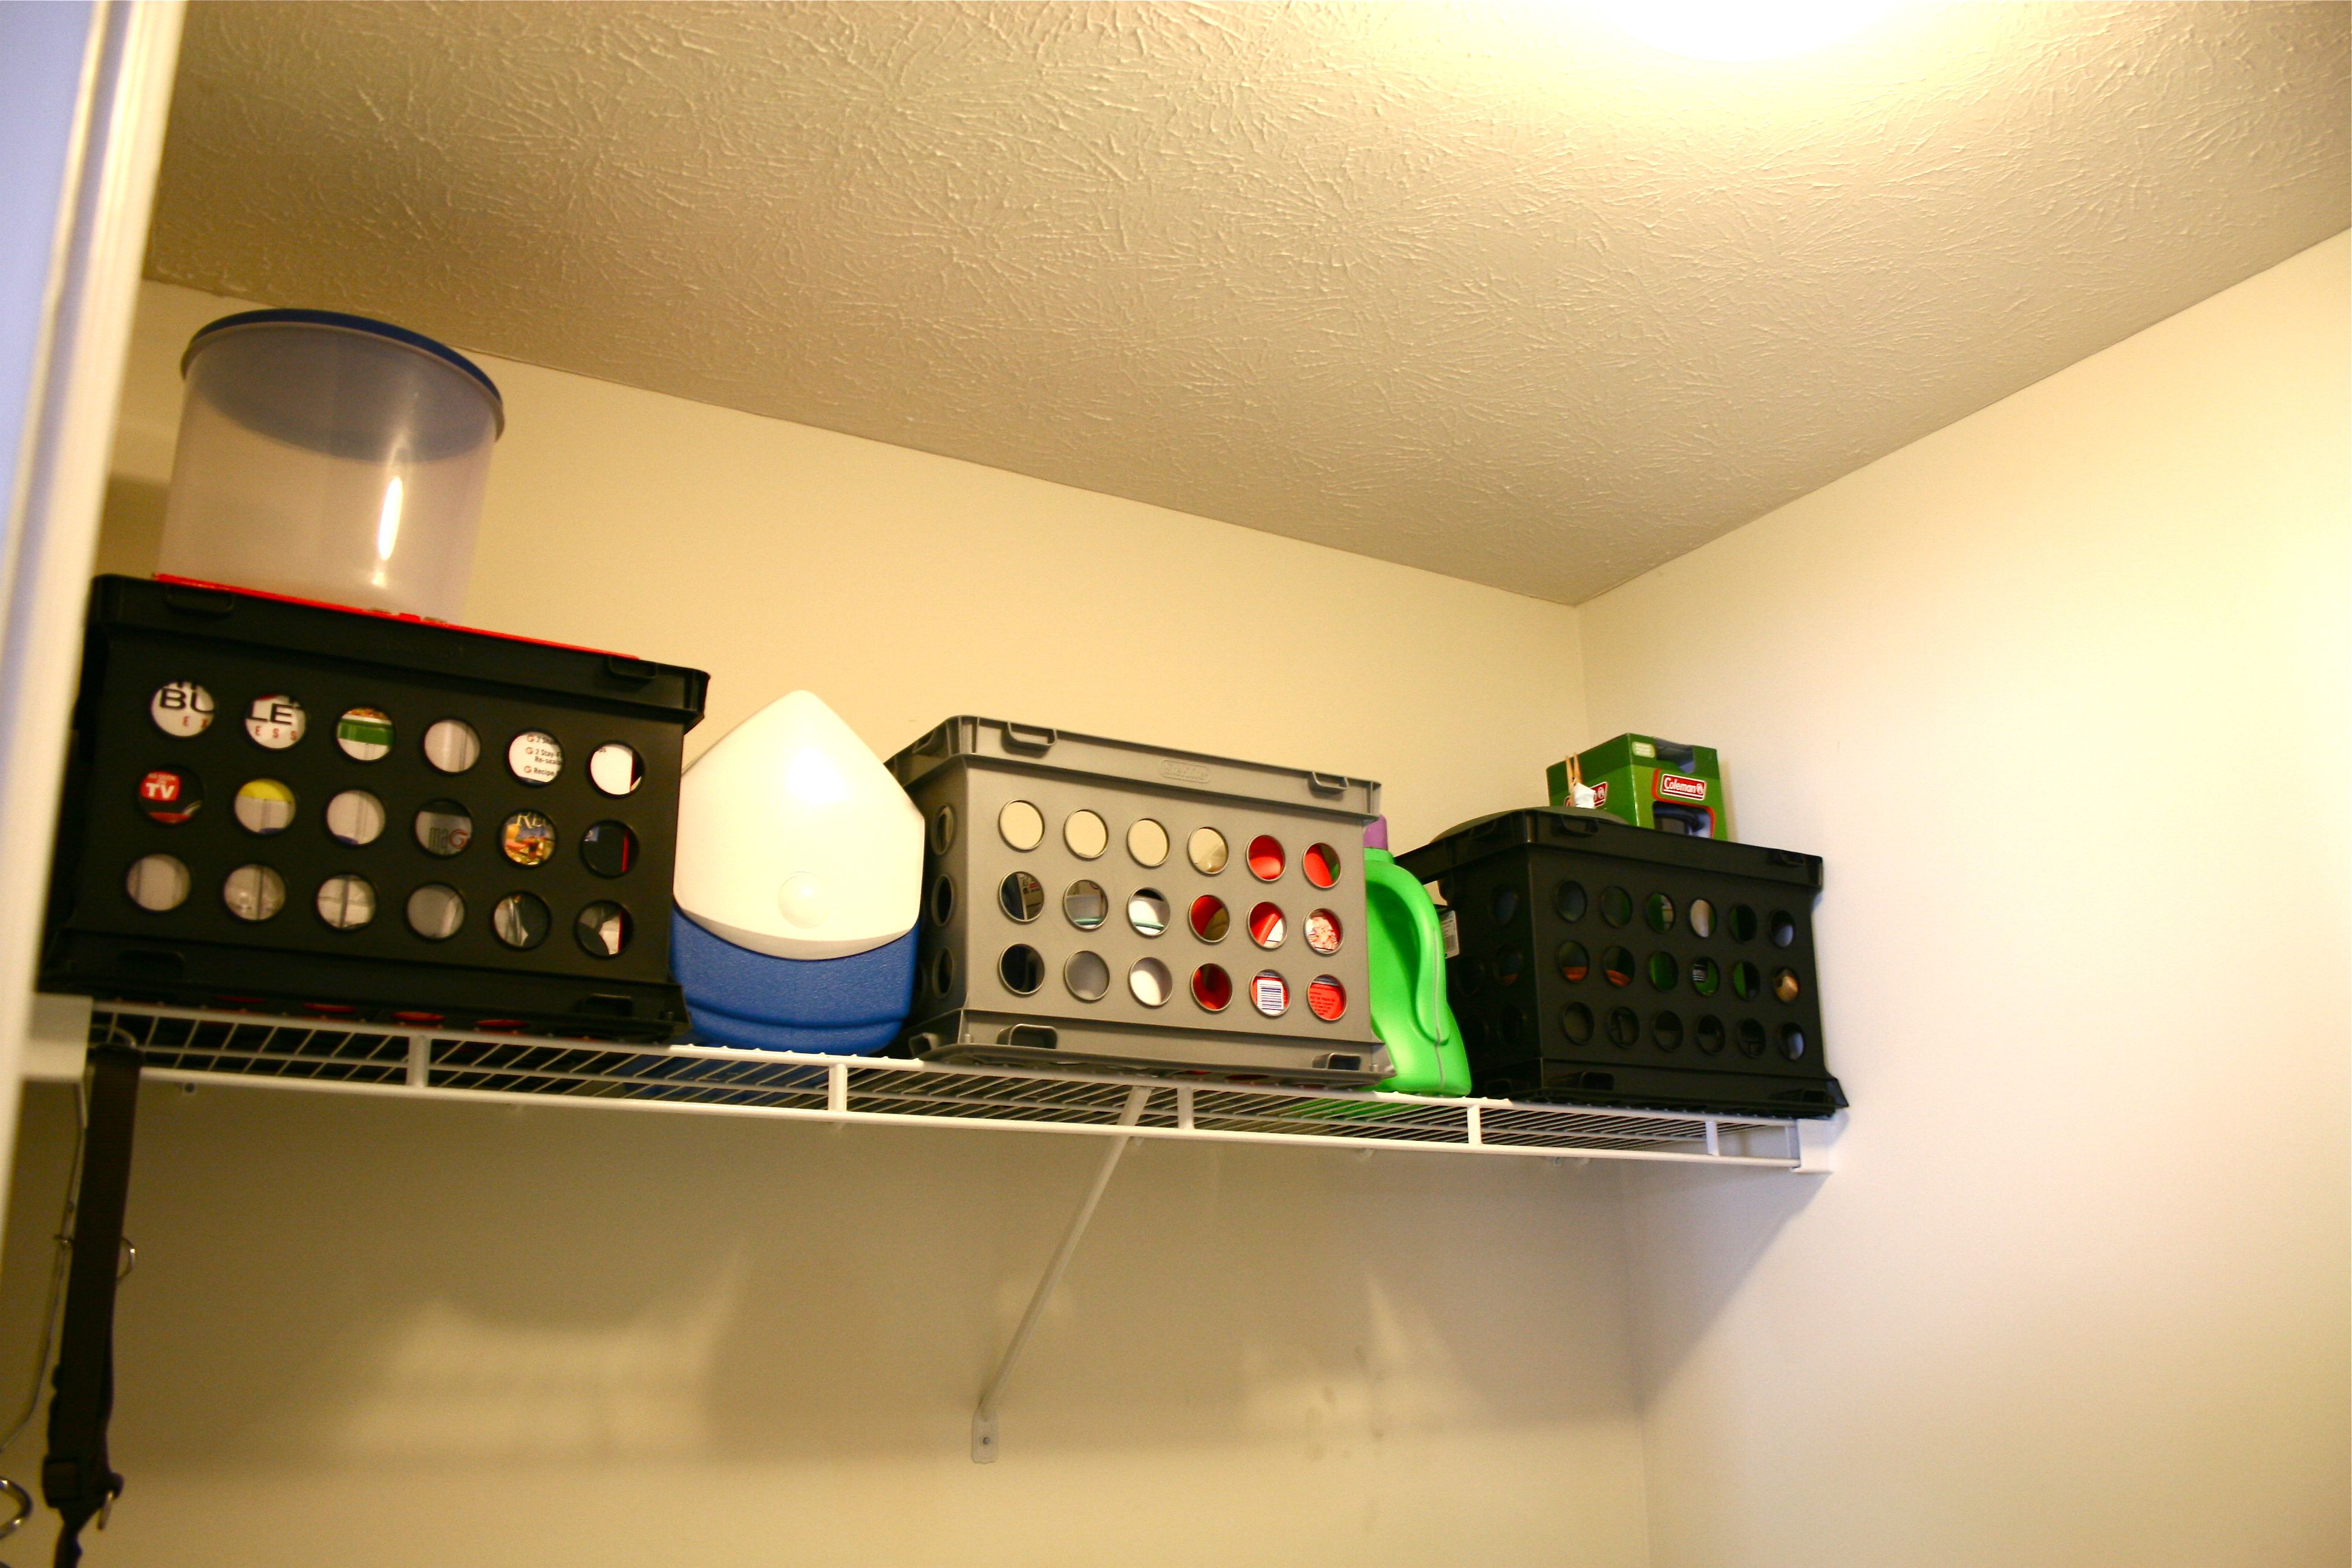
Here are the newly boxed-up items over the washing machine and dryer:
And now, the best part yet…The stacked shelves in the corner!!
“Hallelujah, Hallelujah” 🙂
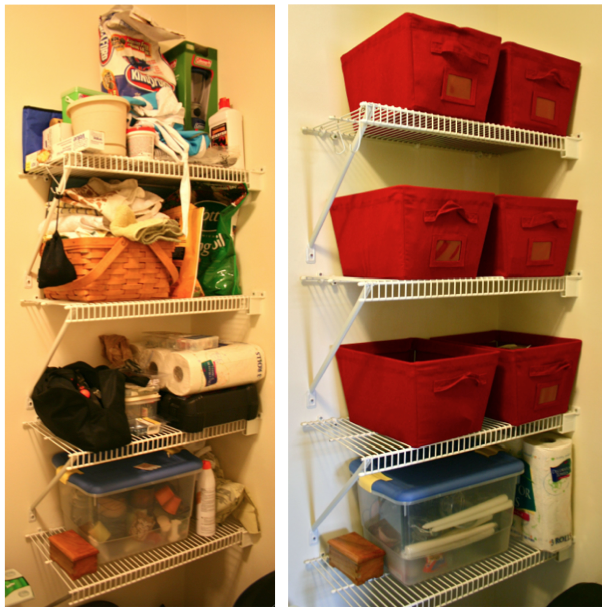
I realized afterwards that I needed two more of the red canvas boxes, and I still need to type up labels for the convenient little plastic inserts so we know what’s in each box, but it’s already SOOOOOOOOOOOOOOO much better…Speaking of, I think this calls for a side-by-side comparison.
I’d say we are well on our way to having a functional AND attractive storage space! Here’s what I have left on my to-do list:
- Buy two more red canvas boxes
- Create labels for boxes
- Take mirror to Restore
- Add some things to make it seem less like a laundry room/storage space and more like a tiny room (i.e. art, lighting, curtain??)
Hopefully we’ll have a full update and the final “After” photos to show you next week.
Oh and before I go, as promised earlier, I wanted to give a quick tid bit regarding Habitat for Humanity…If you haven’t heard, the “One Project Closer” program is underway with their fourth annual “Before & After” series – This is all in support of Habitat for Humanity, so it’s a win win situation…Every week throughout the summer they’re sharing a “Before & After” story from people like us. I actually submitted the post about our half bathroom makeover!
If you are interested in sharing your OWN awesome “Before & After” project with them, all you have to do is email pictures and a story about the project to BeforeAndAfter@OneProjectCloser.com.
Here’s a little more information from the project people themselves:
“‘One Project Closer’ runs this series to help raise support and awareness for Habitat for Humanity. How do they do that? If your submission is picked, OPC makes a $100 donation to Habitat in your honor. By the end of the Summer, they’ll have donated more than a $1000! Plus, look for the Habitat fun fact on each post to learn interesting tidbits about what Habitat is doing all over the world. That’s not all! OPC gives each winner a $50 gift card to either Home Depot, Lowe’s, or Amazon (you pick), and at the end of summer the voting starts. Readers can vote for their favorite B&A, and the grand prize winner will receive another gift card for $150! Combine that with a Lowe’s coupon or Home Depot coupon, and you’ve got a great start to your next home improvement project.”
Pretty cool, huh???
For all the official details, head over to the One Project Closer website.
Have a great weekend!

