
So, you’ve seen the pretty side of our mid-century modern kitchen makeover (with photos by Andrea Pesce), but today it’s time to let you in on the NOT so pretty side of the project. Like most major home improvement undertakings, the process behind our DIY tile backsplash upgrade looked a whole heck of a lot worse before it started to look better—and I learned more than I ever dreamed I would while working through the steps, one by one.
Because I’m admittedly a newbie when it comes to tiling, I was extra relieved to have the opportunity to enlist the help of BuildDirect Home Marketplace. The team behind this Vancouver-based brand was basically the only reason (aside from my dad showing up to help, of course!) that I am able to tell you that I survived the process—and all with a beautiful kitchen to show for it.
Between their major line of tile options (SPOILER: we went with white subway tile) and the seven-days-a-week support staff who were there to answer any of our questions, no matter how mundane, I never once felt alone. That said, I will not lie and tell you that tiling a backsplash is a breeze. It’s tough work. But—like a lot of difficult things in life—the results are well worth the sweat and stress.
Since I’m still feeling pretty new to the process, I’m not really at a point where I can offer you an “official” step-by-step DIY guide. I think I need at least one (or two!) more tiling projects under my tool belt before I’m ready to make a declaration like that here on the blog. But I’m more than happy to offer you all the insight, product suggestions, and links to real how-to’s below. So let’s get started!


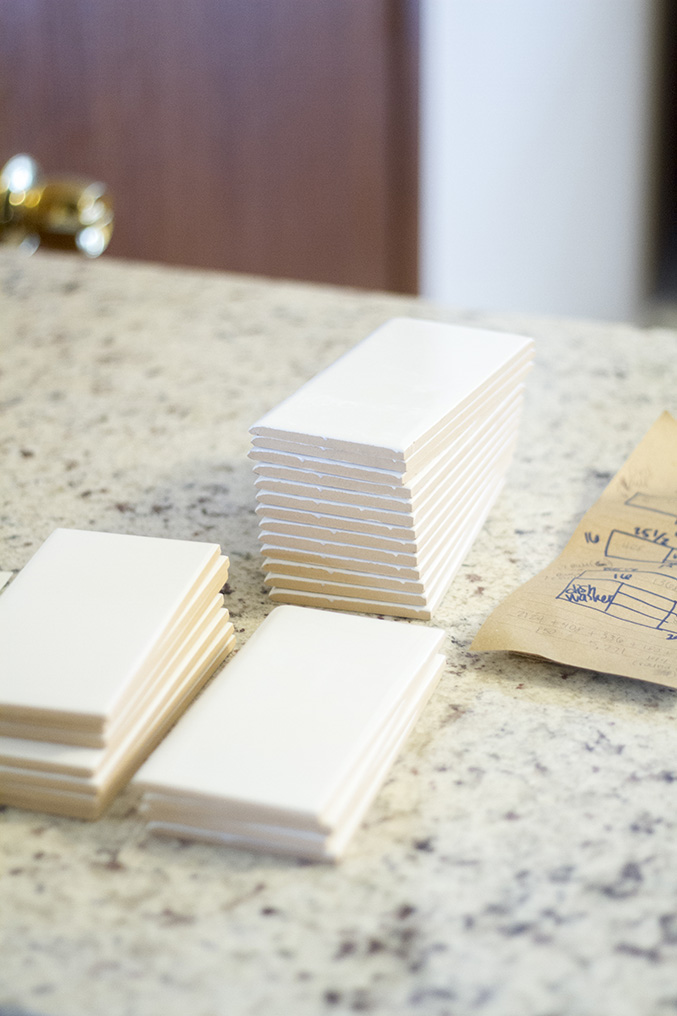
- 3×6″ White Hammersmith Subway Tile (the exact amount will depend on your specific backsplash square footage; we ordered 40 square feet)
- Bullnose and corner pieces to match for the edges (again, the exact amount will depend on your square footage)
- Level
- Tape measure
- Plastic drop cloth
- Painter’s tape
- Spacers
- Premixed tile adhesive mastic
- 5″ notched trowel
- 9″ notched trowel
- Wet tabletop tile saw
- Rod saw
- Rubber grout float
- Powder grout
- Bucket
- Microfiber towel
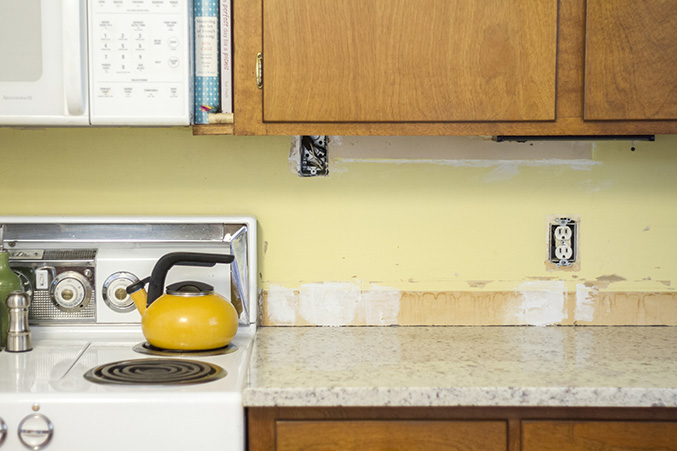
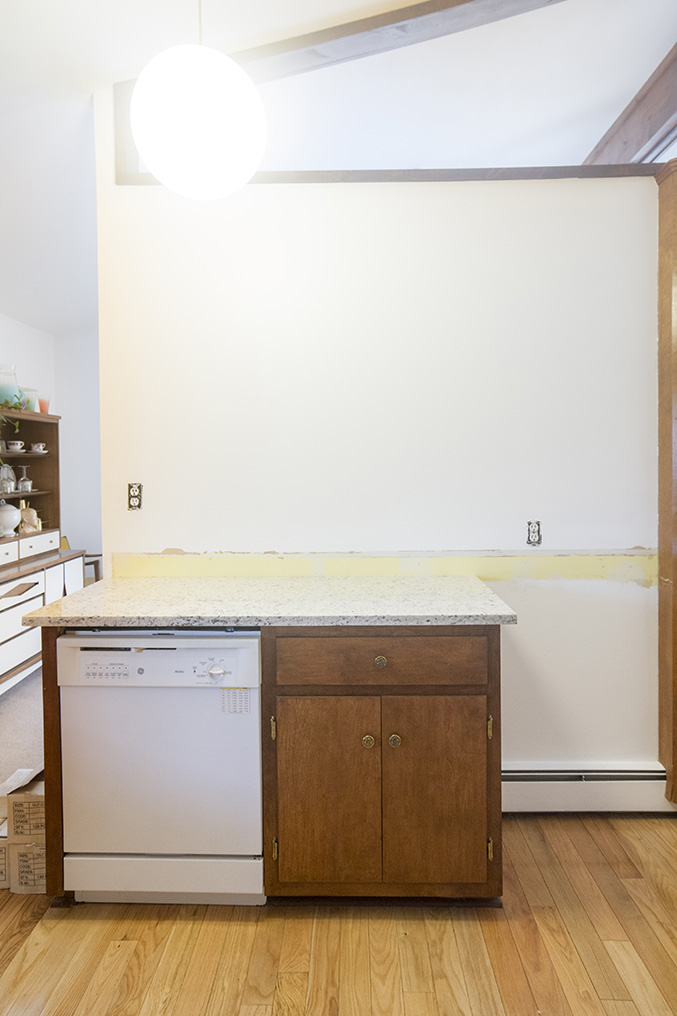
For a more accurate picture of just how far we’ve come, I’m going to offer something that I sort of loathe sharing: the dreaded “before” photos. I cringe to show you these dingy looking pictures, complete with lopsided purses and tool bags piled on the old counters, but it really is the best way to demonstrate the incredible amount of work that went into going from Point A to Point B, so here it goes.


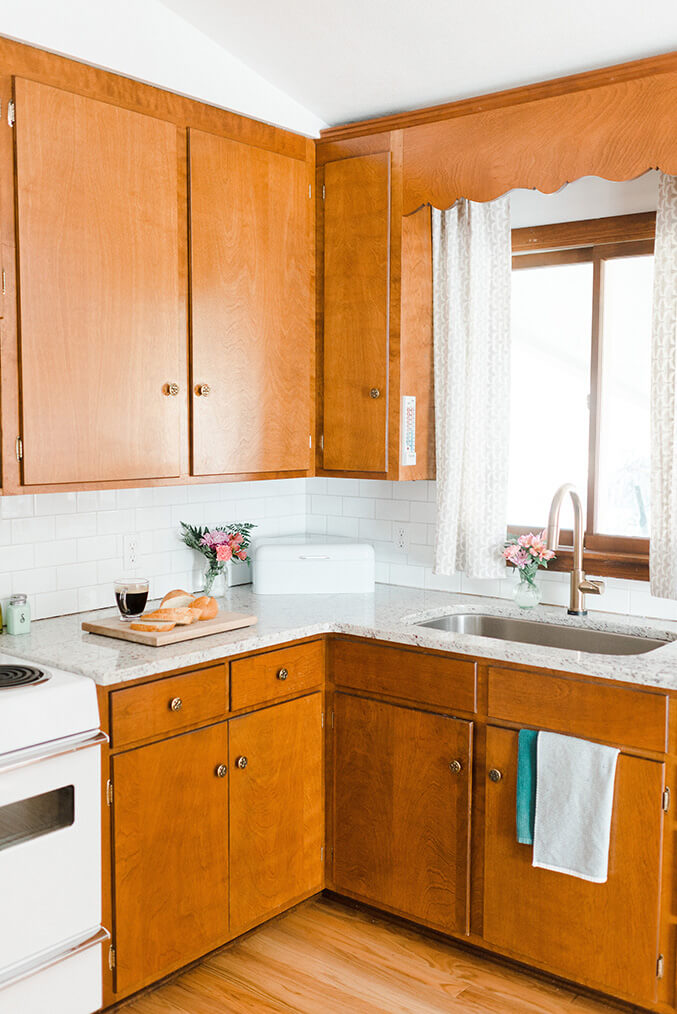
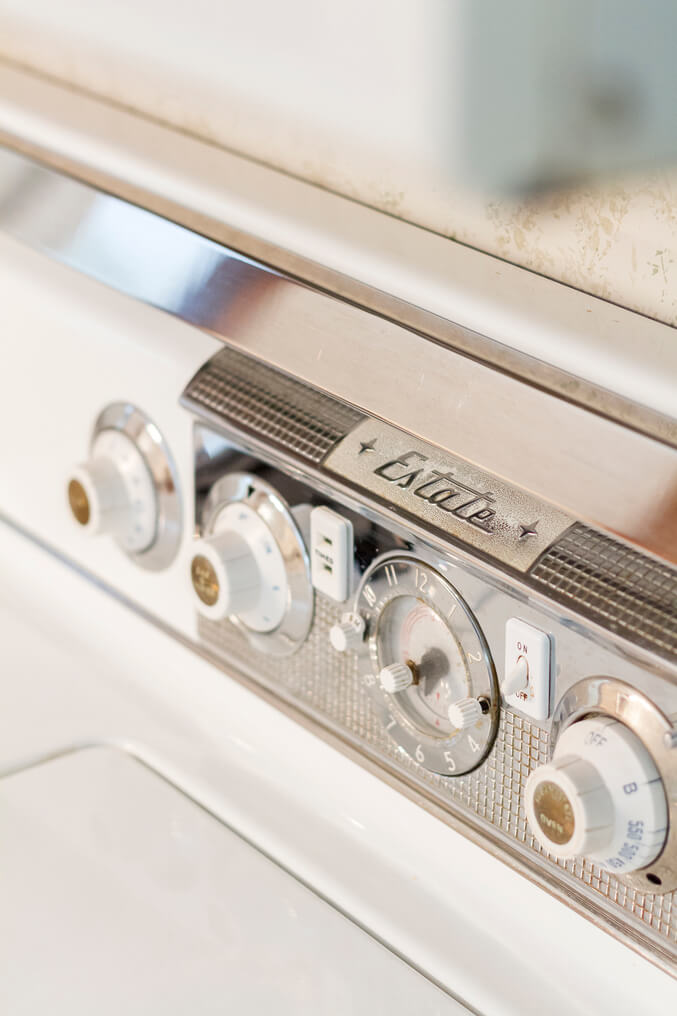
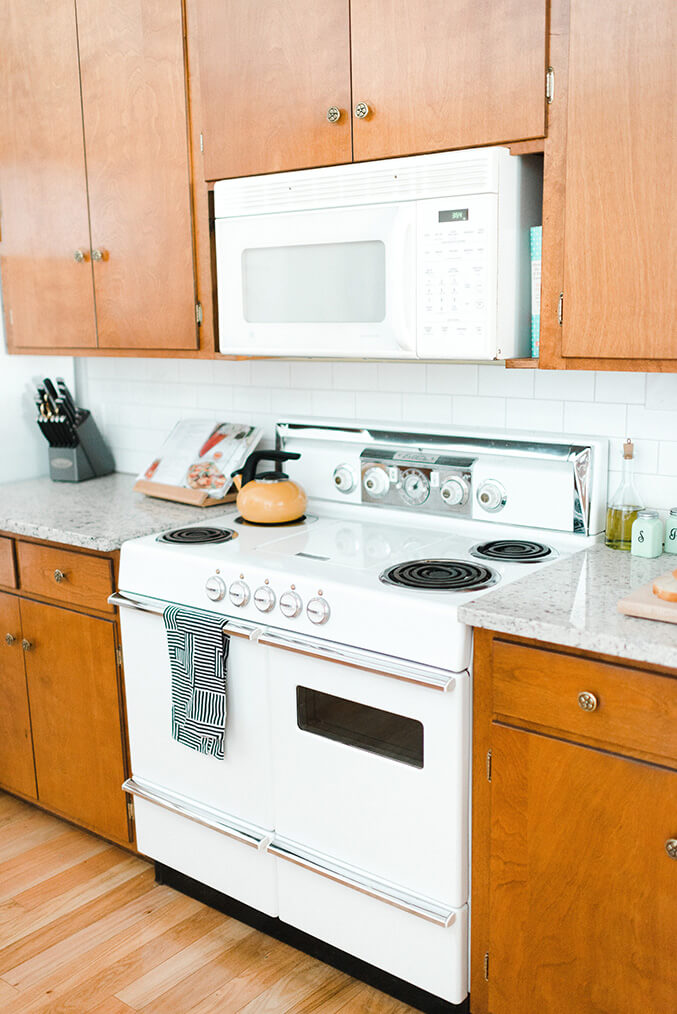
From the moment John and I first walked into our mid-century home, we fell hard for the sweeping ceilings, the open space, and the ample countertops and cabinets in the kitchen. The retro stove was also a big draw, and I’m happy to report that she’s an absolute work horse, plugging along just as steadily as, I imagine, the day it was installed.
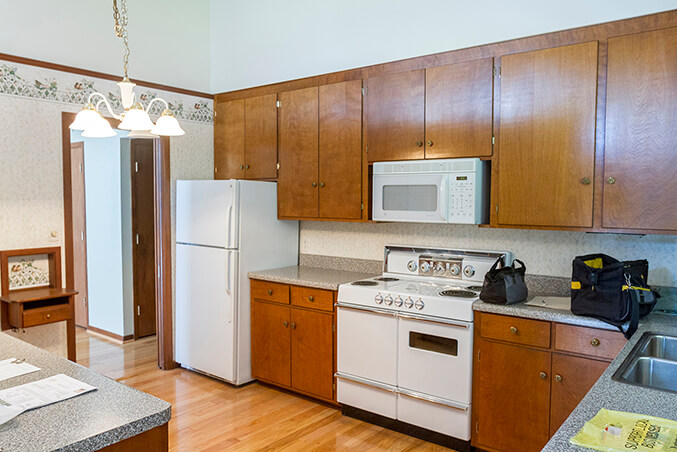
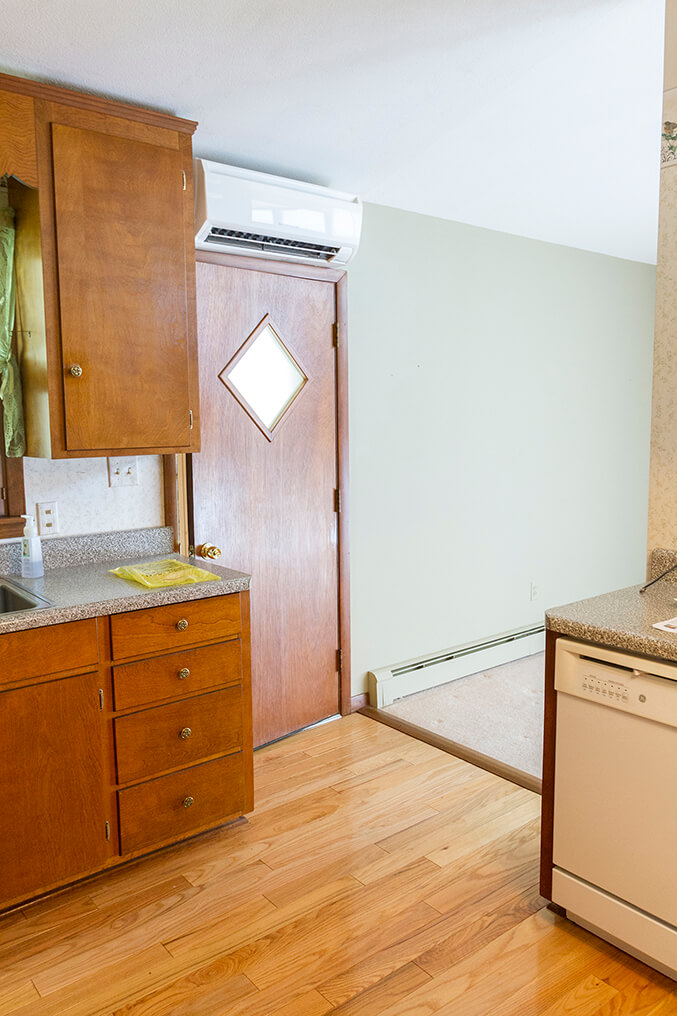
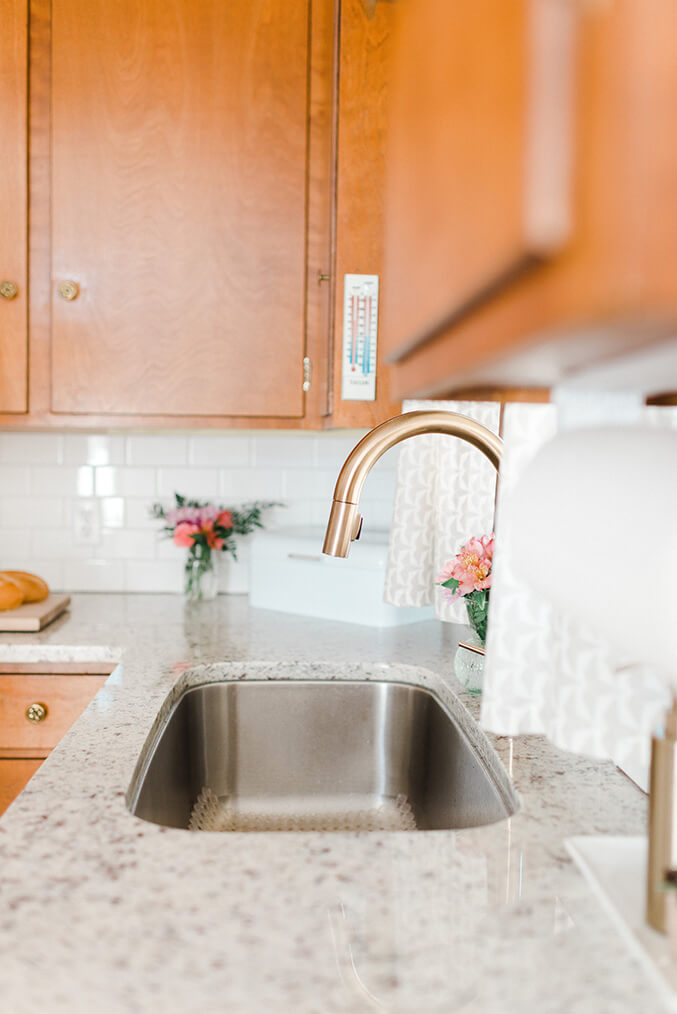
That said, we were not big fans of the old formica countertops, wallpapered walls and backsplash, and the shallow sink. So, we got right to work calling up local contractors in order to take care of the things that we knew we’d hire out (think: new granite counters, updated electrical, large scale interior painting, etc.).
You can hop back to yesterday’s big reveal post if you missed any of those details, but essentially, we turned everything that we could upside down before even thinking about addressing the soon-to-be tile. What you see below is how we lived with the kitchen for roughly two months in between the “hire out” phase and buckling down to work on the tile ourselves.

I gave myself the holiday season to enjoy, but soon after the Christmas tree was taken down and thank you notes were sent, I was on the phone with my dad scheduling a weekend to finish the tile work.
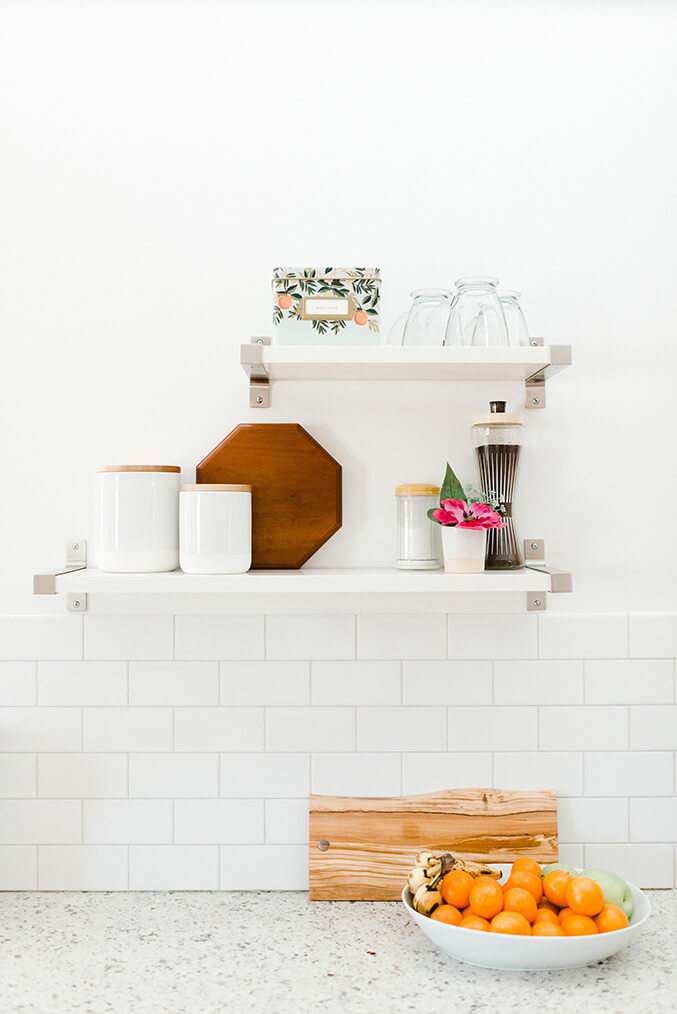
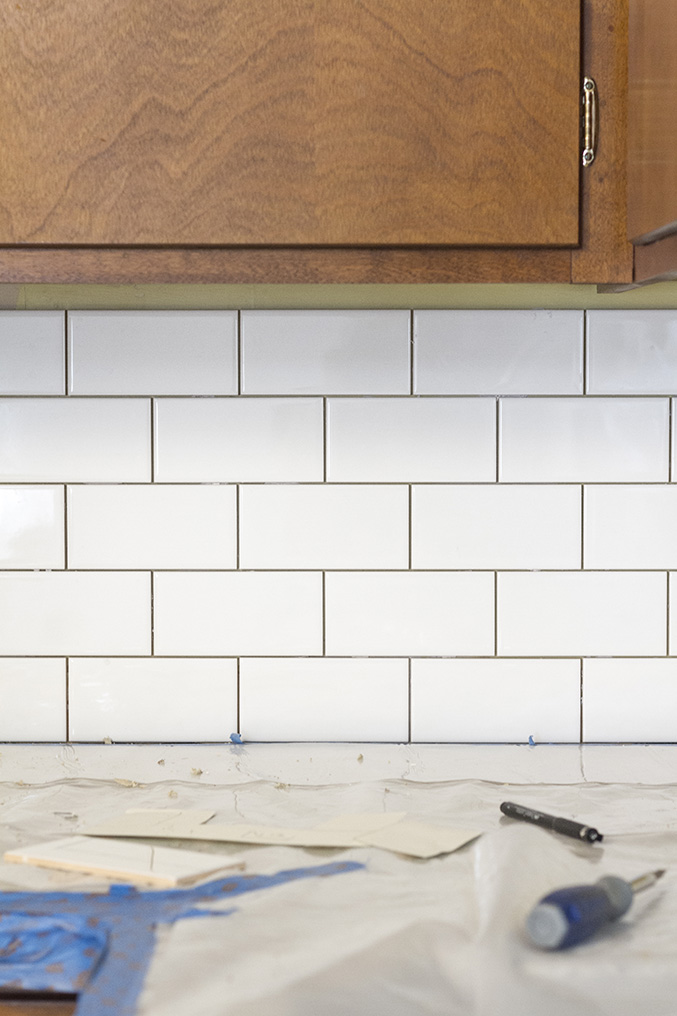
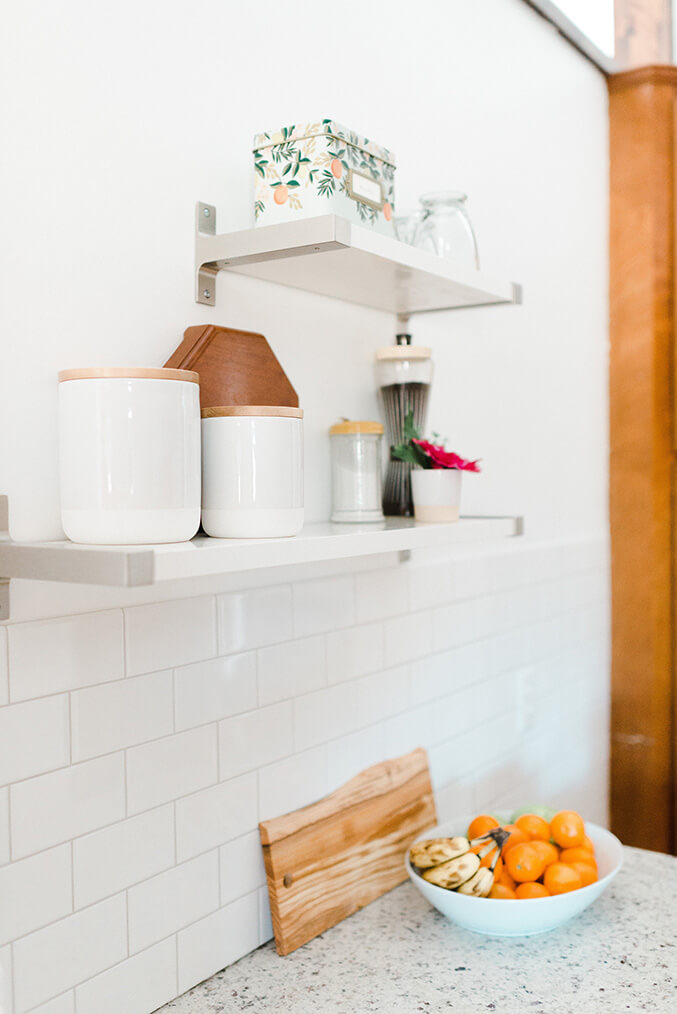
I also went ahead and decided once and for all on our tile choice. I was hoping to nail an ultra classic look in our redone retro kitchen, something that would stand the test of time. So, I ordered a range of samples from BuildDirect, but after examining the over-nighted tiles, the Hammersmith Subway Tile was a clear winner. That glossy, smooth white finish immediately caught my eye, and I considered it the perfect complement to our newly painted white walls and original white appliances (namely that 1960’s stove!).
Before my dad’s arrival that fateful January weekend, I began by taking some time to patch the walls, and then scraped and sanded them to a perfectly smooth finish. It wasn’t pretty, but it needed to be done in order to offer our new tile an even foundation to lay on.
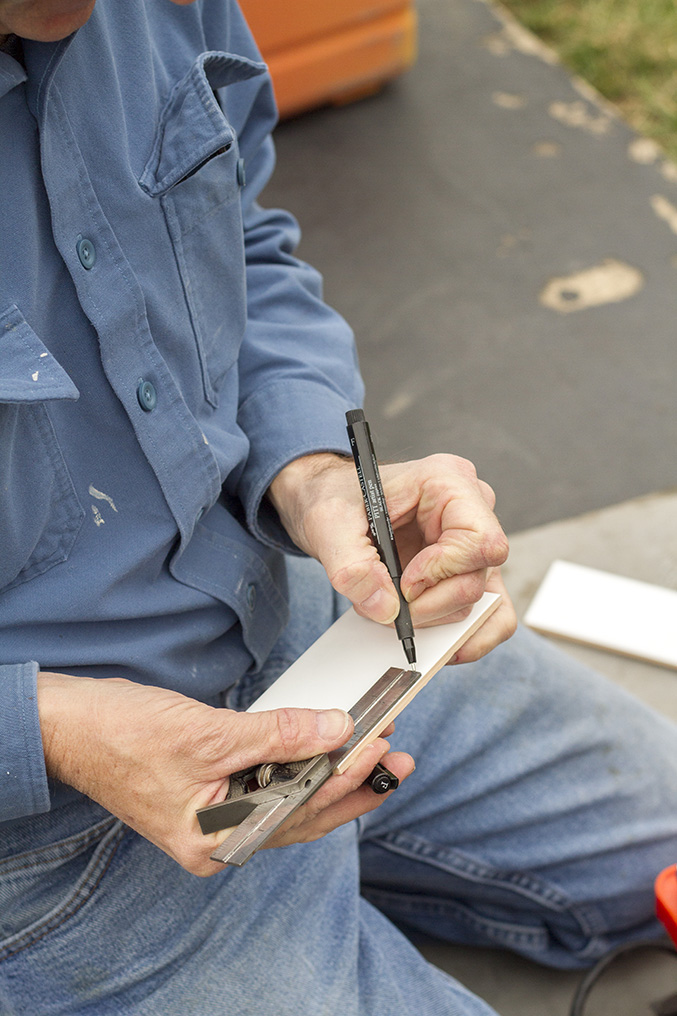
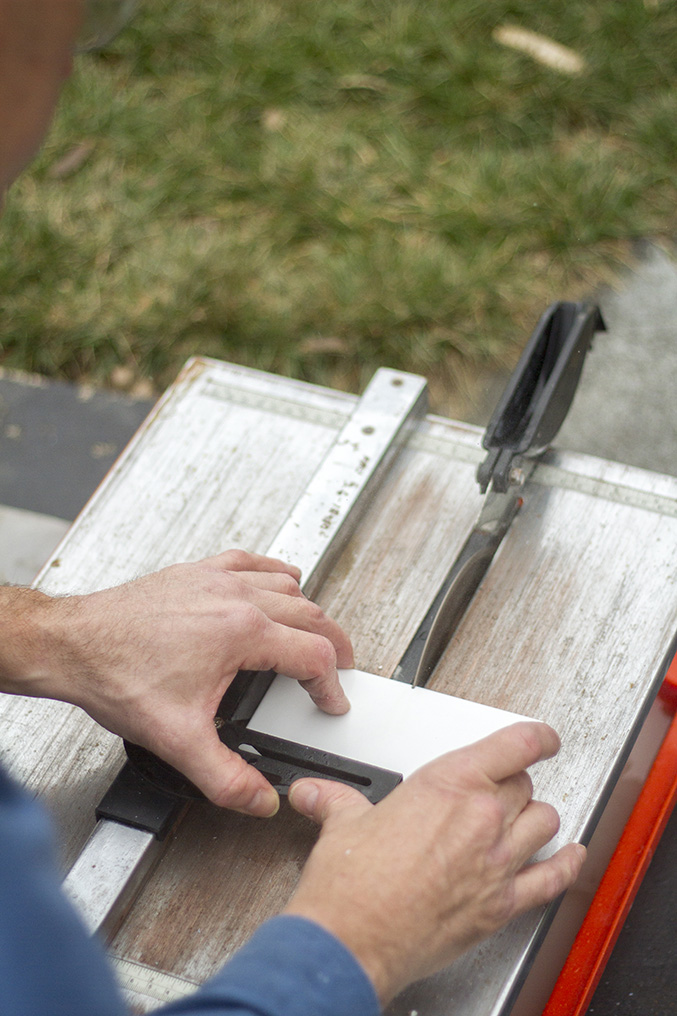
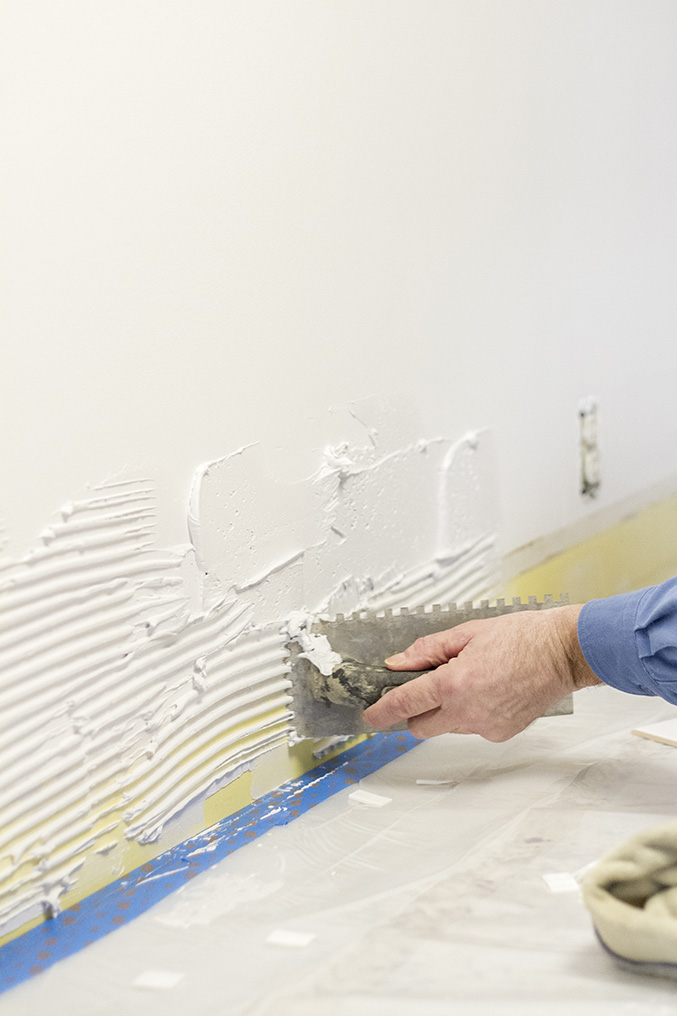
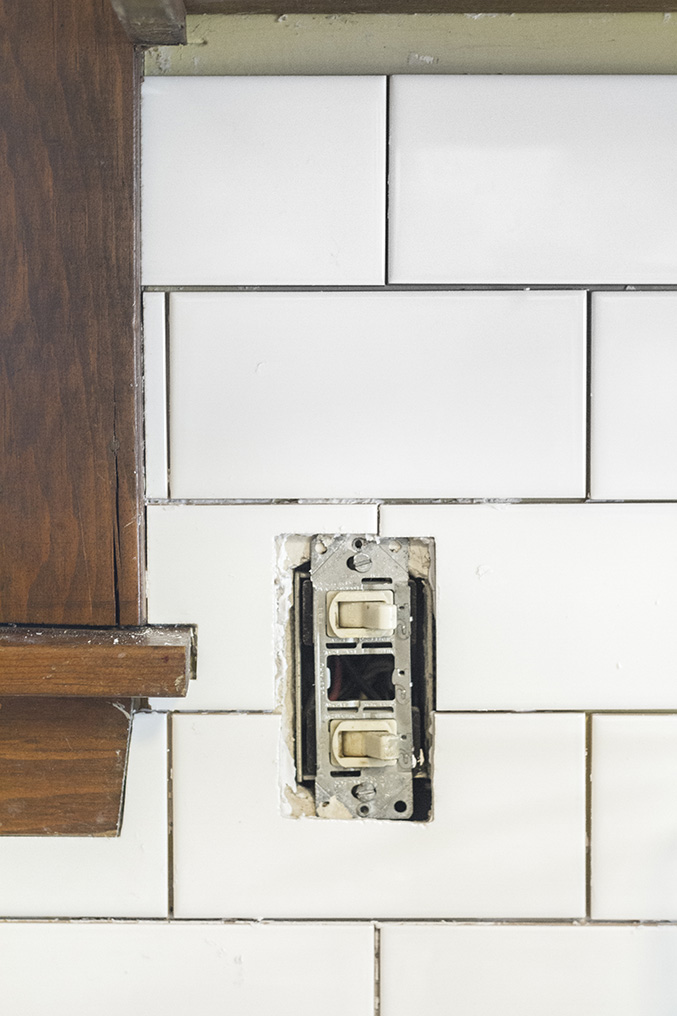
After that, it was officially go time. Dad showed up and we immediately spent an hour or so planning our attack (big wall first, sink wall next, oven wall last) and taking detailed measurements. We also laid plastic drop cloths down on the counters secured with painter’s tape to make sure that our brand new granite stayed clean and damage-free. Then, we started cranking out our cuts on the wet tile saw, slathering mastic adhesive on the walls with a notched trowel, and laying our new tiles one by one with spacers in between.
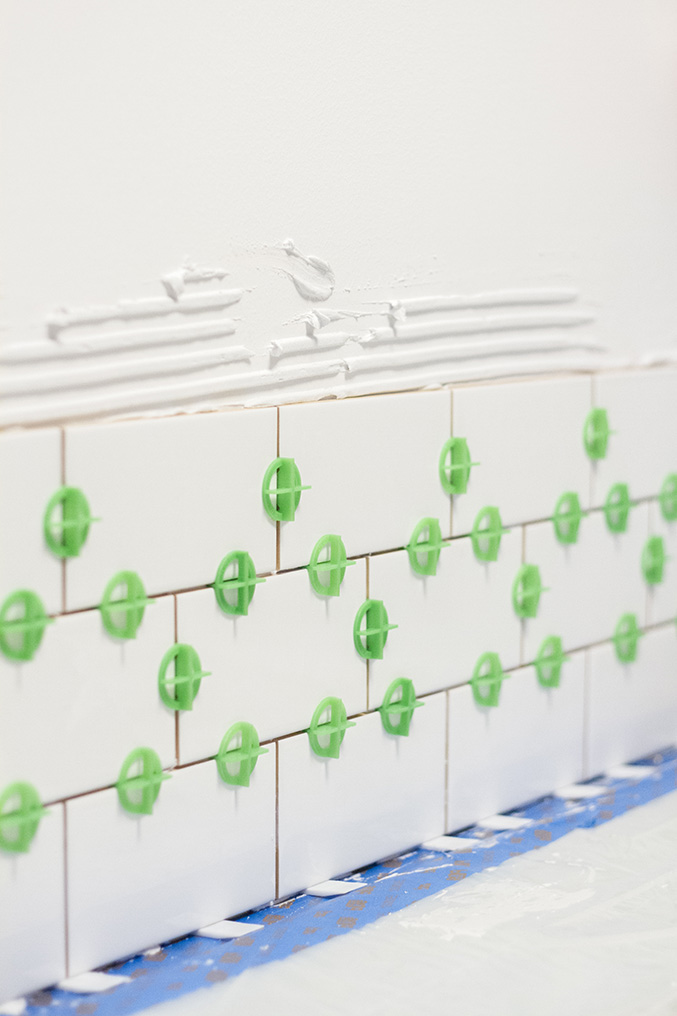
We opted for a 1/16-inch grout line to keep things nice and sleek, but placed 1/8-inch flat spacers along the bottom to allow for a slightly chunkier caulk line just above the countertops (which we still need to do, by the way).
Once we got the hang of things, we motored our way through the project, one painstaking tile at a time. The three of us—myself, John, and my dad—all had to work double time as we juggled drying mastic adhesive, sagging tiles, and angles that needed to be measured, marked, and cut, but we managed to get it all done over the course of that weekend.
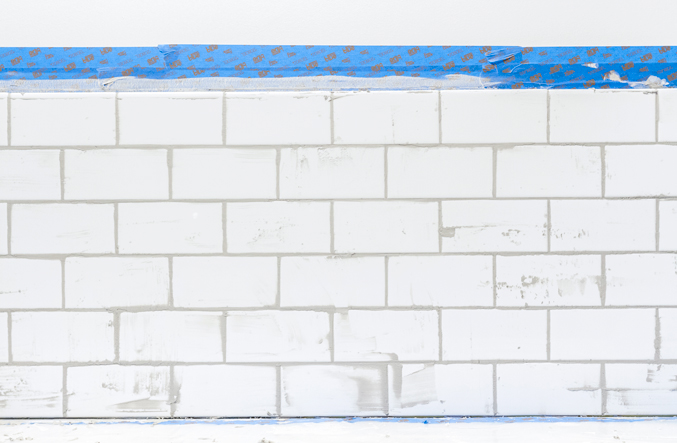
After giving the tile 24 hours to firm up, John and I went back over the grout lines with hand-mixed grout, and finally buffed it all to a bright sheen with a microfiber towel. Like I said, we still need to run caulk along the bottom, and add trim pieces to cover the gaps between the tops of the tiles and the bottom of the cabinets, but we are currently enjoying an extended break before putting those finishing touches in place.
Was it particularly fun? Not really. Would I tile a kitchen backsplash again? Honestly…Probably not. But would I do it again on a smaller scale, like around a bathroom sink? Definitely. And if you ask me whether or not I feel like a DIY bada$$ for having done it ourselves, I would respond with an enthusiastic HECK YEAH!
Of course, I would be remiss not to remind you of just how integral the BuildDirect Home Marketplace was throughout this process. When I was just starting out, I had the opportunity to connect with a product expert on staff who offered me several how-to video links (see those here and here), plus suggestions for how to the get the project done on time and on budget. And when we had a question about the particular subway tile that we had ordered in the middle of our mess in the kitchen, we were able to give their hotline a quick call, and got a real person immediately who walked us through the logistics.
By doing my research with a pro ahead of time and knowing that I had support on-call if needed, I was able to enter into the process with confidence. There wasn’t even one moment throughout our tiling project that I felt like I was completely clueless. It was a lot to take on overall, yes, but I always knew the next step and just how to get to that blissful light at the end of the tunnel. Speaking of which…Let’s drool a little more over those “after” photos, shall we?

Have you ever tiled a backsplash before? What was your experience like?
(Photos by Andrea Pesce for Dream Green DIY)


Your kitchen looks great. I am enjoying seeing how you are adding your style all around your house.
I have similar kitchen and bath cabinets with the same knobs. 1970’s chic 🙂
Thanks, Diane!! 1970s chic is the perfect way to describe it 🙂
WOW! I can’t believe how the subway tiles changed the feel of your kitchen! Simply gorgeous! Also, can I say, you have some killer styling going on. Oh, and your 1950s oven puts our 1950s oven to shame.
Thank you SO much!!! I’m so happy that you love how it all turned out 🙂 You’re so sweet!
Your home is absolutely gorgeous! The white subway tile backsplash was the perfect choice. It makes me wish I didn’t live in a tiny, rented NYC apartment. Ha!
Thank you, Kayla! You’re so sweet!! I’m still jealous of your NYC apartment though! How fun to live in the Big Apple 🙂
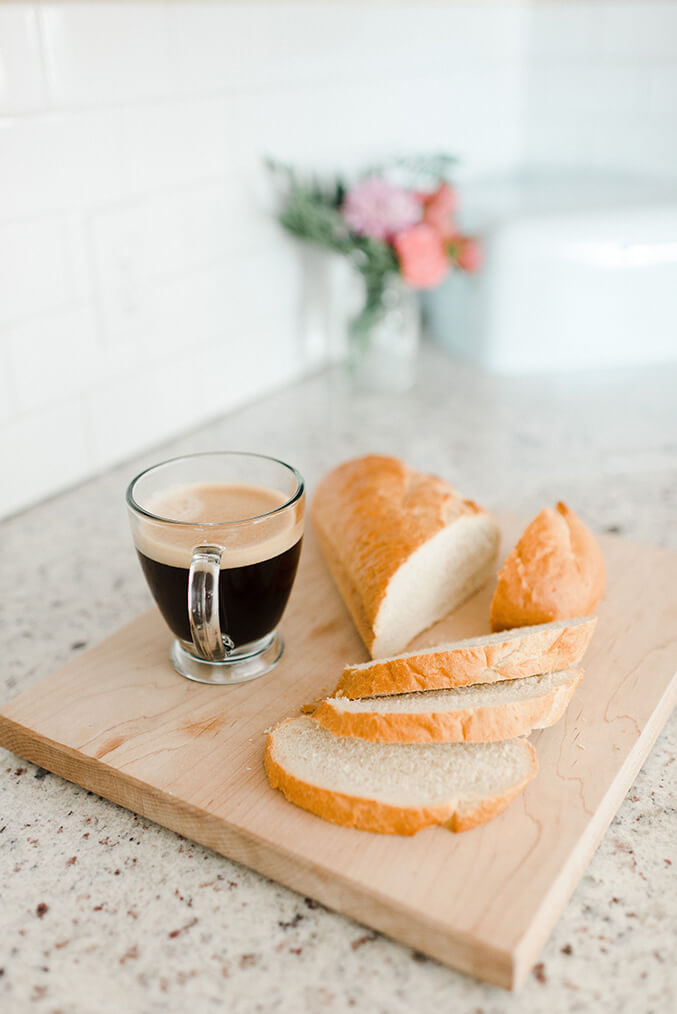
Do you have a link to the breadbox I spy on your kitchen counter, or at least more info about it?
Sure! It’s from Amazon!
Just came across your blog today. You’re kitchen turned out great! What color of grout did you go with?
Thanks for stopping by, and I’m so thrilled you like how our kitchen turned out!! We went with TEC Power 10-lb Silverado Sanded/Unsanded Powder Grout.