I have the best boyfriend in the universe.
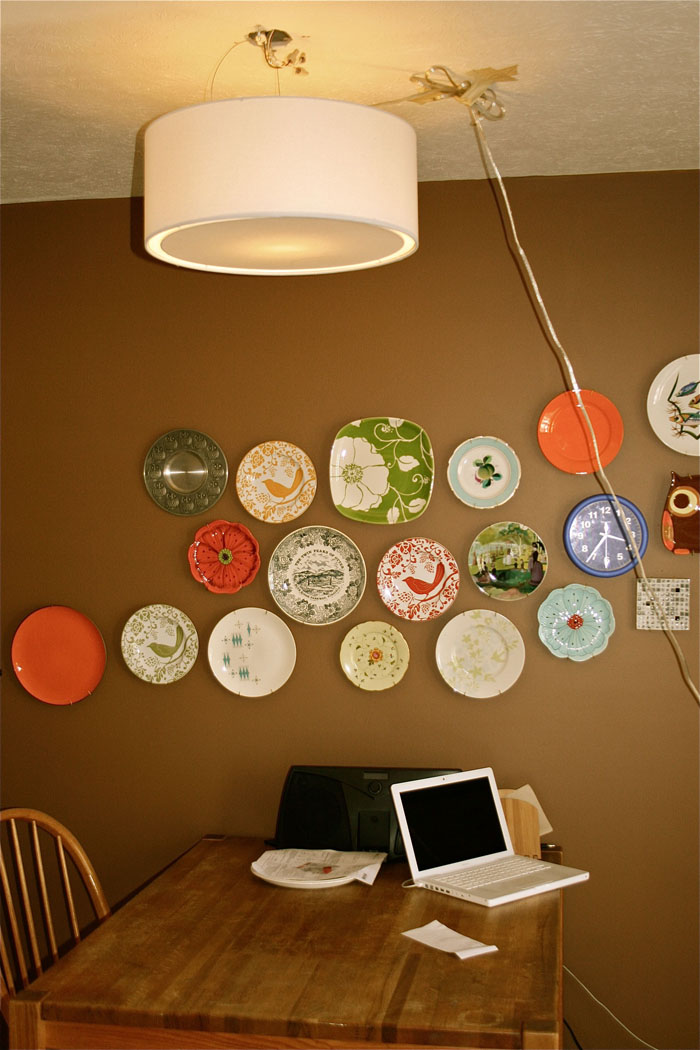
Lofty statement, I know…But look what I came home to last night:
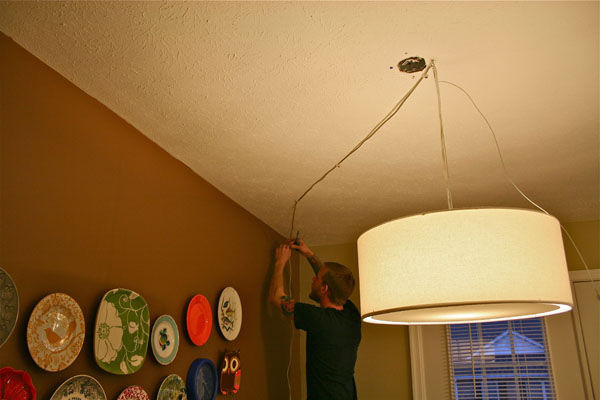
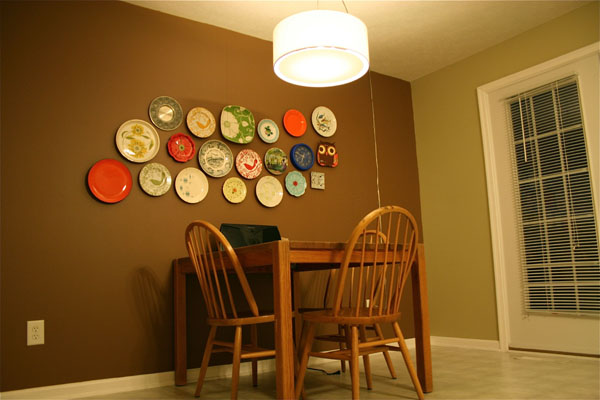
He surprised me by having Eden, the new dining room light fixture, in the midst of being hung! It was a little rough at that point, but I was speechless that he had taken the time to get her up and lit for my entrance through the door.
Okay, so that’s the good news – Now for the bad…Eden wasn’t nearly as easy to hang as we were hoping (sorry to blatantly copy some fellow bloggers by naming our inanimate objects…It just gives them so much more personality when they have a name!).
First of all, instead of a typical chandelier that connects into the electrical box in the ceiling, this particular light fixture is a plug-in. So we had to drape the cord over to the nearest outlet in order to make it work. John was hoping (and so was I, of course) that we could find a way to fashion an outlet apparatus into the ceiling box. I think he is ABSOLUTELY right that it’s possible to do. Unfortunately, I just didn’t think it would look quite as clean…
So after about fifteen minutes of lingering in the electrical outlet at Lowes shooting solutions back and forth, we decided to just hang her “as is” and if we hate it after a couple of months, we can pick up an actual ceiling-hung chandelier in a similar style (we are planning a trip to Ikea for a new-sofa-hunt in May anyways, so that’s perfect for a trial run time frame!).
So we went back home and got to work lowering the light to the right height (wow that was a lot of rhyming!) and running the chord straight and taut to the nearest wall outlet. We used some leftover chord anchors Comcast had left behind when coming to work on the cable, and voila!!
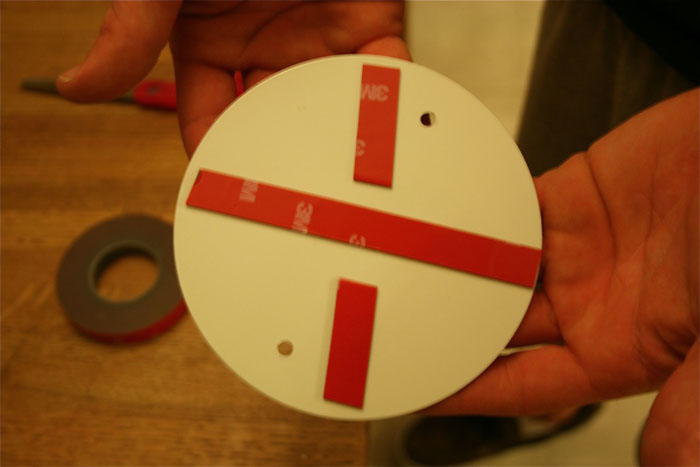
Then we had to clean up the hole in the ceiling left by the old chandelier. We bought a small white cover for the hole, but it wasn’t QUITE big enough – The screws would just BARELY catch any ceiling. So here’s John’s solution…
He put some heavy-duty 3M tape (that I think he uses for car repairs) on the back of it to make it stick to the ceiling. I was a little leery that it would fall and damage the light though…So he humored me and screwed in the hardware too (what little it would, at least).
The hardest part of the ENTIRE project was probably getting the red tape off the “wall side” of the tape 🙂
(sorry so blurry…That’s what I get for trying to take photos when it’s dark outside with the flash off…I just hate flashes!)
My longer fingernails came to the rescue though and we “got er’ done”.
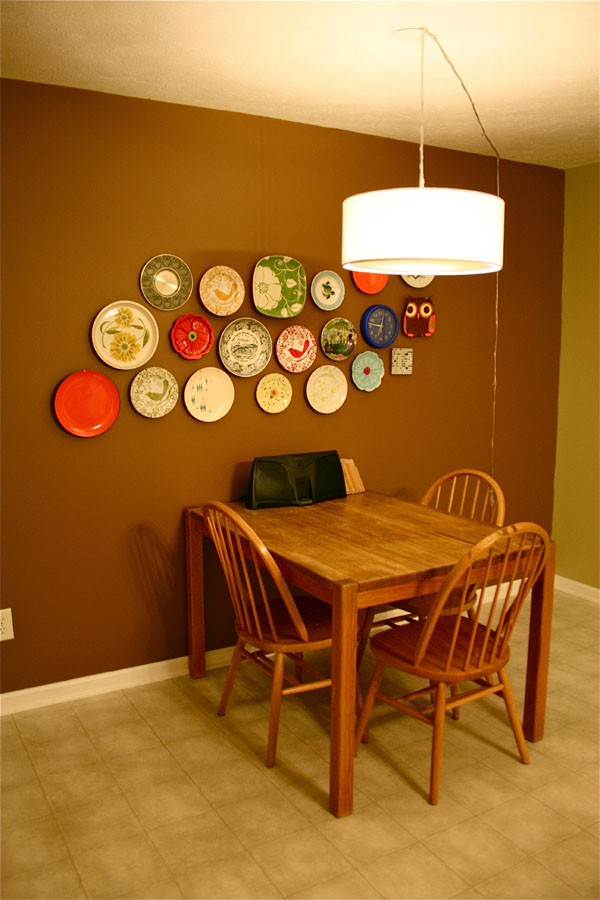
(I admit that it took every ounce of control to not Photoshop the line from the chord out of this photo…I think I’ll get used to it though)
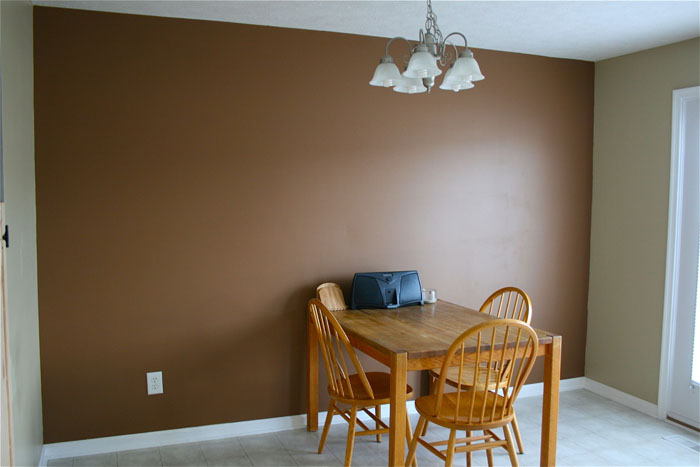
Now don’t forget the “Before”! The light fixture wasn’t actually that bad – Just not our style…
Much better now…
Eden gives off a very romantic, soft light that I can’t wait to eat home-cooked meals under with John 🙂 All that’s left to do is bring in my round pedestle table to make all the round objects come together and add some curtains to the french doors (there’s NOTHING soft about this kitchen, so curtains are the best solution).
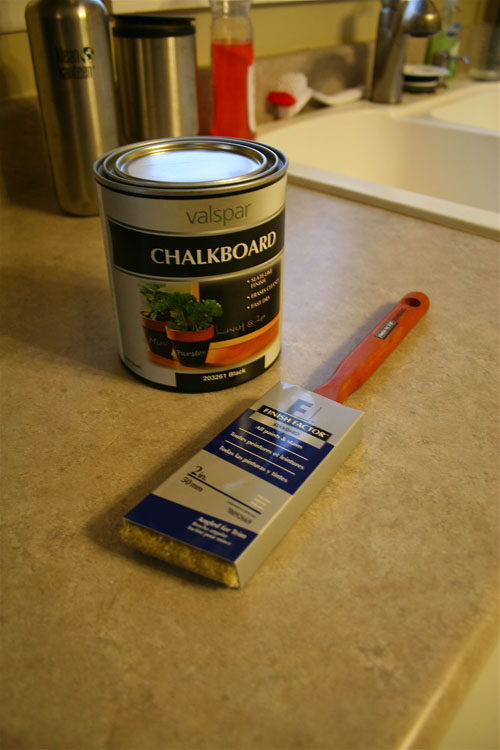
Oh and looky what I got last night for this weekend’s project…
You’ll see what all that’s about next week when we come back from the weekend 🙂
Stay tuned!

