It’s SOOOOOO close!!!!!! Only two more days until Christmas – It really is “the most wonderful time of the year.” My sister is home and my family’s well-deserved gifts are piled beneath our tree ready to be hauled over to my parent’s house tomorrow night (I’m super lucky that they live only 12 minutes away). The lot of us are headed to John’s parent’s house tonight where they are hosting a Christmas desserts party – Looking forward to some tasty treats and family time.
But before all of the big festivities draw me away from the internet and this here blog, I wanted to give you the low-down on a DIY Secret Santa gift I made for one of my good friends, Alyssa. We had our gift exchange on Tuesday so I’m free to share this project with you all – No surprises to ruin here since she is (I hope) already enjoying her gift 🙂
Oh and since I love showing off my LOVELY, gawwwwgeous friends, meet Alyssa (and her sweet boyfriend, Casey, too):
You may actually recognize this project…It was one of my very first do-it-yourself projects – In fact, I didn’t have the tutorial photographing know-how back then and showed mostly “After” shots…So this time, I made sure to photograph the heck out of the steps so that you can try it out for yourself!
Here’s how to make your very own framed necklace organizer:
Supplies:
- peg board
- frame
- drawer pulls (the fancier and more colorful the better)
- wood glue
- nails
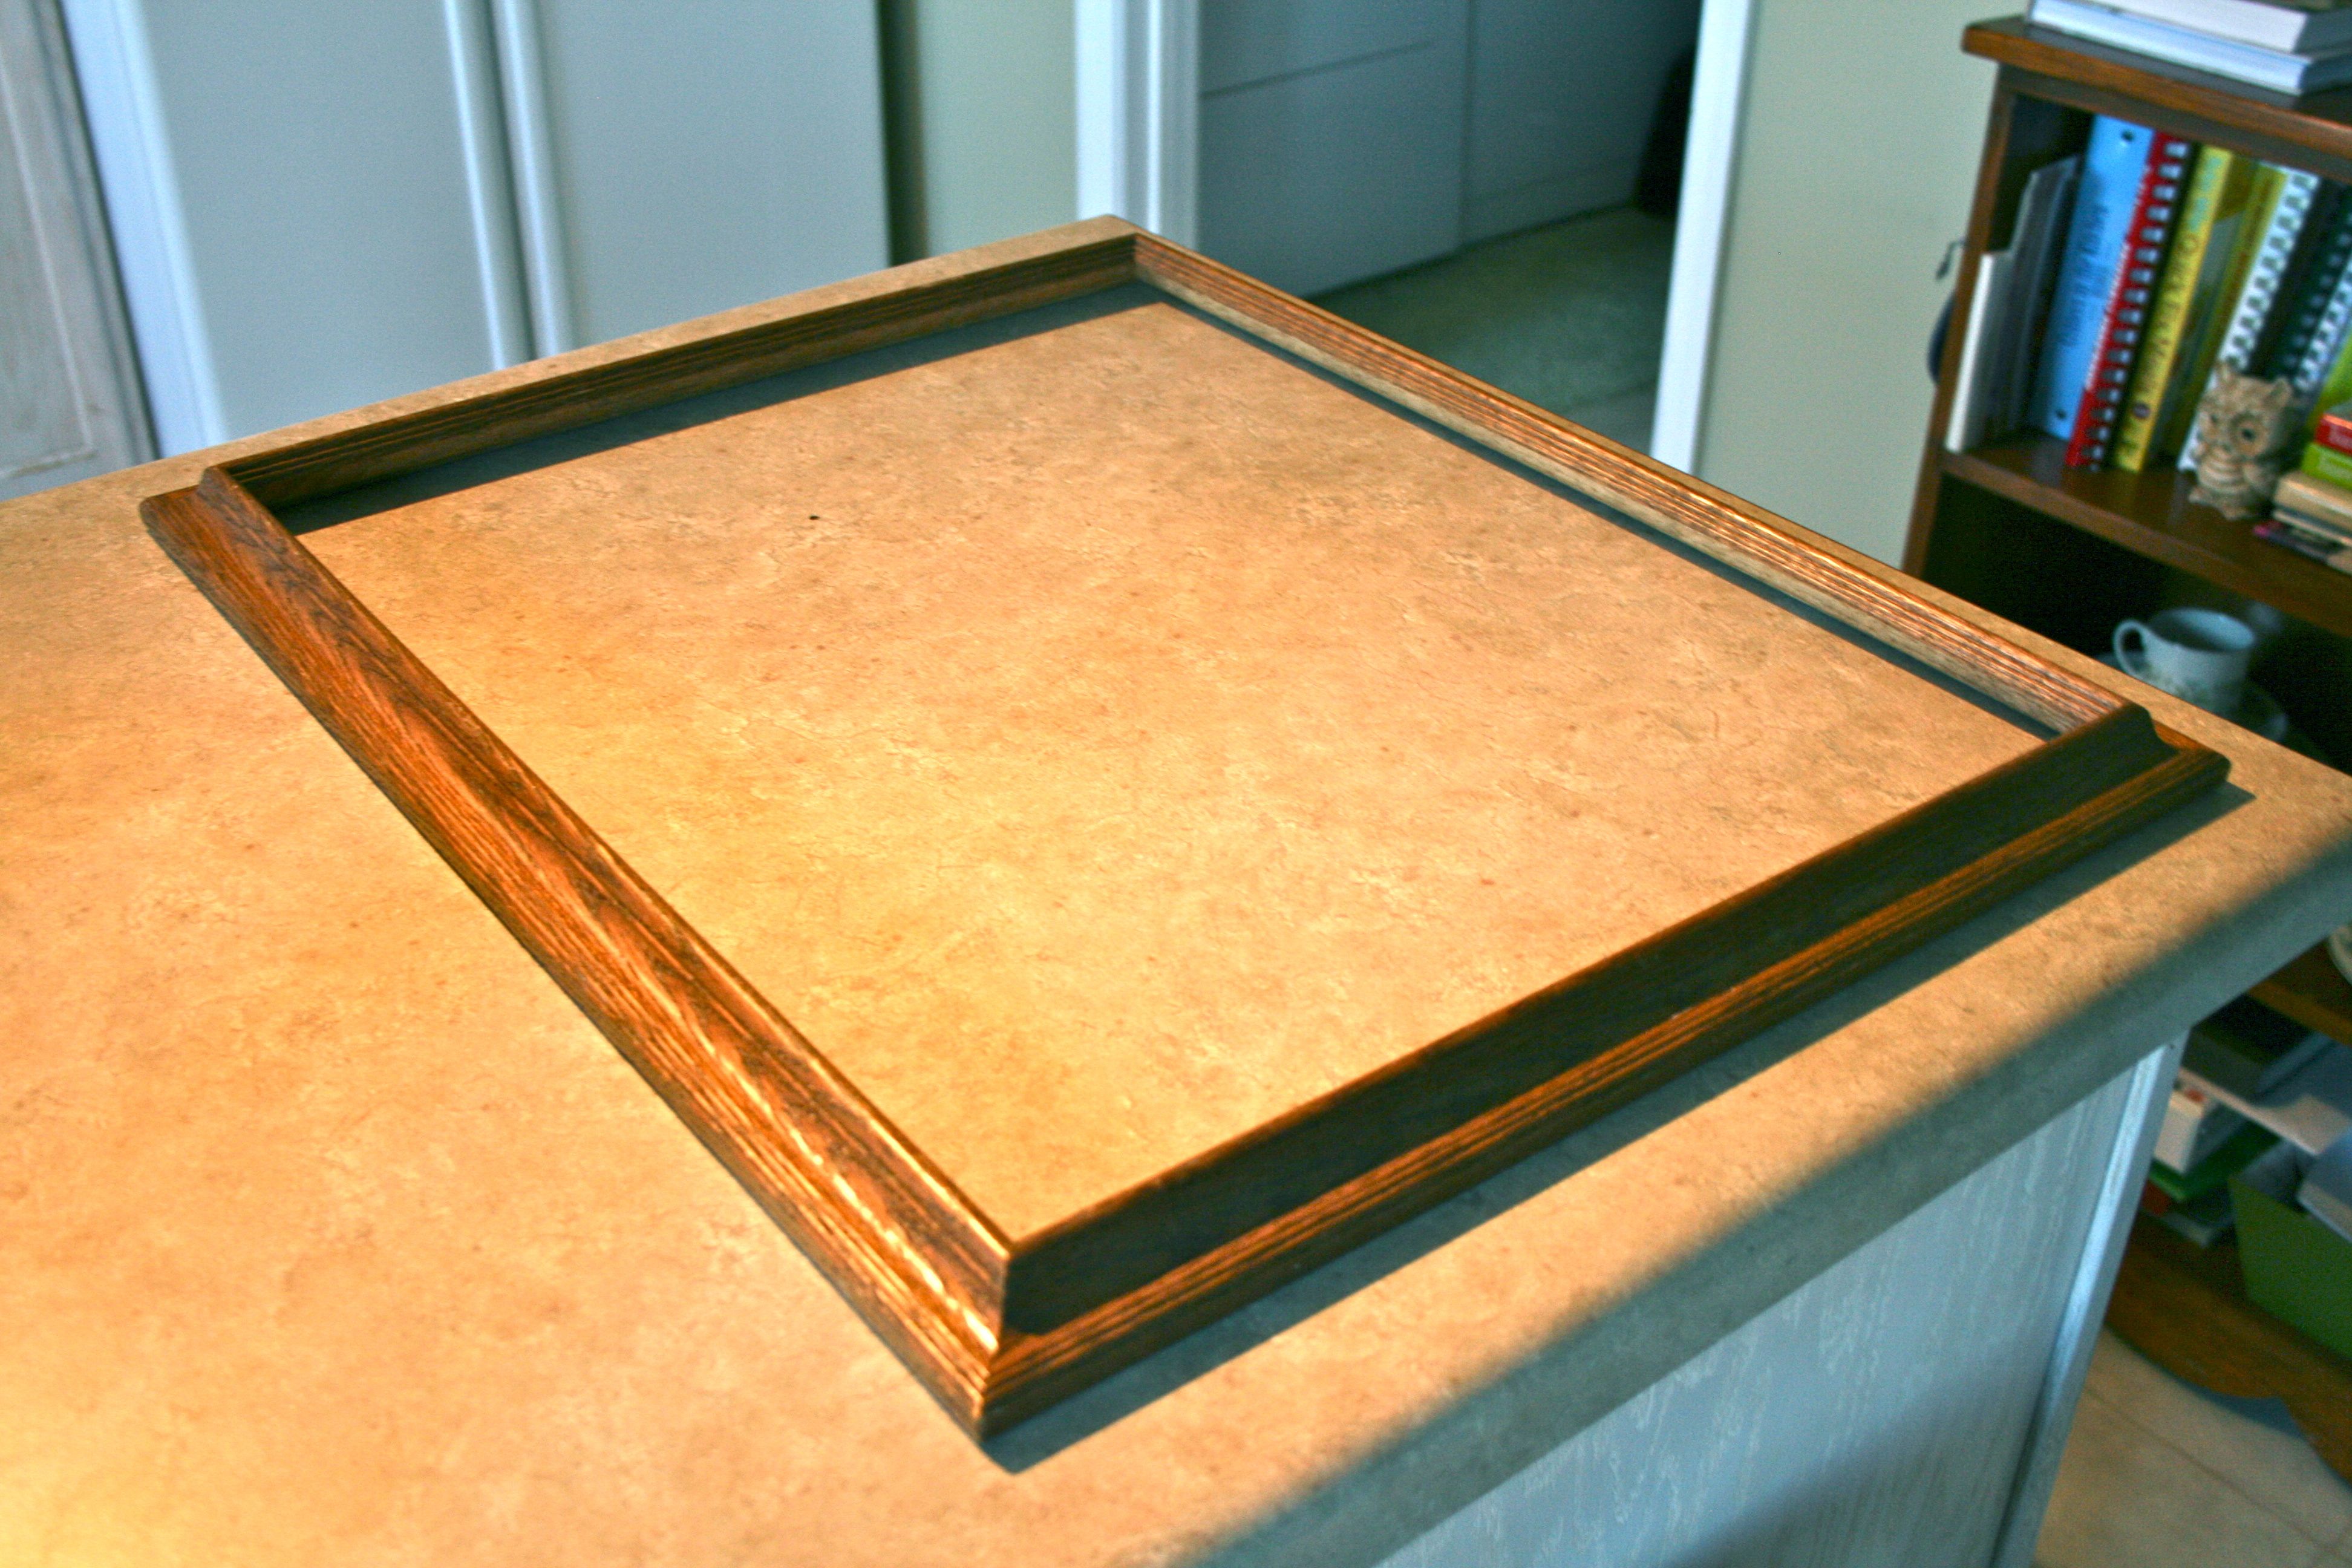
The very first thing you need is a frame. This will dictate the size of the peg board, so go ahead and track that down first. I have a go-to vintage frame shop in downtown Lynchburg when I need an old, open frame, but you can find new ones at craft or framing stores. Or just go to your local thrift store and look for an old painting – More than likely you can pop the old art out and give the frame a new life.
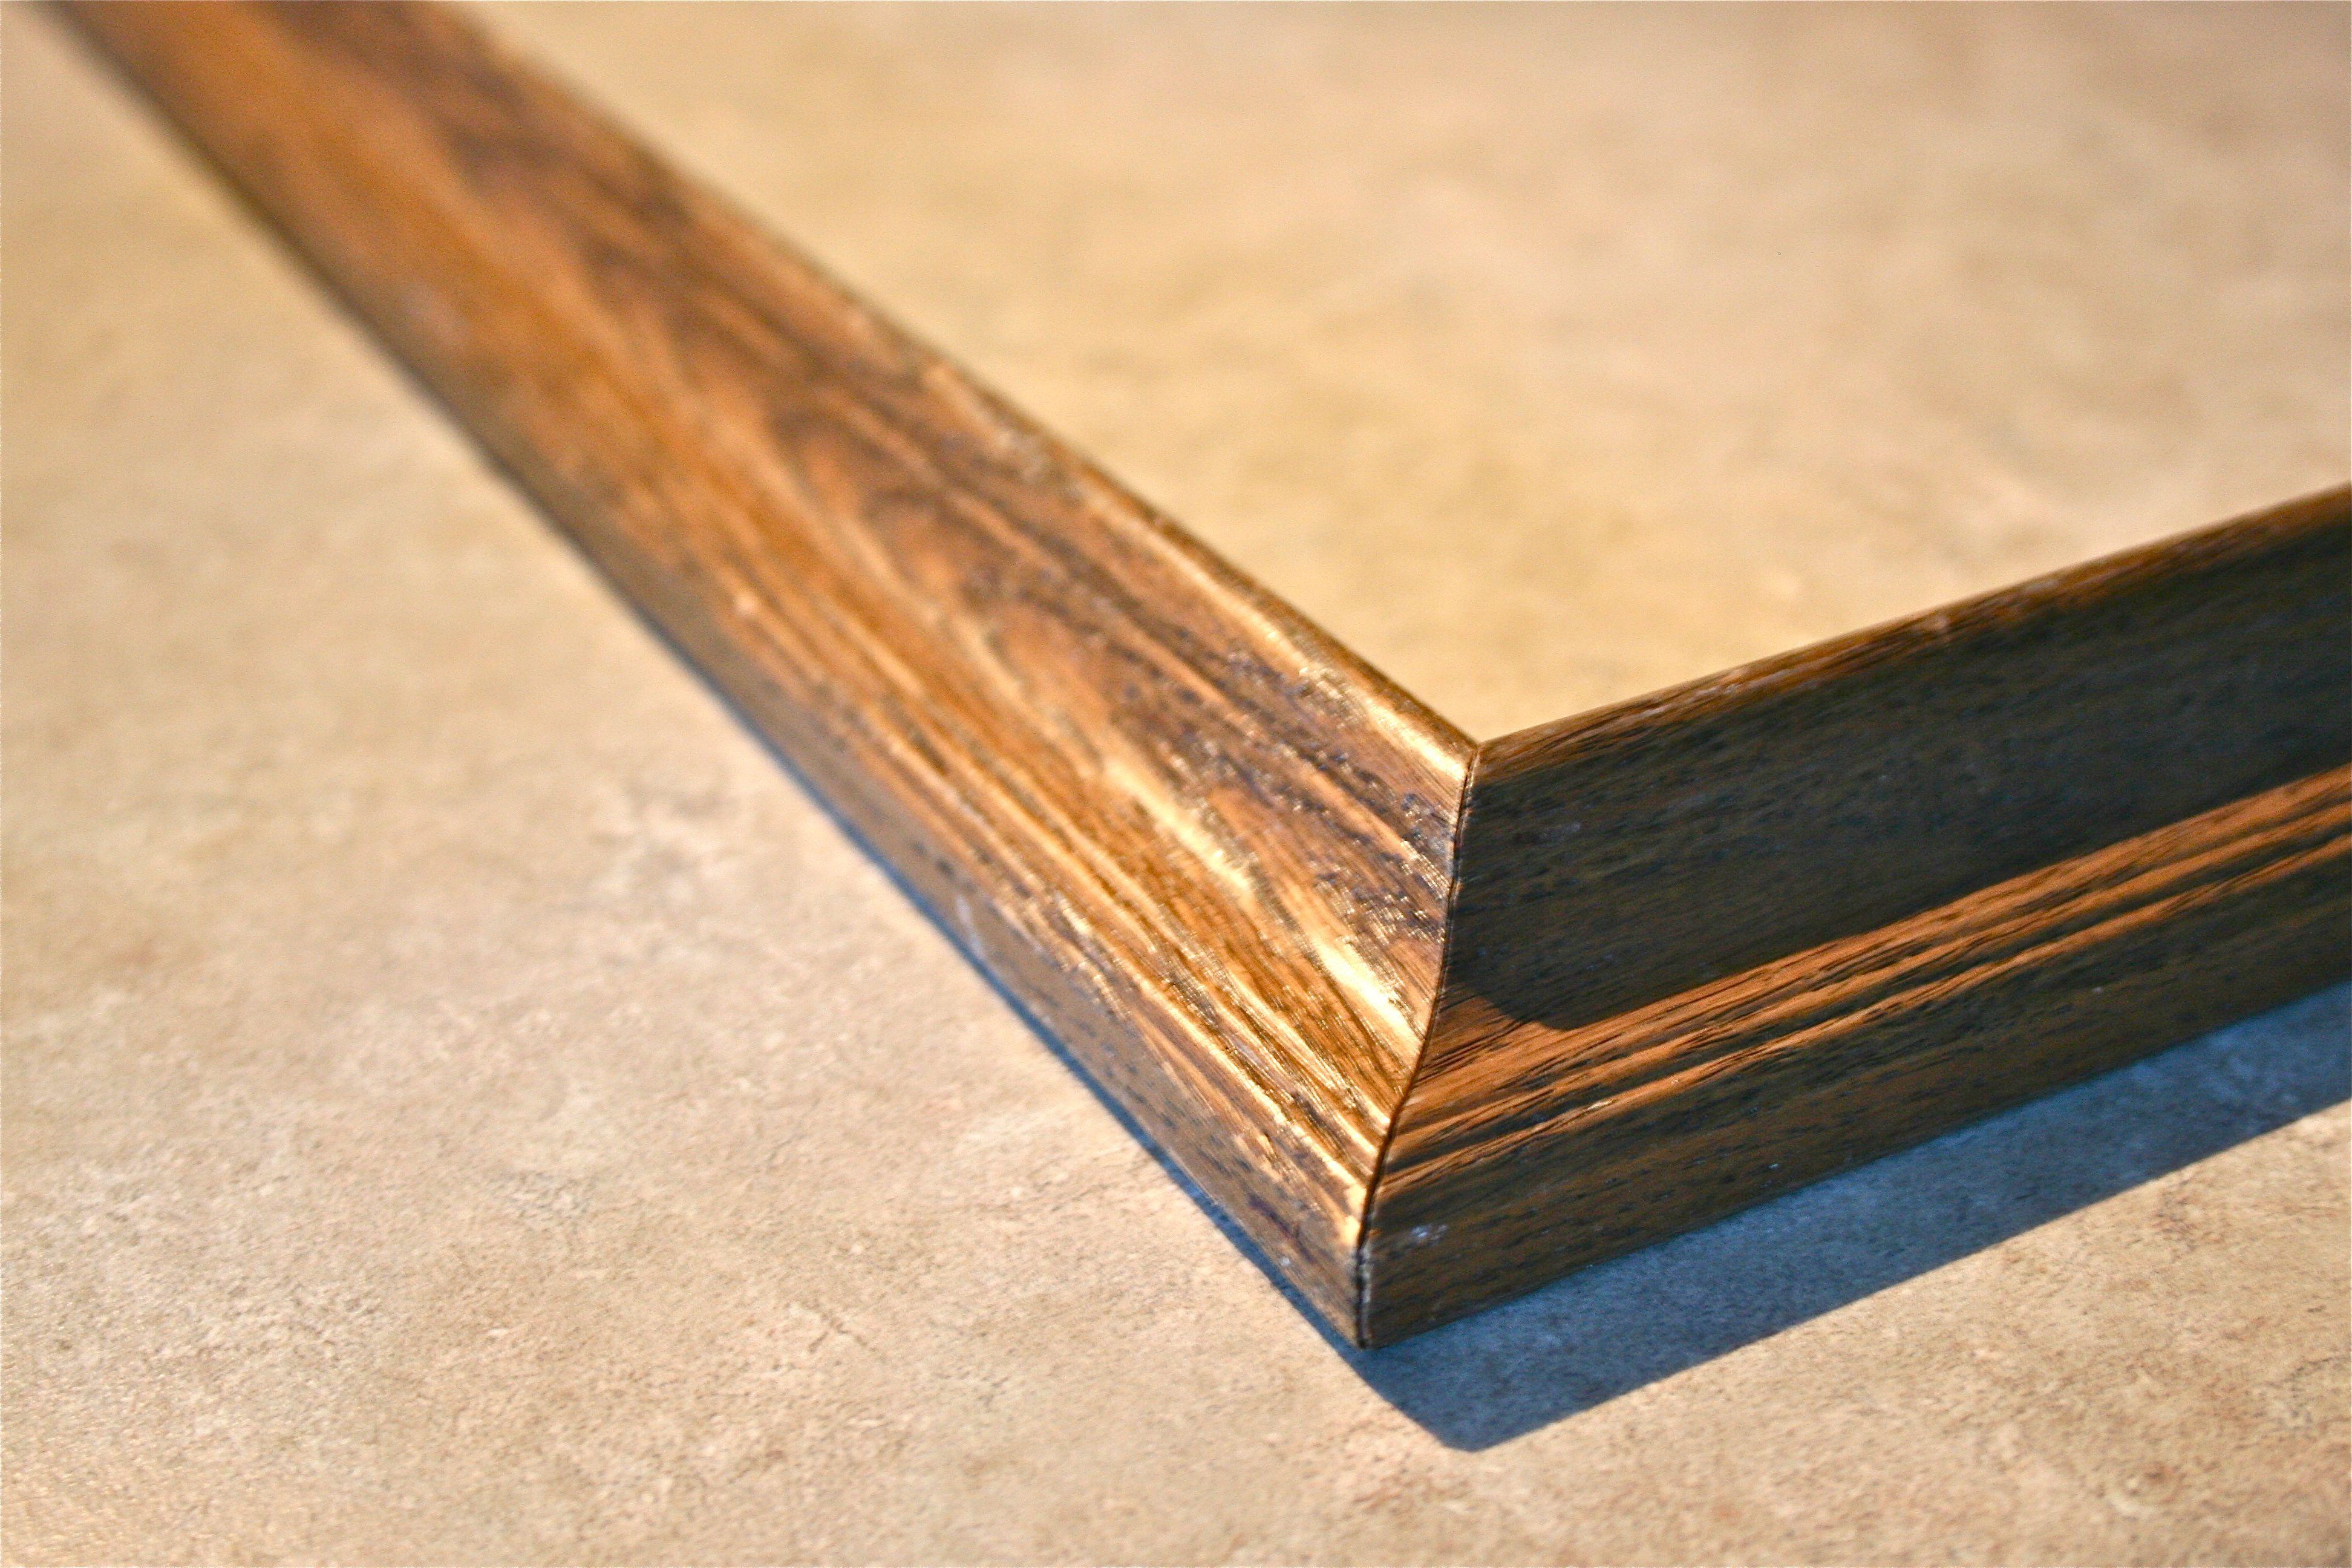
Here’s the one I picked up:
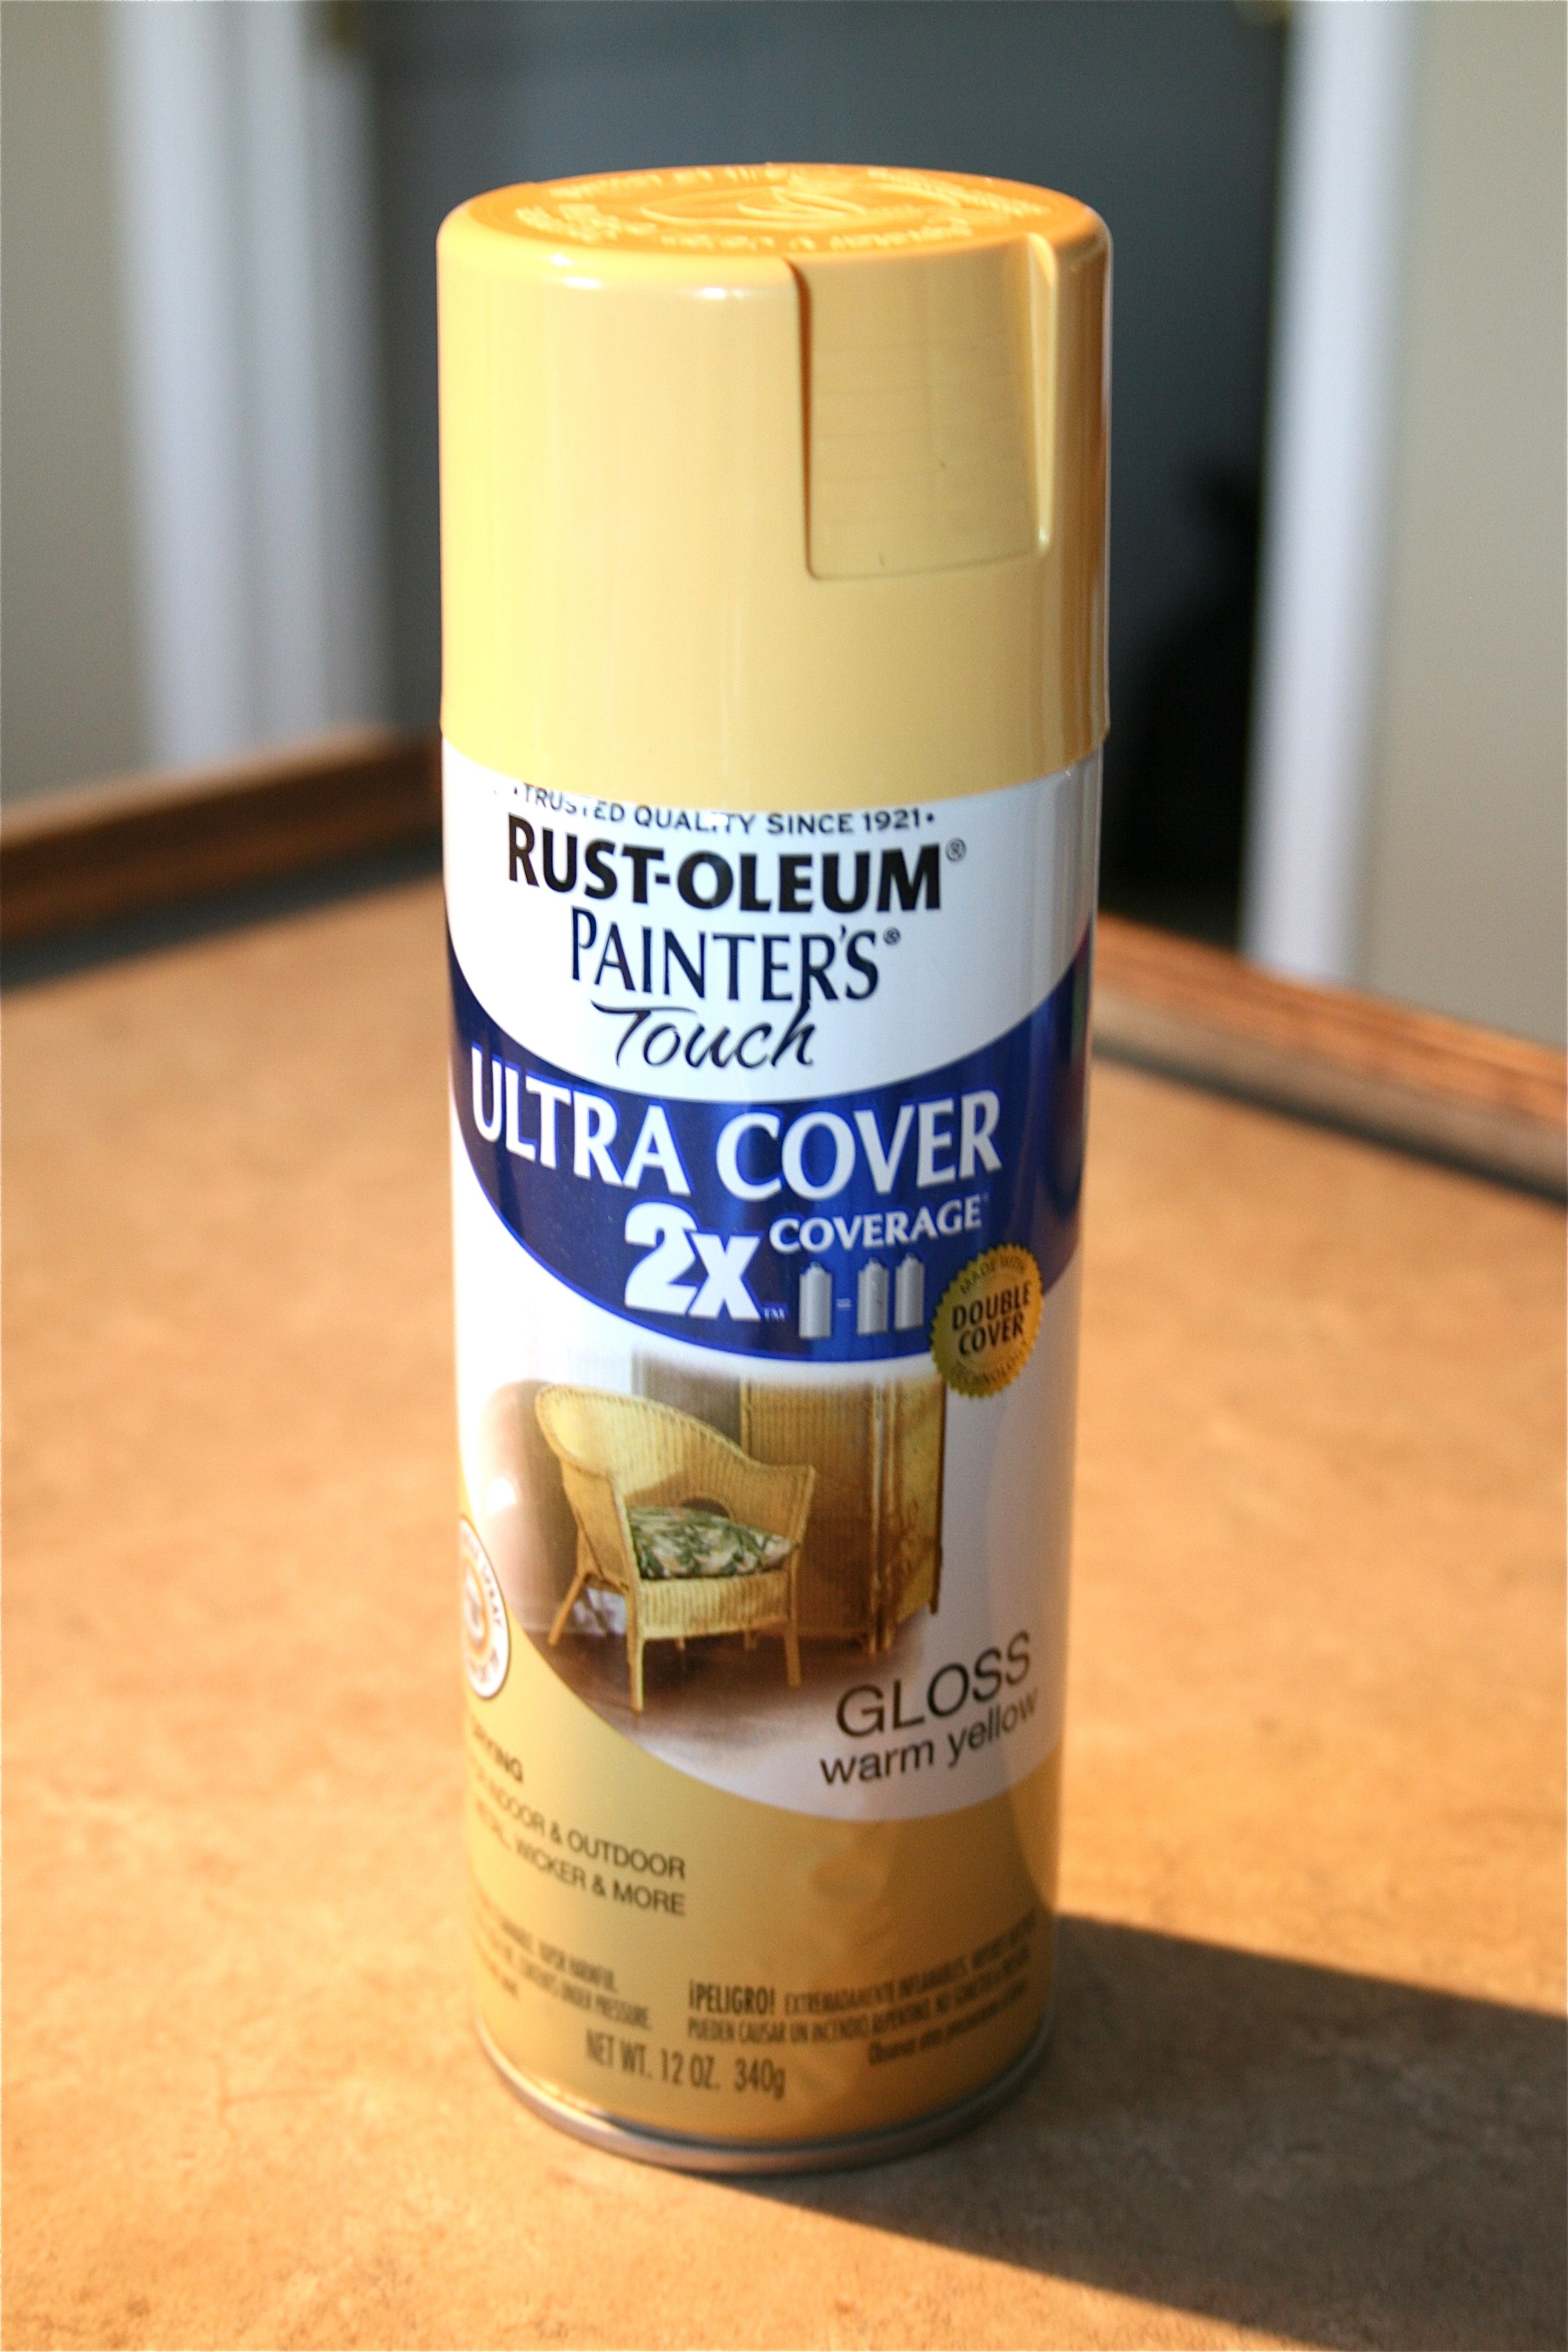
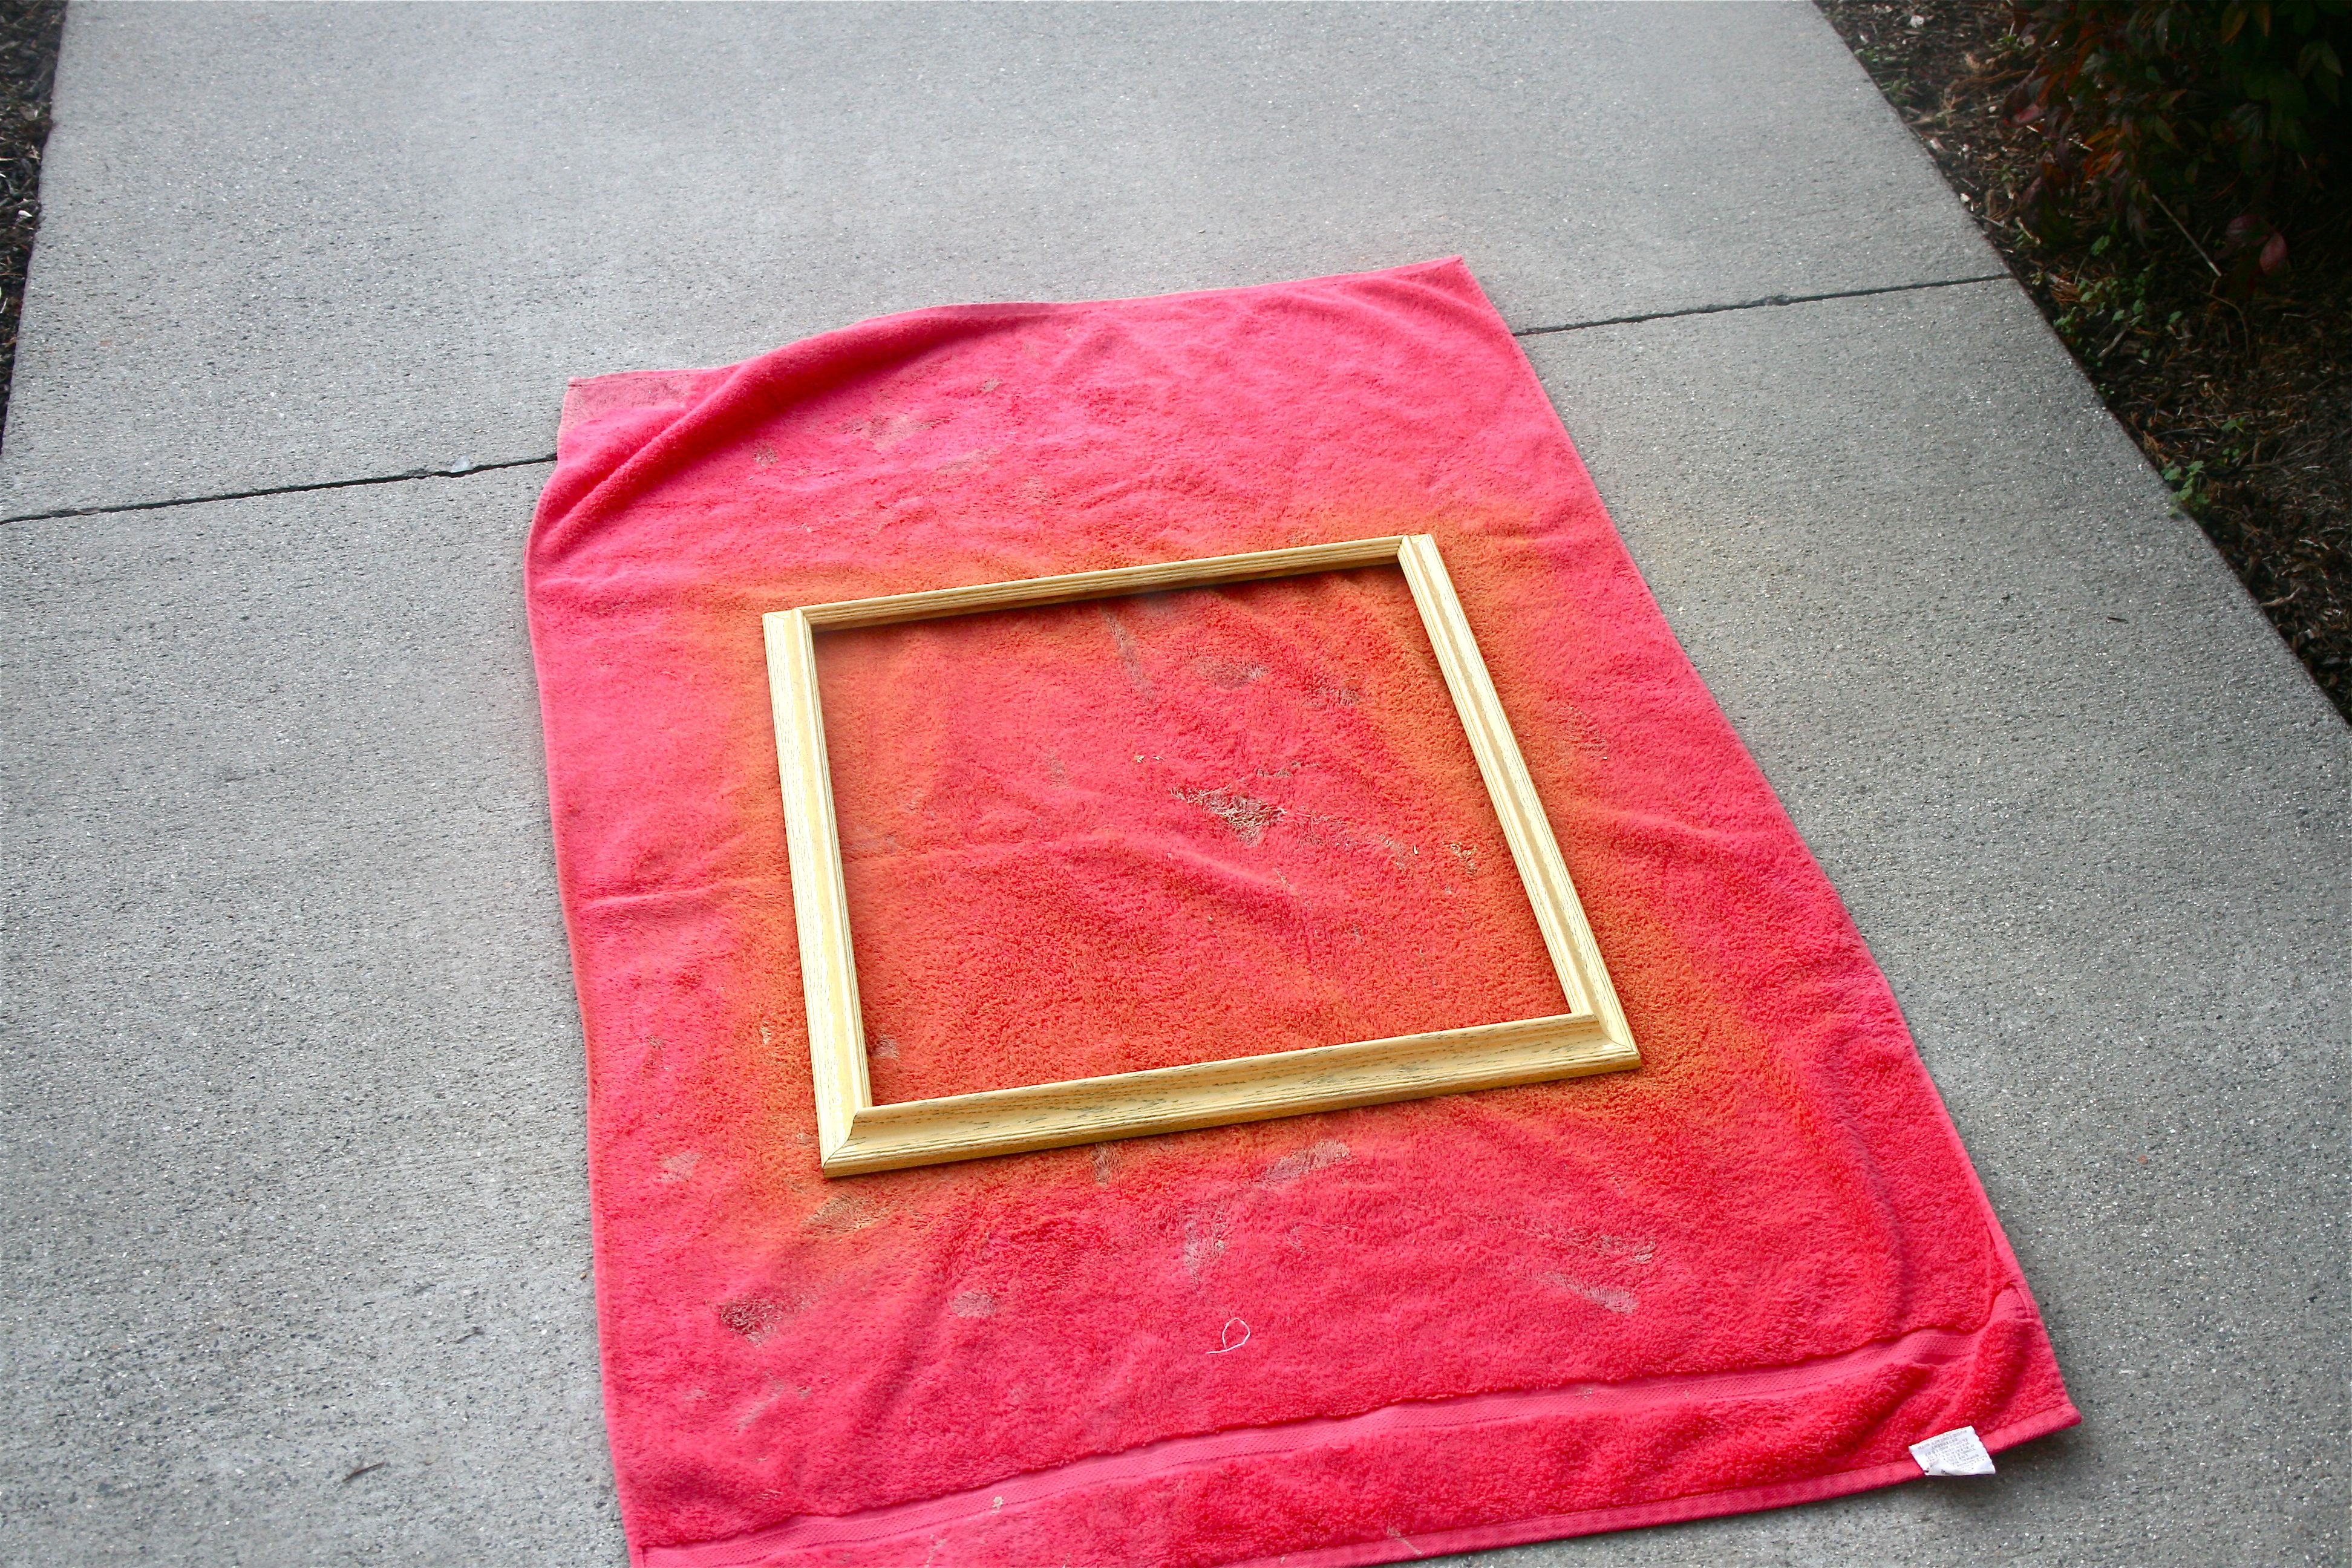
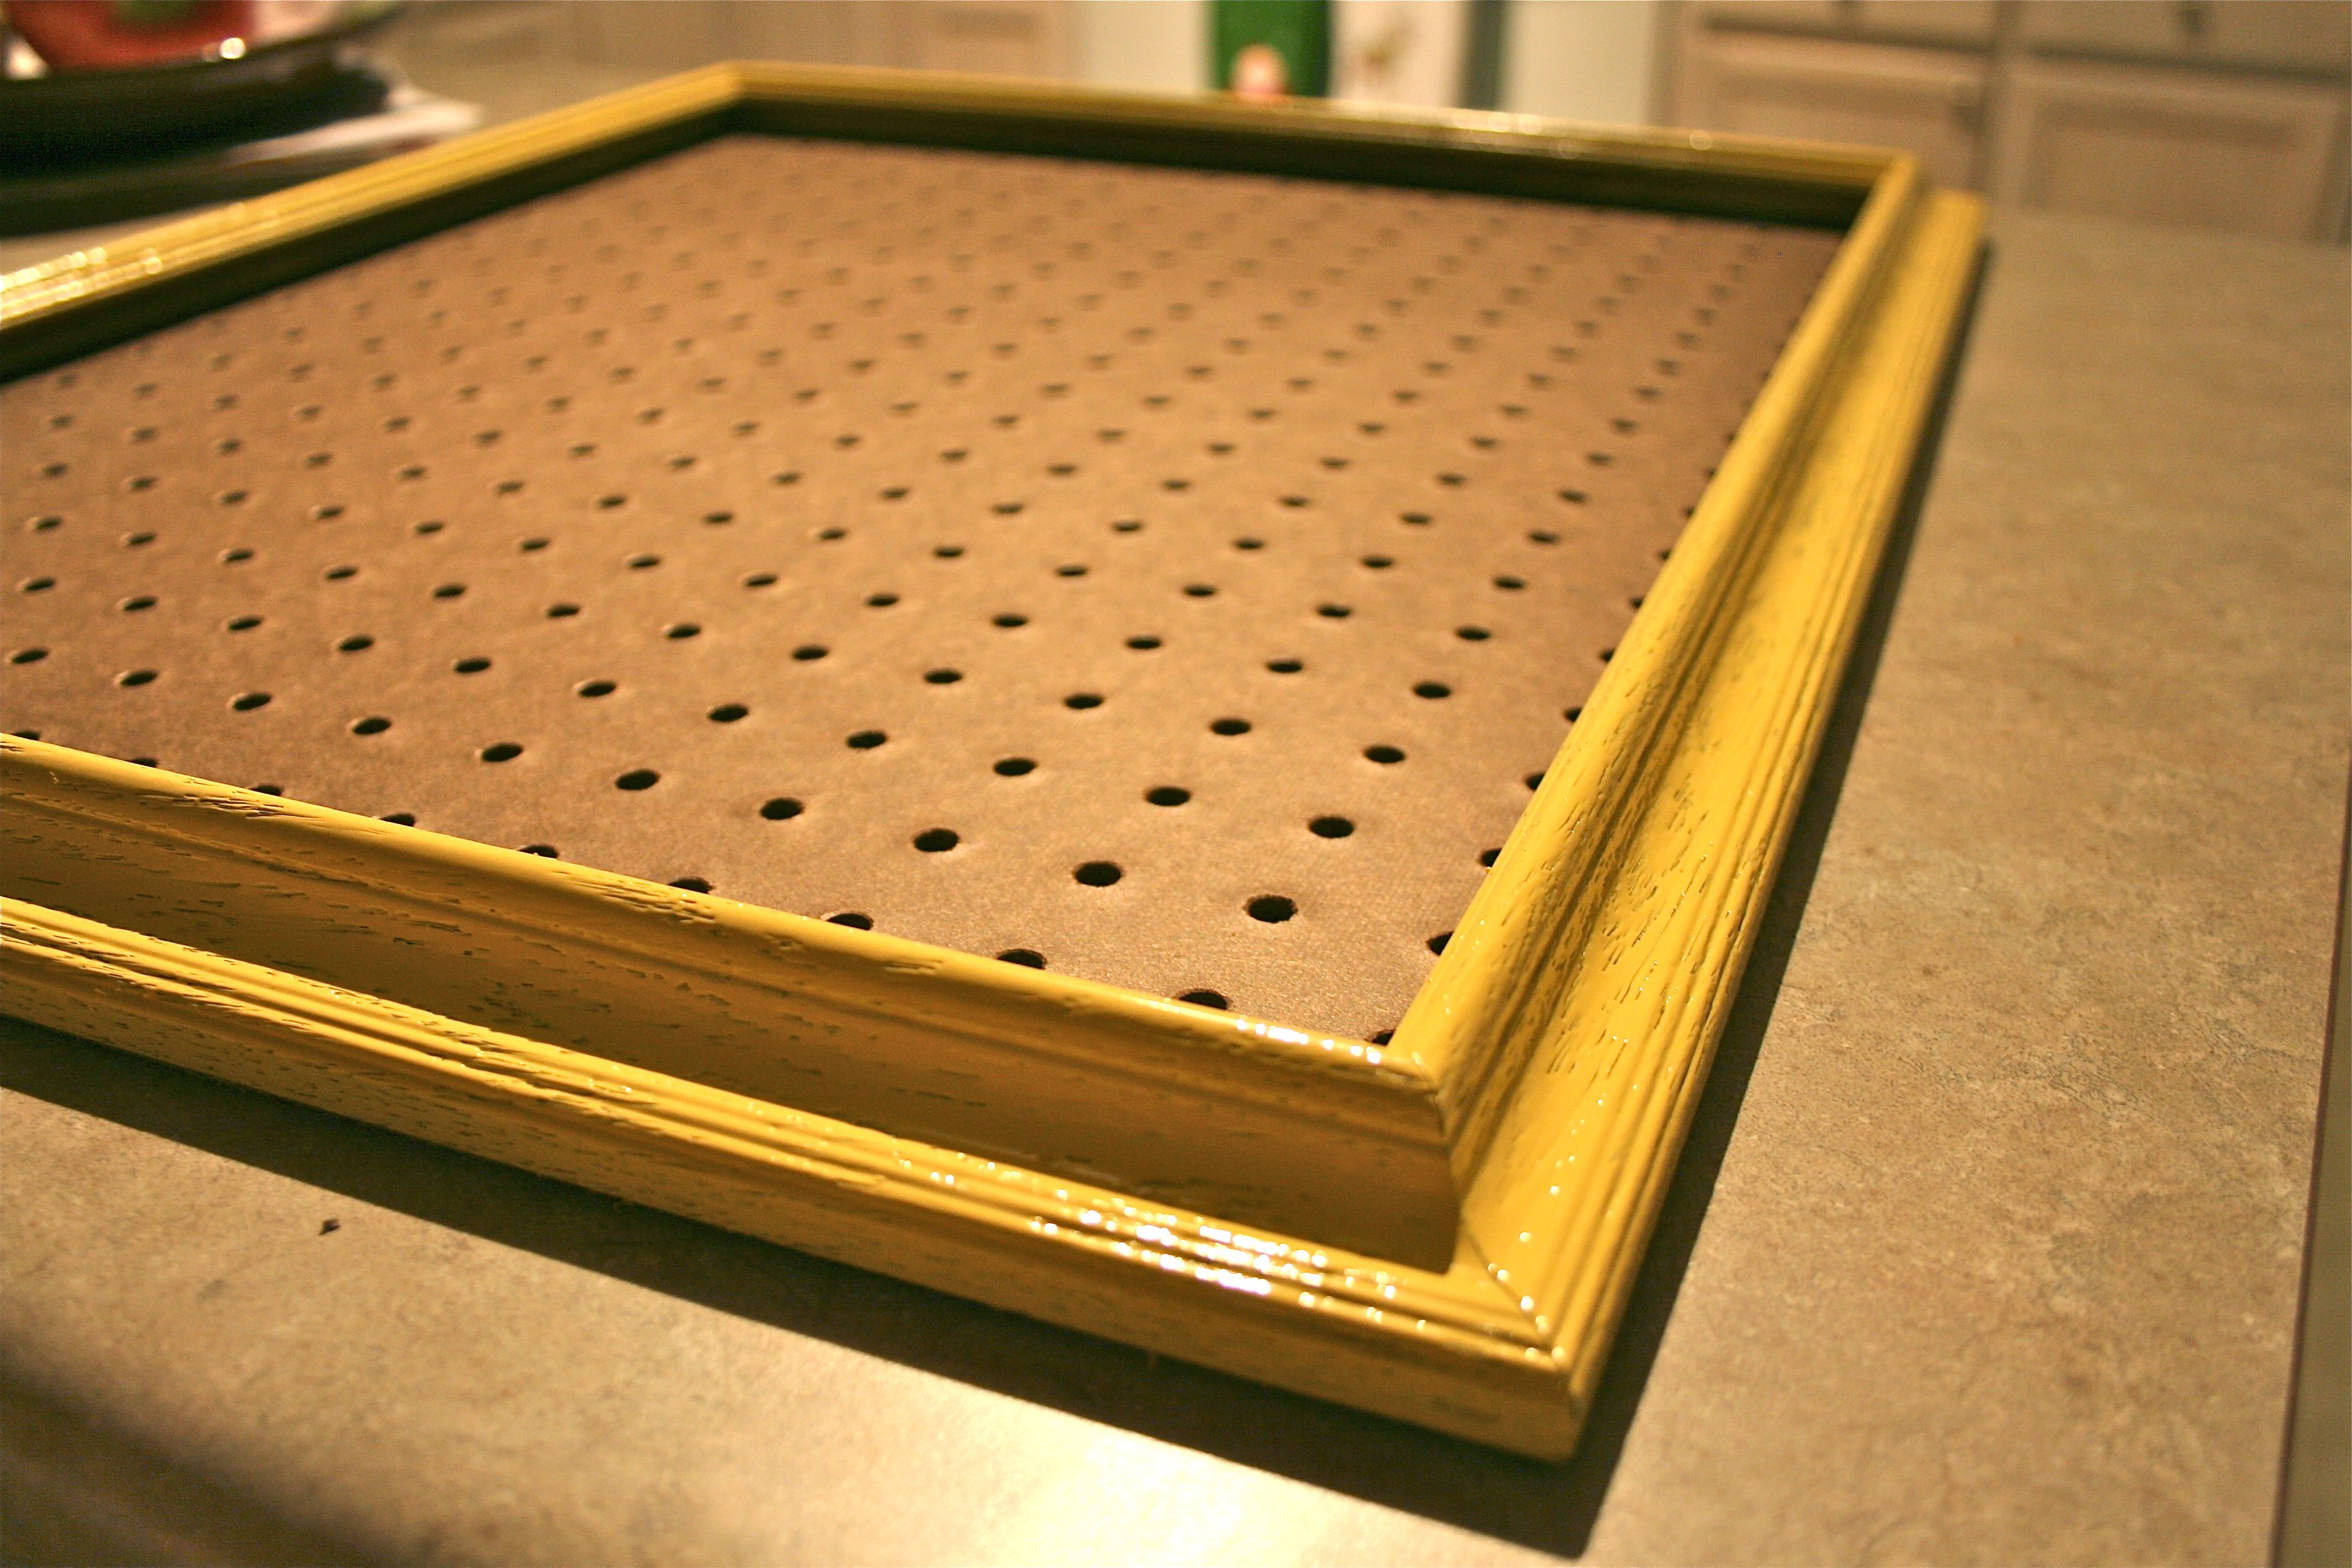
Now you know I’m not going to give my sophisticated and hip friend a dawdy old wood frame…The size and curvy edge was right, but I knew I was going to hit it was a bright color to bring it into the modern age. I chose a soft yellow to give it feminine pizzaz.
Much better…I wasn’t expecting the grain to show through (that’s what I get for taking home an oak wood frame, which has a deeper grain then most woods), but I actually learned to like the lines and cracks through the paint. I feel like it gives it a bit more character.
As you can see from the photo above, we also picked up our peg board. If you’ve read the first post where I originally documented this project, you’ll note that John cut our peg board to size using a hack saw…This time, we took the easy route and had the handy-dandy lumber department man at Lowe’s cut it down to size for us. We brought the frame in to the store one night and the guy measured and cut our piece of $8 board to fit perfectly inside the lip of the frame in about five minutes. For FREE! Love love love that they do that for their customers…And I have plenty of leftover board for future projects – Bonus!
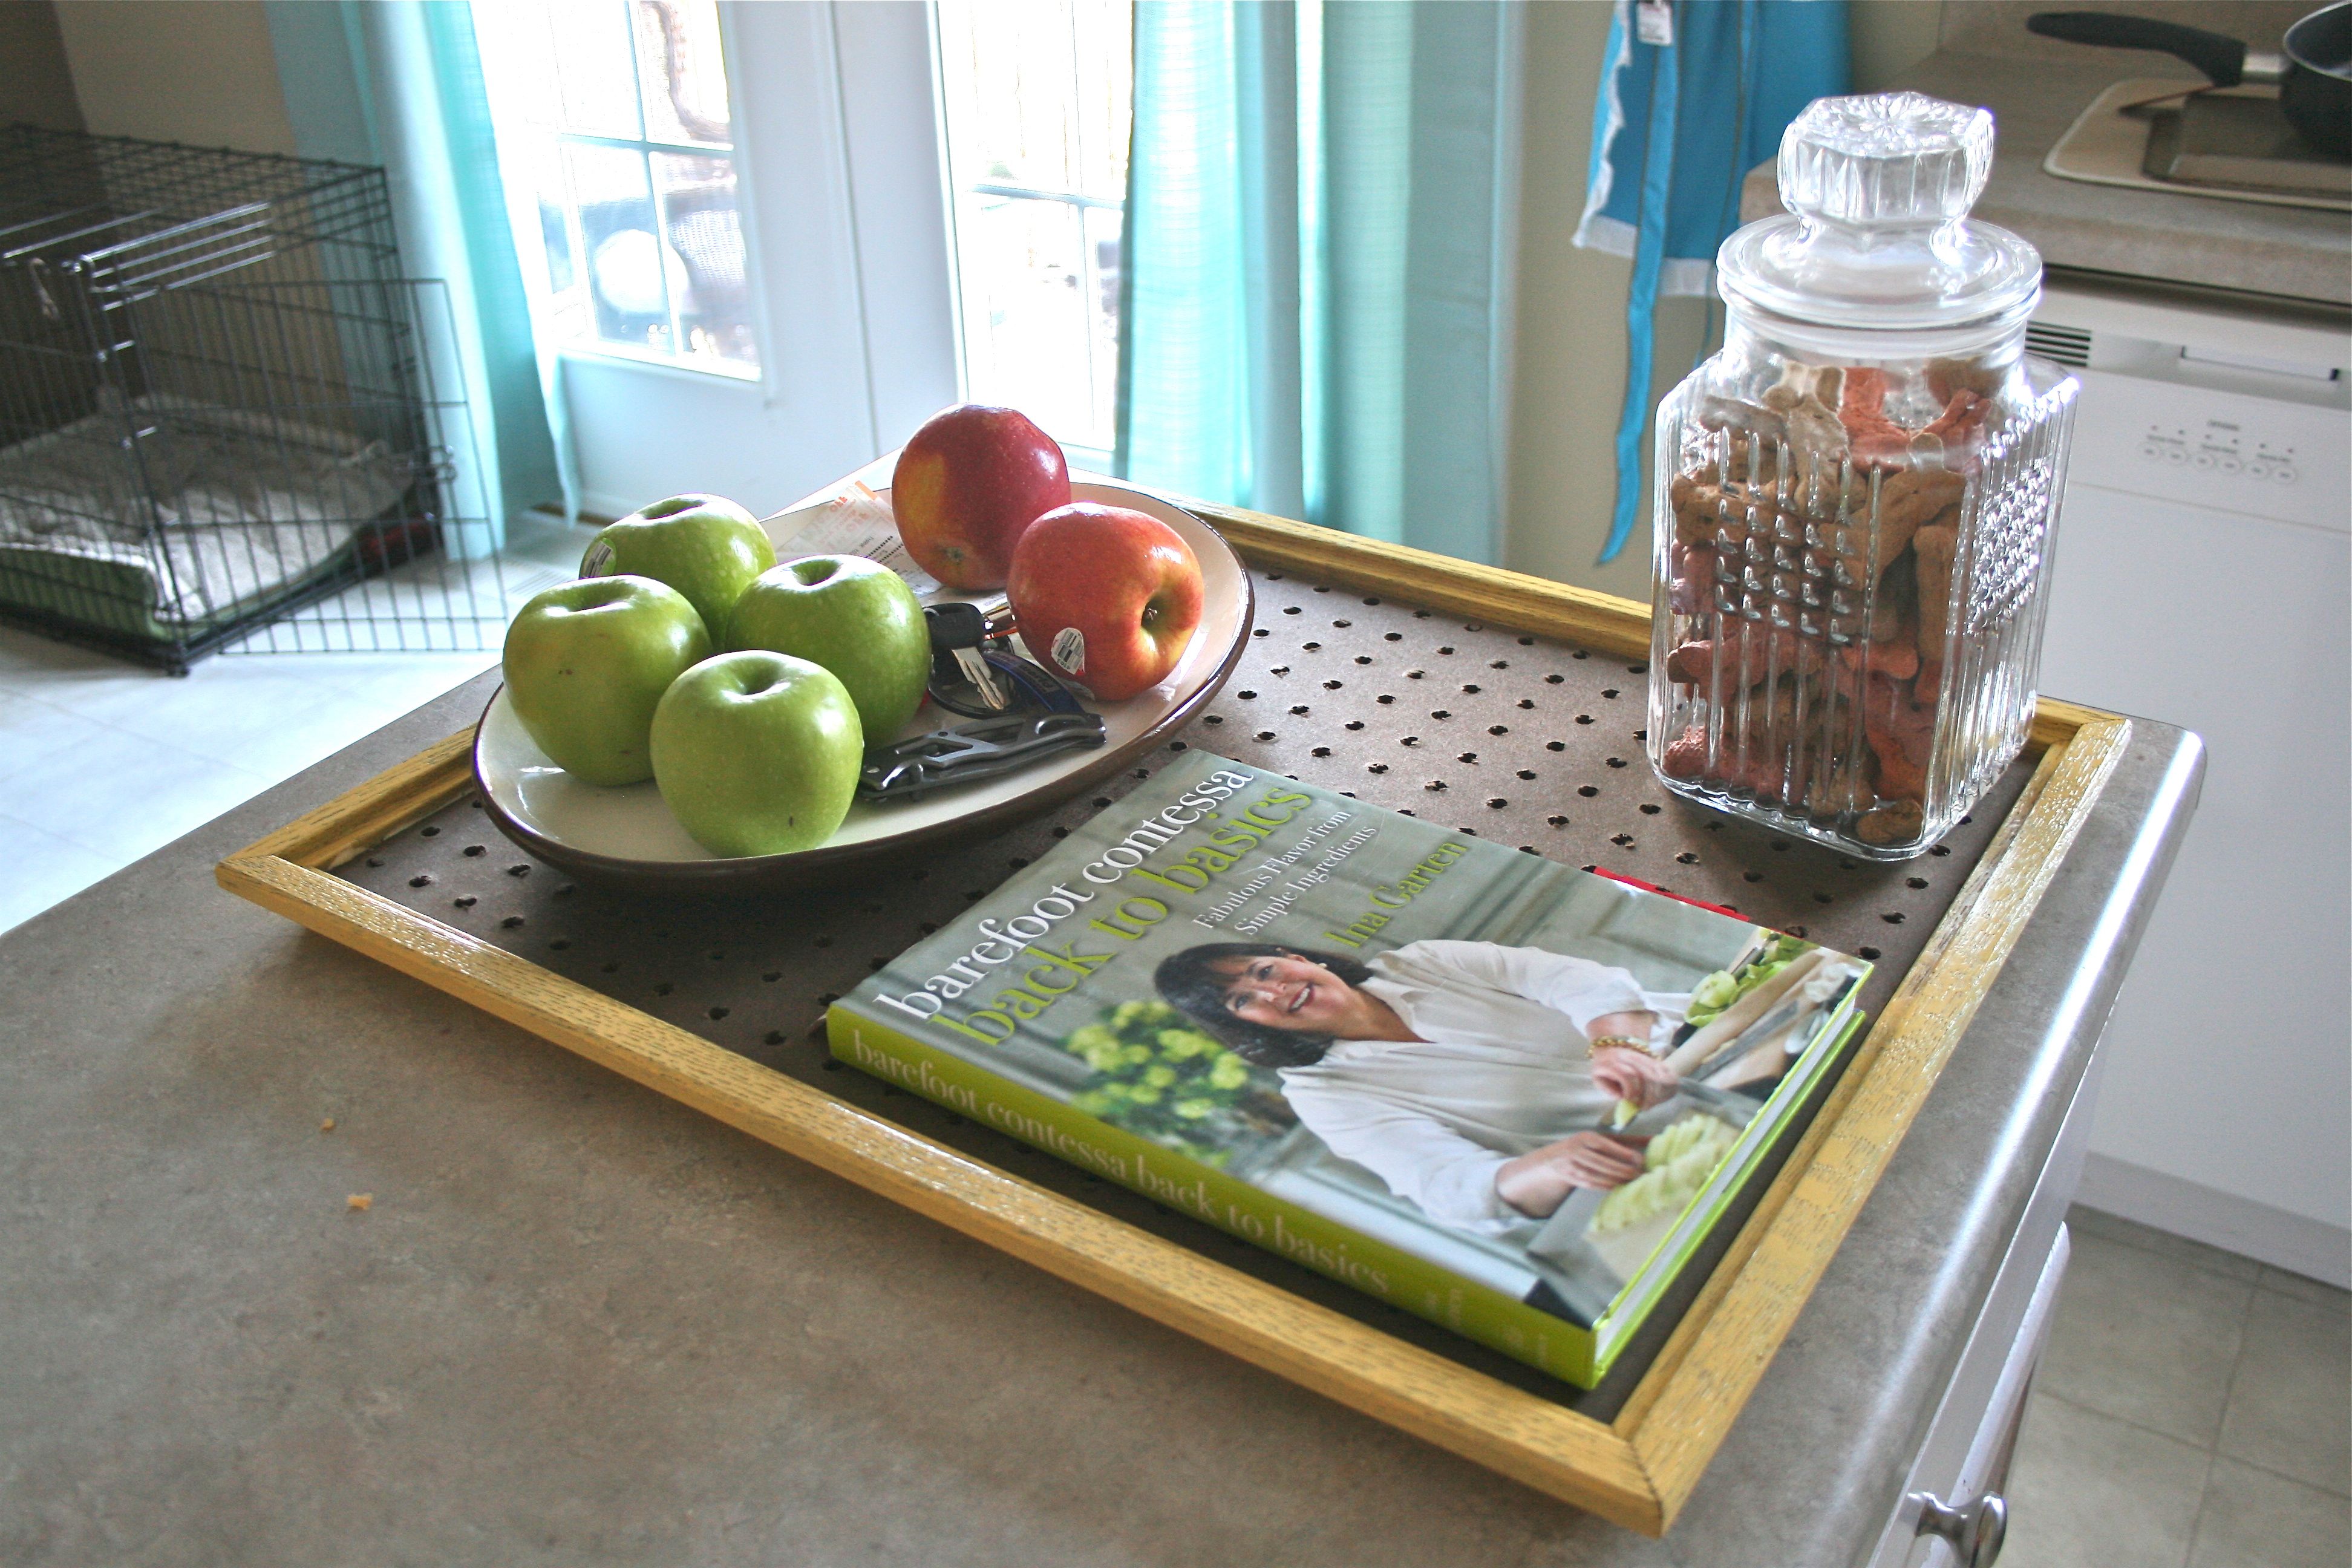
After letting the spray paint dry over night, I flipped the frame over and put a line of wood glue down all four sides of the frame’s inside lip. Then I gingerly laid the board on top and, being too lazy to trek downstairs for clamps, I proceeded to weigh it down with odds and ends from the kitchen: A cookbook, a platter of fruit and our new dog treat jar.
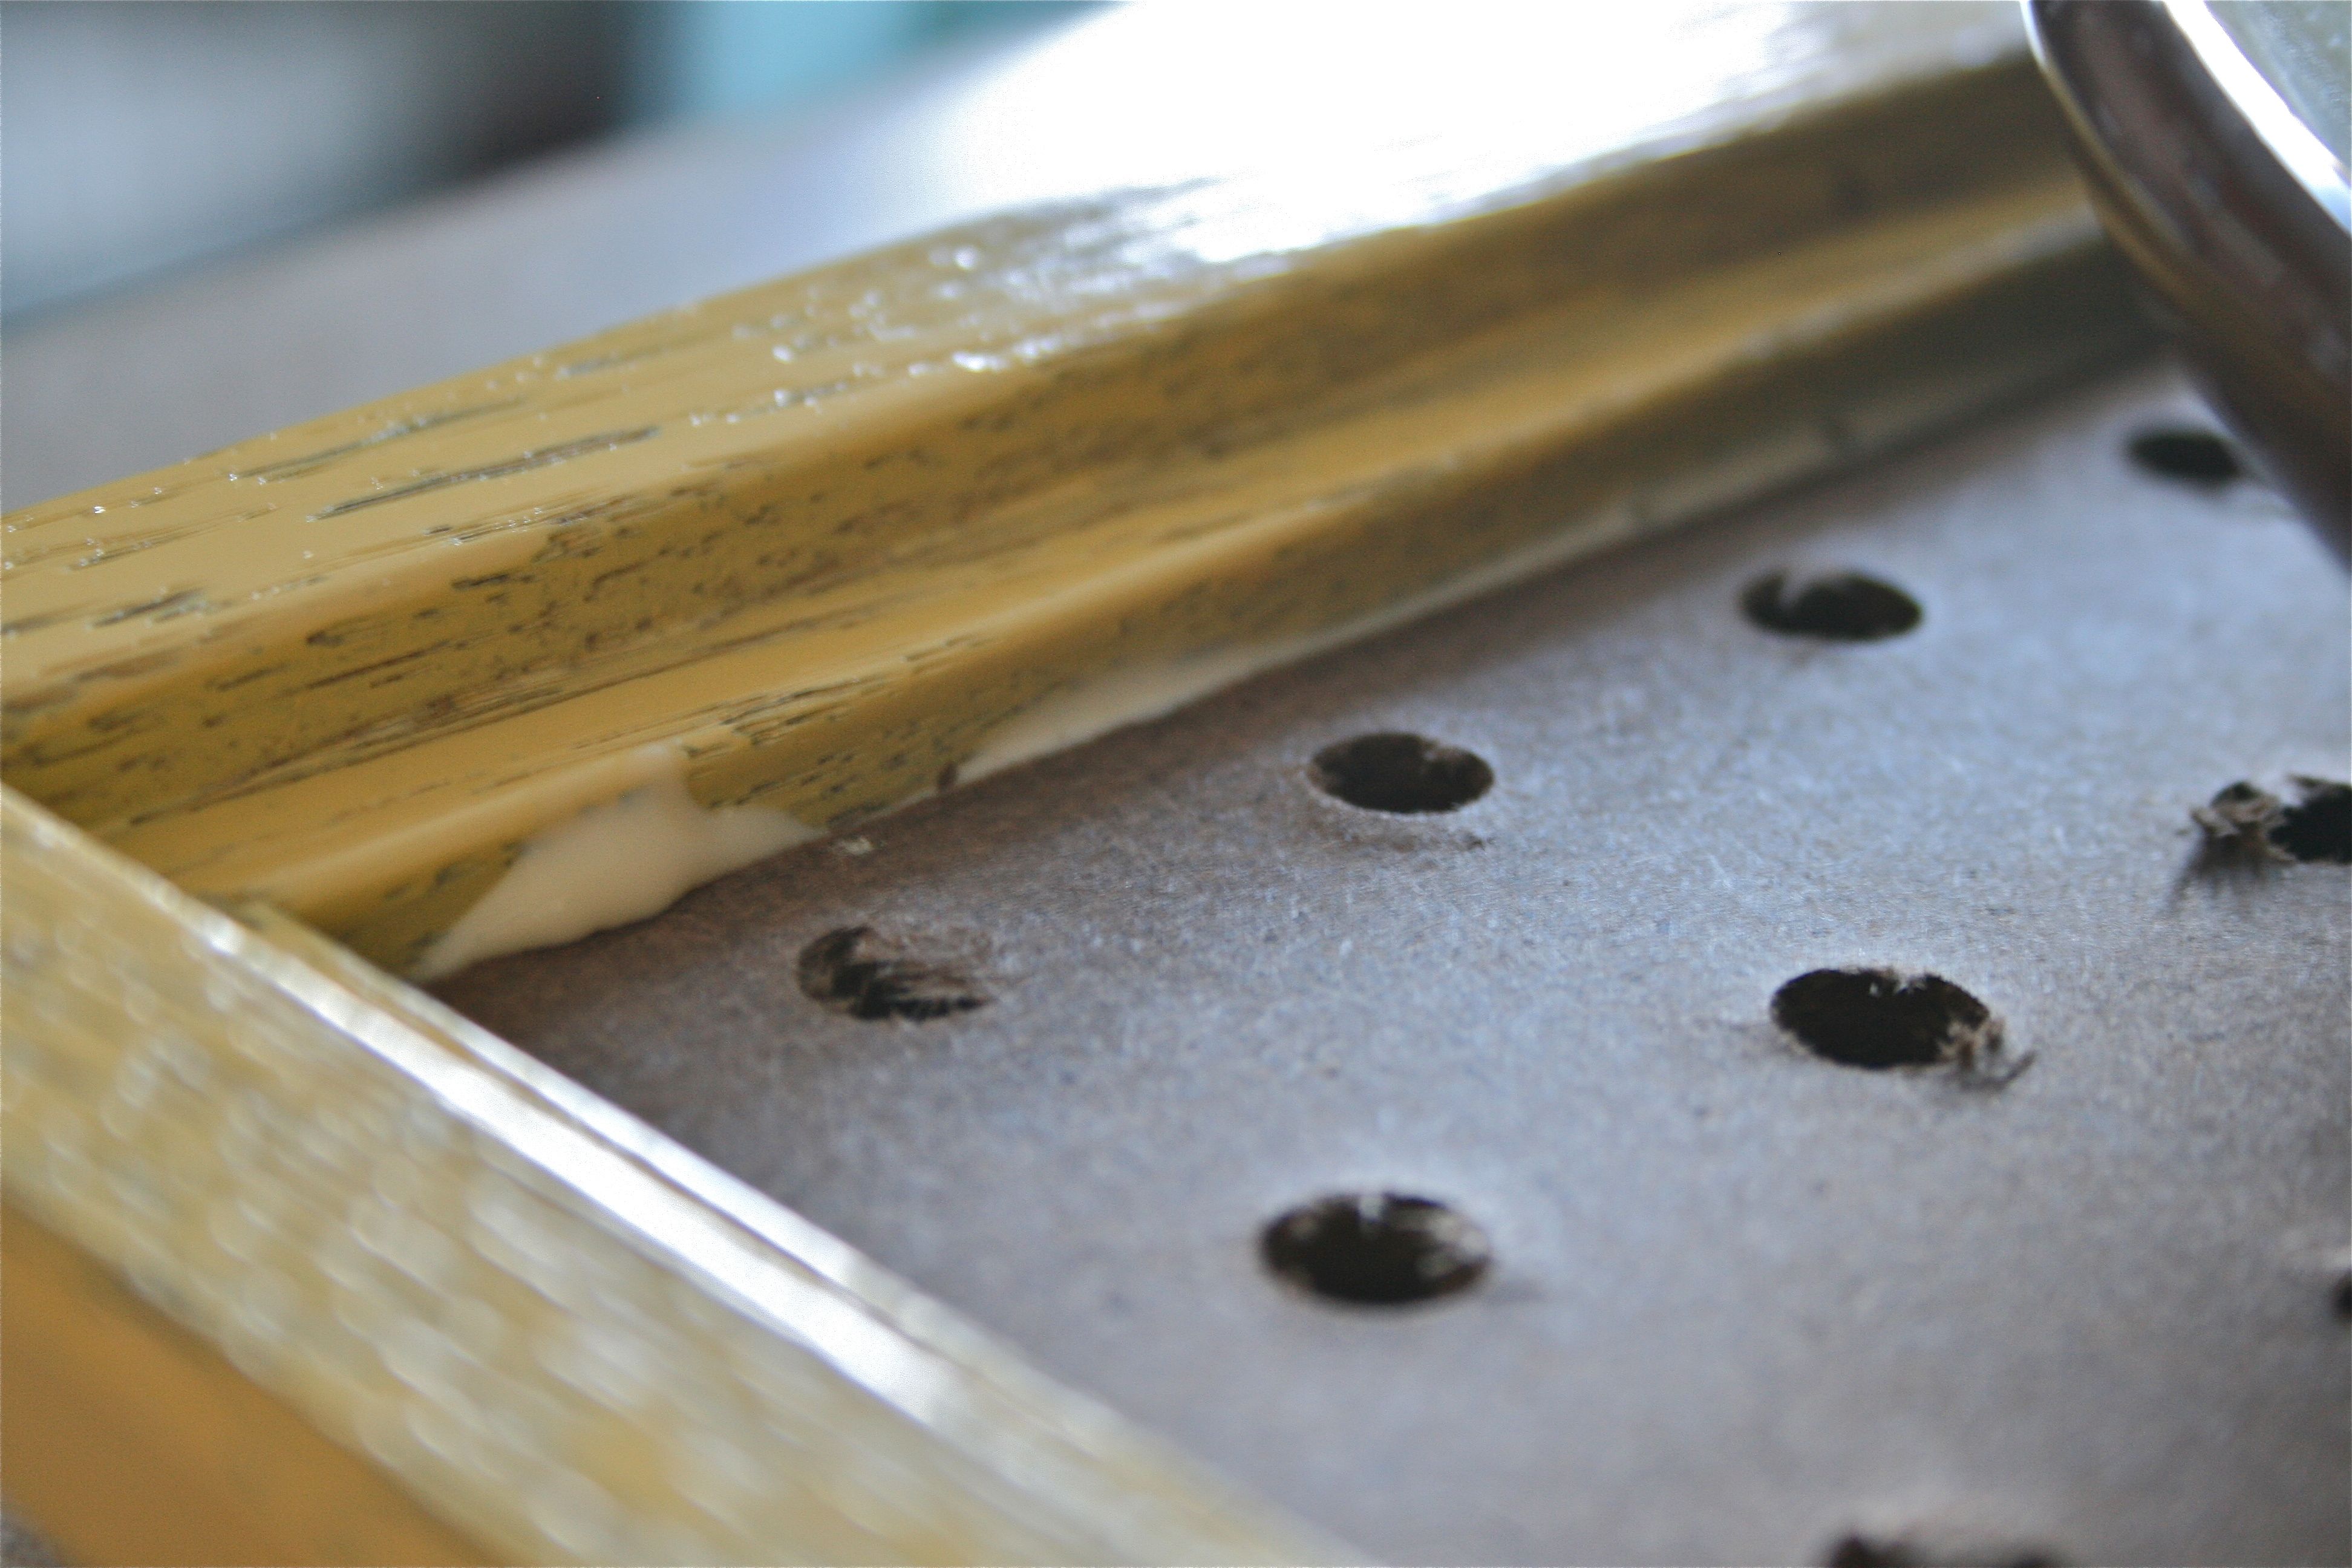
See the wood glue there on the edge above? Don’t worry – It dries clear and you won’t see it once all is said and done. That sat for another day to dry completely and then it was time for the f-u-n part…The drawer pulls!!!
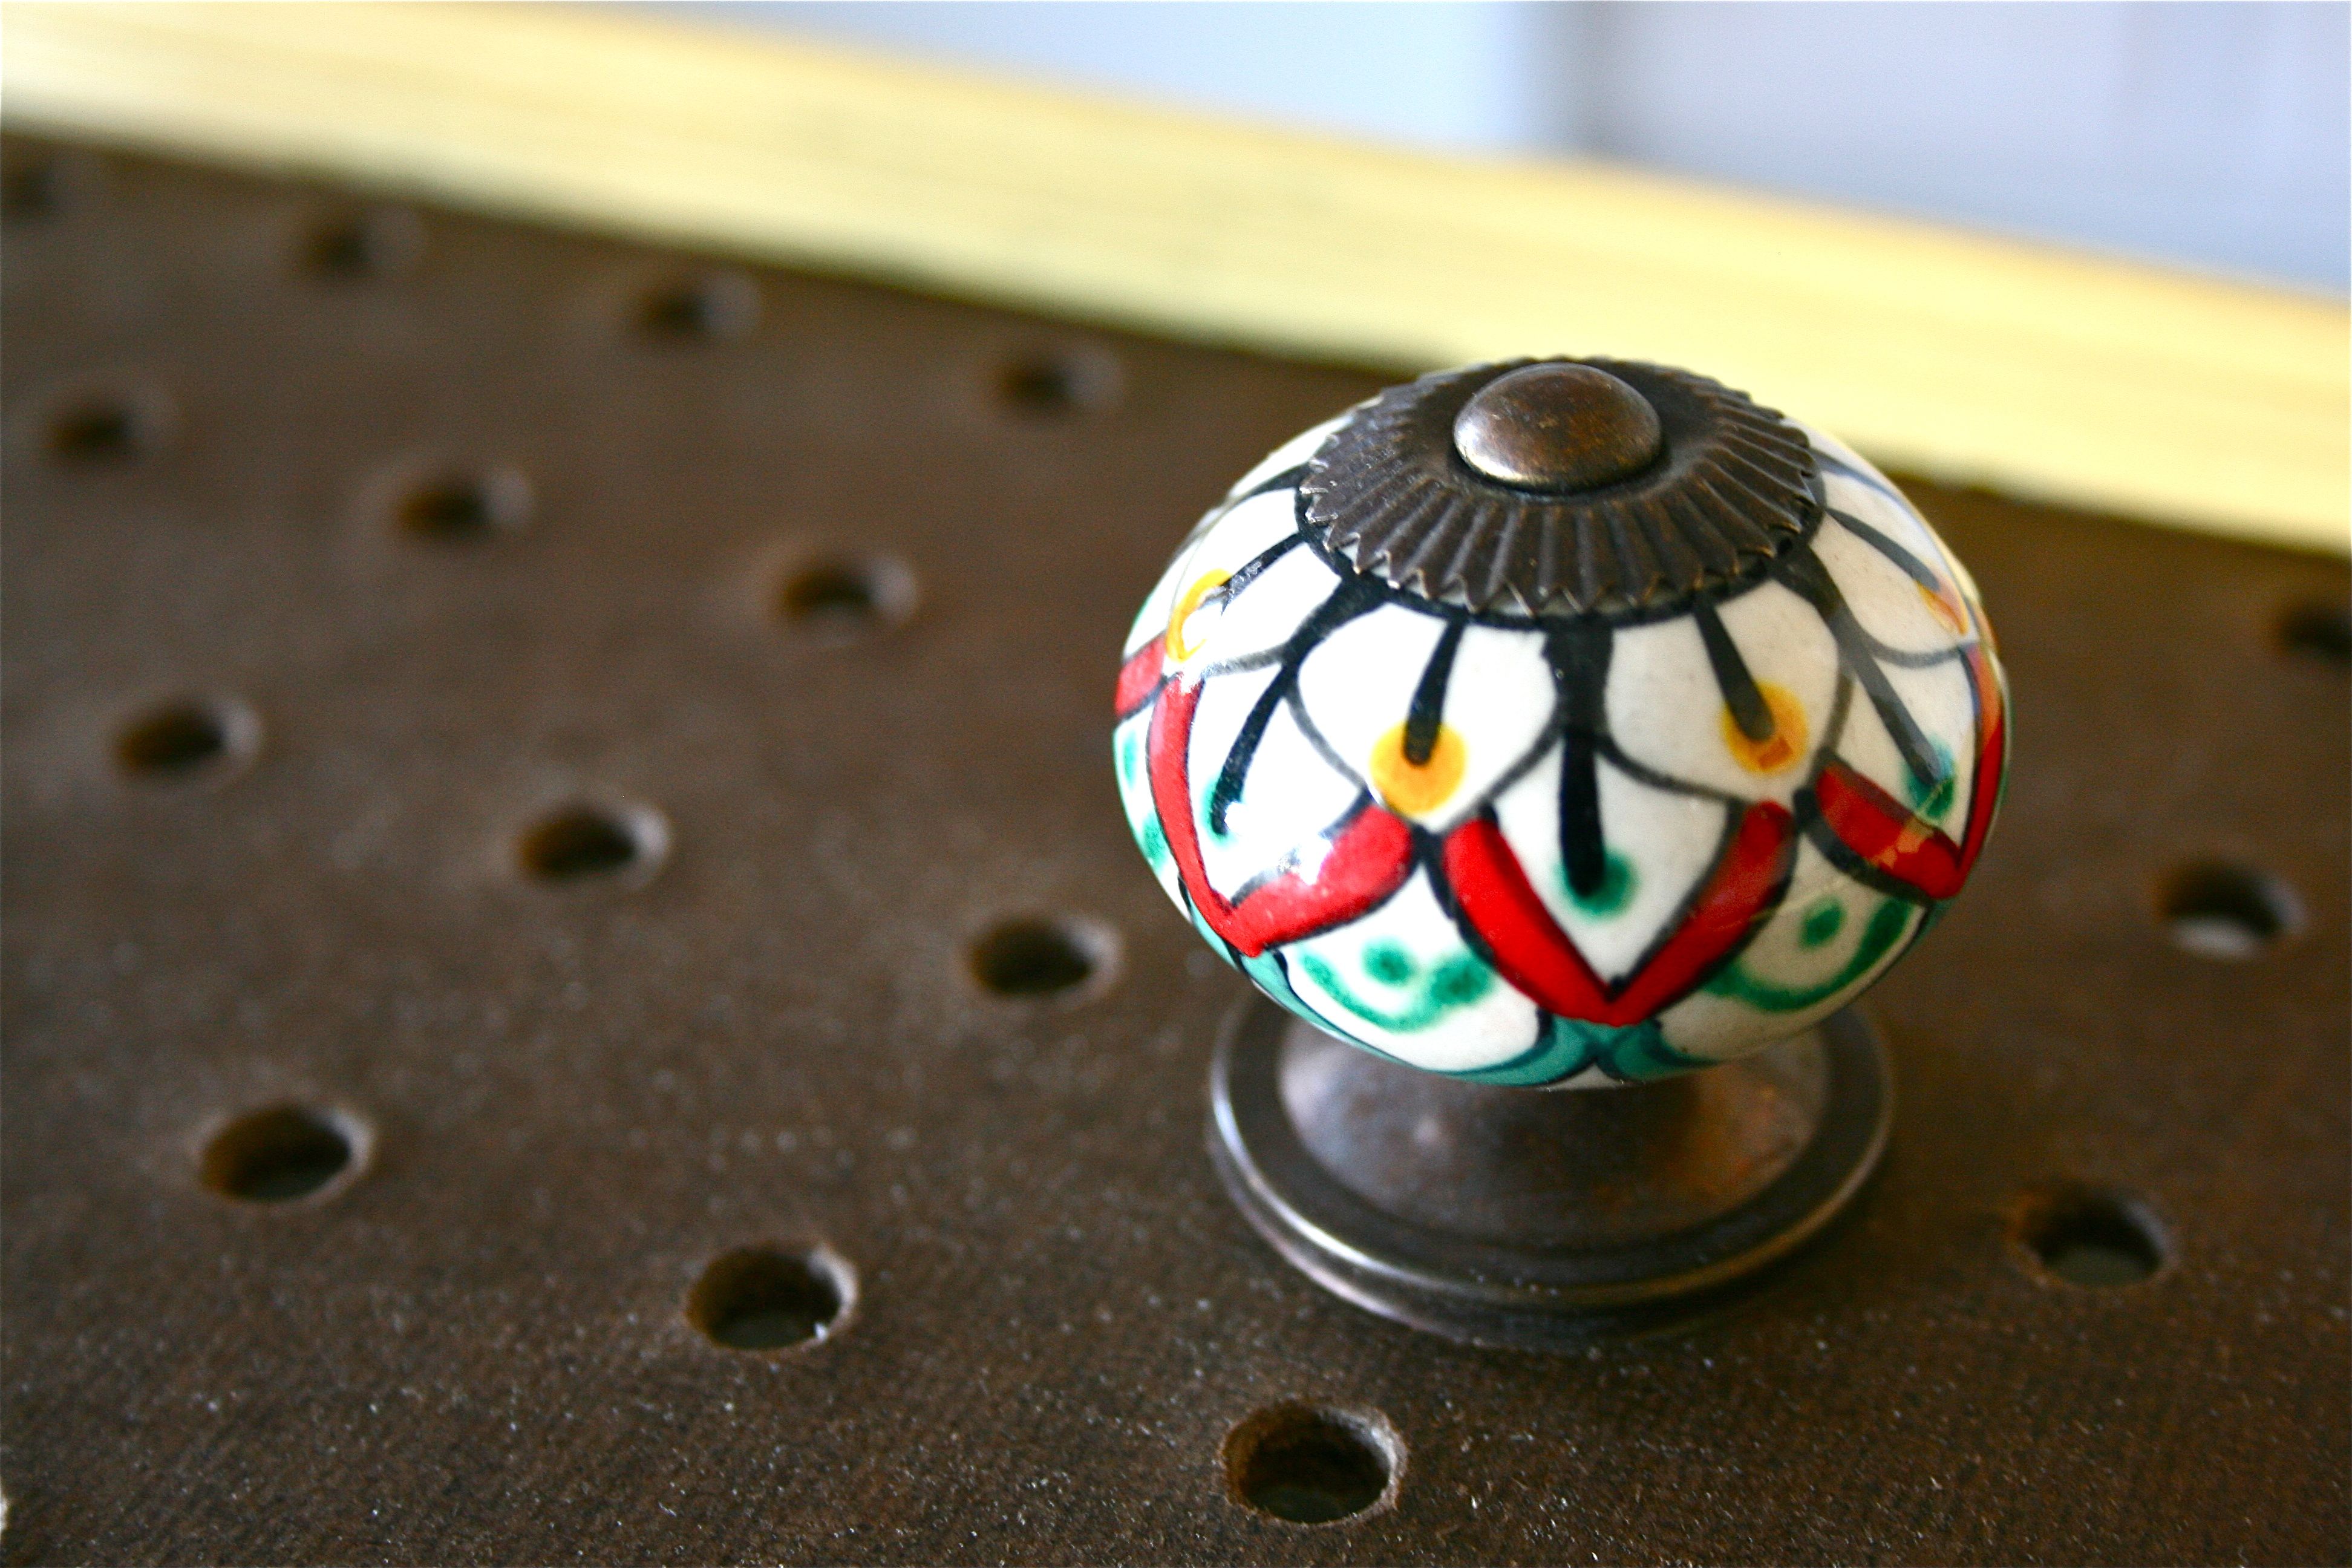
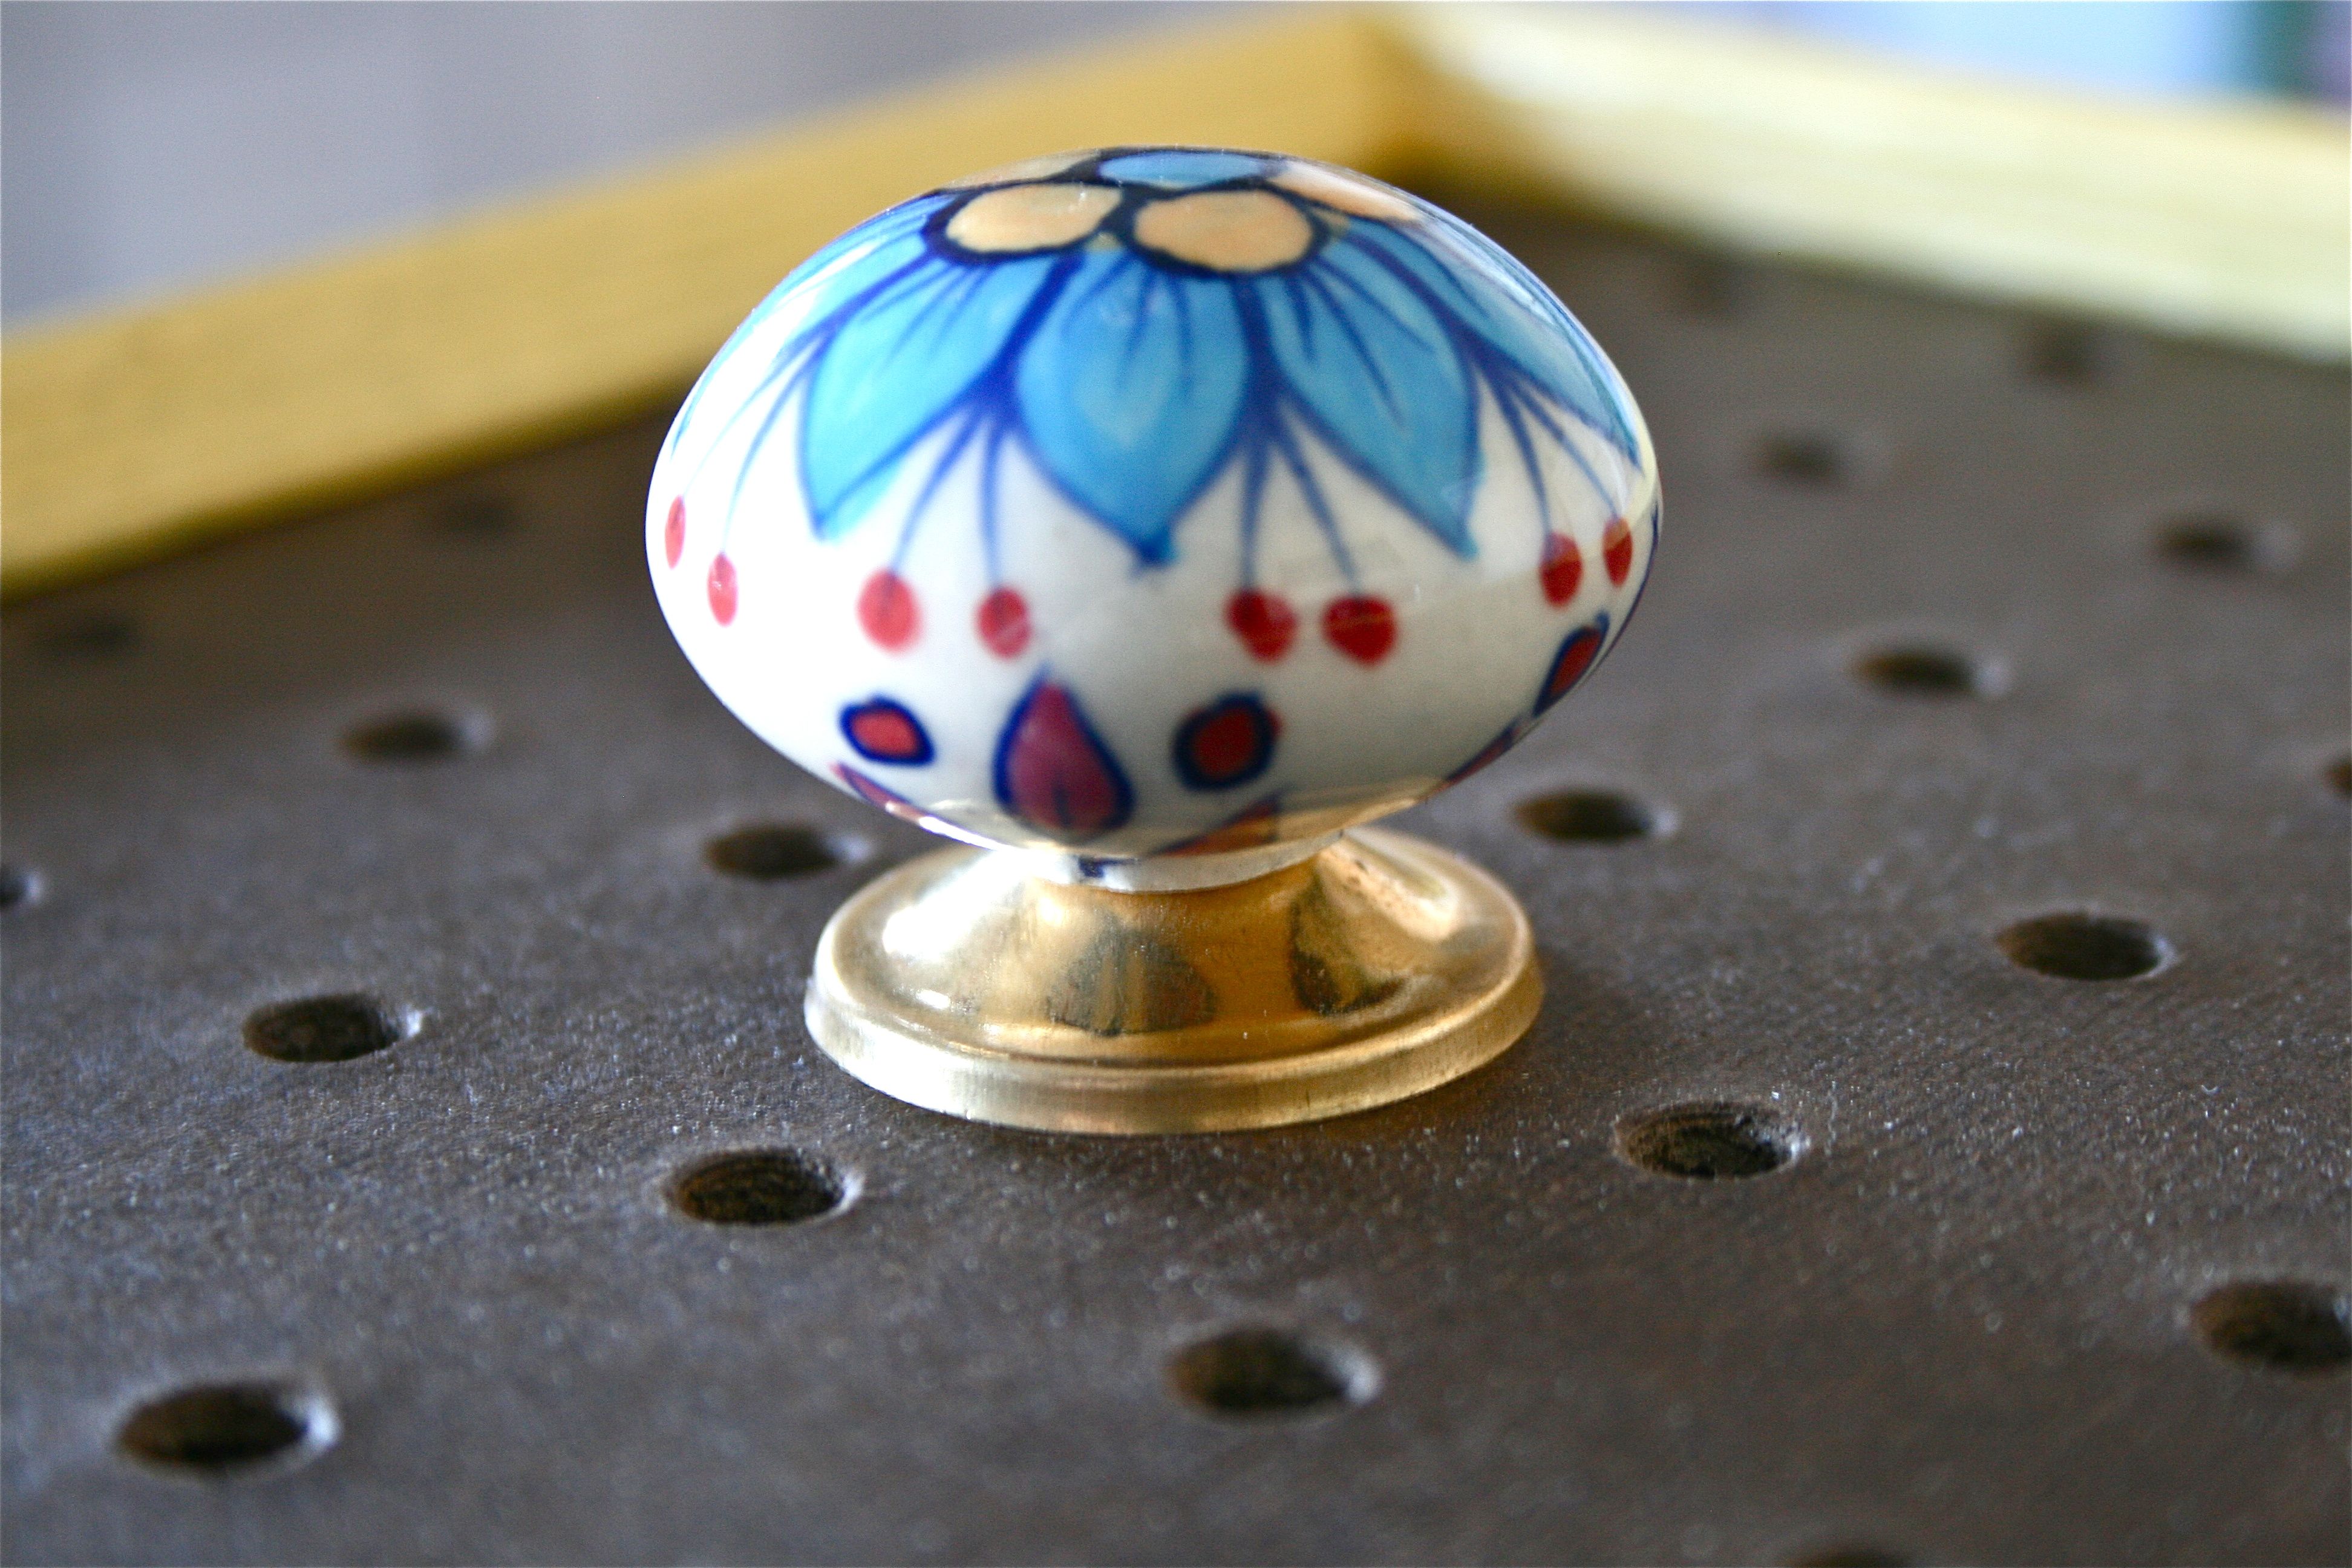
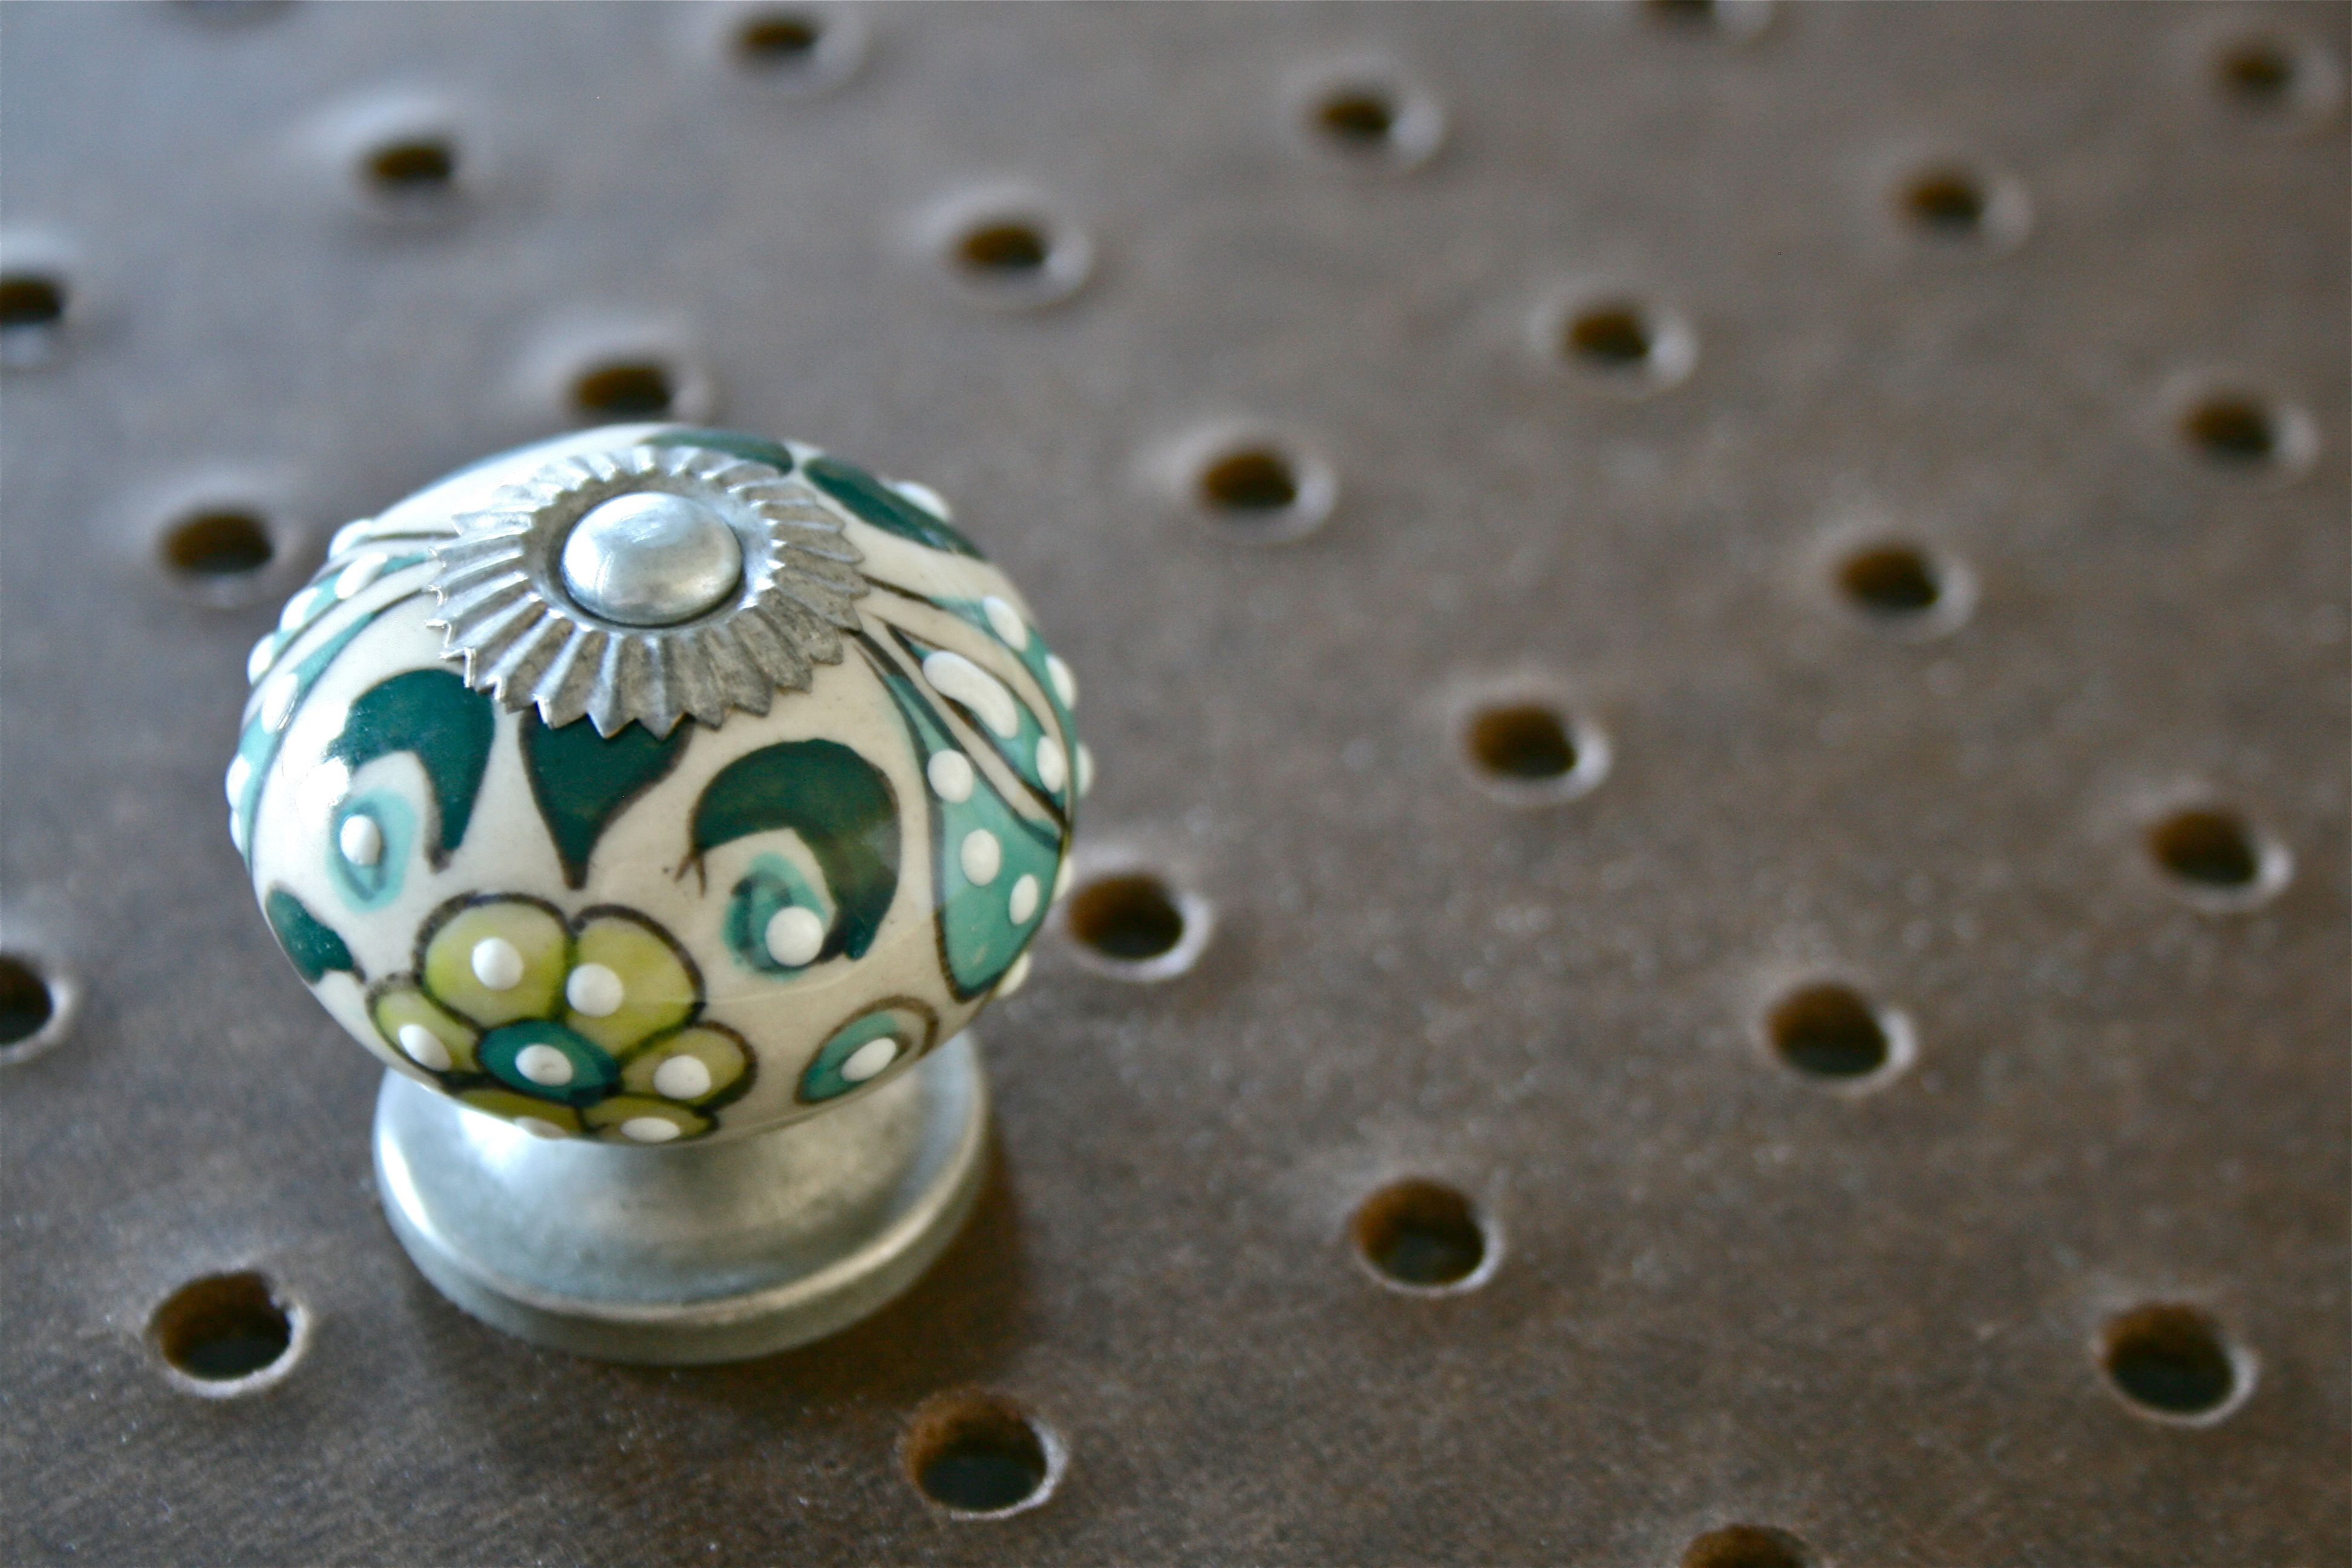
I actually picked up a handful of painted drawer pulls from Anthropologie a few months ago with no idea what to use them for. None of them matched but I fell in love with the different colors and patterns. When I decided to make this gift for Alyssa, I knew I had stumbled upon the perfect use for the pretty pulls.
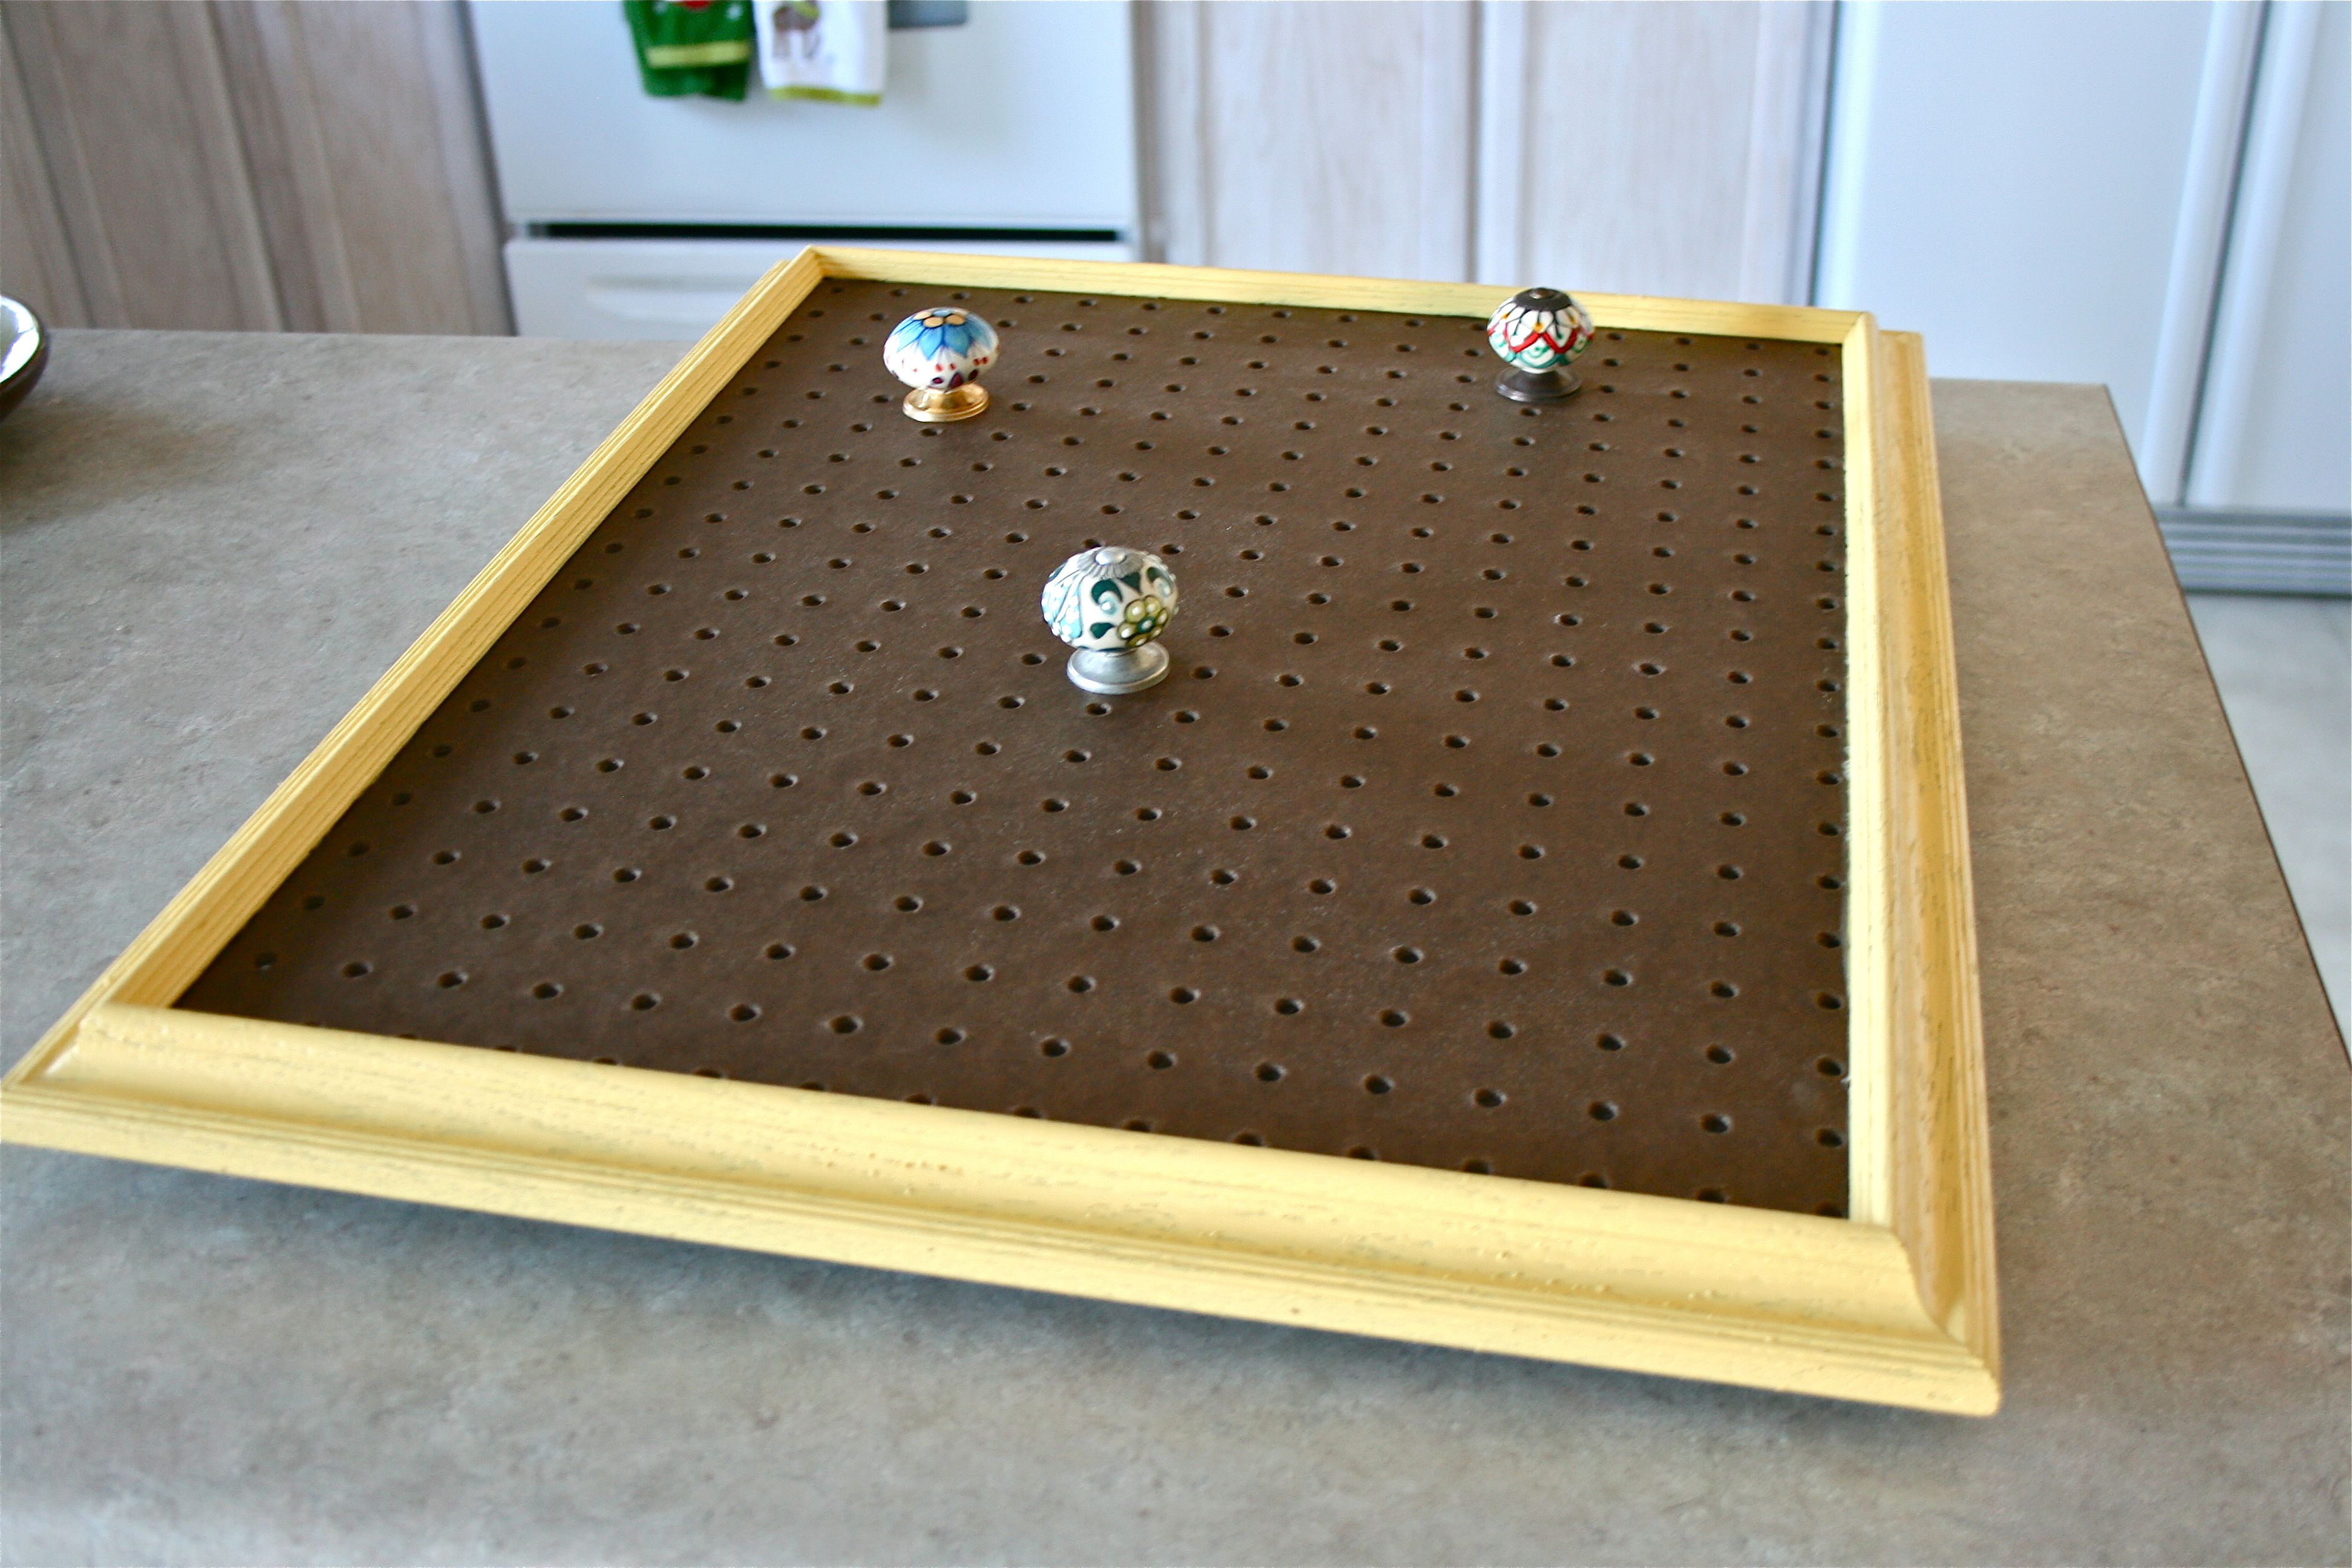
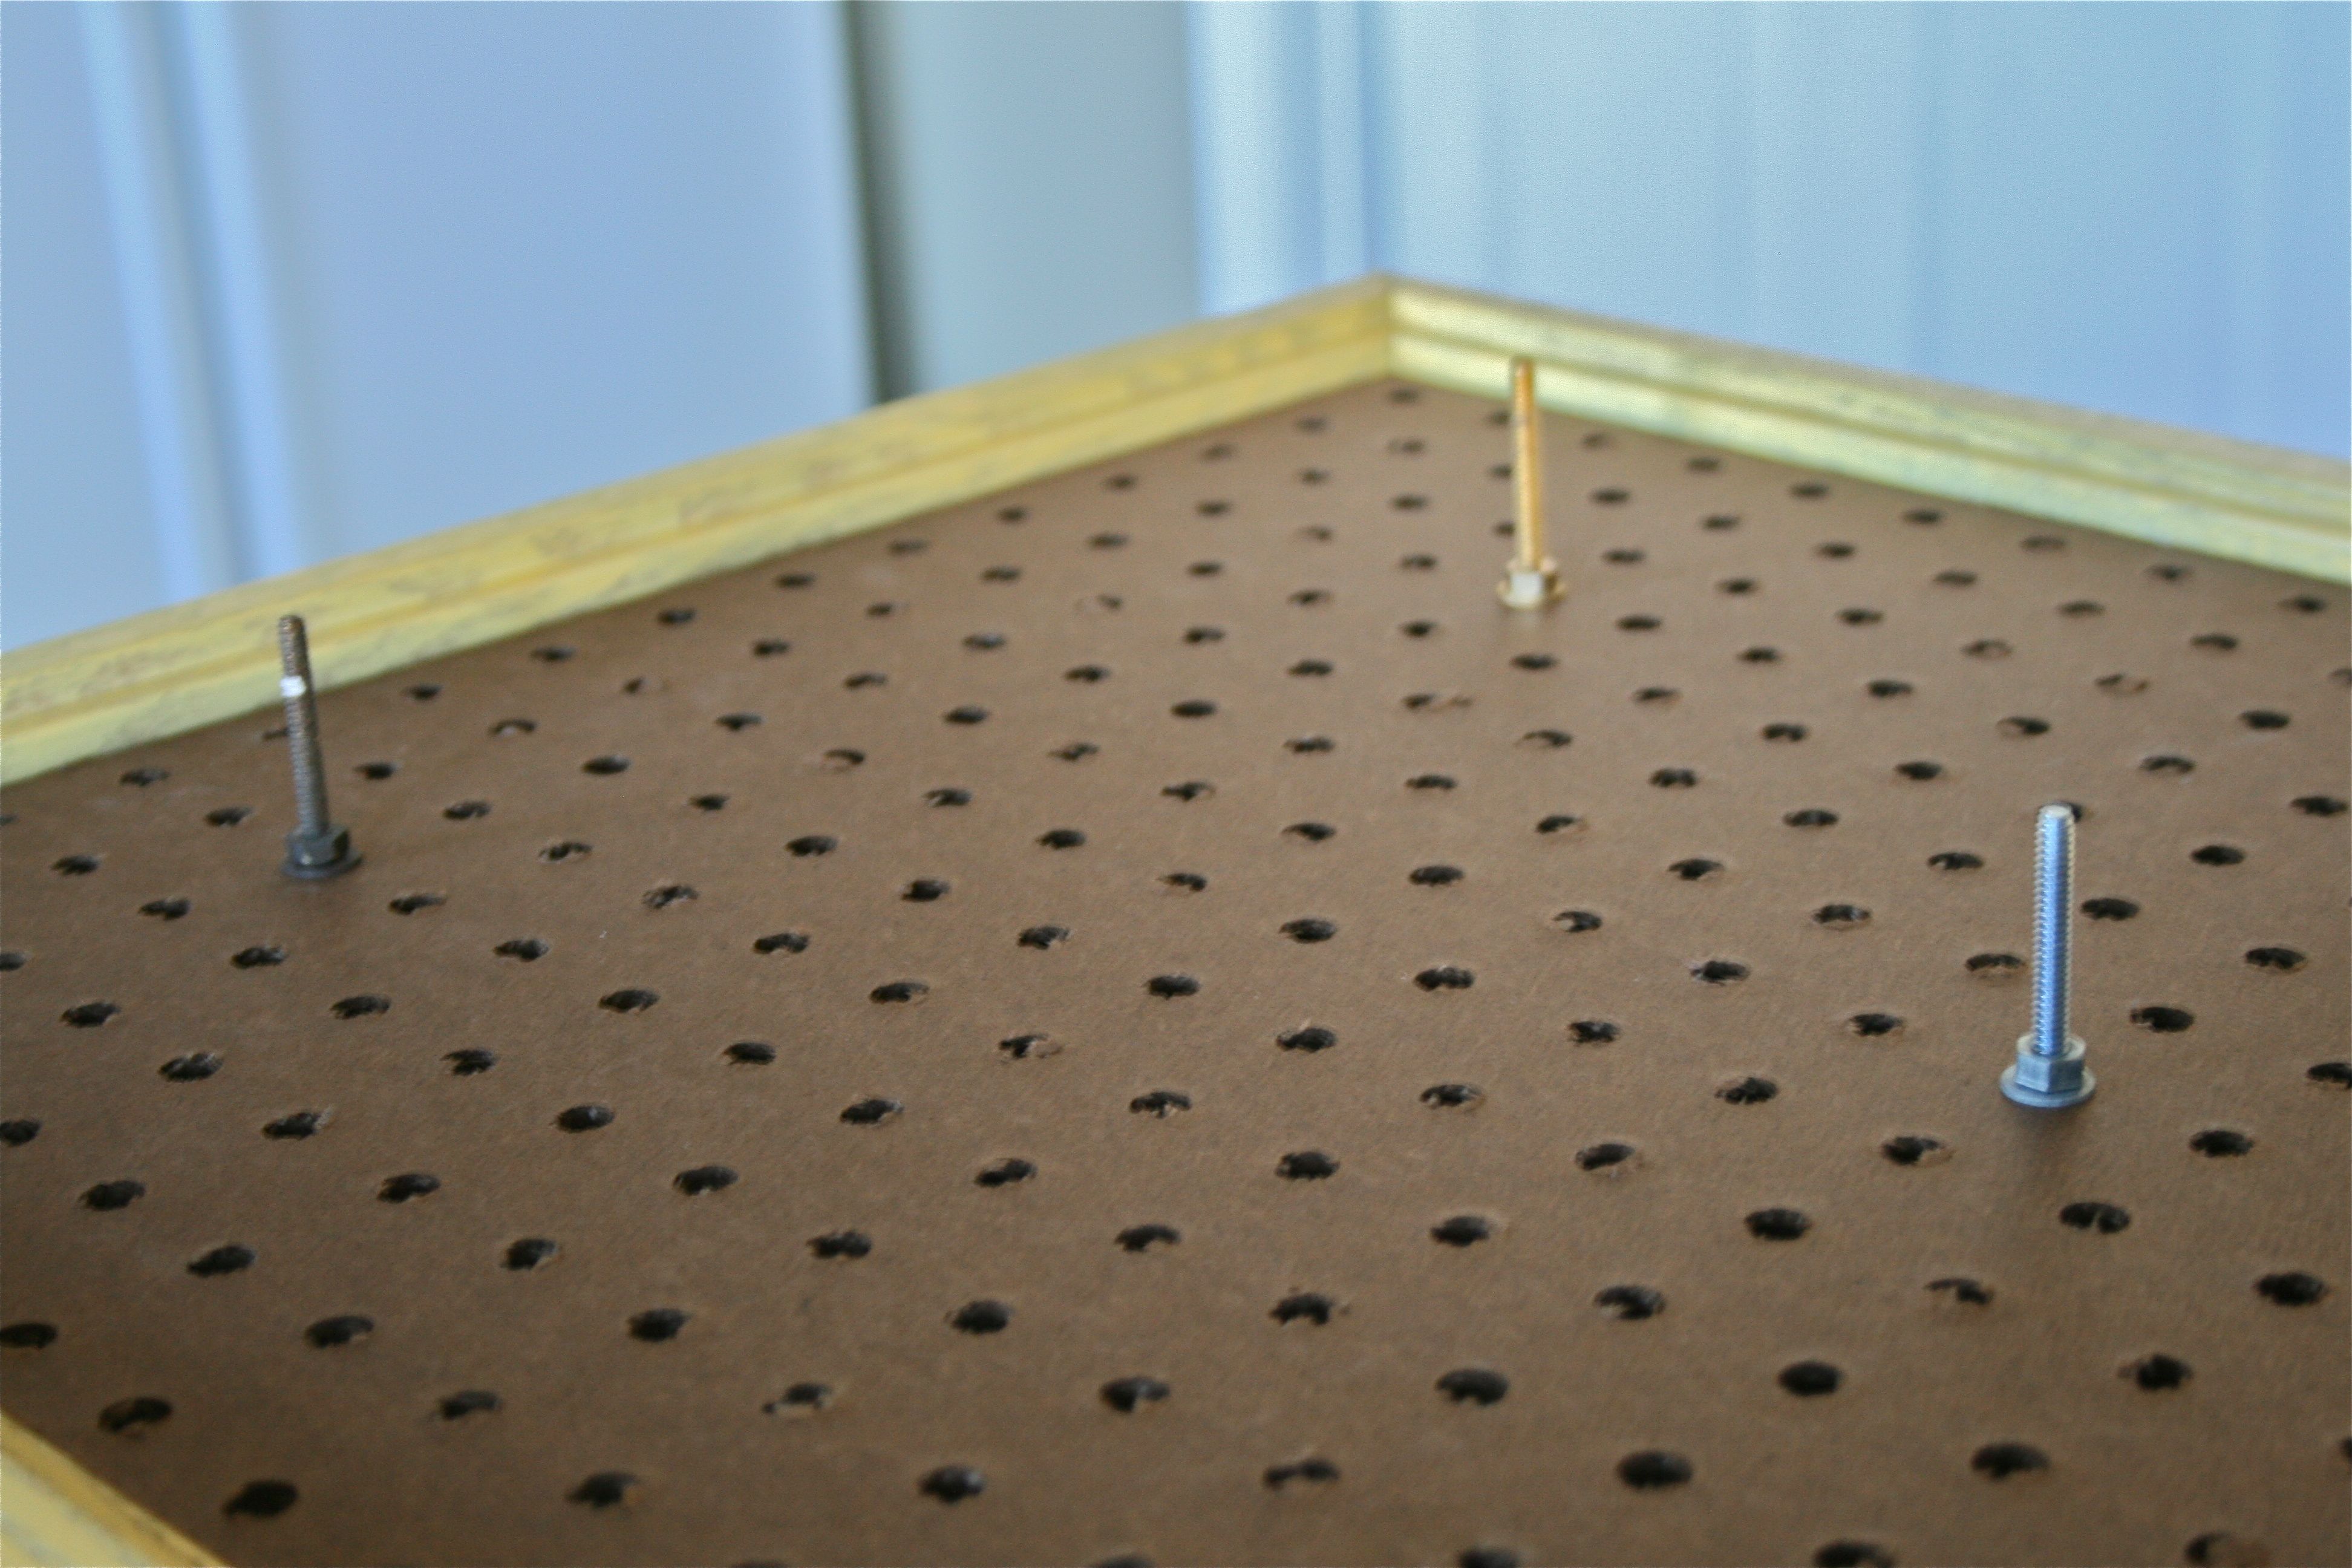
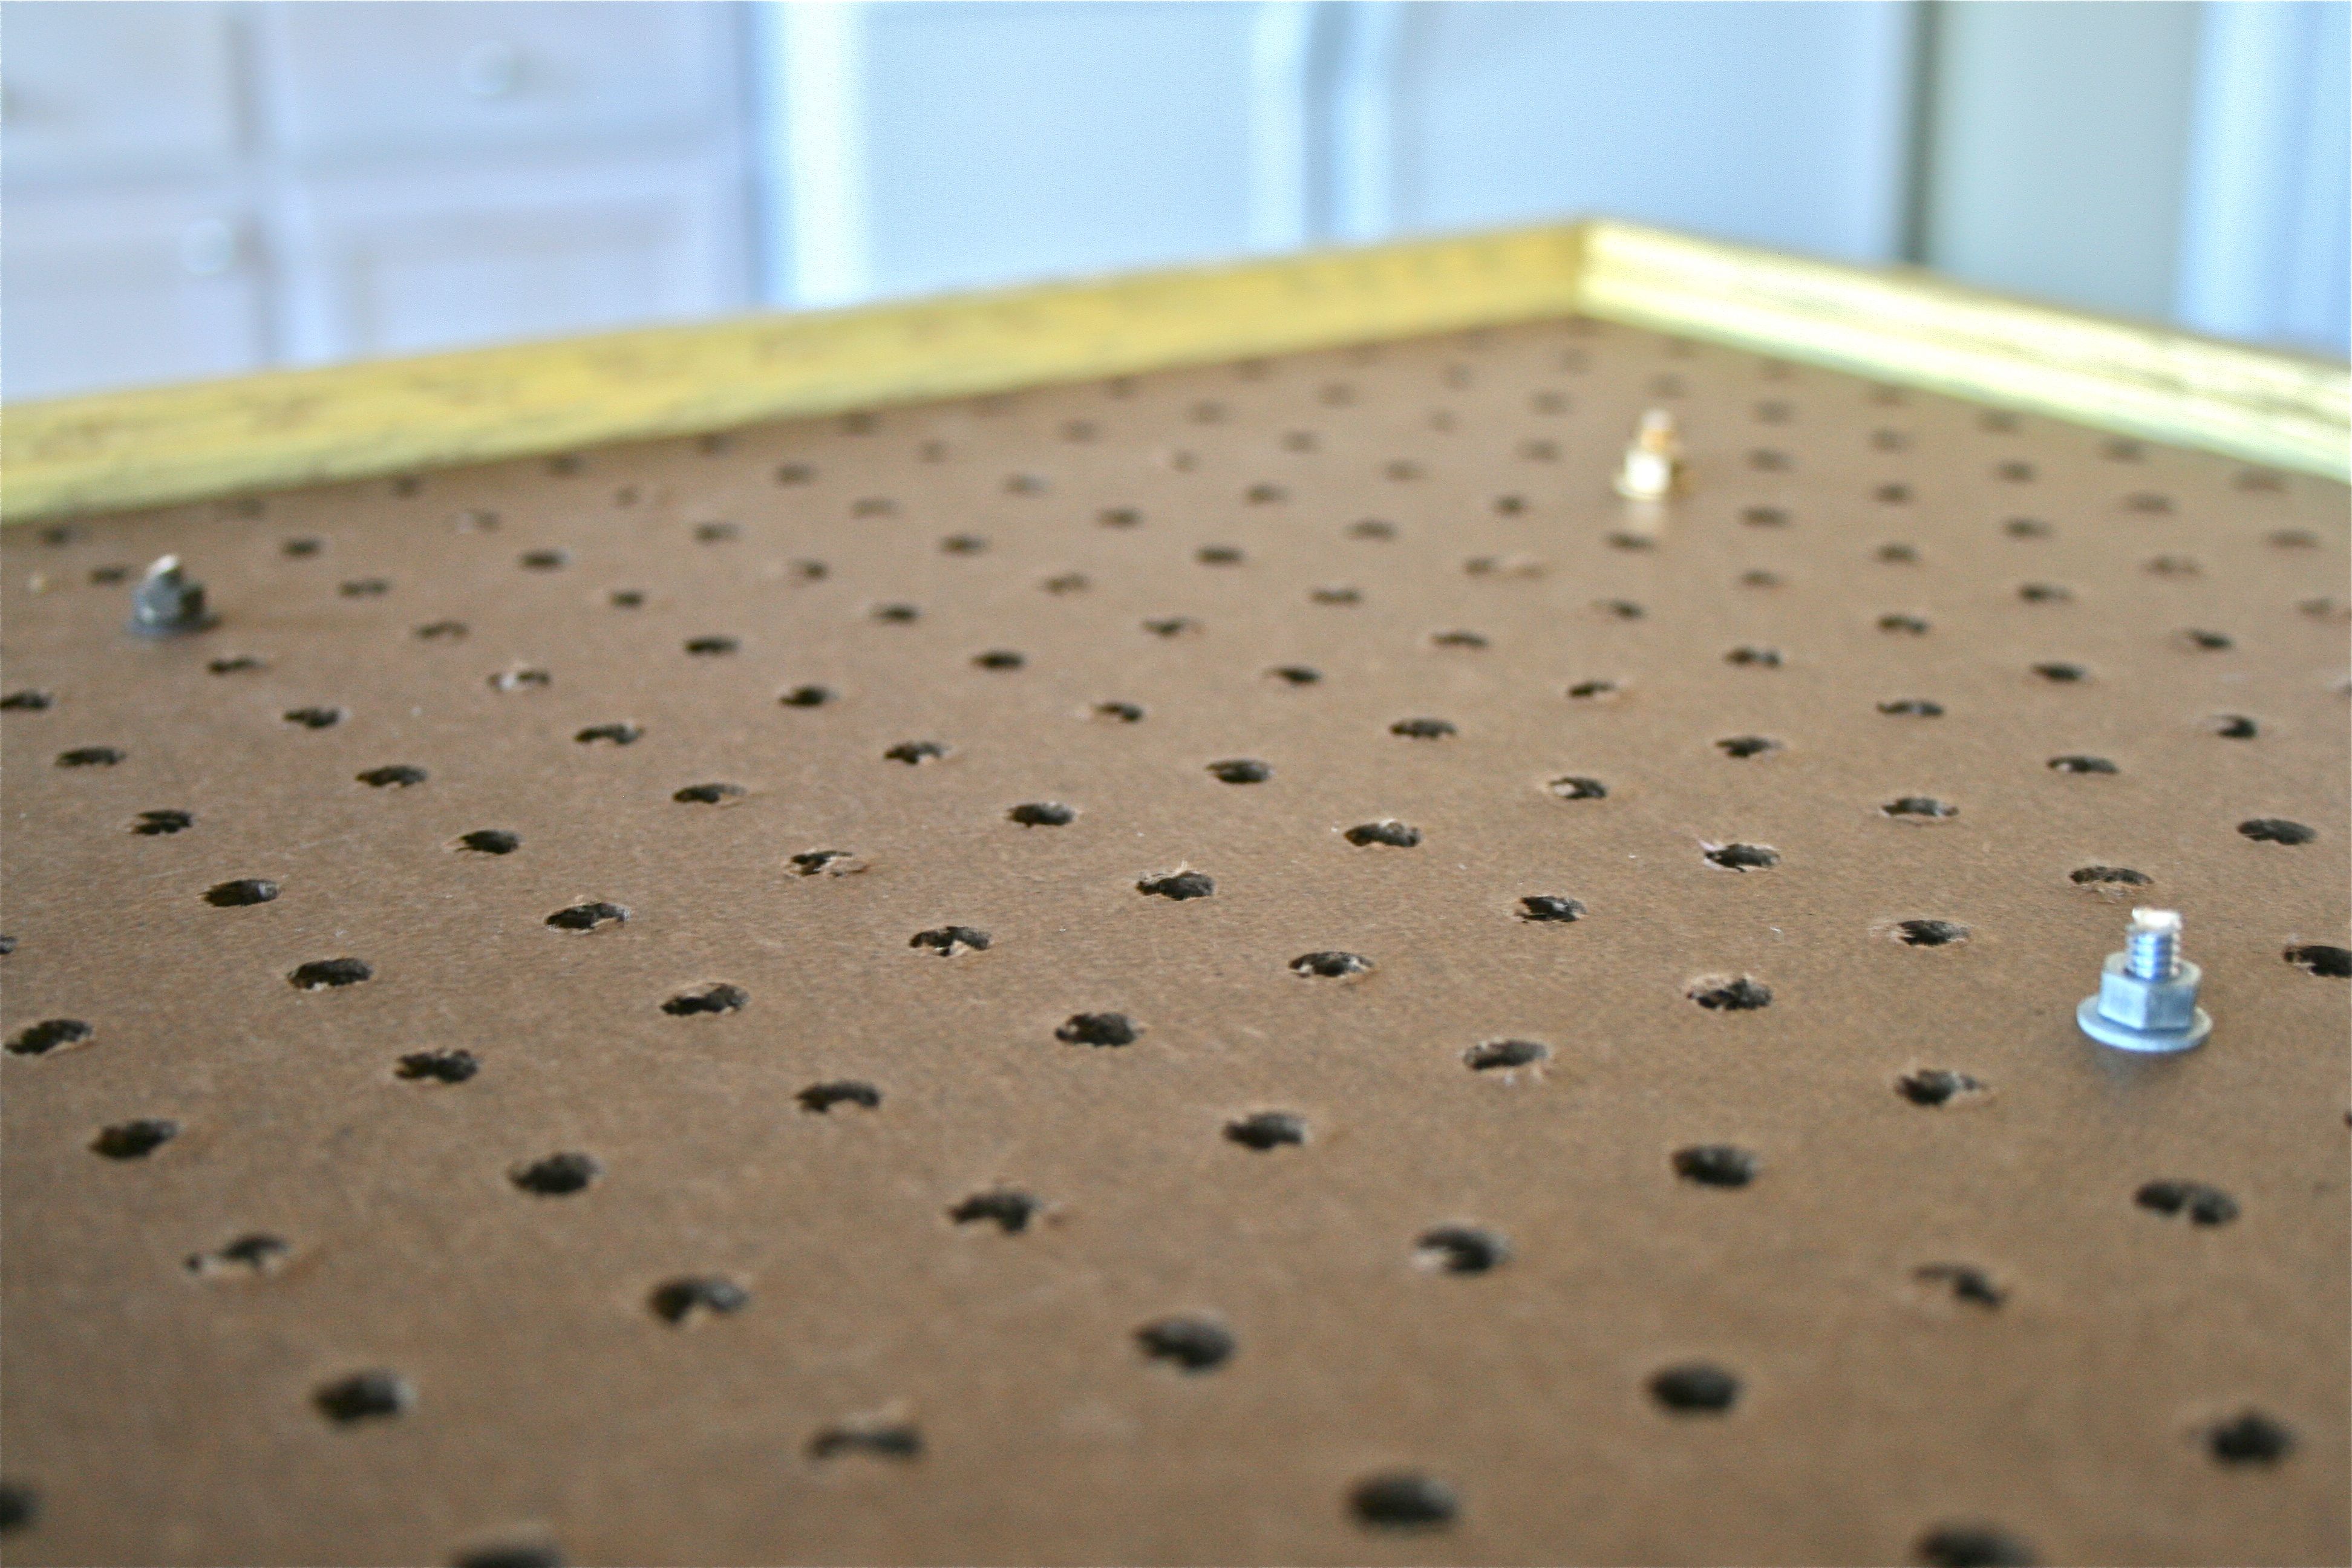
Now this is where the peg board comes in handy…All I did to attach the pulls was to unscrew the bolt on the back and play around with the placement by slipping the screw through the different holes on the board. When I found a spot I liked, I screwed the bolt on the back and we were done! Two more placements later, the piece was almost finished.
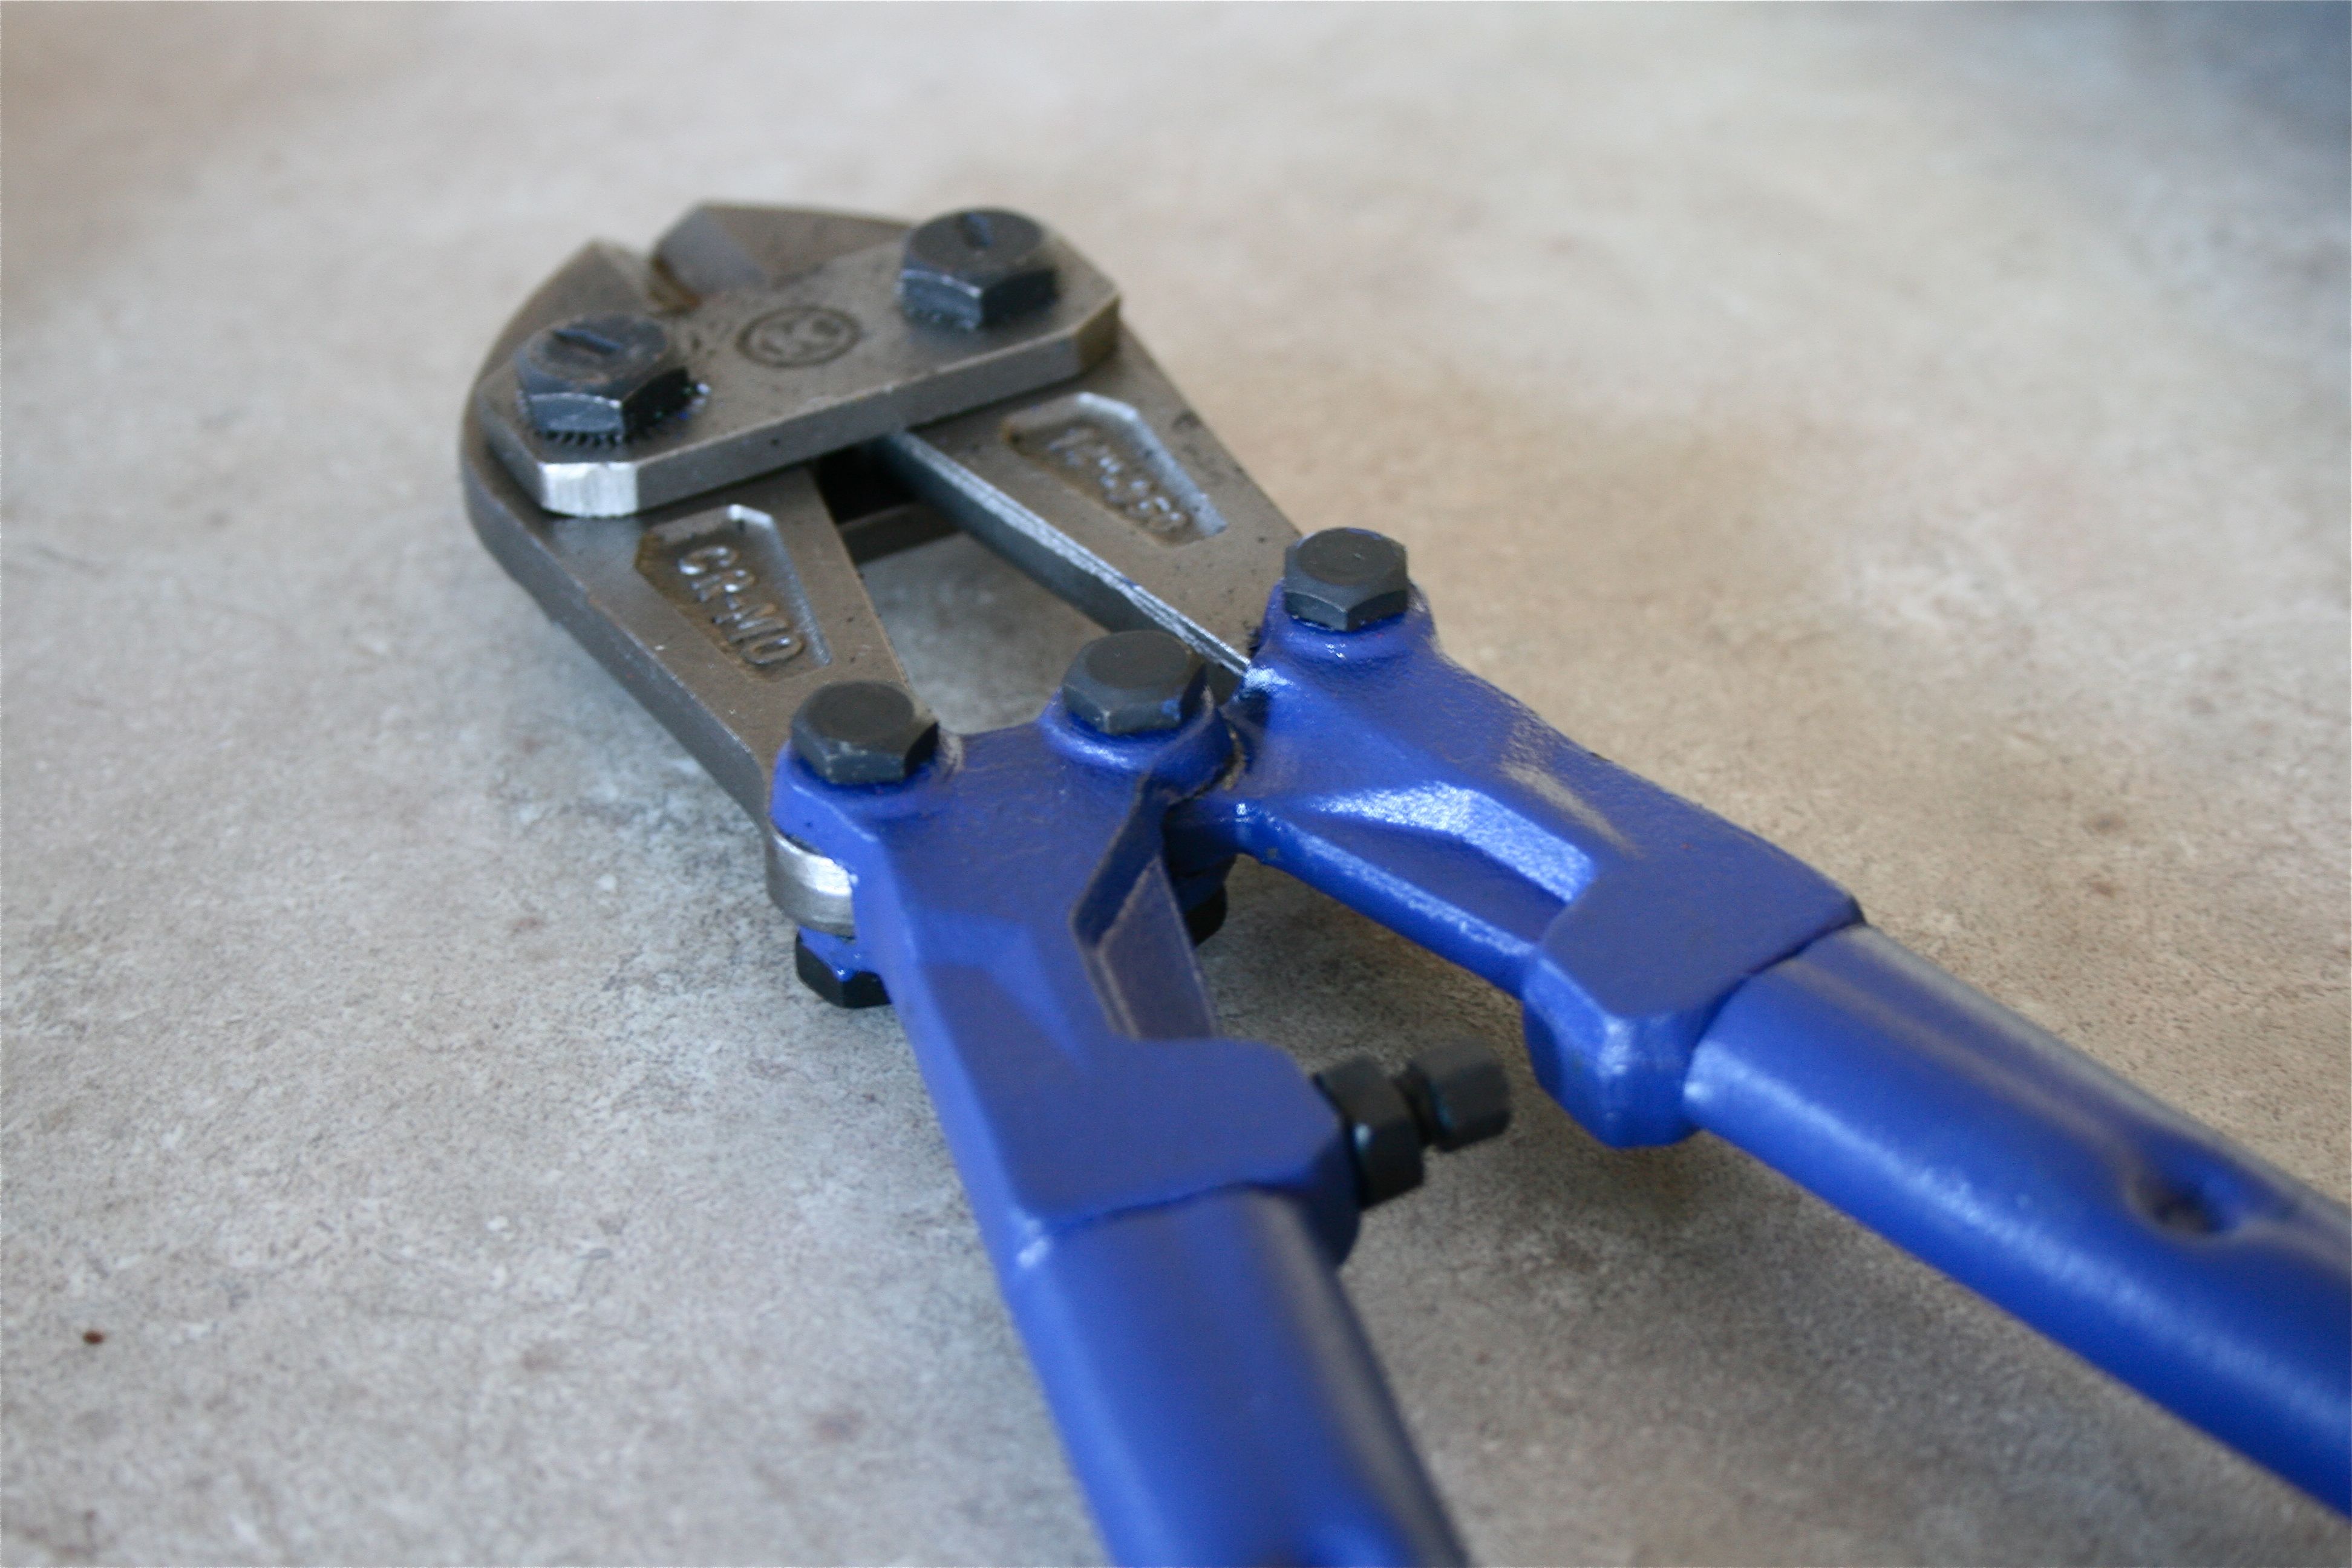
The last step was to grab John’s bold cutters and snip the protruding screws off the back. Drawer pulls need long screws to attach to a drawer front, but we don’t need all that extra metal for this project. The bolt cutters are an absolute God-send – It takes NO strength at all to bite through tough metal. I highly recommend picking up a pair. I think ours cost about $15.
In no time, we went from this…
…to this!
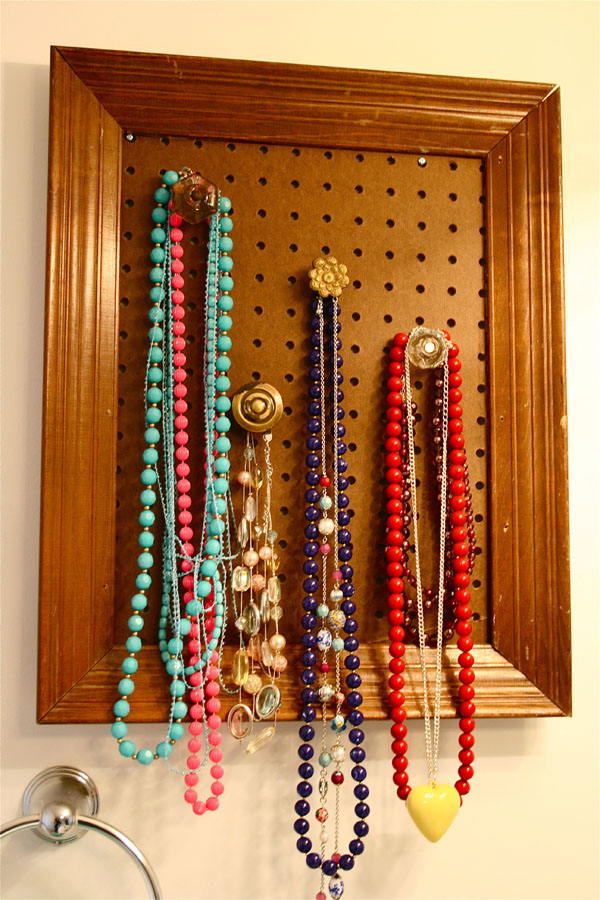
Now the frame can lay flush against the wall. And perhaps the easiest part of all is the hanging – All Alyssa needs to do is decide on where she wants to hang it and put two nails through the peg board holes towards the top. Can’t get much simpler than that!!!
To imagine it hung and full of necklaces, here’s what mine looks like today:
I hope she loves her new necklace organizer – I had so much fun making it for her!
Merry Christmas to Alyssa, her family and to all of you – I’m planning on lying low the early part of next week, but I’ll be back with a holiday recap and more fun projects on Wednesday. See you then!
Psst – I did more of my blogging thing over on Breathe Magazine’s website yesterday – This time, we are talking pattern trends of 2011. Be sure to check it out and throw in your own two-cents in the comments section! I know you have a lot of creativity to add…


