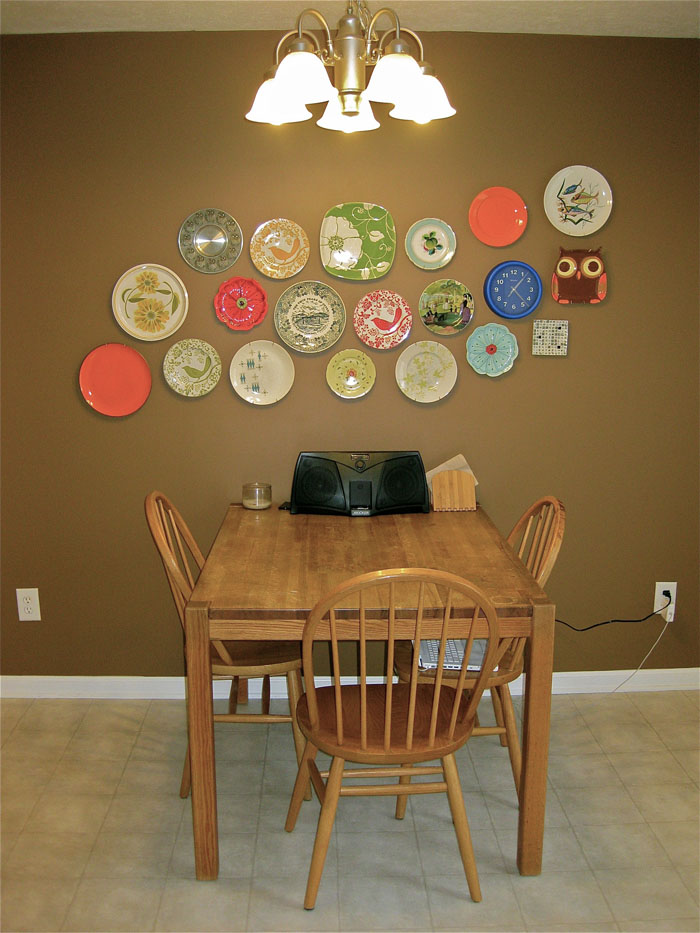
Well as mentioned, I wanted to give you guys some “after” shots of the plate wall I decided I just “had to have” after seeing photos sorta like this. (or this)
It was actually really fun to do! I decided to approach the project in a very un-Carrie-like fashion…With PATIENCE!!!
Instead of running out to Target, TJ Maxx or Ross to pick up all 20 of the plates I wanted to collect (for a really tight, really dramatic grouping), I decided to actually ENJOY the process…I think I might have actually made it somewhere like four weeks!
So every weekend (and sometimes during the week after work) when John and I would wander through our favorite thrift shops downtown (and yes, Target and TJ Maxx too) I started to slowly but surely get a collection of plates going. I grabbed up anything that “spoke” to us: anything with birds (have I mentioned that I’m COMPLETELY obsessed with owls? More on that soon), in my perfect/favorite shades of green (of course!), in a cool pattern or that had some sentimental value.
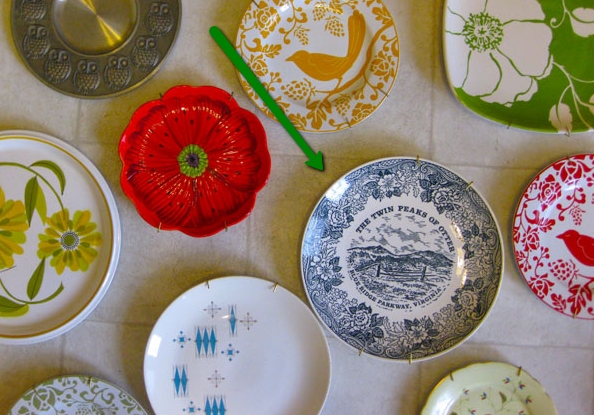
This one held particular sentimental value to me…
It’s a little “antique-y” for my taste (and DEFINITELY a little reminiscent of a grandma-type plate wall), but I just couldn’t pass on it…We live right by the Peaks of Otter and I’ve been going there with my family since I was a little tike. It’s still a favorite place for me on a warm Spring, Summer of even Fall day to go hiking, have a small cook out in the picnic area or for camping.
So when I saw the plate at Estate Specialist one Saturday, I just couldn’t let it go…
So. The process:
- First you’ve got to gather your plates – The more the better since this is supposed to make a pretty big impact. Like I said, I gathered twenty of them.
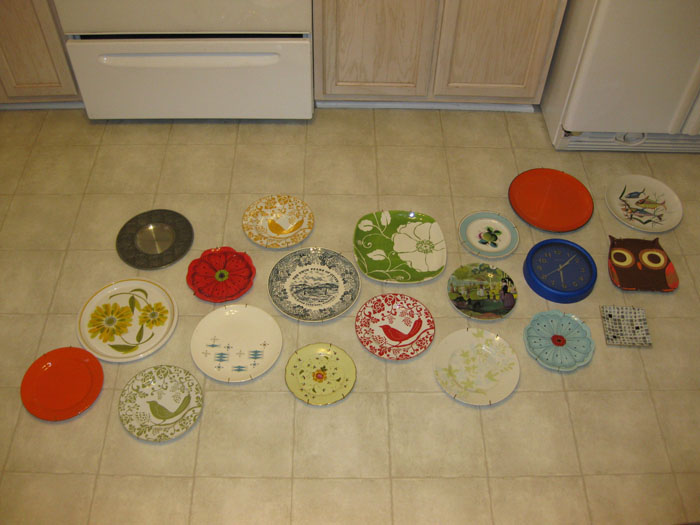
- Once you’ve completed your collection, lay them out on the floor to figure out exactly how you want it to look. You may need to try different arrangements (as you’ll see in a second, I tried a few).
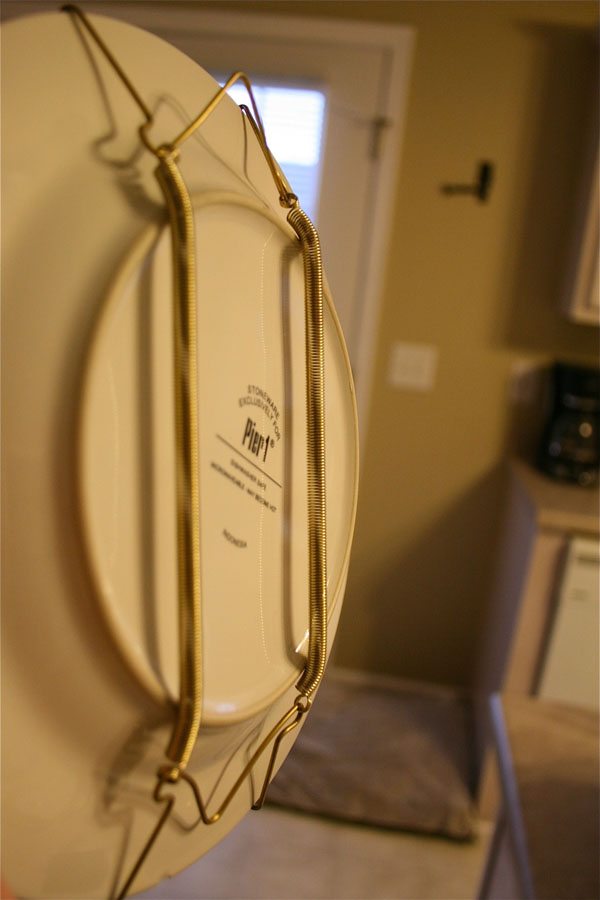
- You’ll also need to purchase some plate hangers. I actually (miraculously) found a pile of about 6 or 7 at the Estate Specialist one weekend, but the rest I bought at Pier One. They have a great variety of sizes (which is pretty important, as I found out). None of the ones I picked up cost more than a few bucks.
- Then attach the hangers to the plates. You may need to take some pliers to bend the “hanging” parts of the contraption out so that it can hook onto the nails – Like this (before I bent the top end out, both looked like the bottom end):
Here’s our first layout (which I was just SURE was “the one”…):
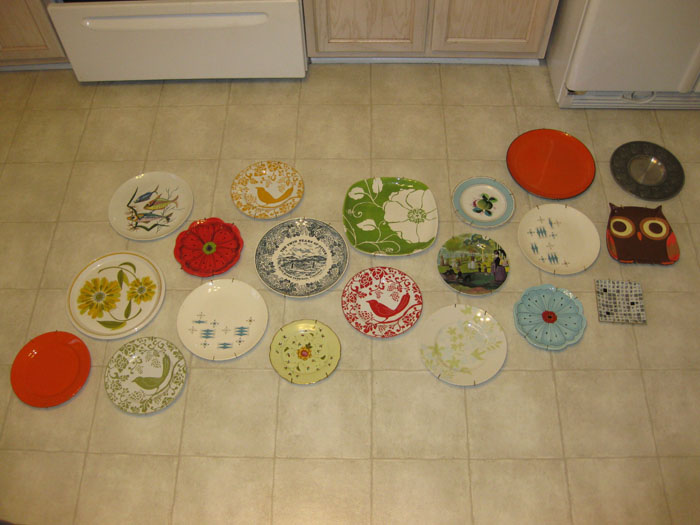
…but then I realized that there were too many white-background plates on the left side and too many dark plates together on the top right. So here’s our second (and what I thought would be the final layout…):
A couple of days later (when we had set aside an hour or so to do the whole project), the layout ended up changing a little bit once again…But in the end, I’m really happy with the assortment of colors and patterns that revealed itself 🙂
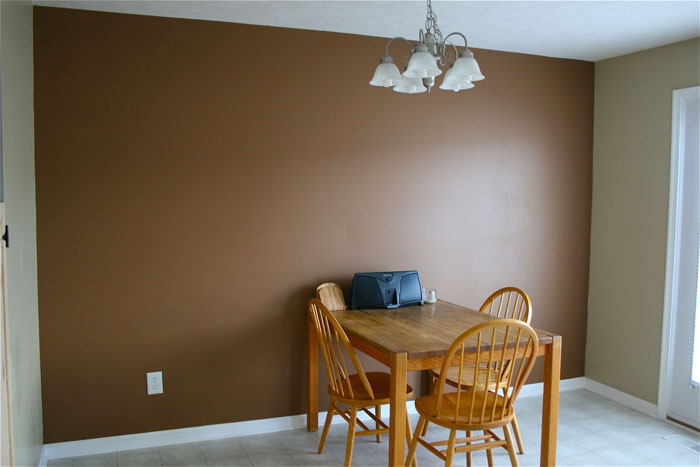
So before…
And now after!
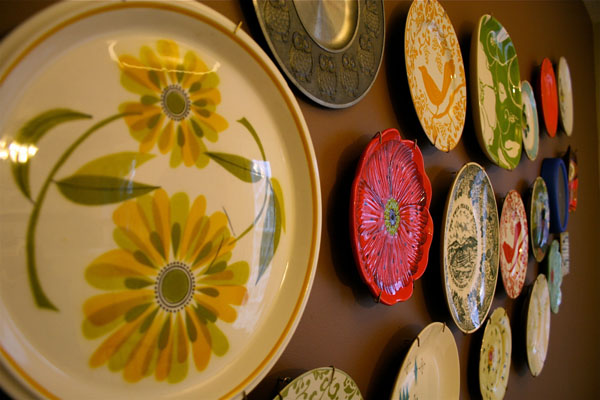
The whole project ended up taking like 20 minutes or so – Not even close to the hour we had set aside! After laying everything out on the floor in front of the wall it was going to hang on, I just “eye-balled” it from there. I took some close up pictures (a few are posted below) of the arrangement and then used the patterns on the plates as points of reference when hanging (i.e. the red bird plate should be hung just below the bottom vine stem on the big green plate).
John was a champ throughout this process…He handed me the camera (so I could study the close-ups for reference), a nail and then the hammer all in sequence 20 times as I worked my way down the wall. All the while, watching a YouTube video on his laptop out of the corner of his eye on RC cars (his new car-related obsession). The techno music from the video must have pumped us up subconsciously, because we “motored” (like that play on words?) our way through the process.
Here’s a close up detail showing off the different colors and textures…
I really like the pop and character it adds to the largely neutral kitchen(do you like the blue clock we threw in there?). Although, even with TWENTY FRIGGIN PLATES on the wall, I think it needs a little something more…Maybe some chunky candle holders on either end? Collection of framed prints? Who knows what we’ll end up putting together…It’s all about the hunt!!!
In case you’re interested, here are a few details from when we had it laid out on the floor:
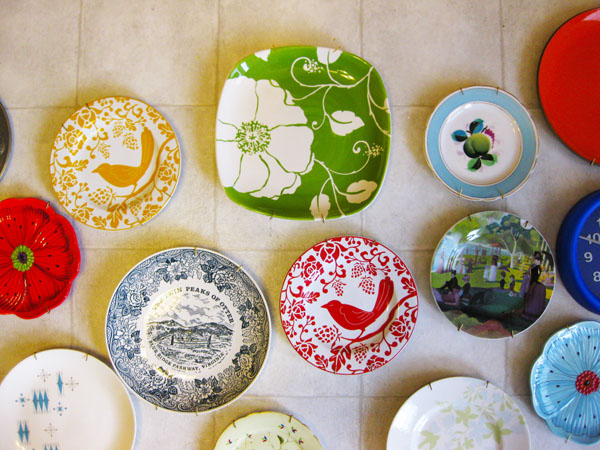
I loved the big green plate at the top so much that I ended up centering the entire arrangement around it! I also like the fact that it’s slightly squared too…Gotta love the guy who goes against the crowd!
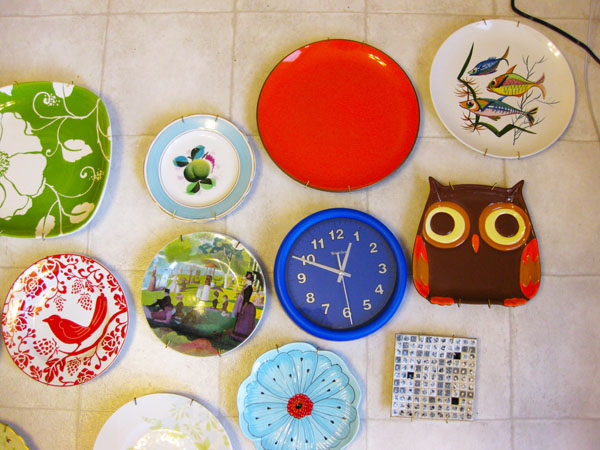
There’s that sneaky clock again! And I’m so happy I found a “hoot” to throw in there too! Aren’t owls just the best??
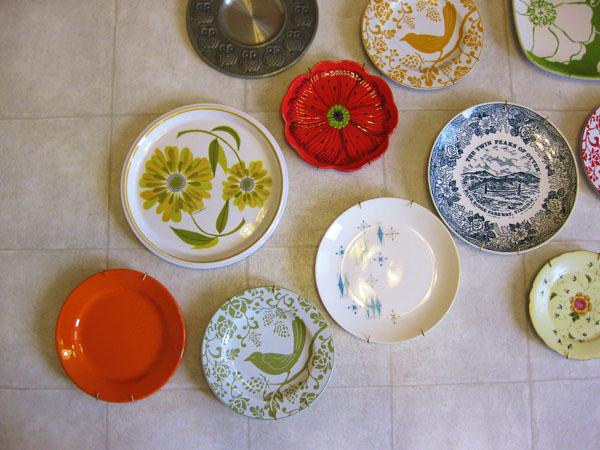
So I might as well tell you…I ran out of hangers and tried to hang the yellow flower plate with 3M tape. It ended up falling down (and freaking out poor John). Will have to fix him soon! (and by “him” I mean the plate, not John…John survived the ordeal)
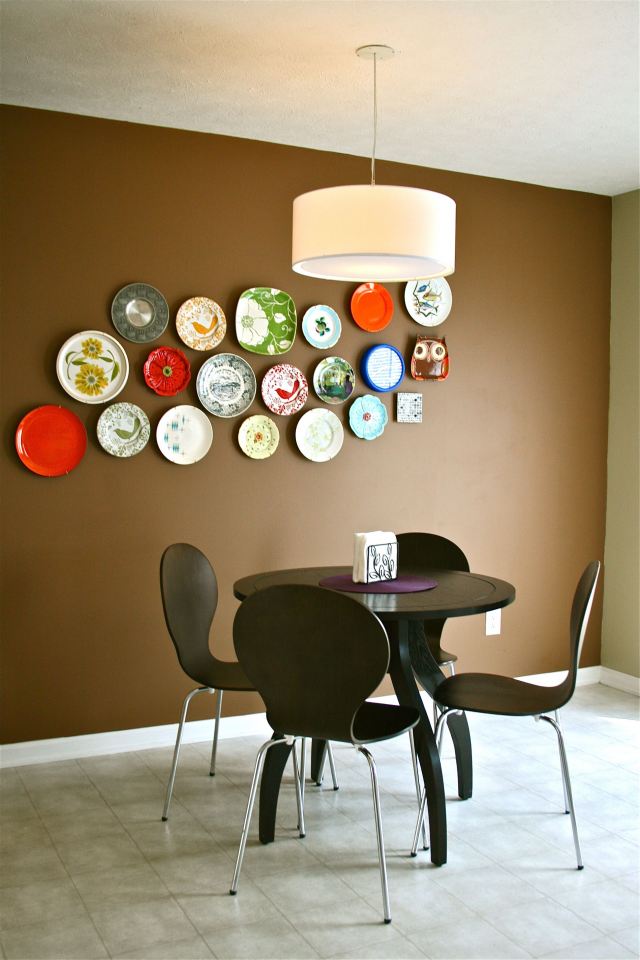
UPDATE 3/30/11: Our new light fixture came in!!! John even carted the whole box (which is surprisingly large) to my place last night for “Wednesday wii Night” at my apartment (yes…we are “that couple”) because he knew I’d flip out that it’s here – He was right! After some jumping up and down and squealing, I took some scissors to the box and looked inside like a kid on Christmas morning…It’s GORGEOUS and we are excited to try her on for size above the dining room table asap 🙂
UPDATE 1/3/12: Just wanted to show you the plate wall with new table and chairs and light fixture in and working 🙂

