We are BACK in action, folks! John brought the camera over to my apartment last night so I was able to download and edit all of the pictures from our super-weekend.
I’m not going to reveal everything at once – This post would be a mile long if I did! But I thought I’d start with my two favorite projects…
#1: The Eden Pendant Lamp
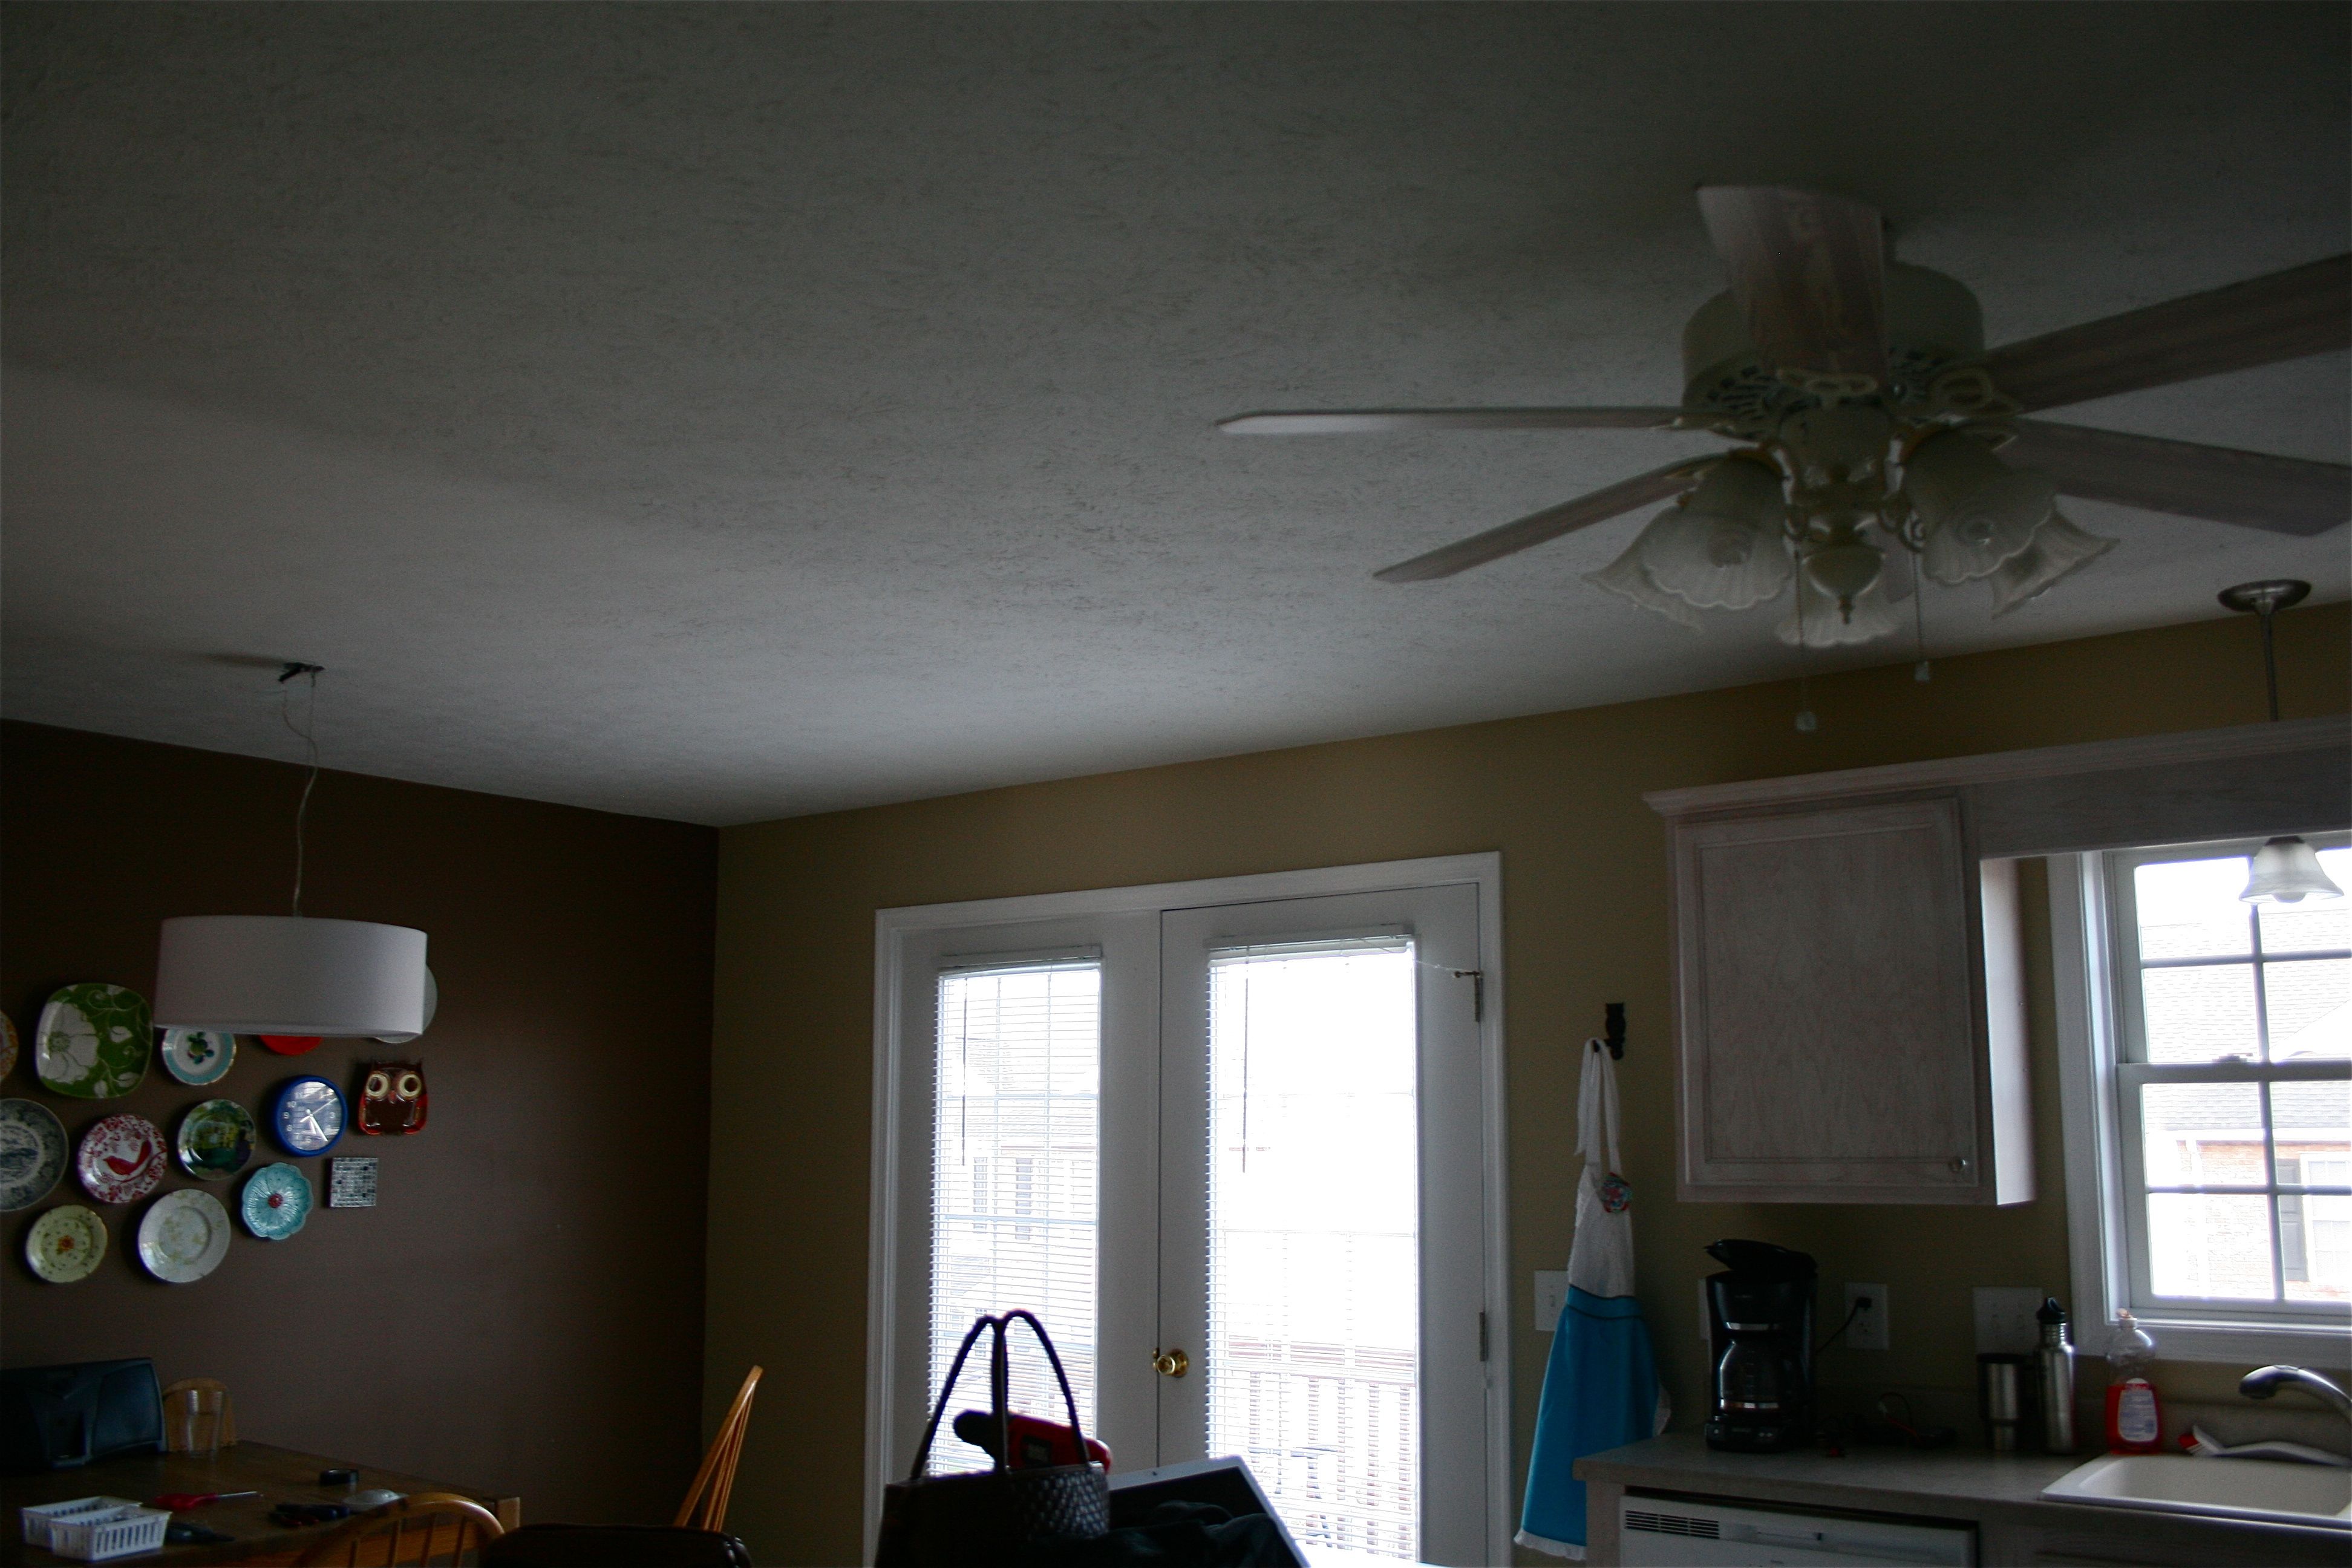
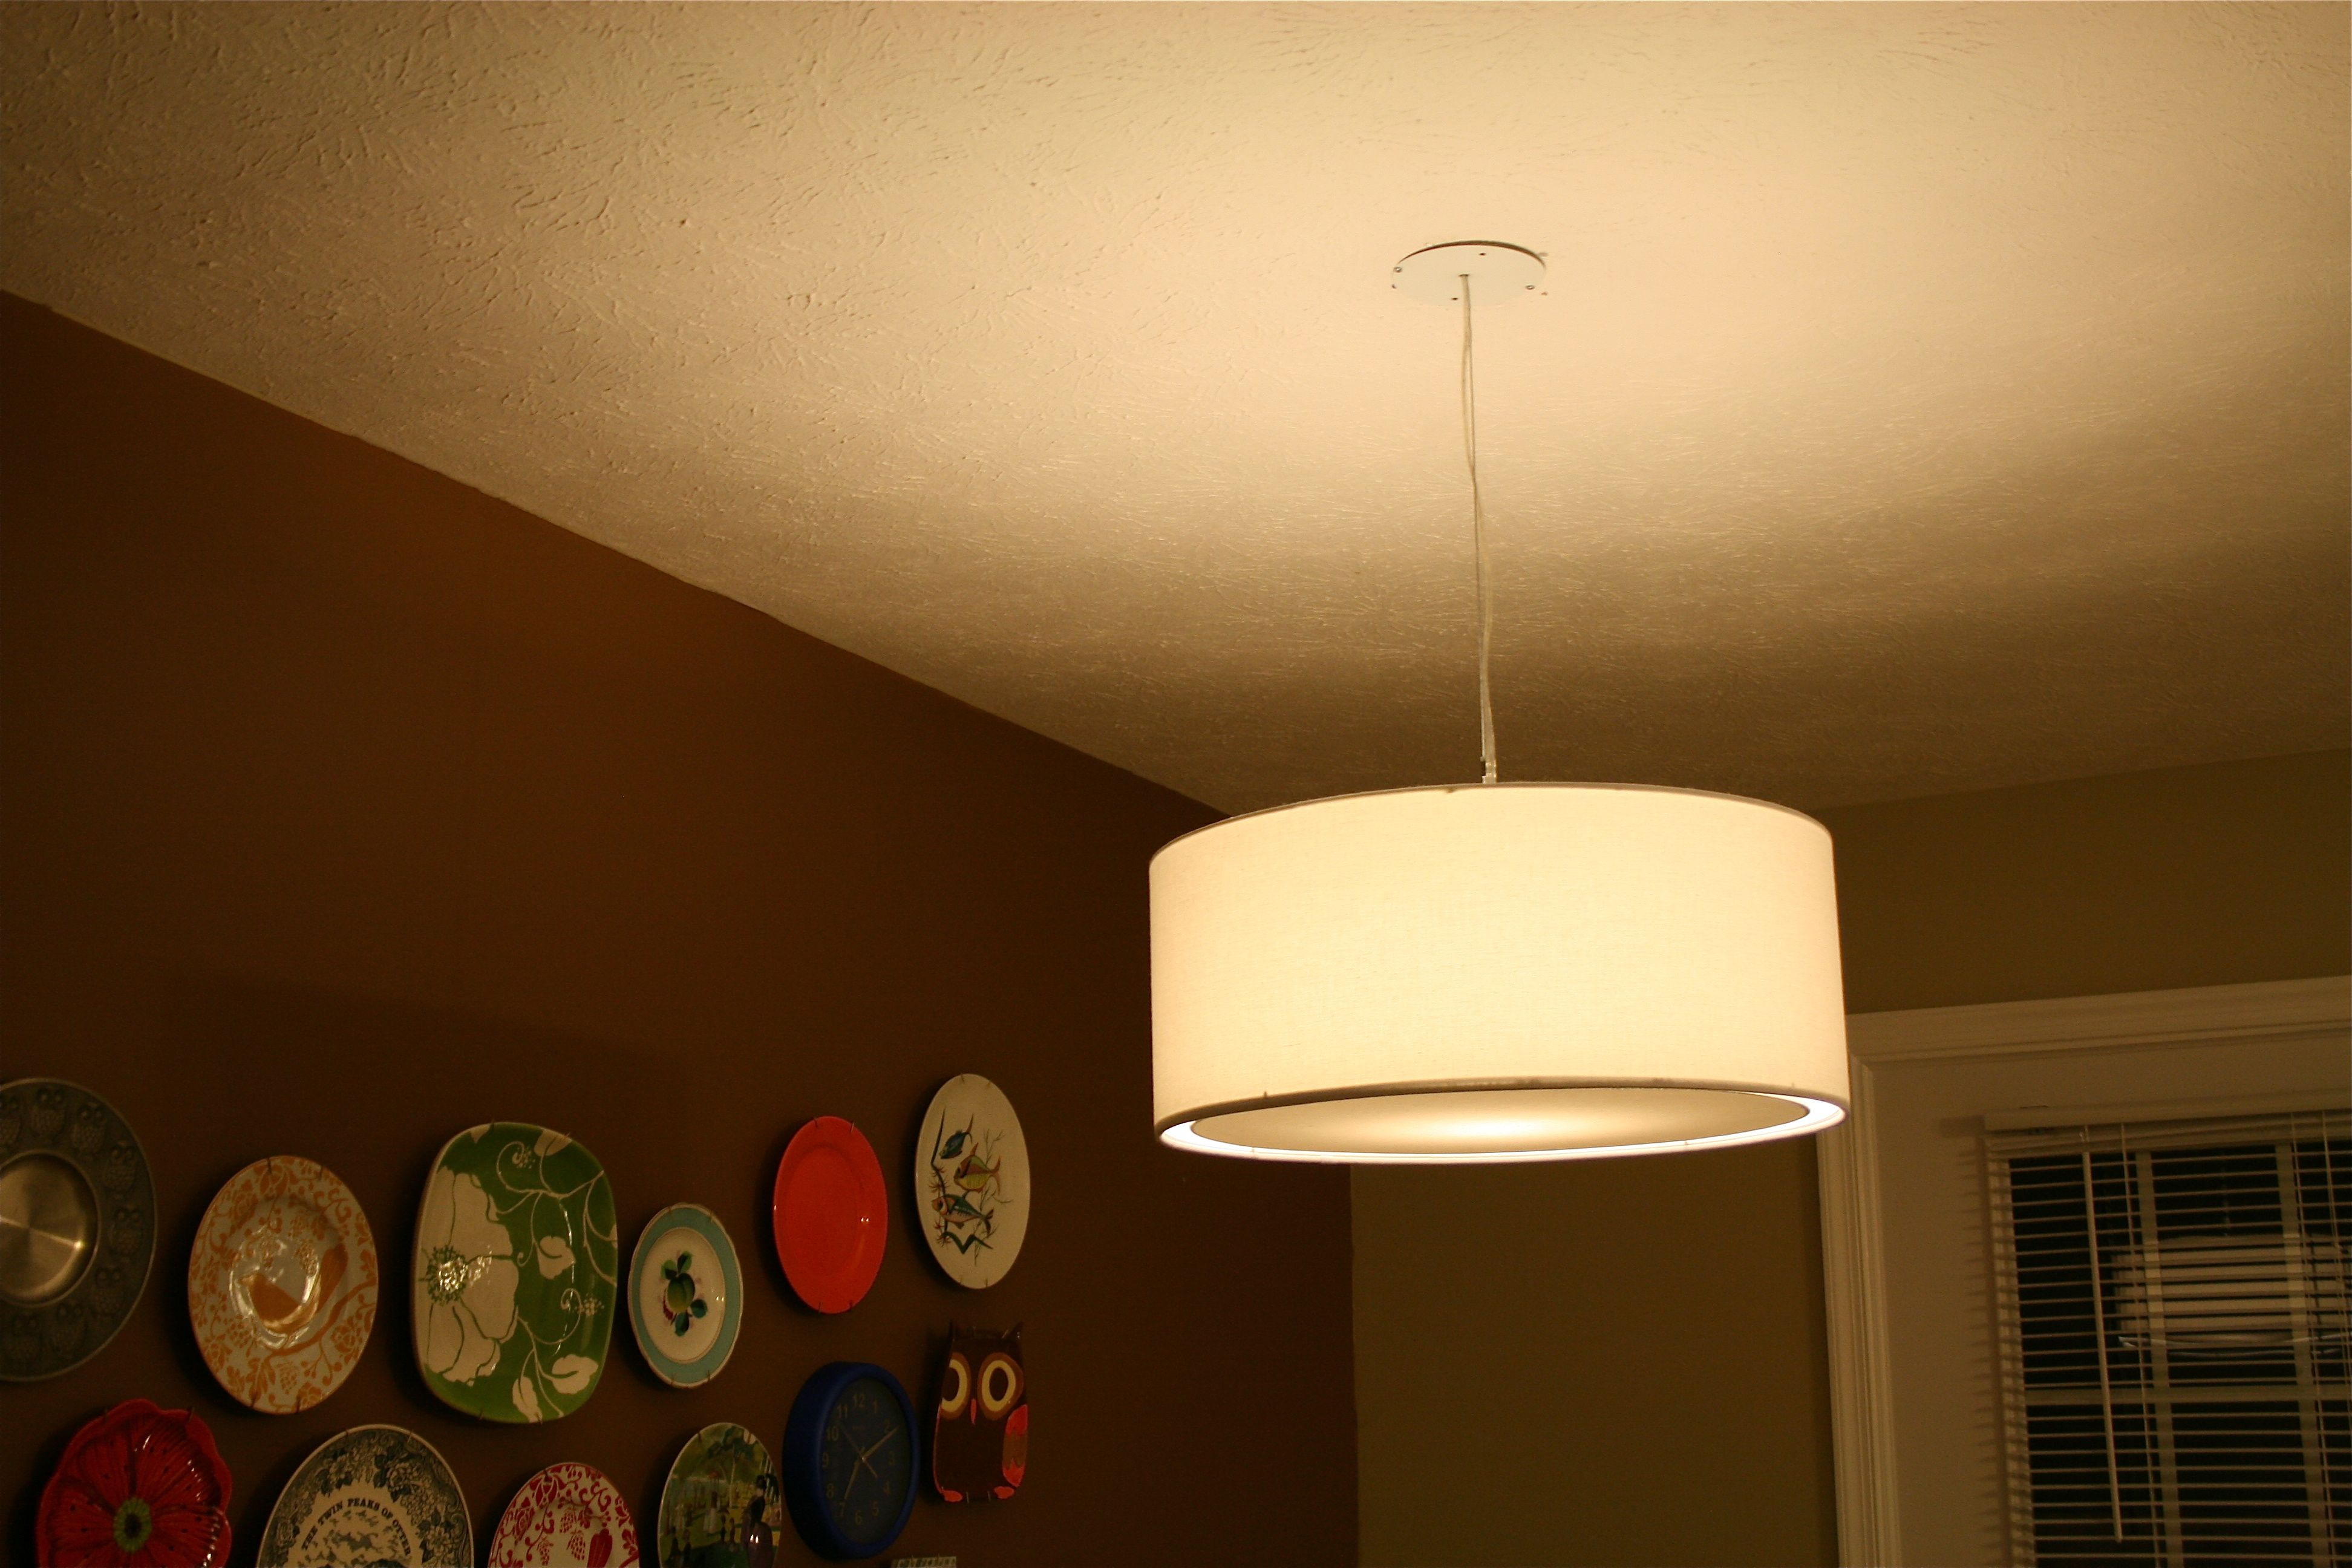
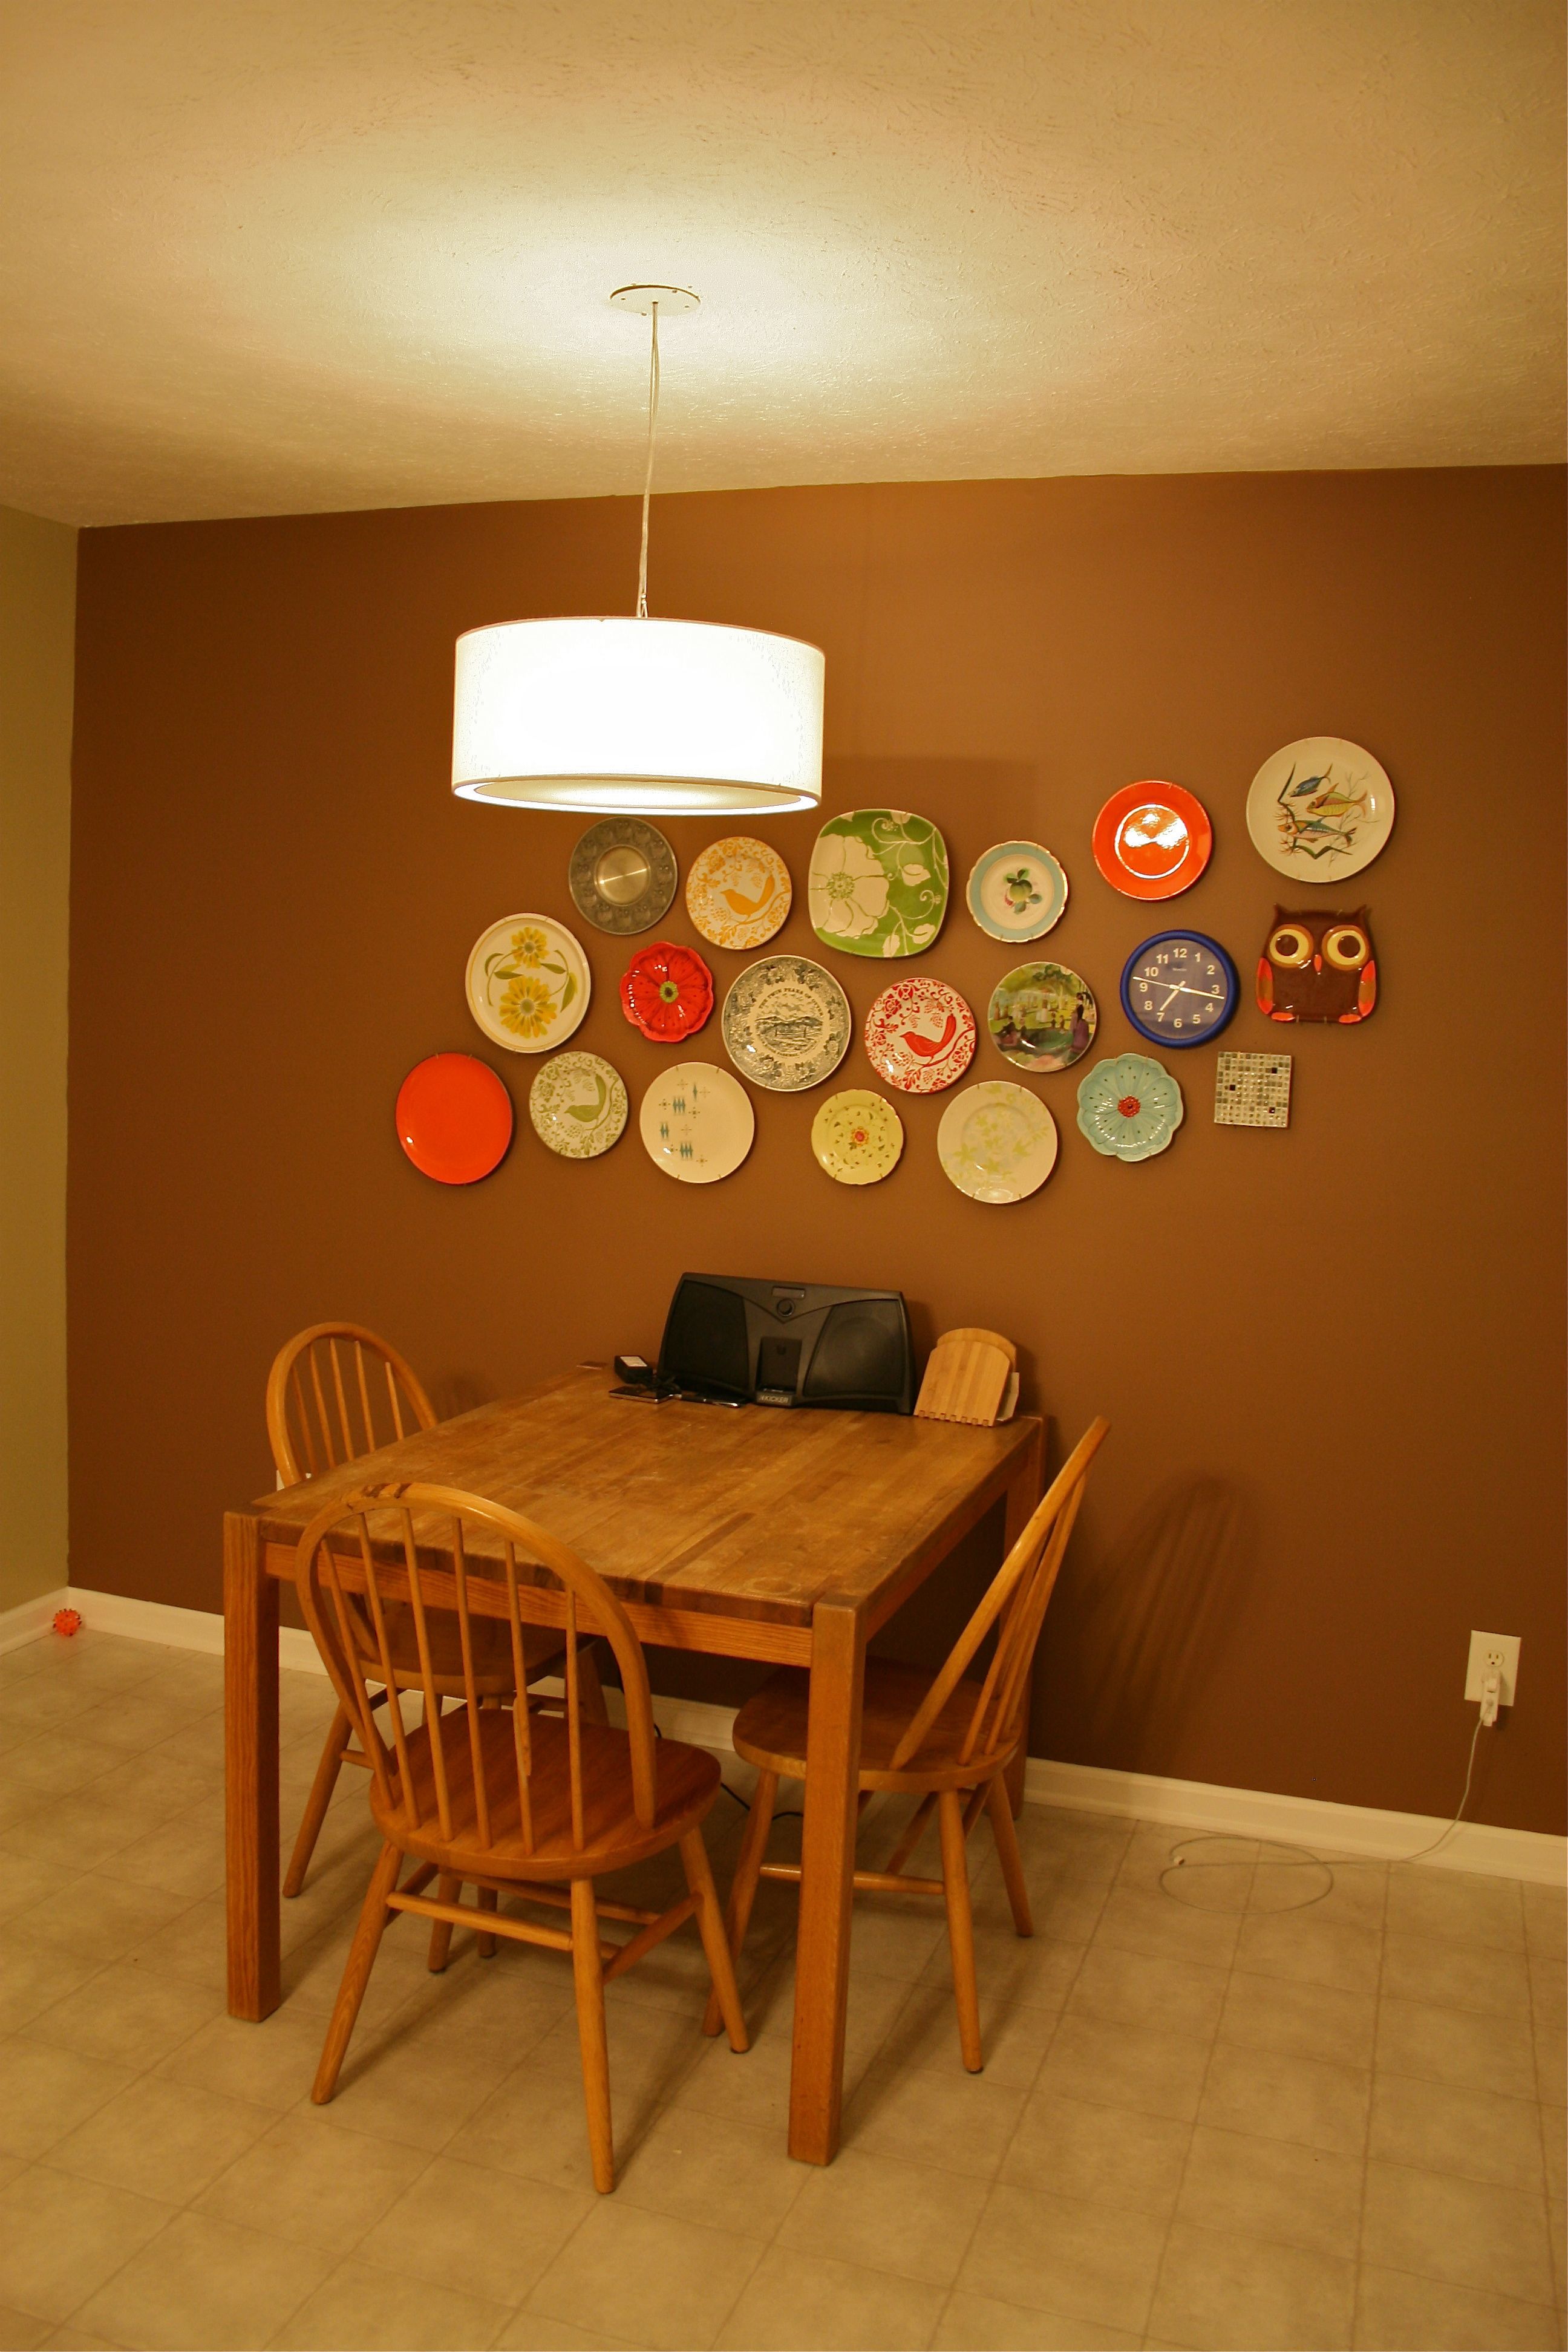
As you may remember from this post, we bought and installed a gorgeous lamp (called the Eden lamp) from CB2. The only problem was that it was a plug-in light fixture so it didn’t come ready to be wired into the ceiling like most hanging kitchen lights.
At first, I thought I could live with the cord snaking across the ceiling and wall to plug into the outlet near the dining room table – Like this…
But when a friend of mine explained that she bought a similar lamp and was able to cut the wire and install it cord-less, I was ALL for the risky-but-so-worth-it-if-it-actually-works project.
And John seemed to feel the same way (especially since he knew it was possible for the beginning – Apparently I just didn’t listen to him until I heard from someone else who experienced it first hand…Myyyyy baaddddd).
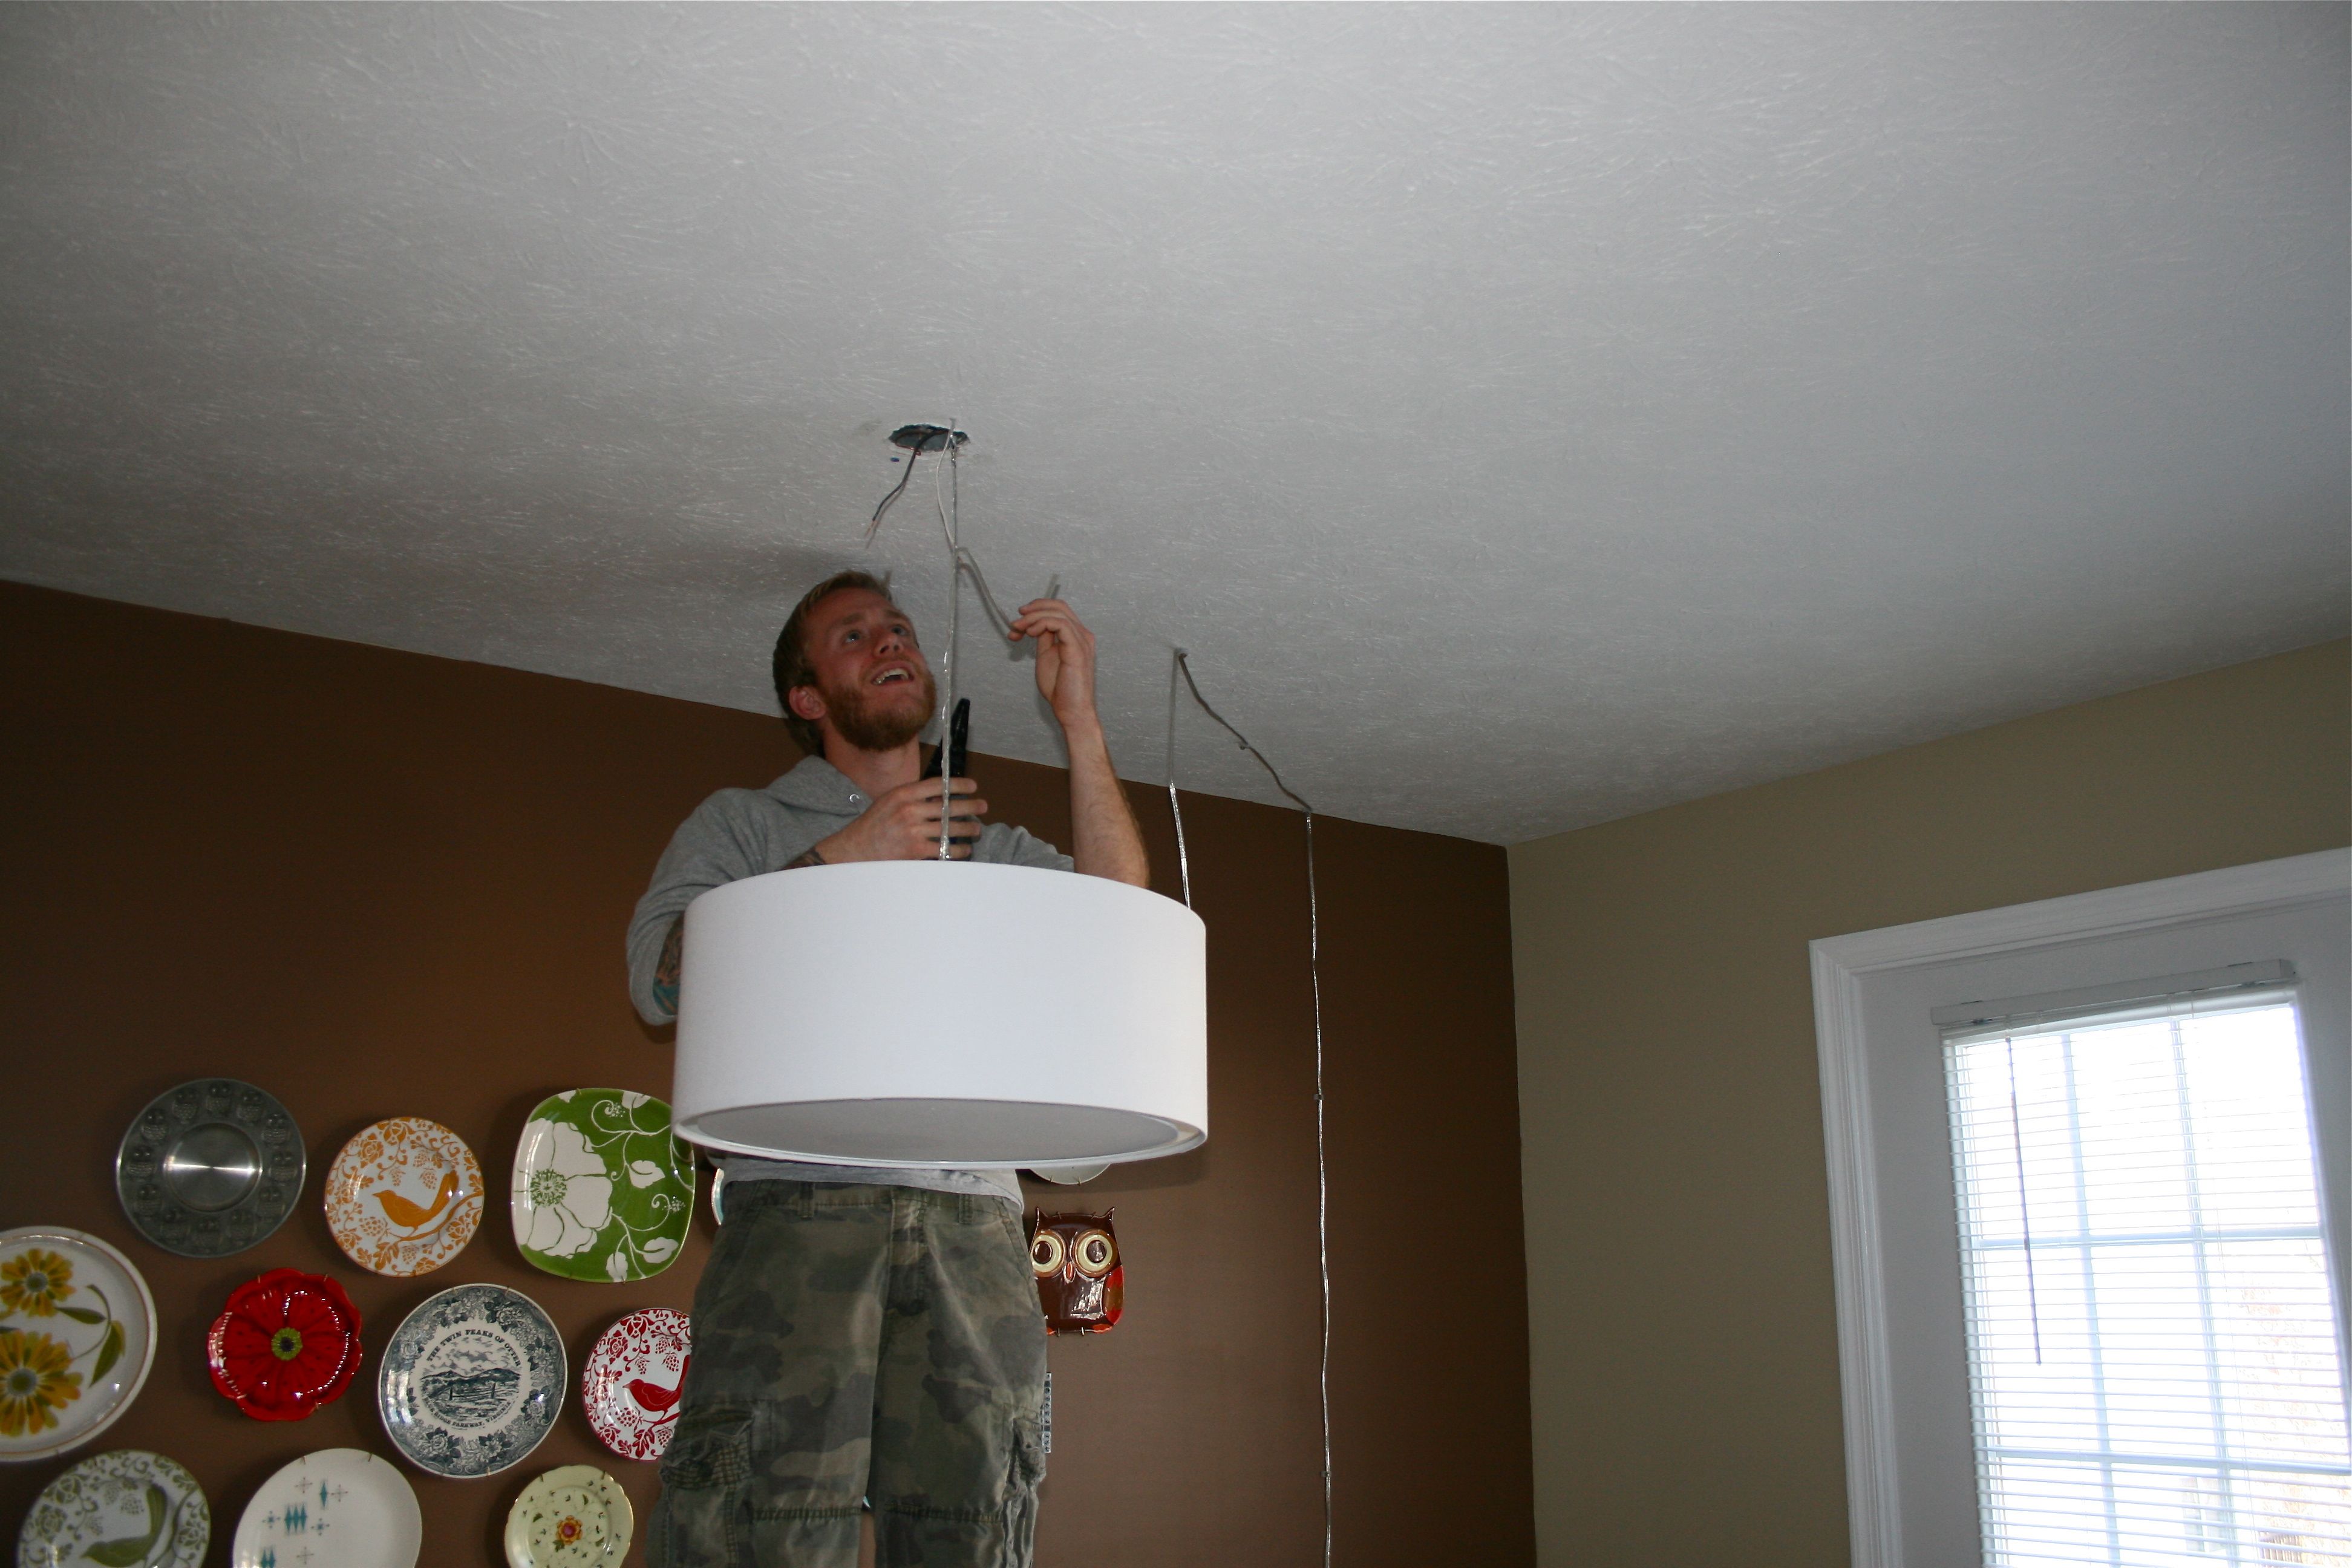
This is him making the project unavoidable by severing the wire. He’s so proud…
The project was actually pretty straightforward! Well…Except for a few minor electrical problems that left the kitchen like this:
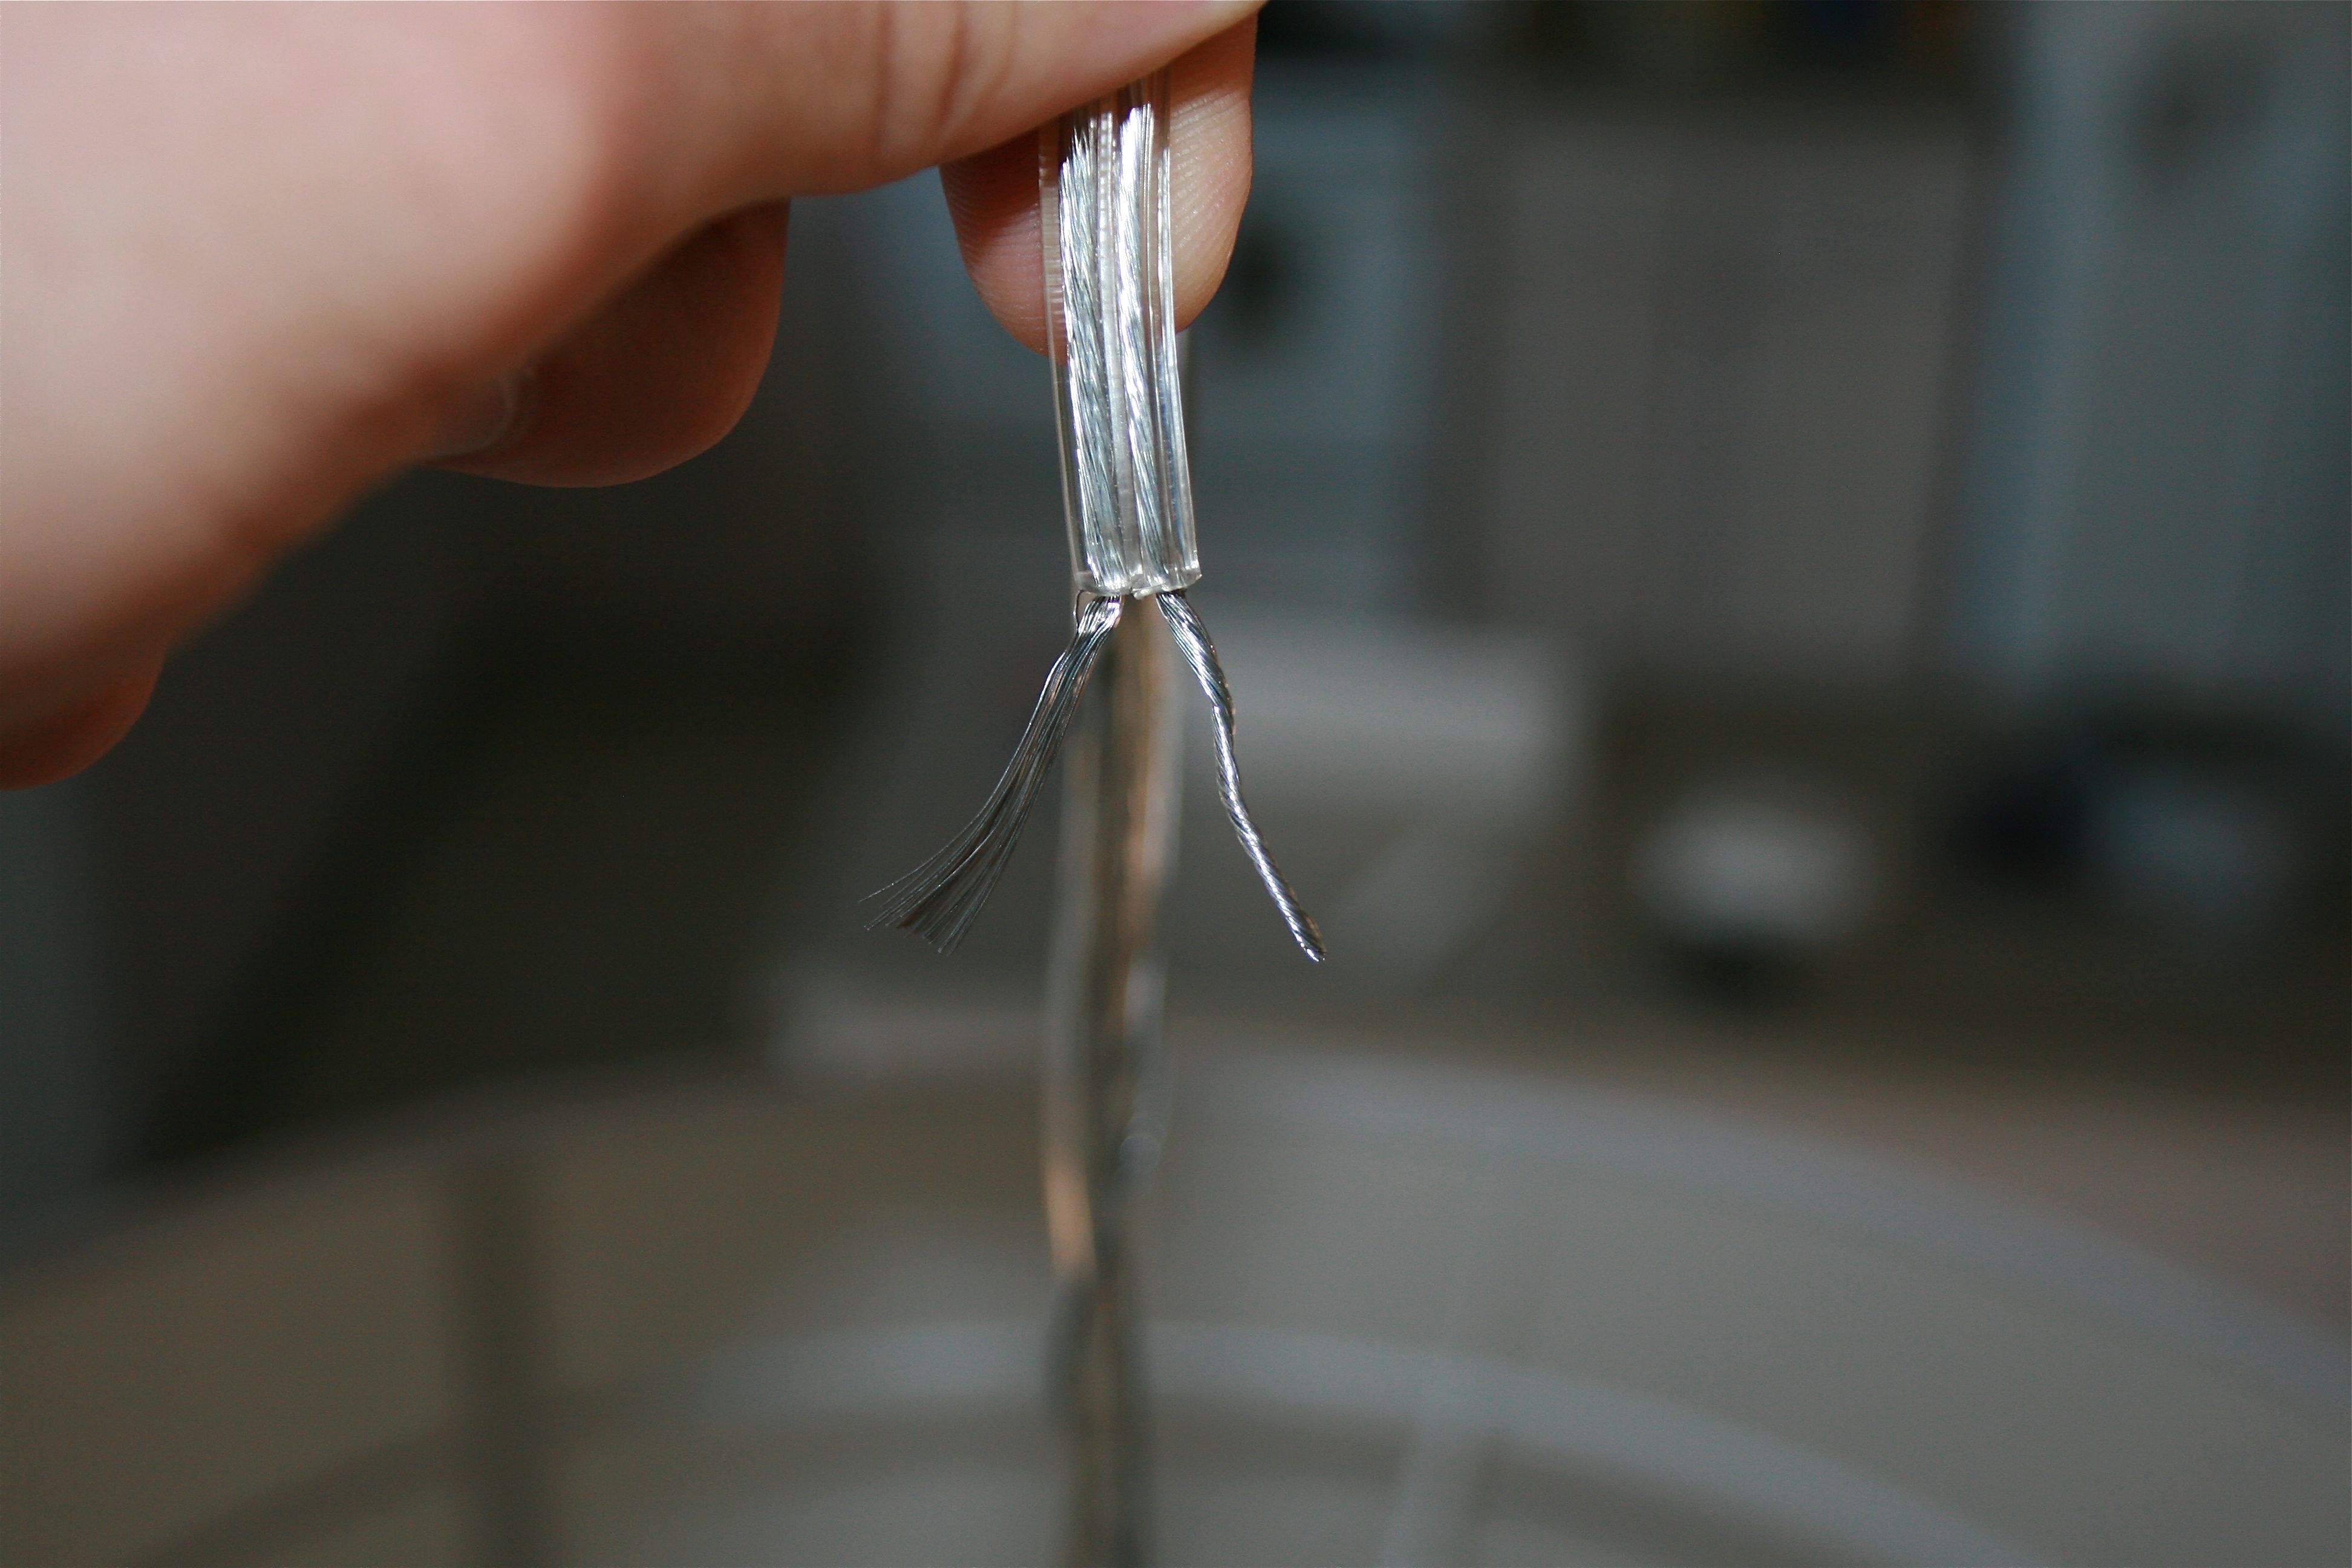
But for the most part, it was just a matter of using some wire cutters and strippers (of the inanimate mechanical sort, not the kind requiring a seedy bar, dollar bills and dim red lights) to cut the existing cord to the right length and expose the wires. Then you separate the two wires and twist to make it easier to fit into the crimp cap.
The exposed wire on the left is “au naturel” while the one on the right is ready to go!
The rest of the instructions from a girl’s perspective (one who’s only participation in this project was to flick the light switch on and off to test the connection) are as follows:
- Once you’ve got the wire twisted, test the connection by CAREFULLY touching the exposed light fixture wires to the wires in the ceiling – If the light turns on, then you’ve matched the wires correctly. (I bet there’s a safer way to do this but John insisted that he’d be careful…)
- Hold the wires in steady view so you can remember which goes where and yell to your girlfriend to go turn off the breaker for the kitchen.
- When you get the all clear, proceed by putting the lamp wires into a crimp cap with its corresponding ceiling wire and crimp using the tool!
- Then wrap the third copper wire (the ground wire) around the screw in the ceiling electrical box.
- Turn the breaker back on and hold your breath that it works…
Luckily for us, this was our result:
Sidenote: Don’t forget about the ceiling medallion/cover…We got everything all wired up and THEN realized that the hole in the ceiling would be exposed. So we had to take the wires apart again, thread the metal cover on (which is actually the hole-less cover we had up there originally – We were lazy and just drilled a hole in the center for the wire to thread through) and then rewire everything…
And because I’m sometimes an evil girlfriend I just had to share this…
Now that’s one happy little “electrician”…Good job, babe!!!!!!!!!!
Hopefully those instructions make some sense…Honestly, if you’re completely inexperienced with electrical work, you may want to enlist help from a friend of a professional. It wasn’t exactly the easiest project we’ve tackled (in fact, I’d probably label it the hardest) but that was only because it required a lot of trial and error. Now that we’ve got this project under our belt, I think the next electrical task we do will go a lot quicker…
And the final product is soooo worth it in the end!
Hopefully the first-thing-in-the-morning anxiety of flicking the switch, scared to death that nothing will happen, will fade soon…
#2: Lamp Redo
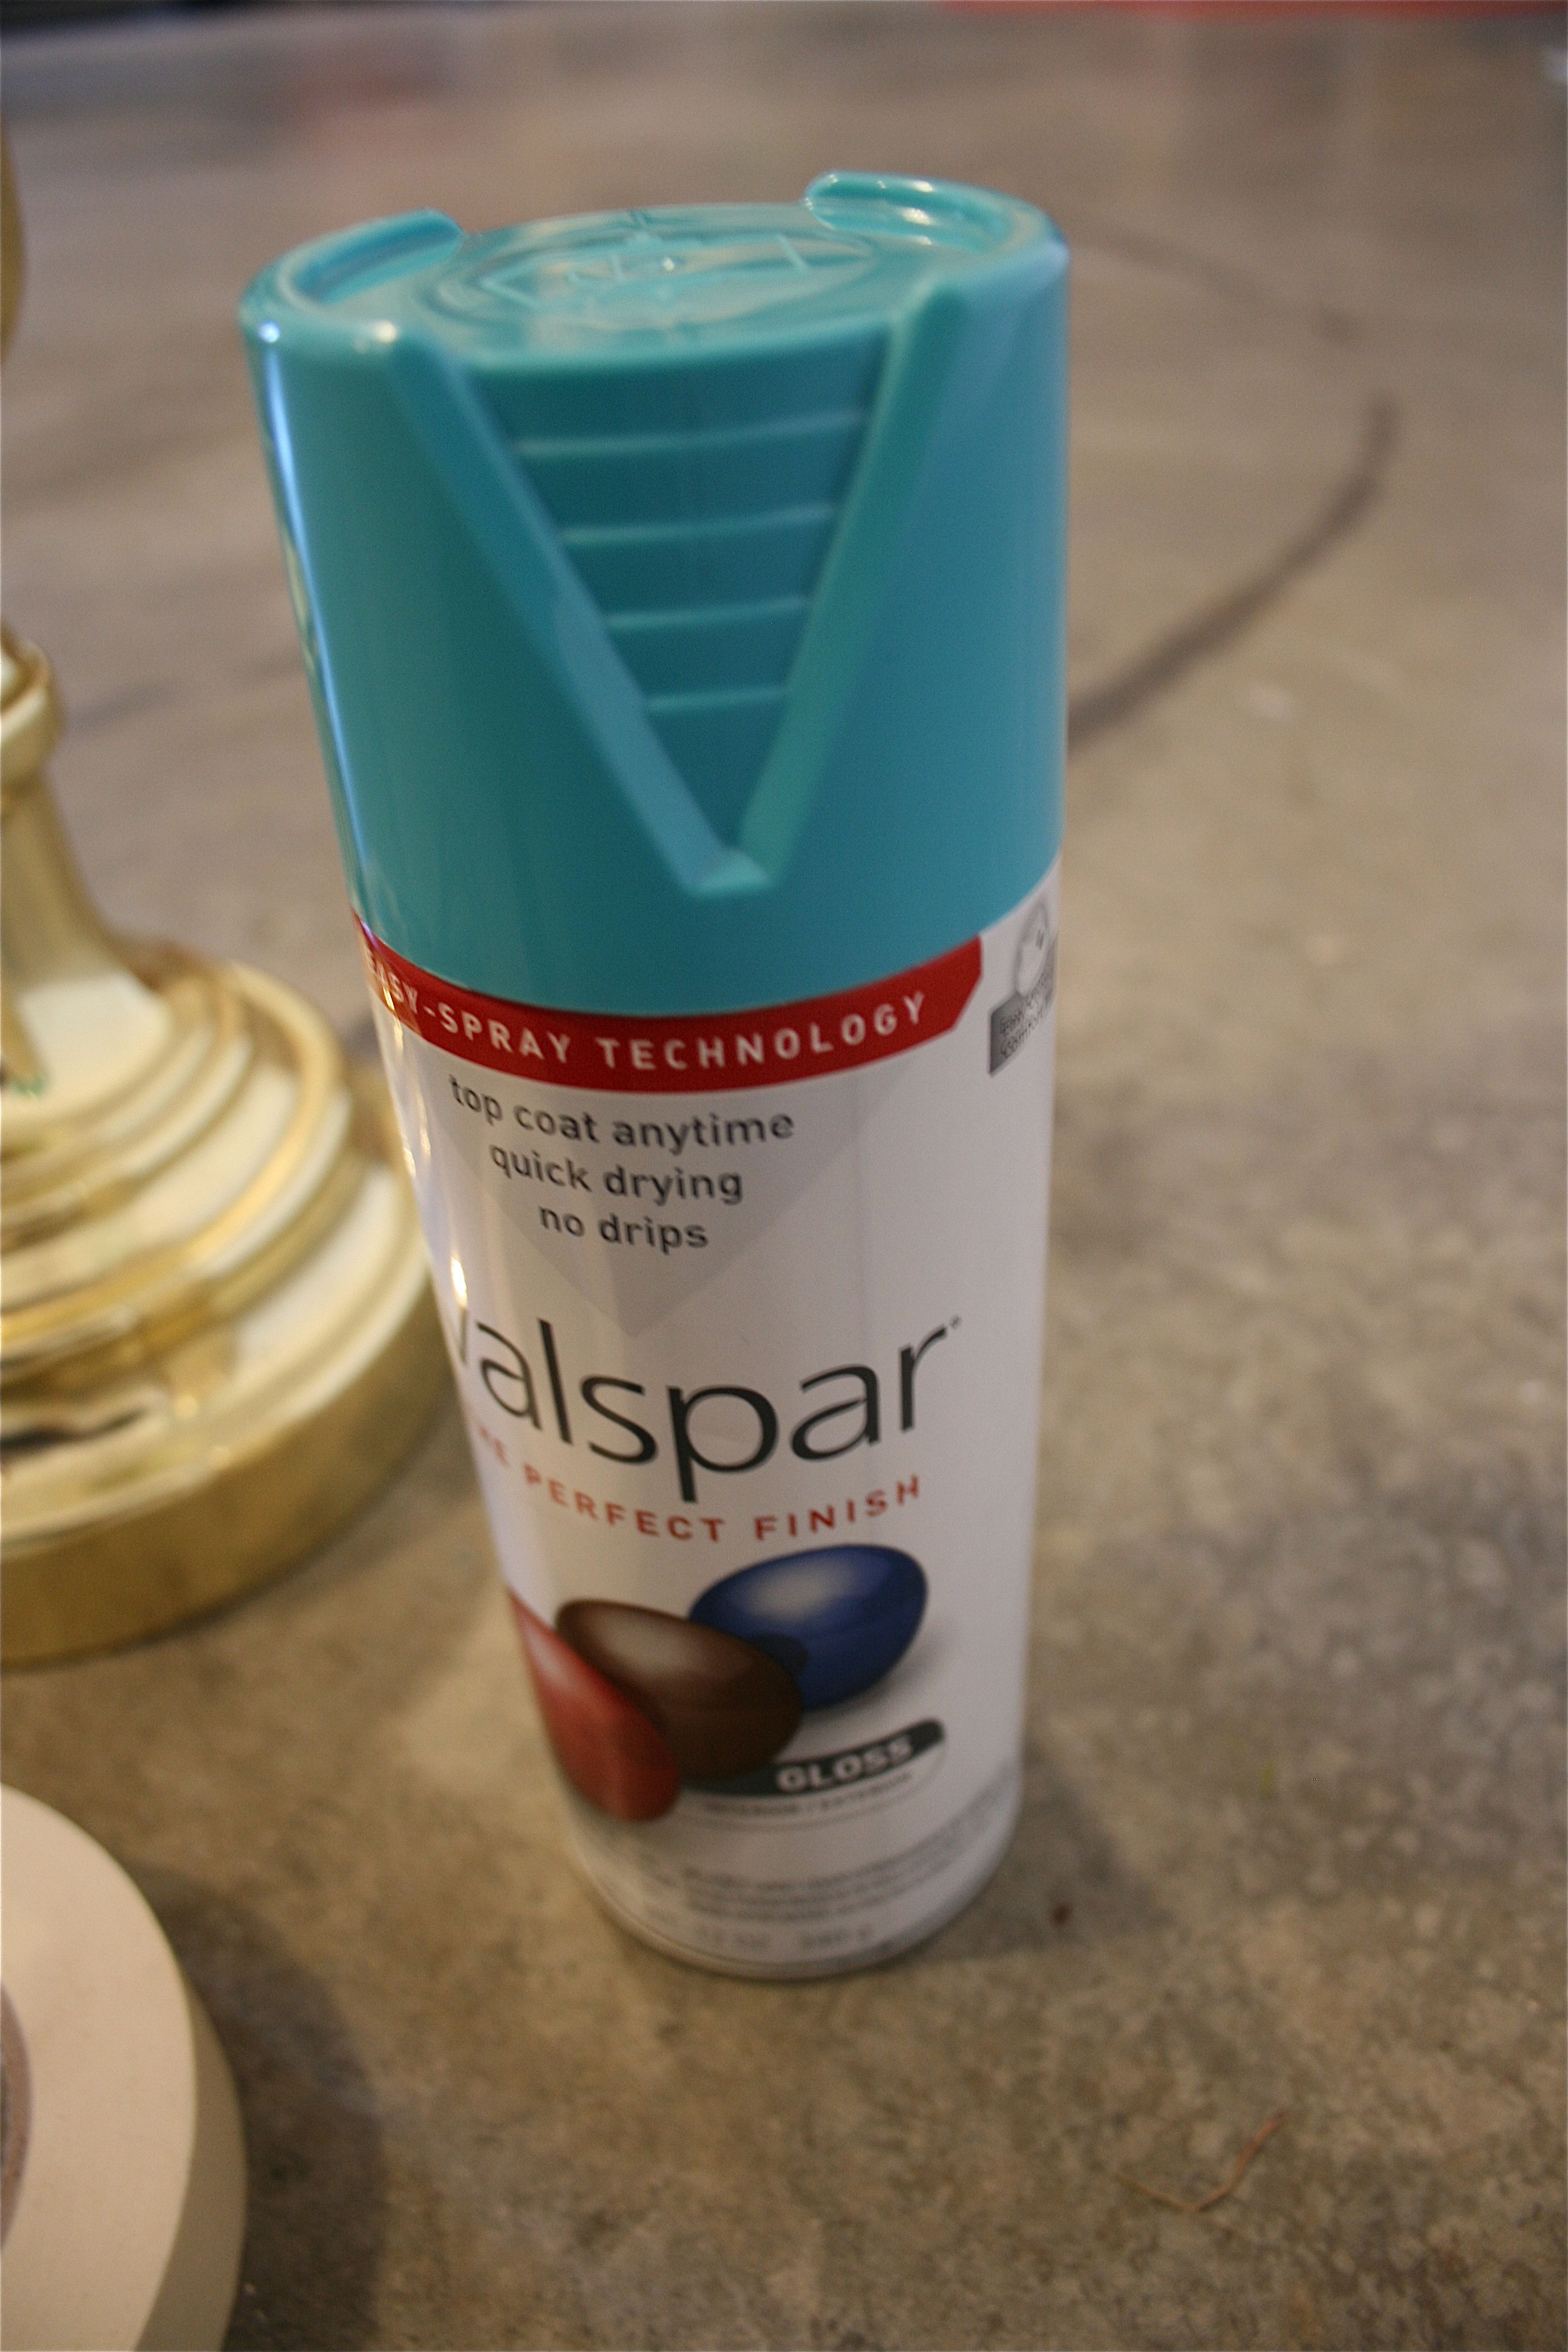
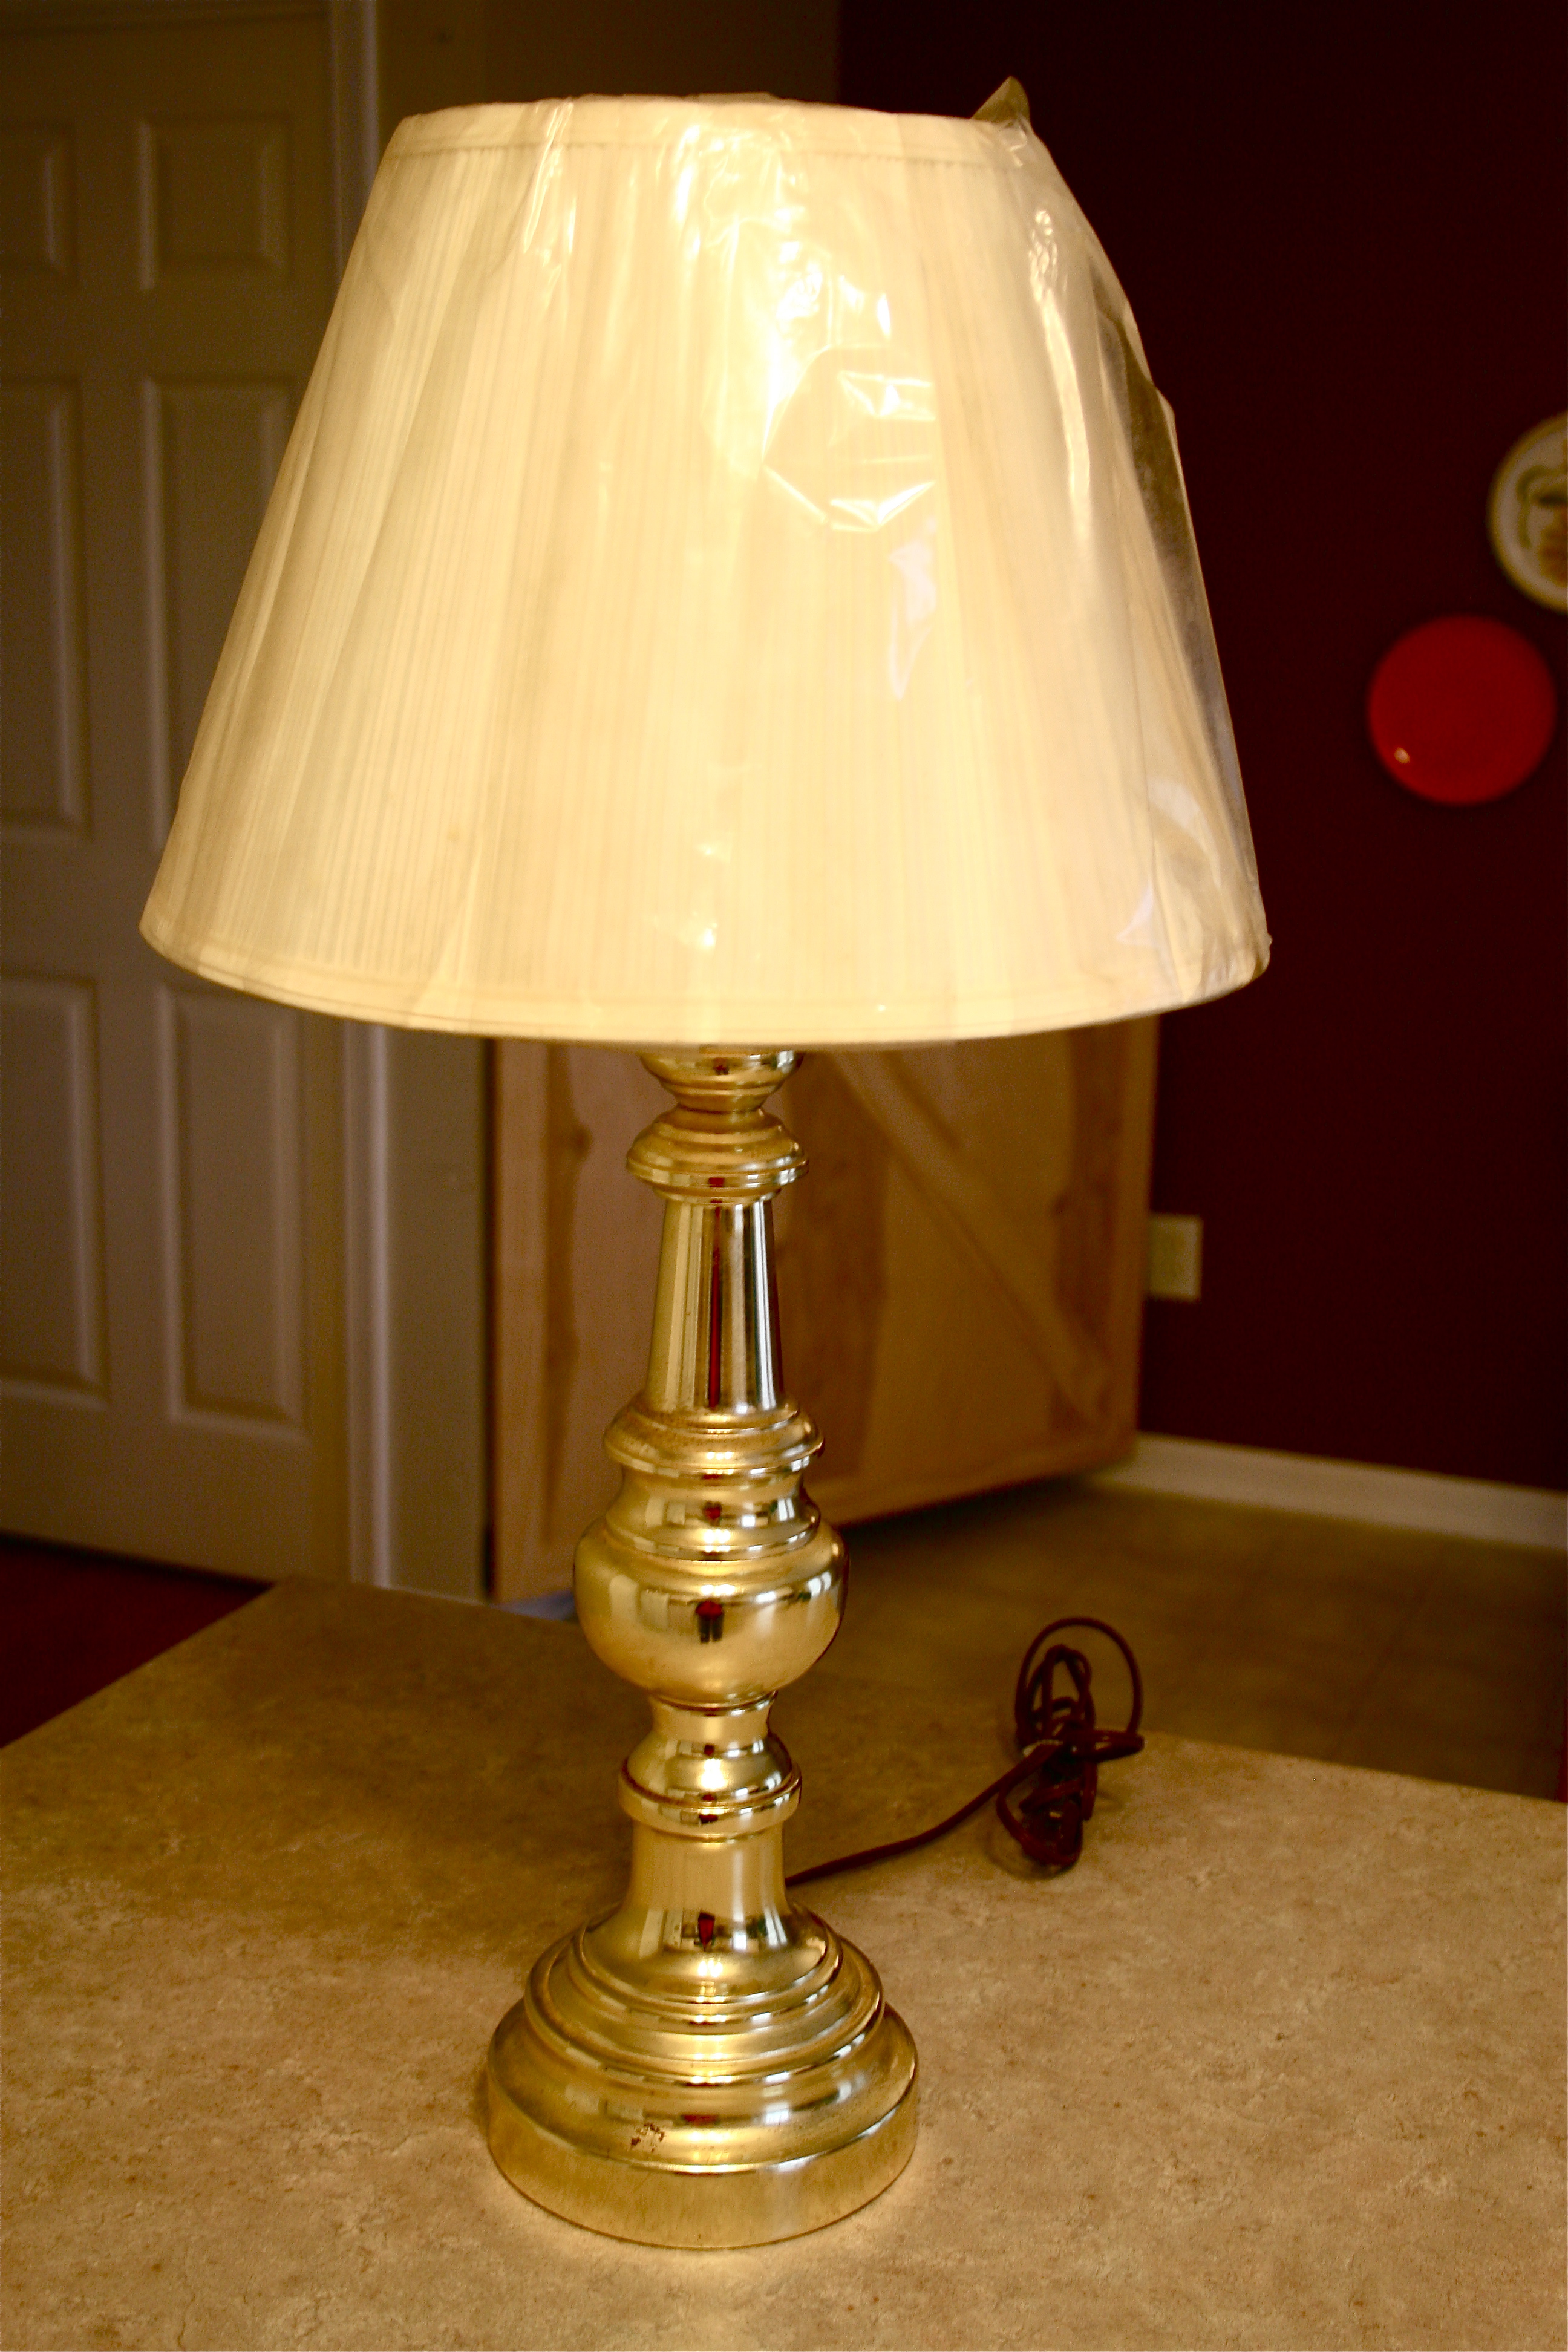
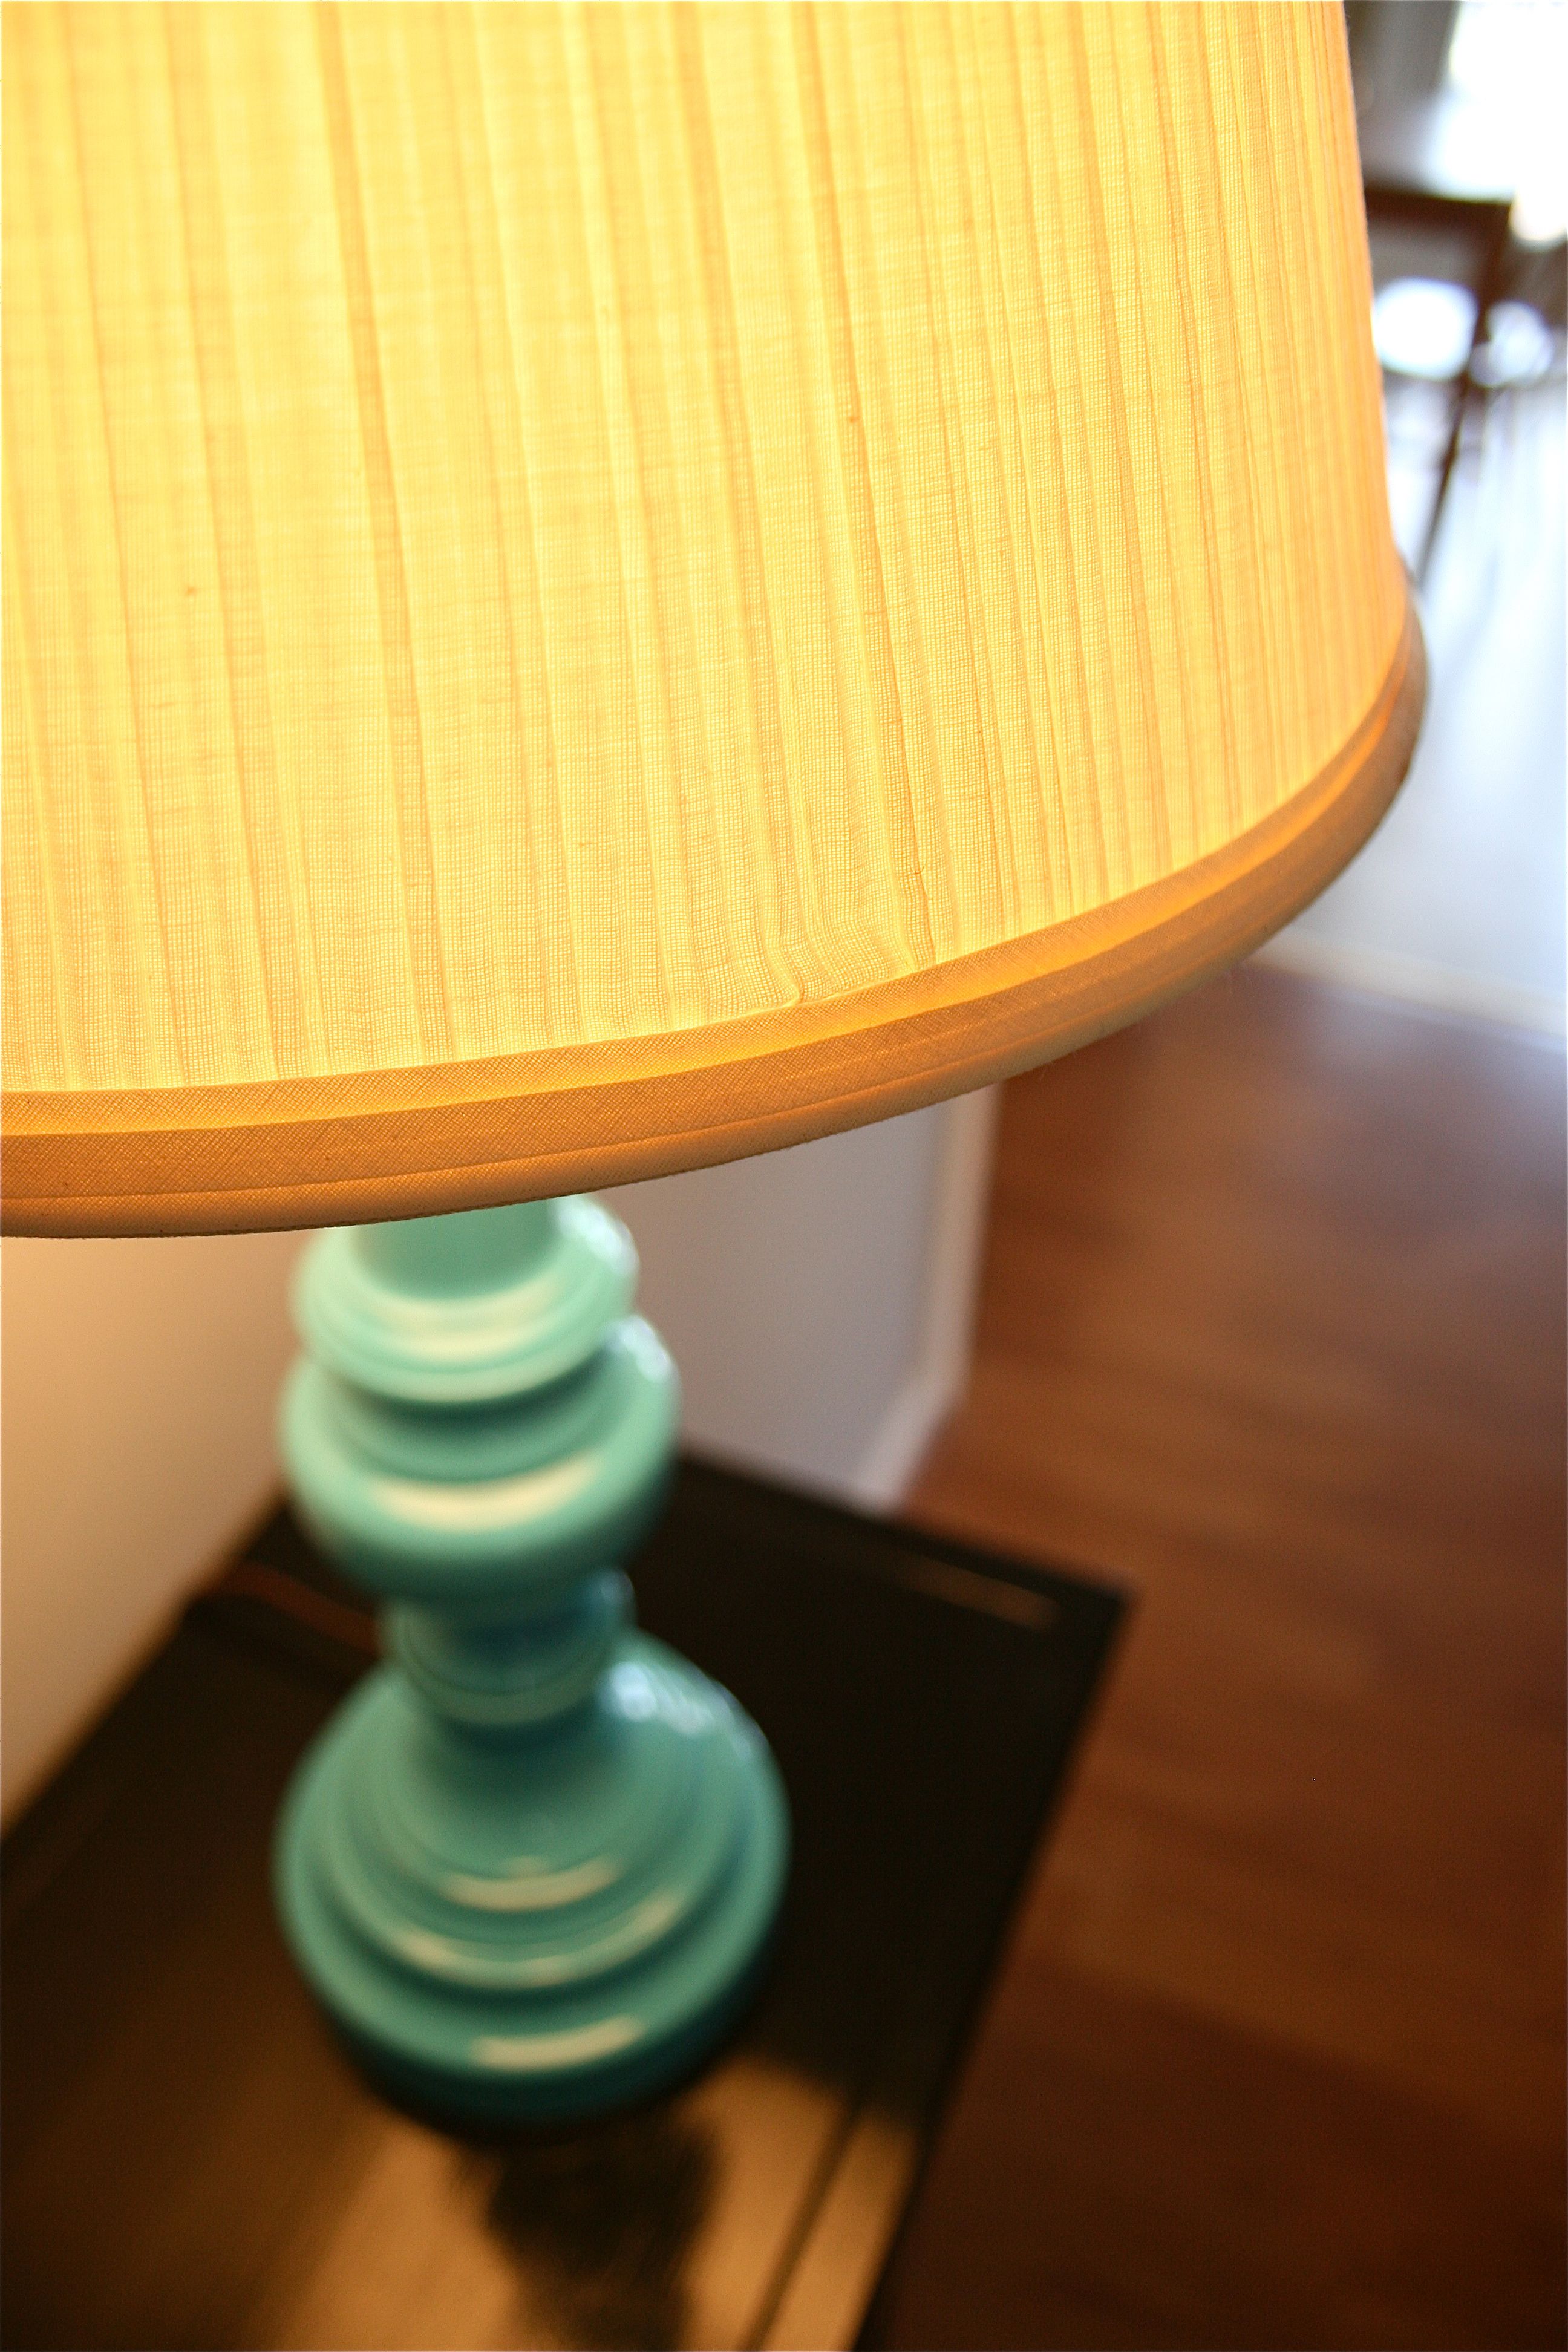
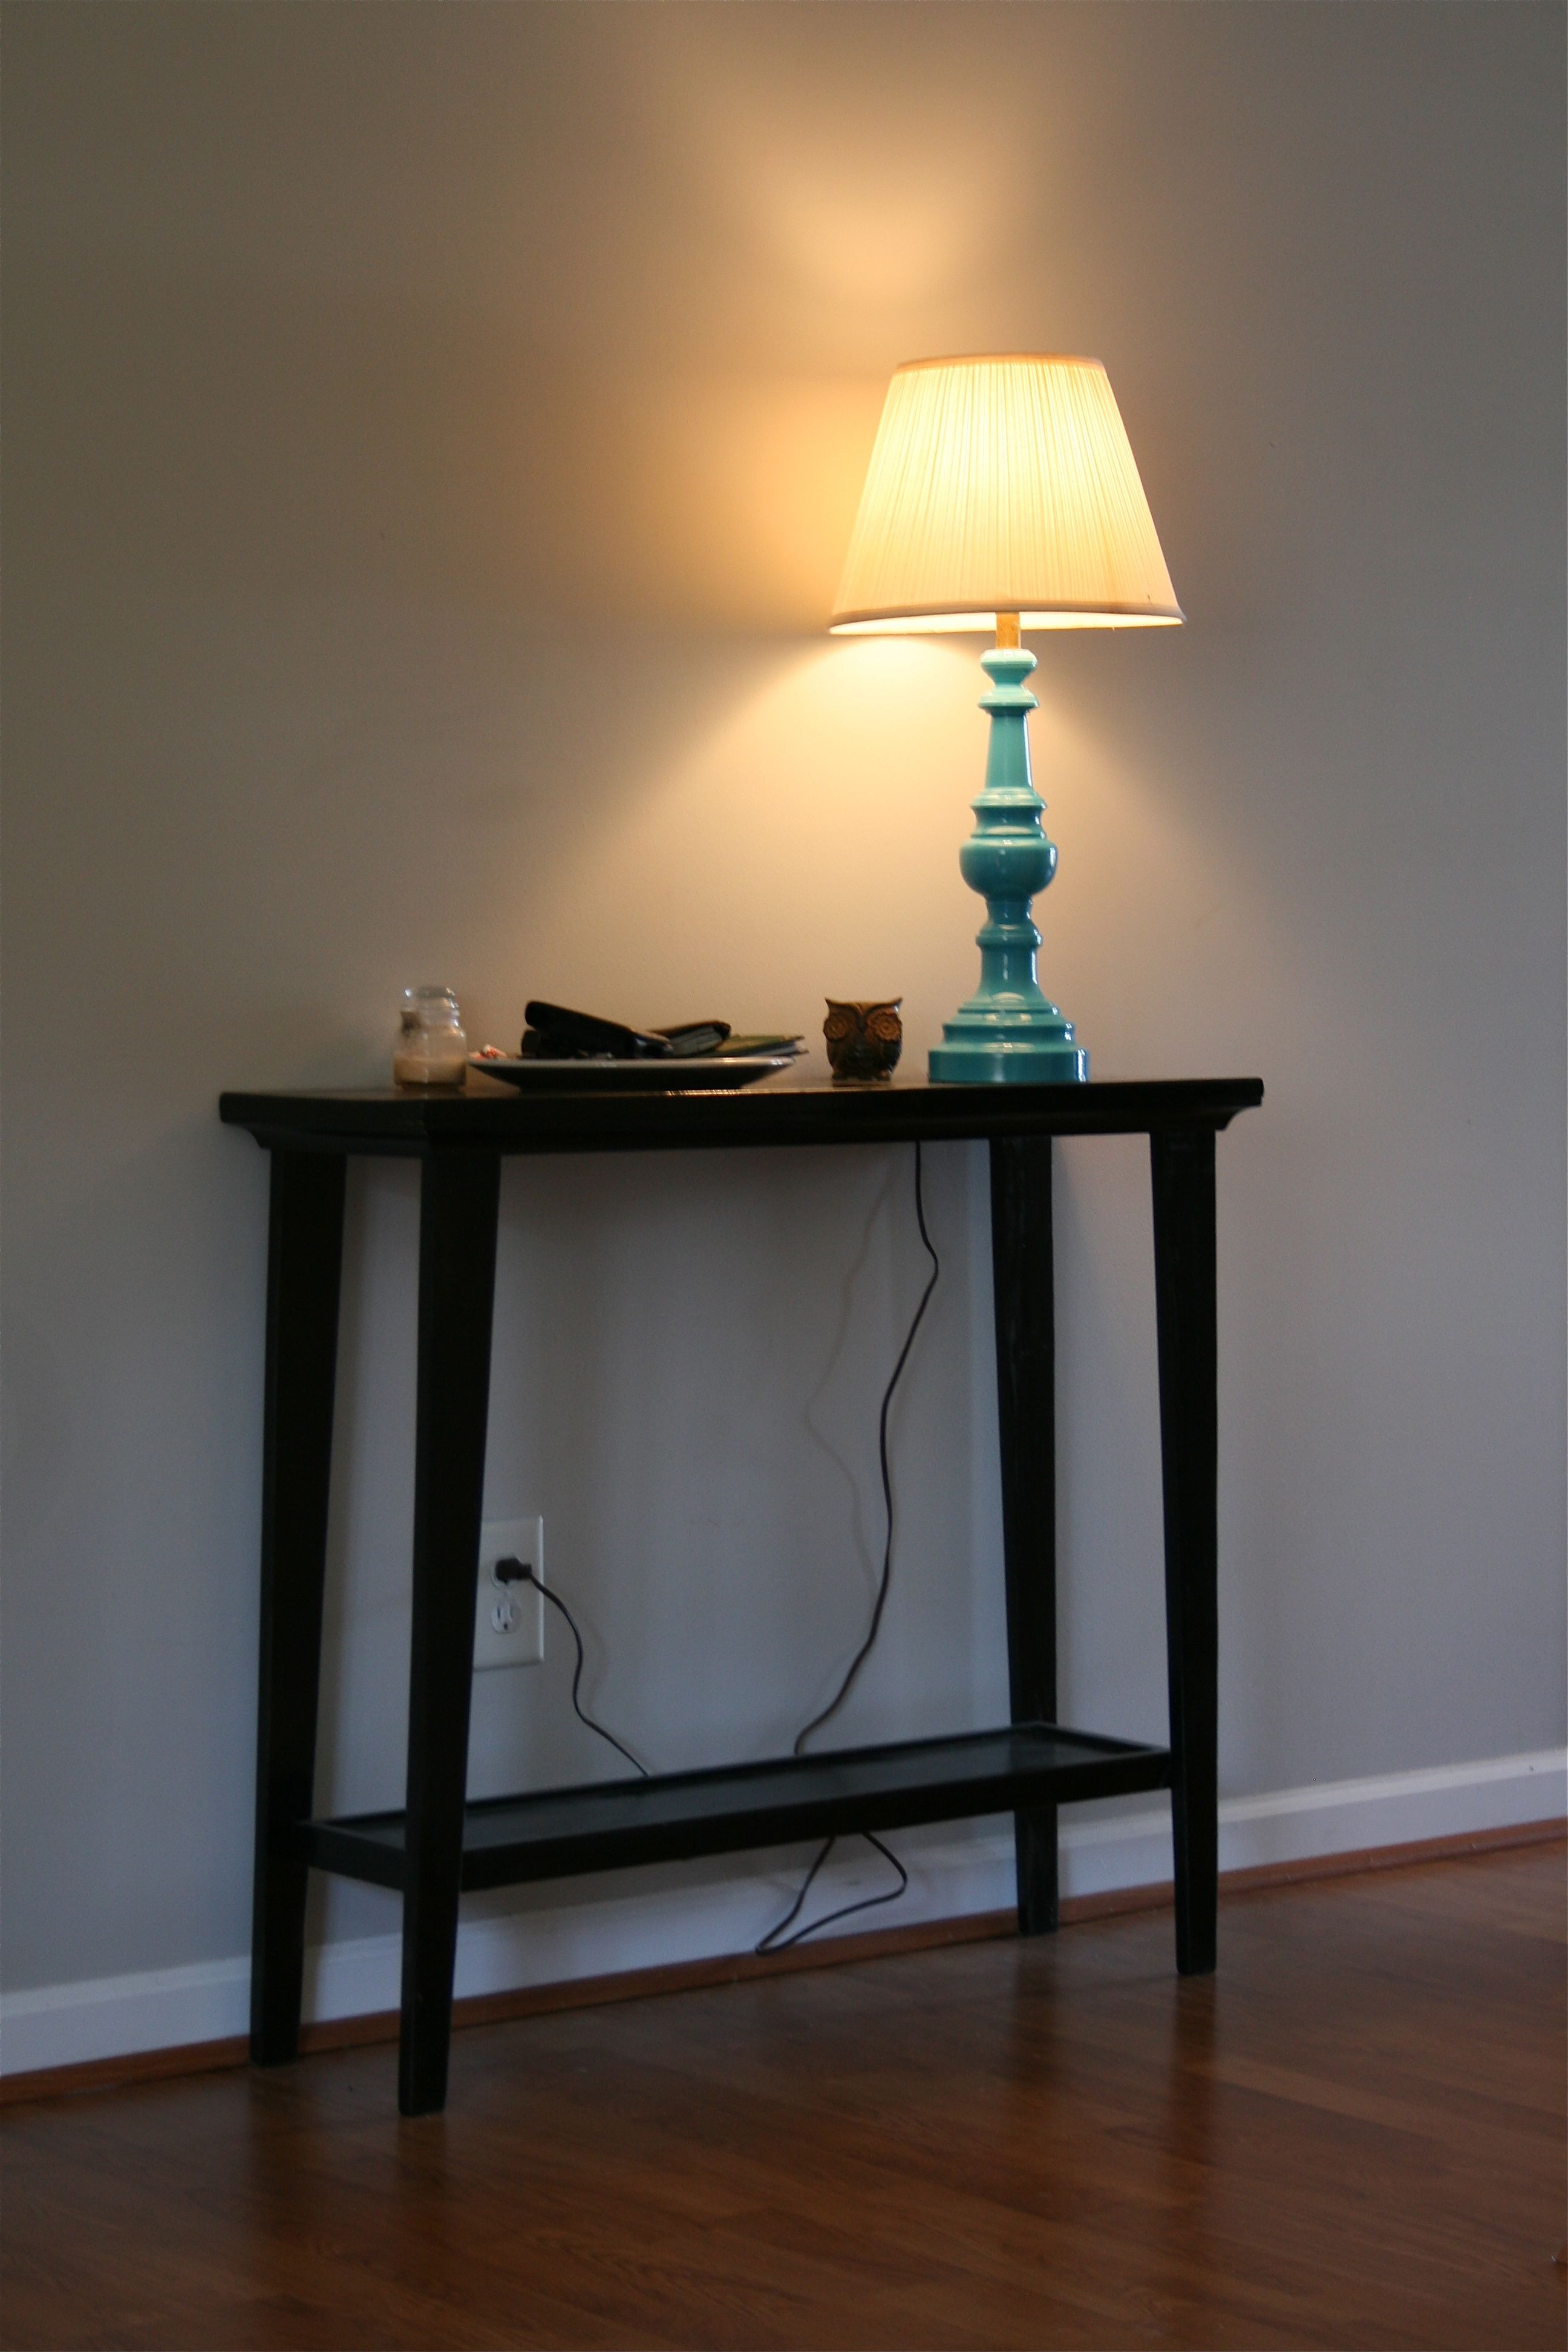
You may remember this outdated lamp that I bought last week…Well it needed a lot of work. And by “a lot” I mean going out to Lowes, buying a $4 can of spray paint and spraying the heck out of it in the garage.
This project was so easy, it was silly – But it’s one of the most high-impact finished products of the weekend!
Here’s the play-by-play:
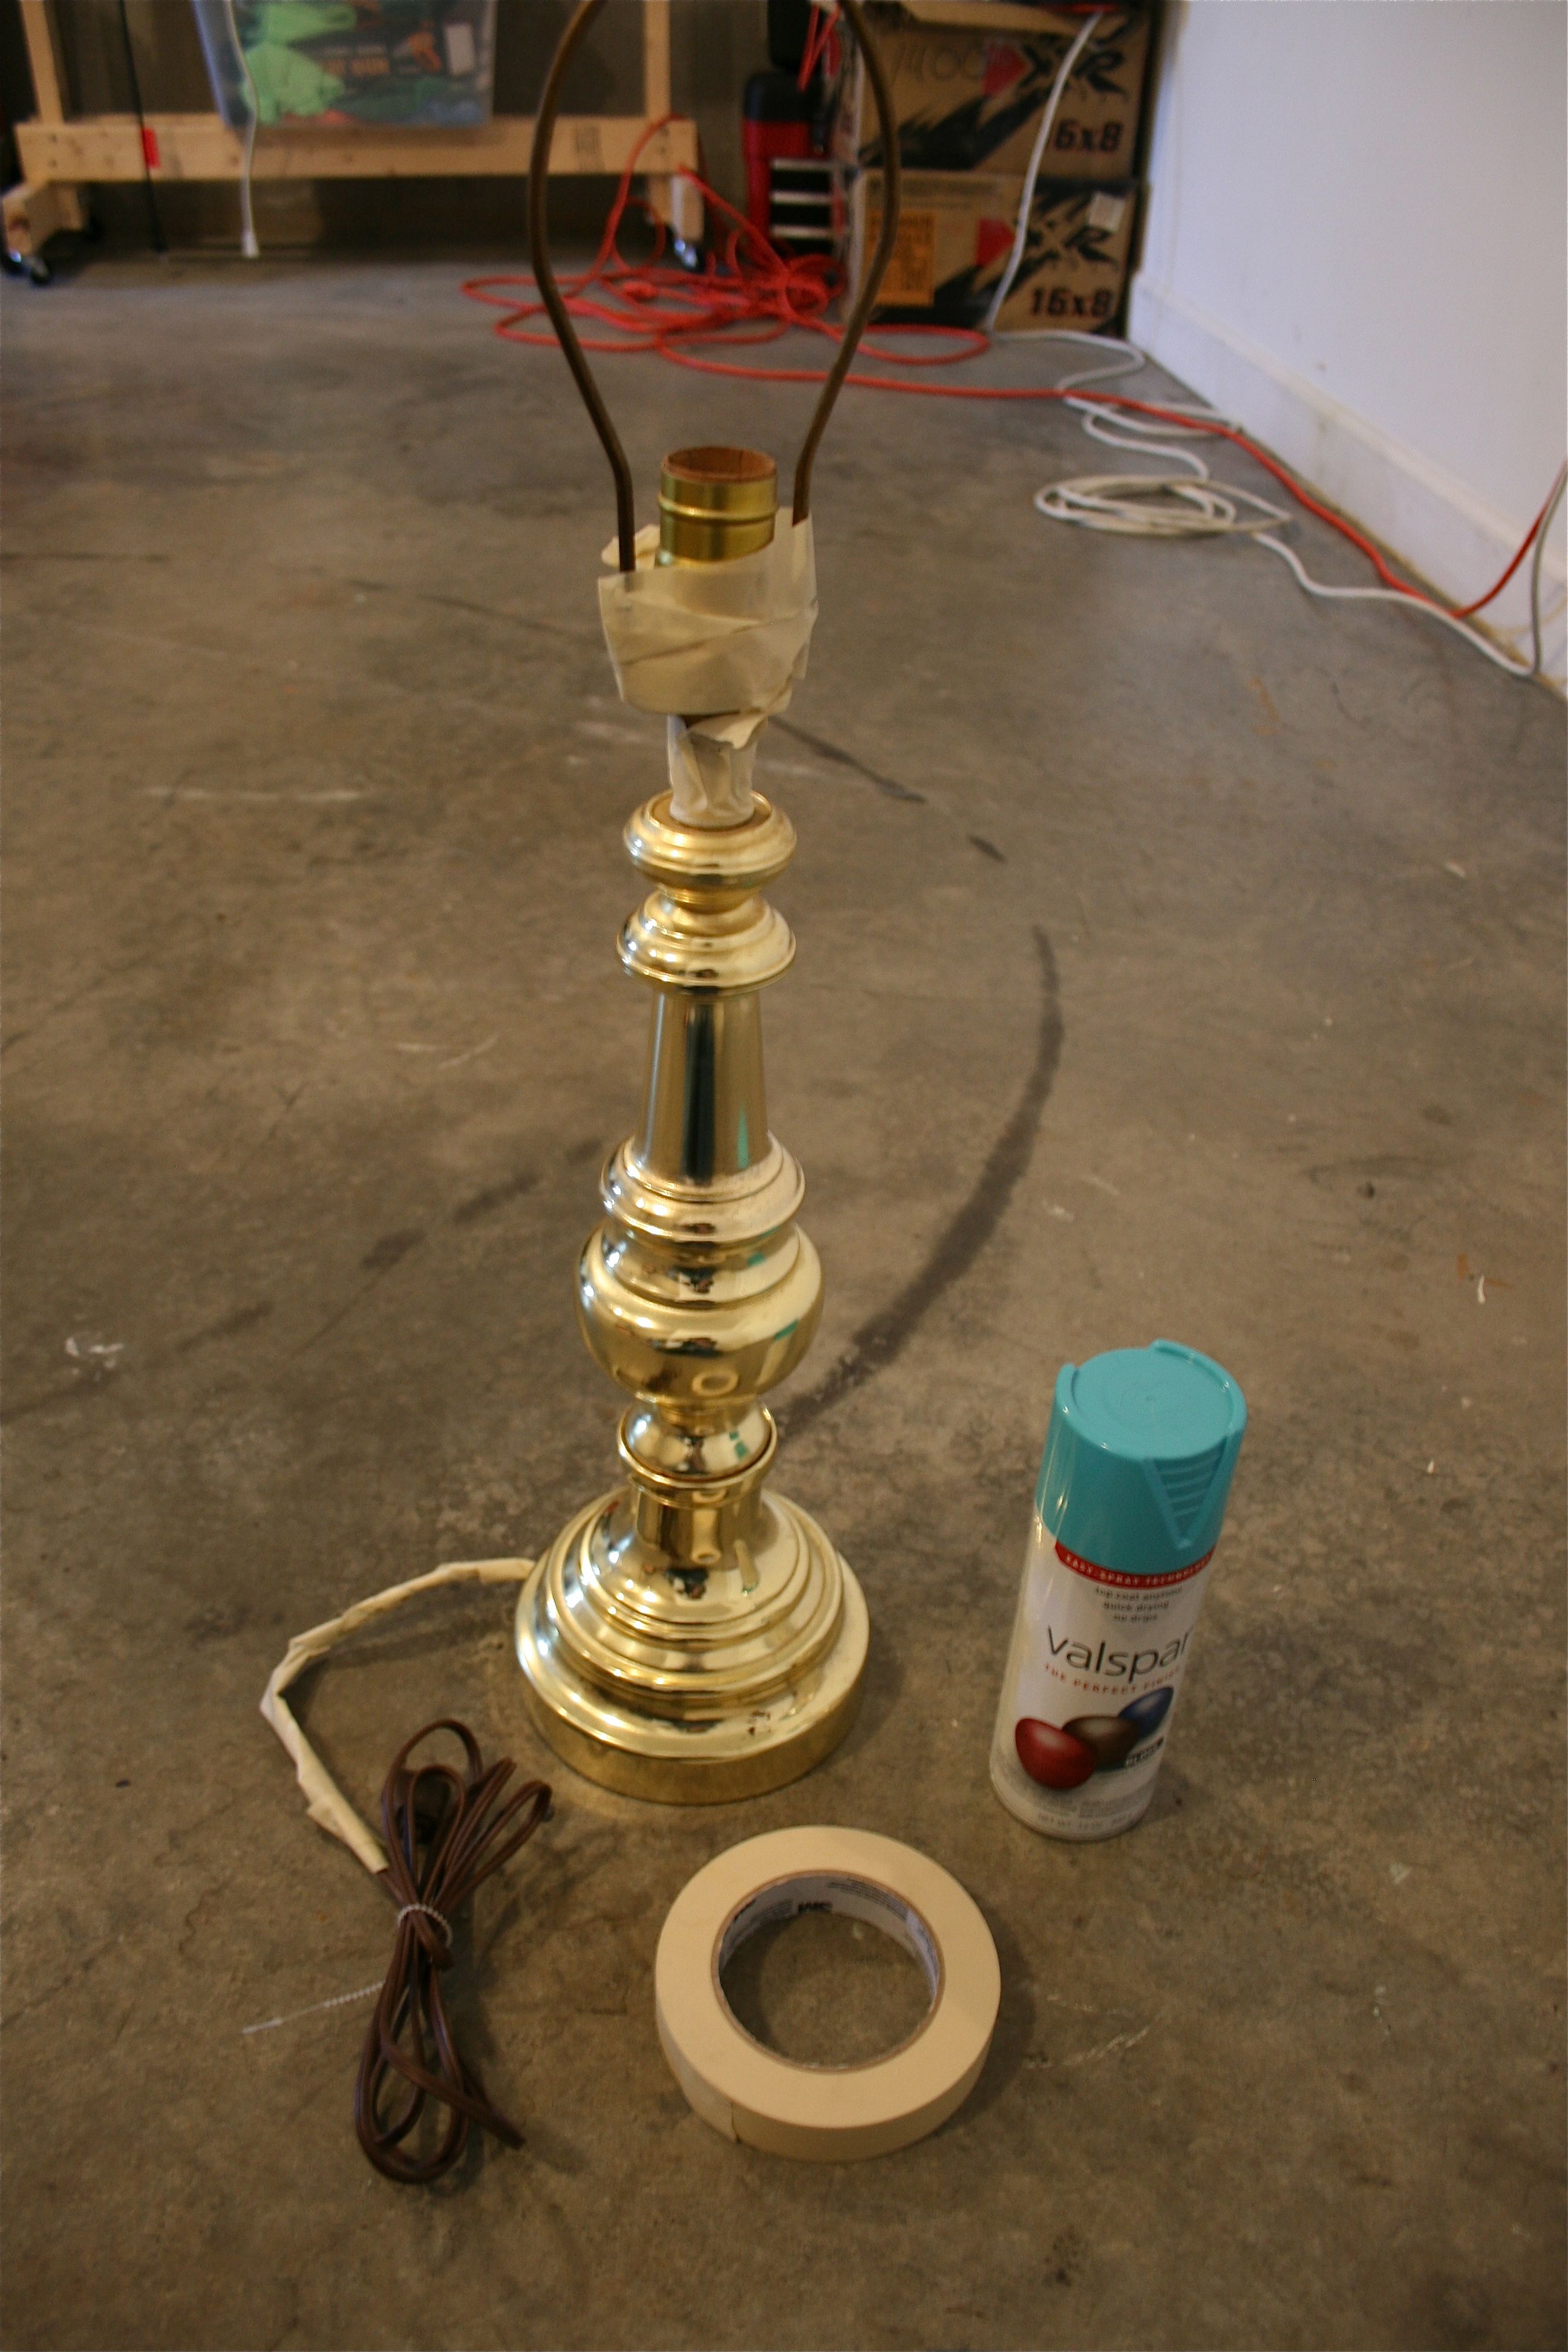
- Gather supplies (lamp, masking tape, cardboard to spray paint on and a can of spray paint in desired color).
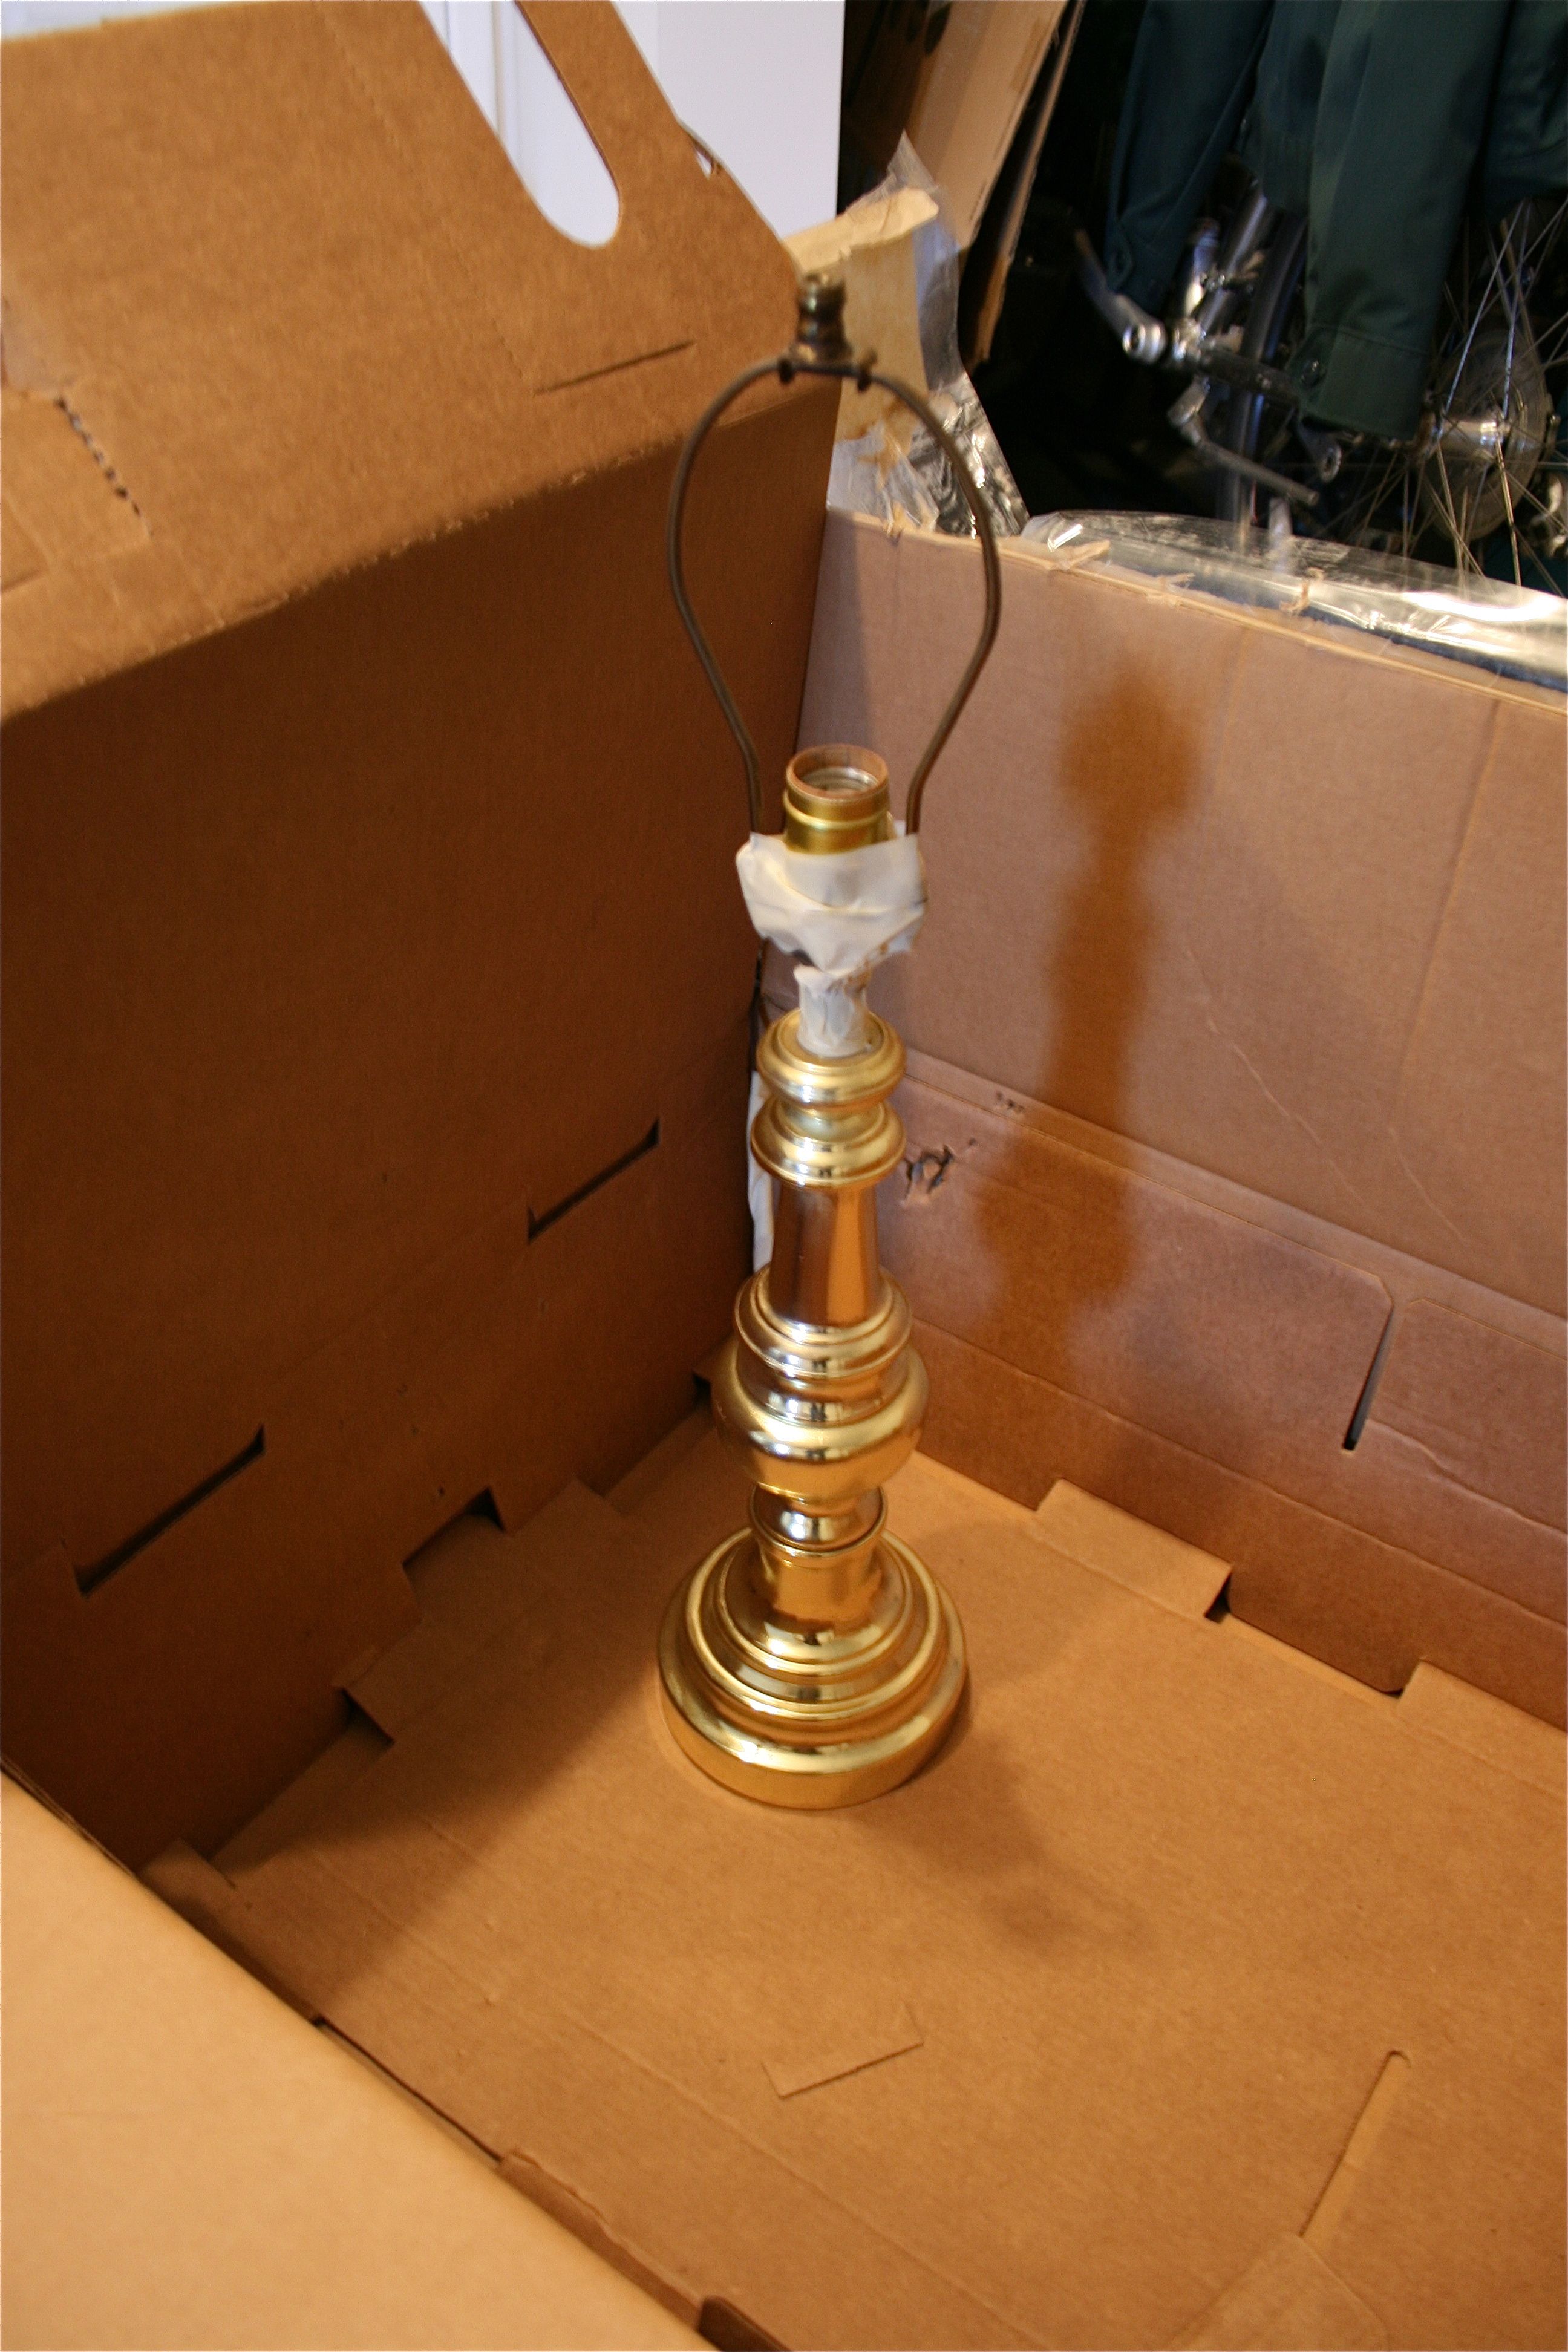
- Mask off the actual light-bulb-holding part of the lamp (forgive me, I don’t know the technical term…) and the six-inches of cord right by the lamp base.
- Set the shade-less lamp base inside a cardboard box or on some flat cardboard and spray away! (in sweeping motions, back and forth from 8 or more inches away to avoid drips)
- Let dry, remove masking tape and you’re done! (You should really let it dry for at least a couple hours, but I got impatient and gave mine about 20 minutes before it was reunited with its shade and placed on the entry table. It was pretty much dry by that point anyway!)
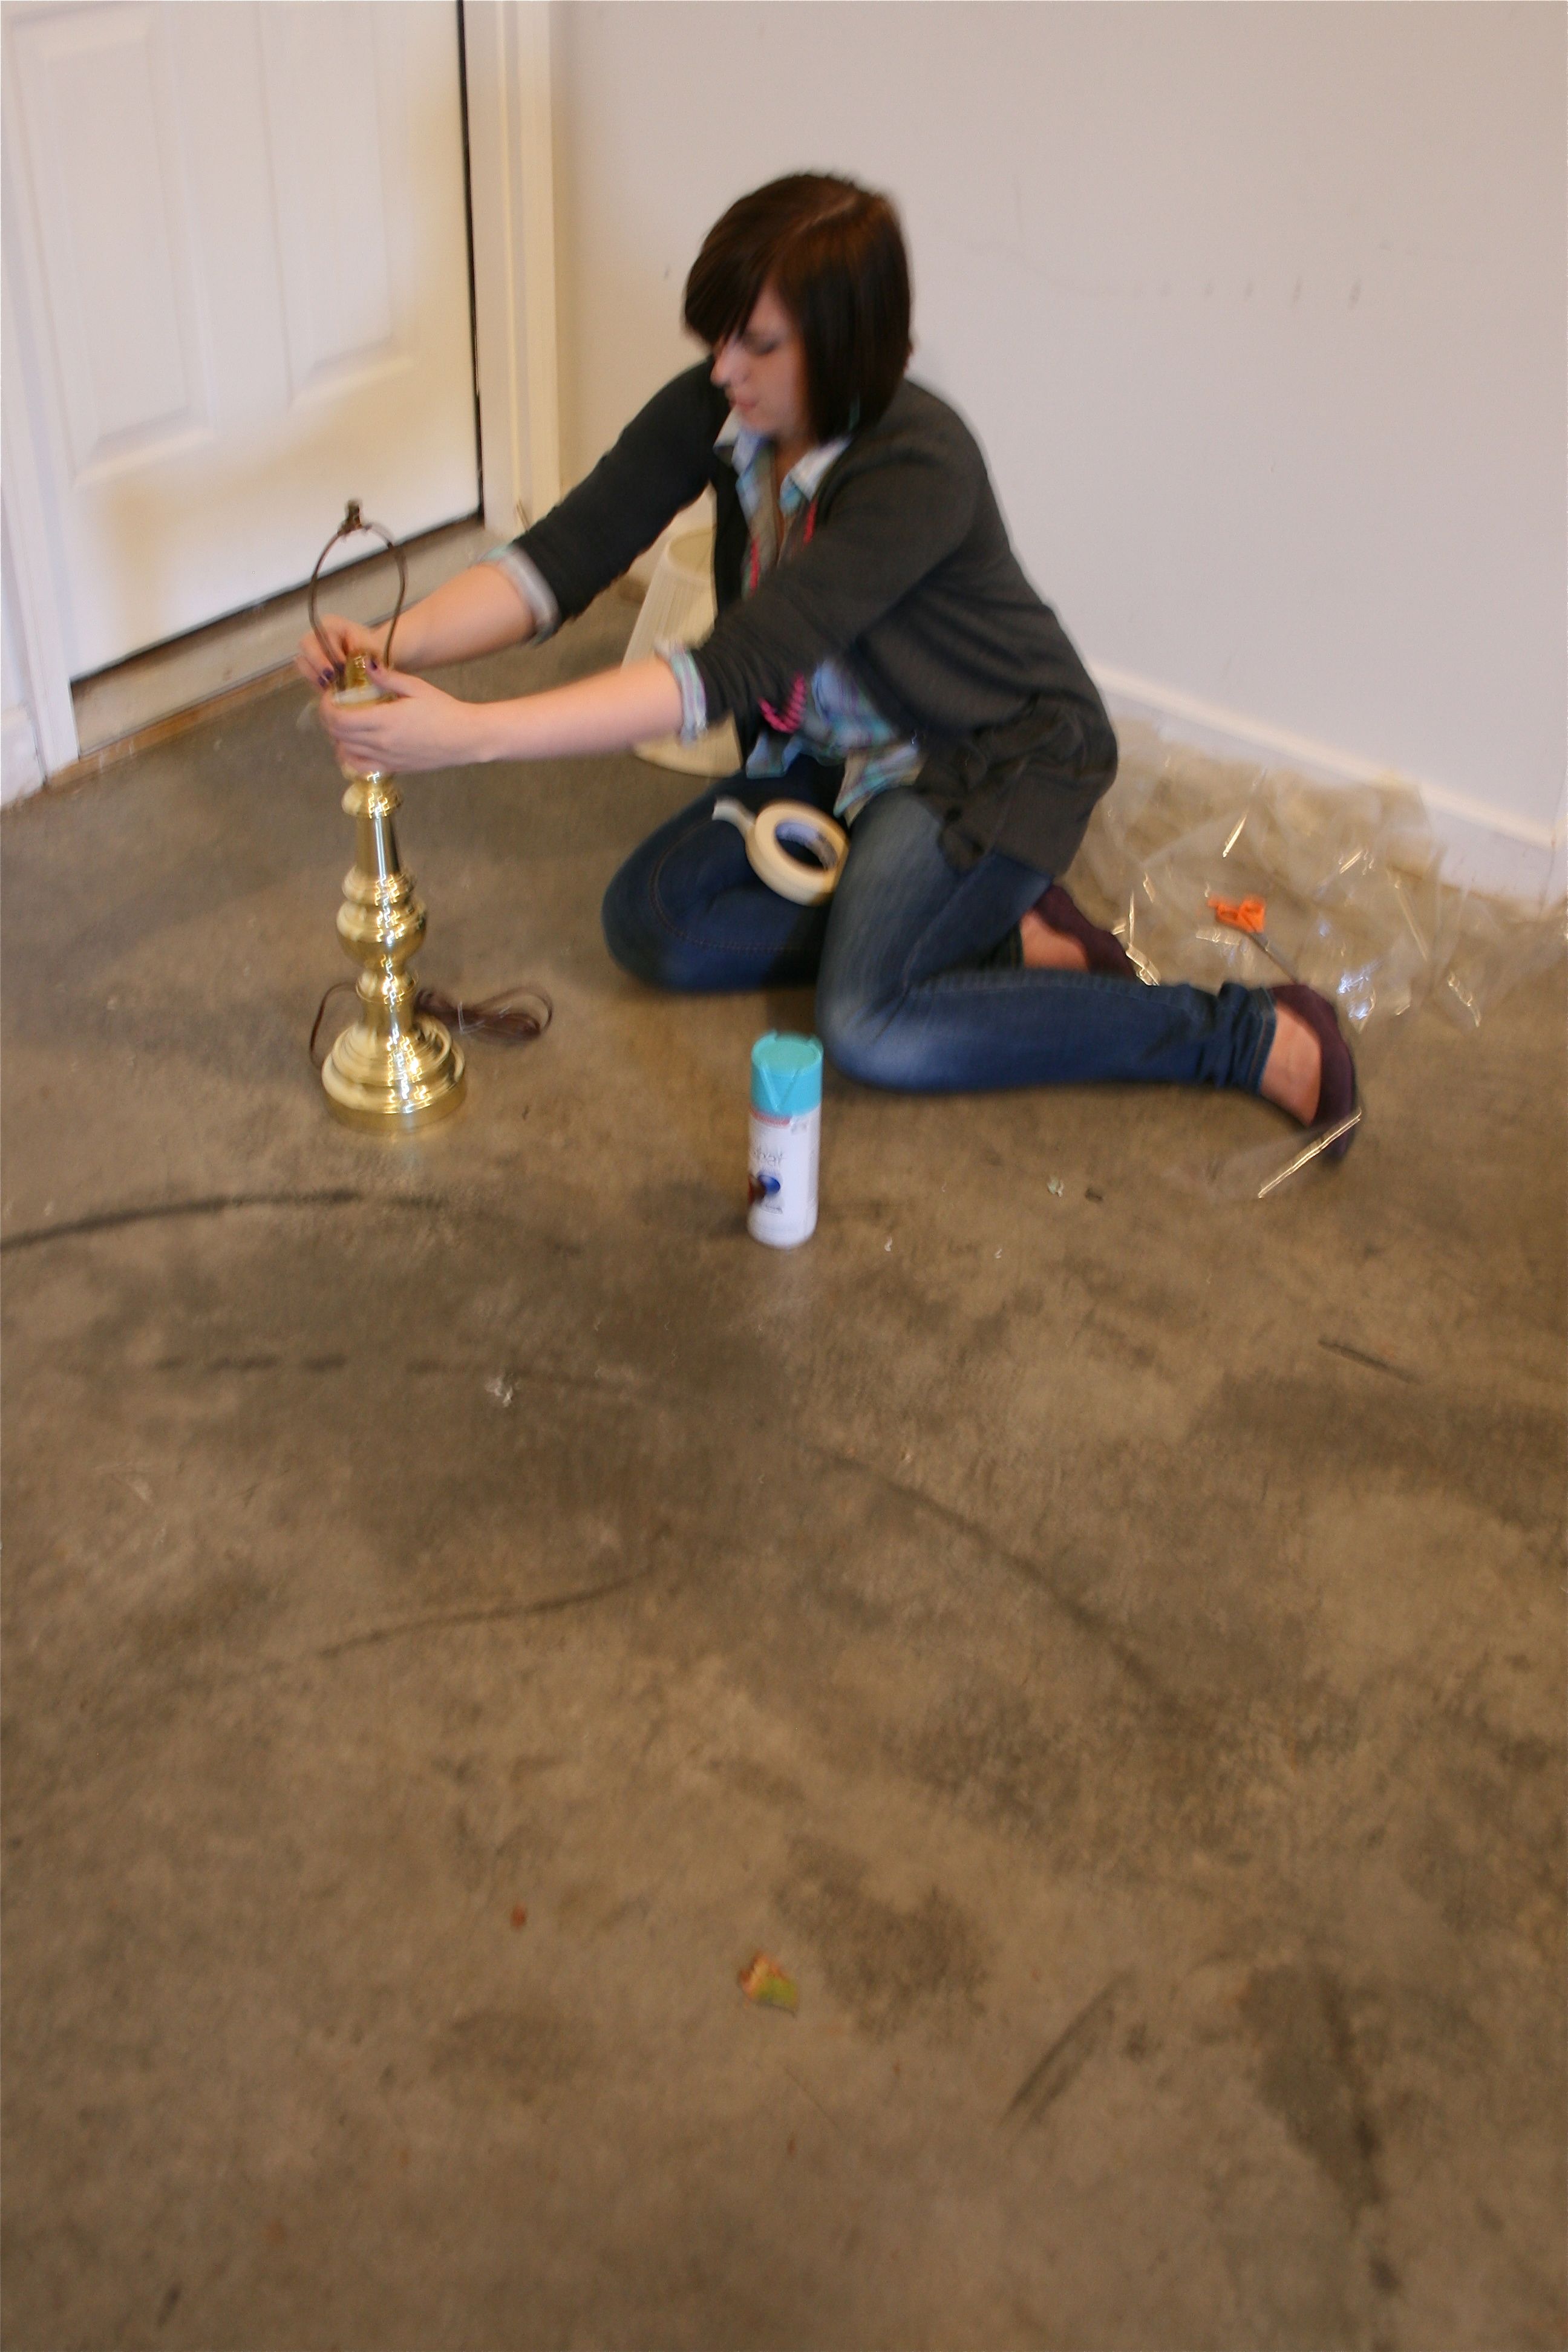
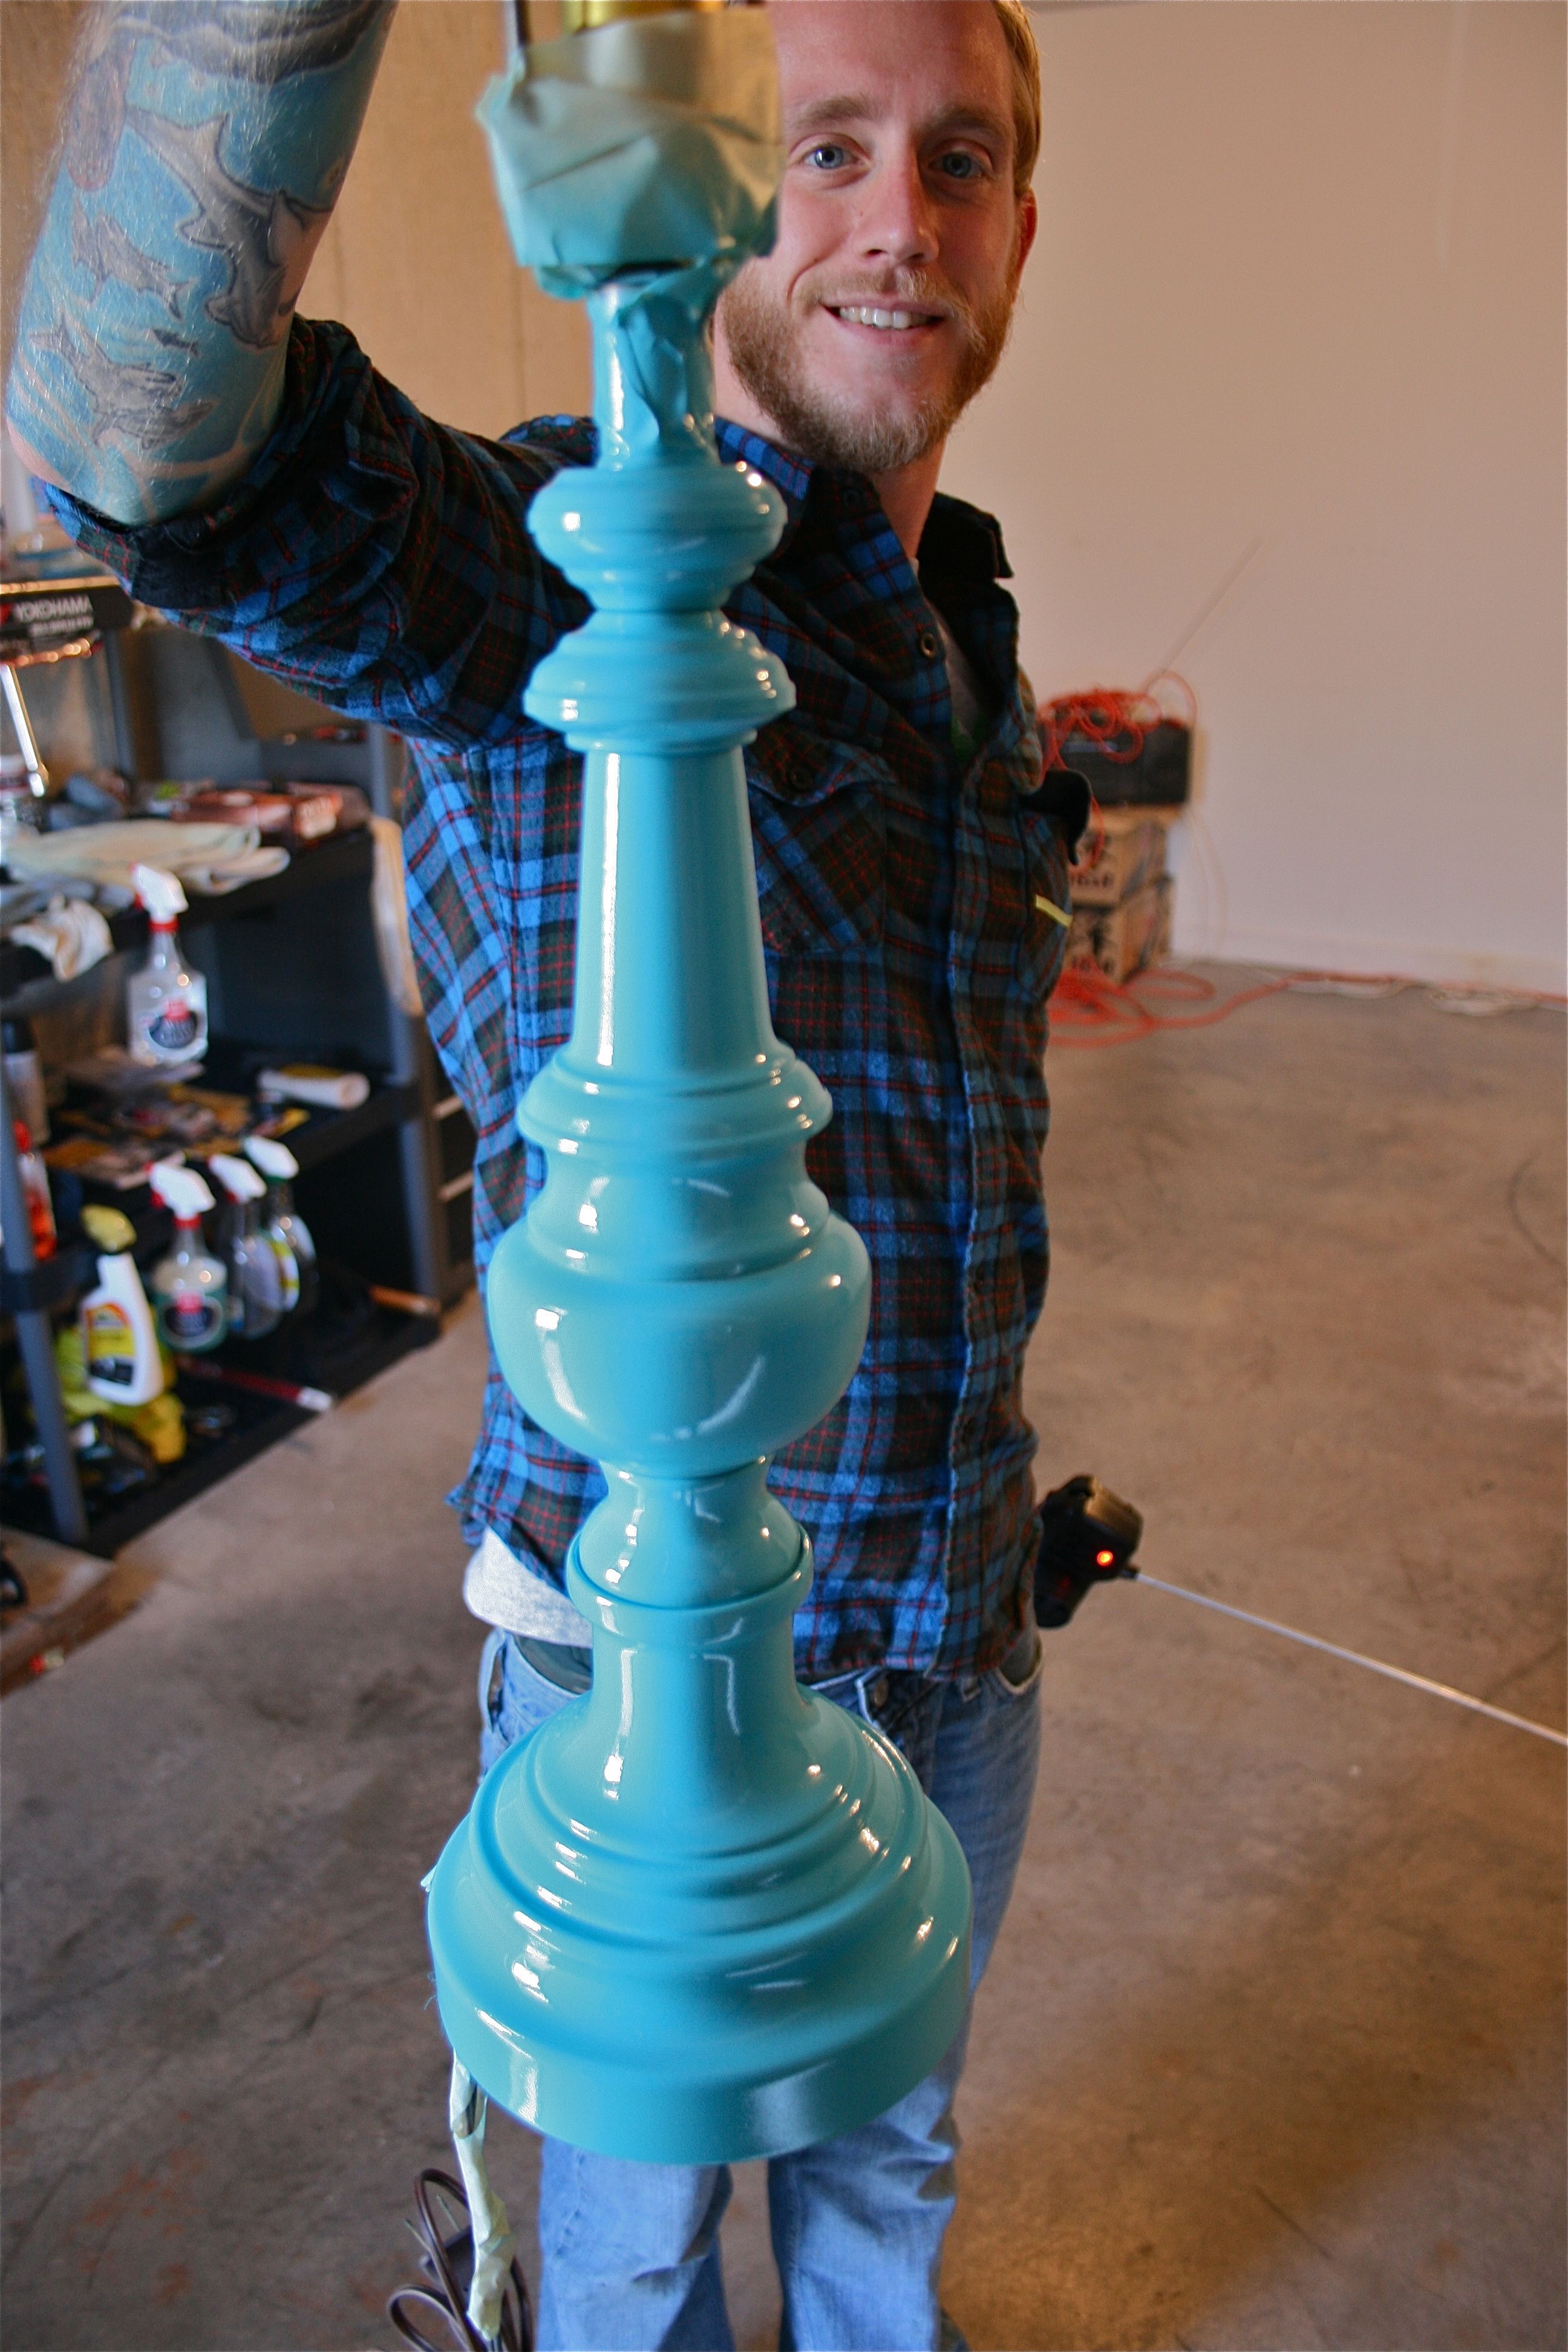
Here are some action shots:
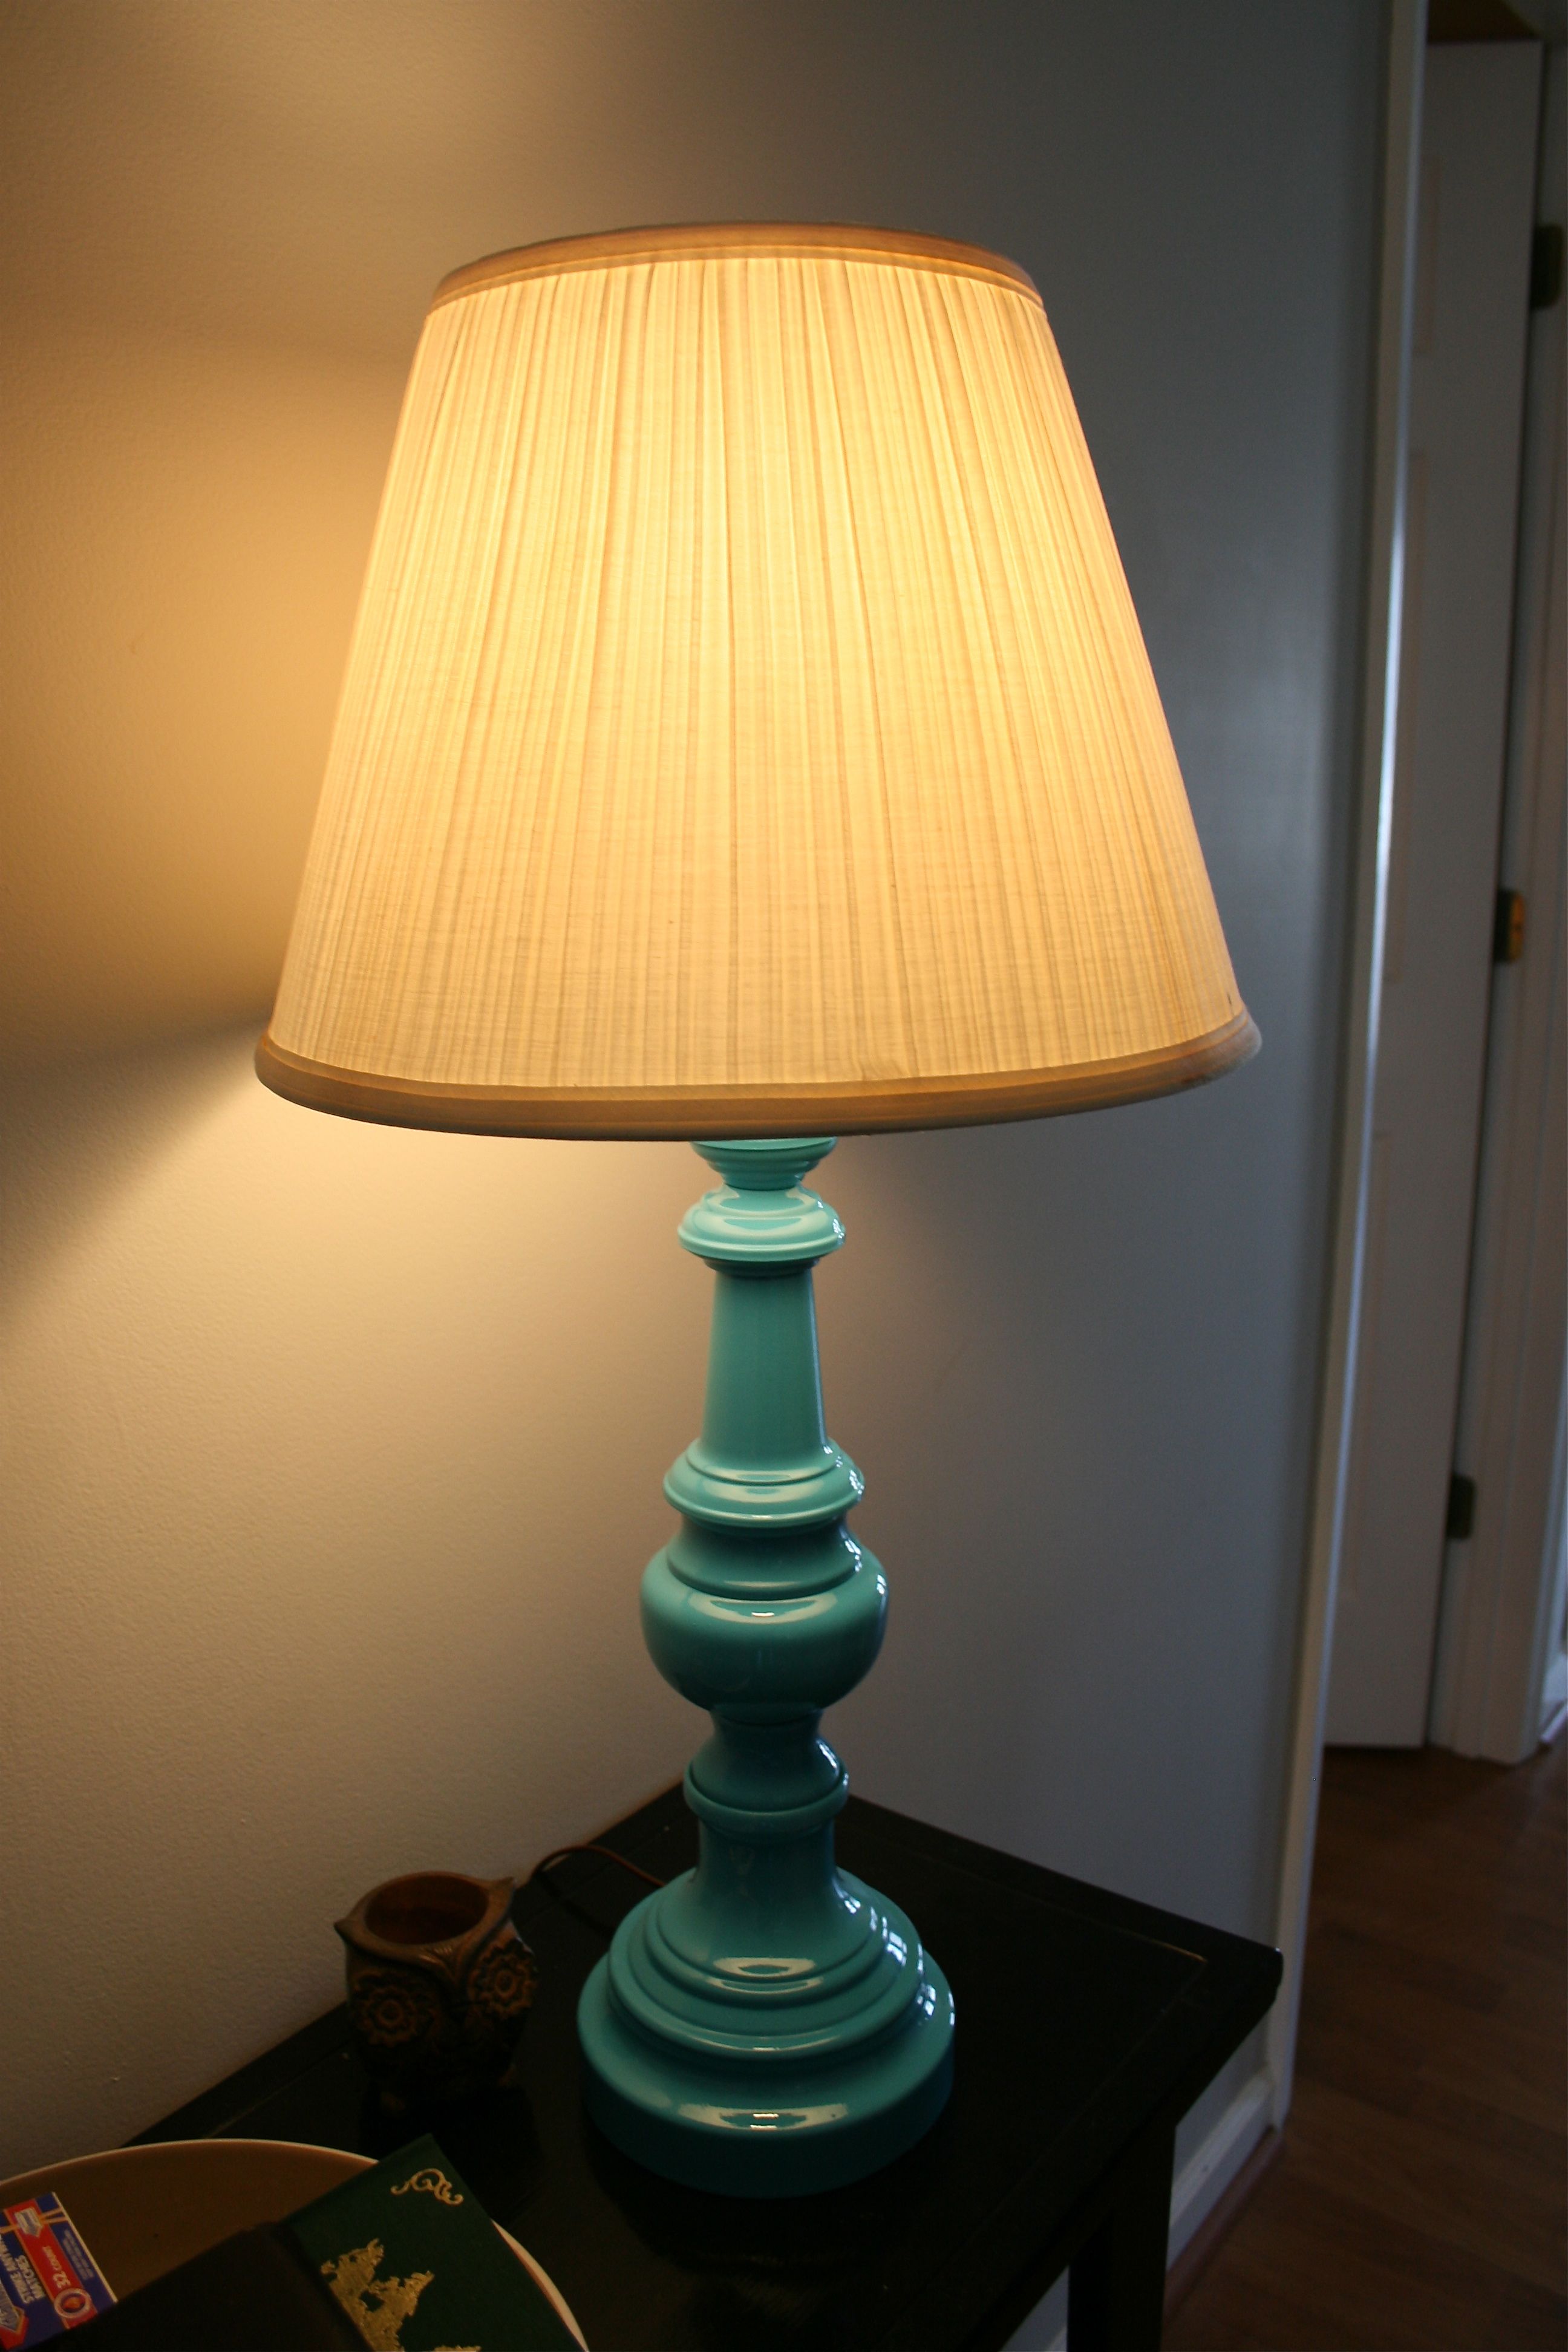
Soooo excited about the bright teal color (in gloss finish) that we picked out 🙂
John volunteered to help model the finished product!
So before…
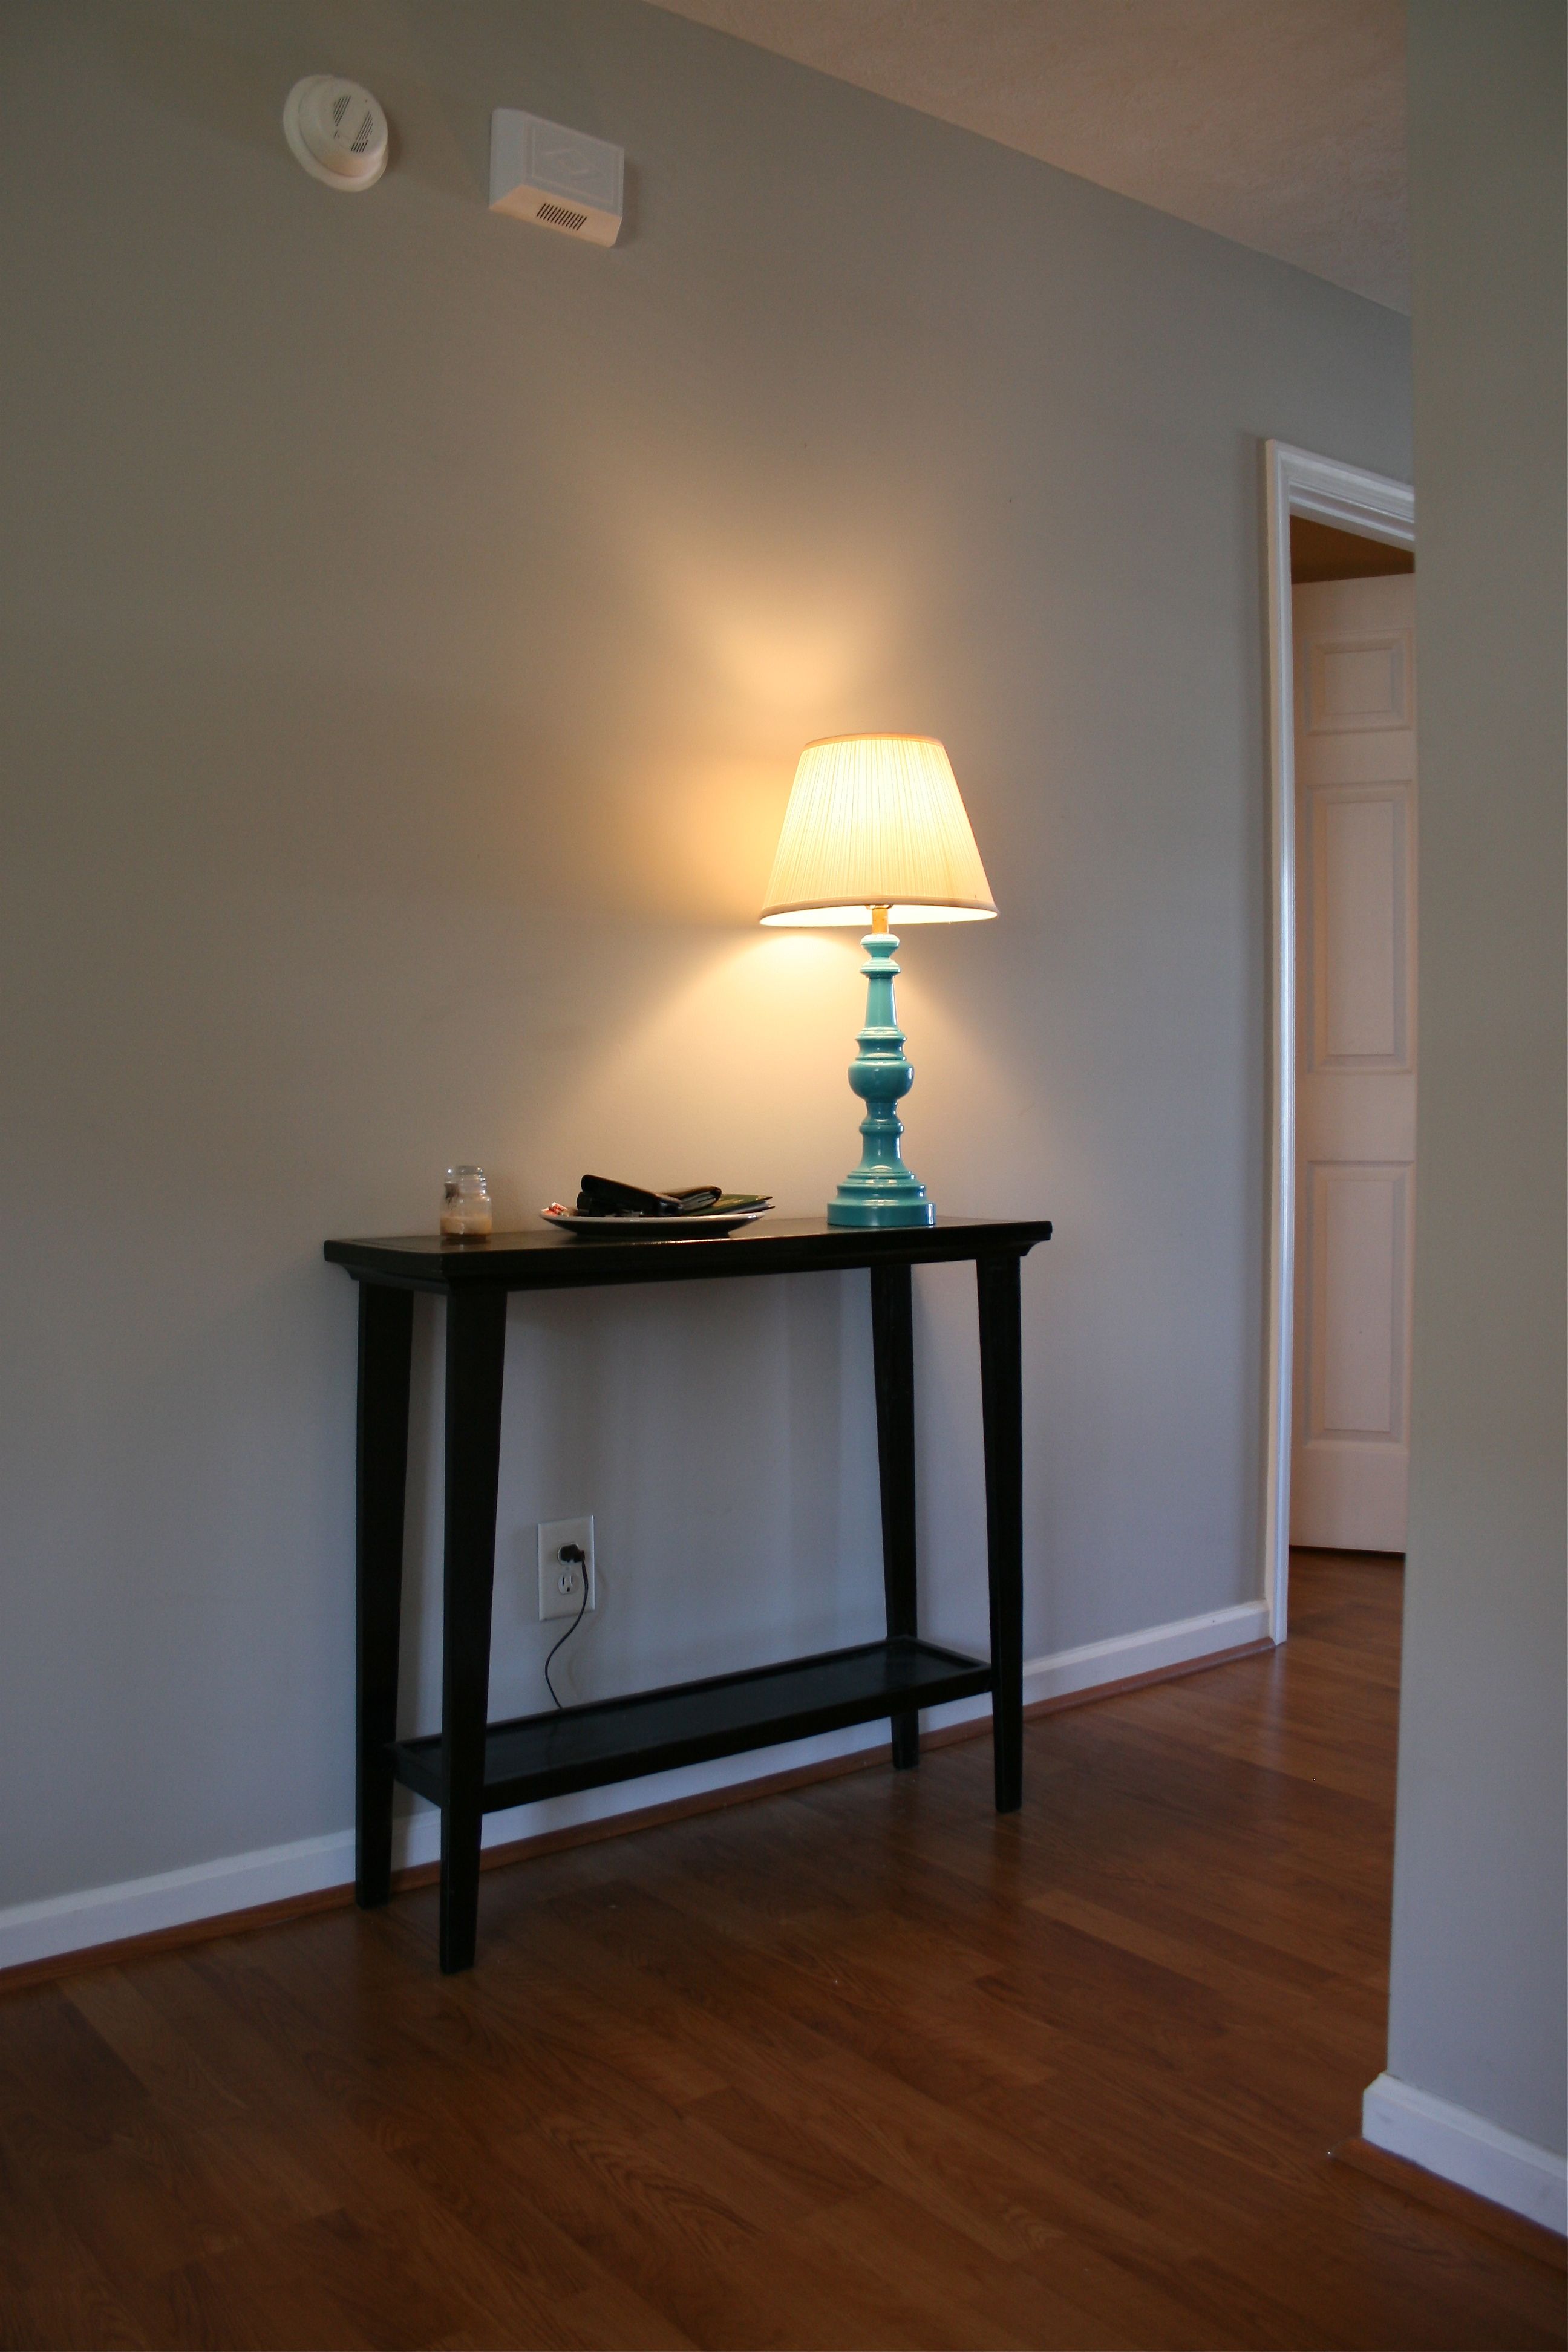
And after! (I may change out the shade, but for now it’s actually not that bad)
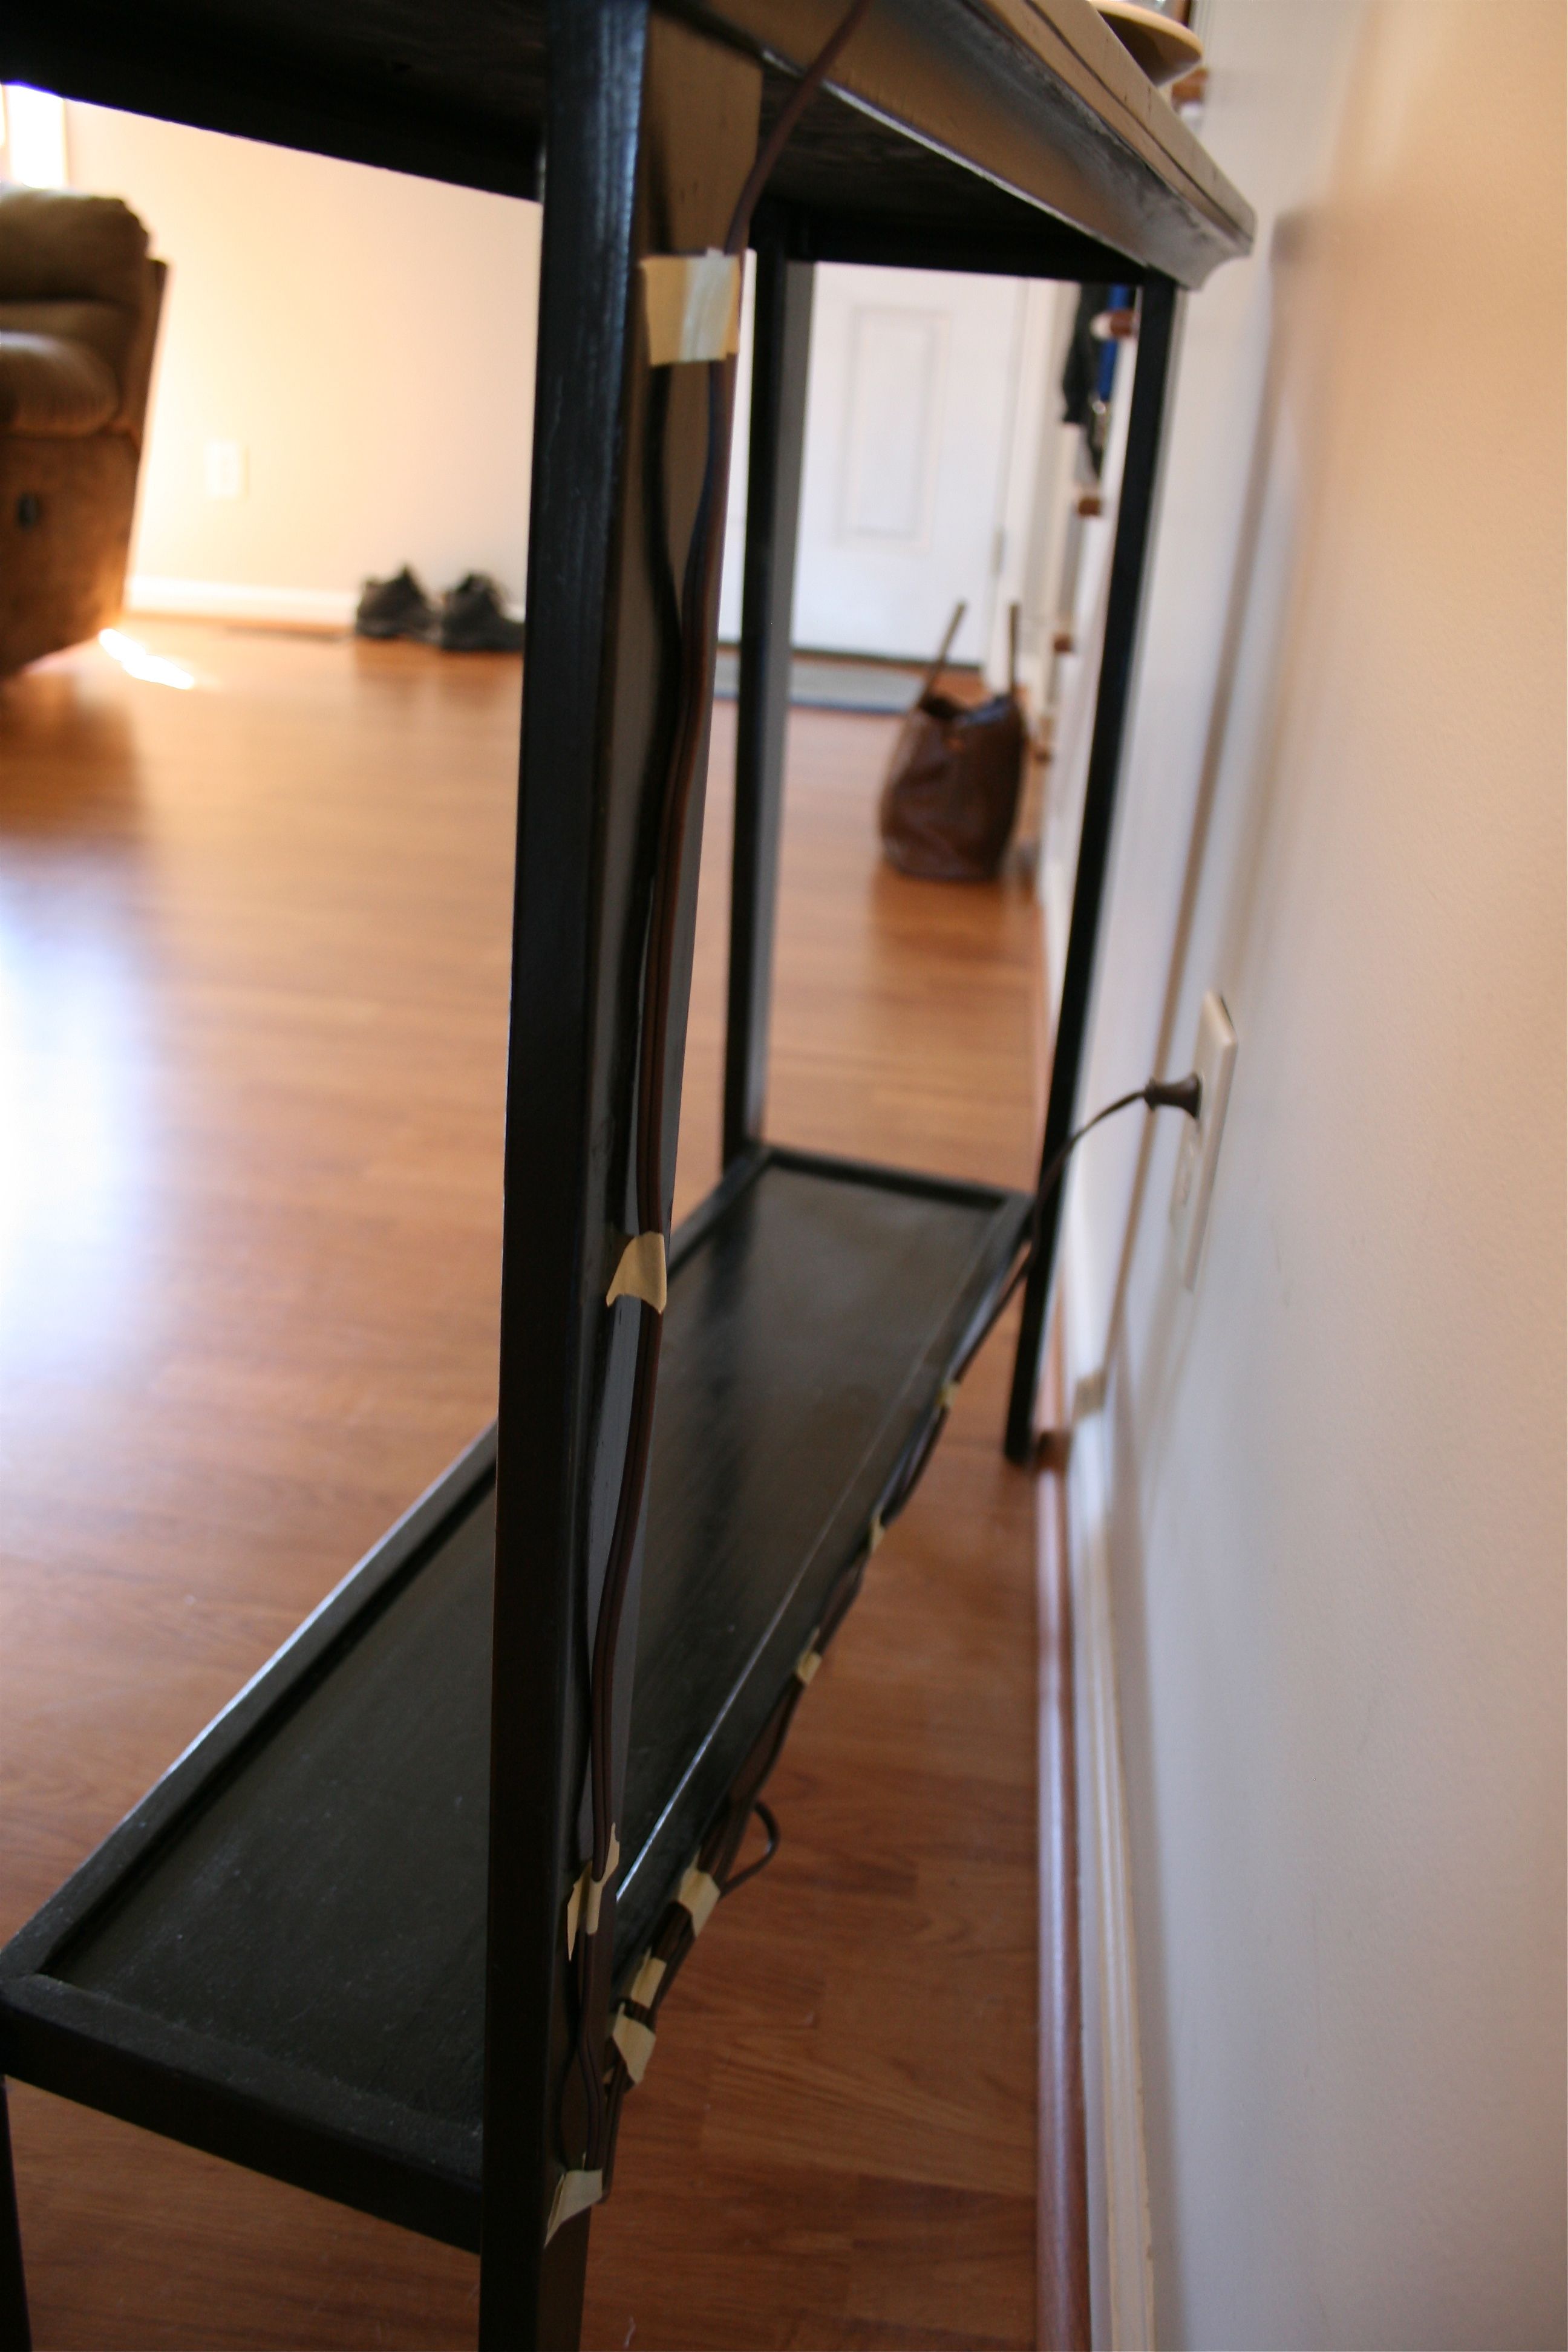
Sidenote: I remedied the ugly cord problem (can you tell that I have a thing against cords?) by taping it down the back of the table leg like so:
Now it looks like this!
Stay tuned for the other fruits of our weekend labor! We still have the fabulous new-to-us sideboard (which will be unveiled in this weeks “Thrift store SCORE!” on Thursday), the art we put up over the entry table and the finished chalkboard paint calendar in the kitchen…
Until tomorrow!





The lamps look amazing, they make the spaces so cozy! I love the way you’ve hung the plates and the little owls, too.
Glad you like it! “Cozy” is definitely what we were going for =)
Carrie – new reader – found you through a comment you left on YHL. Really enjoying your posts! Love that lamp…love the plates…love your owls (I’m an owl junkie myself – the Urban Outfitters owl you have on your bedroom dresser is in my daughter’s nursery – same color, too!). Great stuff! I’m definitely going to keep checking in here.
Glad you found us! That’s too funny about the Urban Outfitters owl!!! I am planning to post on the ridiculous number of owls I have soon =) Hope you enjoy it!
[…] that we both loved to keep our hands busy with projects. Our “date nights” consisted of rewiring light fixtures in the kitchen, painting a bathroom and spray painting a nightstand. We’ve tackled quite a bit and our home […]
I’m not sure where you’re getting your information, but good topic.
I needs to spend some time learning much more or understanding more.
Thanks for fantastic information I was looking for this information for my mission.
Great!!