Today I wanted to reveal yet another fun project that my friend, Savannah, and I worked on together (see the other here). This one is going to blow your socks off…
So the age-old dilemma “What do I buy my sister-in-law for her birthday!?” struck Savannah recently and she was forced to put on her thinking cap. I say “forced” with sarcasm though, because she really lucked out when she got Aury – One of the coolest gals we know! And Savannah’s second piece of luck is that Aury loves wine…There are SO many fun things you can gift to a wine lover!
When Savannah explained the idea she came up with and asked if I wanted to help, I was over the moon – This project was all about the “DIY”, and there’s pretty much nothing more rewarding than working on a custom gift by hand for a loved one.
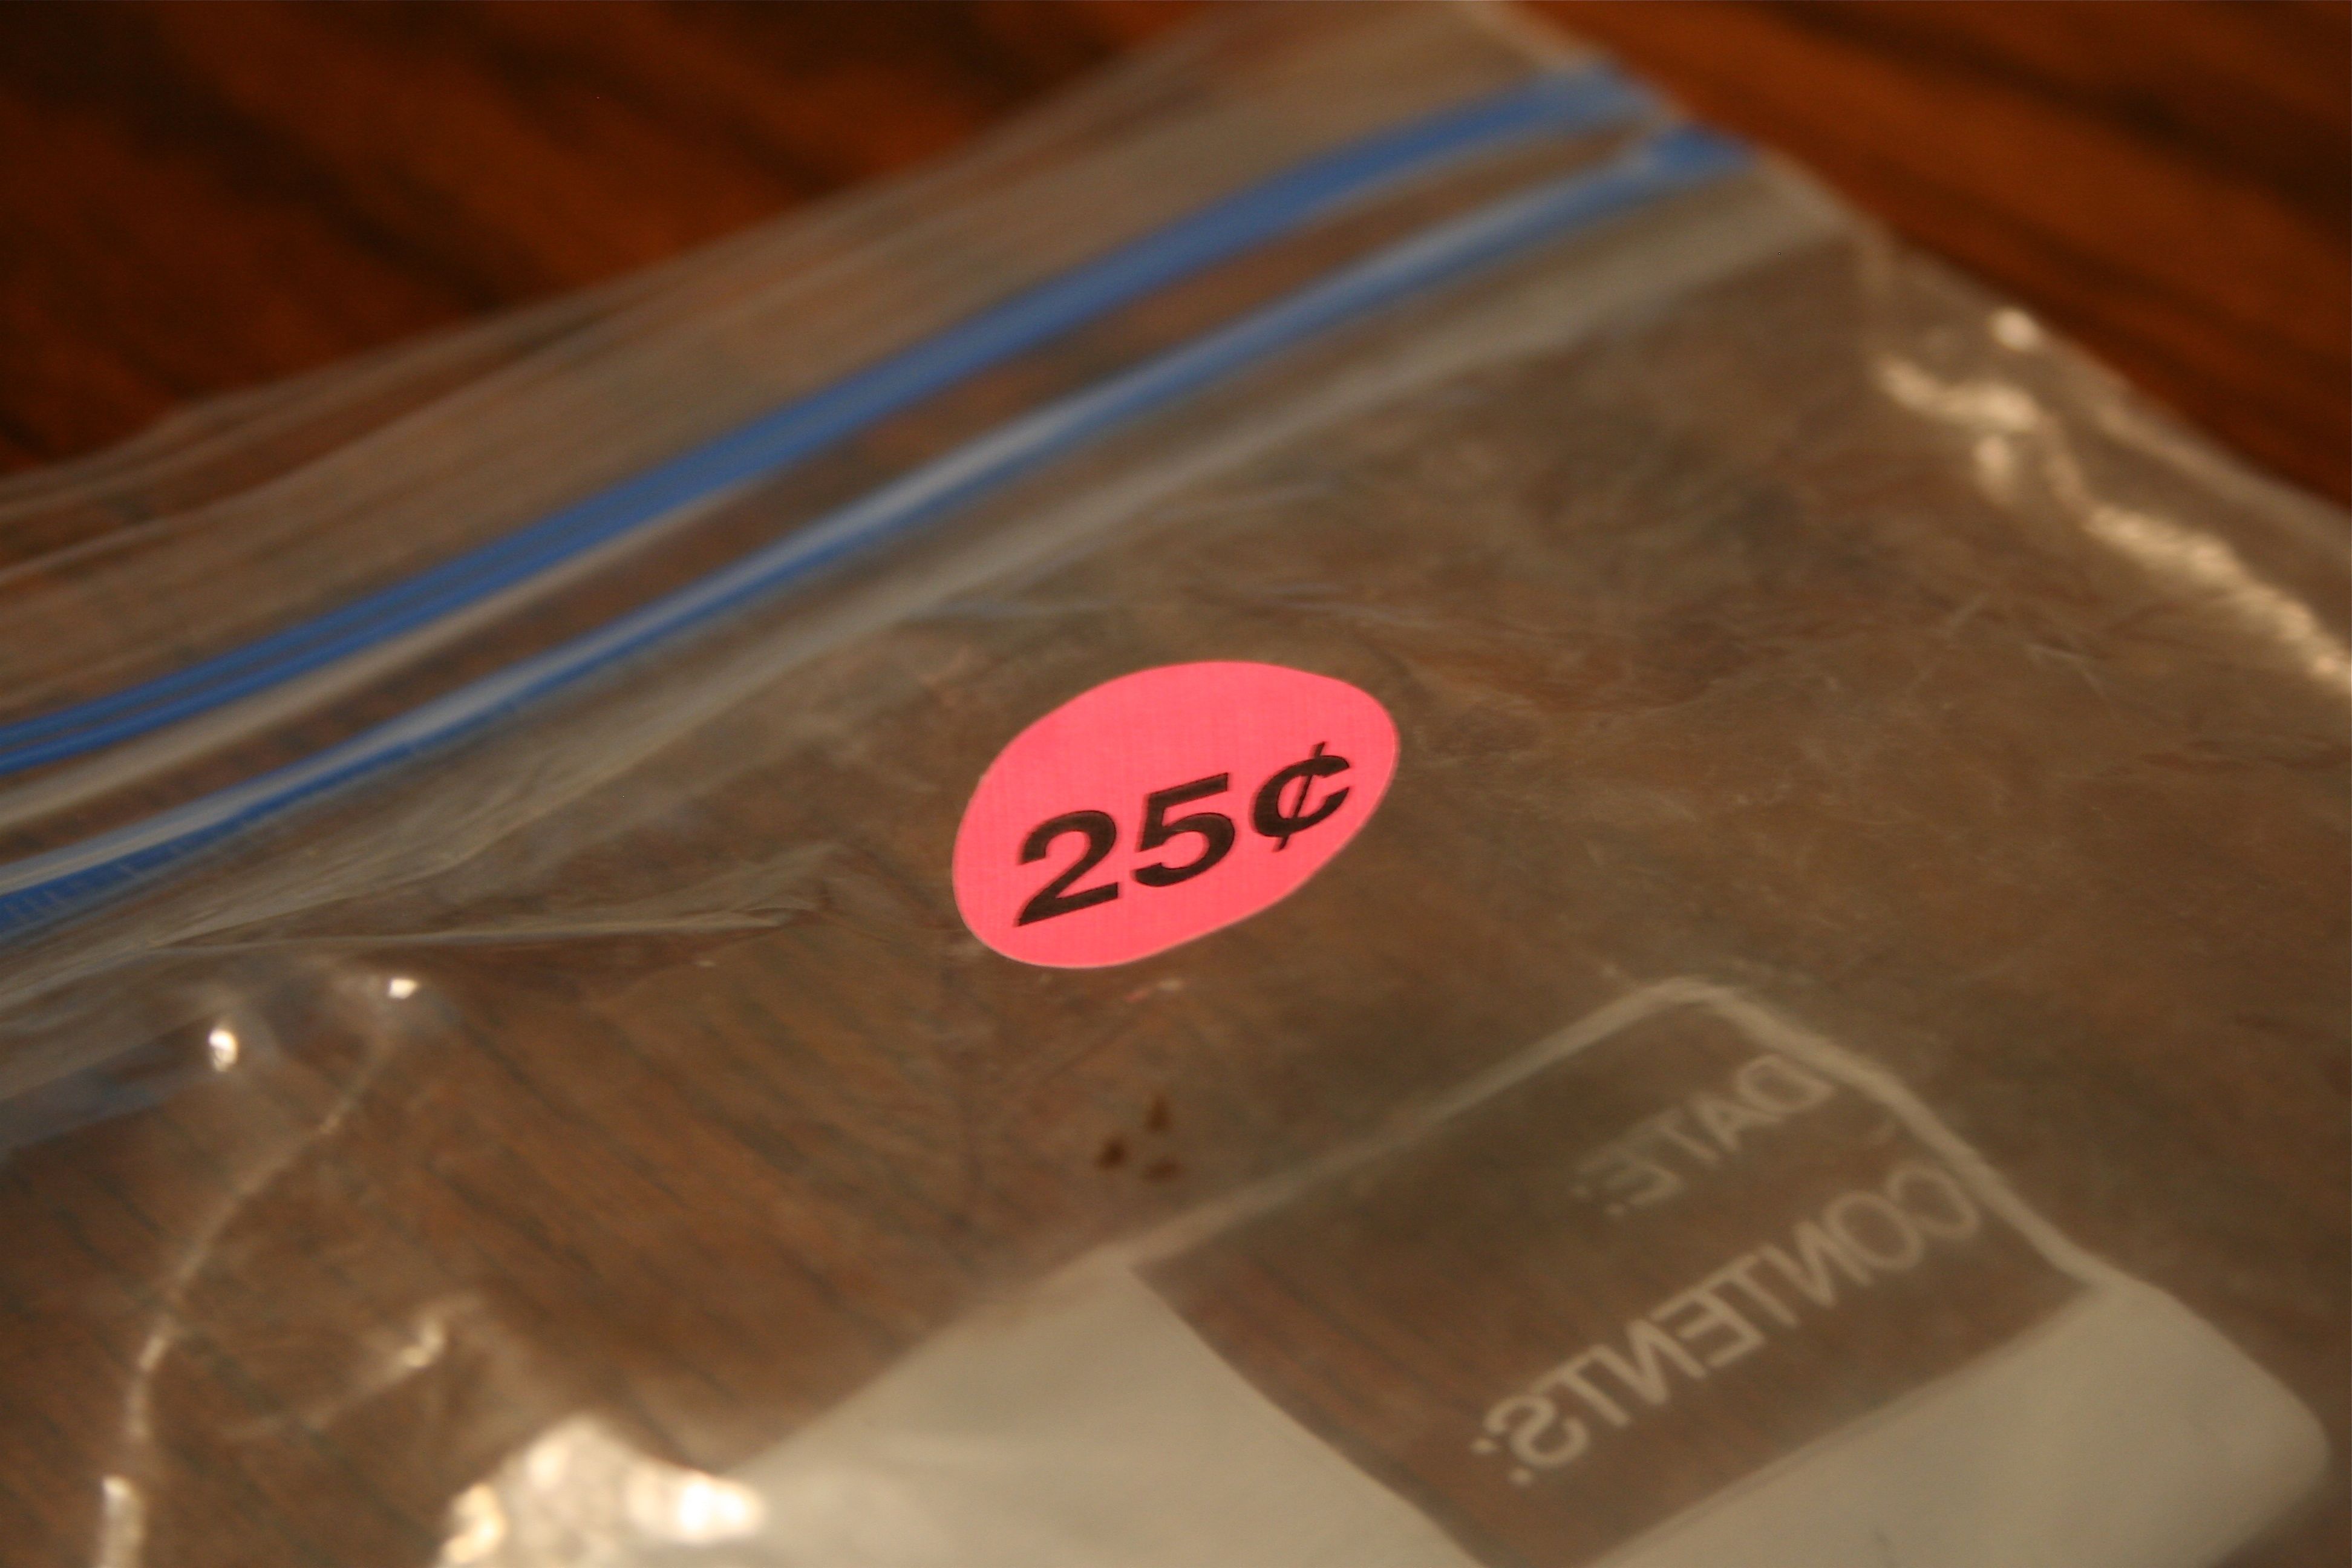
So here was the plan: Buy a shadow box from Michael’s, our closest craft store, and fill it with salvaged wine corks that Savannah was able to score at a yard sale for 25 cents!
But that’s not all…Savannah wanted to arrange some of the corks in a vertical way to create a “C” motif in the center of the horizontal corks in honor of Aury’s last name – Such a cute idea! This is what she had laid out on the table as a test run when I got to the house. Don’t you love how she picked out the pinkish red wine corks for the “C”?
And I L-O-V-E the variety of cork images and wording! More on that later though…
So the first step was to get a shadow box. Off we went to Michael’s where we bought the large frame for the other project (again, you can check that out here) and the shadow box for Aury’s birthday gift. I also picked up a new and improved hot glue gun since this project was gonna need a lot of it…My mini glue gun was officially disqualified.
To start the project, we decided to fill the frame box with the horizontal corks and then add the vertical corks in the “C” shape later. So we got to work putting together the rows, doing our best to alternate the various brands and making sure the interesting sides were facing up. When we came to the end of a row and there was an empty gap, Savannah took one of the real corks (some were of the plastic variety…) and gently cut it to size using a kitchen knife. The soft cork cut pretty easily and we were able to make everything fit to a T!
Time to start layering in the “C”! Since Savannah had already pulled out the red wine corks, we just shifted them from the table to the frame. The stain of the red wine really set the vertical corks apart.
At this point before we started gluing, we took a deep breath and closed the lid of the shadow box – Miracle of miracles, it closed without a hitch! So we got to gluing, spreading a thin layer of hot glue on the underside of the horizontal corks and then a small dab on the vertical ones. We just adhered them right to the canvas board of the frame. Everything was going swimmingly until we decided to test the frame again. This time we weren’t so lucky…
The frame wouldn’t close anymore…You may already know why. When we tested it sans hot glue the glass “door” of the shadow box frame sat perfectly, but with the slight added height of the glue it was a no-go.
It took us a second to realize that the glass had to be taken out. There really wasn’t any need for the glass protection since the contents of the frame would be secure. The only problem was that the glass was epoxied to the frame so it wasn’t something we could just slip out…So on to “Plan B”! We grabbed a hammer, some plastic bags and got to work whacking away at the brand new frame! It was kinda fun 🙂
All we did was slip the glass “door” of the frame into a plastic bag and then hit it a couple of times until we heard the glass shatter. All of the dangerous parts stayed in the plastic bag, which we carefully removed and put in the garbage.
Success! It didn’t really make a difference visually to lose the glass so we nervously giggled, high fived and then tested the latch one more time. This time, it worked. (P.S. Gotta love Savannah’s hot pink hammer, as seen in the background of the shot below – We are one bad a$$ female duo!)
With that crisis averted, we carried on with the placement and the gluing. After the “C” and horizontal corks were in place, we just filled in by cutting the soft corks into all sorts of teeny tiny wedges.
The last step was to remove the web of hot glue from the surface of the corks, and we were done!
Here are all of the fun detail shots I took to give you the full effect of this interesting DIY art project:
Some of the highlights are the fire-breathing bear (or is that something a little less cool? Hopefully this isn’t an “I drank too much wine” bear)…
The “WOOF WOOF” cork for all our dog lovers out there…
The one with lofty promises (if you can’t read it, it says “I selected this cork to ensure the highest wine quality”)…
And the foreigner (“Bonjour!”)…
I was officially given permission to post about this project after the weekend when it was gifted to its new owner – I heard that Aury loved the piece and I couldn’t be more pleased that I could help in some way. Thanks to Savannah for letting me take part!
Happy birthday, Aury!!!


