Finding Joy At Home With AllModern

Boho master bedroom refresh

*This post was sponsored by AllModern. All opinions are my own.

I thinkkkkkk it’s pretty safe to say that most of us could use a little extra TLC right about now. I’m doing pretty good, though (all things considered), and have lots to be grateful for—especially our cozy, comfortable home. I’ve found over the past two months stuck inside that refreshing rooms in our house goes a surprisingly long way in making me feel happier and more energetic, even if I use mostly what I already have!

For this month, I decided to focus on our master bedroom. It’s a space that has always felt calm and inviting, but I wanted to inject a little more personality into the room with bolder colors and more function through better organization and upgraded furniture. Like I mentioned in this post, I wanted to use mostly what we already had to refresh the room, but I did decide that a few new pieces were in order to make it look and feel its best.

So, I teamed up with AllModern again to bring this space full circle. Keep scrolling for all the details on what we’re reusing from other rooms in our house, and what we decided to add new to the room to bring a little joy to the space.

Boho macrame wall hanging

Mid-century wood dresser

Ceramic perfume bottles tray

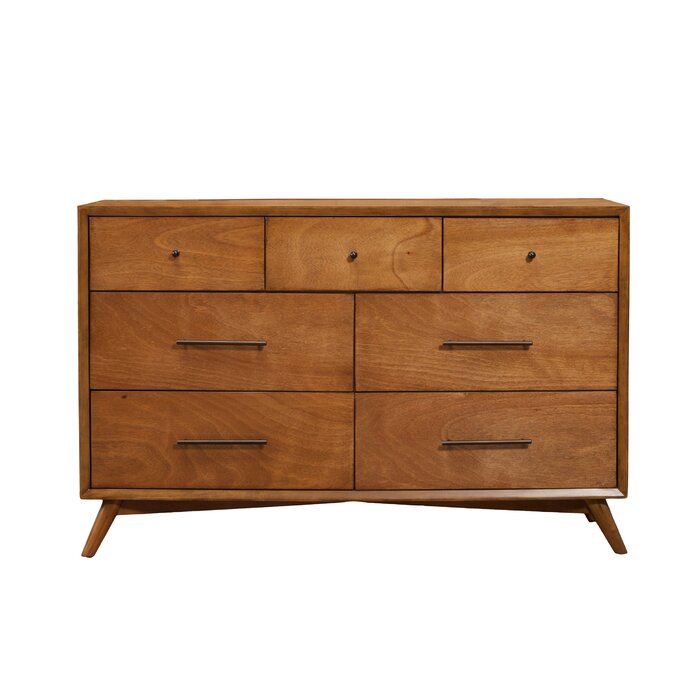
I went through my reasons for deciding on ordering a brand new dresser in my last preview mood board post, but the short version of the story is that I was hoping to find a different dresser than the vintage one I bought because that one wasn’t a great color match to the tall dresser my dad had built for me, and it was also just a little too formal for our casual boho-meets-mid-century-mod taste. I was hoping to find something a little sleeker and lighter, and this new dresser fit the bill perfectly.

To be honest, the new dresser is still a little darker than the light cherry wood dresser my dad made, but I can overlook that detail because of the gorgeous retro-inspired shape. I love the sleek, simple lines of the drawers and those cool tapered angled legs. It’s definitely a better fit for us style-wise than our old dresser (which we plan to sell when it’s safe to relax social distancing practices), and it’s way bigger, too.

I was surprised by how tall it is and how much John was able to fit inside the extra deep drawers. We’re planning on installing a new closet organizer later this month, and this bigger dresser helped free up a lot of space in our walk-in closet, which I’m sure will make that organizing project much easier to tackle.

Handmade wood dresser

Upholstered gray platform bed

Modern round mirror

Green vintage mid-century table lamp

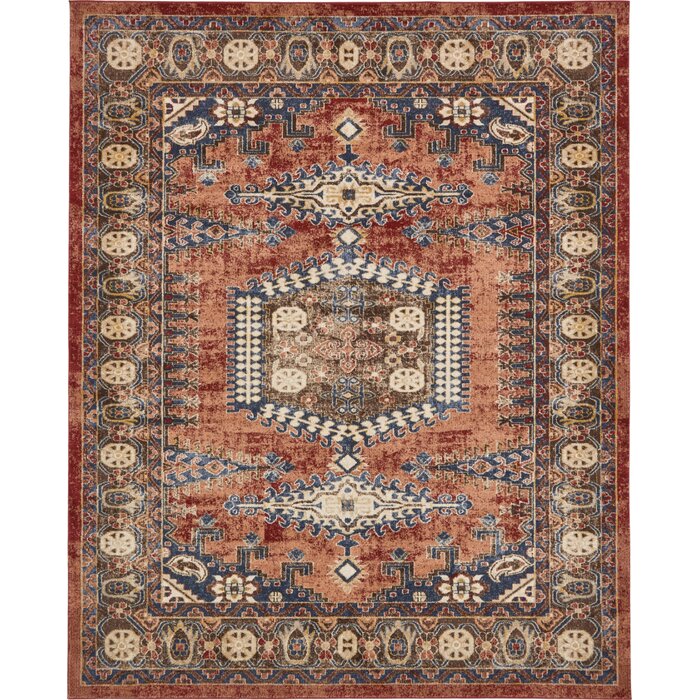
The other major thing we did in this space was pull in the bright red rug we used to have in our dining room. This helped give the room lots more defining character, and it’s also much softer than the old one (which we moved to the dining room where softness isn’t totally necessary). I love sinking my bare toes into this rug every morning and evening, and especially love that it was free.

To help make the new rug feel more intentional, I ordered a taupe-colored tasseled duvet set for the bed and a soft blush pink ceramic planter to put on the new dresser (see it pictured above next to my favorite vintage vase find). Pulling those slightly warmer tones throughout the room helped make the rug feel like a nice complement to the space, and I was able to finish it off with a new Juniper Print Shop print that I framed and hung over the headboard.

Bold red vintage inspired area rug

Mid-century bedroom dresser

Vintage rattan hanging basket chair

Colorful abstract art in the bedroom

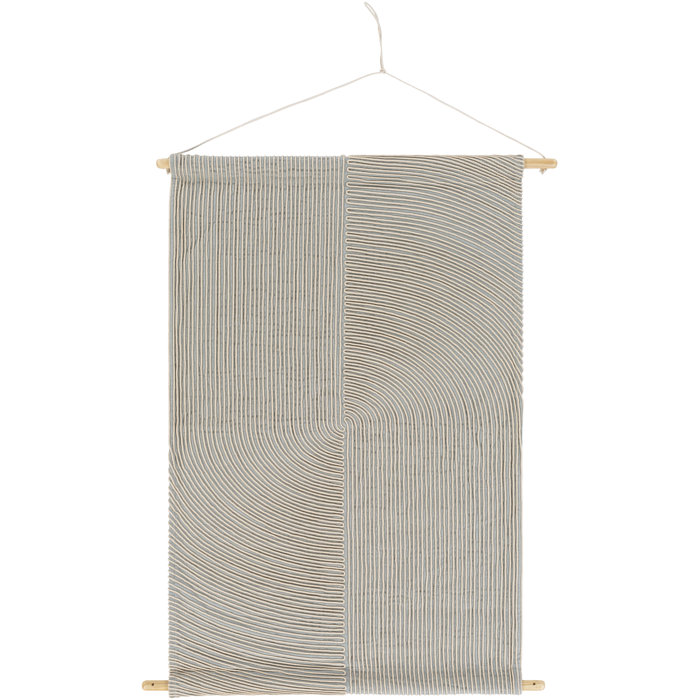
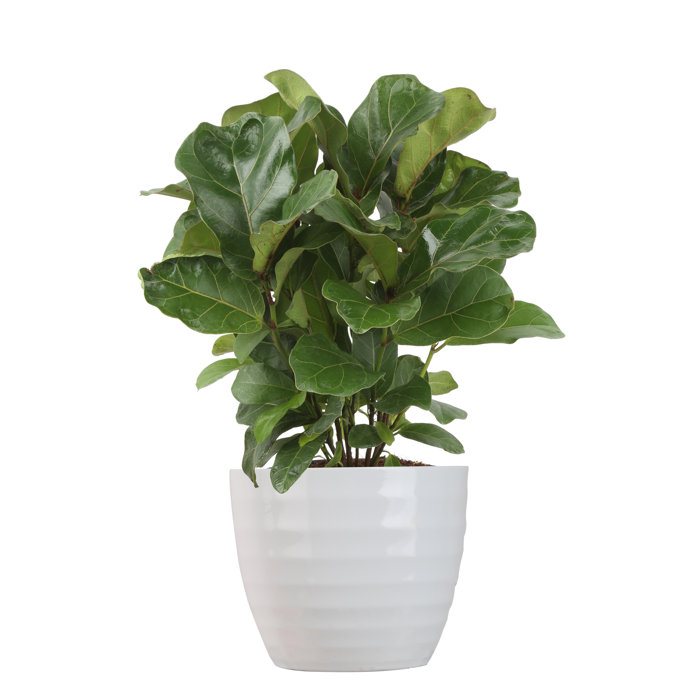
As for the rest of the room, more bolder colored abstract art prints—another from Juniper Print Shop, and the other by Czech Republic artist Jan Skácelík—plus lots of live and faux greenery finished things off perfectly. While I loved the room before, it felt very subdued and almost a little “safe.” Now, with all the brighter colors I’ve added, I can’t help but smile whenever I walk past or sleep in the room. It’s my new favorite space in the entire house.

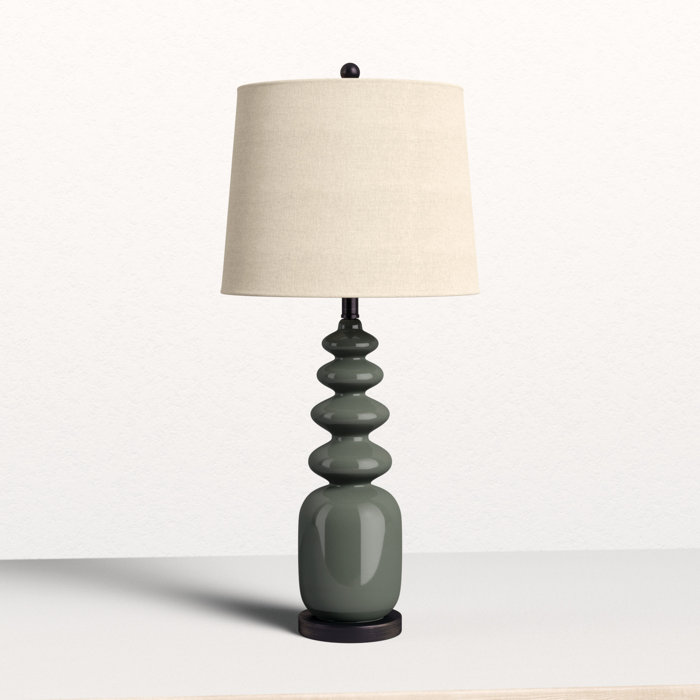
Big thanks to AllModern for helping to bring my vision to life, and feel free to check out my list of look-a-like resources below if you’re looking to nail a similar joyful look in your own bedroom space—I couldn’t think of a better time to treat yourself than now!

Bohemian mid-century master bedroom

*I earn a small percentage from purchases made using the affiliate links above. Affiliate links are not sponsored. Rest assured that I never recommend products we wouldn’t use or don’t already love ourselves.

Add a comment...

Your email is never<\/em> published or shared. Required fields are marked *

ORC Week Three: Vanity Chalk Paint

Behr chalk finish paint in a bathroom

Week 1 | Week 2 | Week 3 | Week 4 | Weeks 5 & 6Week 7 | Week 8
(FYI that links will “go live” one at a time as the event progresses)

Thanks for following along with my role as a guest participant in this season’s 8-week extended One Room Challenge event! If you’re new to Dream Green DIY, hop over here to find out a little more about me. You can click those links above if you need to catch up with this year’s progress as we refresh our downstairs hall bathroom, otherwise, keep scrolling to see what’s next in this room renovation!

For week three I’m finally diving into the demo phase—and by “demo” I just mean that we took a few handles off our existing vanity, and sanded it down in preparation for paint. Thank goodness, there’s no major ripping out of materials in this bathroom reno, but this week’s project was definitely the messiest one of the entire makeover.

As I’m sure you’ve guessed by now, my main goal for this third week of the One Room Challenge was to update our dated wooden vanity, taking it from dark brown to a light gray, a shade that has just a hint of lavender to complement the purple flecks in the granite countertops we had installed back in 2018.

How to make over a wood vanity with chalk paint

How to make over a wood vanity with chalk paint

How to make over a wood vanity with chalk paint

The first step was taking the vanity apart (i.e. removing the drawers and unscrewing the pull hardware), then John helped by taking care of the sanding phase. The vanity is actually made of a particle board-type material, so he didn’t need to do a lot of heavy sanding. I just asked him to get the sheen off the vanity so the paint would take better later on. He gave the vanity base, its sliding doors, and drawer fronts a light sanding with our electric Mouse sander, and then he wiped everything down with a tack cloth to get all the debris up, followed by a vacuum with our shop vac.

How to make over a wood vanity with chalk paint

It was also around this time that John gave the original hardware from the vanity (the original, original hardware circa the 1970s) a fresh coat of matte black spray paint to match the soon-to-be-installed matte black sink faucet. With those to-do list items done, it was time for me to take over.

How to make over a wood vanity with chalk paint

Spray painted cabinet hardwareSpray painted black hardware

Even though I had always planned to use a Chalk Finish Paint on the vanity (I love that this product allows you to skip the sanding and priming steps before painting), I still felt like going the extra mile. So, after taping off all of the edges surrounding the vanity with painter’s tape, I went ahead and gave the vanity a single coat of this primer, just to be safe.

I let that dry overnight, then came back the next day and painted on two coats of my BEHR Chalk Finish Paint, in a color called Pale Sepia. If you remember, I had used this same type of chalk paint on a mid-century dresser makeover project last year, so I knew I could trust it to give me good coverage, and one that would last.

As expected, it was a dream to brush on. I didn’t even have to break out the roller, which meant less clean up and less wasted paint, too. I still need to do a coat or two of wax to give it a protective finish, but since that’s just a clear topcoat, I’m not rushing it. I’ll get there!

Pale Sepia BEHR paint

Pale Sepia BEHR paint from Home Depot

Pale Sepia BEHR paint

Pale Sepia BEHR paint

I love how the new crisp gray paint color instantly updated the vanity. It brightened it up so much, which was essential given the tight quarters of this small bathroom, and it also helped hide the somewhat odd shape of the little built-in cabinet. Now, instead of focusing on the old vanity, you look at our still-practically-brand-new glass shower. It directs your focus where it belongs, and for just two days of work and $19.98 spent on paint (my parents gave us their leftover primer, so that was free), I’d call it a job well done.

Pale Sepia BEHR paint

Behr chalk finish paint in a bathroom

Next week I’ve got even bigger plans involving paint in this small space, but this time we’re going bold. Stay tuned as we makeover this small space, and make sure you visit the One Room Challenge event website hosted by Linda, of Calling It Home, for even more design inspiration. Thanks for following along!

Pale Sepia BEHR paint

One Room Challenge: Week 1*I earn a small percentage from purchases made using the affiliate links above. Affiliate links are not sponsored. Rest assured that I never recommend products we wouldn’t use or don’t already love ourselves.

Add a comment...

Your email is never<\/em> published or shared. Required fields are marked *

getsocial
have yousubscribed?
Everybody's doin' it.